The Conversation (0)
Sign Up
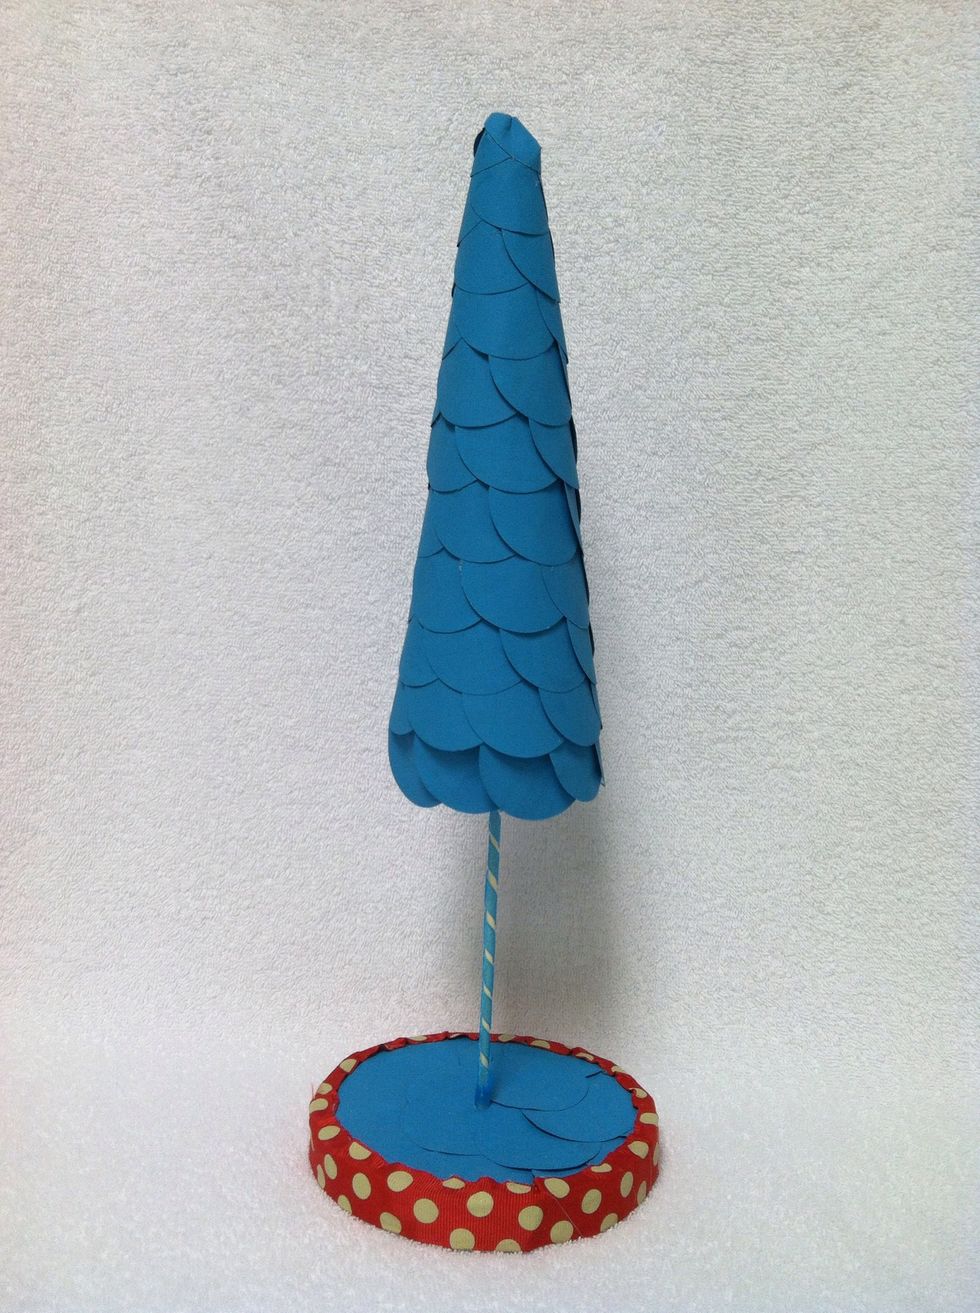
Paper Circle Styrofoam Tree
I have to be honest about something...In all my crafts, I love the process more than the end result! There are ways to make this tree easier than I did, but I will tell you other ways in those steps.
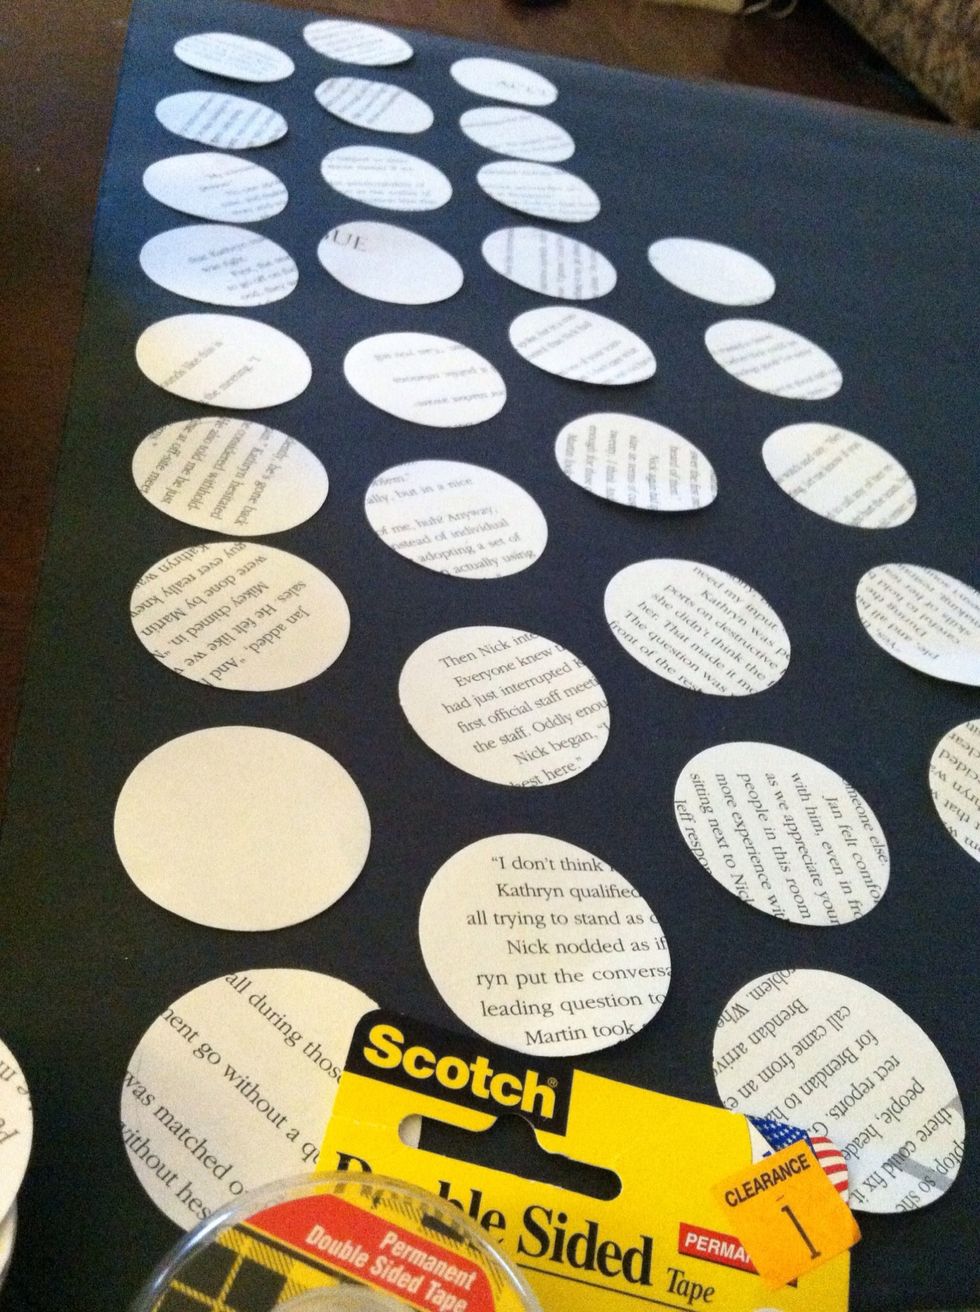
I made this more difficult than it needed to be by painting my own circles. I took and old book and made circles using a circle punch.
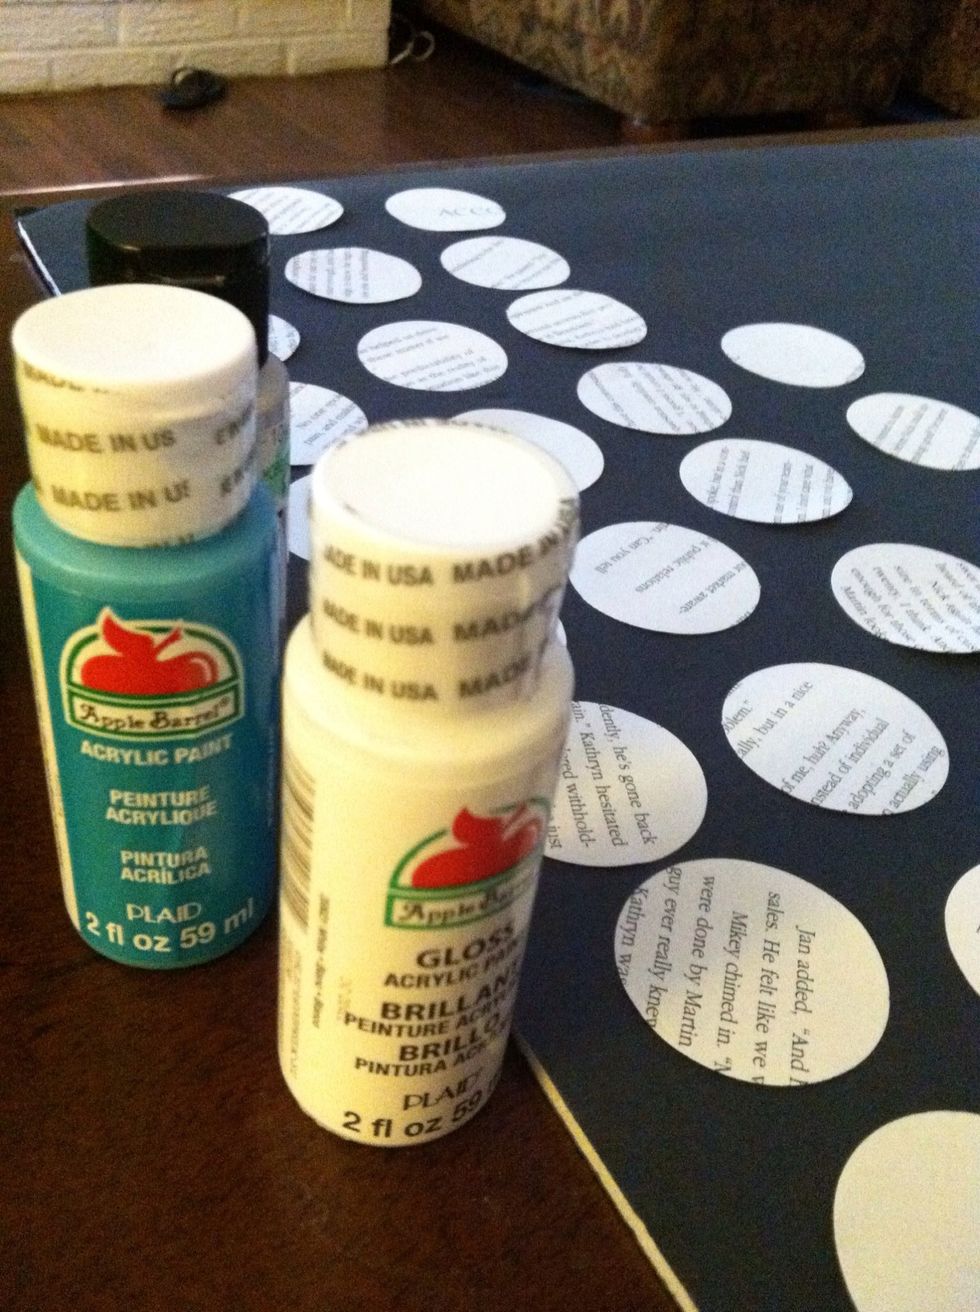
I then painted them with 2-3 coats on either side.
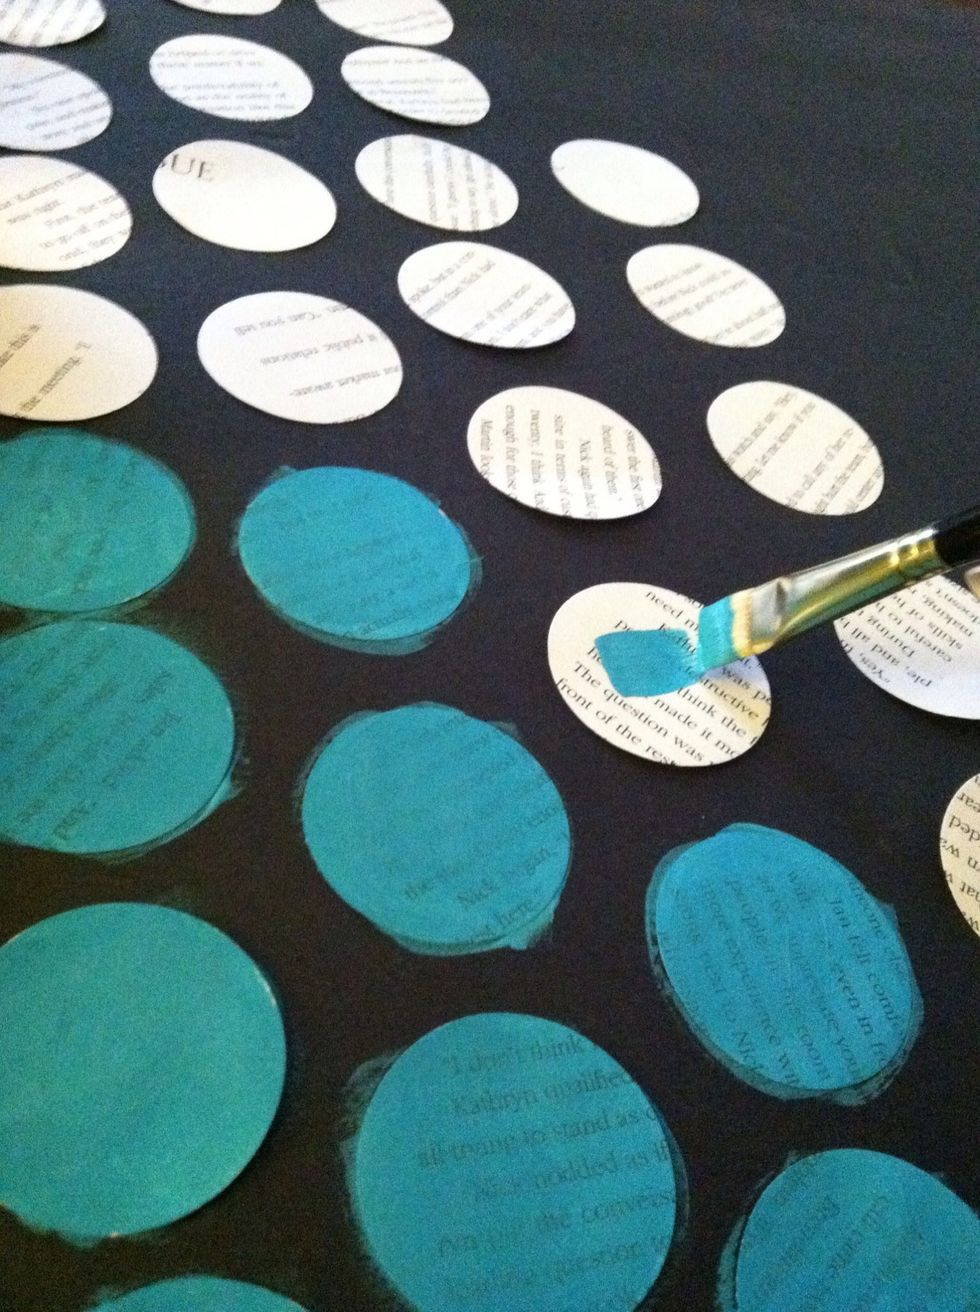
You can buy colored card stock paper to make this part a lot easier! I just couldn't find the exact color I wanted so I created my own!
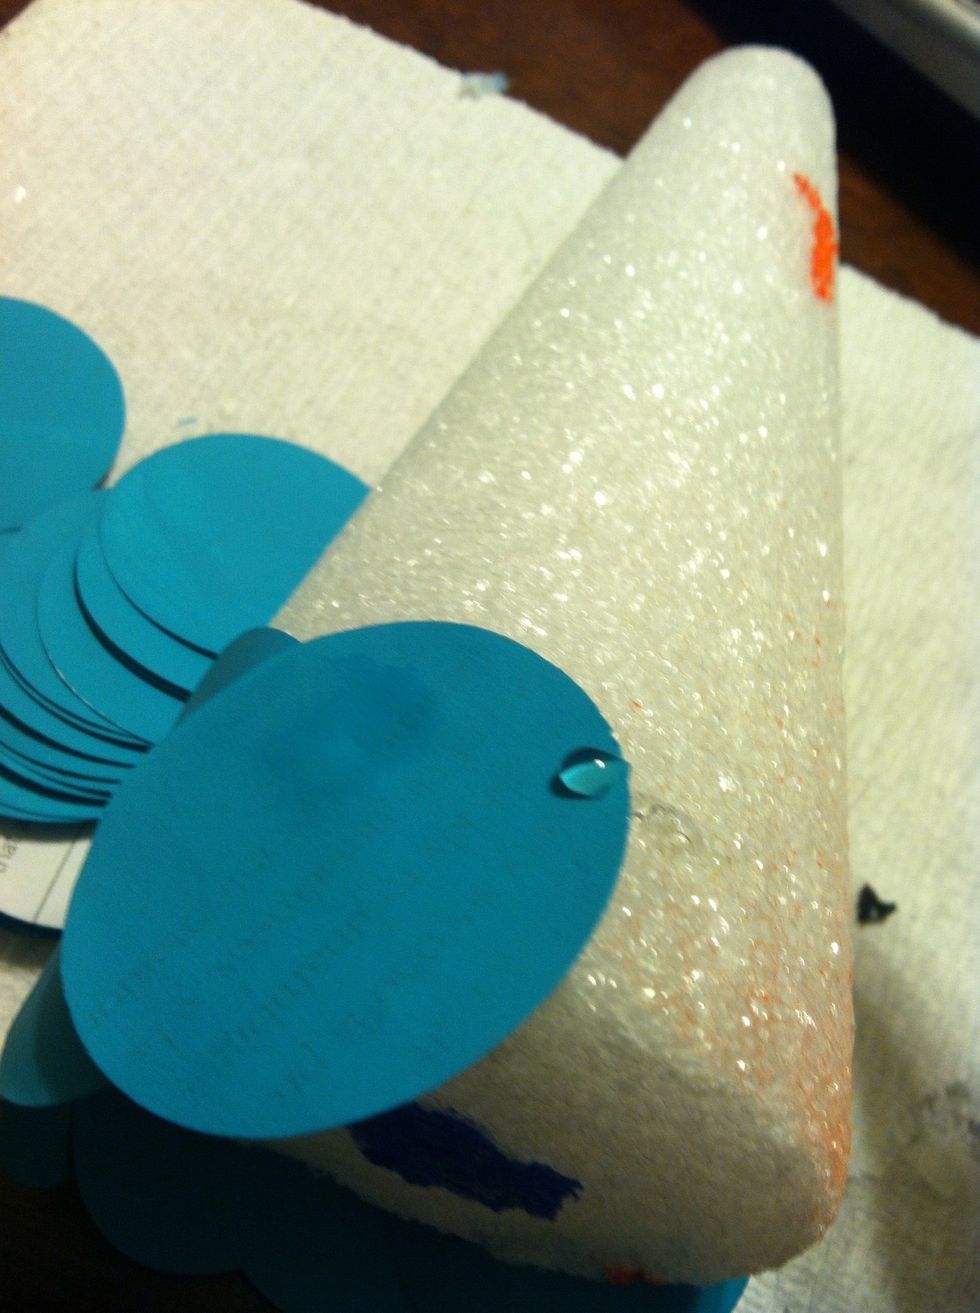
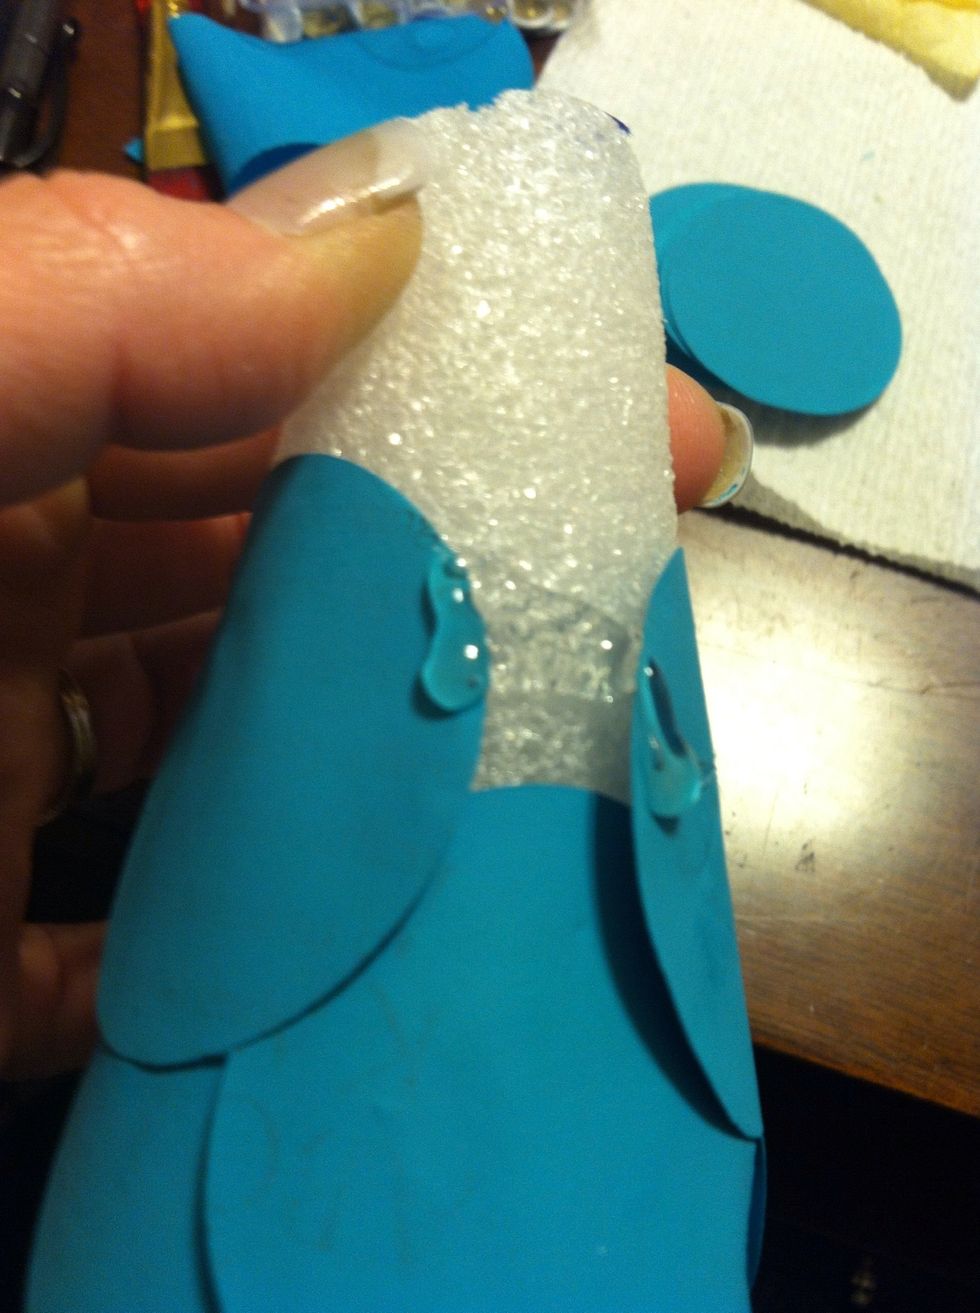
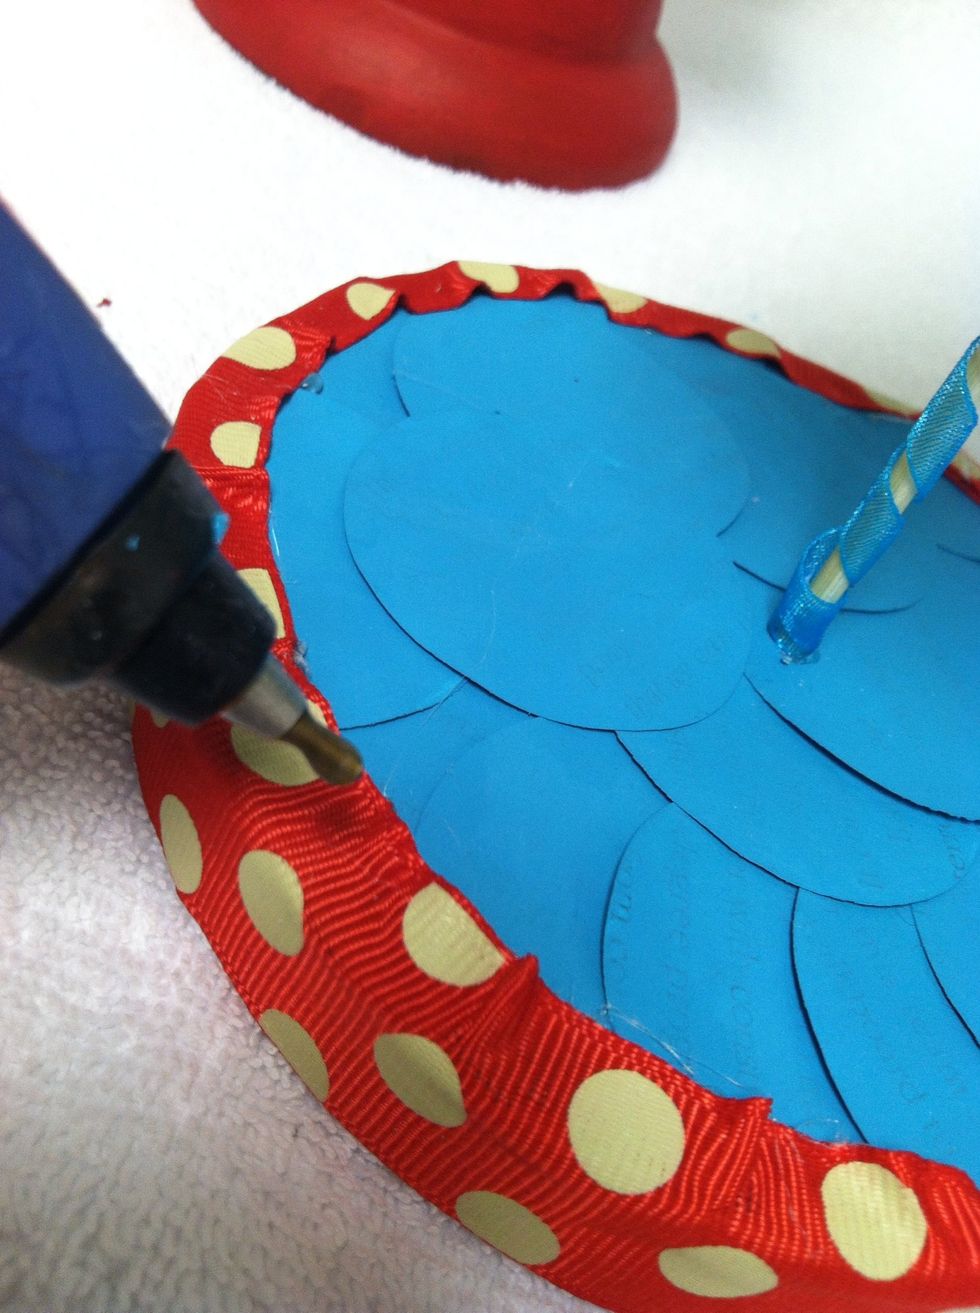
Once the circles are completely dry, hot glue them to the cone starting at the bottom and working your way up.
I glued them using the bottom of the cone as a guide to place the first row of circles evenly. The bottom half of the circle was left hanging lower than the cone.
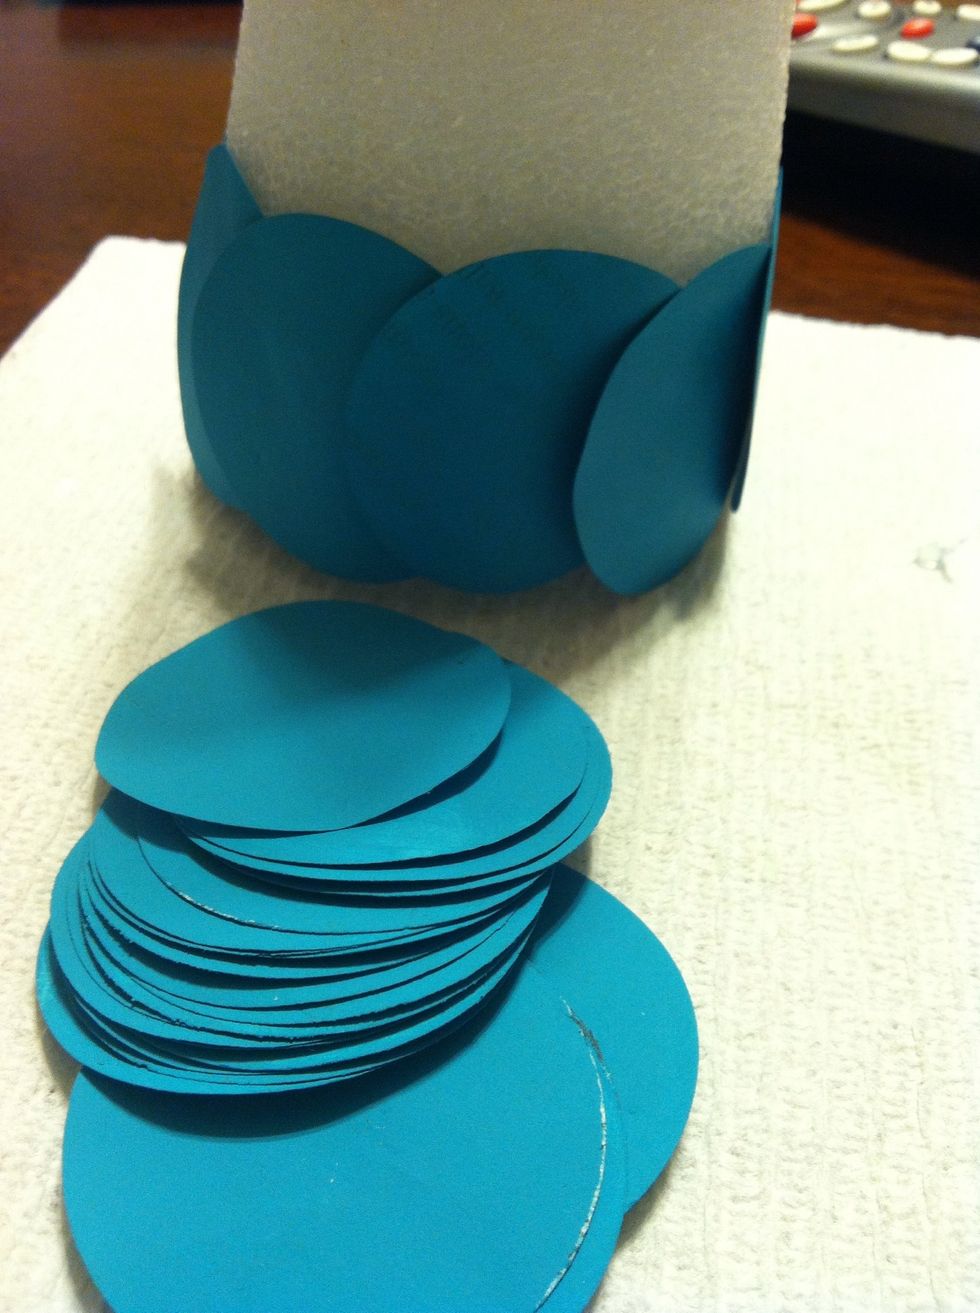
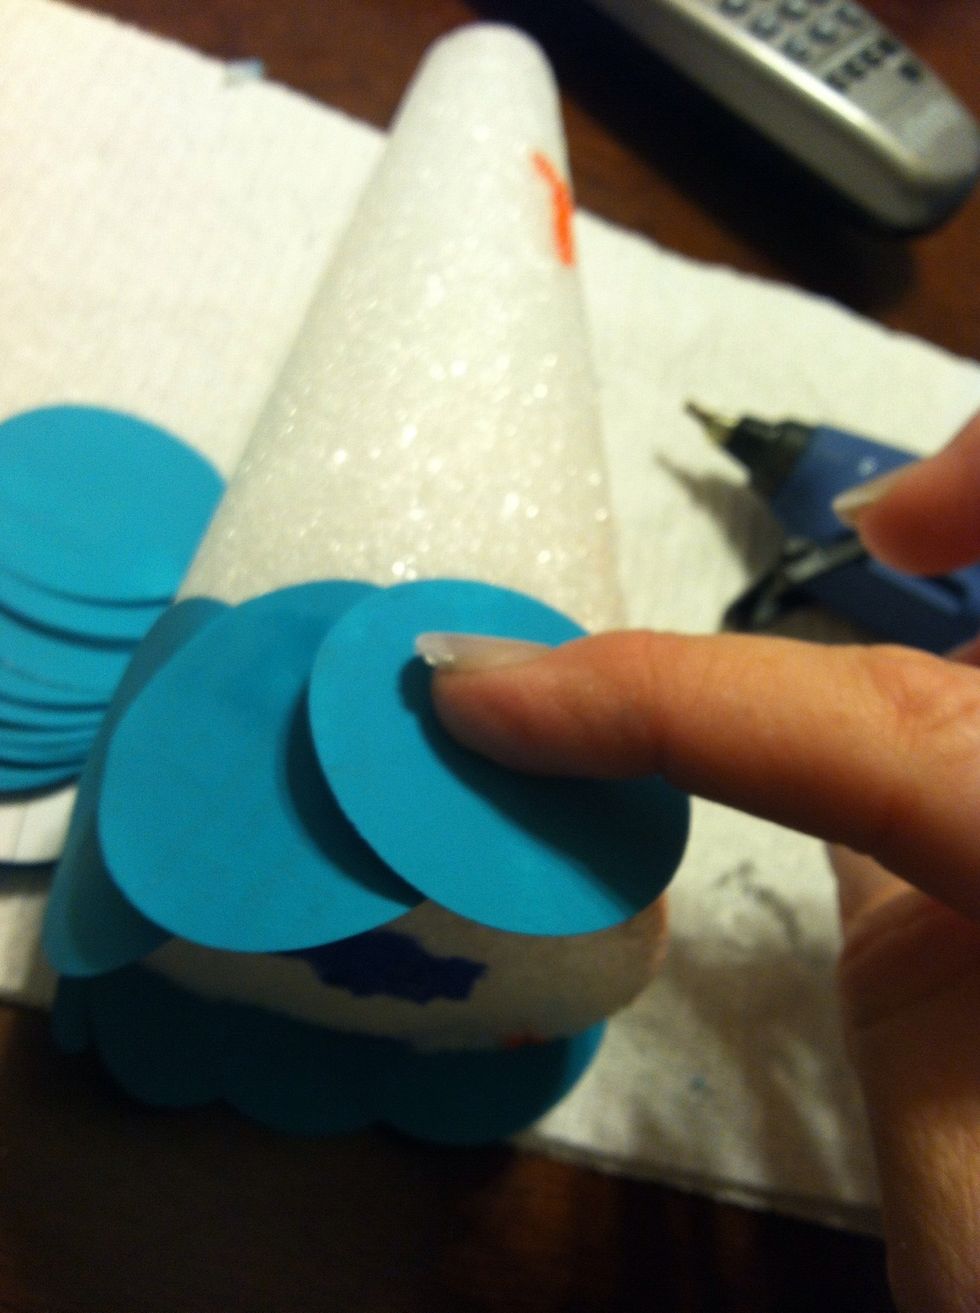
Continue all the way around, placing glue half on the edge of the circle and half on the styrofoam so the new row adheres to both. This will keep the rows in place.
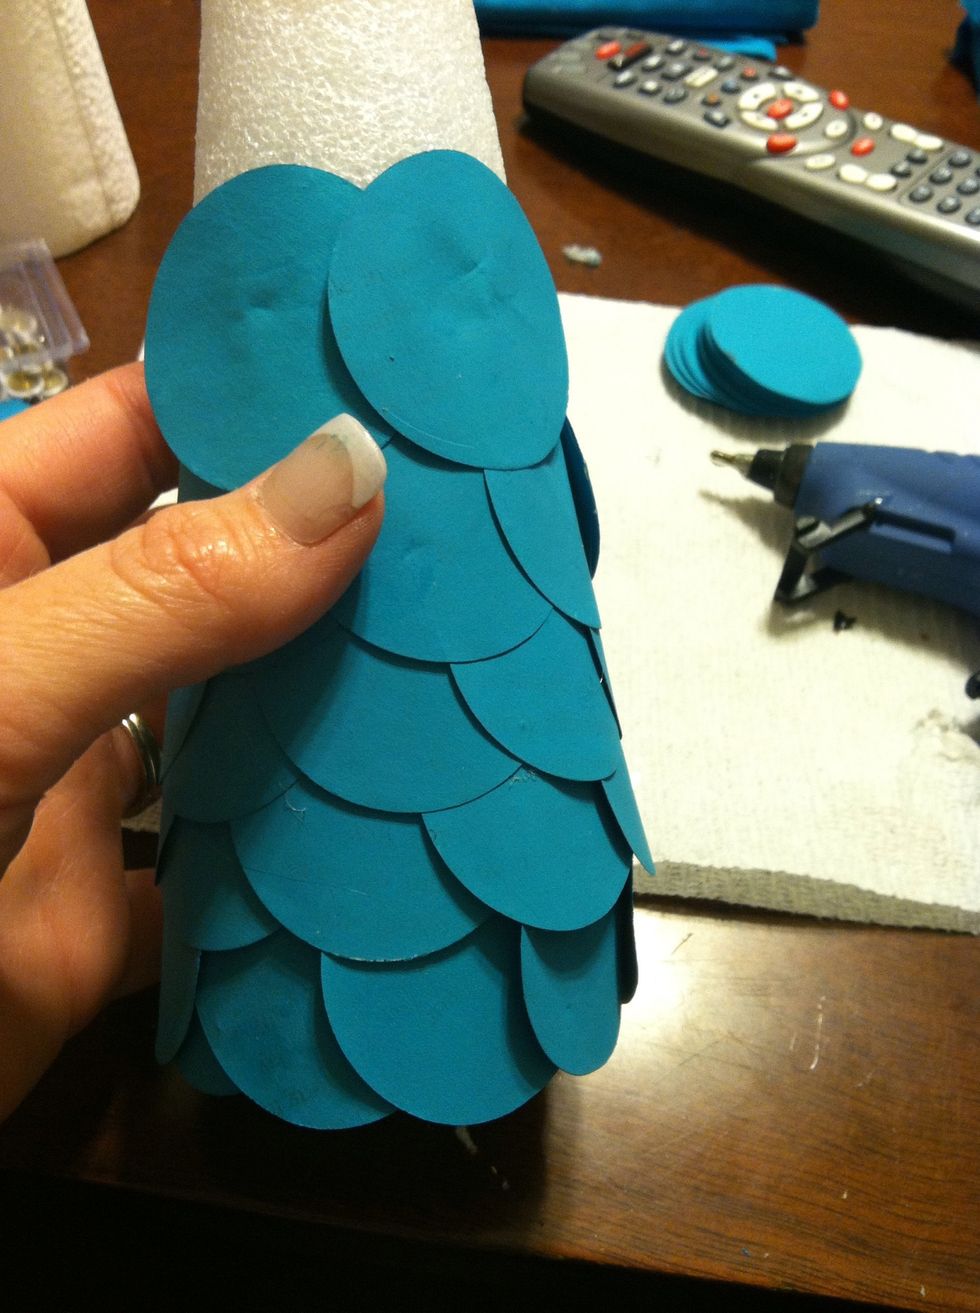
Once the first row is complete, the new row should start in the middle of two circles. Doing this gives the tree a scalloped look and offers definition to the tree.
Once at the top, apply glue to both the circles and the foam to close it up.
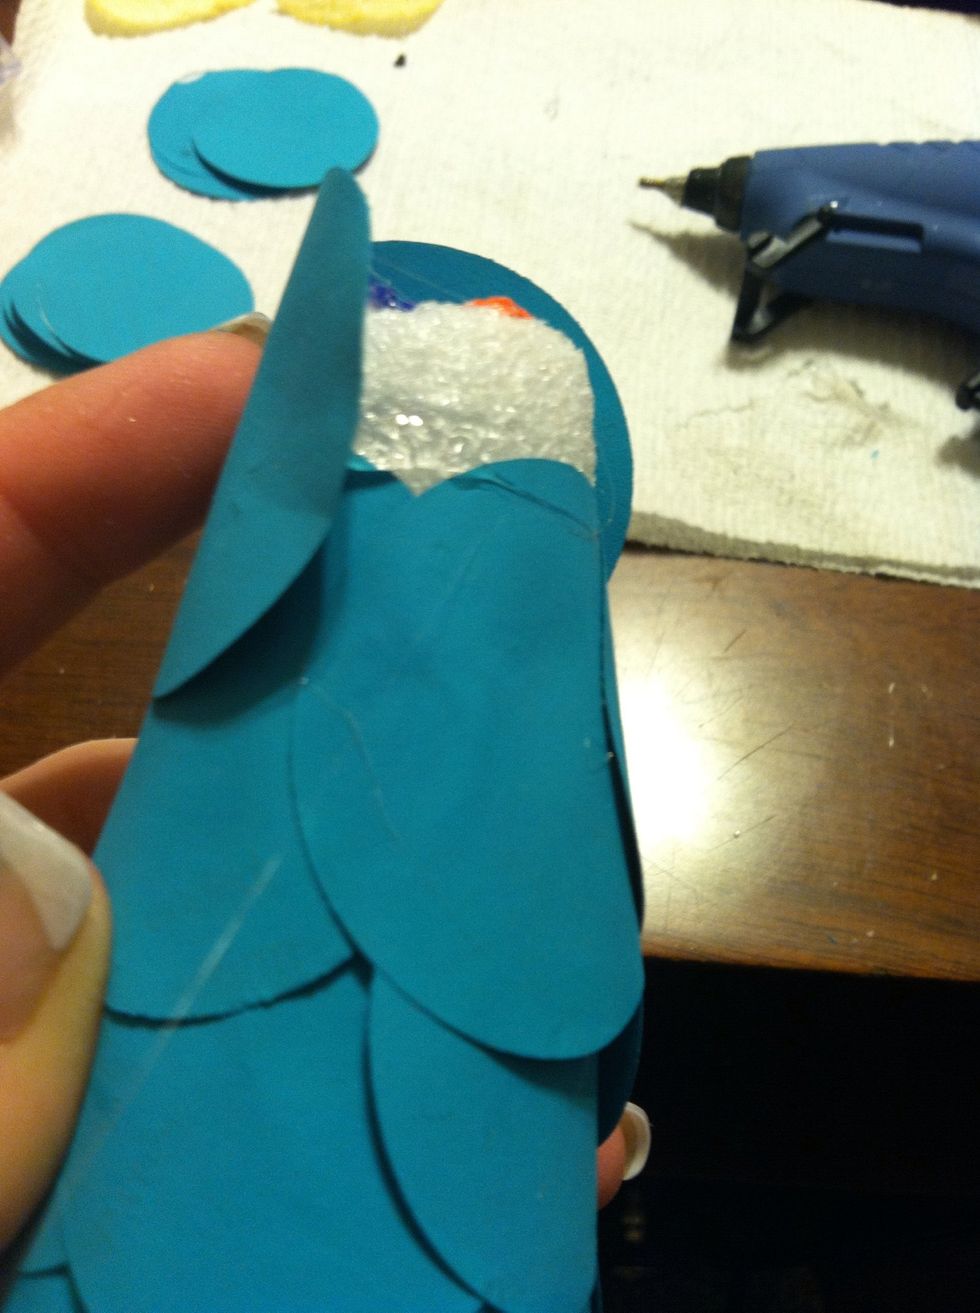
Make sure to add one row above the top of the cone so the tree has a peak.
I bought the styrofoam base at the dollar store too, but forgot to take a picture! Sorry!
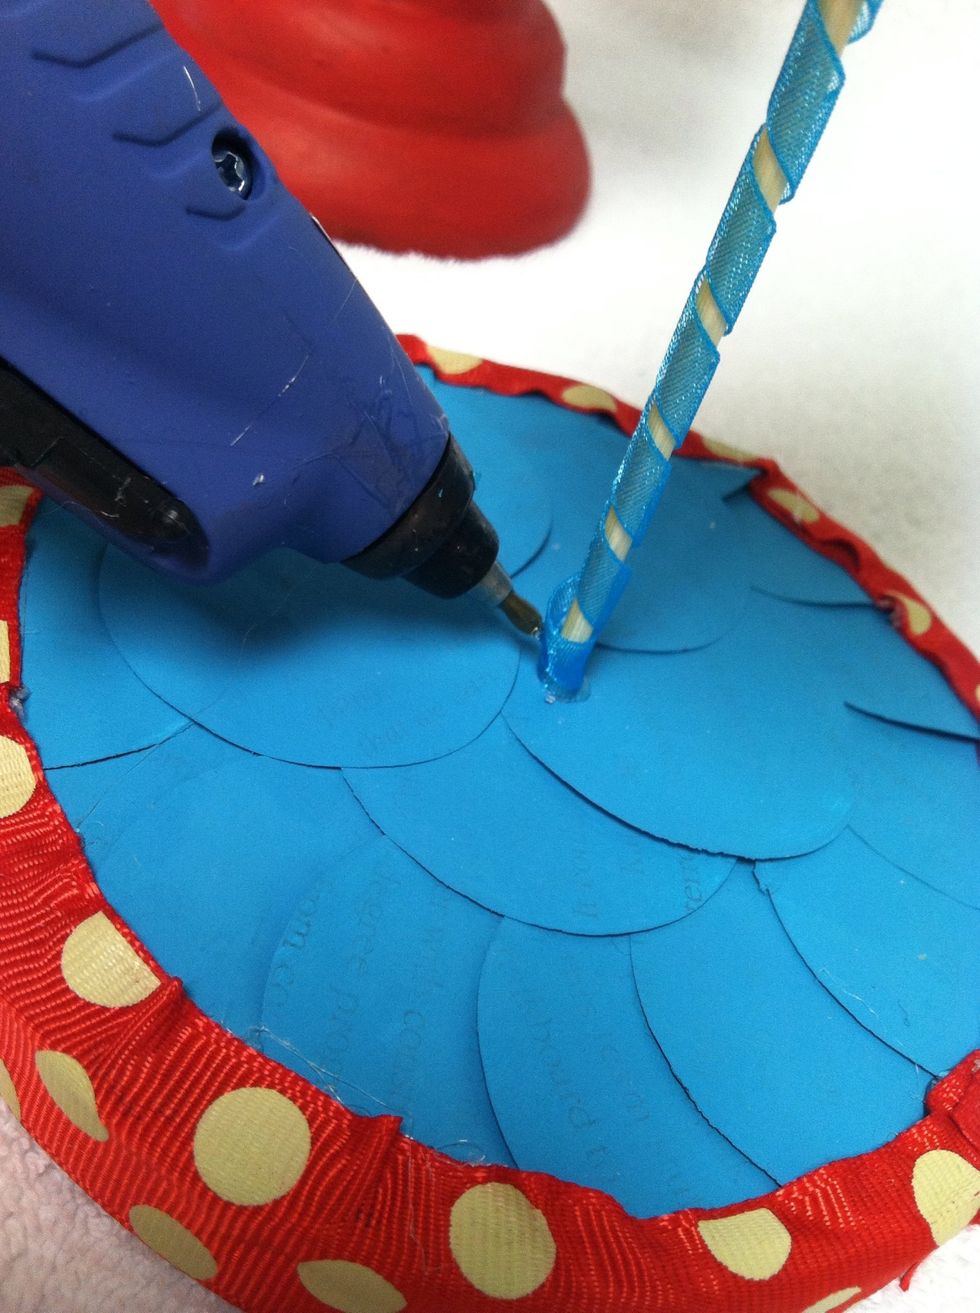
For the base, cover the top with one layer of circles in the same scallop as the tree. I inserted a kabob skewer through the bottom of the cone, hot glued it, then repeated the process on the base.
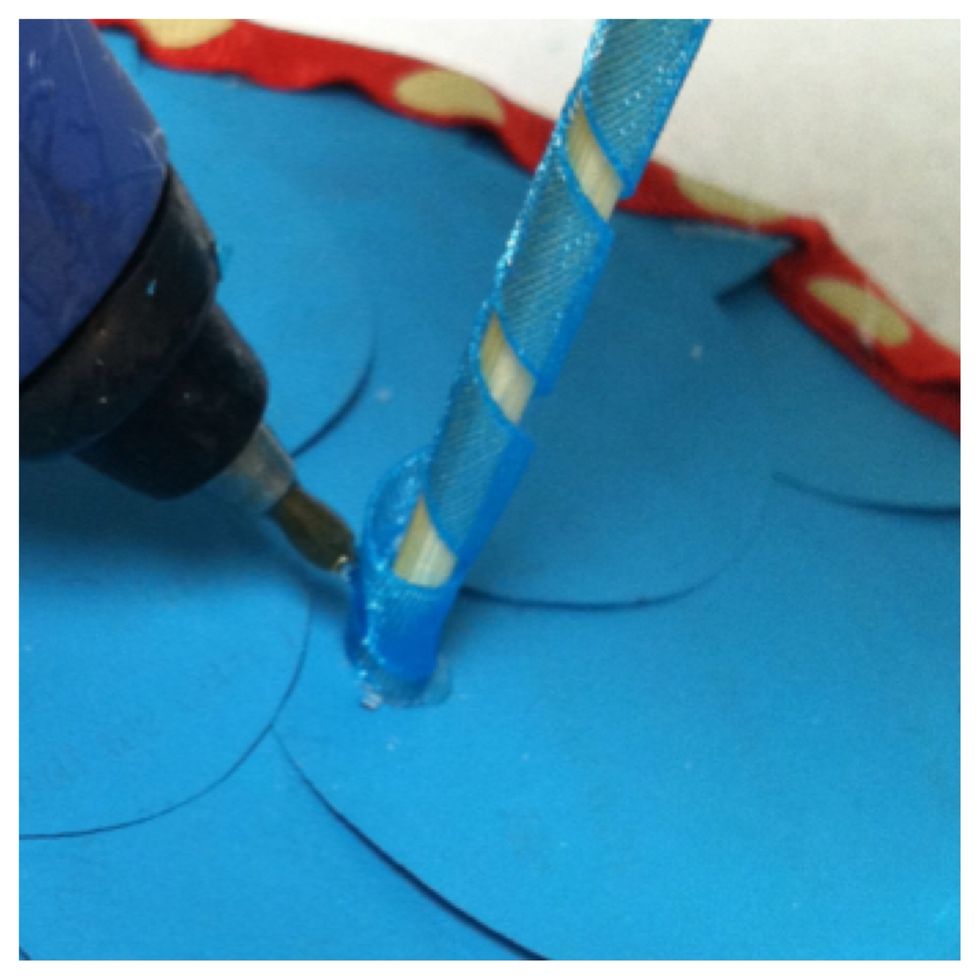
Once the skewer was in place, I applied hot glued to the cone and the base for stability. I then added a ribbon before the glue dried by swirling it from the bottom to the underside of the cone.
Doing this kept both the skewer and ribbon in place.
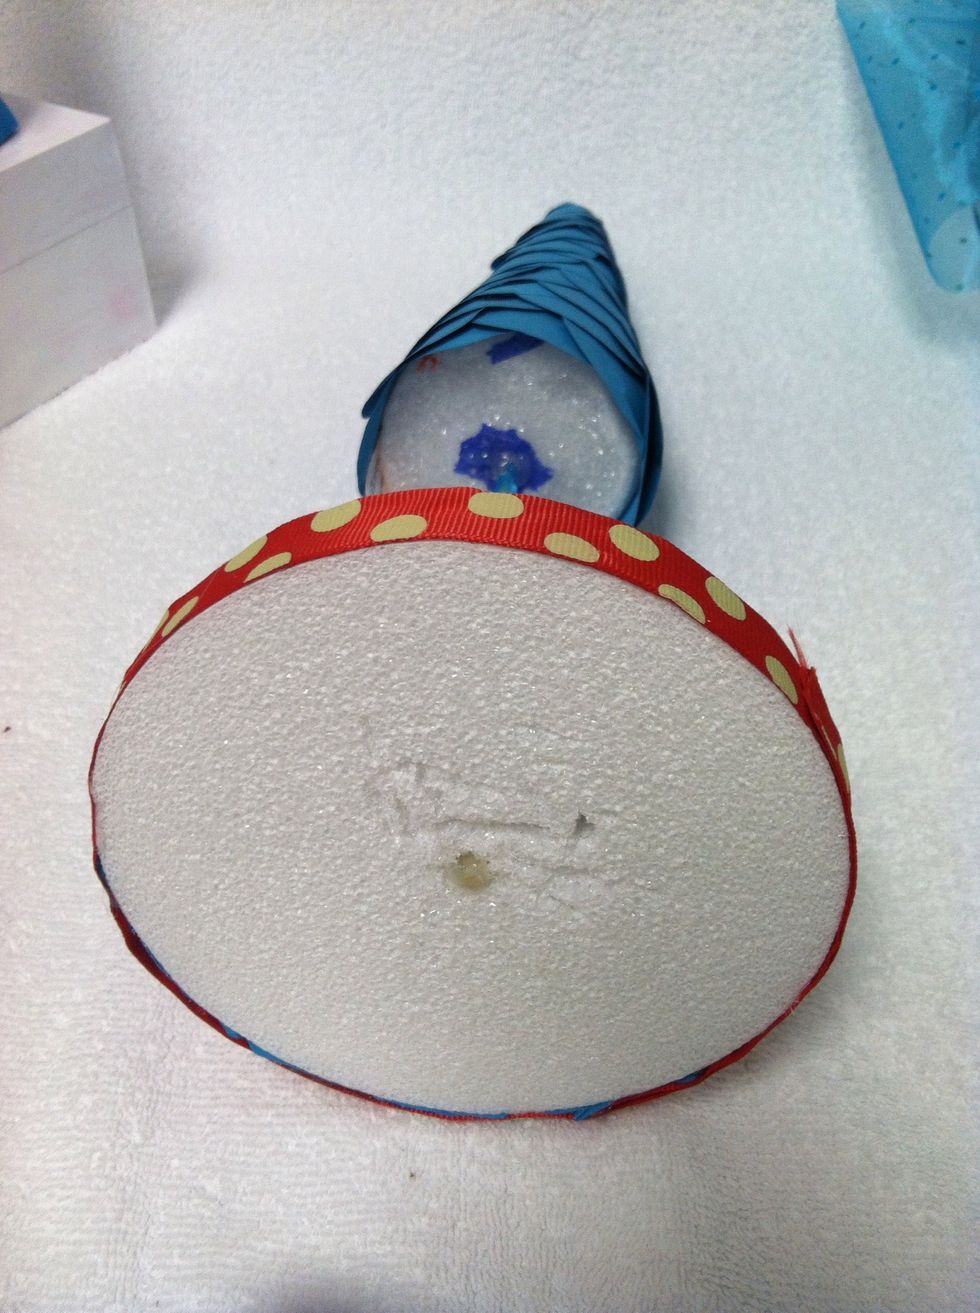
To add the base ribbon, place a string of hot glue to the edges and continue that all the way around. The ribbon should not hang over the bottom. .
Since the ribbon is flush with the bottom, it will be taller than the base. Add another string of glue to the top of the base where you applied the circles then push the ribbon down.
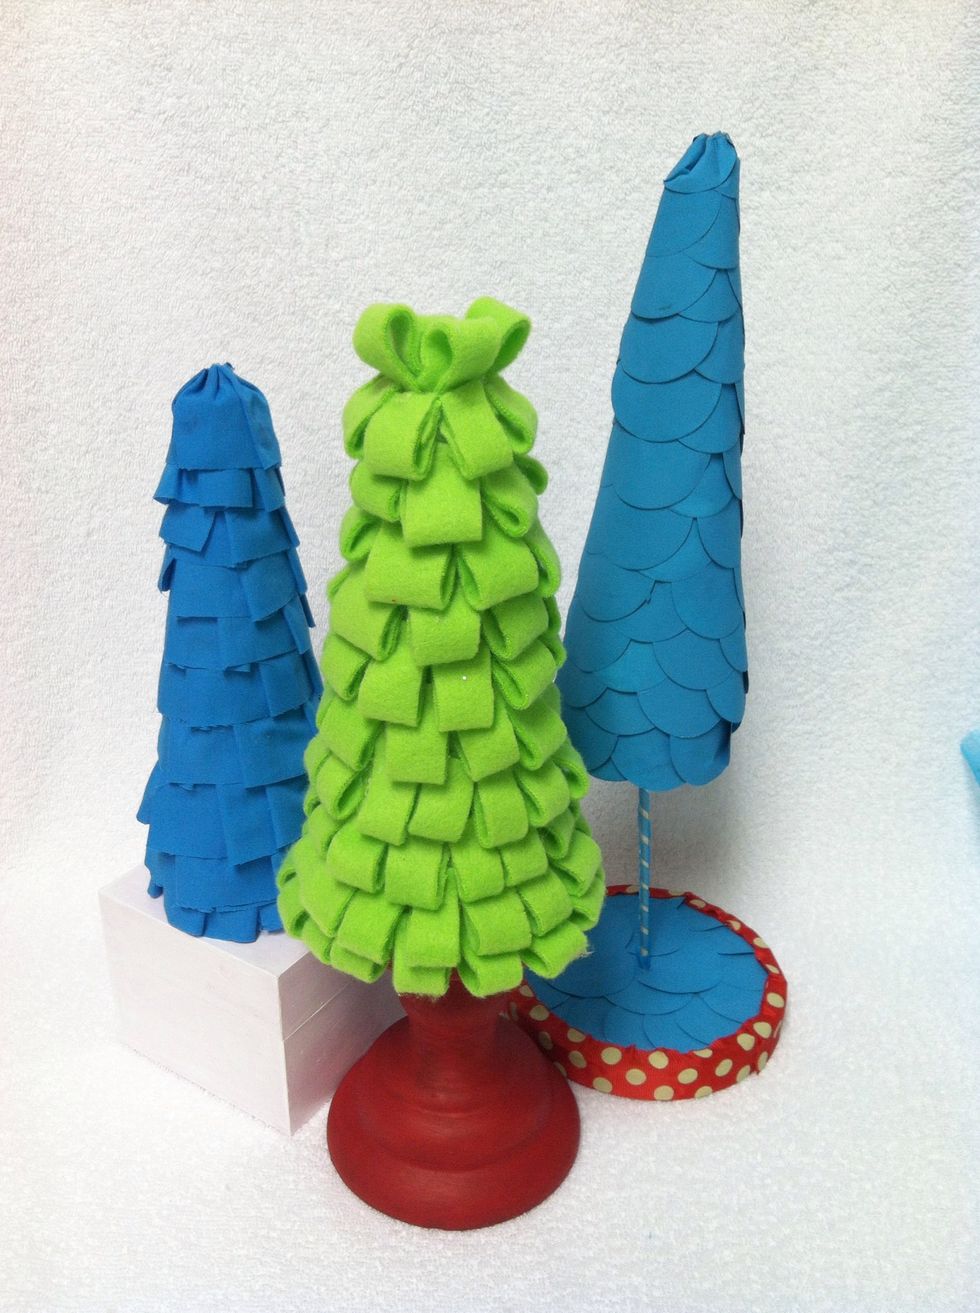
Make sure to check out the other 2 tutorials to learn how to use felt or fabric to create 3 different but beautiful trees!
