The Conversation (0)
Sign Up

Gather all supplies at your local hobby shop or craft supply outlet. I purchased all of my supplies at Hobby Lobby for under $12!!! That included getting the hot glue gun and all :)
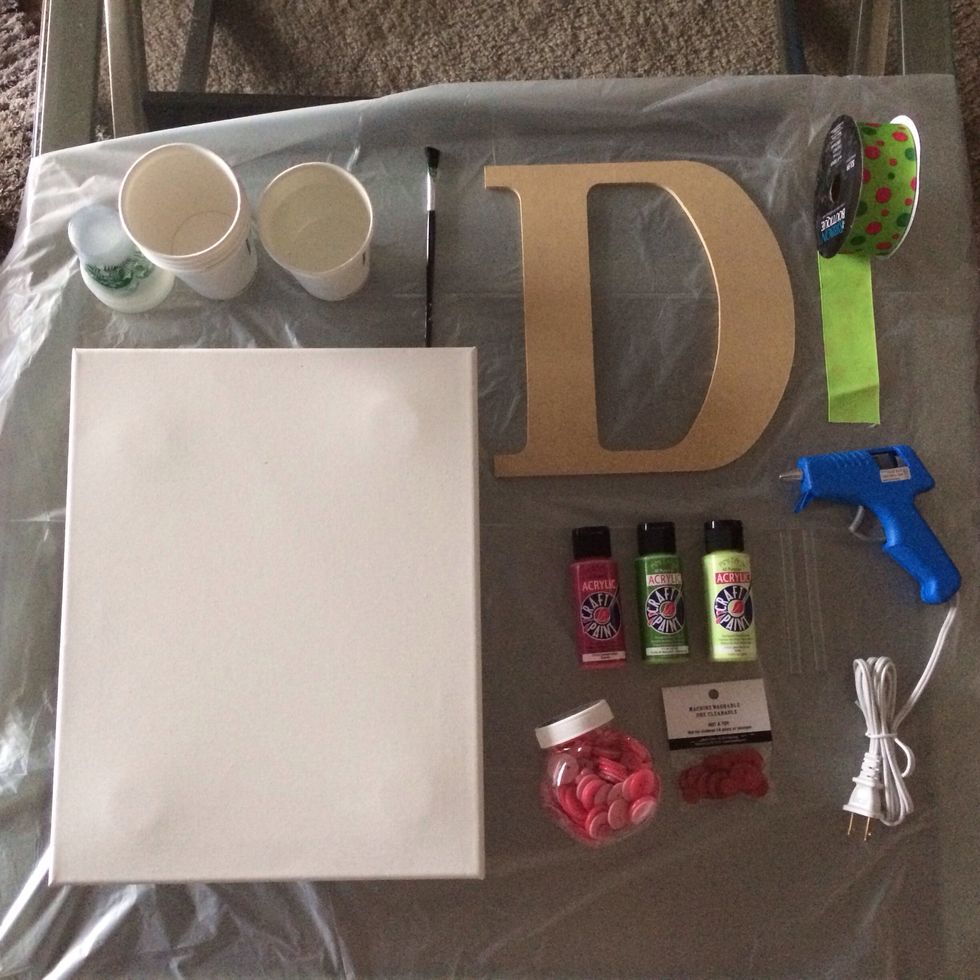
Setup your craft space by first placing your garbage bag or craft tarp down to cover your flat surface and arrange all of your supplies so that you can easily maneuver and access them.
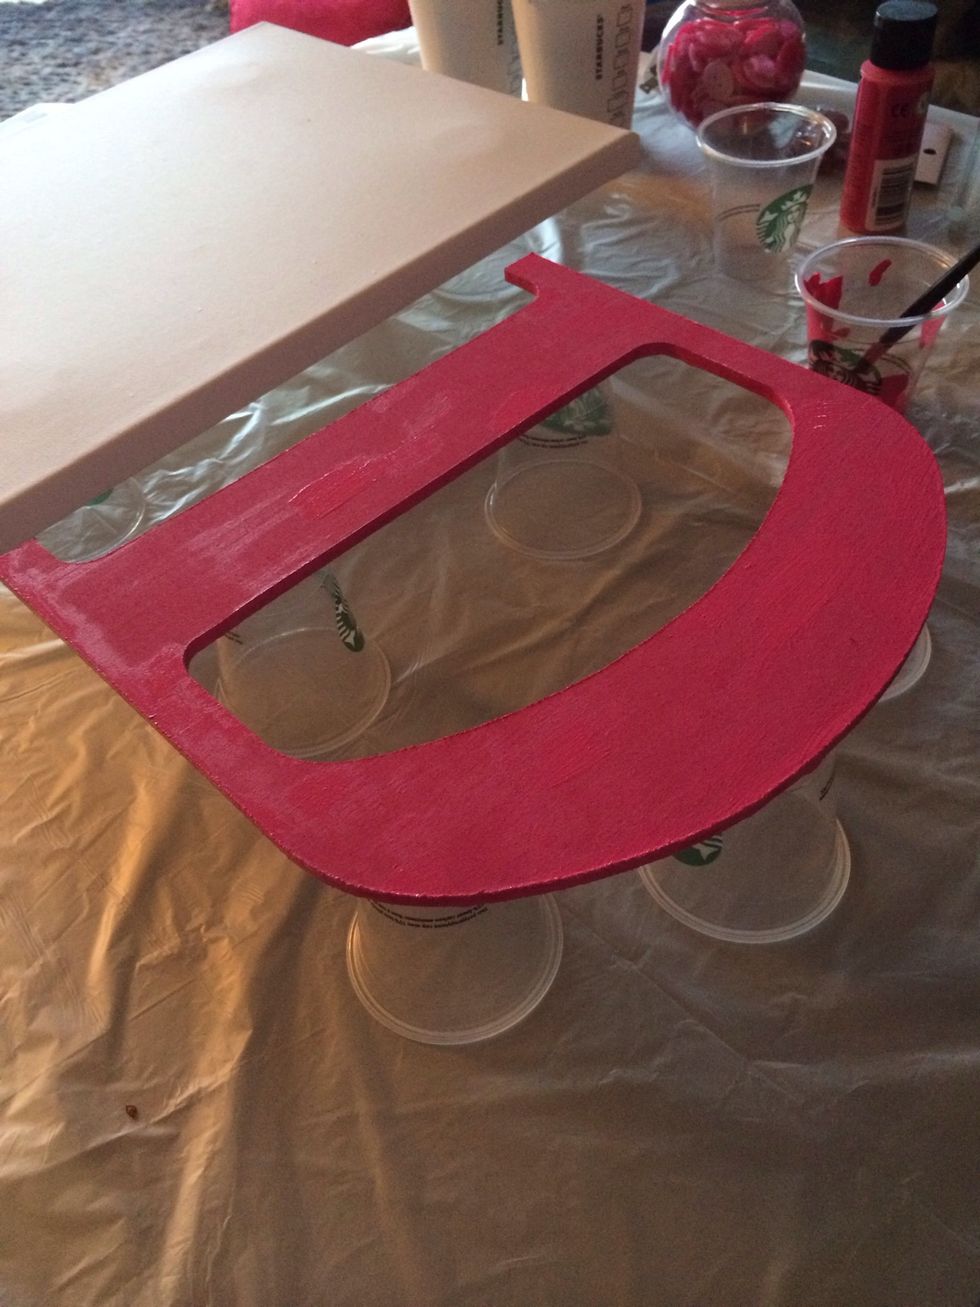
Atop some small cups (bathroom cups work great), paint your wooden letter a color that corresponds to your button selection. Be sure to get the edges! Visually, this is important after buttons go on.

Set aside your letter to dry. Begin painting your canvas, again, atop some small cups. This allows you to get around the edges well and allows you to maneuver it to paint it from other angles.
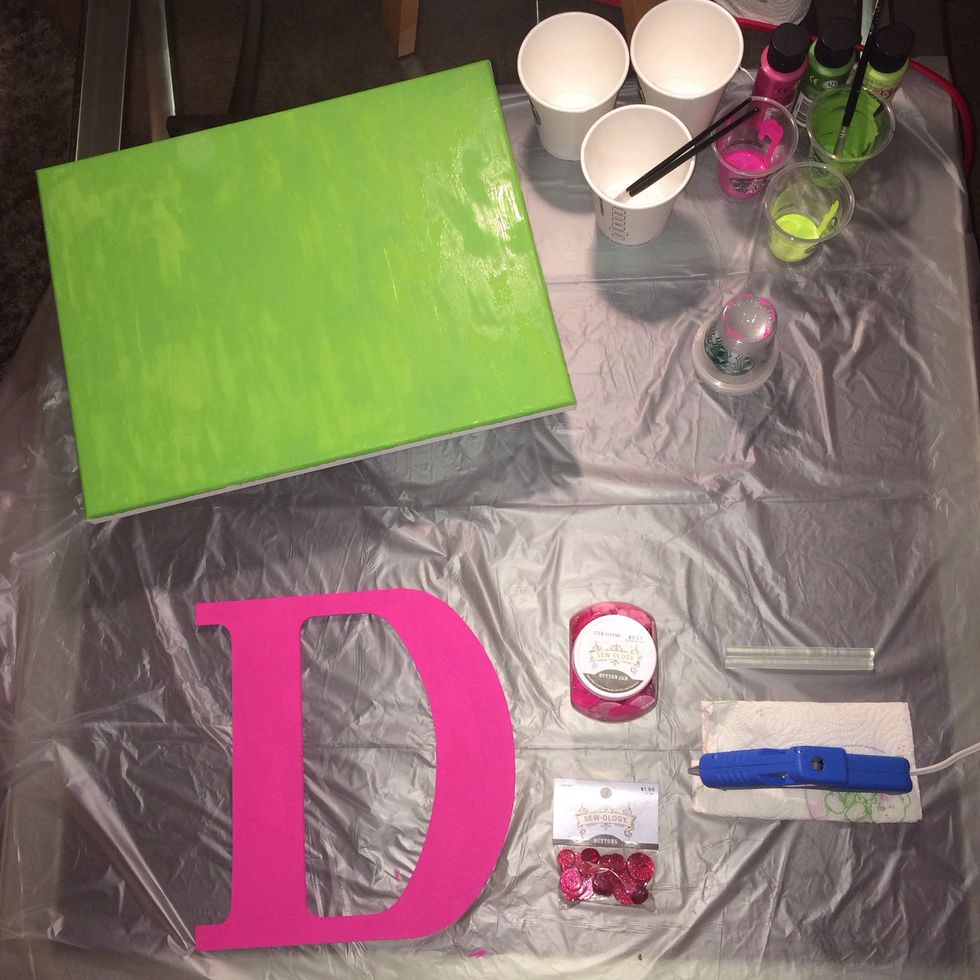
While the canvas dries, get your hot glue gun heating up and your buttons ready for their application. I got an assortment found in the small jar pictured, plus some specialty glitter ones in a bag.
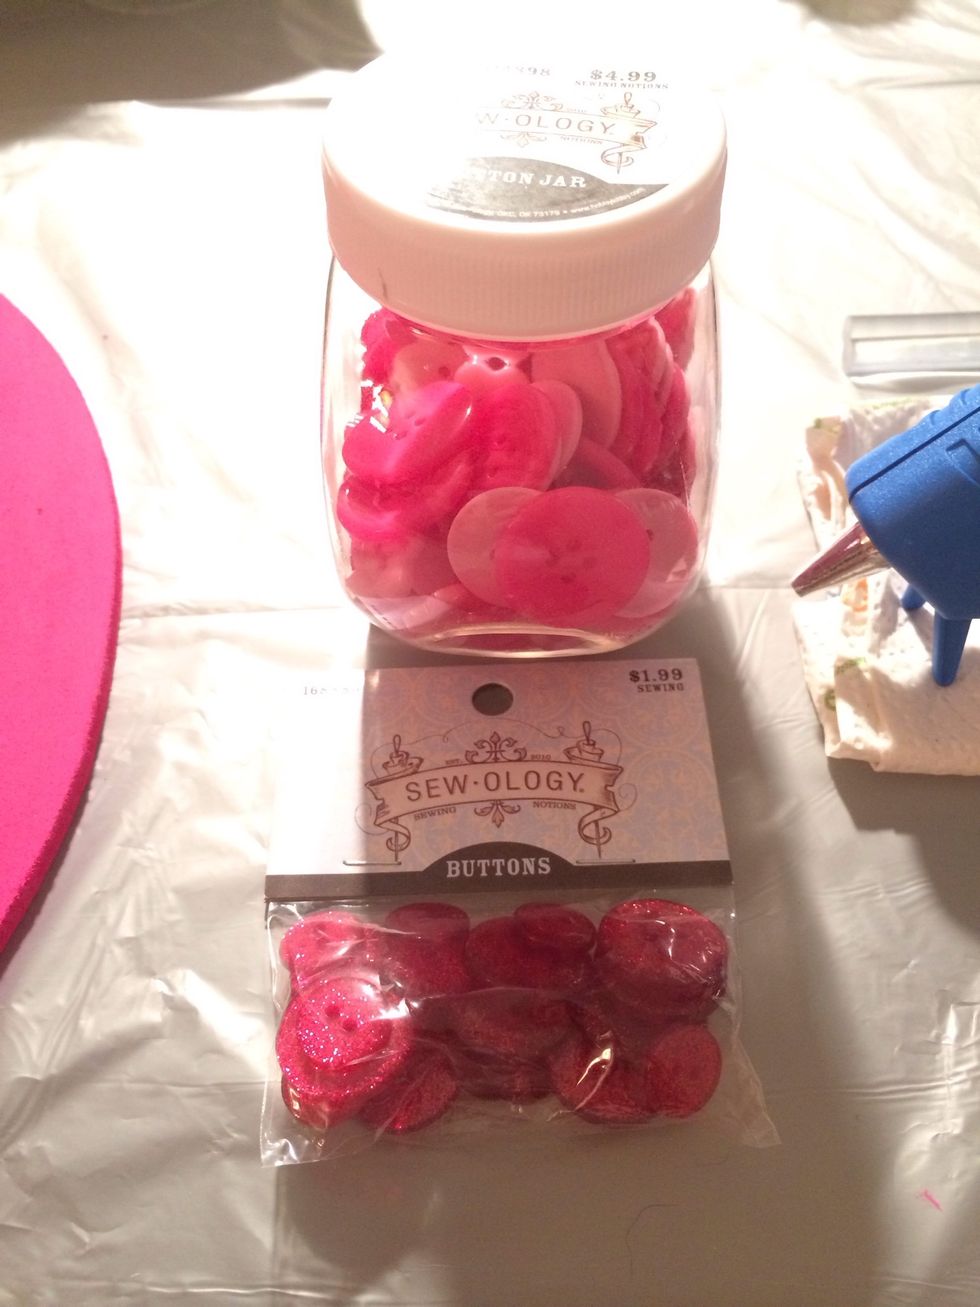
Close-up of my button assortment. Be sure to save between (8-16) flat buttons for a later step!
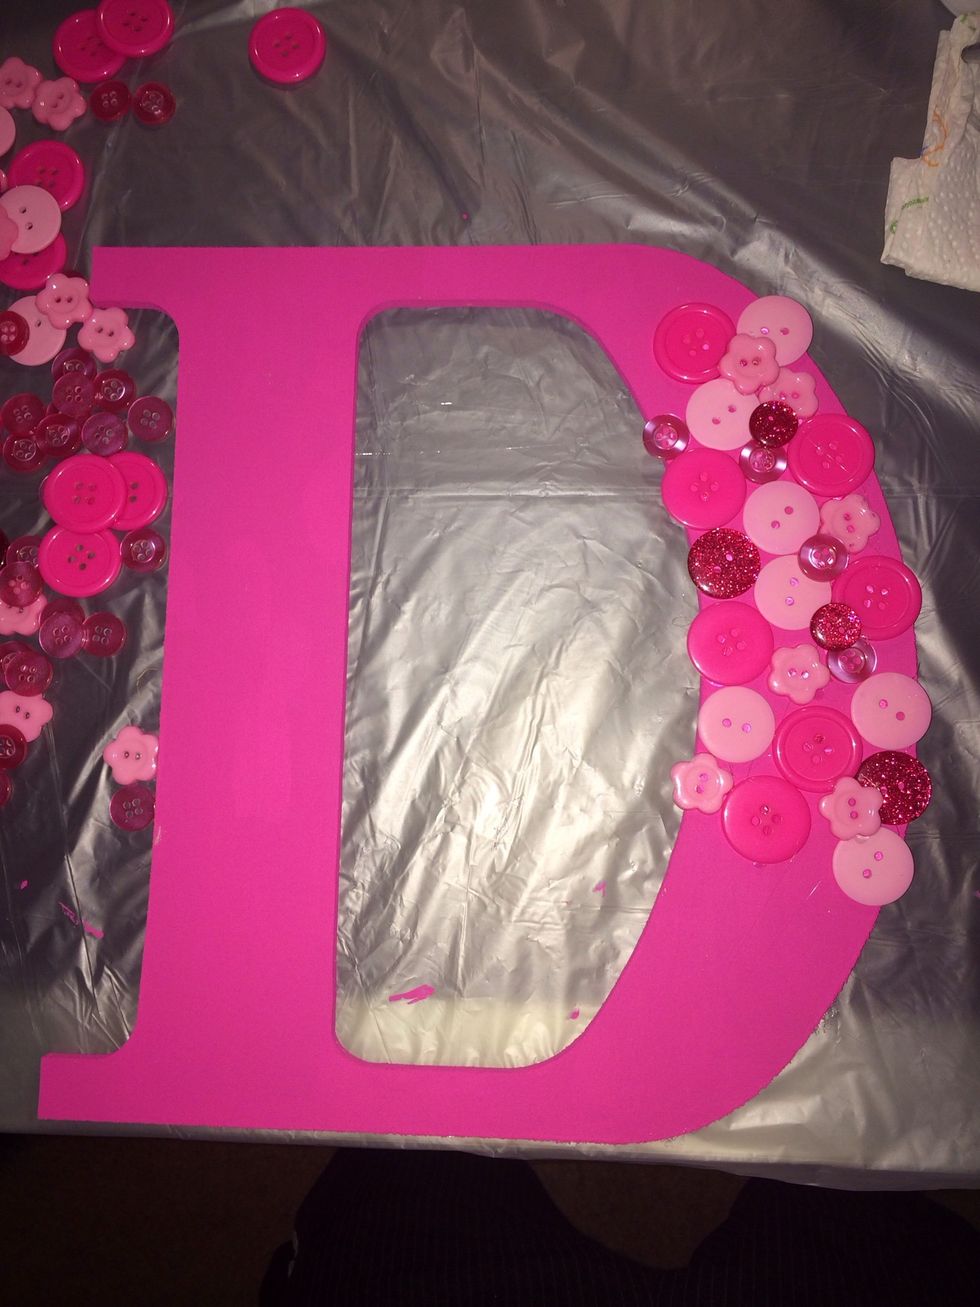
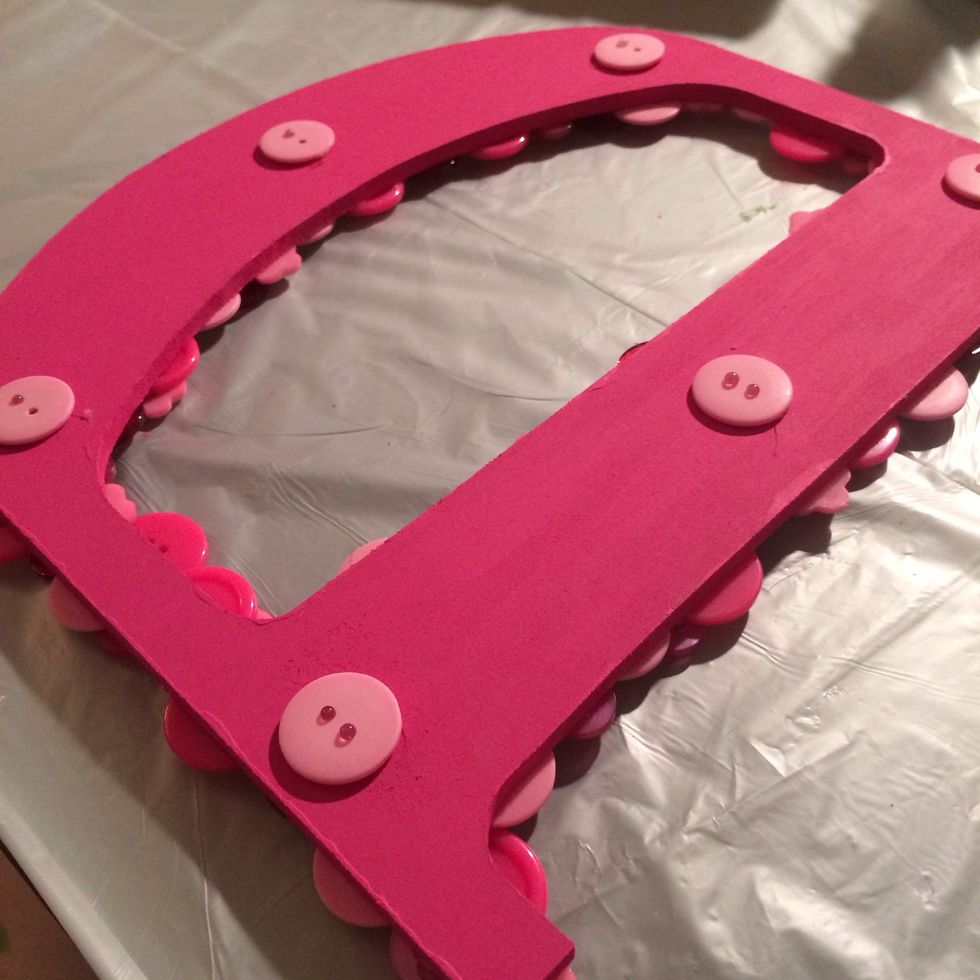
The fun part - your button application! Be sure to position some buttons going off the edges of your letter. This will add dimension and a 'not-so-perfect' look, b/c after all, this is a home craft :)
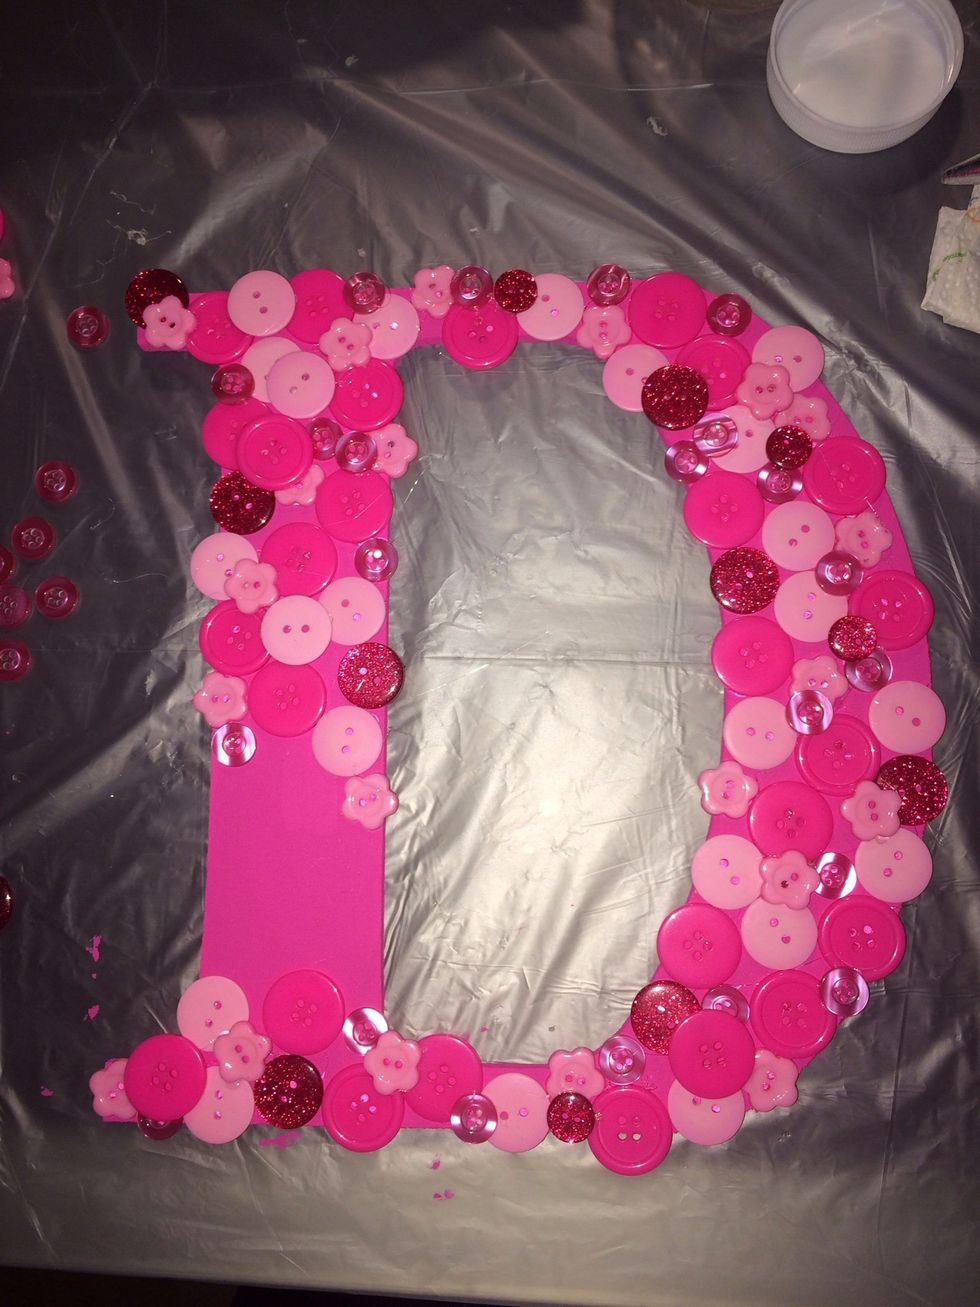
Button application progress... As you can see, after I got a section completed, I applied various buttons atop the first layer to add additional dimension and cover more of the painted letter below.

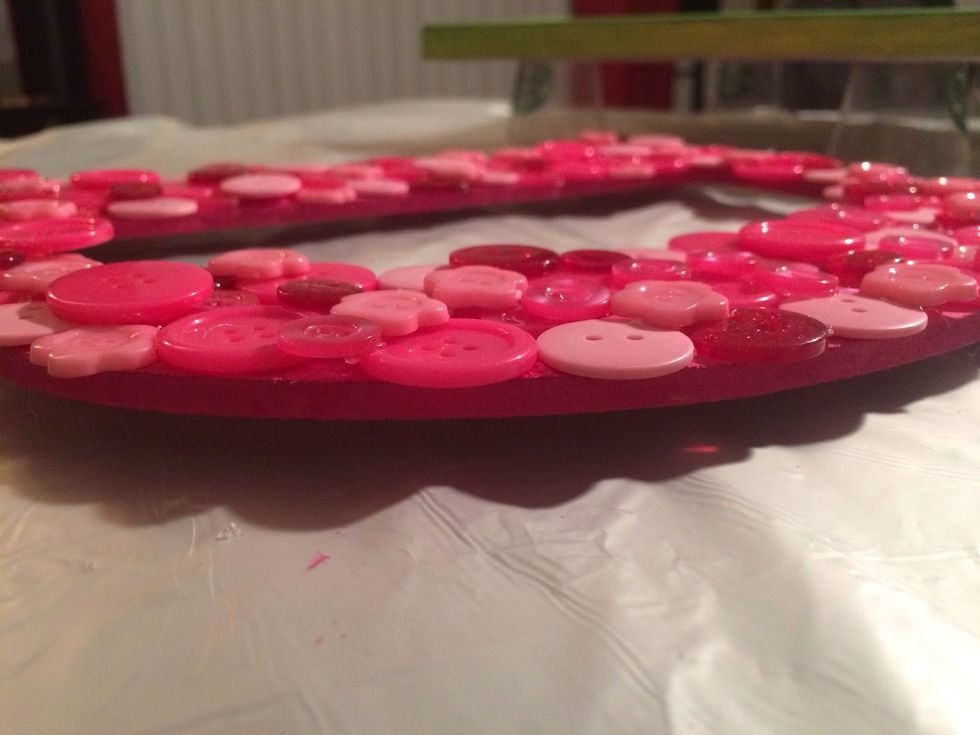
Button application complete! After the hot glue dries, take a mechanical pencil or like tool and remove any small dried strands of hot glue leftover. Note: I chose to only do two layers of buttons.
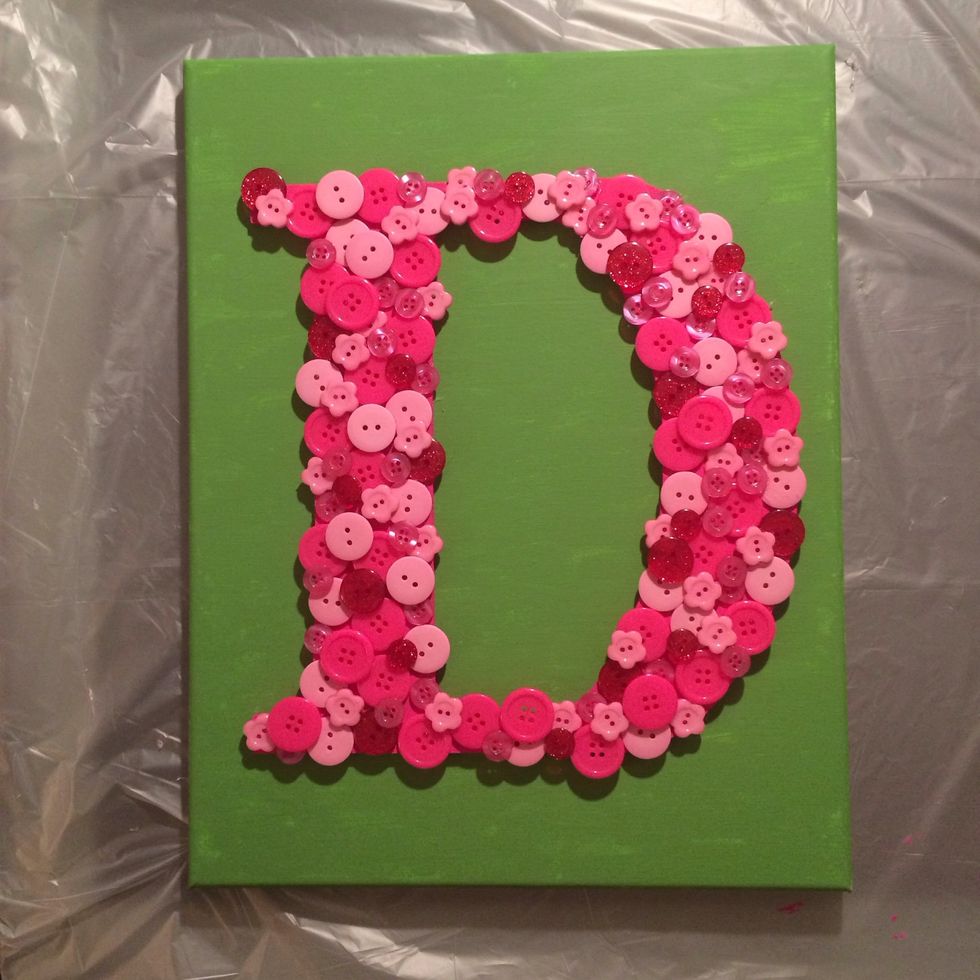
Just getting an idea of what everything will look like before I give the canvas another coat of my darker color before adding strokes of my lighter, contrasting accent color on top.
After giving the canvas it's second base coat, I took the liberty of painting the rear of my letter just to cover all bases. I didn't want to take the chance of seeing any bare letter from any angle!
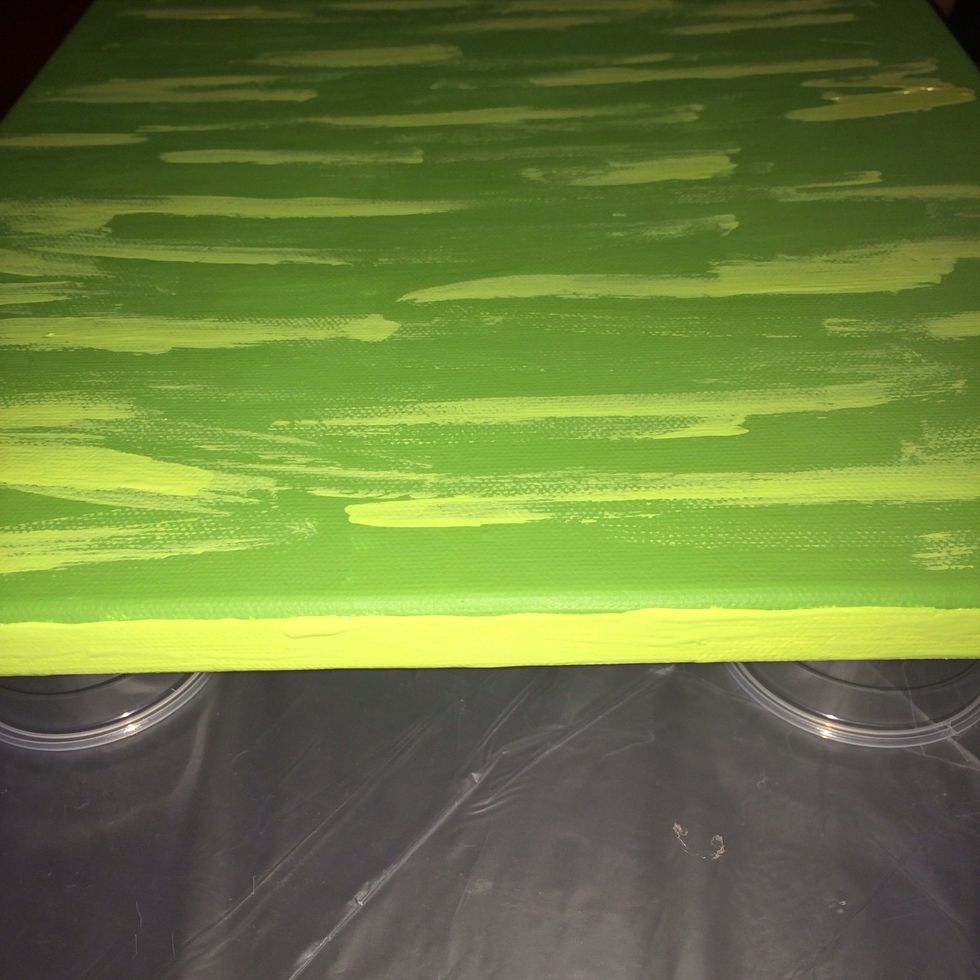
Close up on my lighter, contrasting edge color and strokes of such on the canvas front. I did this to again add dimension and visual interest.
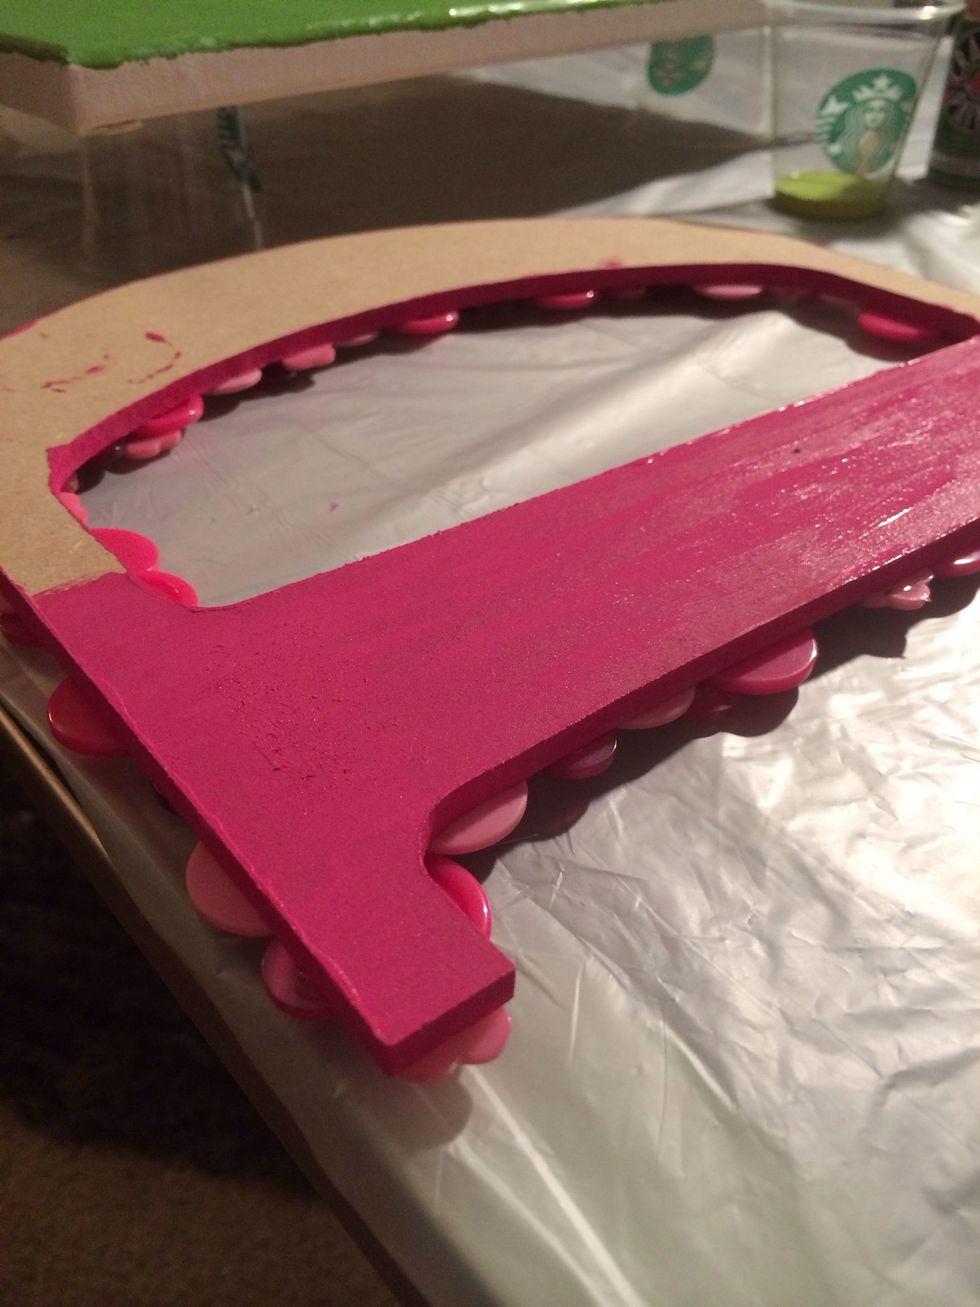
Once the rear of your letter dries, take (12) flat buttons glued together in pairs and apply them to the rear. Again, this is done to add depth once the letter is mounted.
Close-up of my button application and the letter now sitting atop it's supporting layer of buttons which will mount it to my canvas.
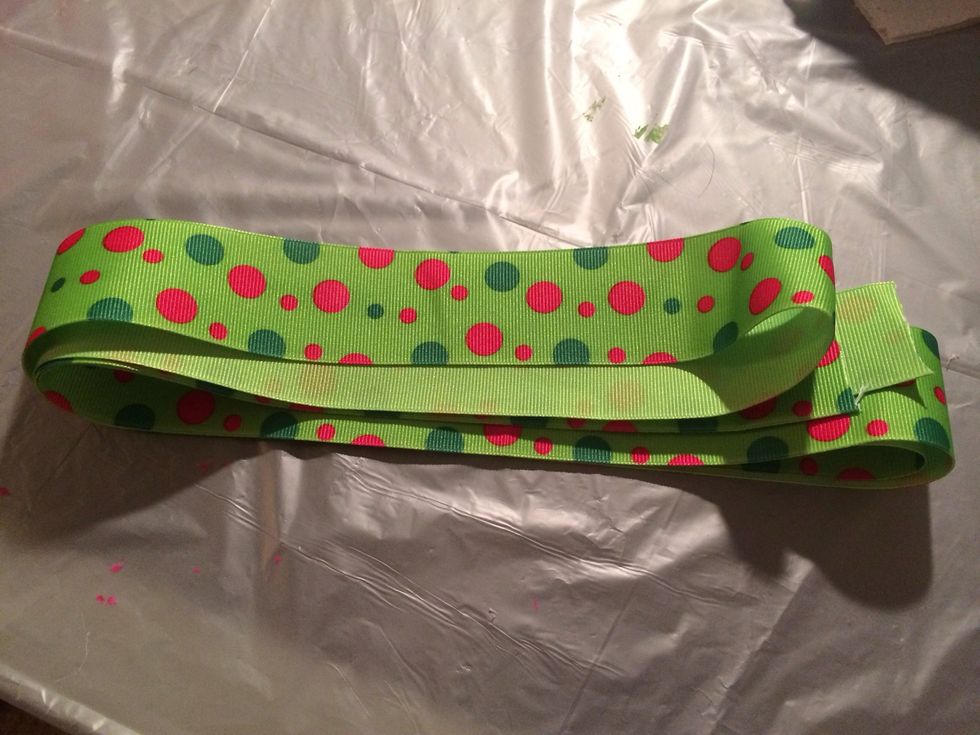
Cut your ribbon to a length suitable for your bow or knot length/application and be sure to leave plenty extra for any adjustments and tweaking. I used about two yards total for my frills and hanging.
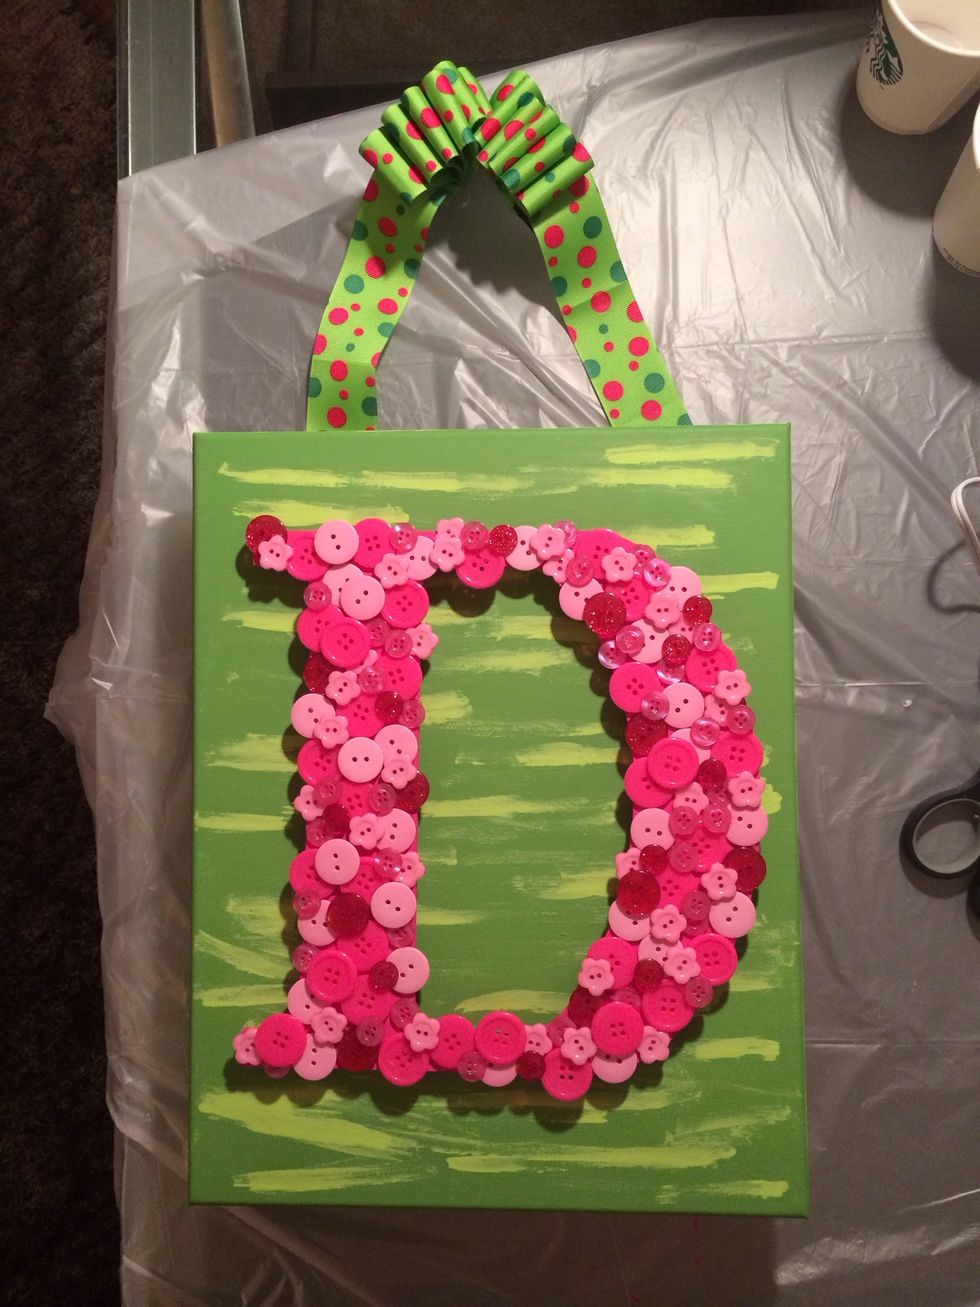
ALL DONE!!! Ribbon fluffed and attached to my canvas rear and the letter was adhered using more hot glue.
I hope you've enjoyed my tutorial from a project that I never intended on posting online :) Best crafting wishes! -DRG