The Conversation (0)
Sign Up

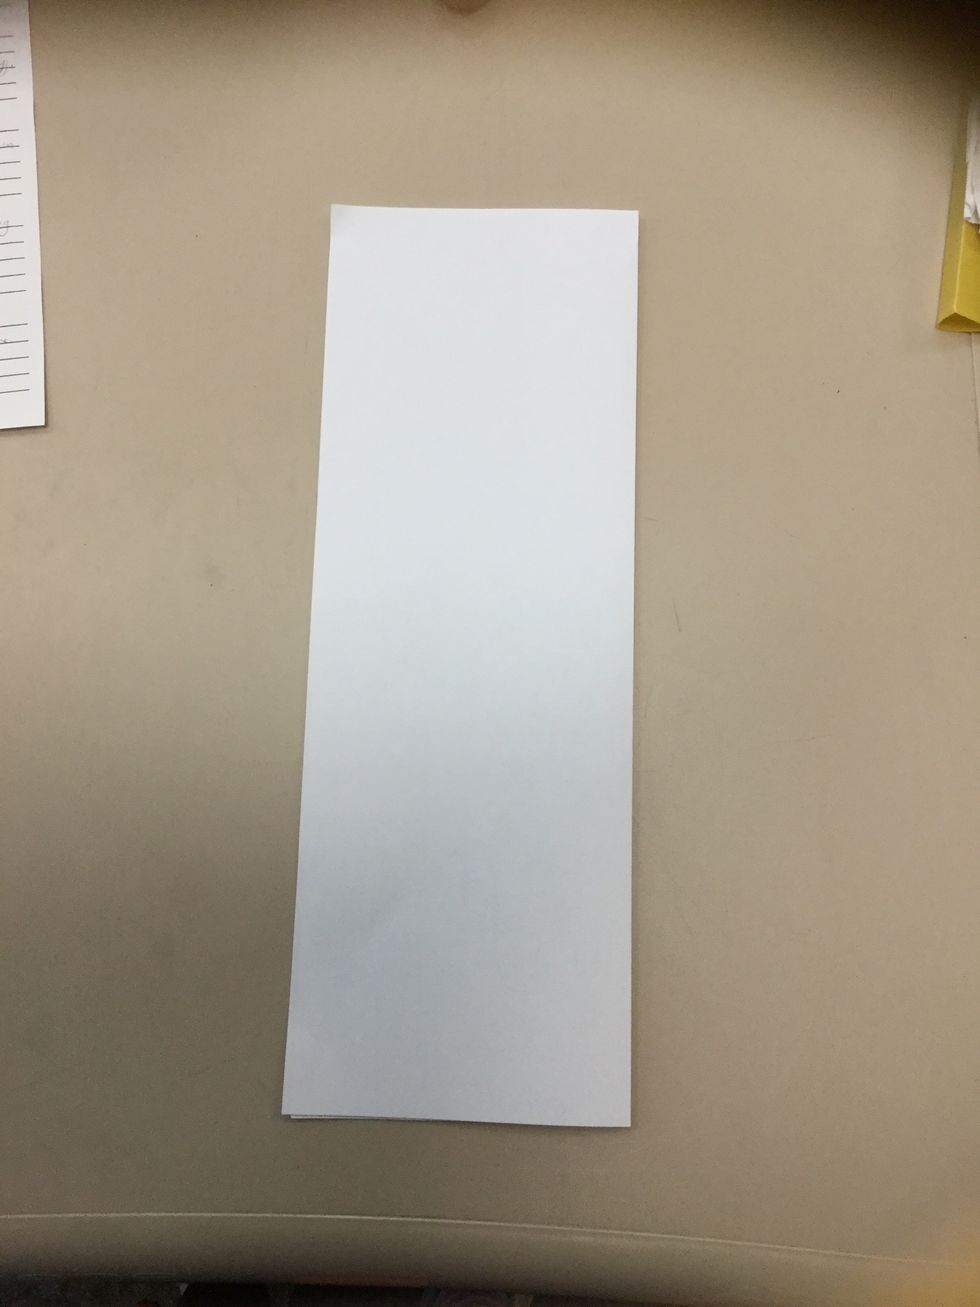
Step1: You need one A4 sized paper to make the paper plane
Step2: Fold the piece of paper in half
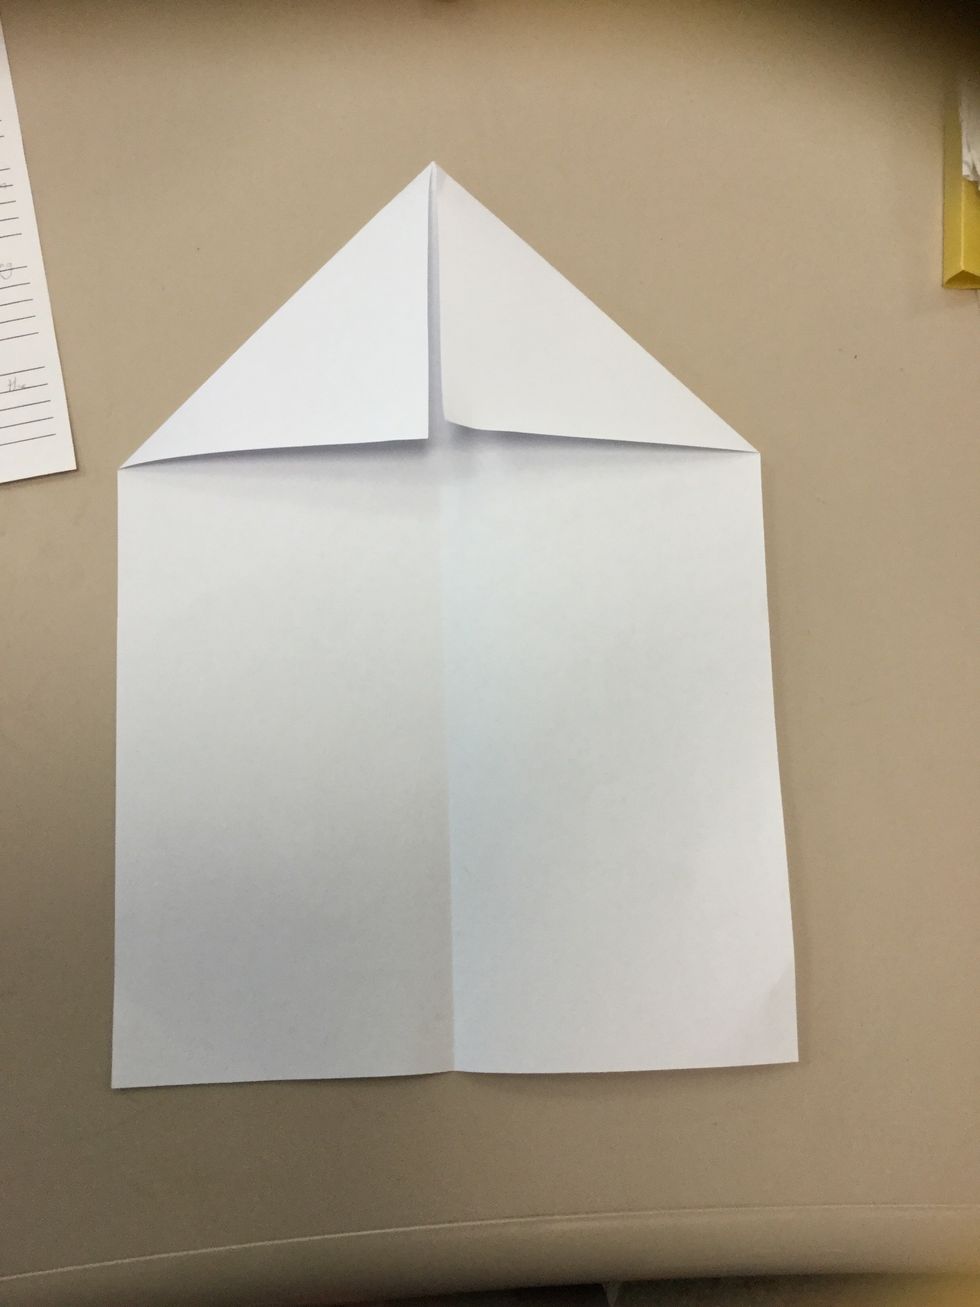
Step3: Now unfold to see a crease. The fold the top left corner to the crease mark, do the same to the right side.
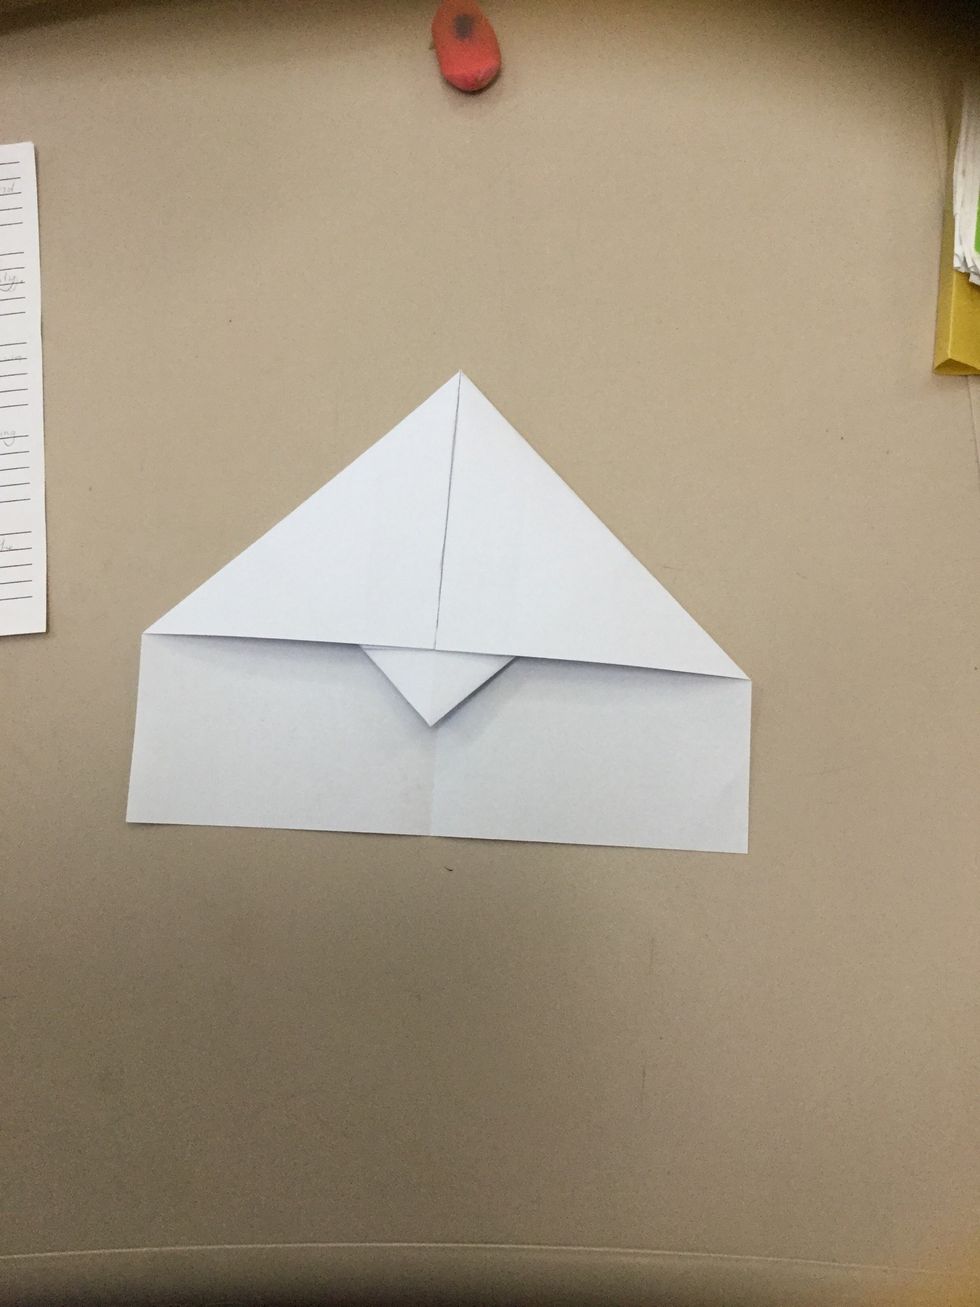
Step4: Fold the folded looking triangle downwards as shown in the photo. Make sure you leave 1 or 2cm gap
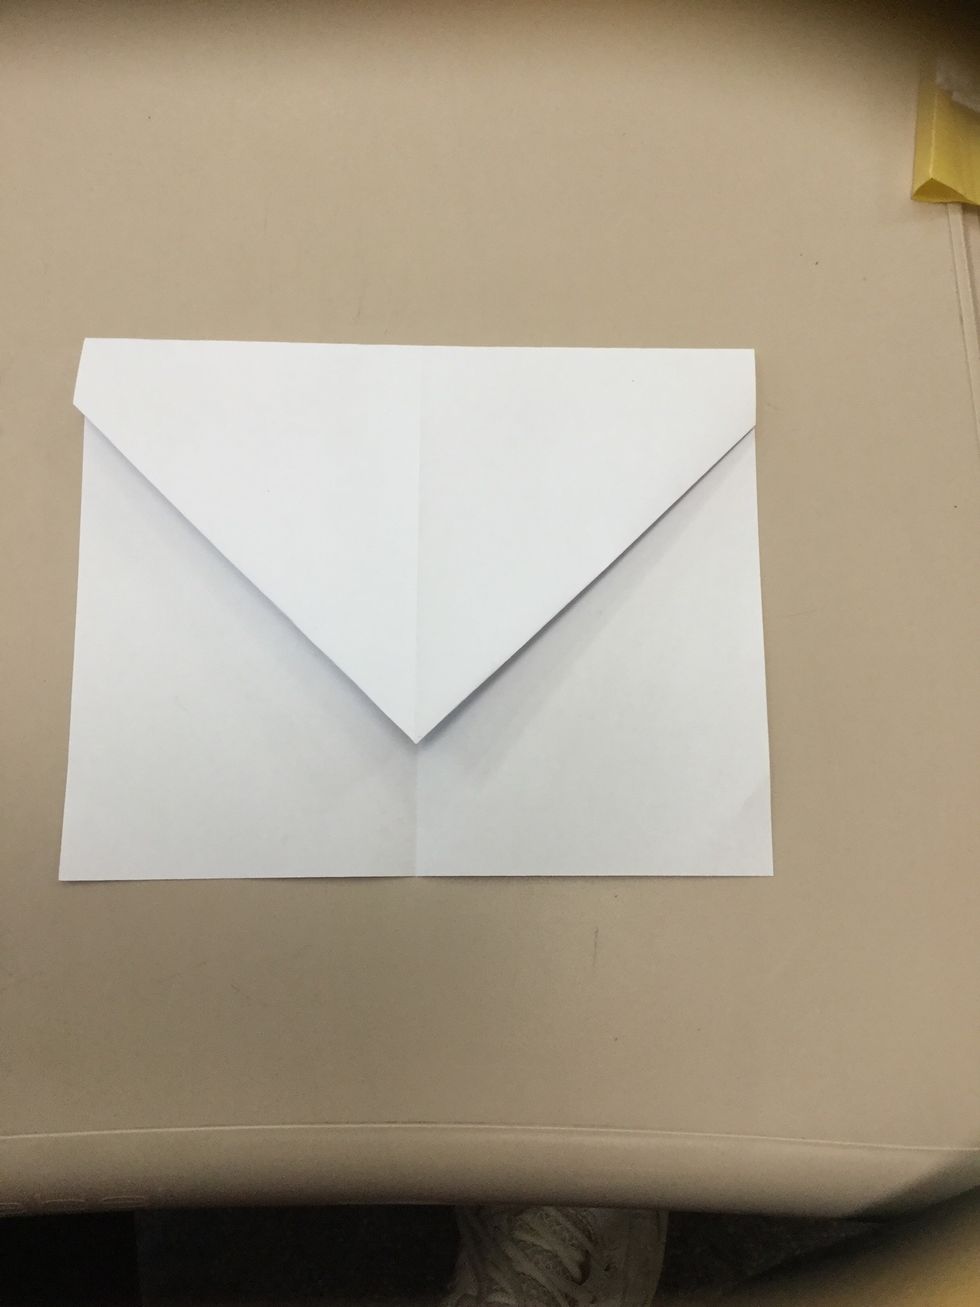
Step5: Then fold the top left and right corners to the crease line. And unfold
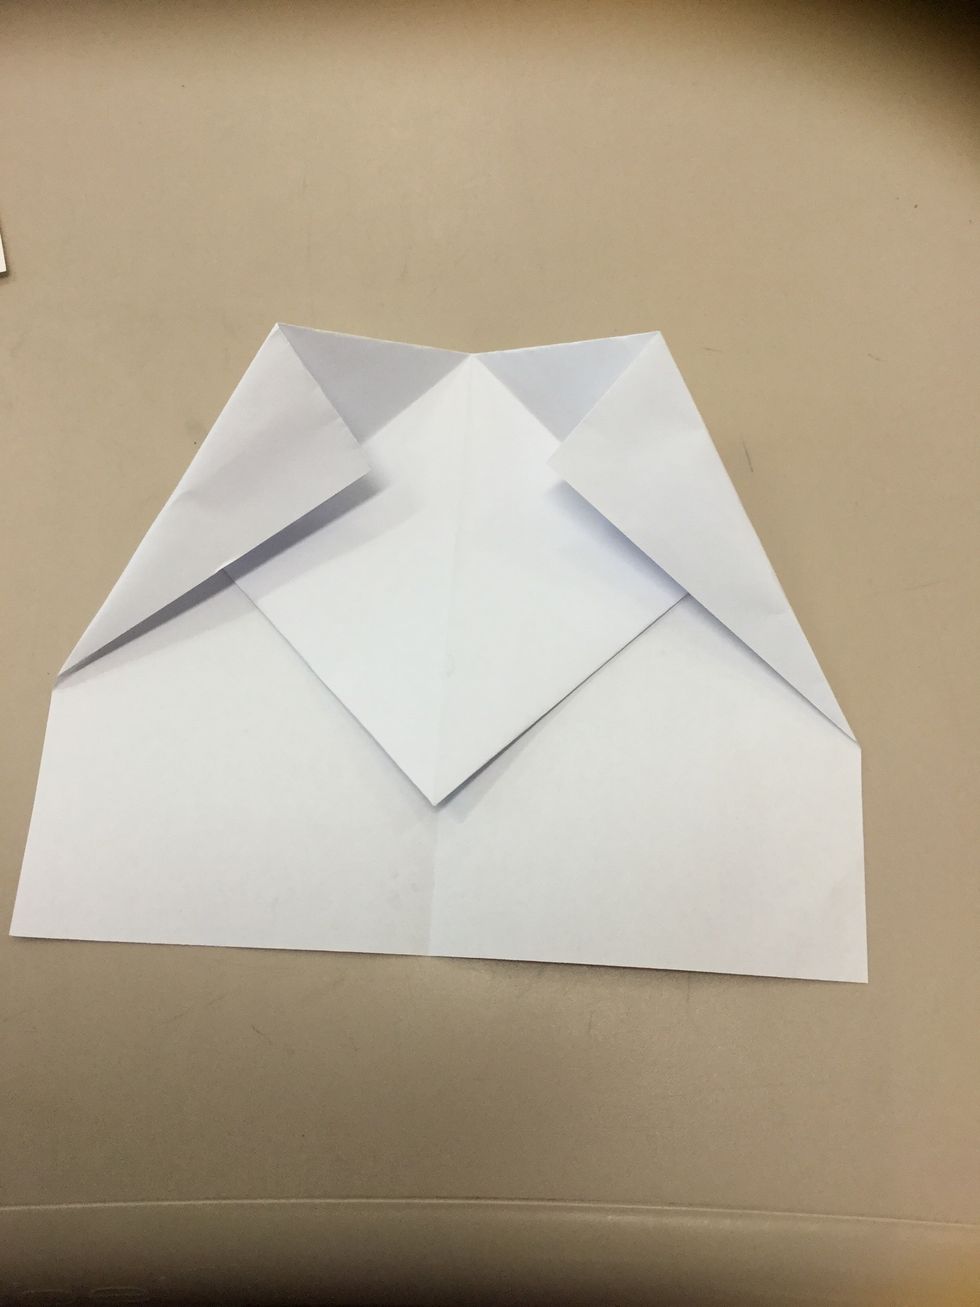
Step6: When you unfold it you will see a mark. Fold the corners tracing the line
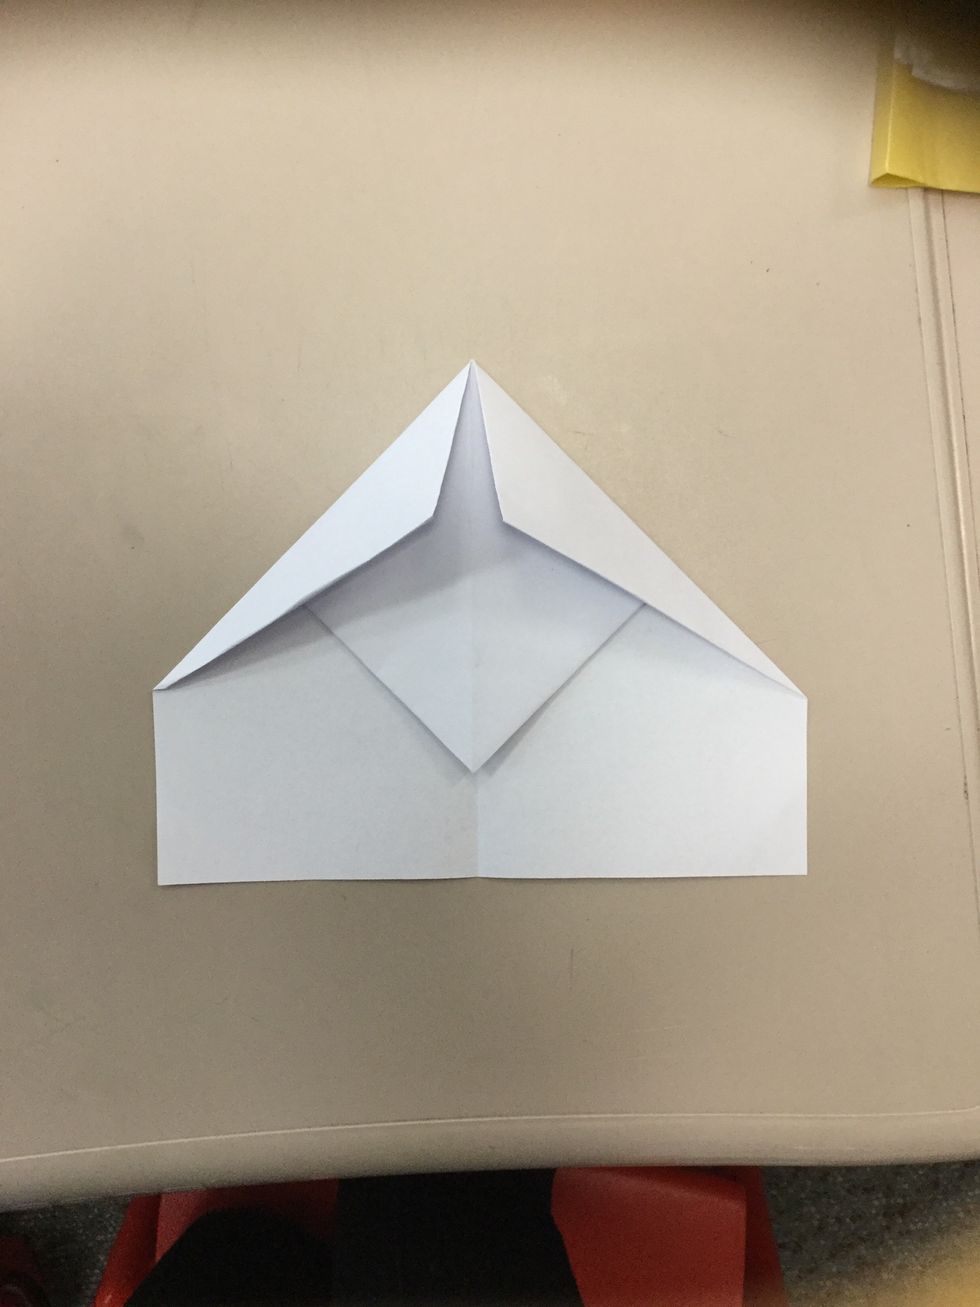
Step7: After flip it downwards

Step8: Flip the wings up. So it lookes like the photo
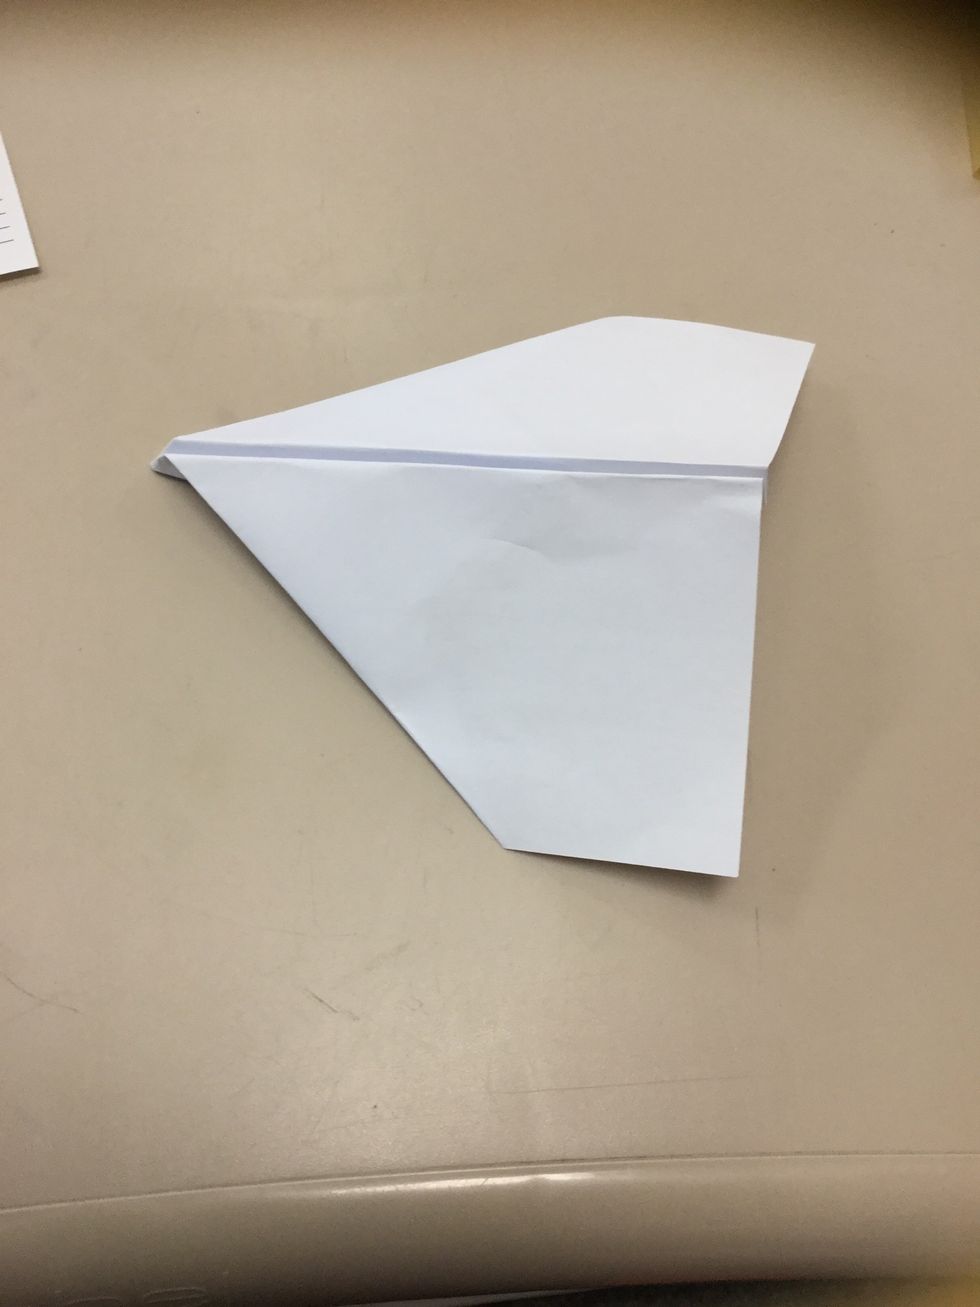
Step9: Make the wings by folding the sides down so it would look like wings
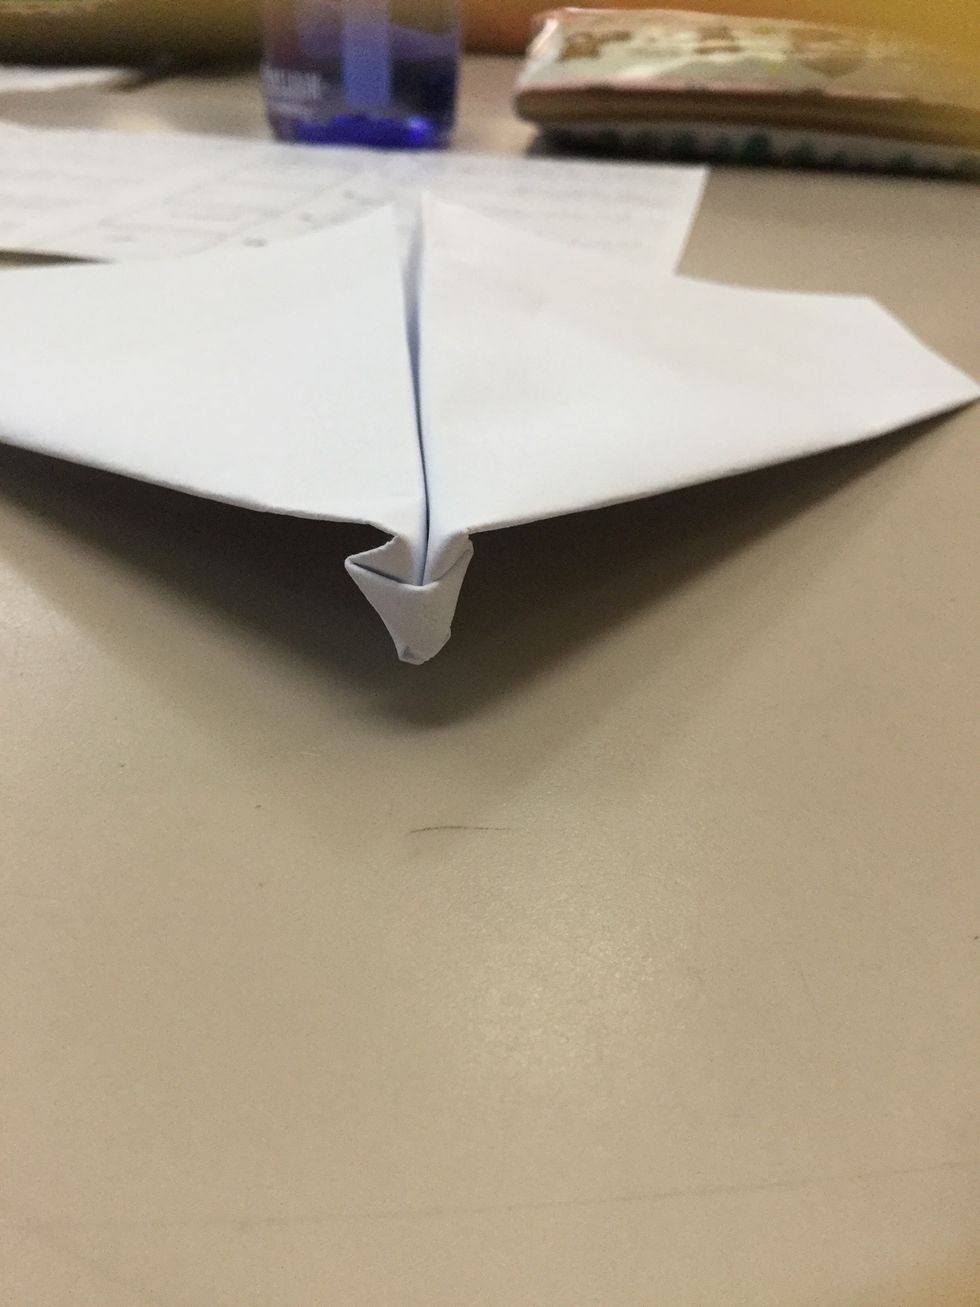
Step10: Open the planes nose, press down, flip down then fold back.

Step11: Take grip of the planes wing and fold it back a little bit on both sides
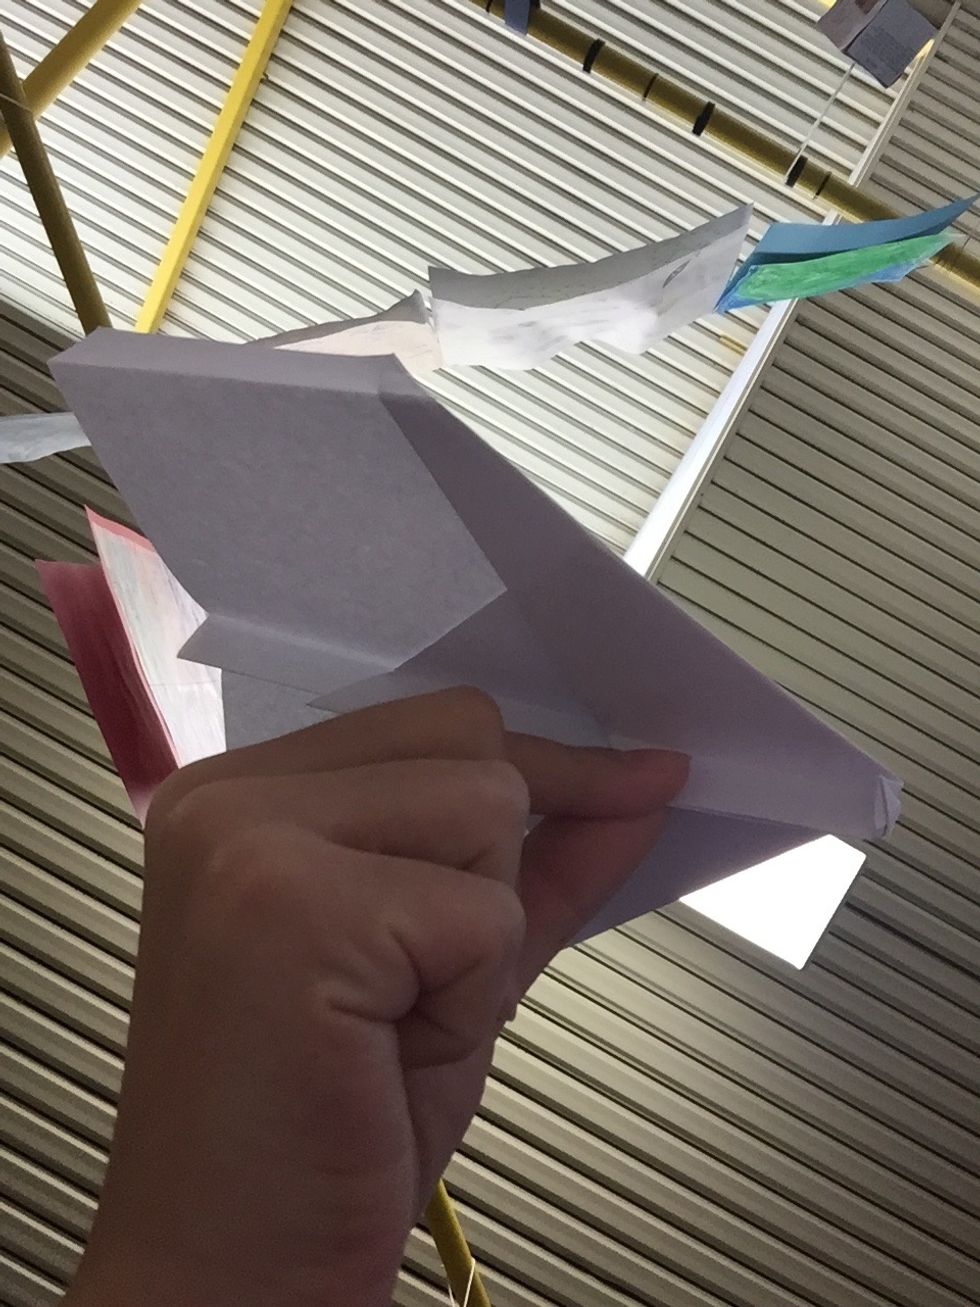
Step12: Hold the plane from the base and gentle throw it into the air