The Conversation (0)
Sign Up
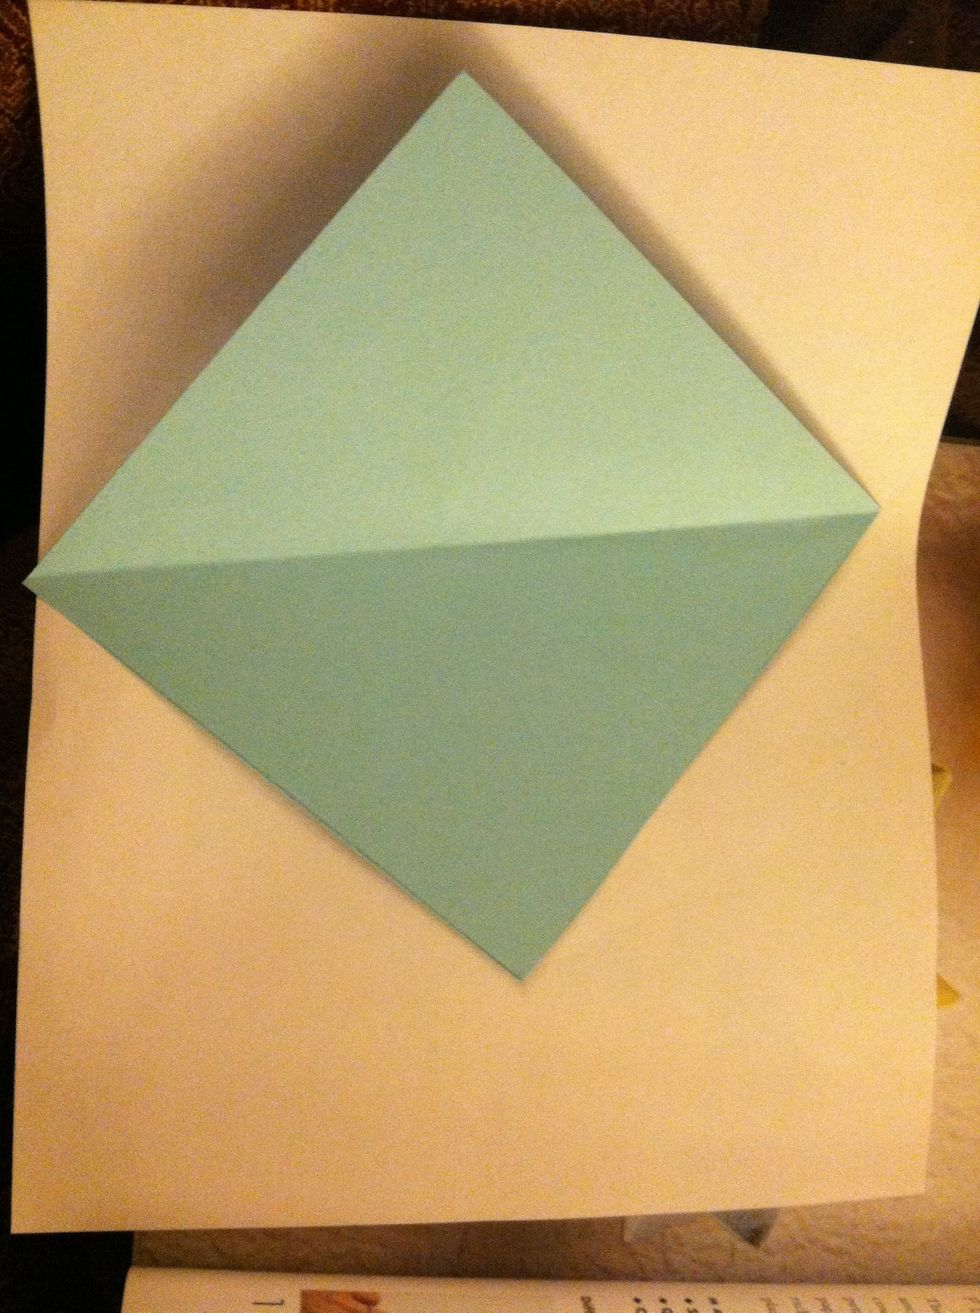
First, fold in half
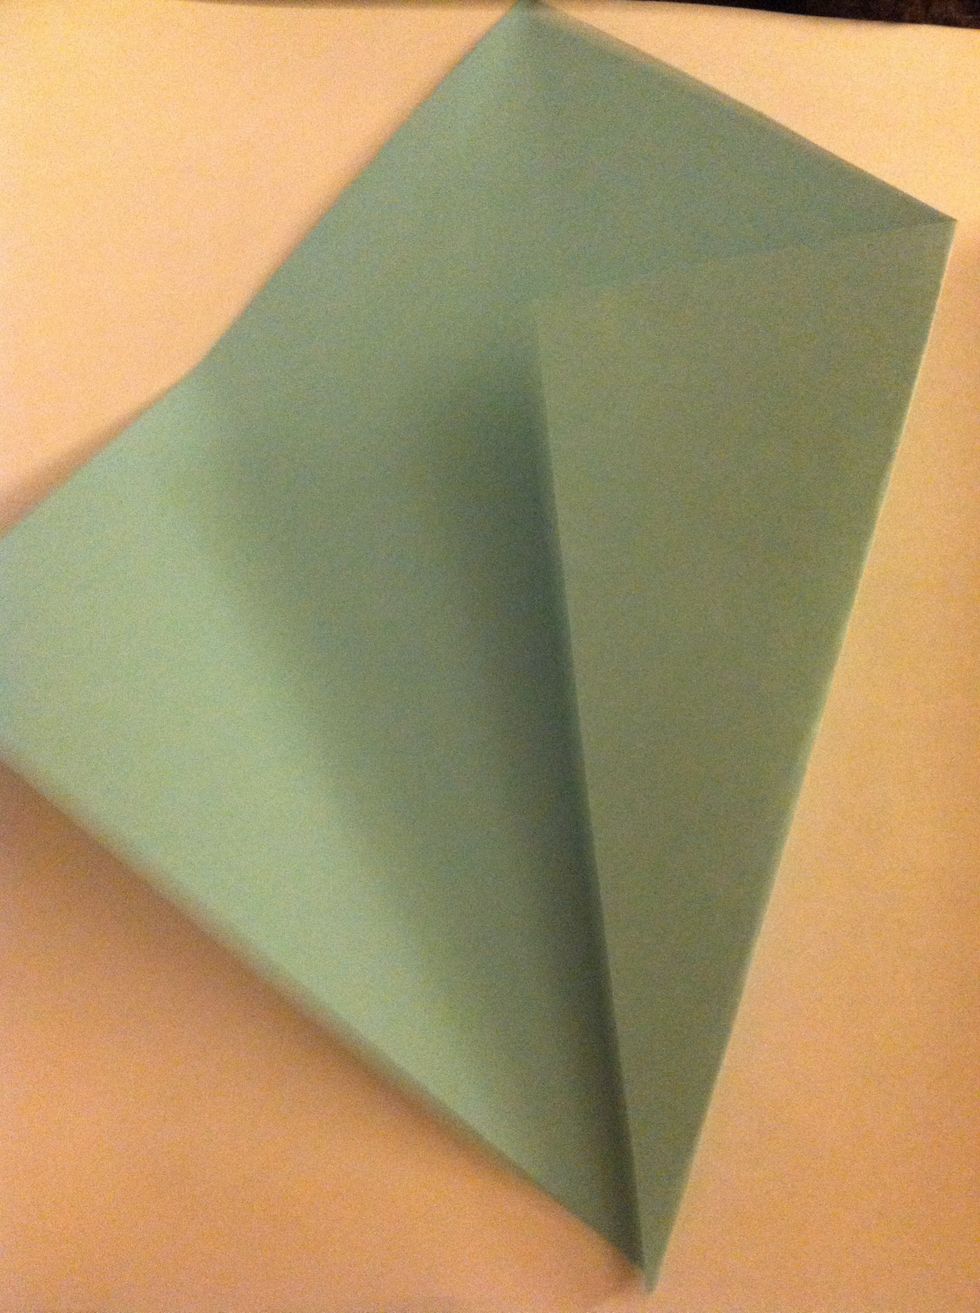
Then, fold one side so it lines up with the crease.
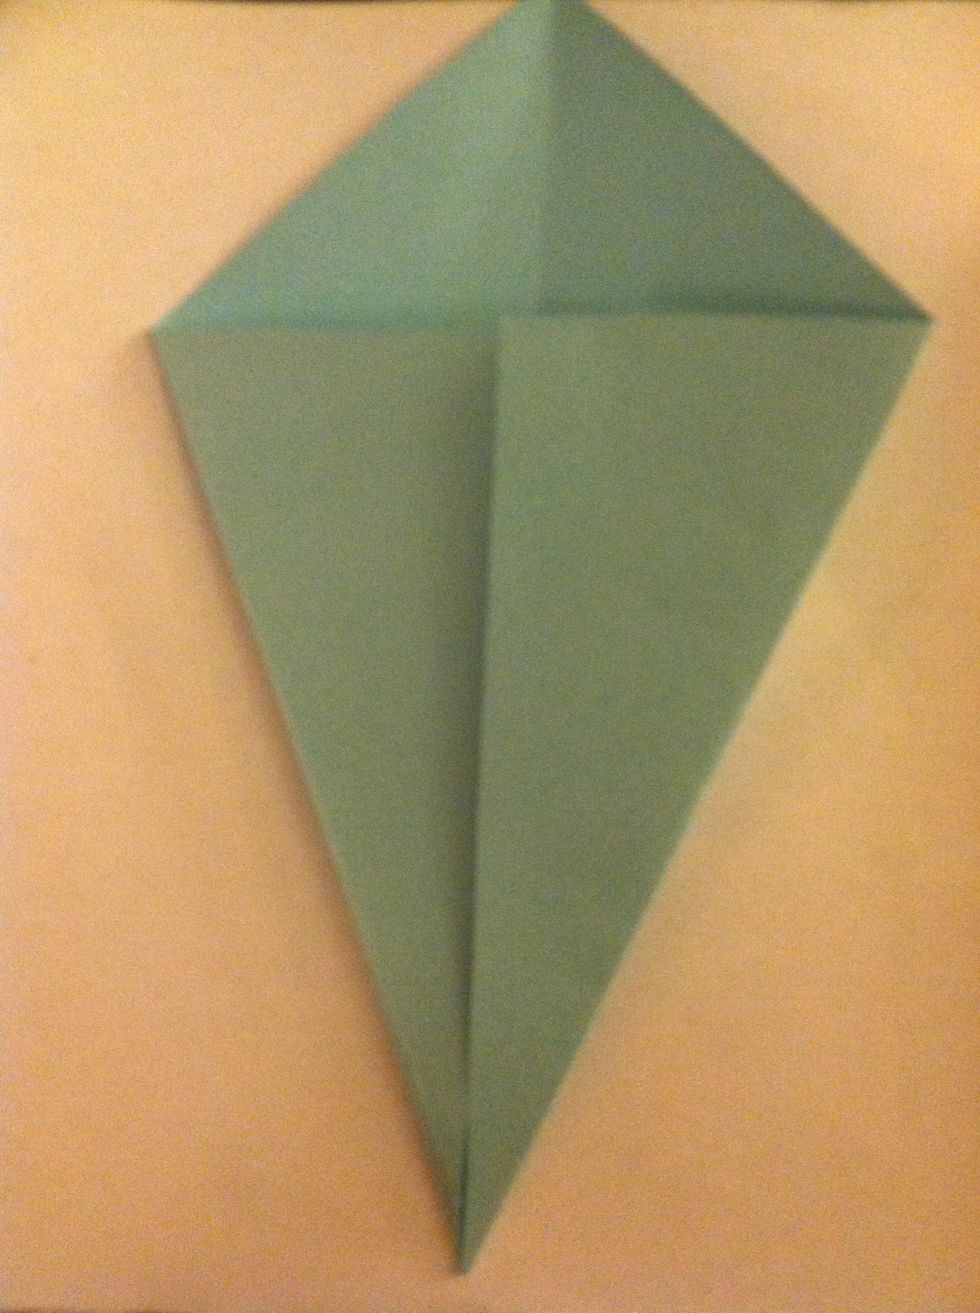
Do the same with the other side.
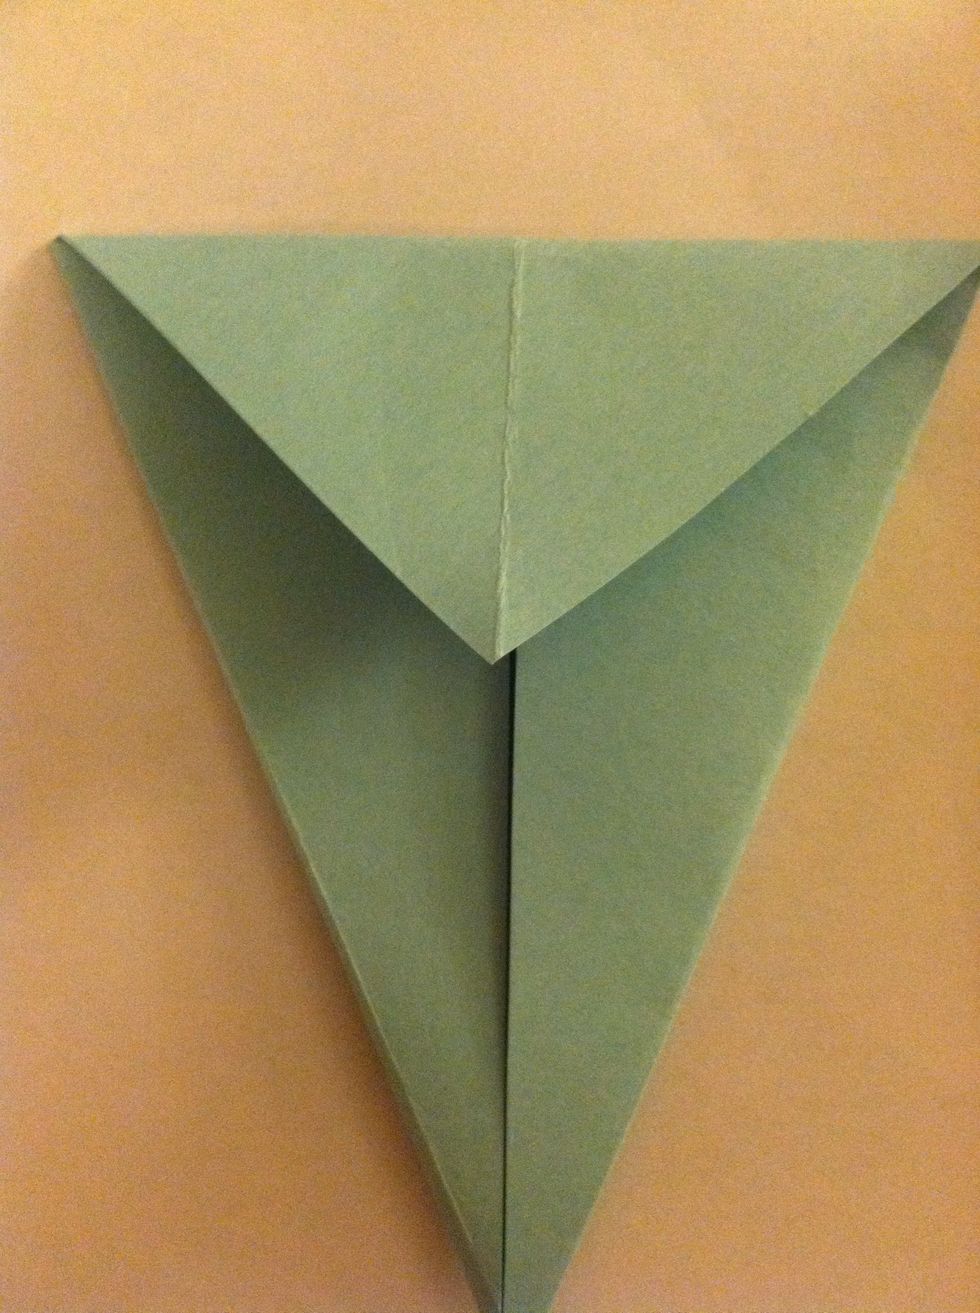
Fold the top down as far as it will go.
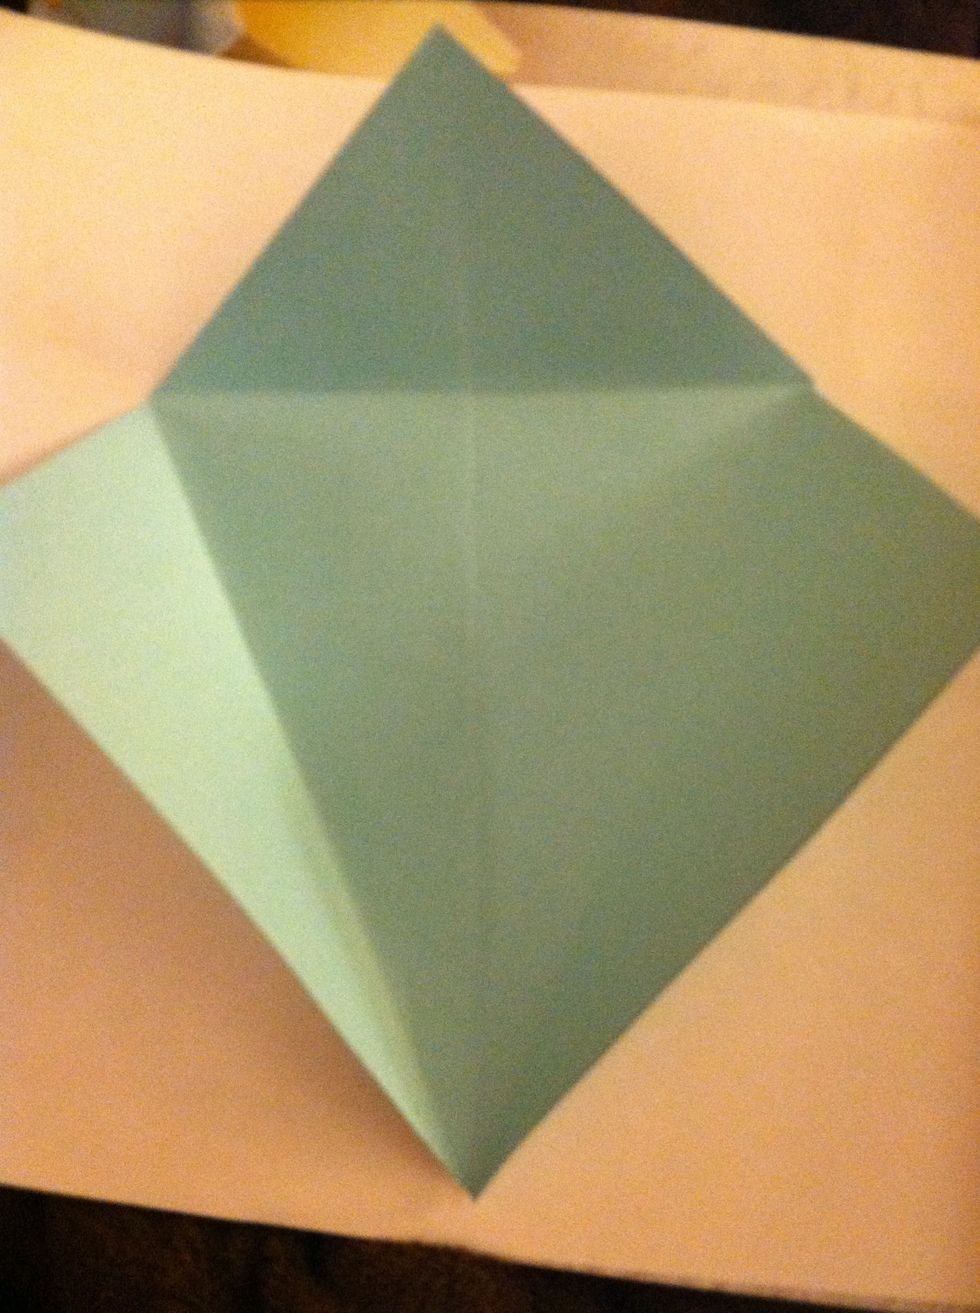
Open all the folds.
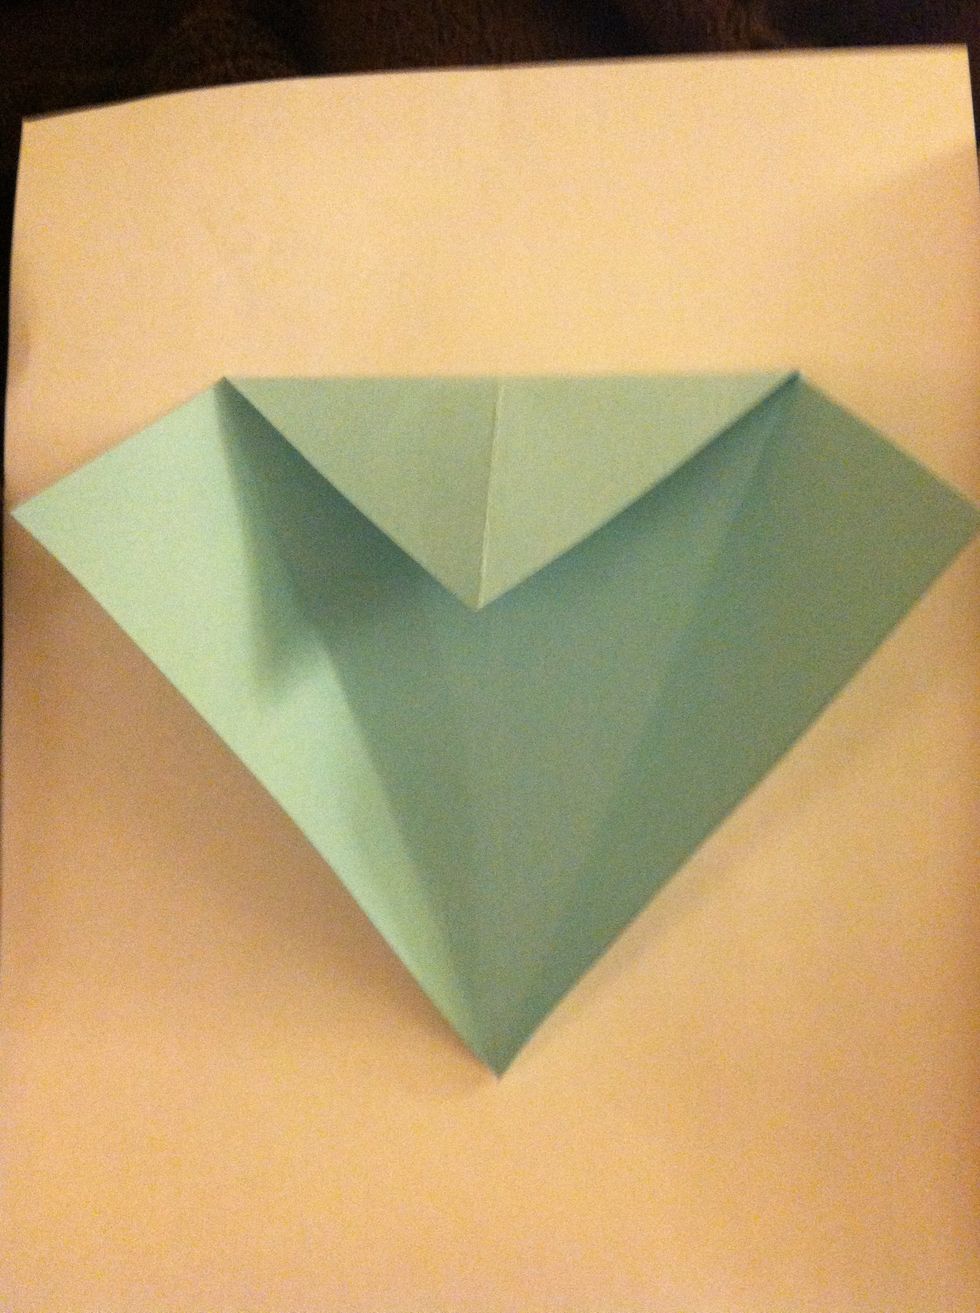
Fold the top back down
Fold the short side so it lines up with the crease.
Do the same on the other side.
Fold the paper in half backwards.
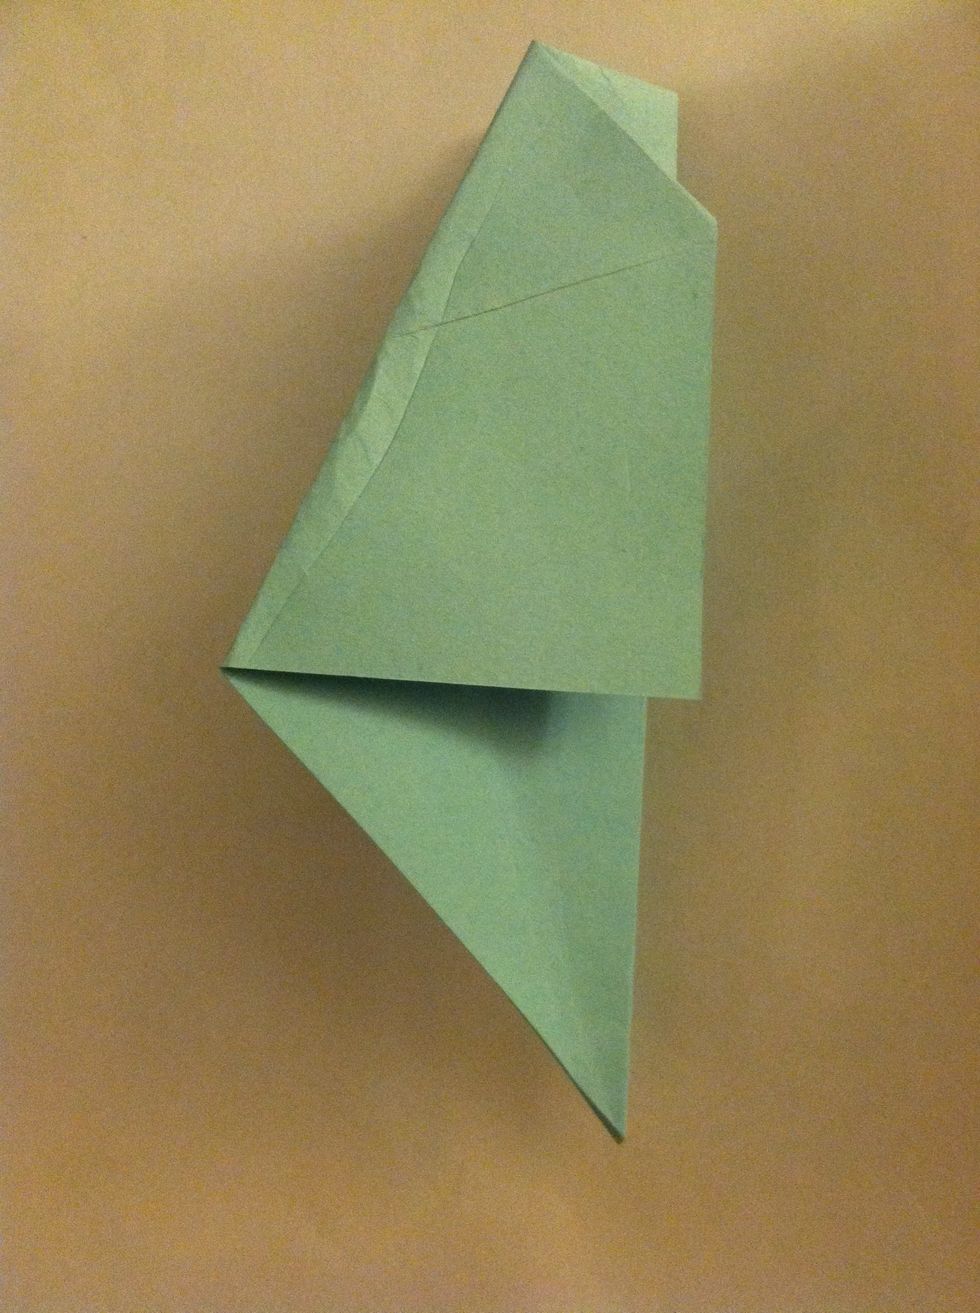
Open up the top flap.
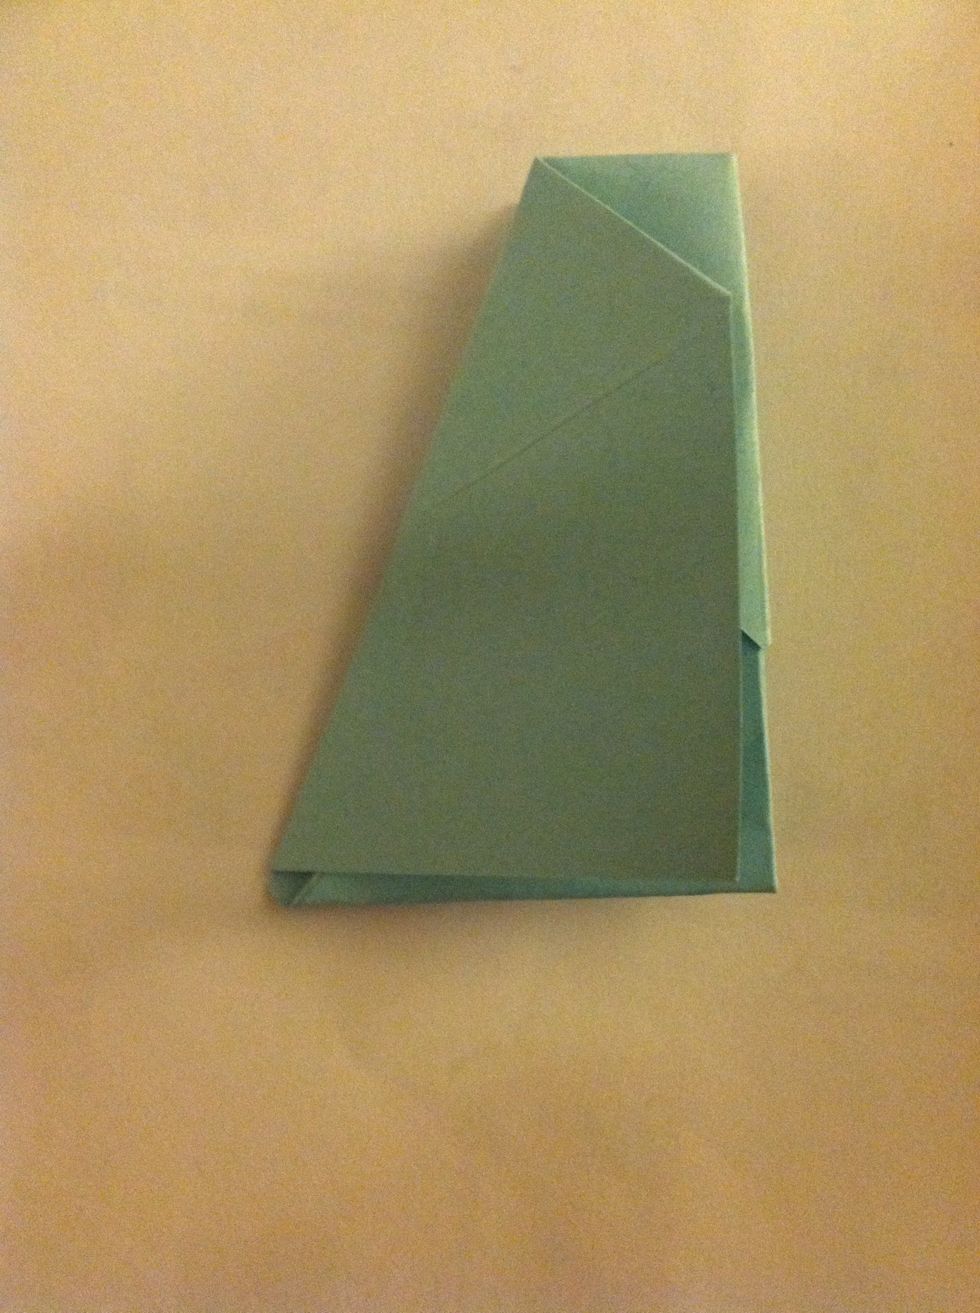
Fold up the bottom triangle.
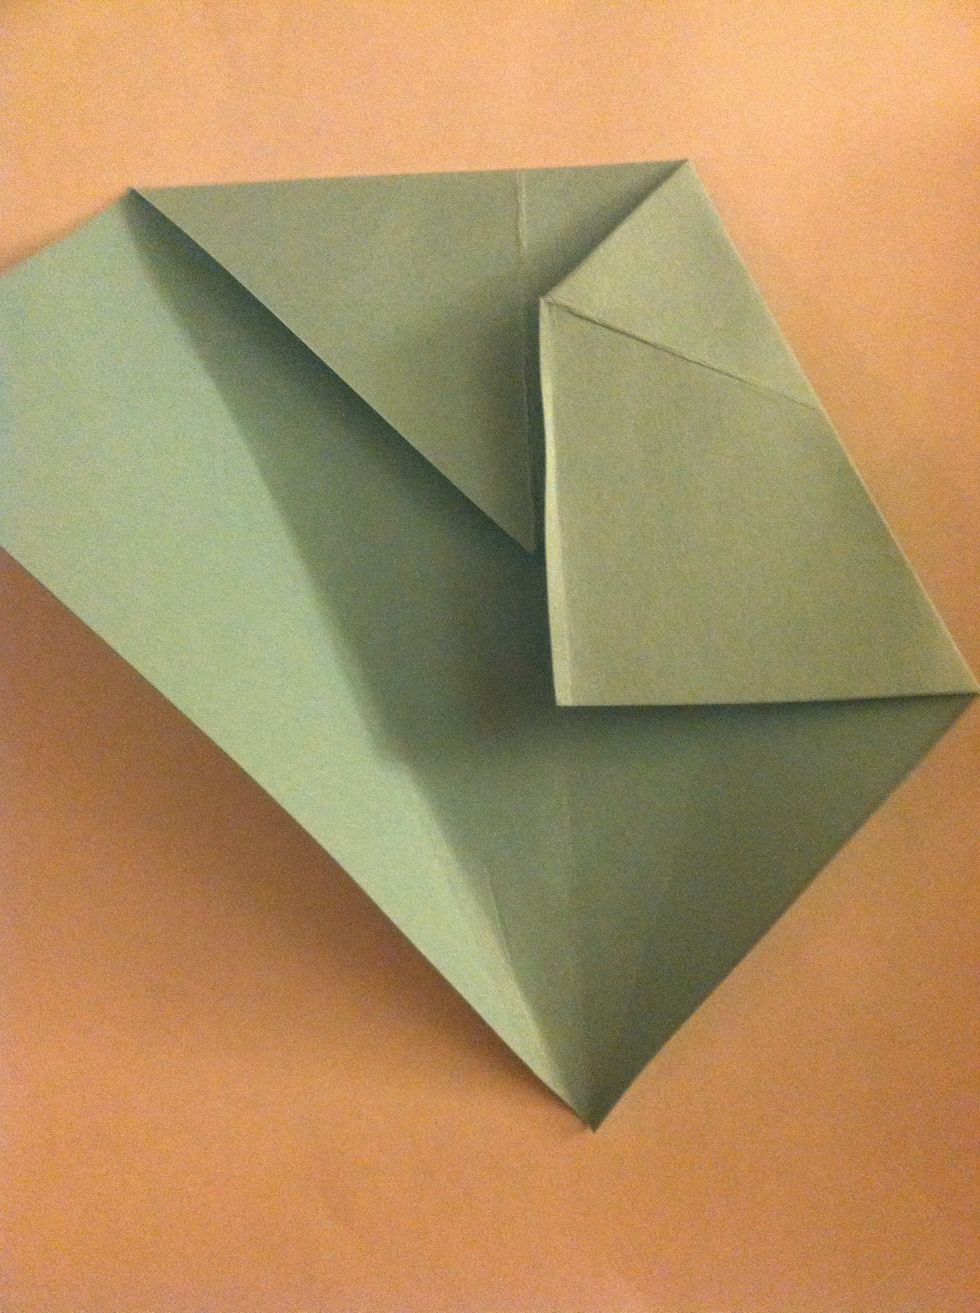
An tuck it into the flap.
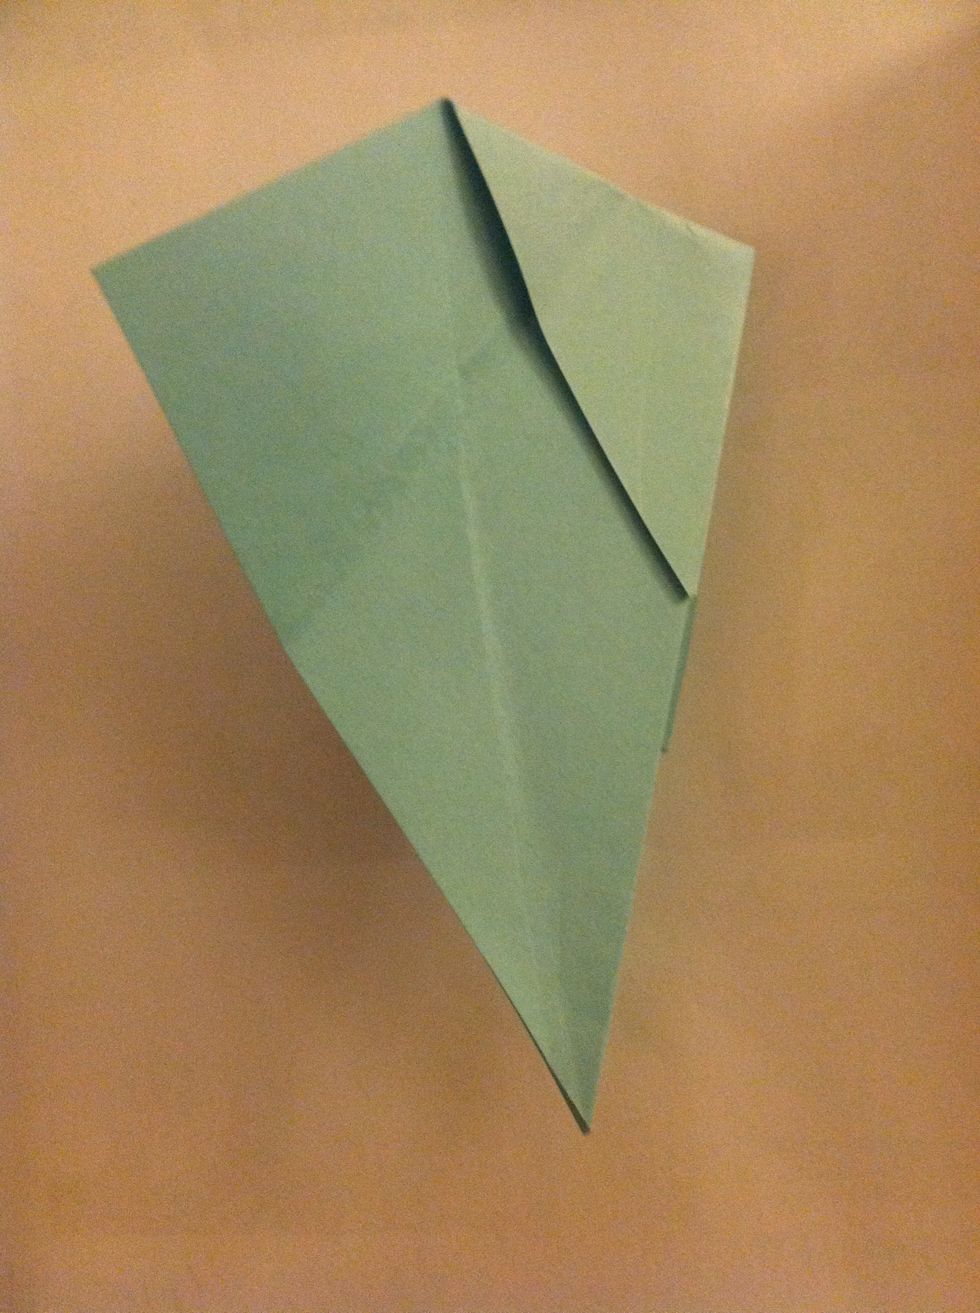
Now, fold back what you unfolded before.
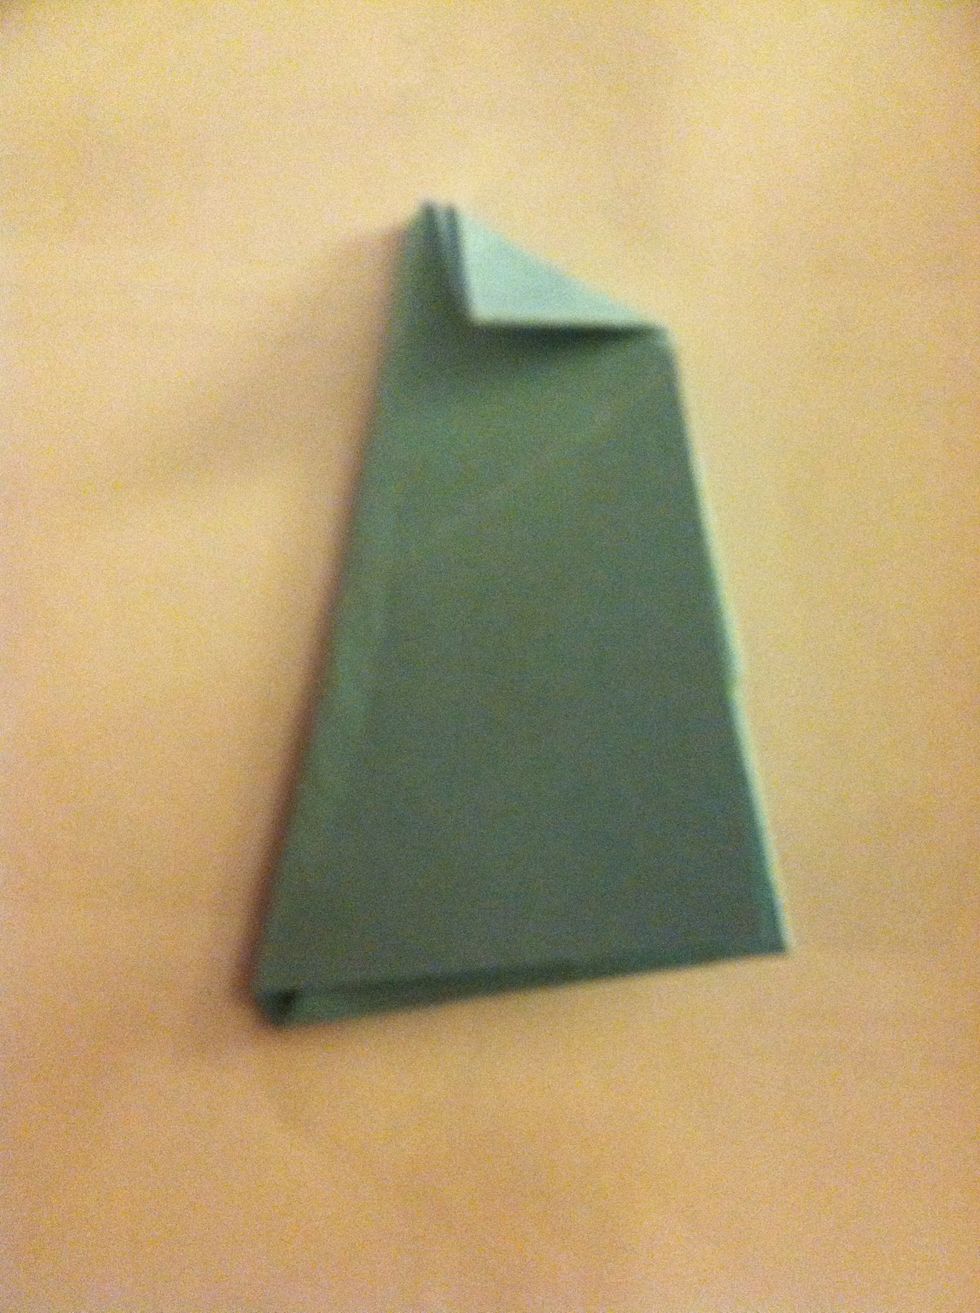
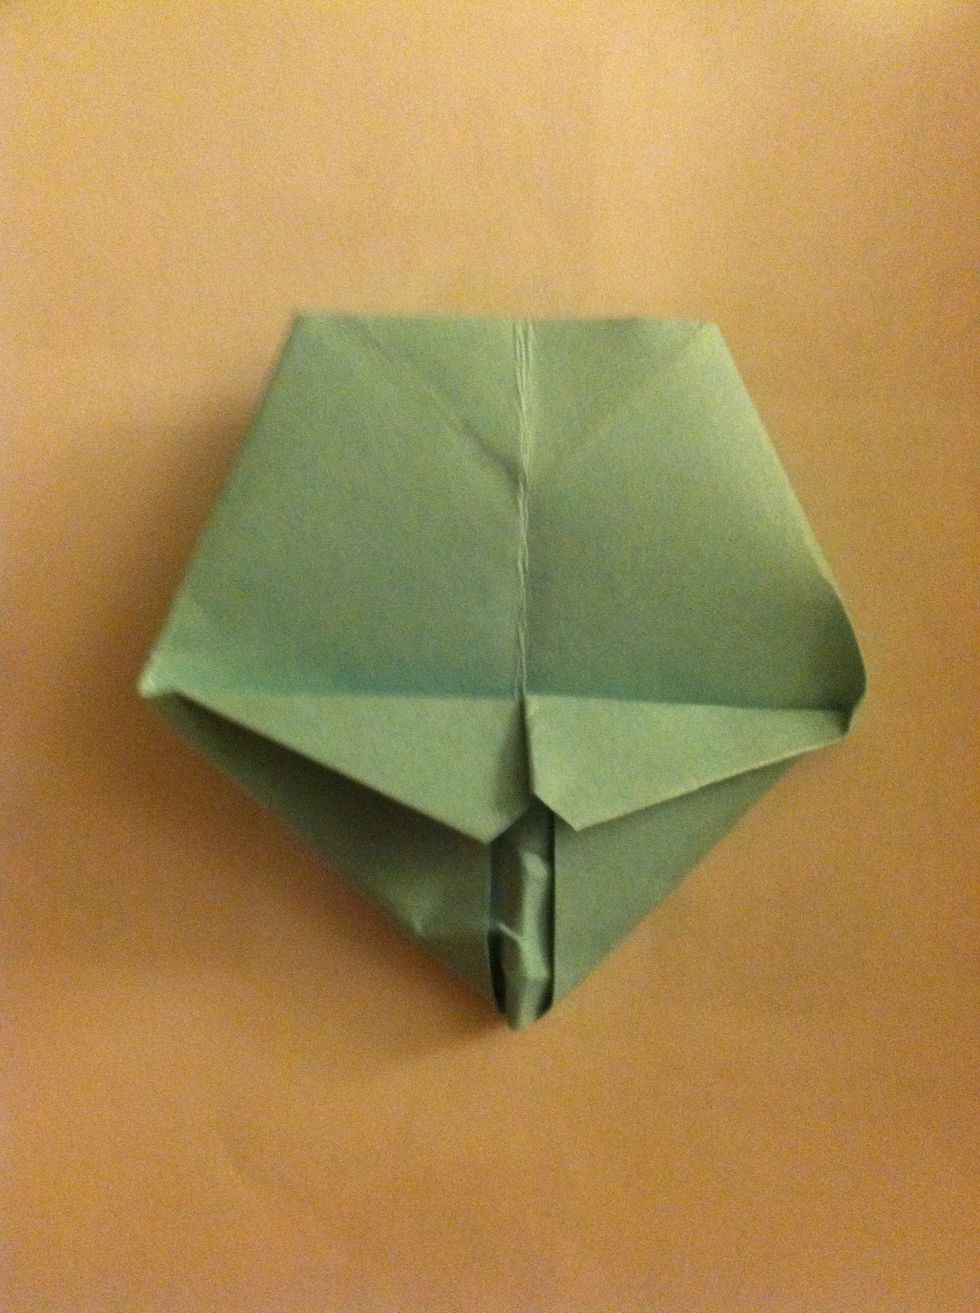
Fold the top point down.
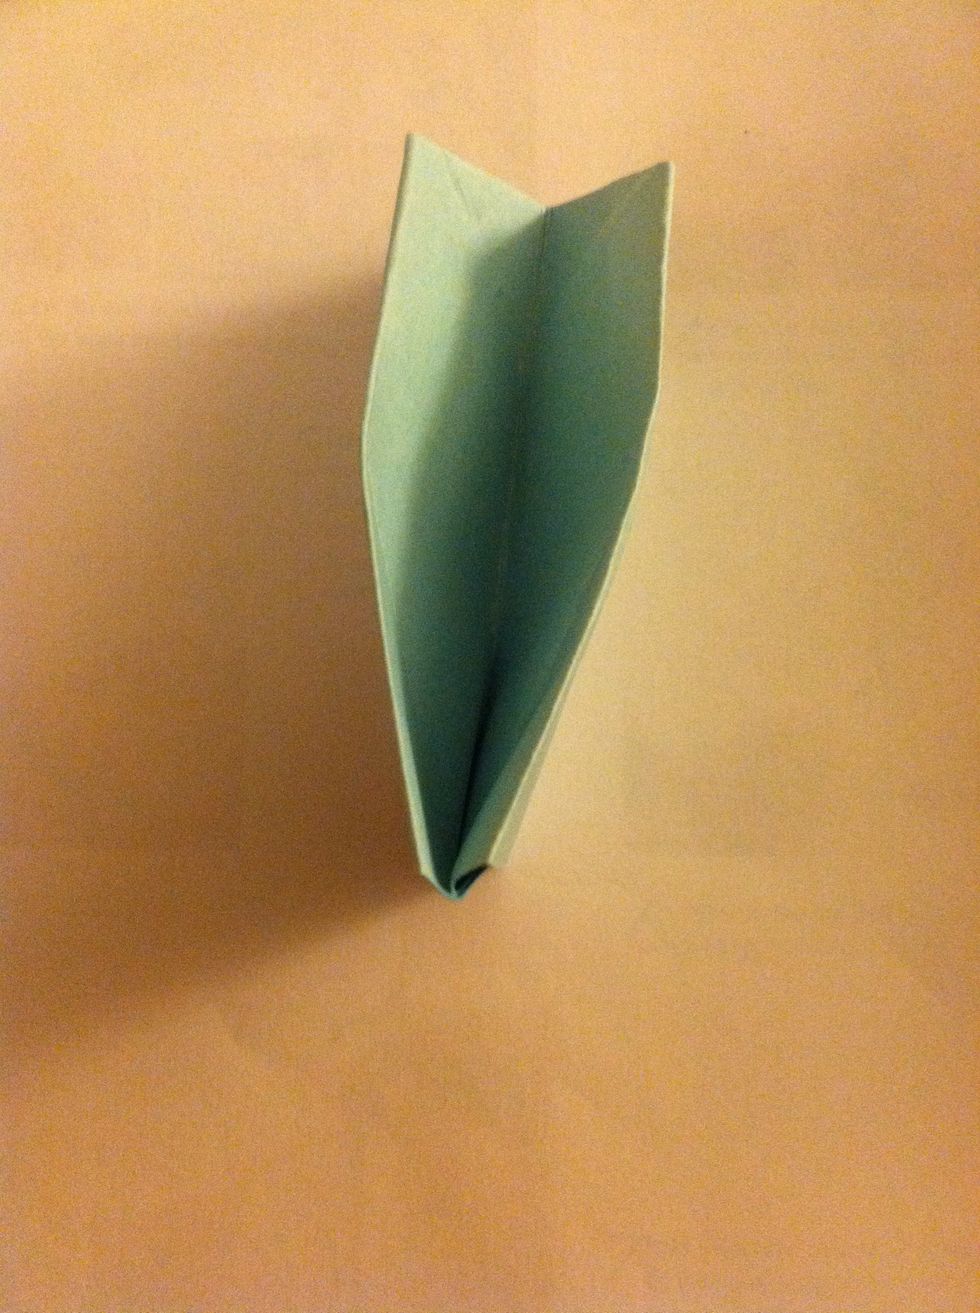
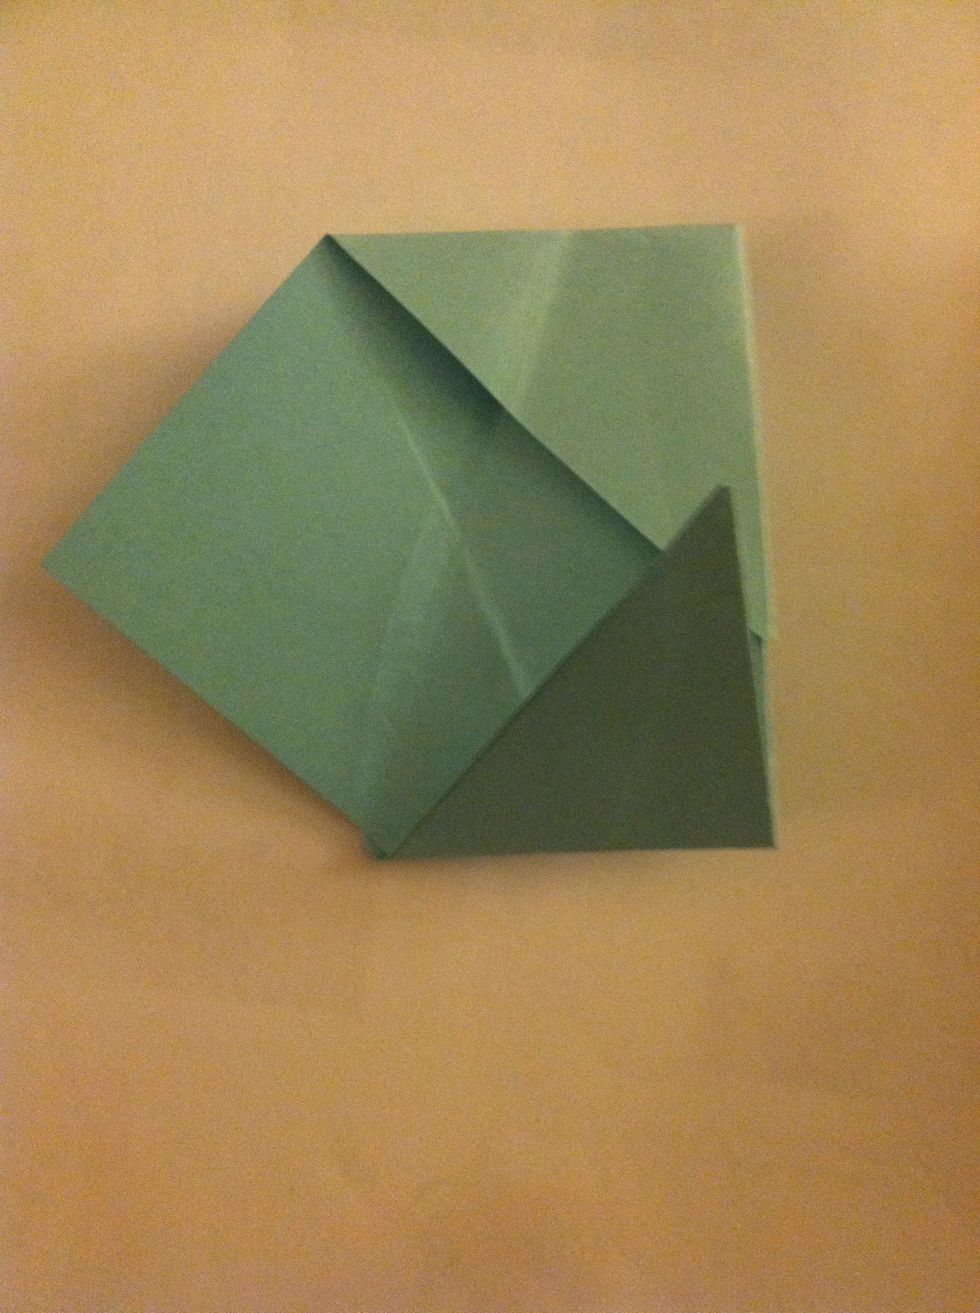
Flip it over, and open it up.
Flatten the triangular side.
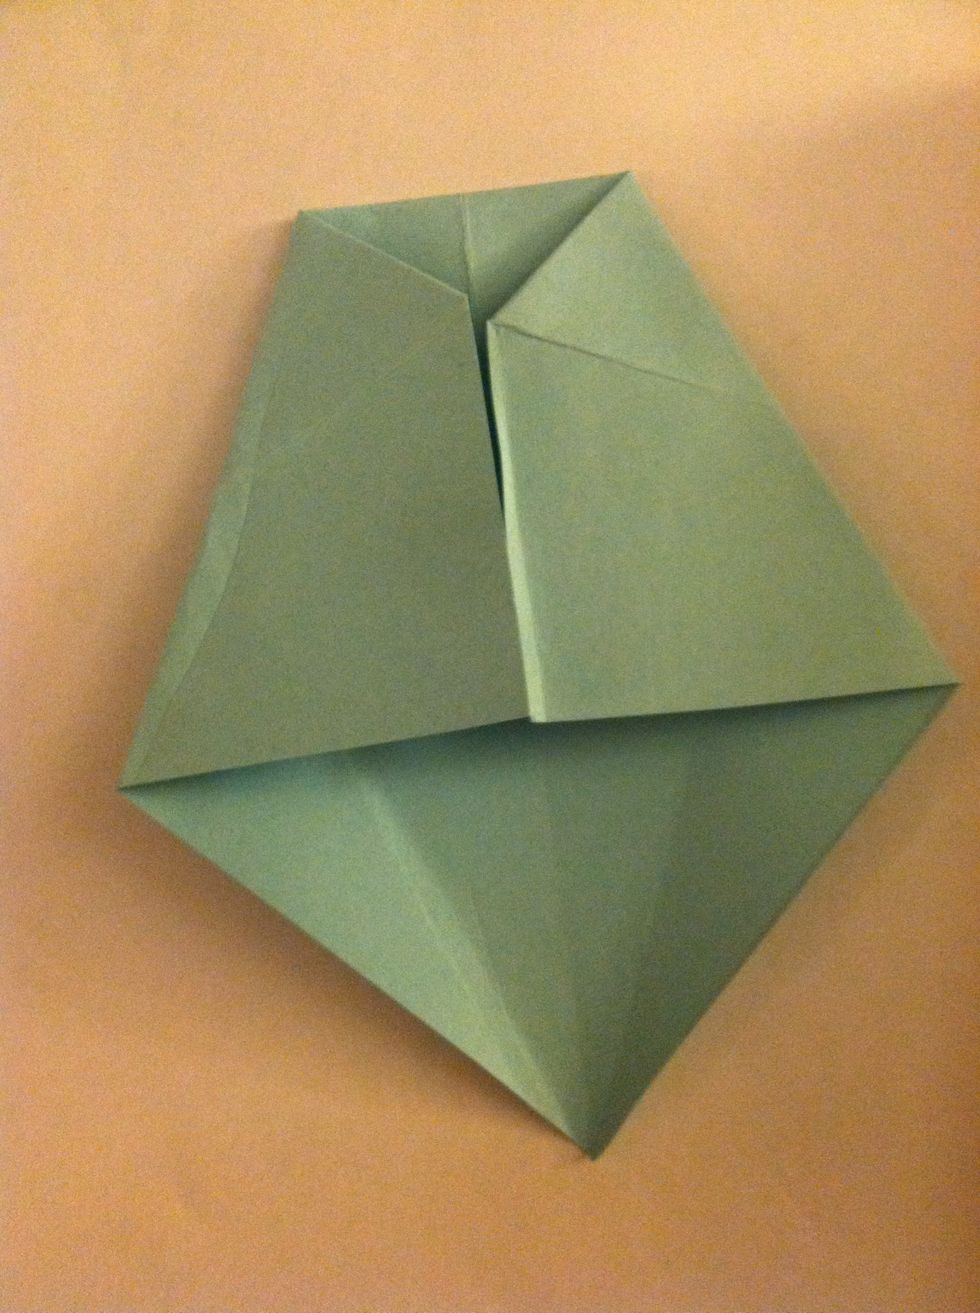
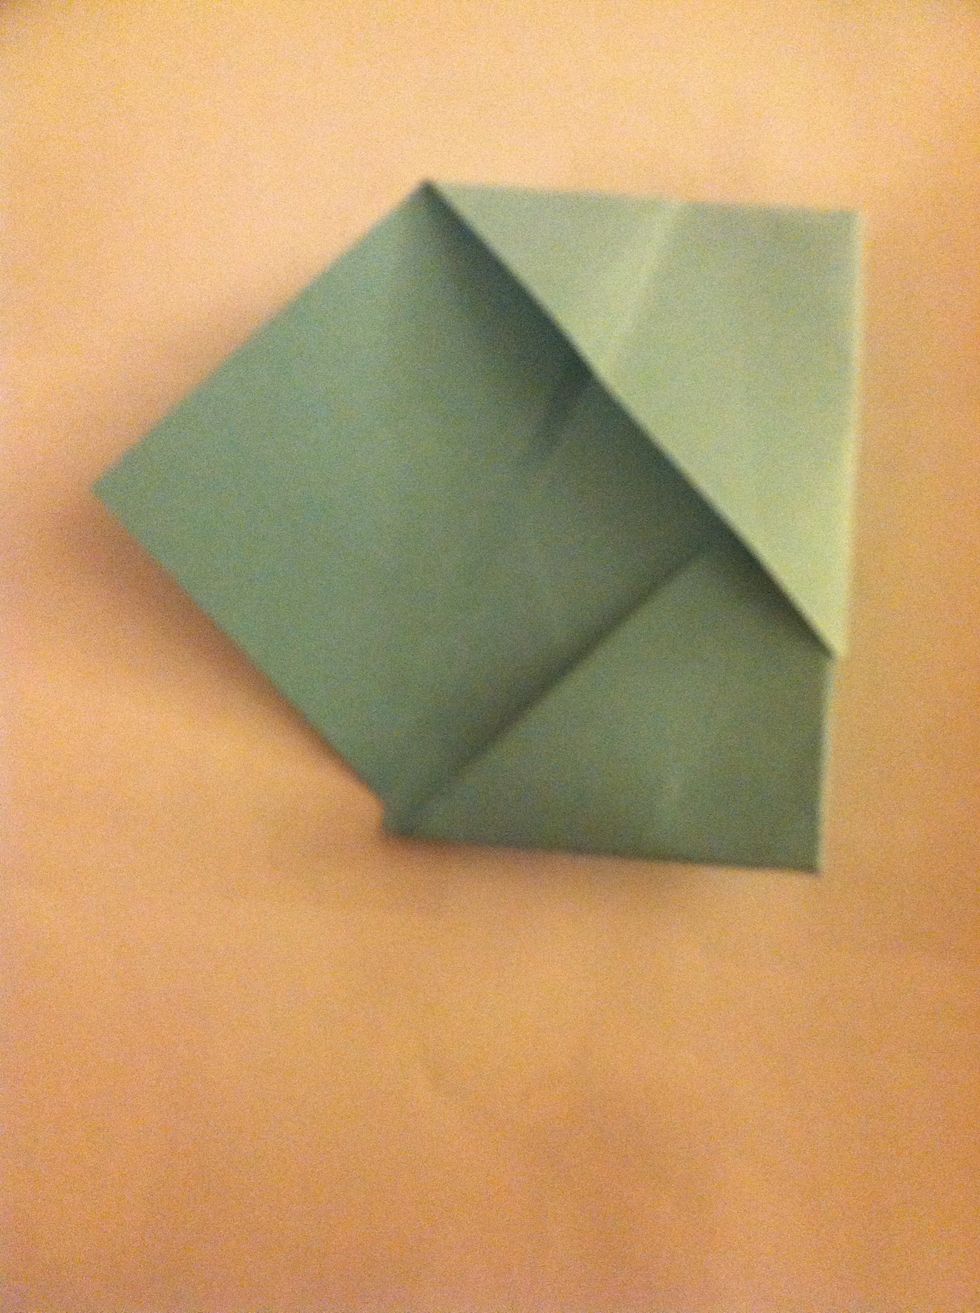
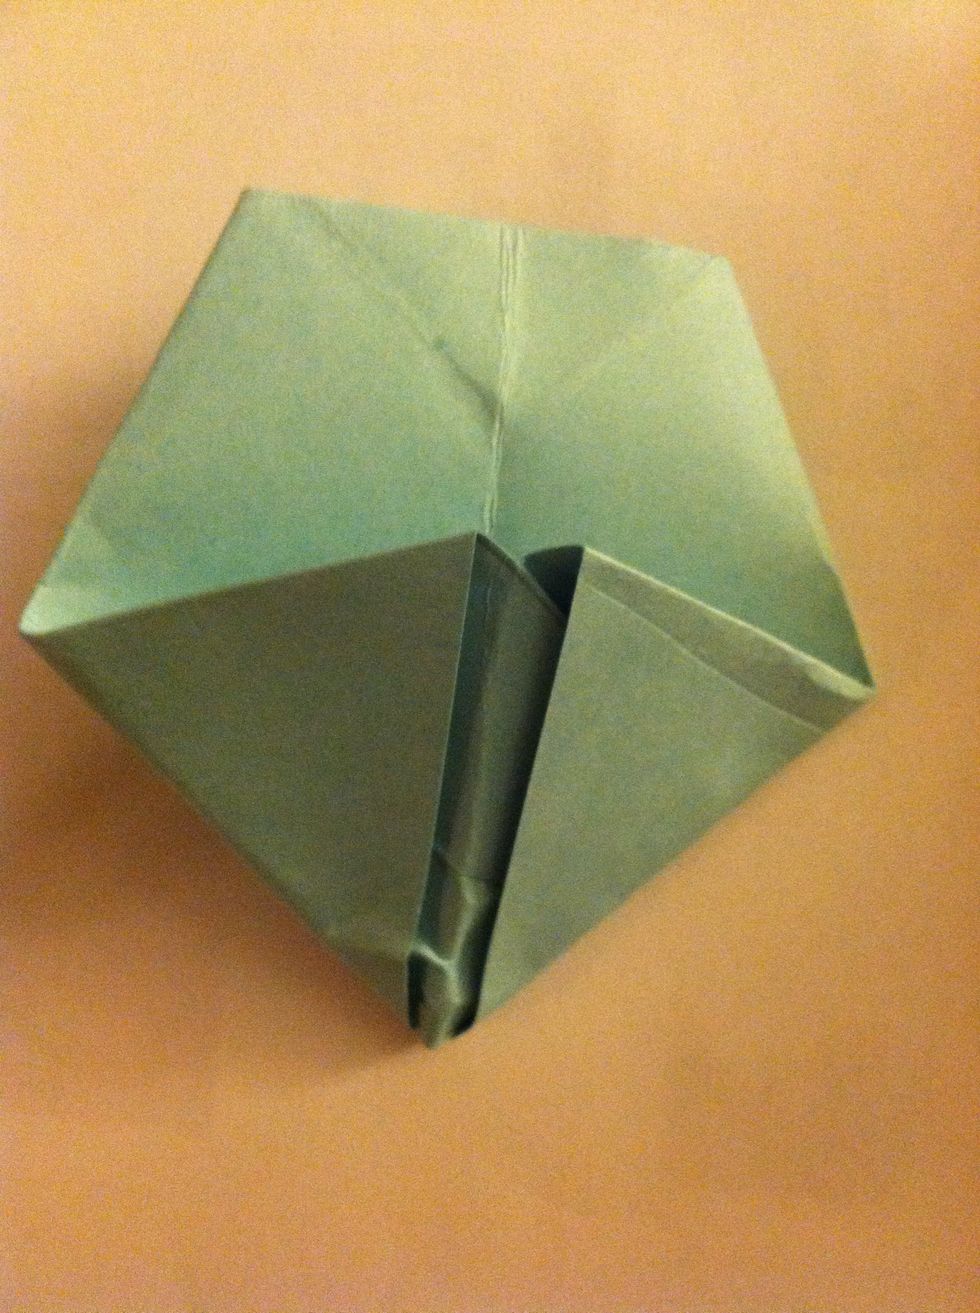
Now flatten the pointed piece, be careful not to tear the paper.
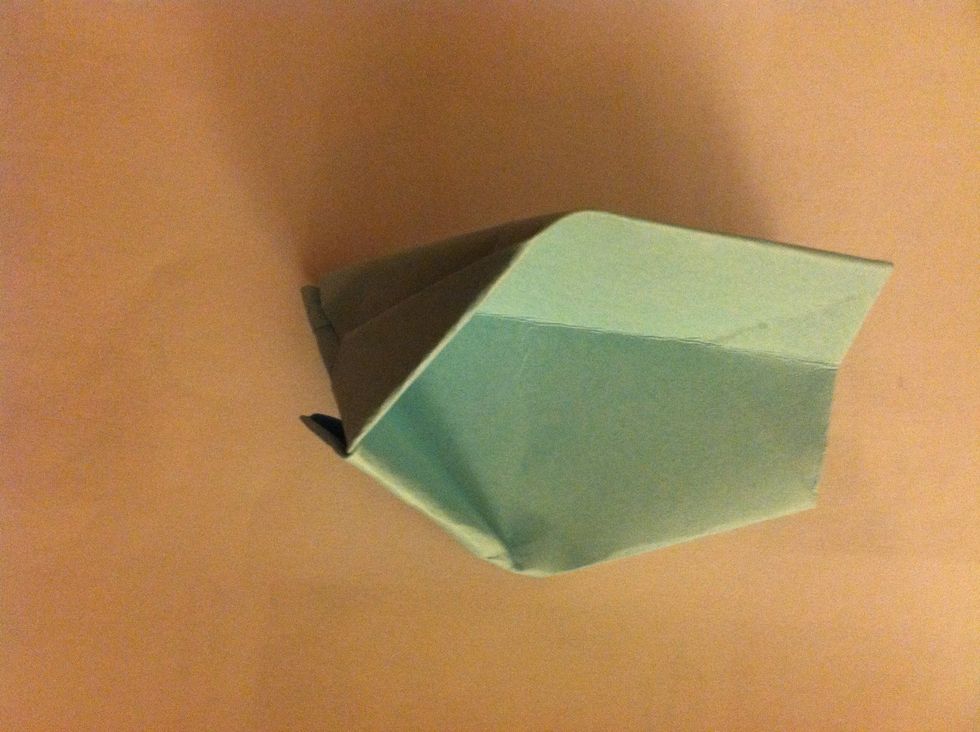
Now open it up.
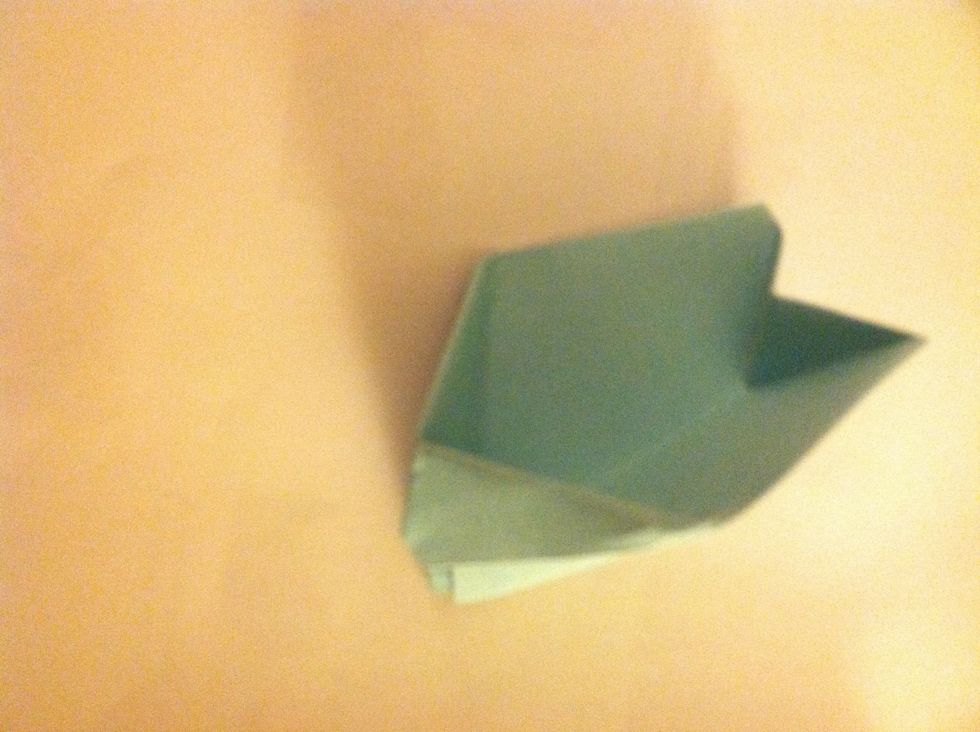
Pinch the opposite side to make the end fold in.
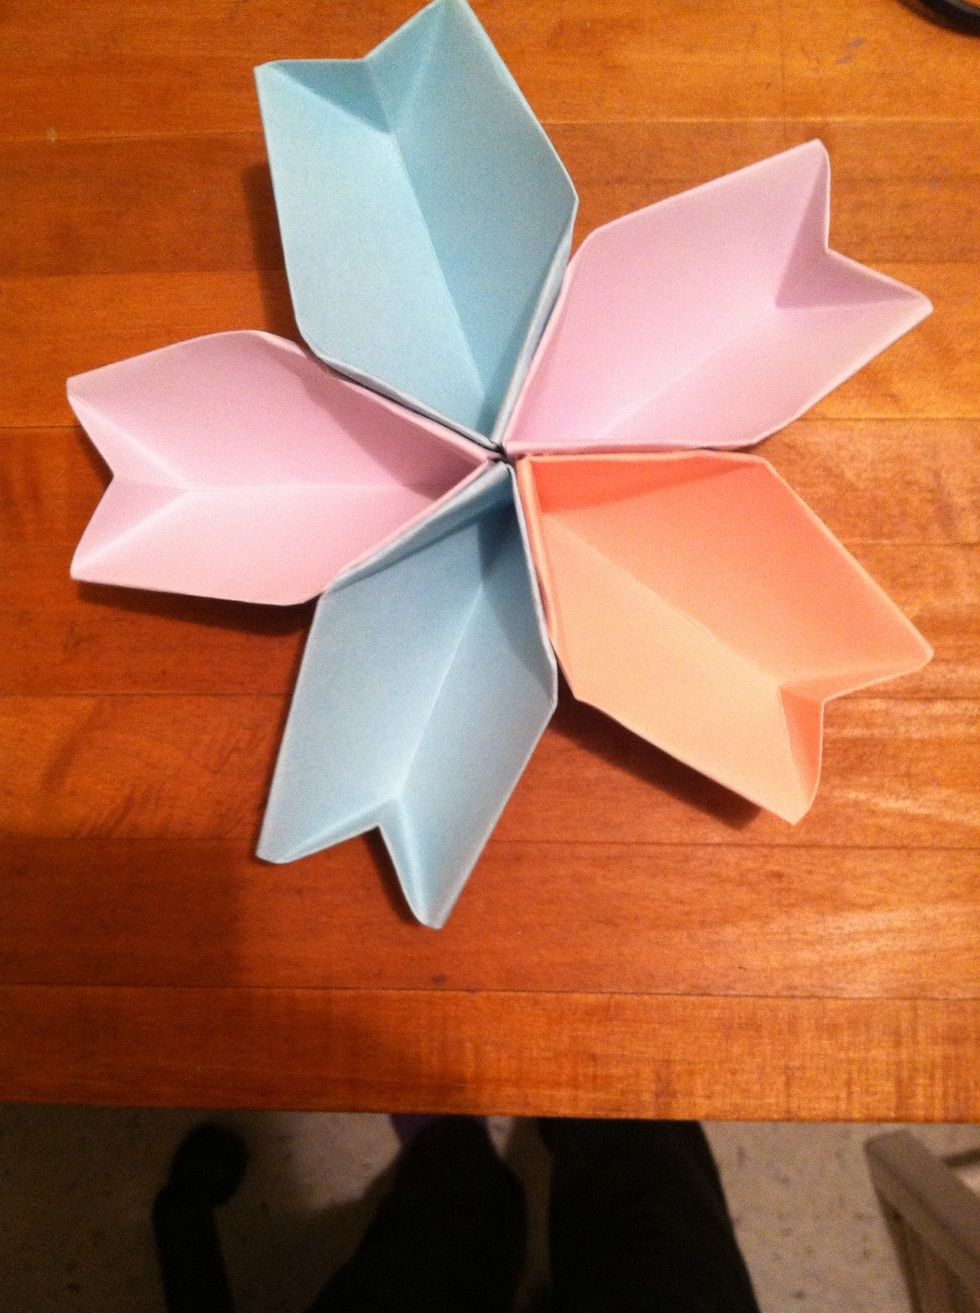
Make 4 more, then put glue on the whole slanted side and hold it together with the one next to it to glue them together.
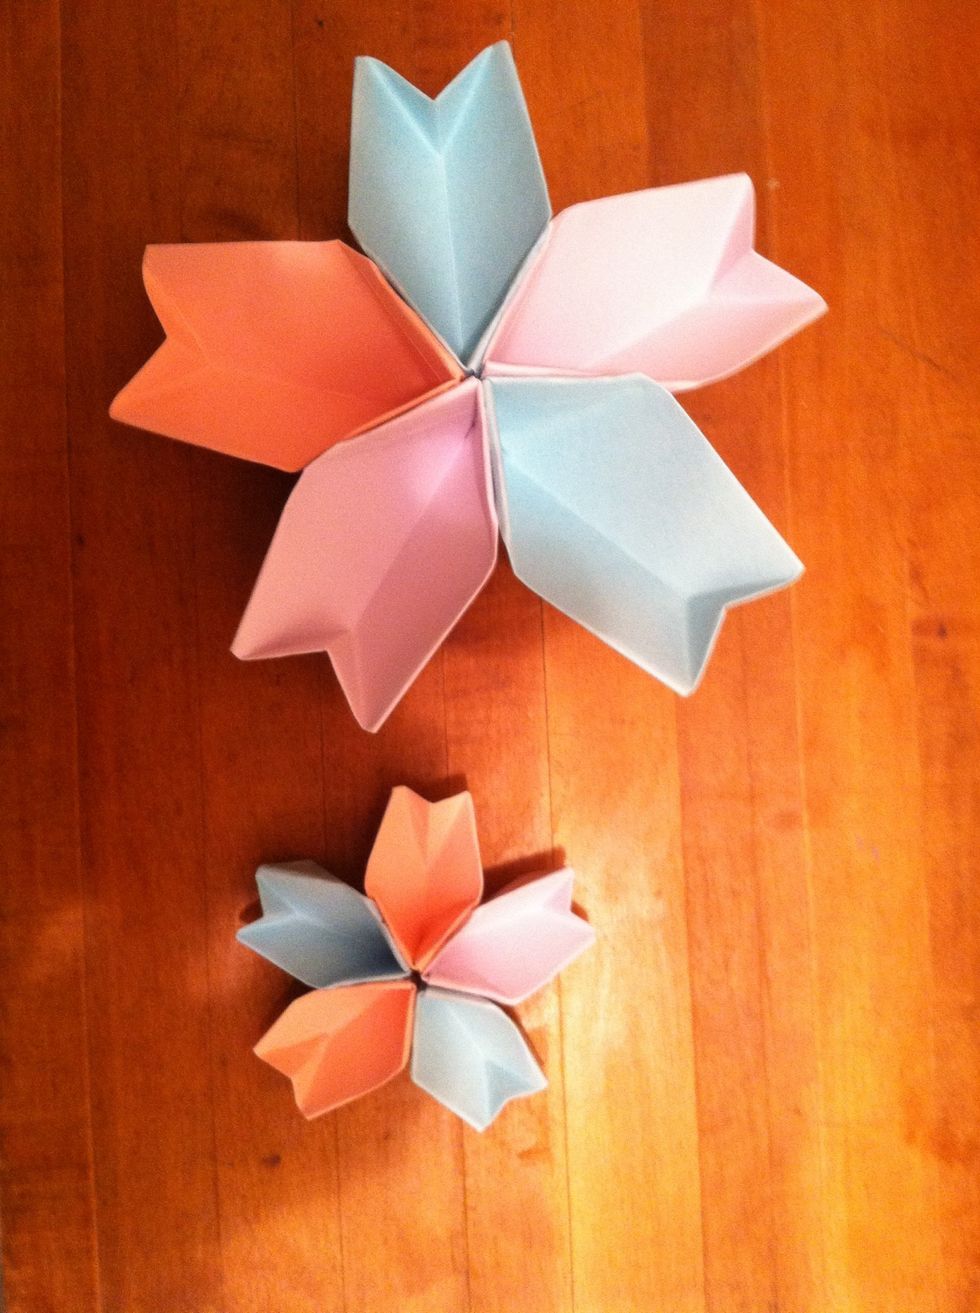
I also made a smaller one out of 3" by 3" squares of paper, however, that was VERY difficult because I used thicker paper, so I highly recommend practicing with the bigger ones first. Enjoy!