The Conversation (0)
Sign Up
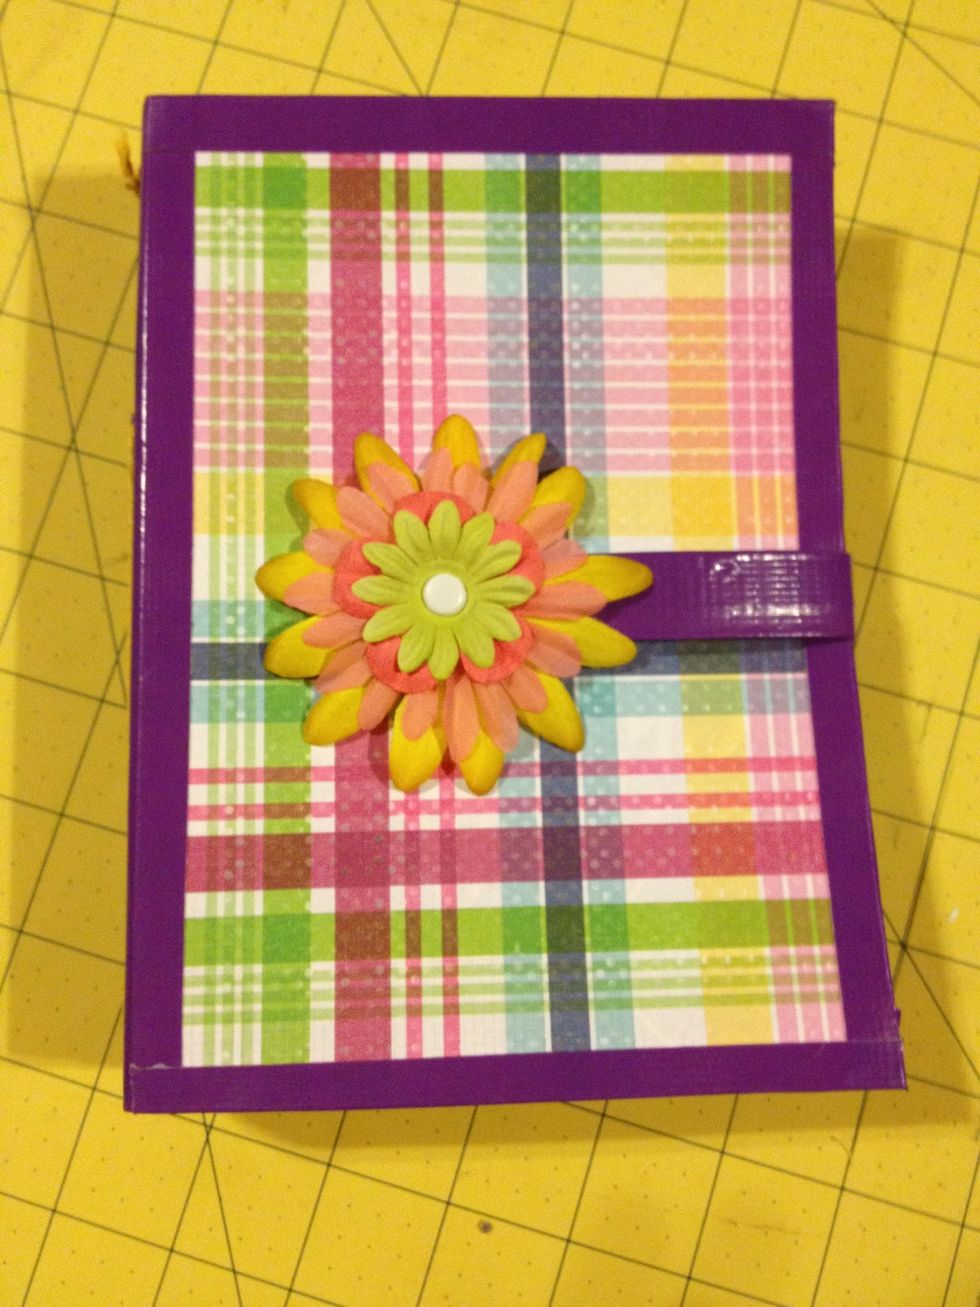
Here is what we're going for.
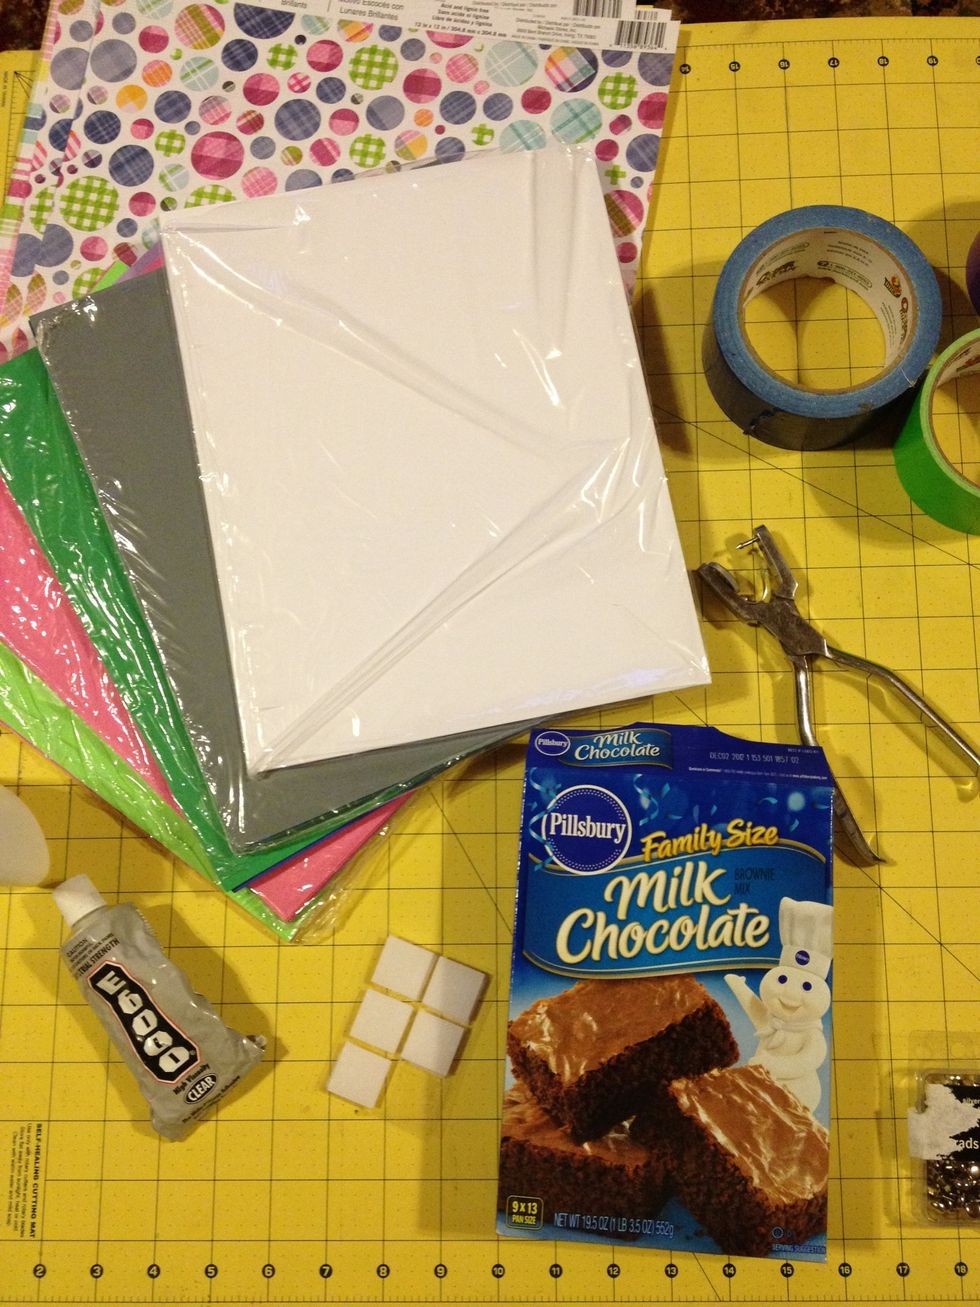
Supplies
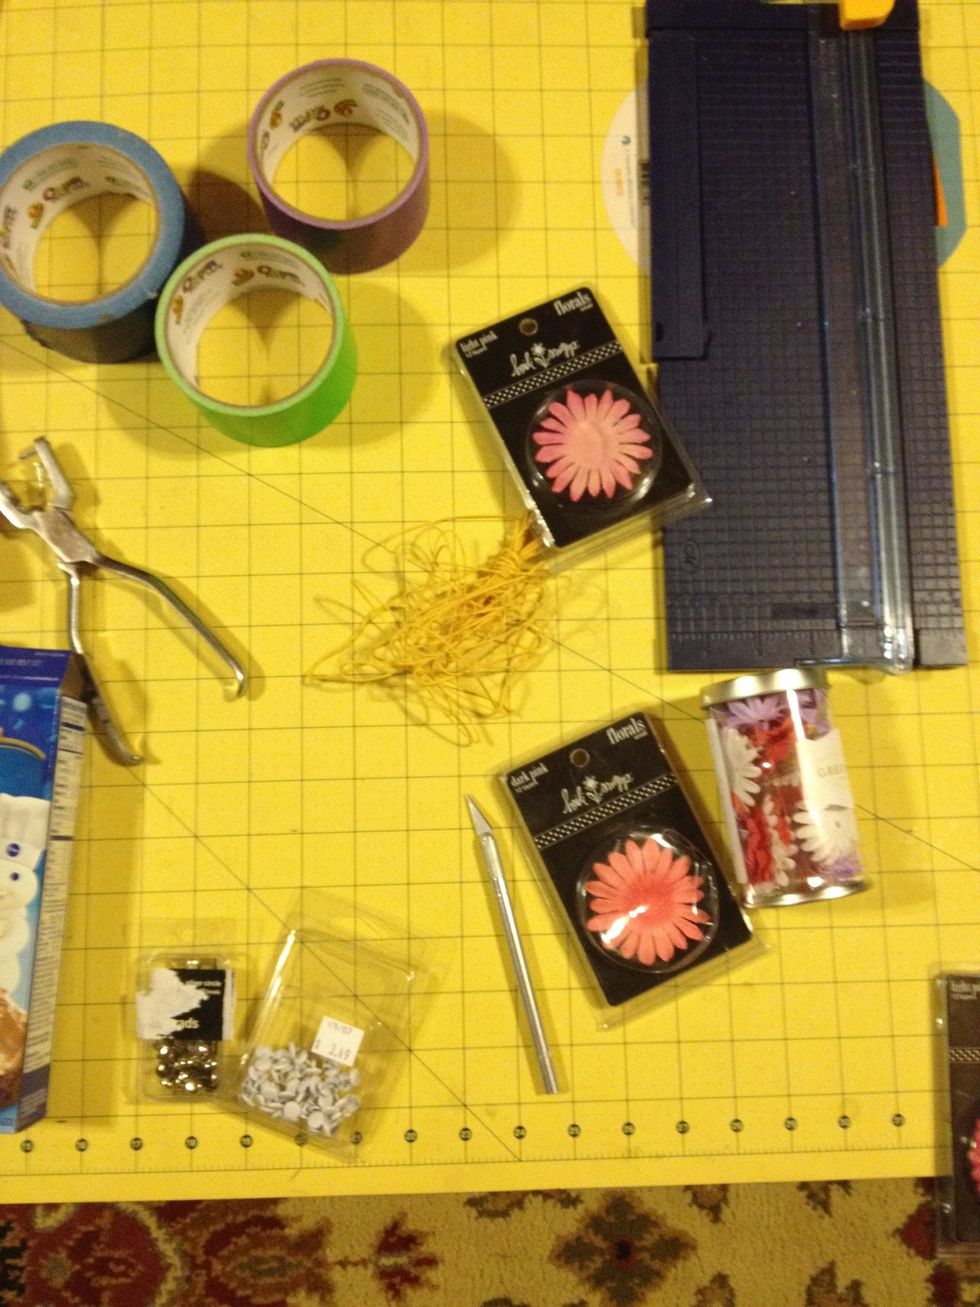
Supplies
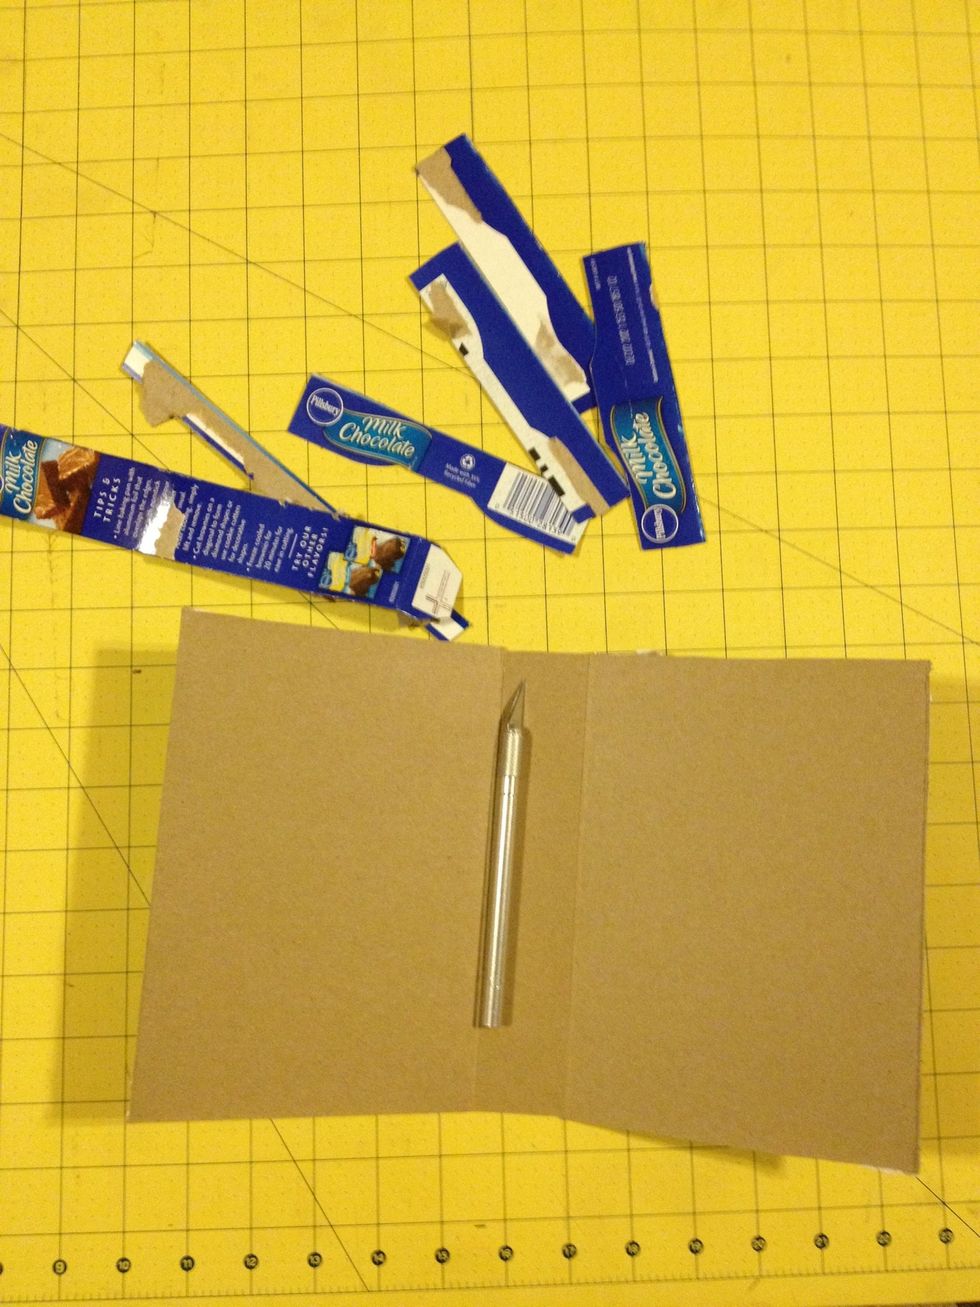
Use the knife to open the box and cut off the top and bottom flap and one side.
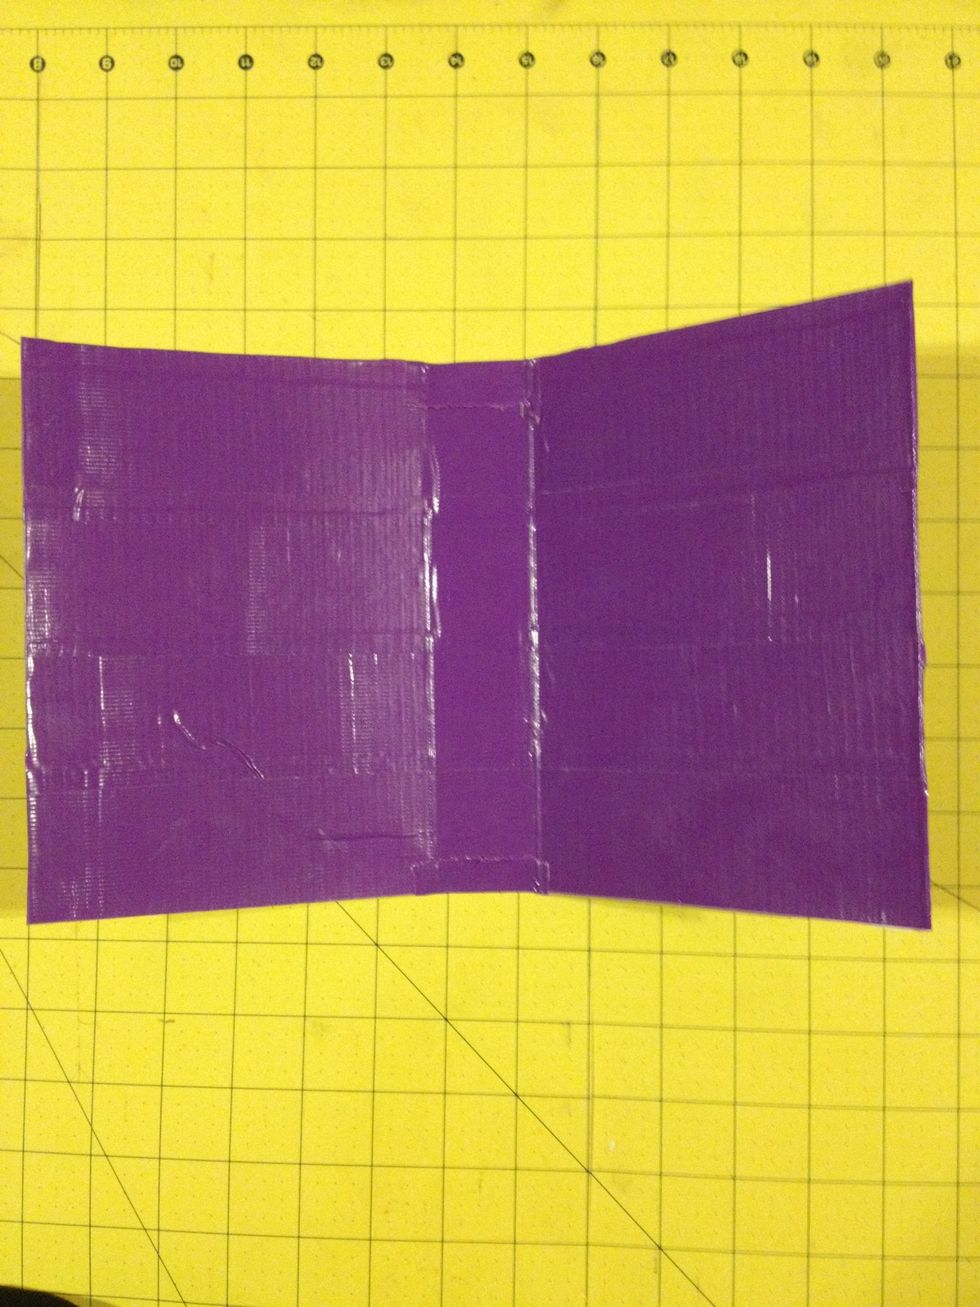
Line the inside of the box with duct tape for support.
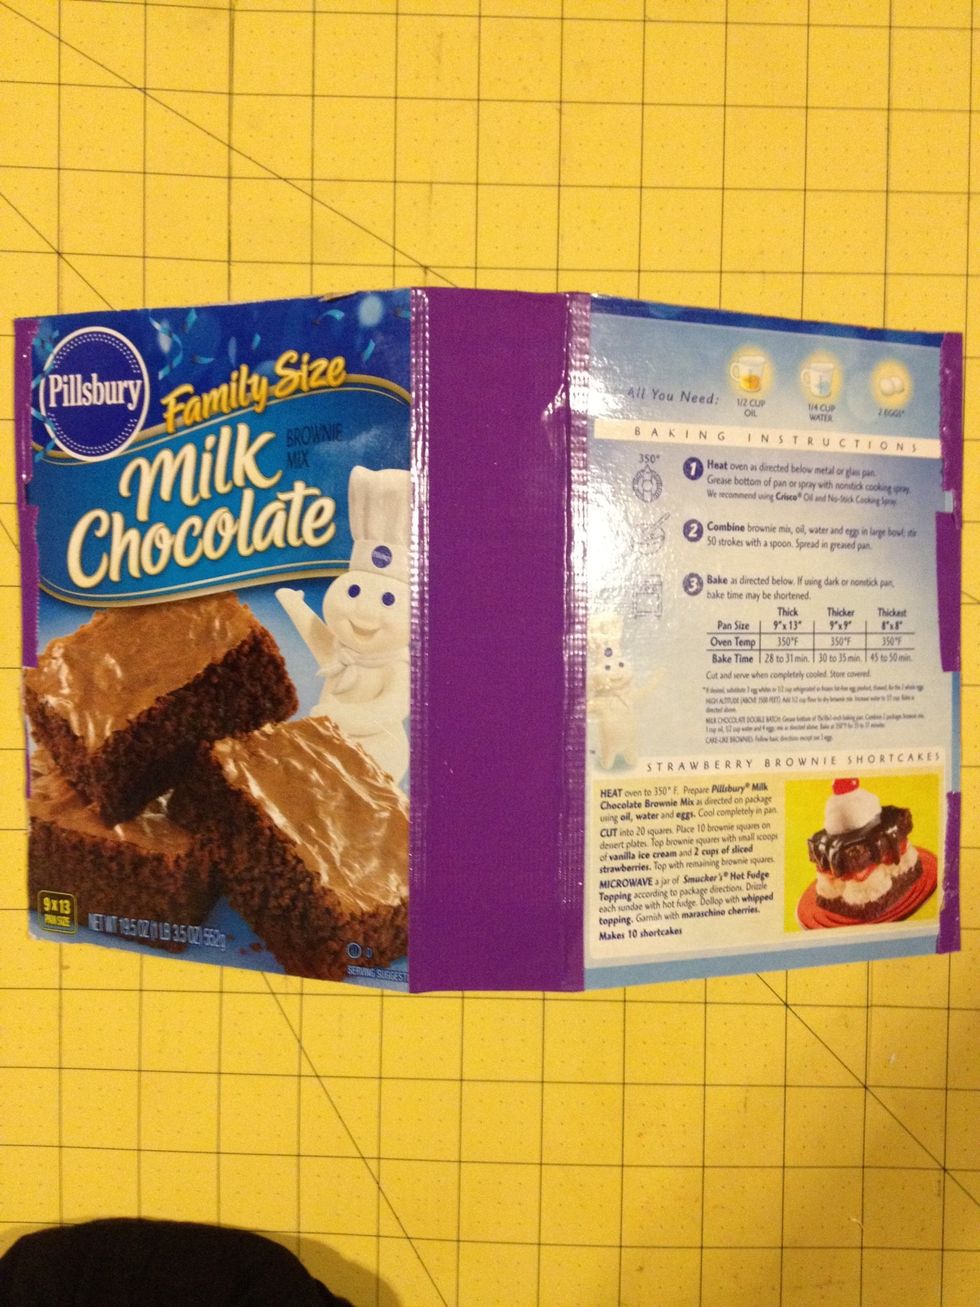
Line the outside binding with duct tape
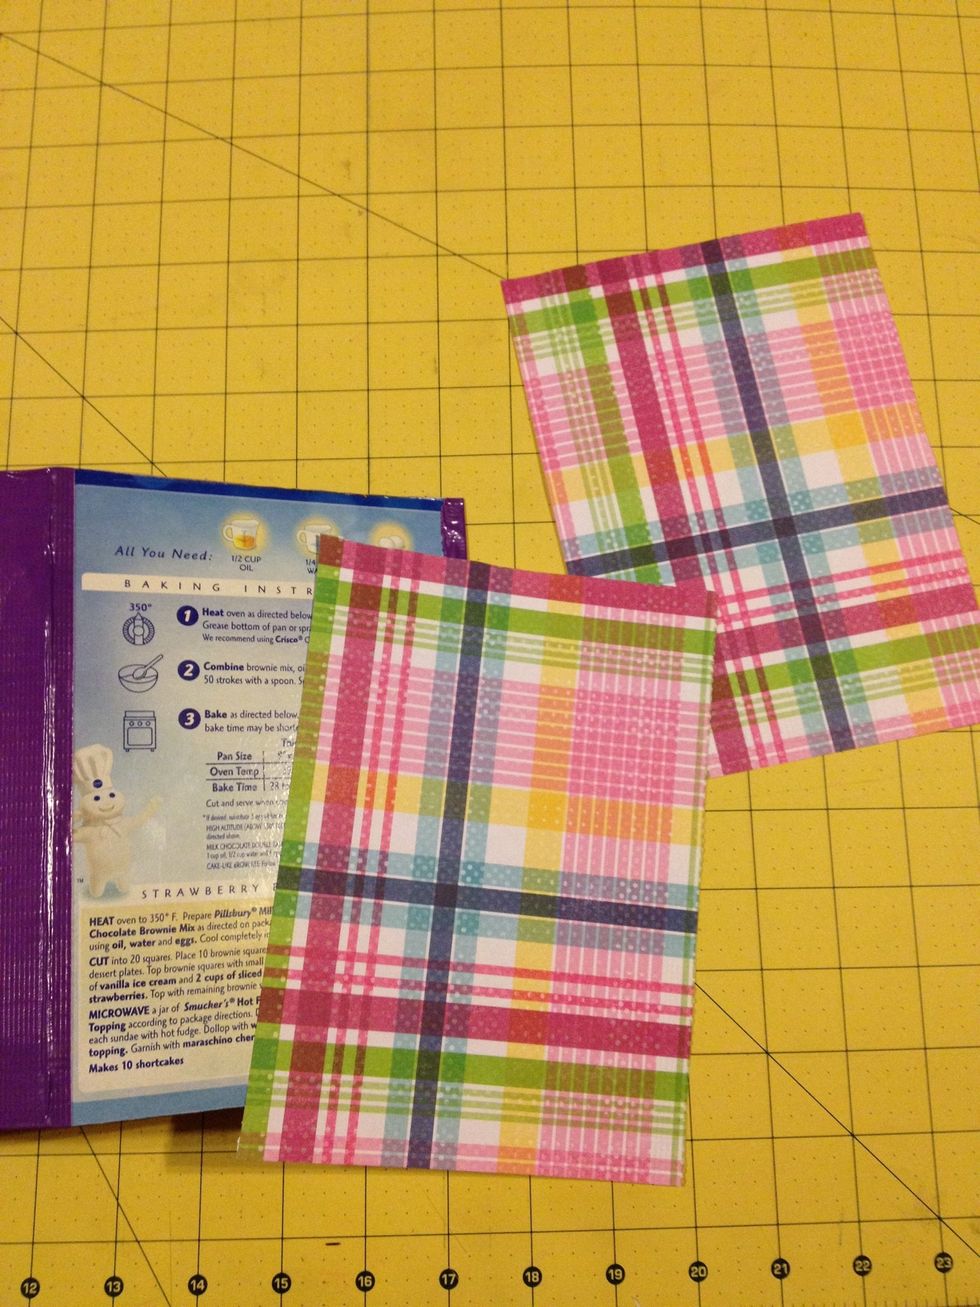
Cut two pieces of paper from the 12X12 sheet to cover the back and front.
Glue the paper on to the front and back panels. Don't worry if it isn't sturdy, we will duct tape the sides down.
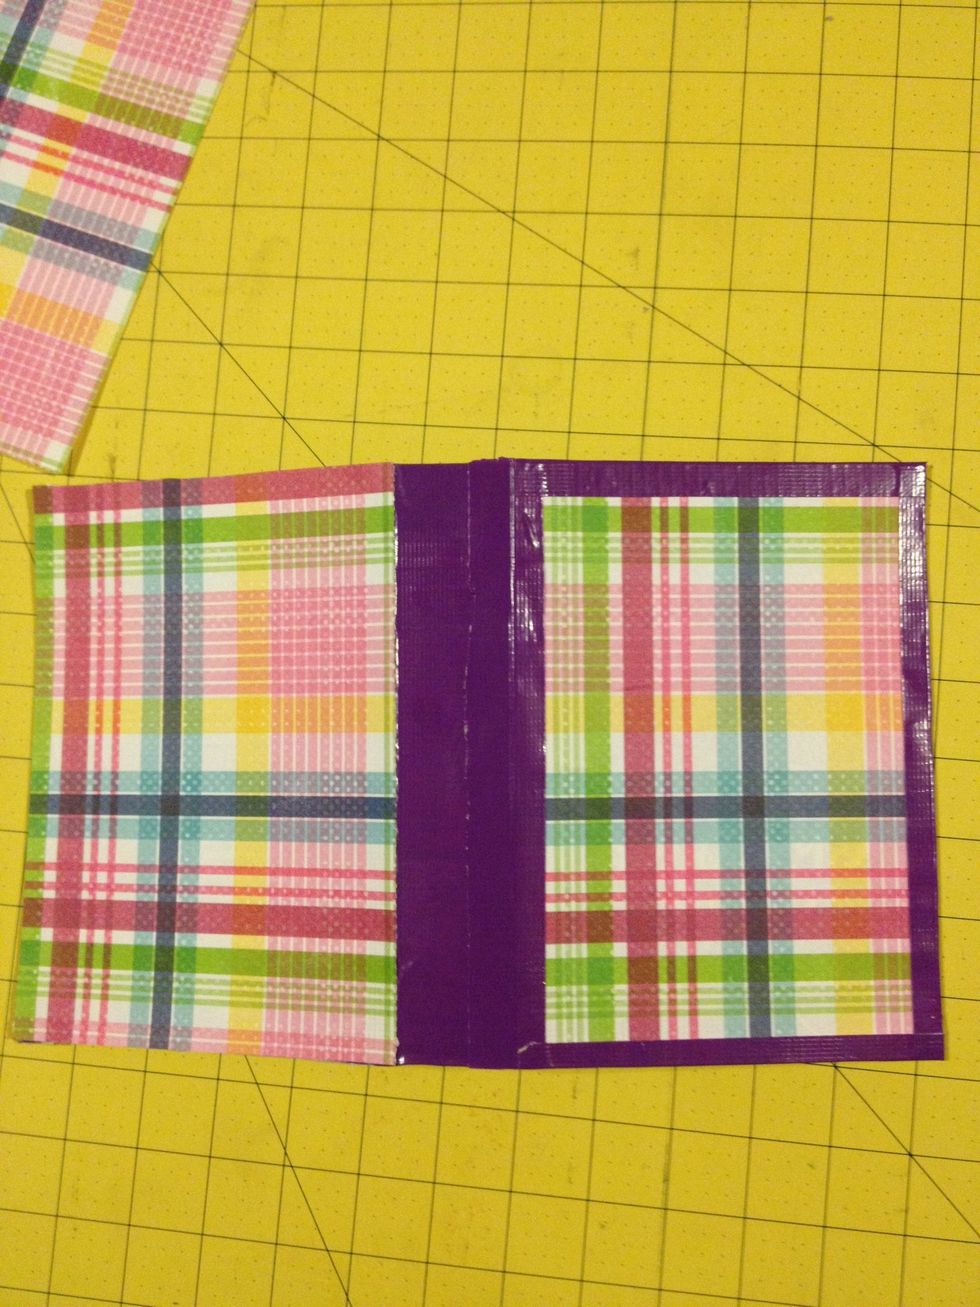
Duct tape around the sides of both covers (one cover in the above picture). I cut the duct tape in half lengthwise to make it less thick.
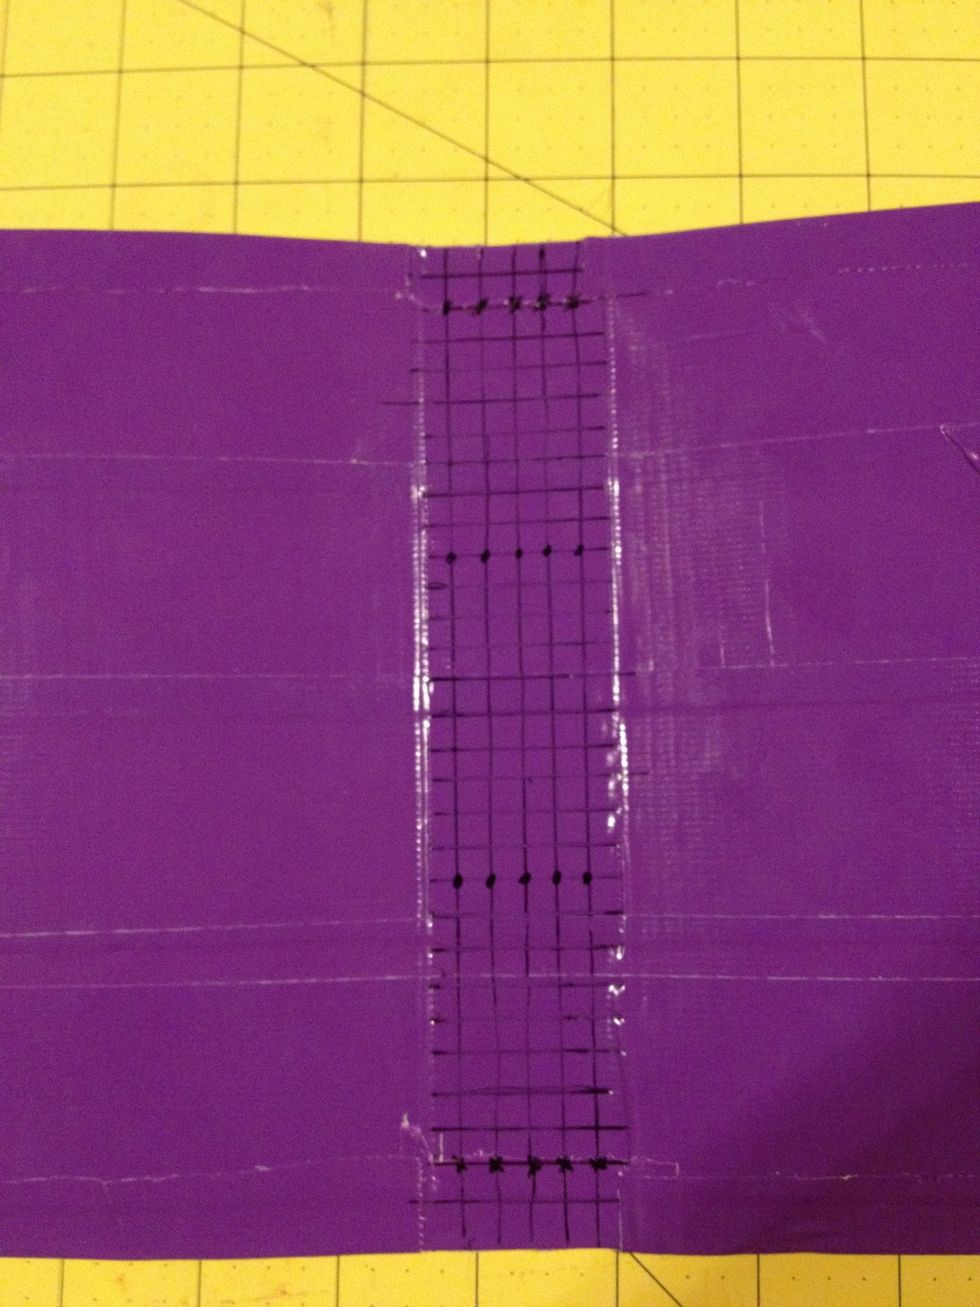
Mark every 1/4 inch on the inside binding. The number of intersections on the horizontal lines (in this case, 5) determines the number of paper sections you will have.
Mark where you want your stitching. There needs to be at least 4 per vertical line. It will be strongest if you make it symmetrical. (See previous picture)
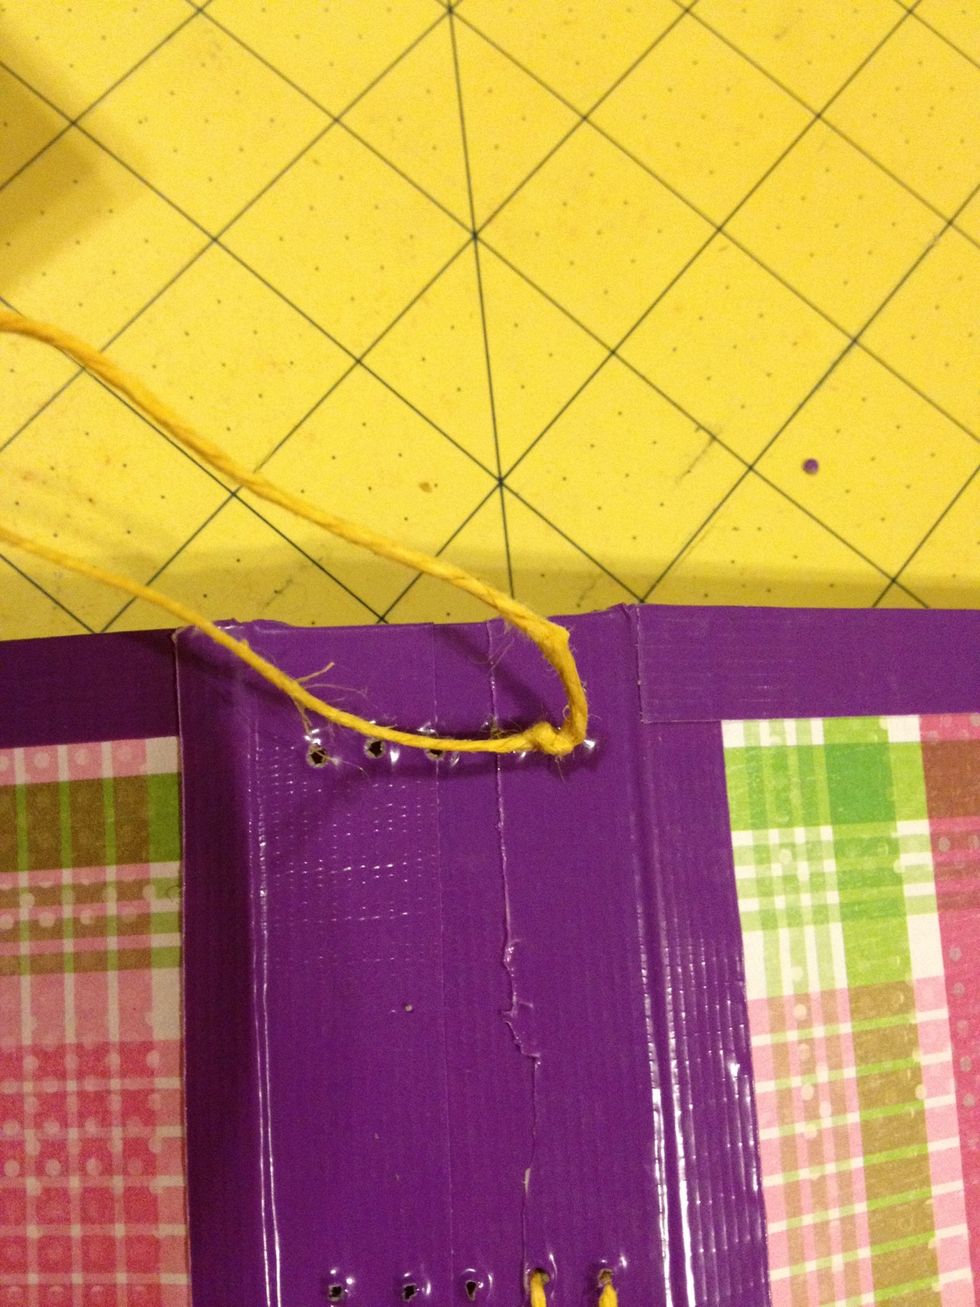
Using your needle, or an awl, puncture holes on the binding marks.
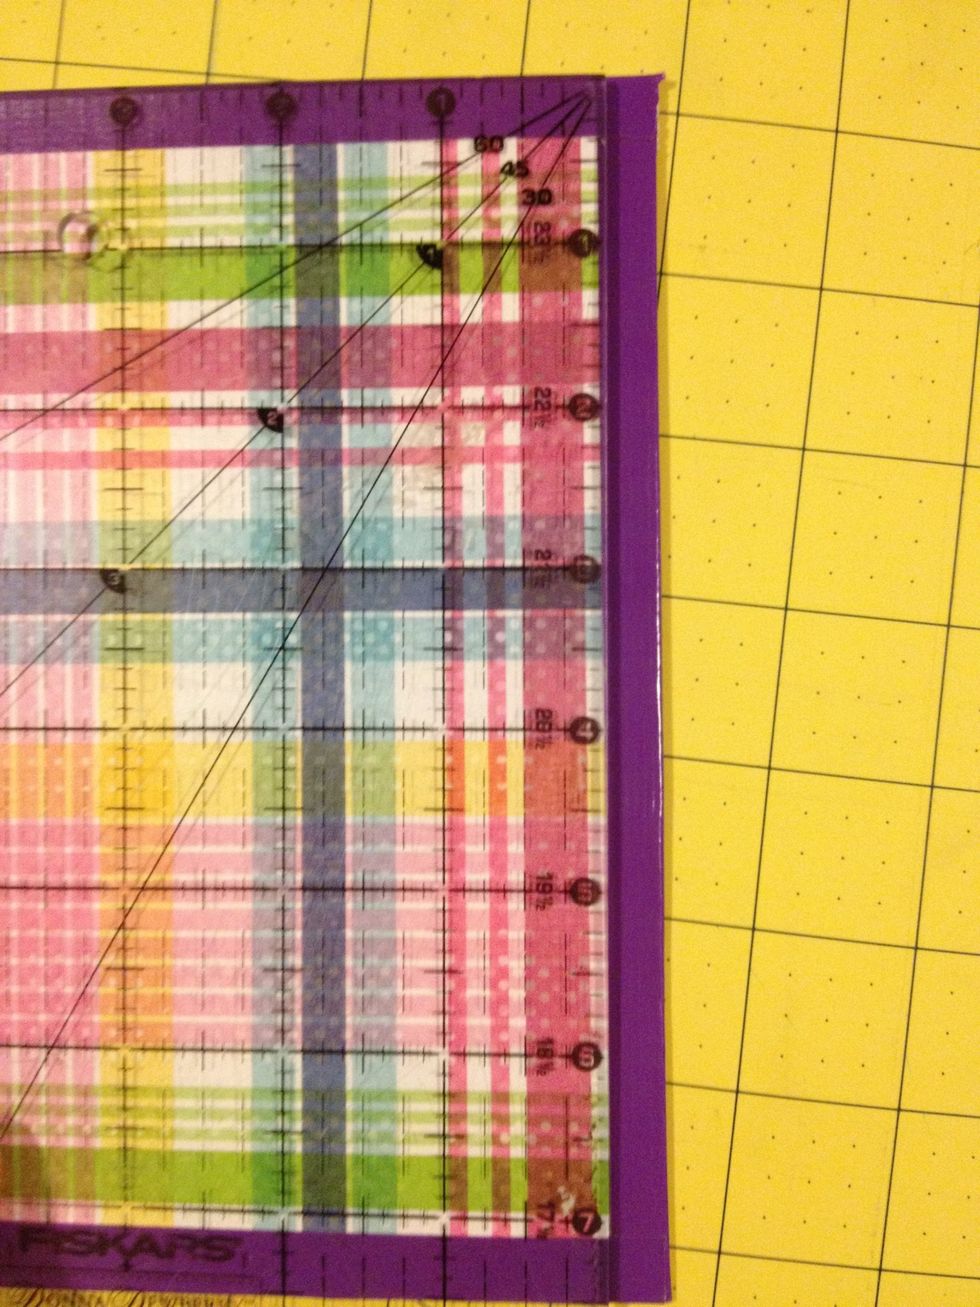
Measure the long side of your book. This one is 7 1/2 inches. Your paper will be a 1/4 inch smaller than your measurement so I'll cut mine at 7 1/4 inches.
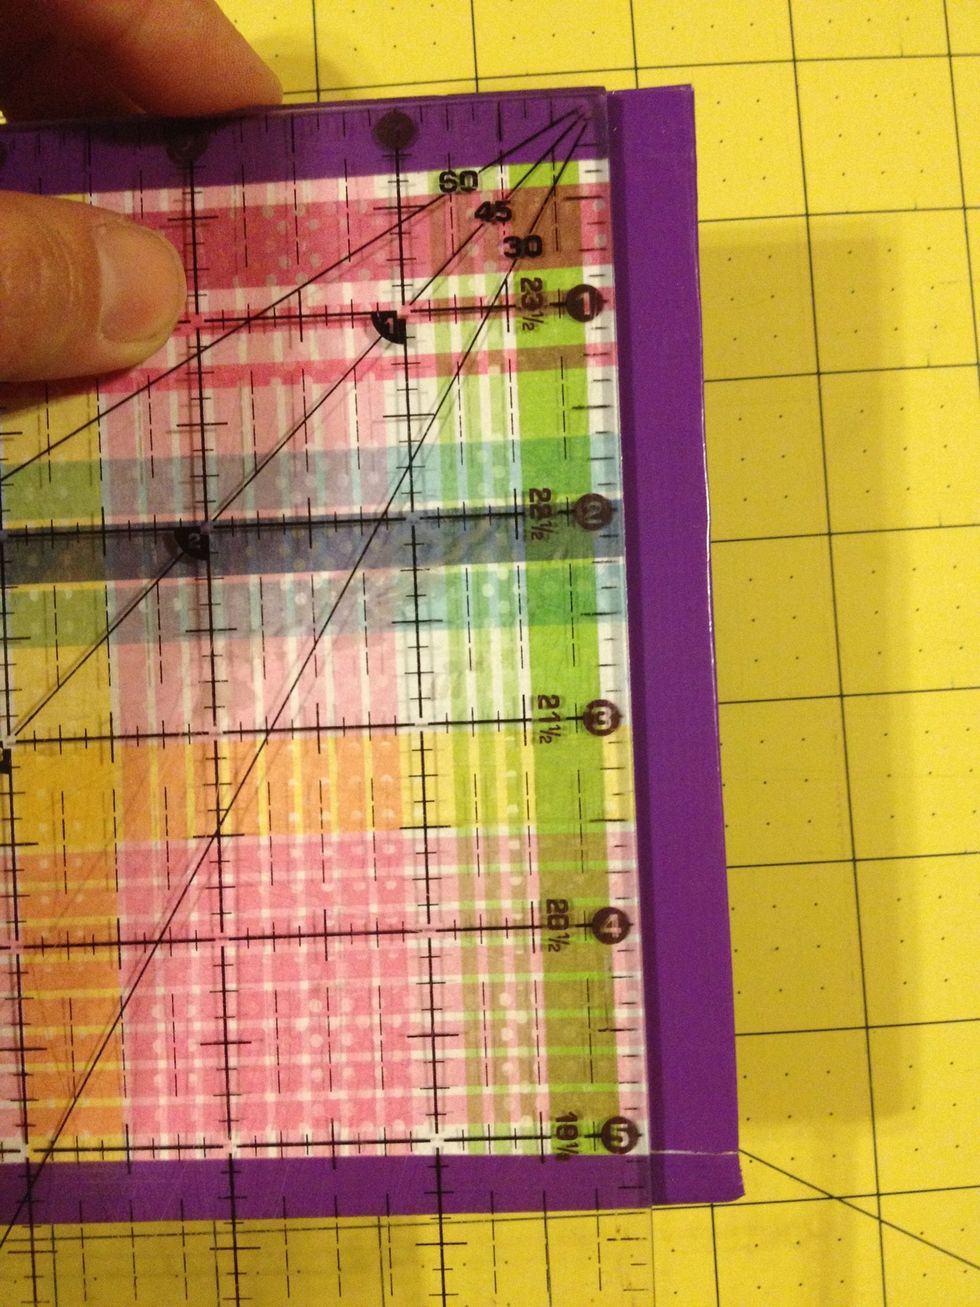
Measure the short end of your front cover. This one is 5 1/2 inches. I want my paper to be a 1/2 inch smaller so it will end up being 10 1/2 inches long. (5 1/2+ 5 1/2 = 11- 1/2= 10 1/2)
Cut all of your paper. I decided to do 5 sheets per section (5 sections) so I'll need 25 pieces of paper.
Divide the paper into five sections.
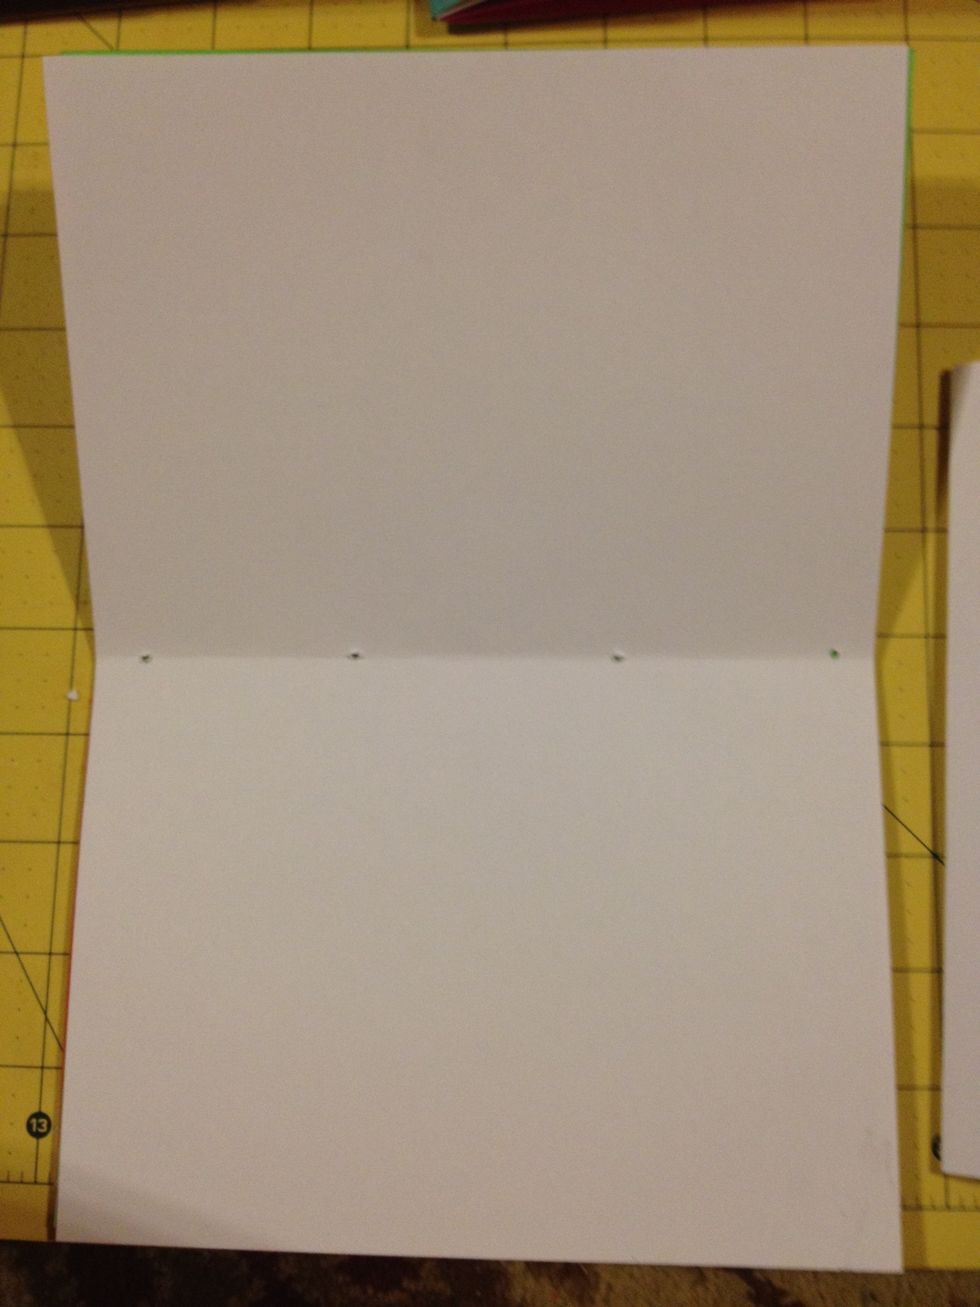
Using a sheet of paper as a template, punch corresponding holes in all of the sections of paper.
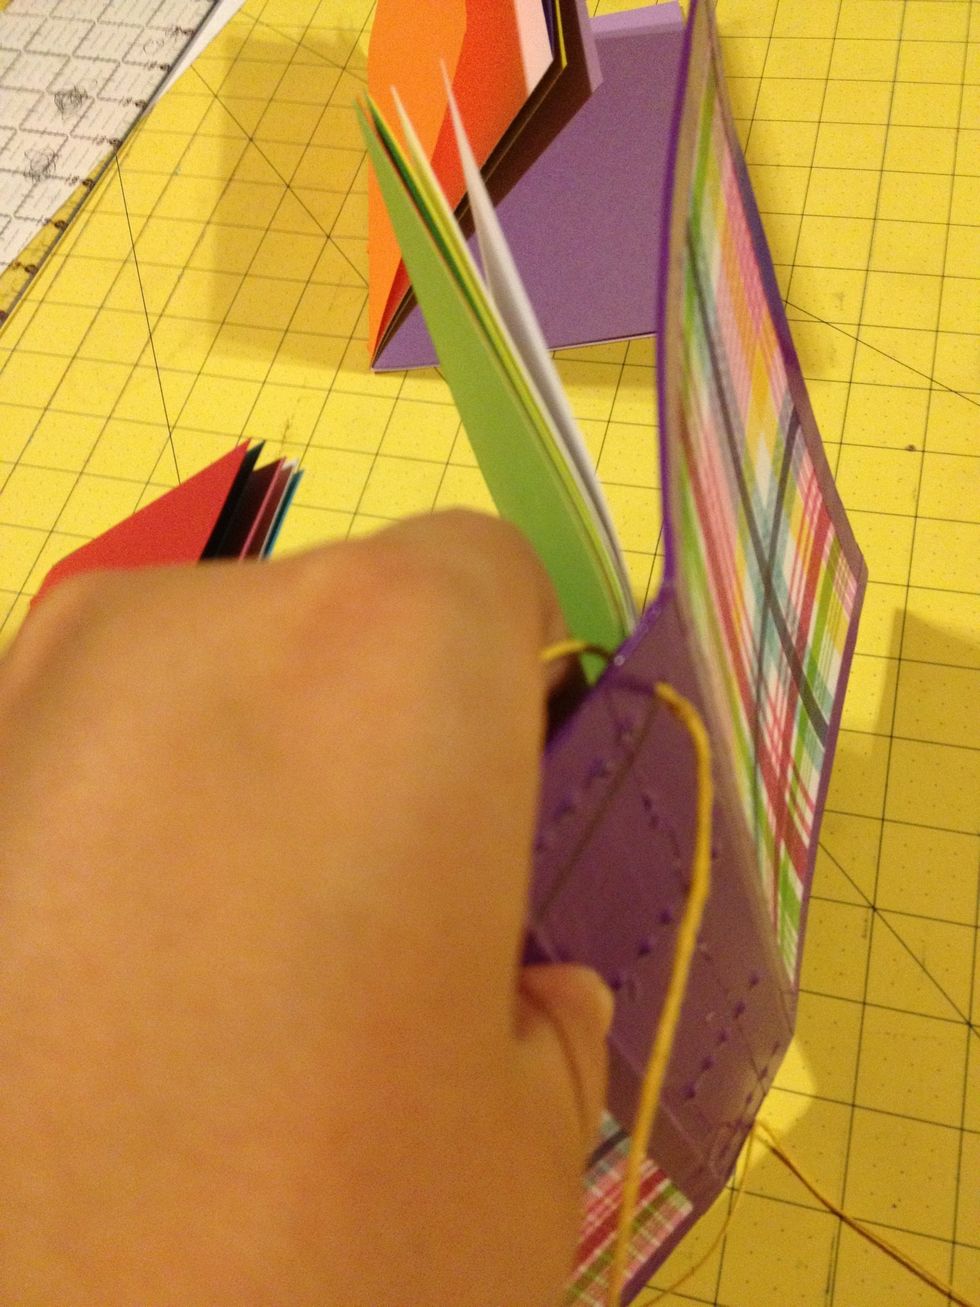
Start sewing the first section, leave a tail.
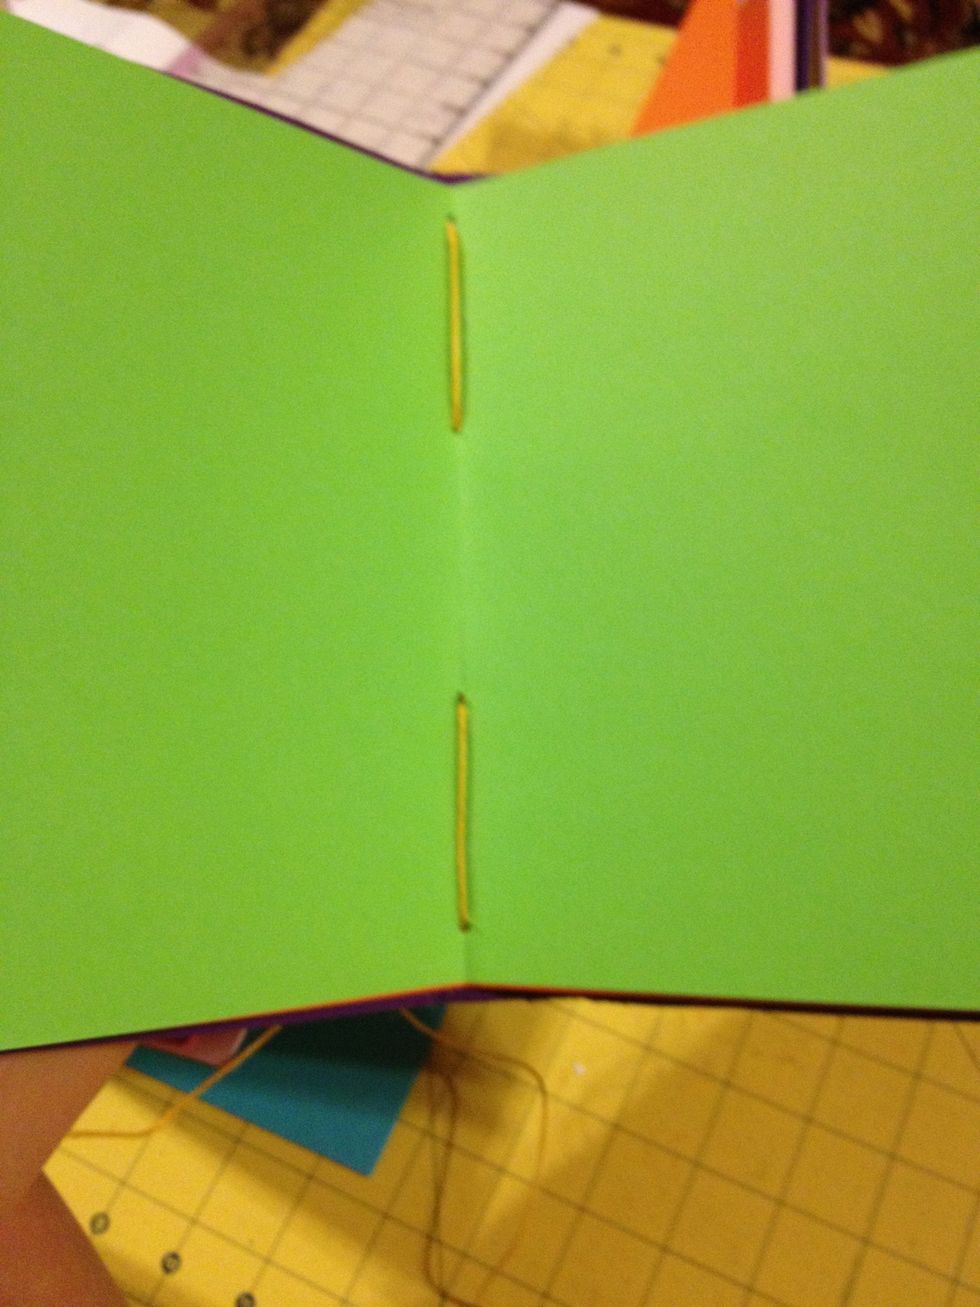
First section
After sewing the second section tie a knot in the beginning tail.

Tie a knot in the finished section.
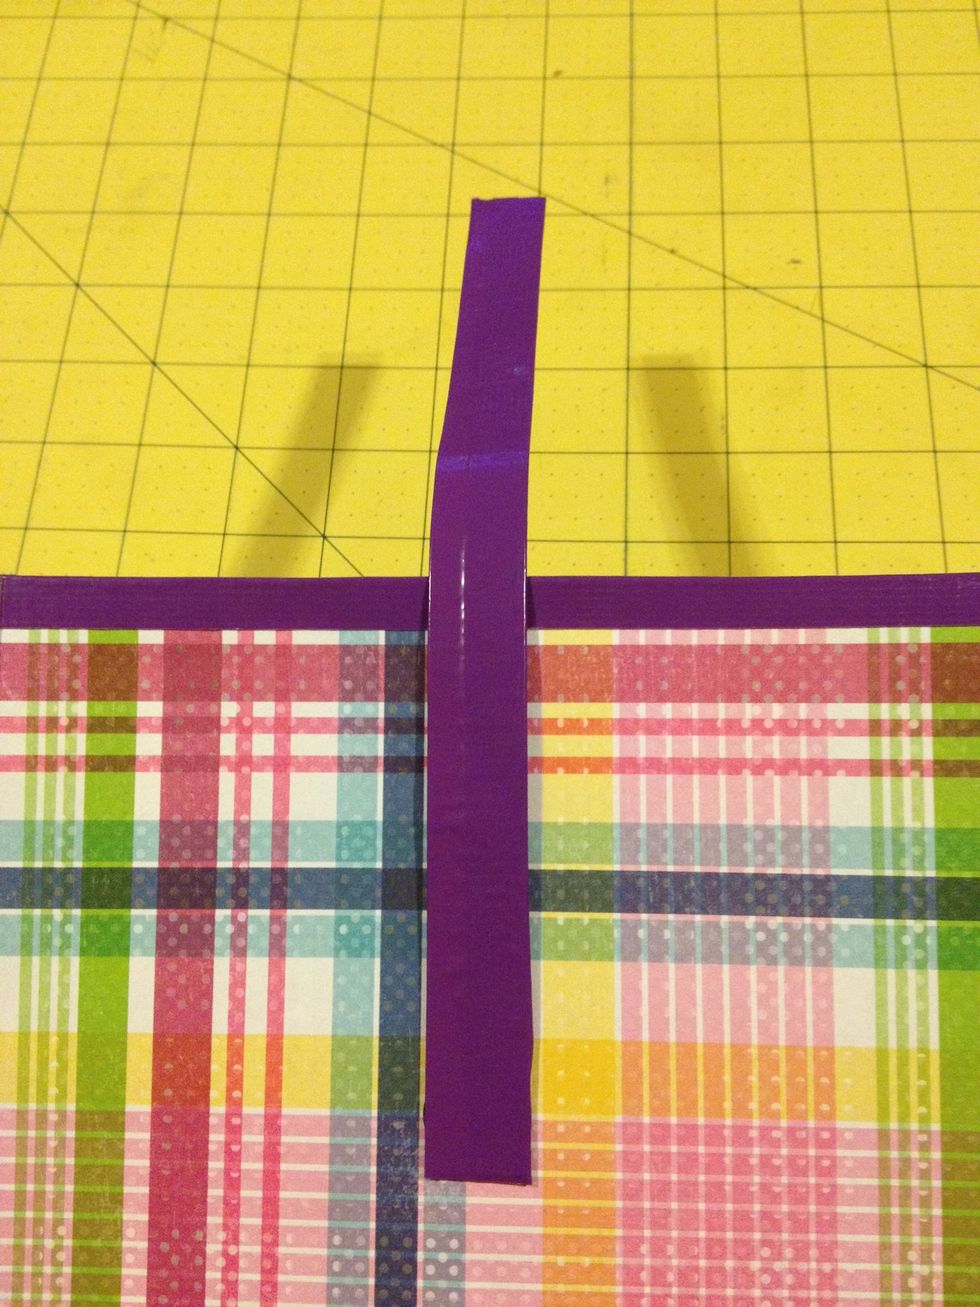
Take one of the scrap strips of paper and wrap it in duct tap for the closing strap. Glue it to the back cover.

Make a flower for the snap. Glue it to the strap.
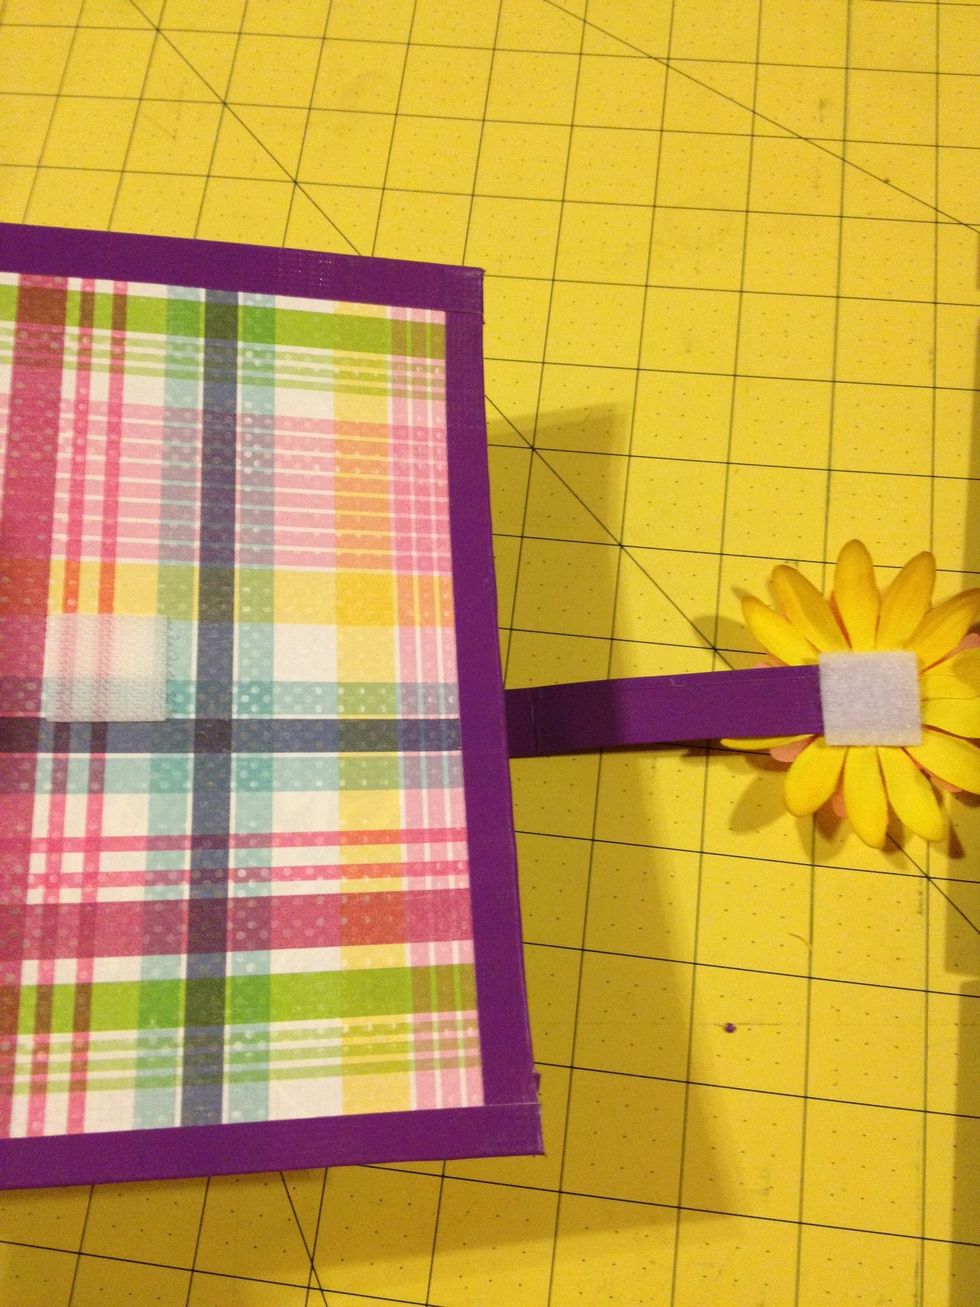
Put Velcro on the strap and front cover.
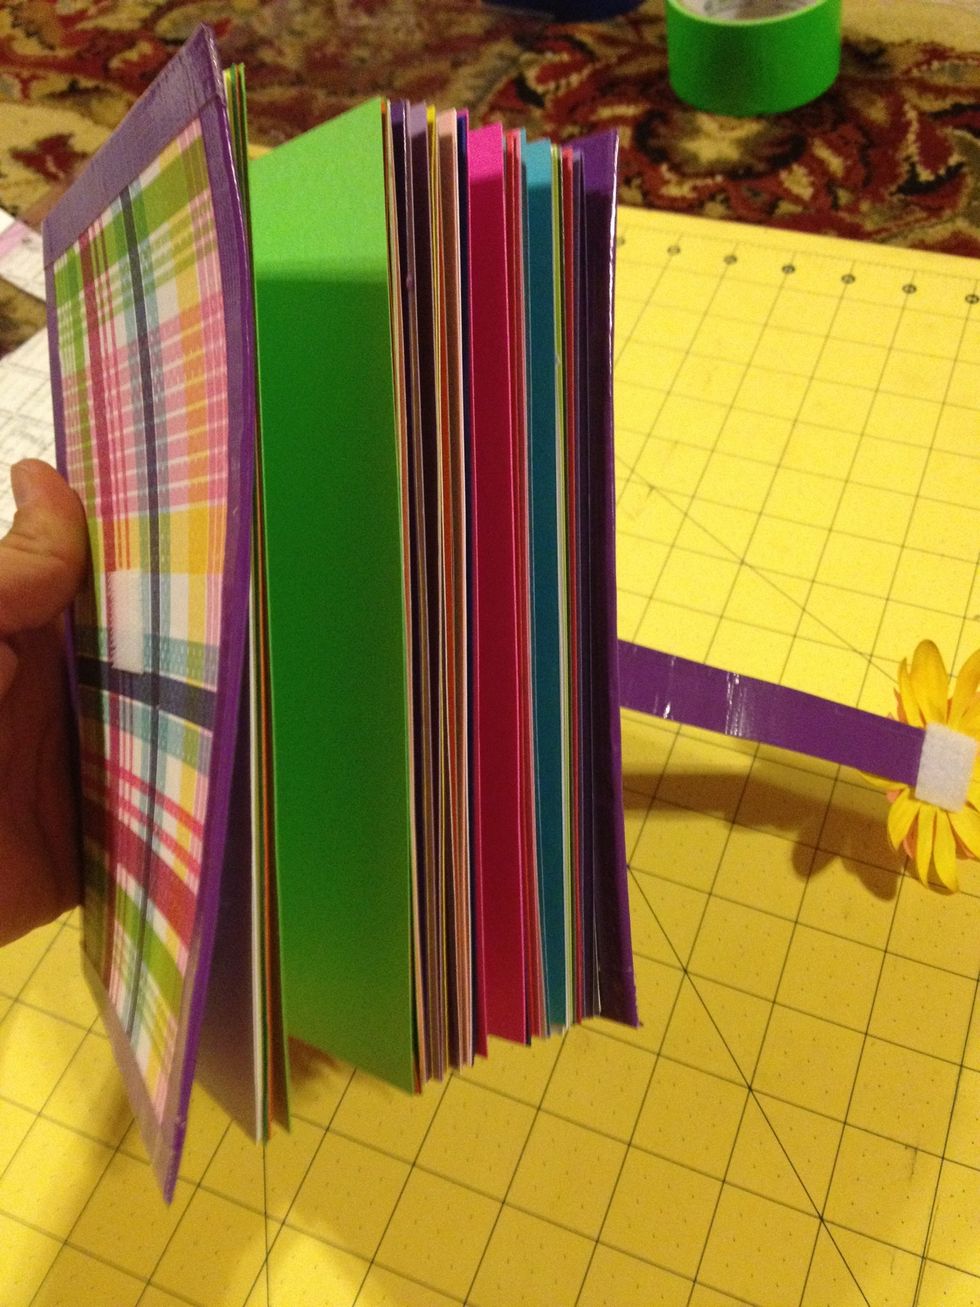
Finished book!