The Conversation (0)
Sign Up

These instructions are for one single window like the one shown above.
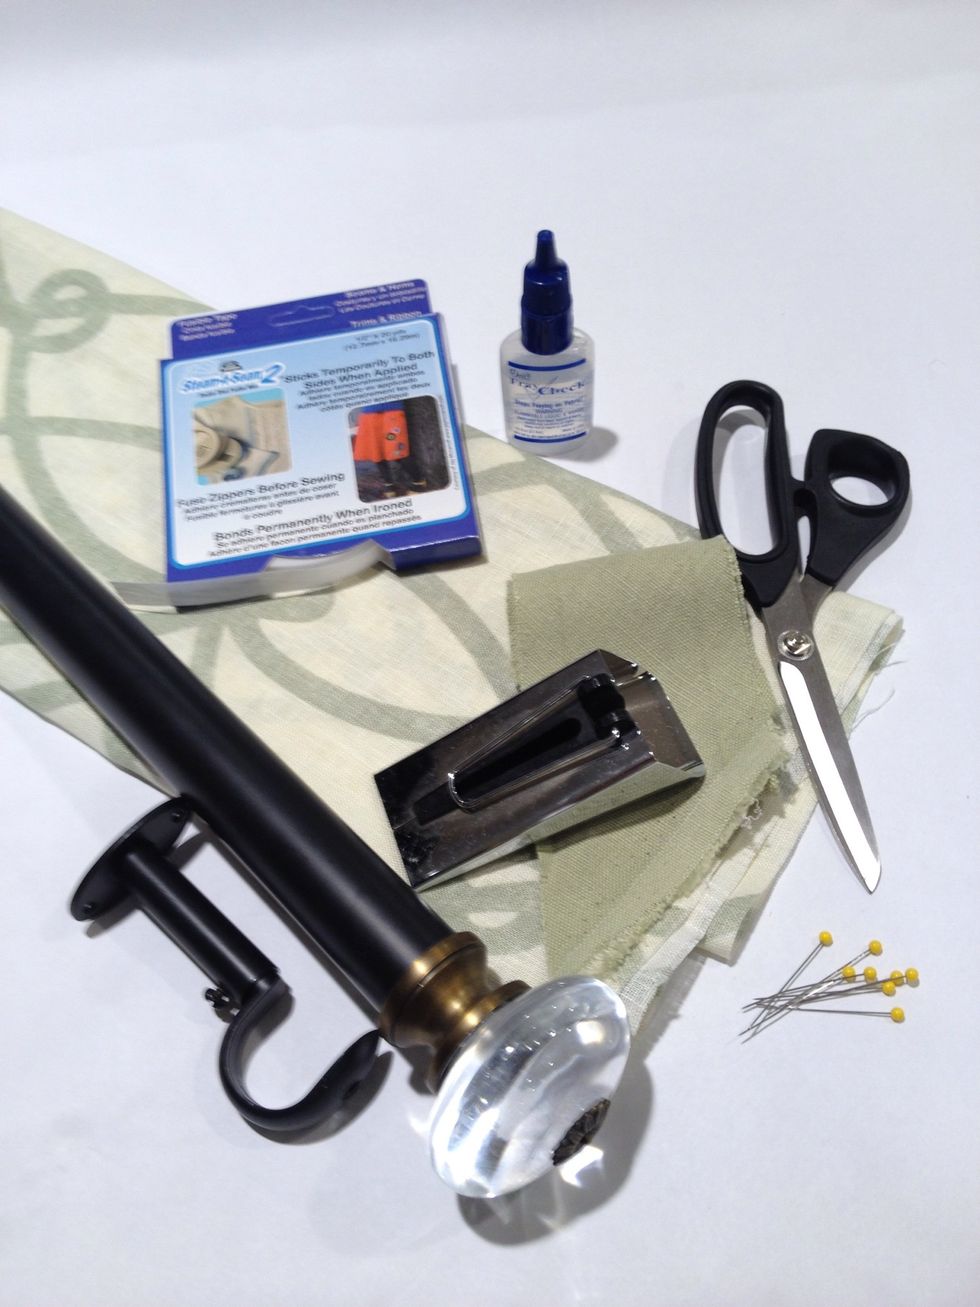
Here are the supplies that you will need. You can find most of these on our website at www.patemeadows.com.
First determine the finished width of your shade. Hang your brackets at the outer edge of the window. Measure the distance between the brackets. This will be your finished width. Ours measured 39".
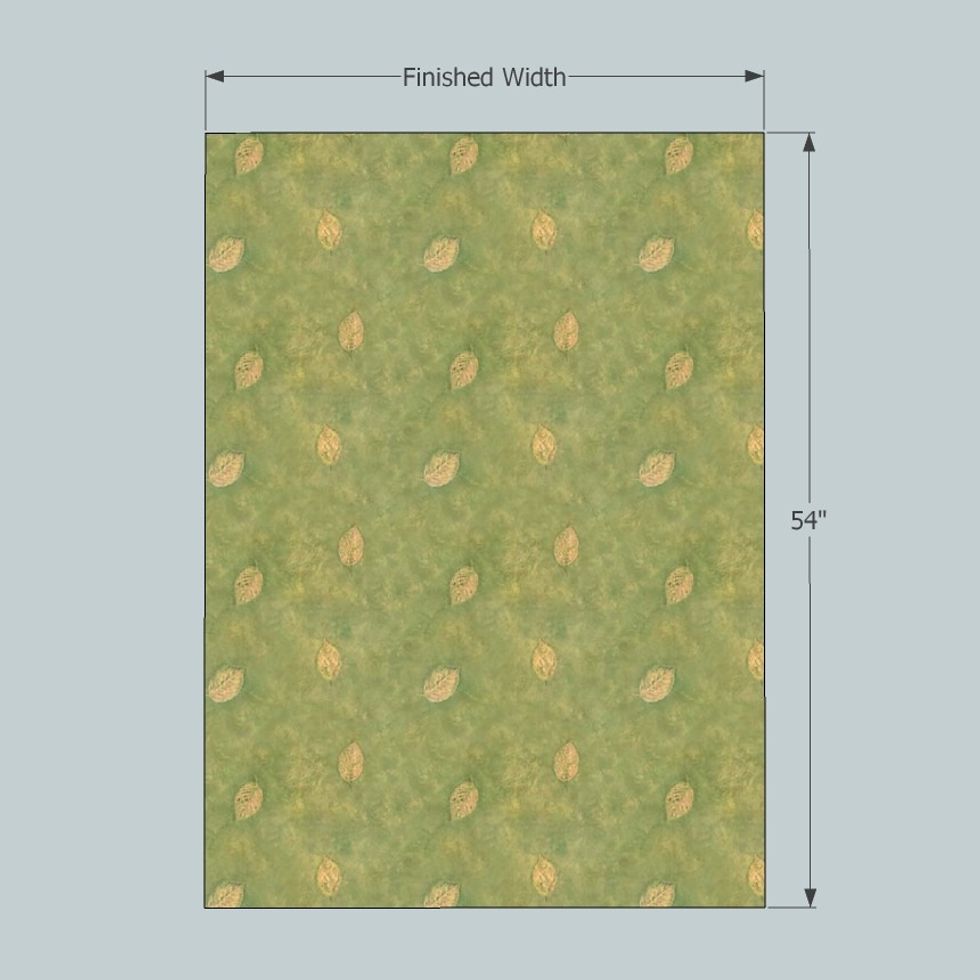
Cut the following: Main Fabric: Cut a rectangle 54" long x the finished width (determined in step 3).
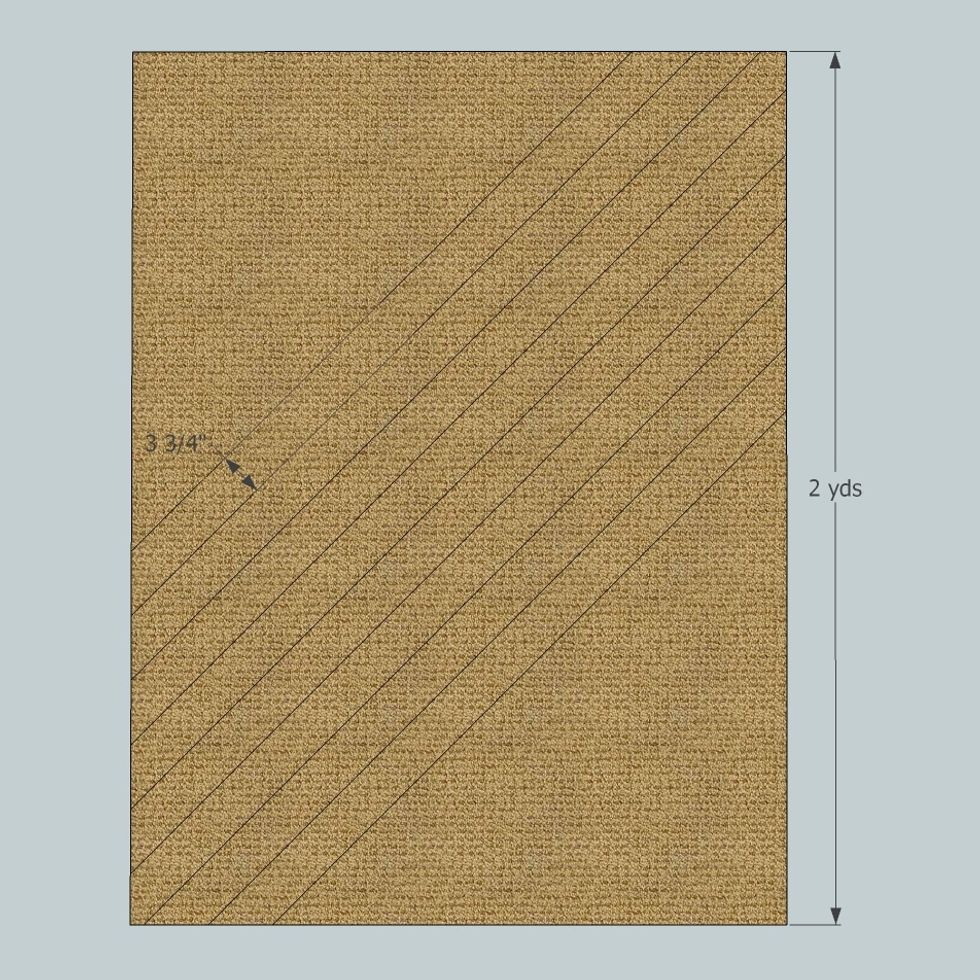
From the 2 yds of contrast fabric, cut (8) 3-3/4" bias strips. For tips on cutting bias strips, our tutorial at www.patemeadows.com/Cutting-Bias-Strips-for-Piping-and-Banding_ep_61.html
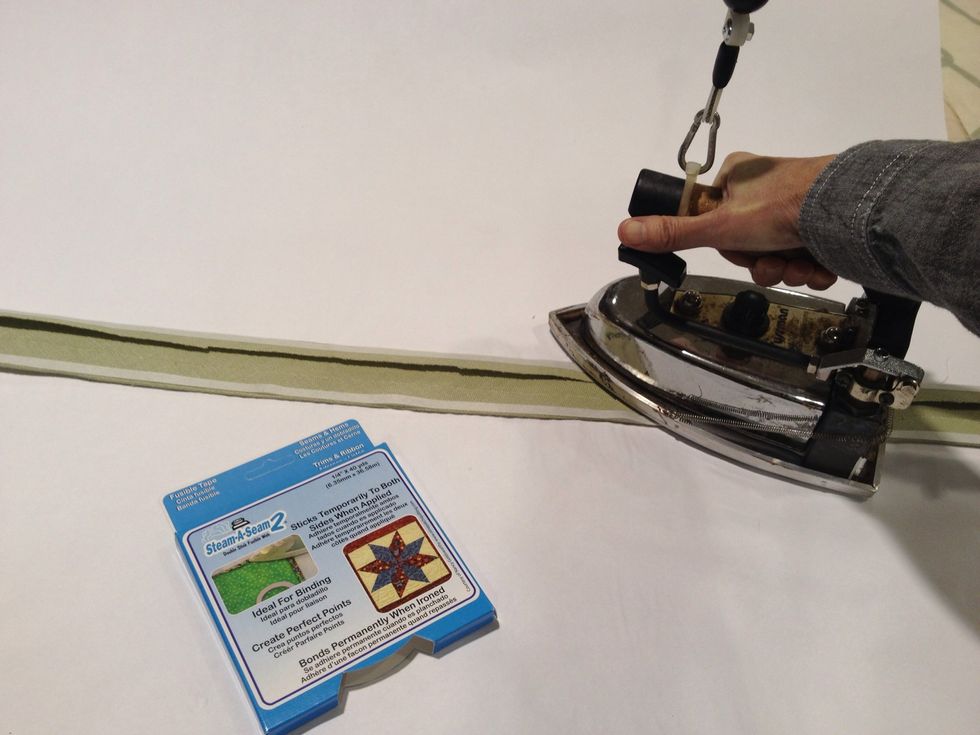
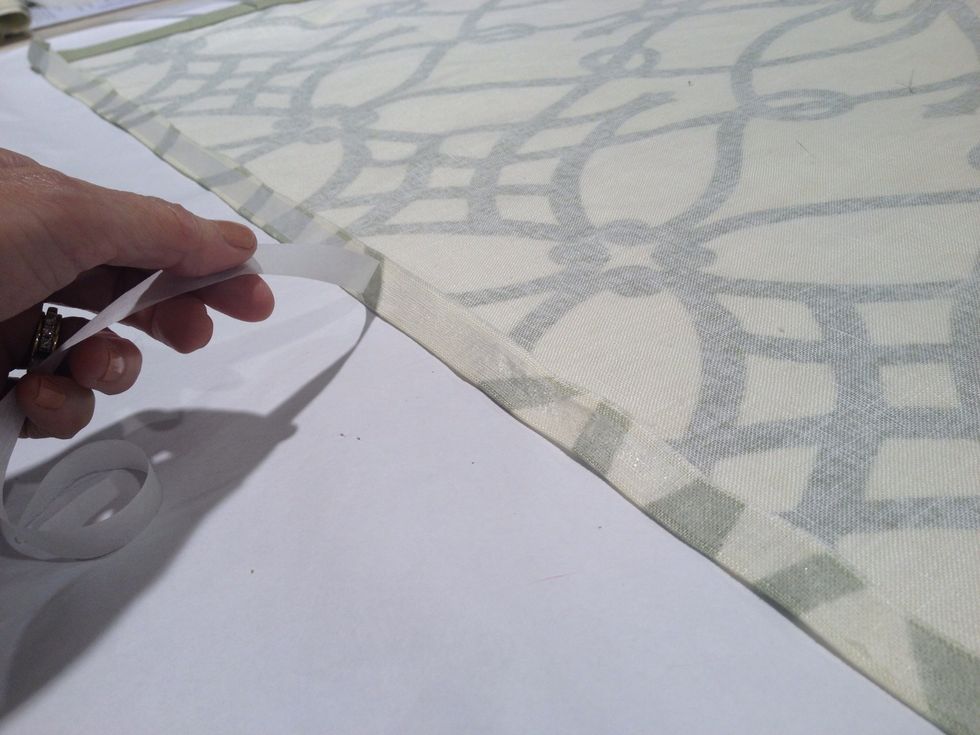
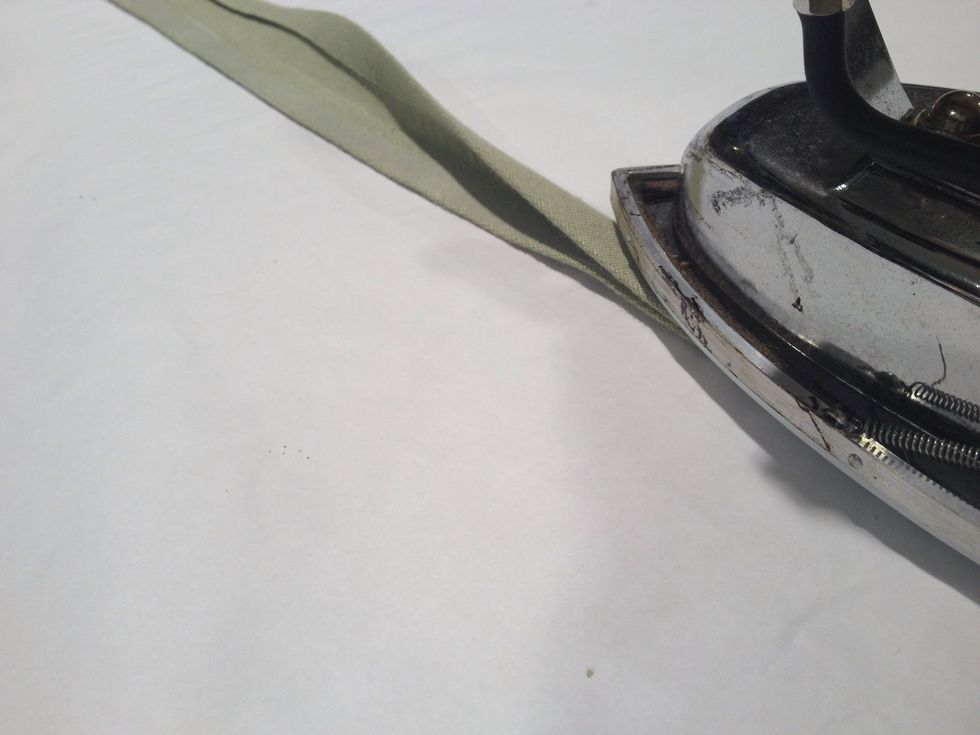
Press steam-a-seam to each side of the folded edge banding.
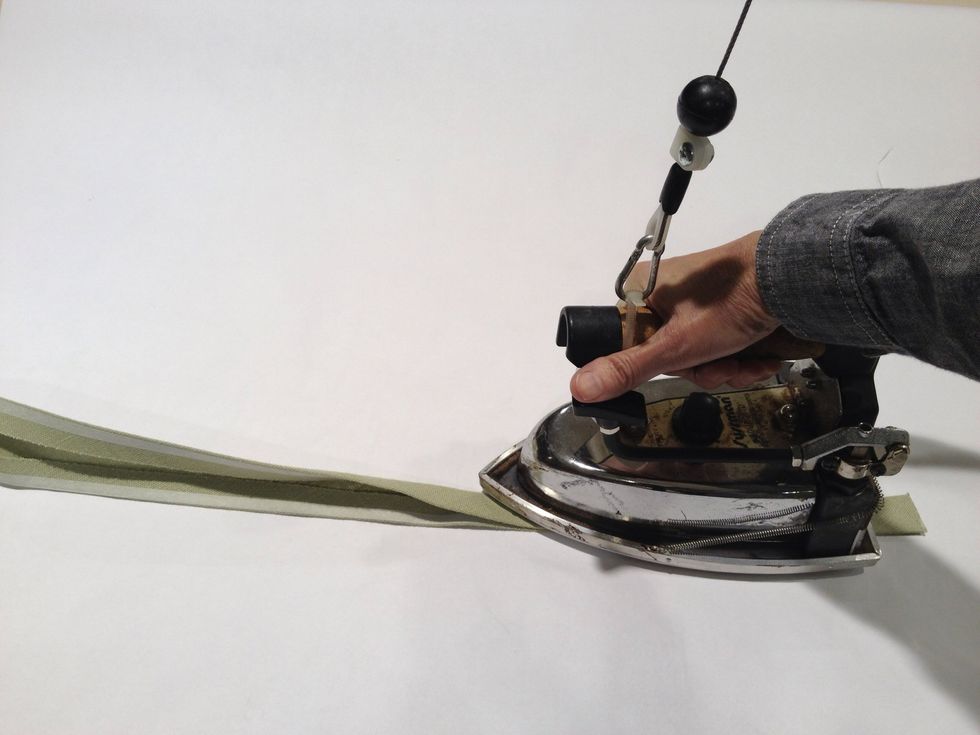
Without removing the backing from the steam-a-seam, fold the banding in half and press.
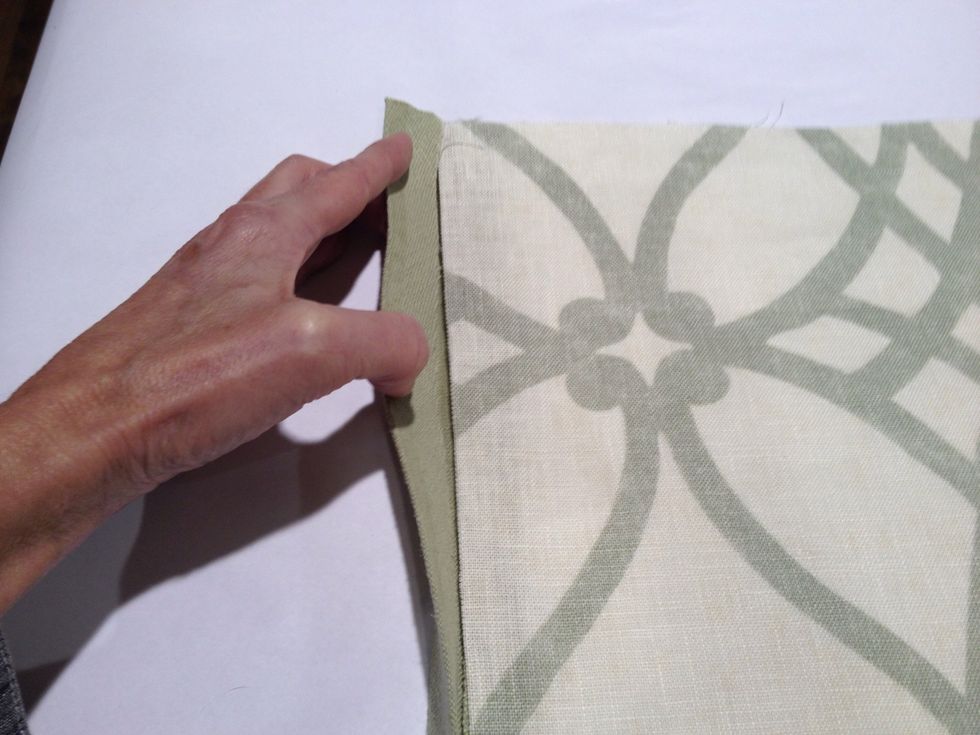
Peel the backing off the steam-a-seam. Starting at the top left corner of the shade. Place the banding under the raw edge of the shade.
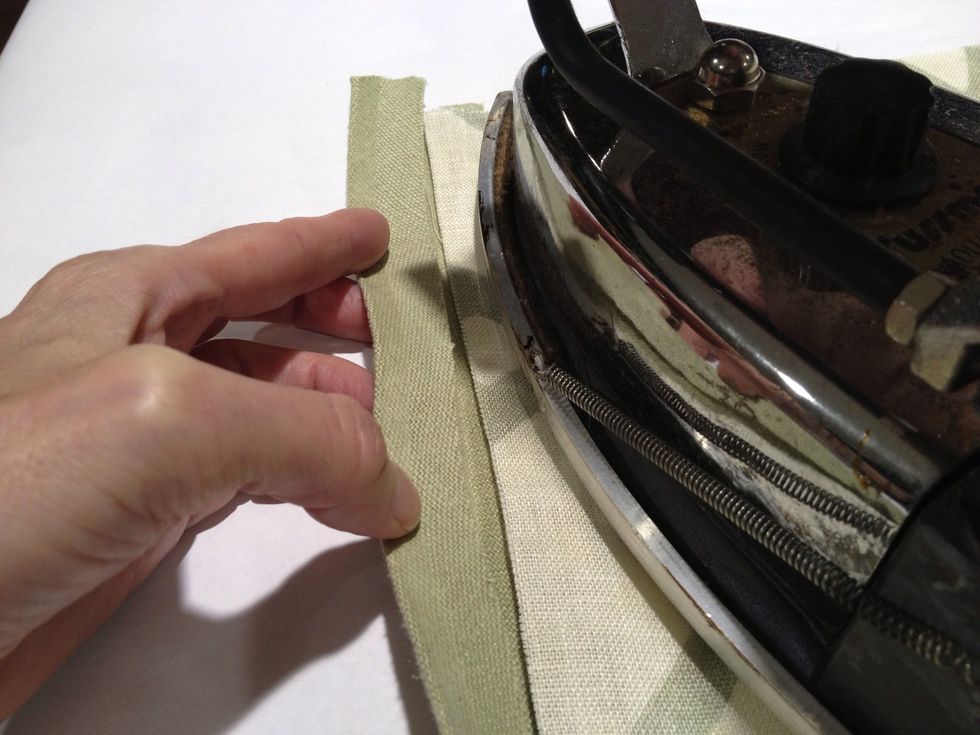
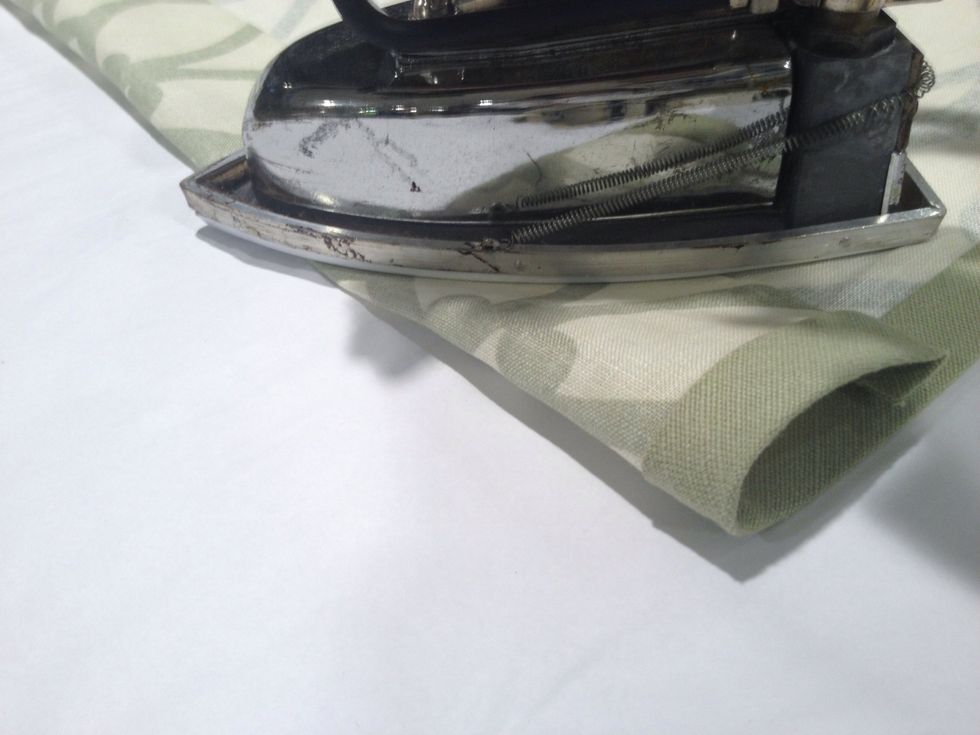
Press in place.
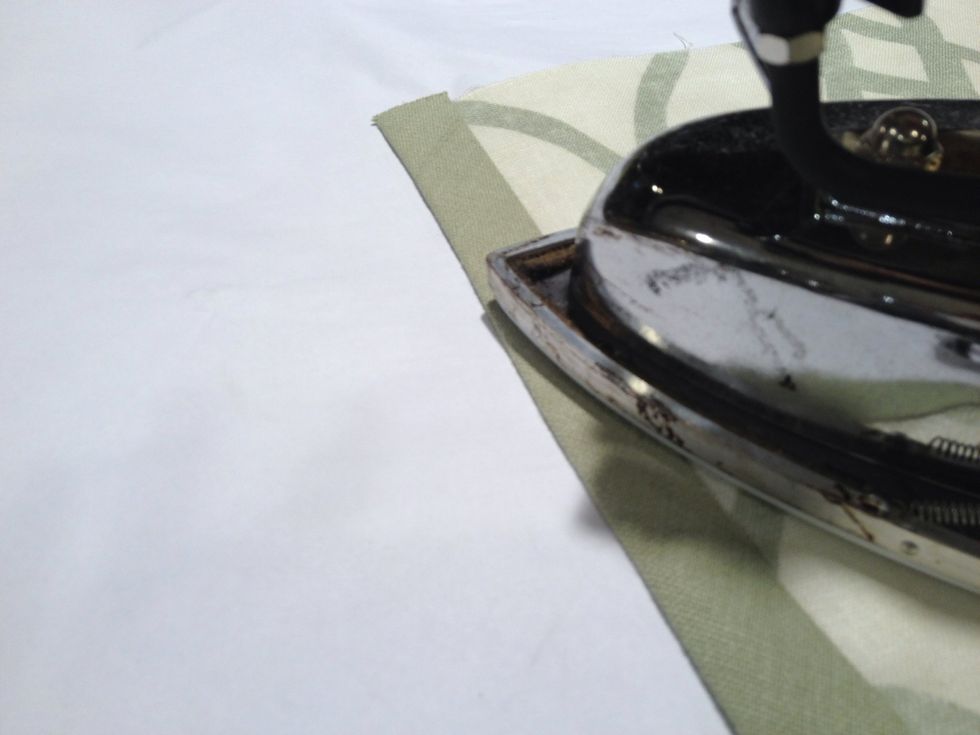
Fold the other side of the banding over and press. Continue applying the banding around the side, bottom and up the other side of the shade.

To form a heading at the top of the shade, press down 1/2" toward the wrong side of the shade. Apply steam-a-seam to the fold.
Peel the backing off the Steam-a-Seam.
Fold down 3" to form the rod pocket.
Press and steam the rod pocket thoroughly with the iron.
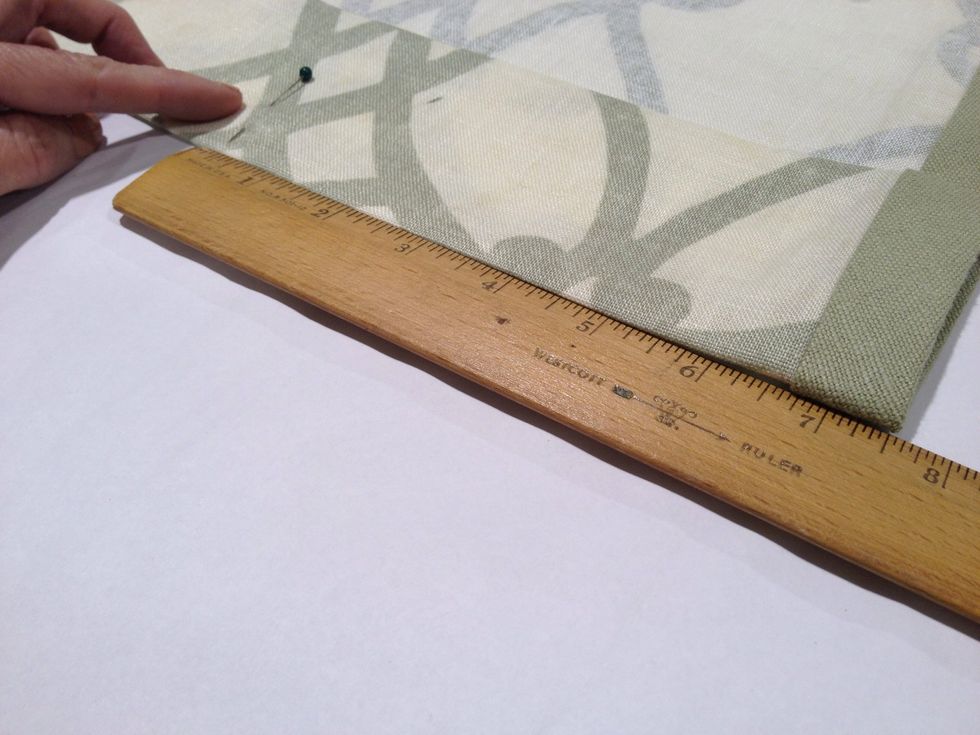
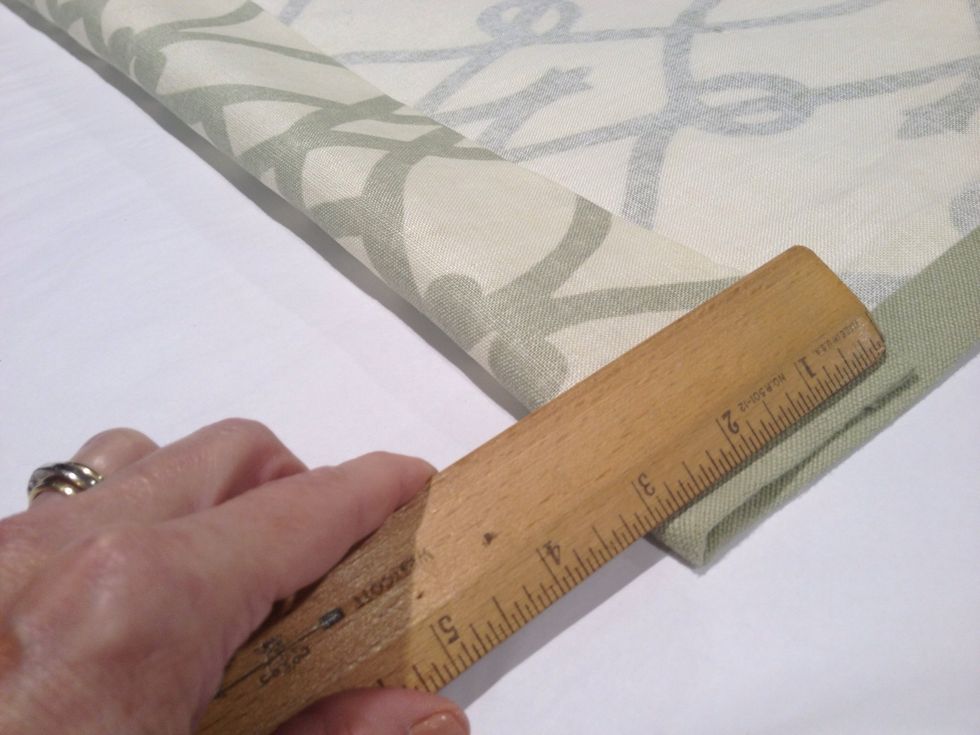
Measure in 7-1/2" from each edge of the shade and mark with a straight pin.
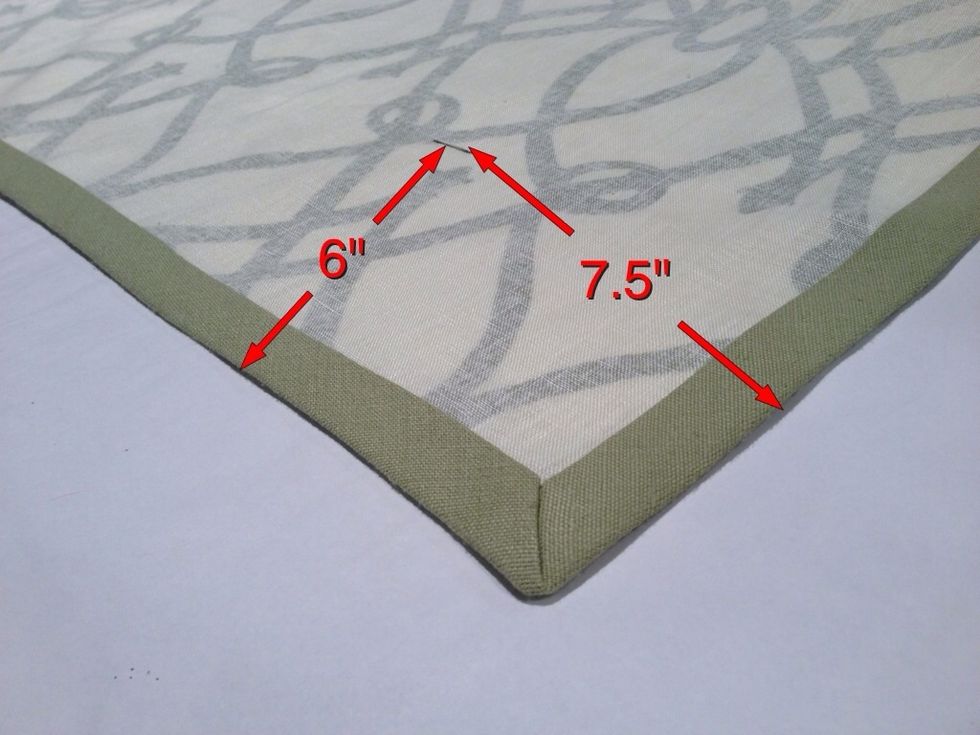
At the bottom of the shade, measure in 7-1/2" from the each side and 6" from bottom of the shade. With a pencil, mark a 1-1/2" line as shown above.
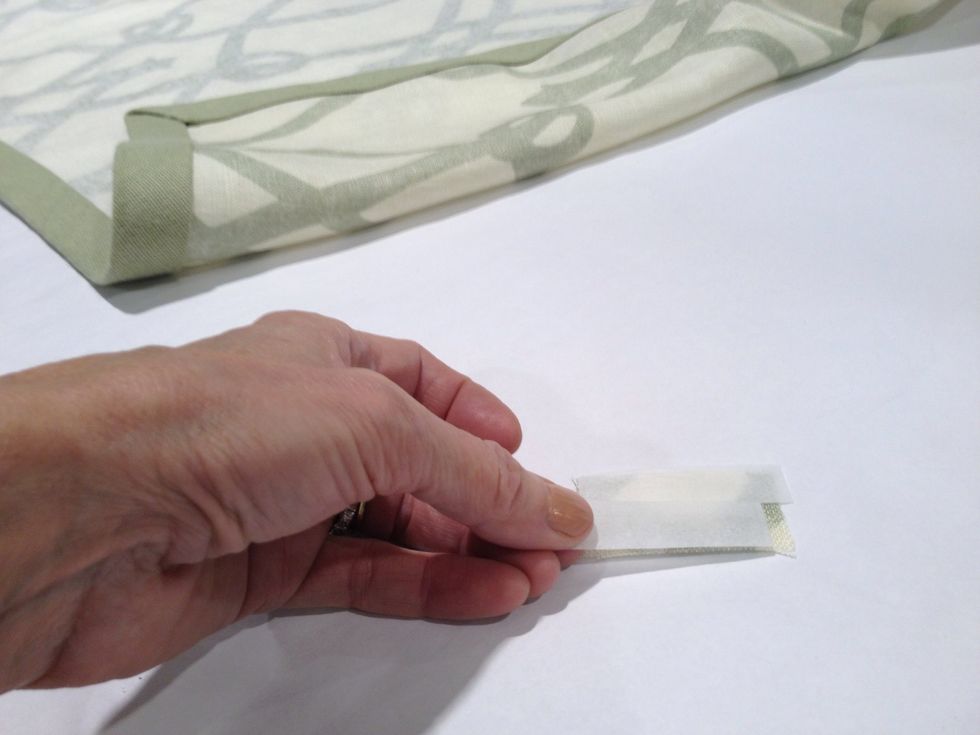
Cut a small rectangle of fabric about 1" x 2". Apply two small pieces of Steam-a-Seam
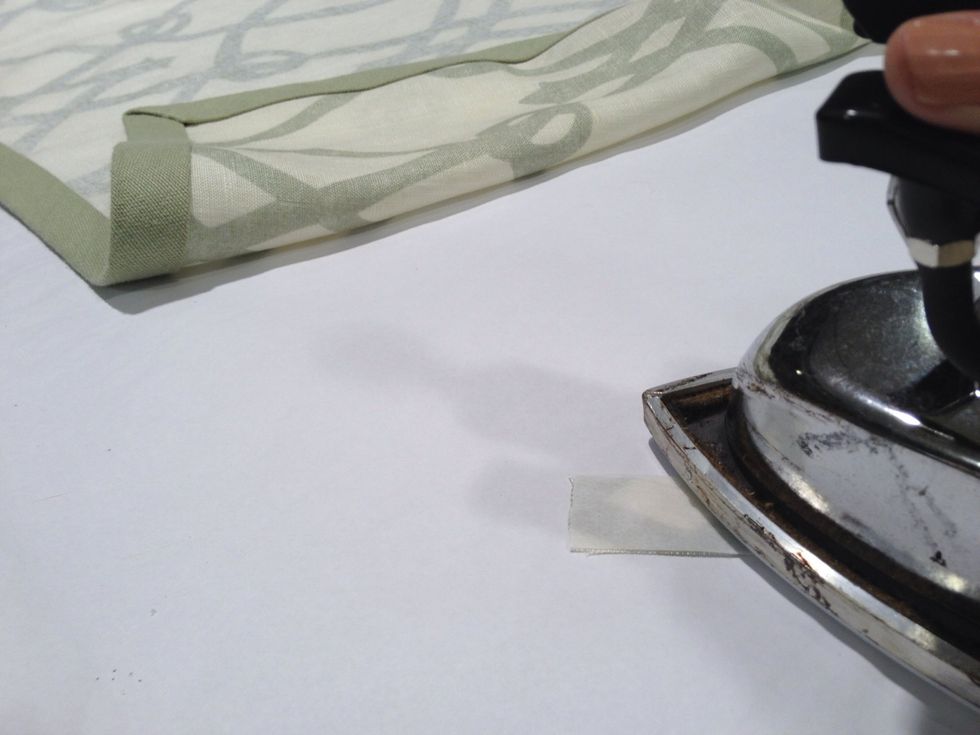
Press and steam with the iron.
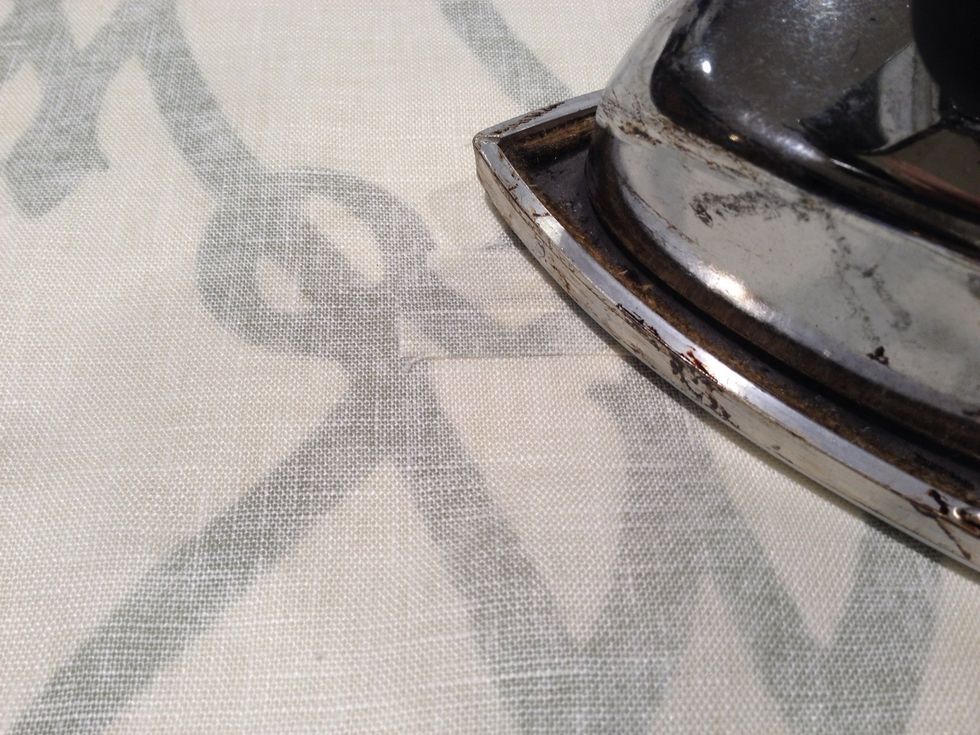
Peel the backing of the steam-a-seam. Place the small piece o fabric over the 1-1/2" mark at each side of the bottom of the shade. Press and steam.
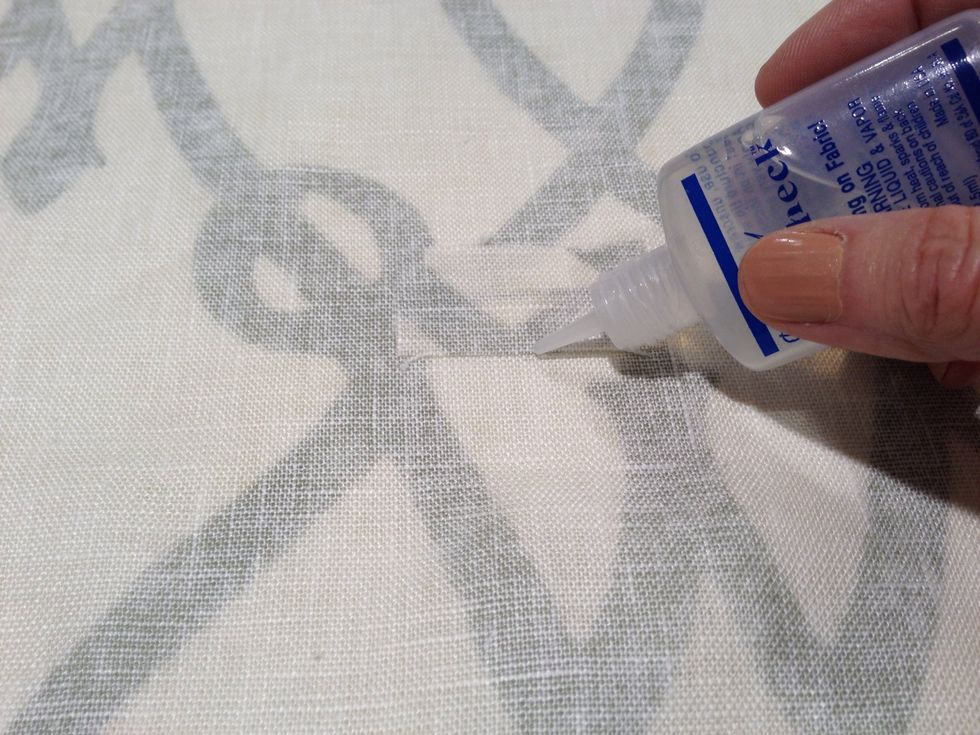
Add Fray Check around the raw edges. Let it dry thoroughly.
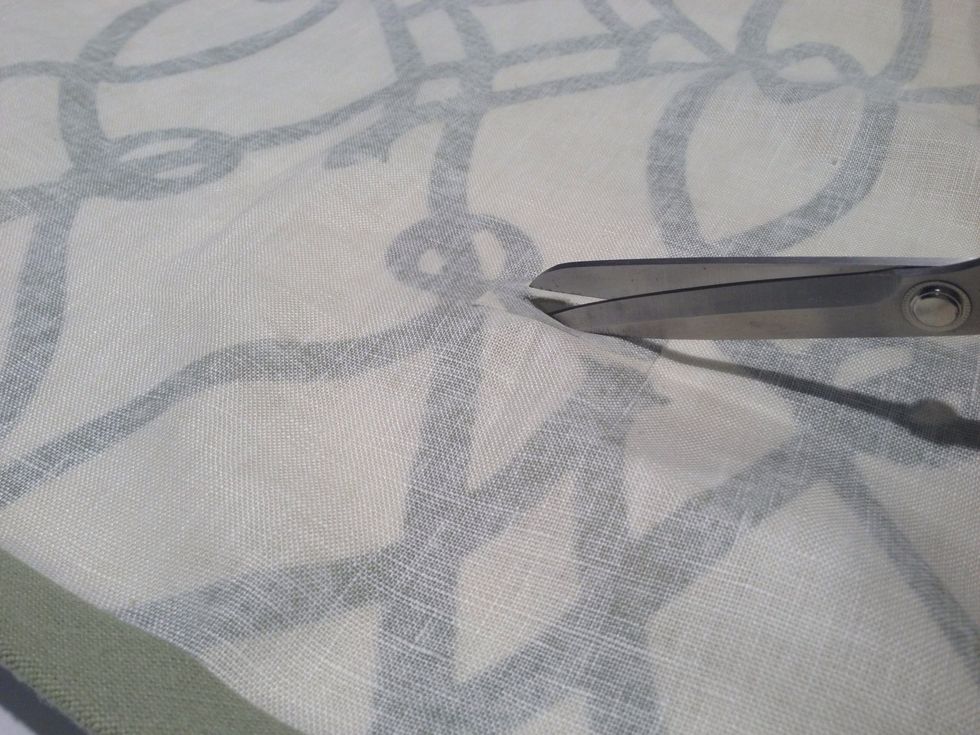
Using sharp scissors, cut a 1-1/2" opening along the marked line.
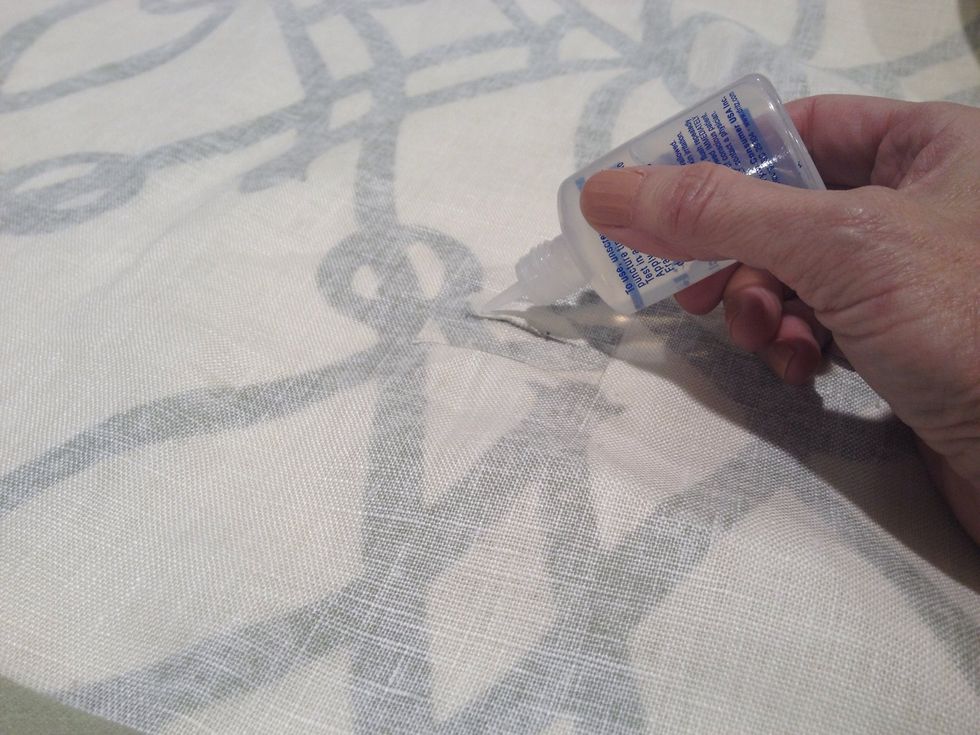
Add Fray Check to the raw edges.
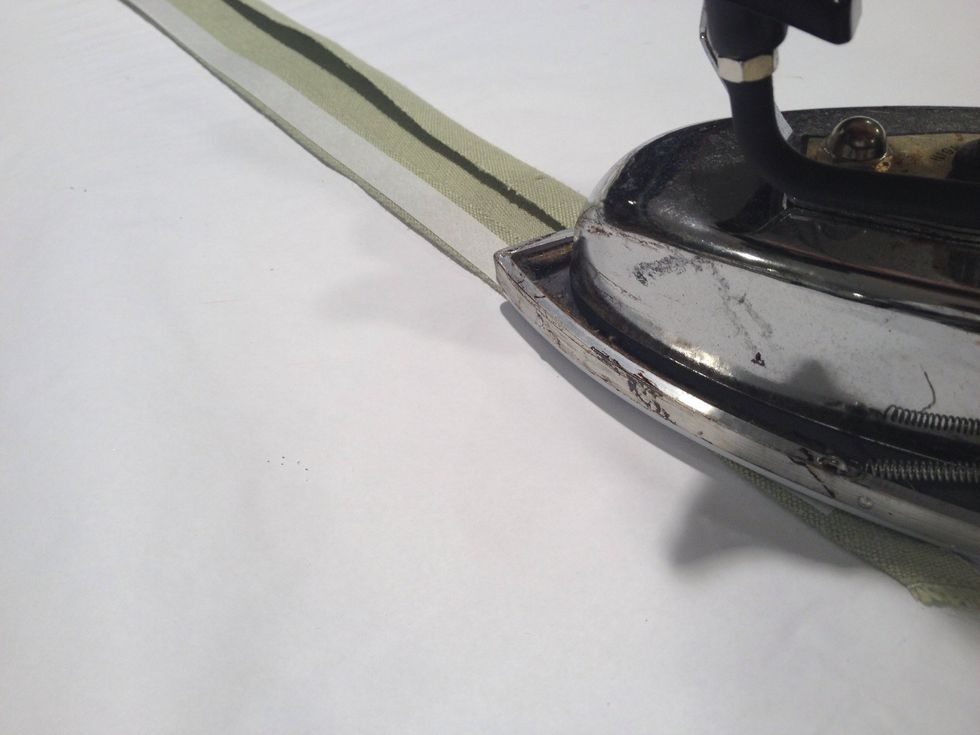
For the ties, use the same method you did for the banding. You will need about 125" for each tie.
Fold the ties in half and press
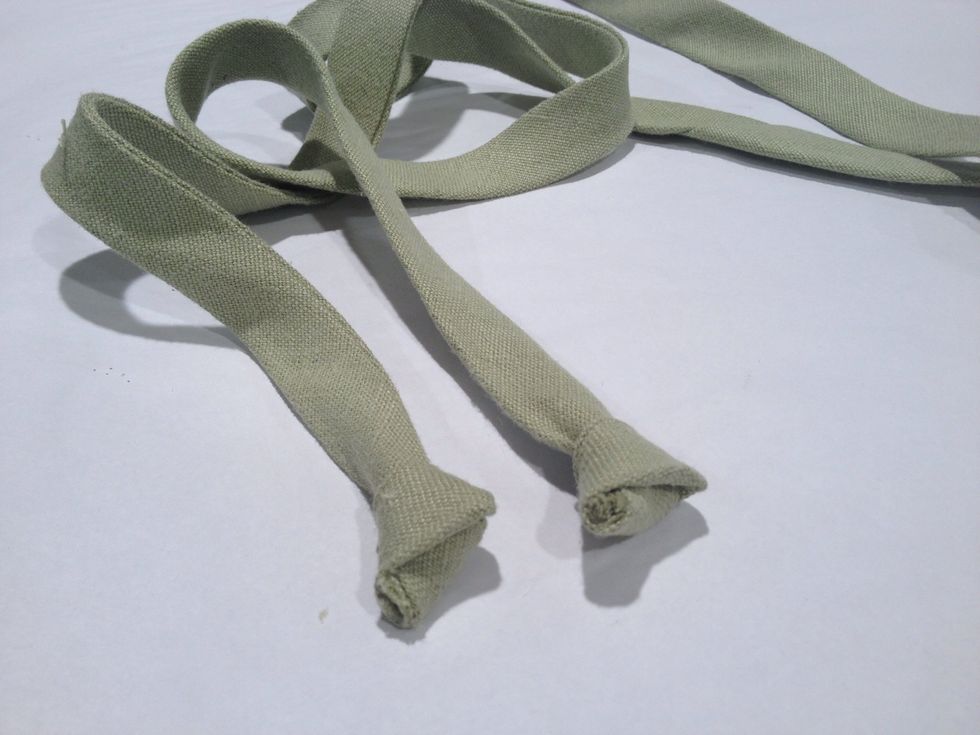
Tie a knot in each end of ties.
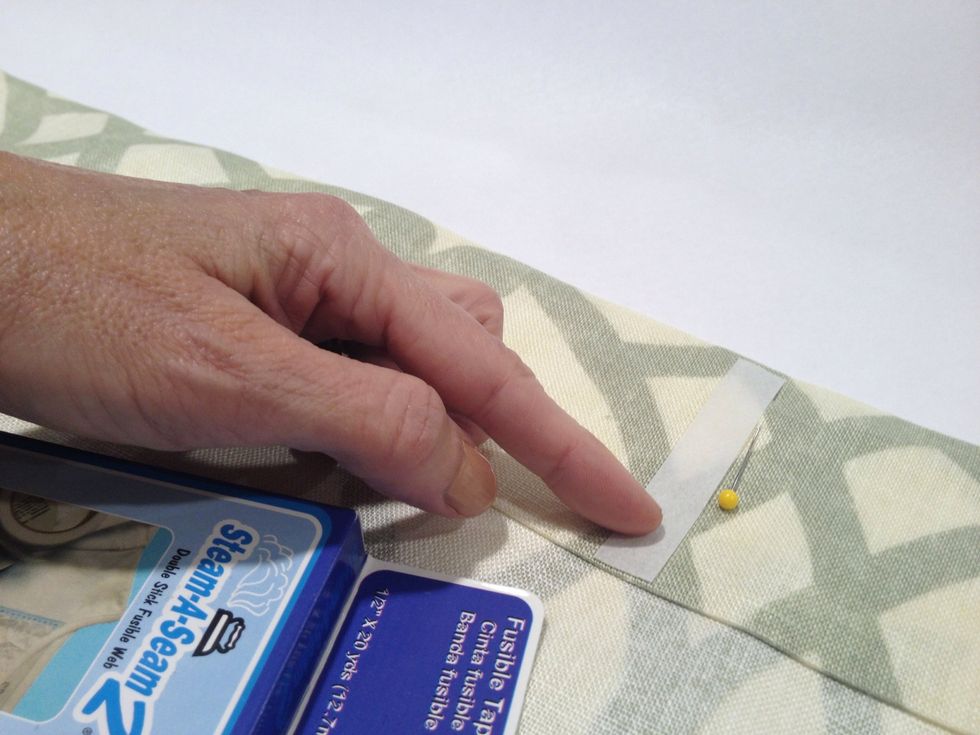
Apply small piece of Steam-a-Seam to the back side of the header where you marked earlier.

Fold the ties in half vertically and mark the center
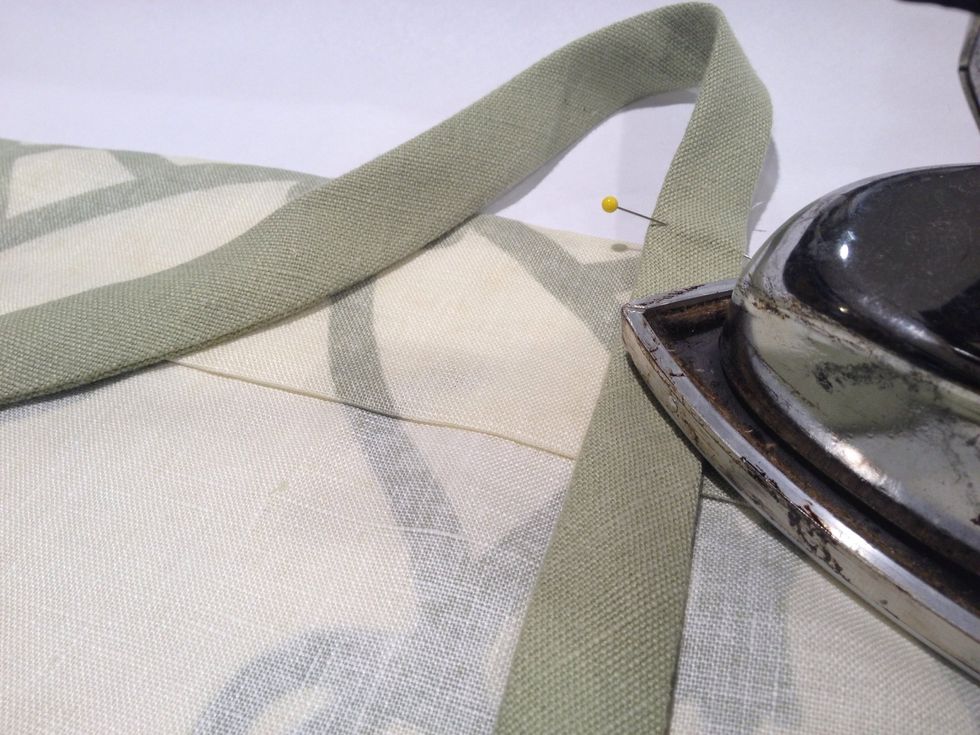
Press the tie onto the back of the shade header as shown.
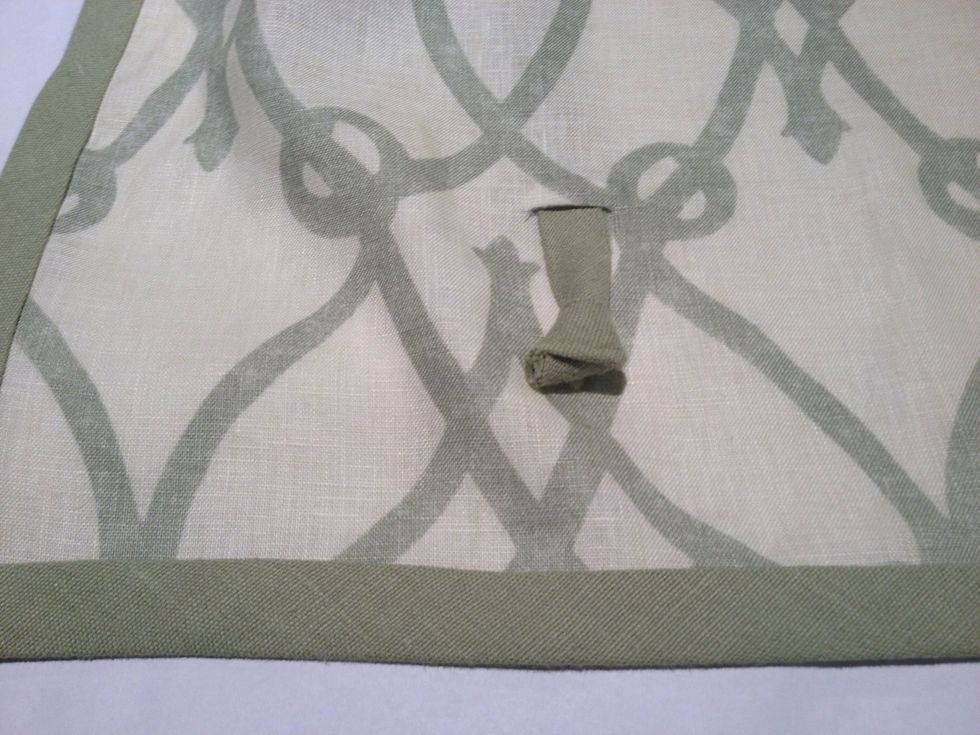
Thread the tie through from the back of the shade to the front using the small opening you made at the bottom of the shade.
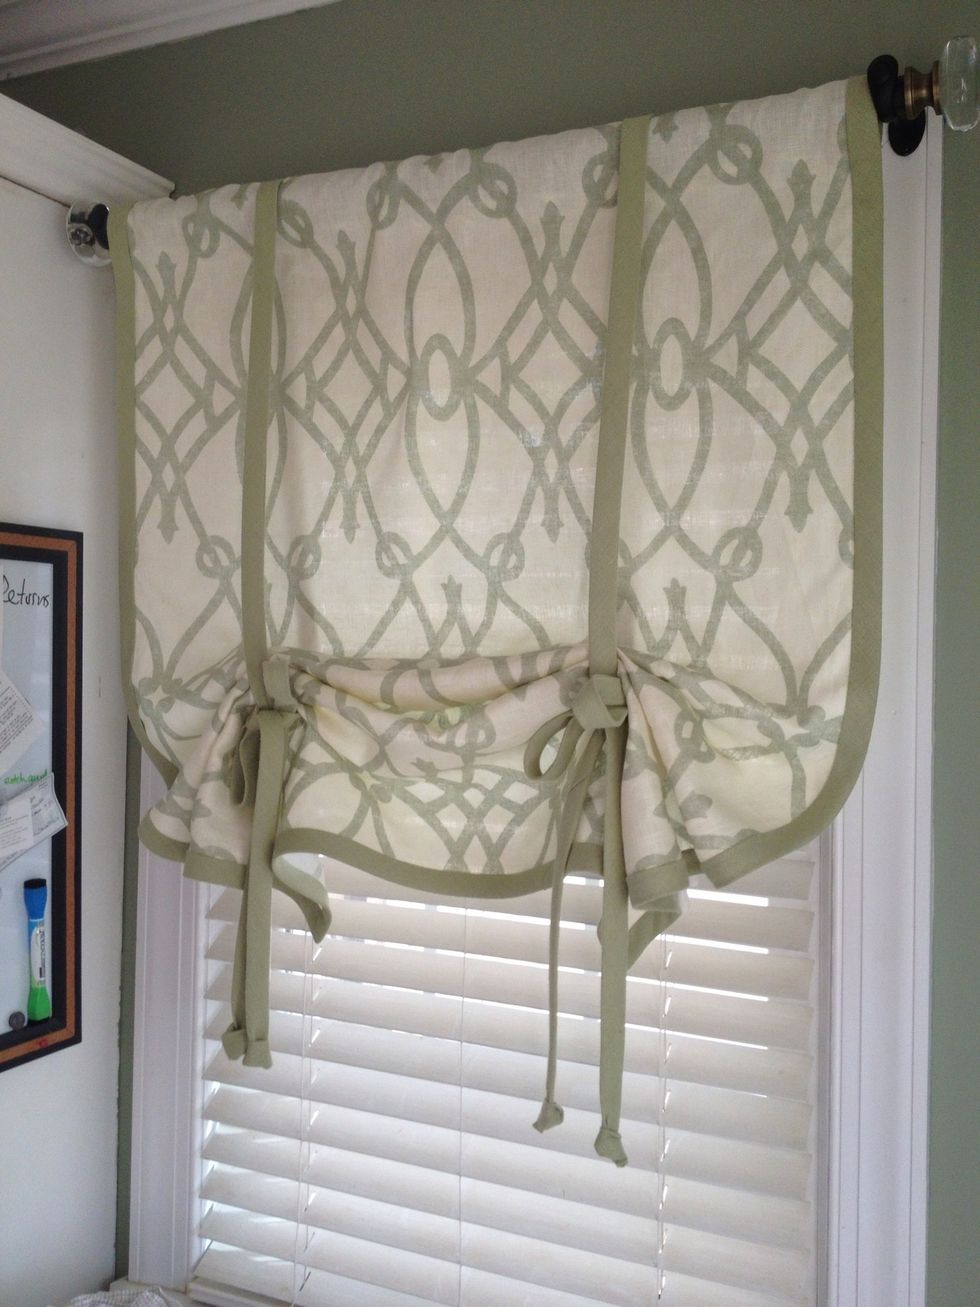
Put the rod through the header at the top of the shade and place the rod in the brackets you installed earlier. Pull the shade up to the desired length and tie a bow. Adjust the folds
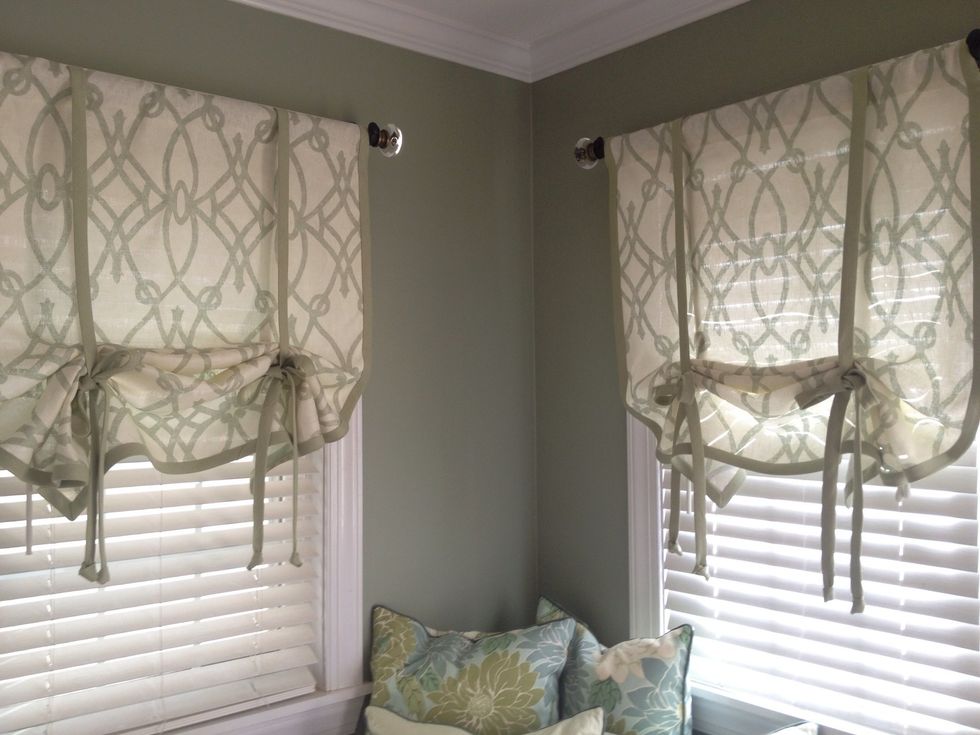
So cute!!