The Conversation (0)
Sign Up
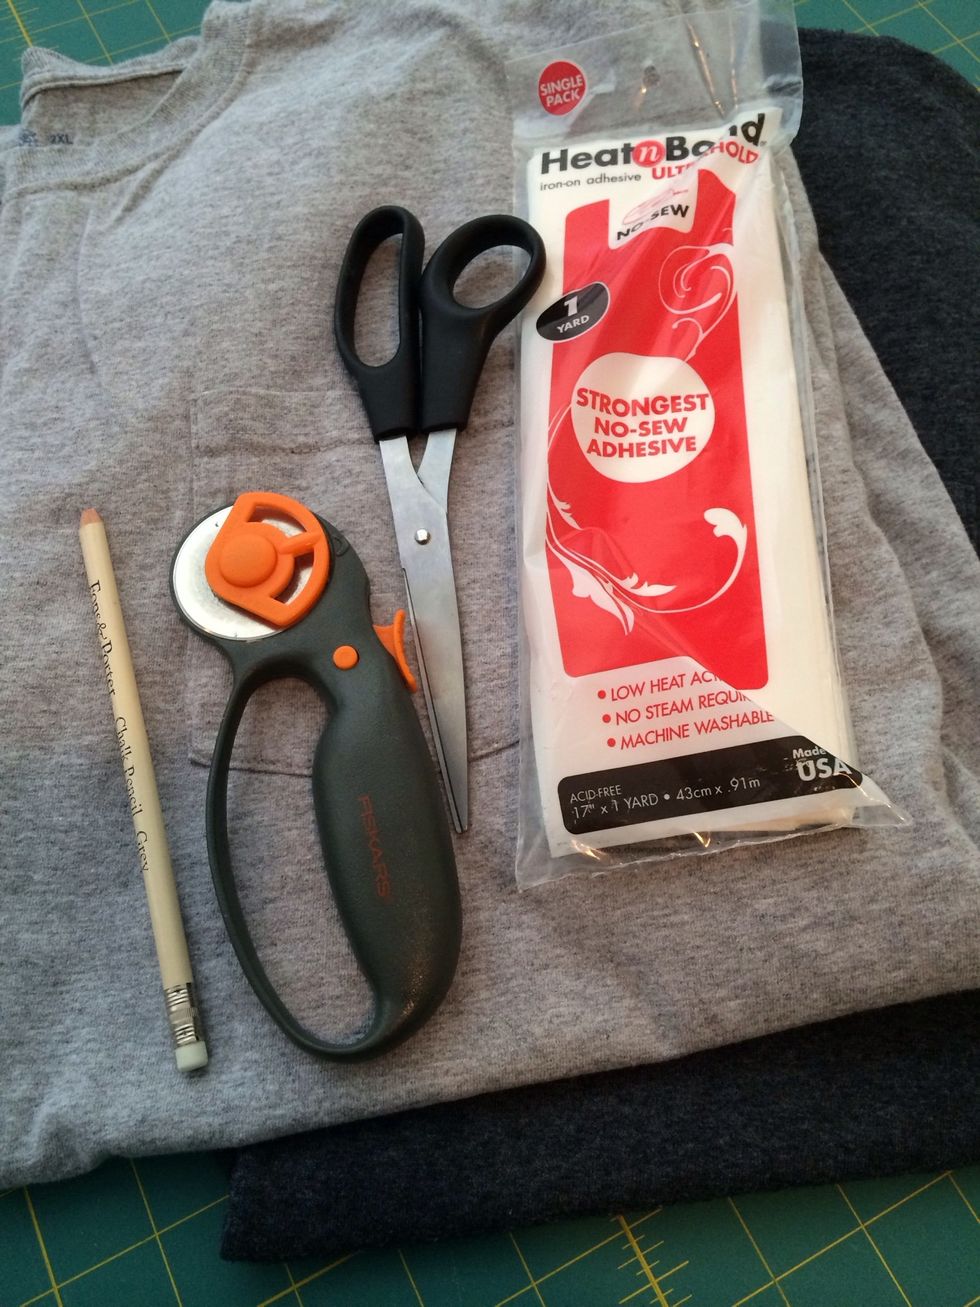
This shirt is pretty simple, requires few materials, and can be completed in 2-3 hours. Some adhesive papers do not advise washing in the washing machine so read the instructions if this is a concern.
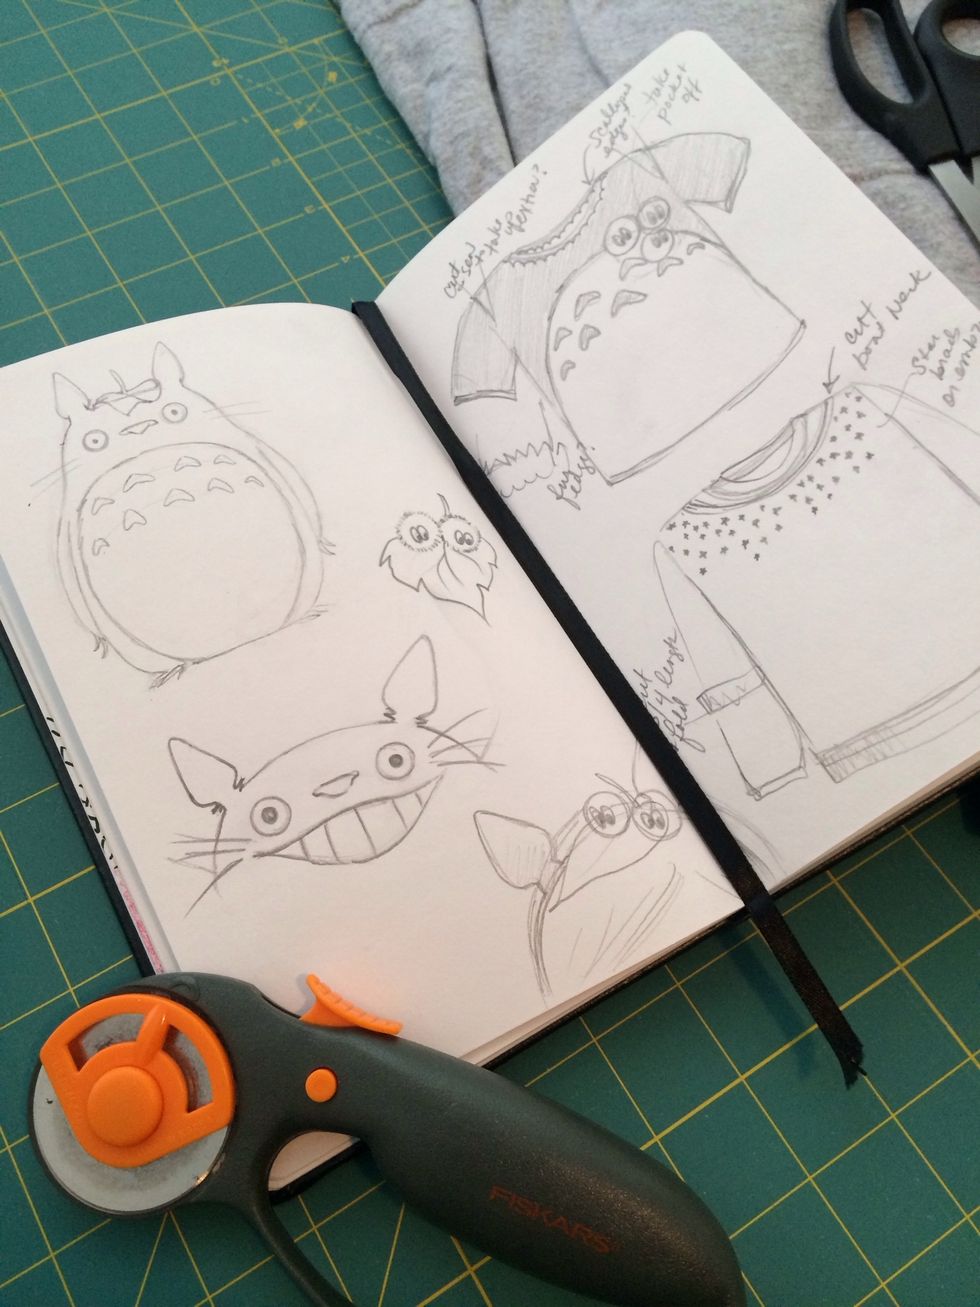
I made some sketches to determine how I wanted the shirt to look - there are lots of creative inspirations to be found online as well (check out Pinterest!).
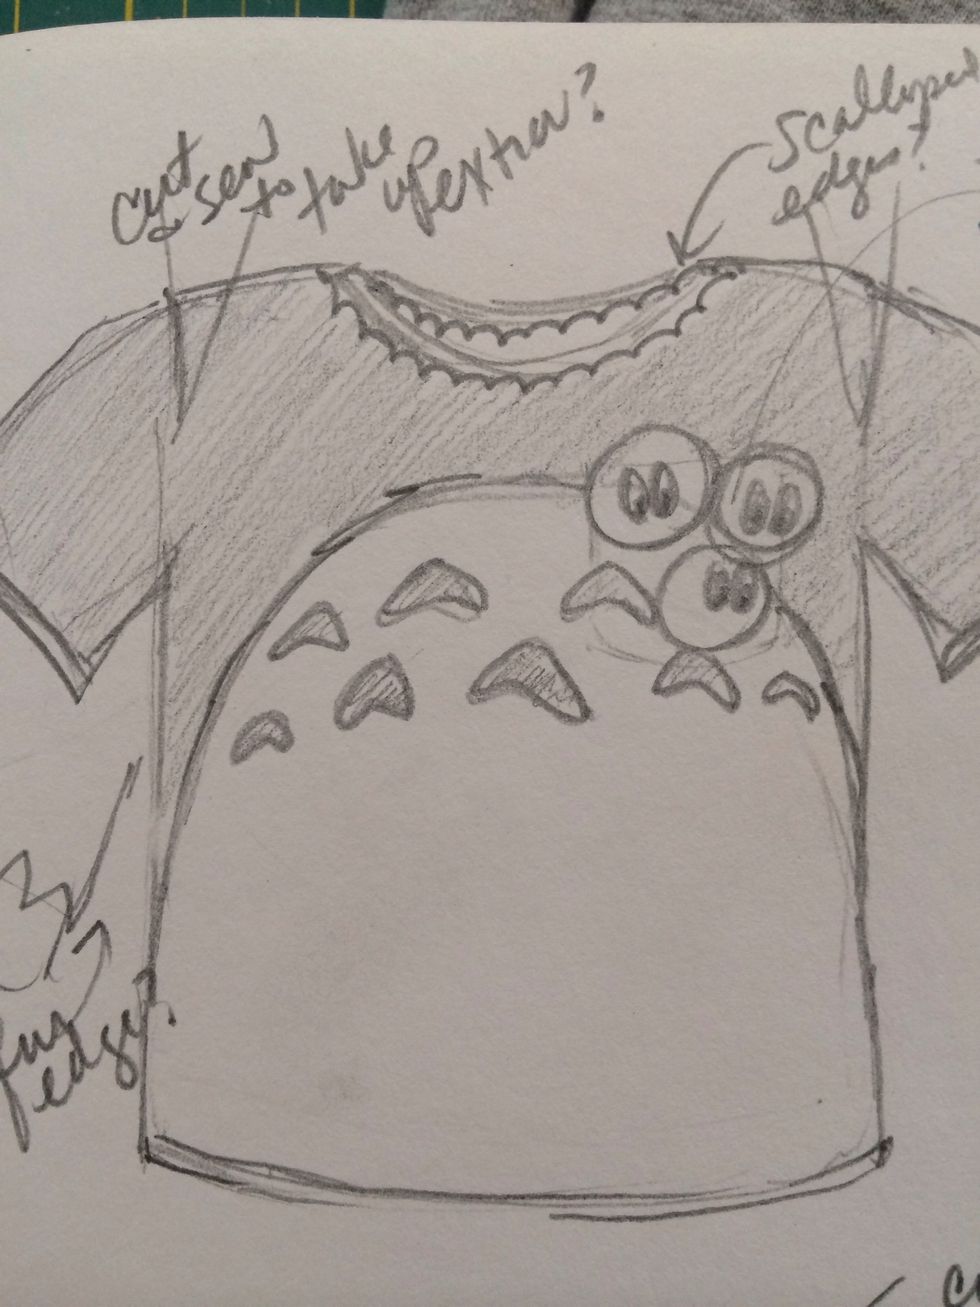
Although I had an idea in mind, I make decisions as I go when I see how certain materials work and how I want the shirt to fit.
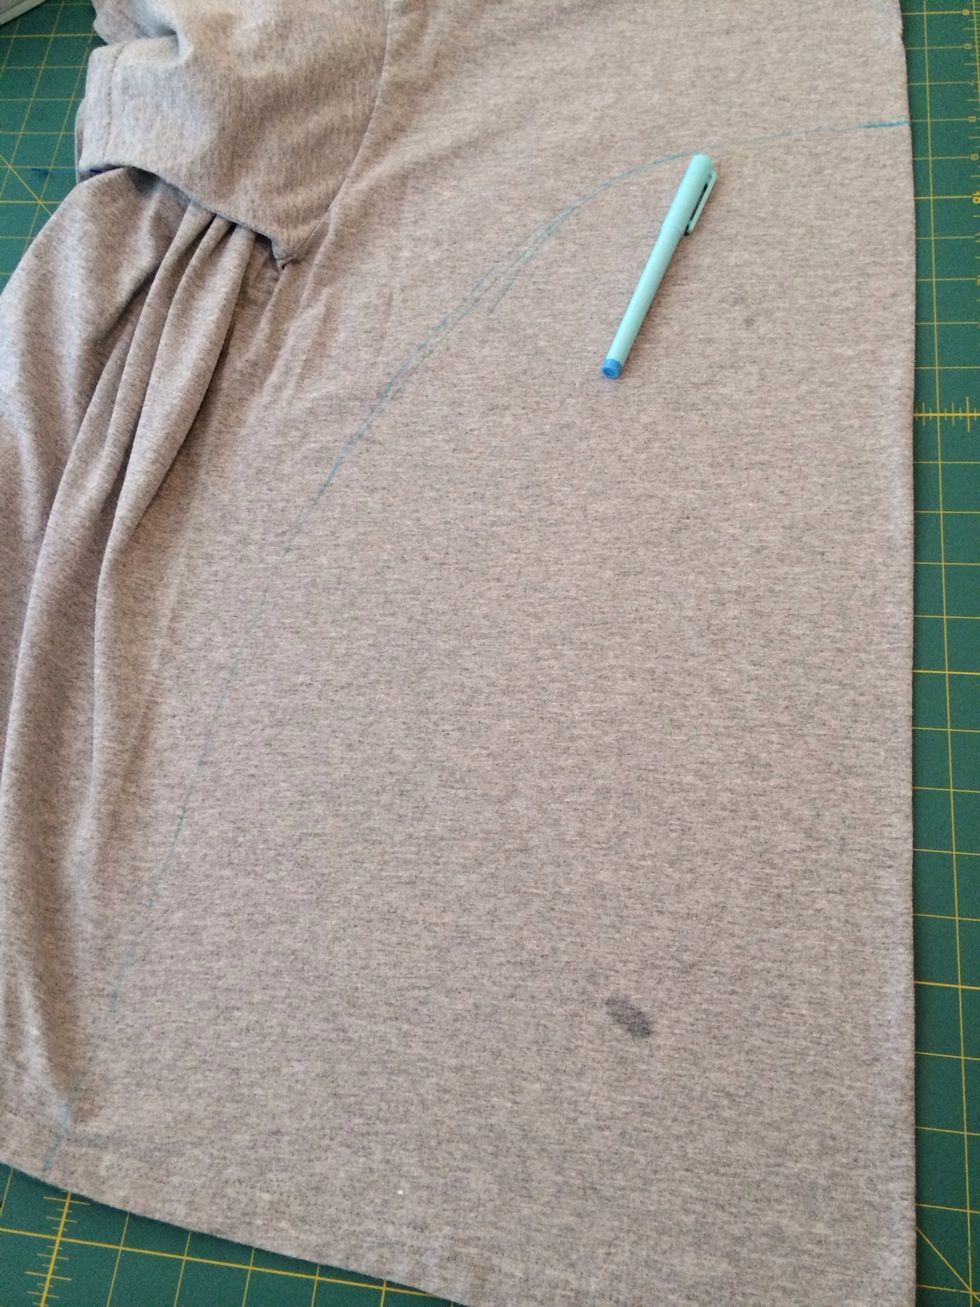
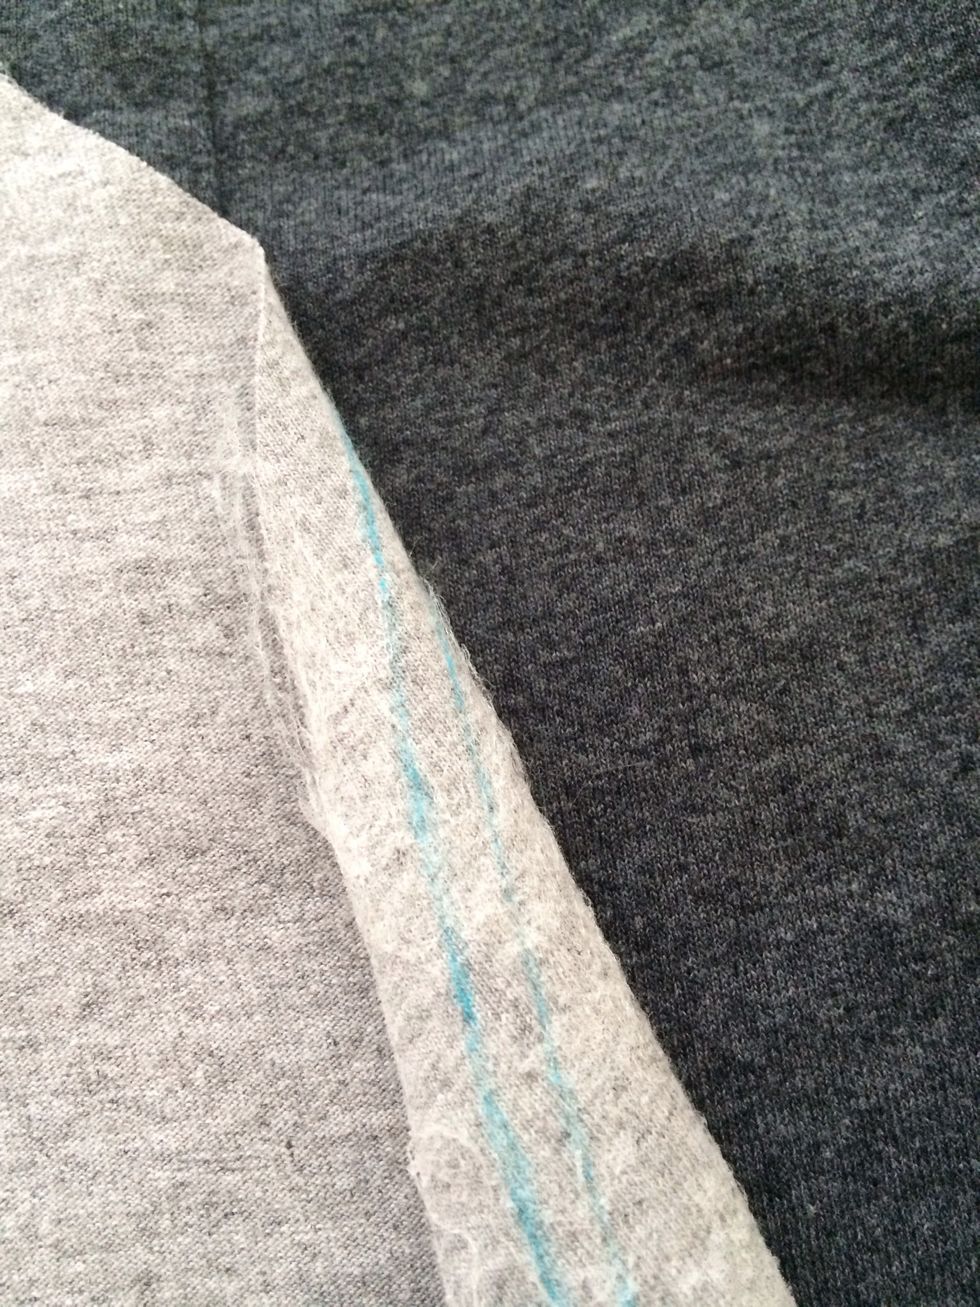
First, try on the shirt and mark where the belly should be. Then, take one side of the light grey t-shirt and fold it down the middle. Draw a gentle arch between your marks.
If you use a water-soluble marker you can simple wet the shirt to remove the ink. If not, you can flip the fabric over. I do not advise sharpies!
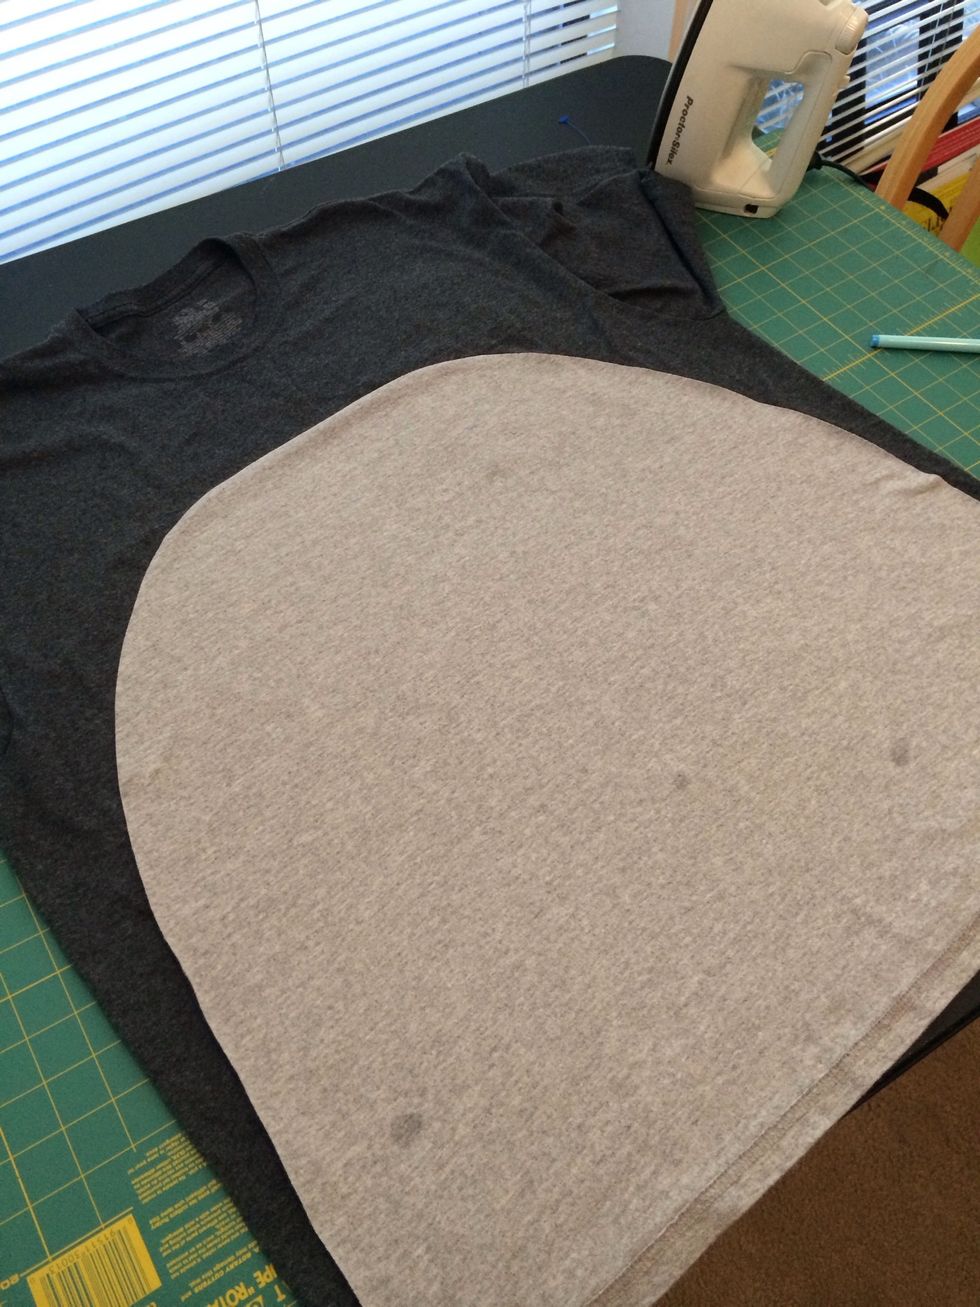
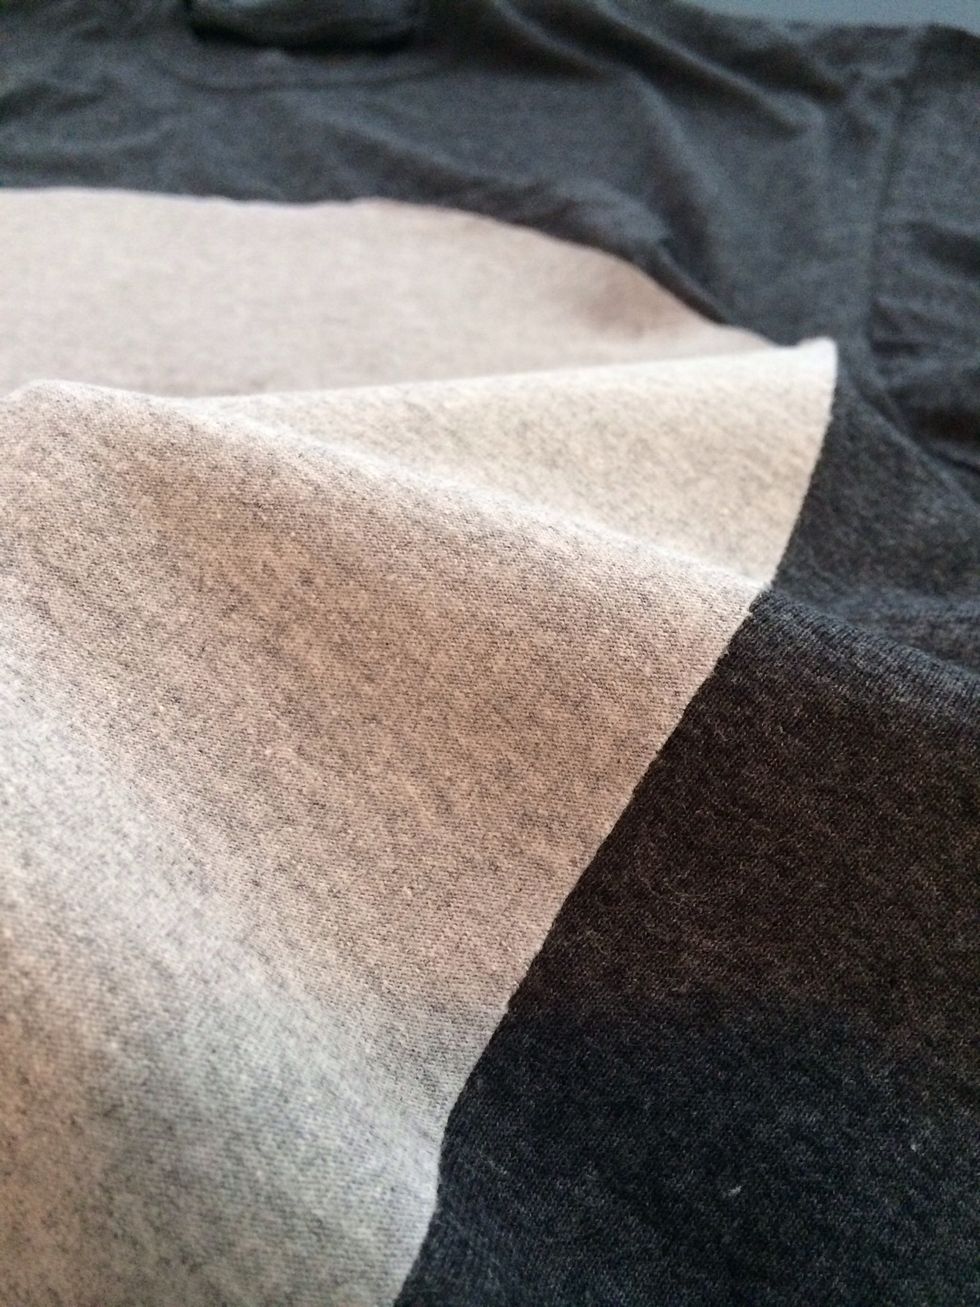
Lay out the cut belly piece on top of the front of your dark grey shirt to make sure it is even and looks right. Make adjustments as needed.
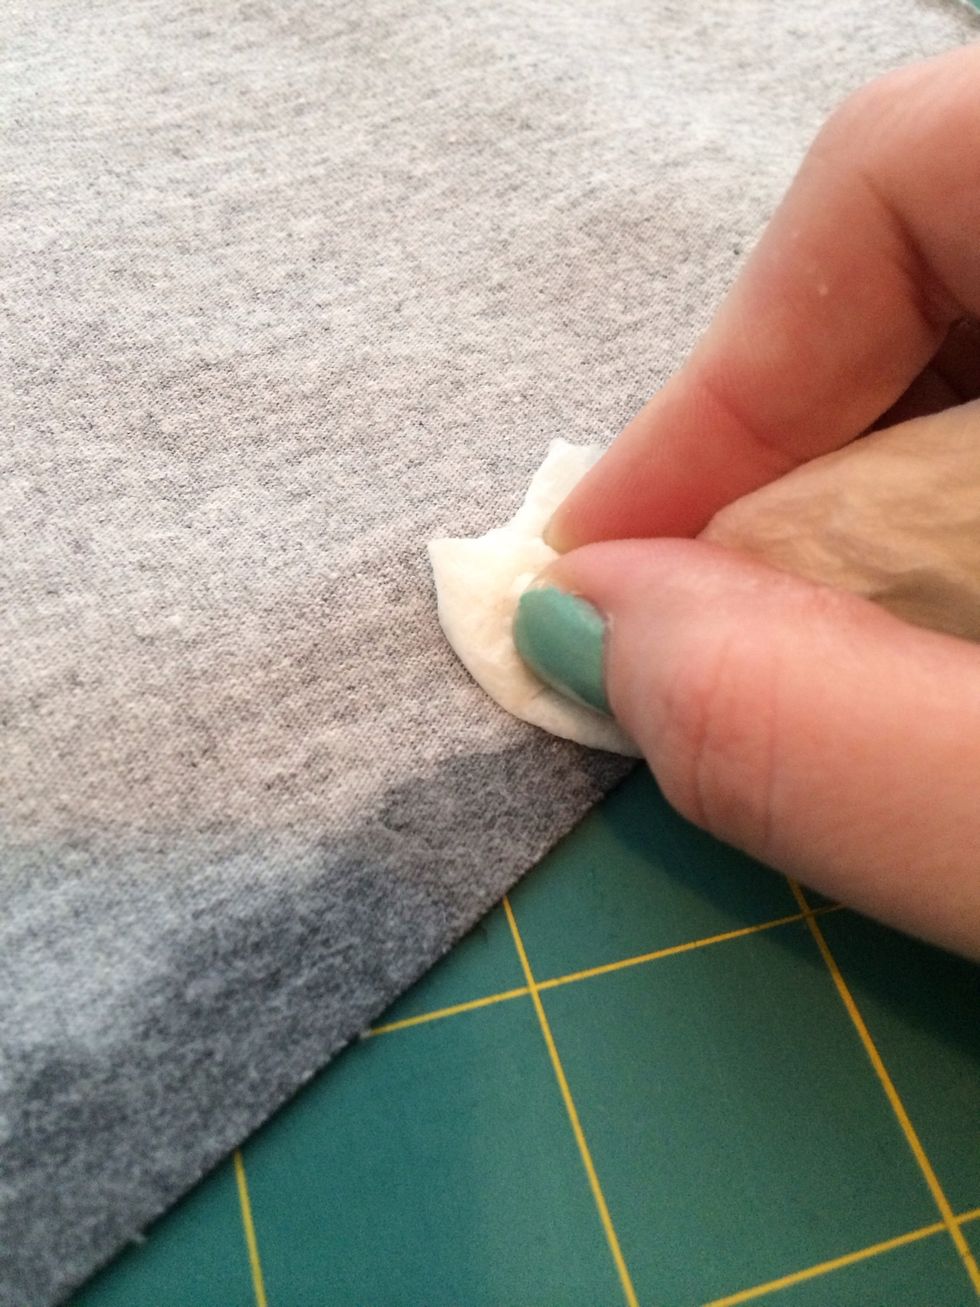
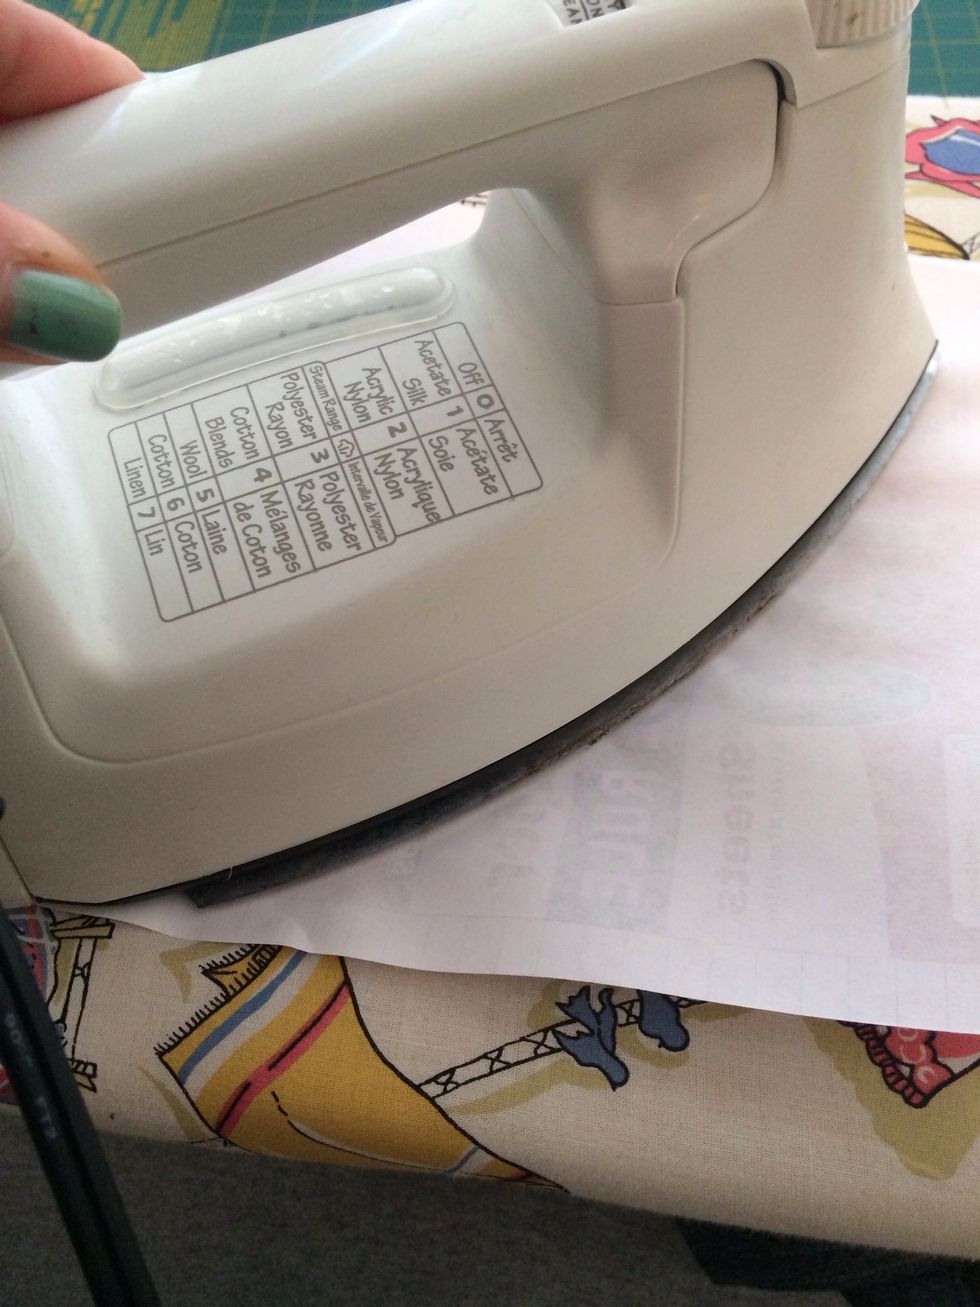
Take the Heat & Bond or other no-sew adhesive and lay it out textured side down on the back of the fabric as per package instructions. I had some old thinner stuff left over from another project...
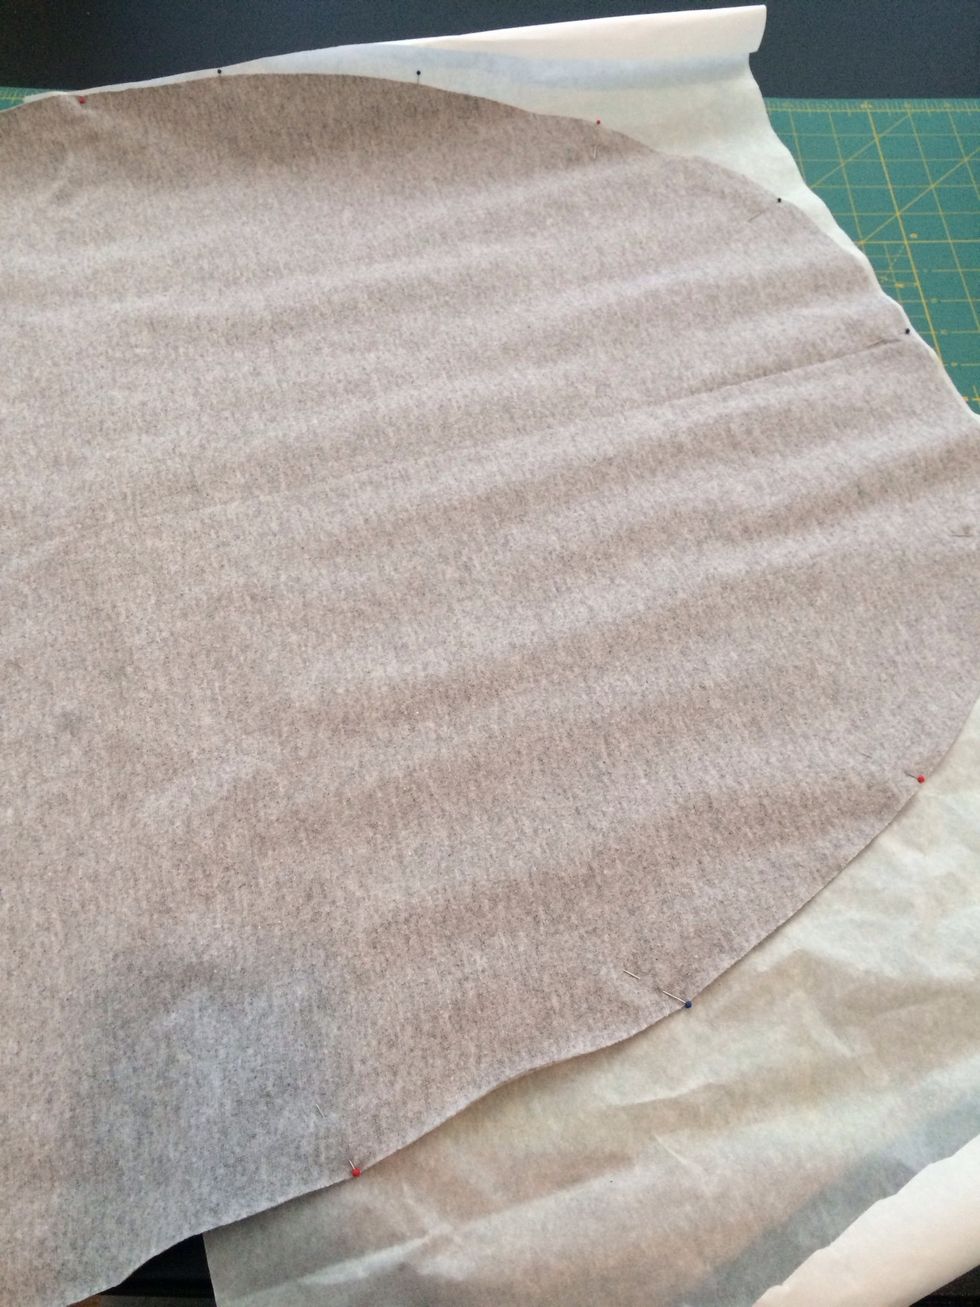
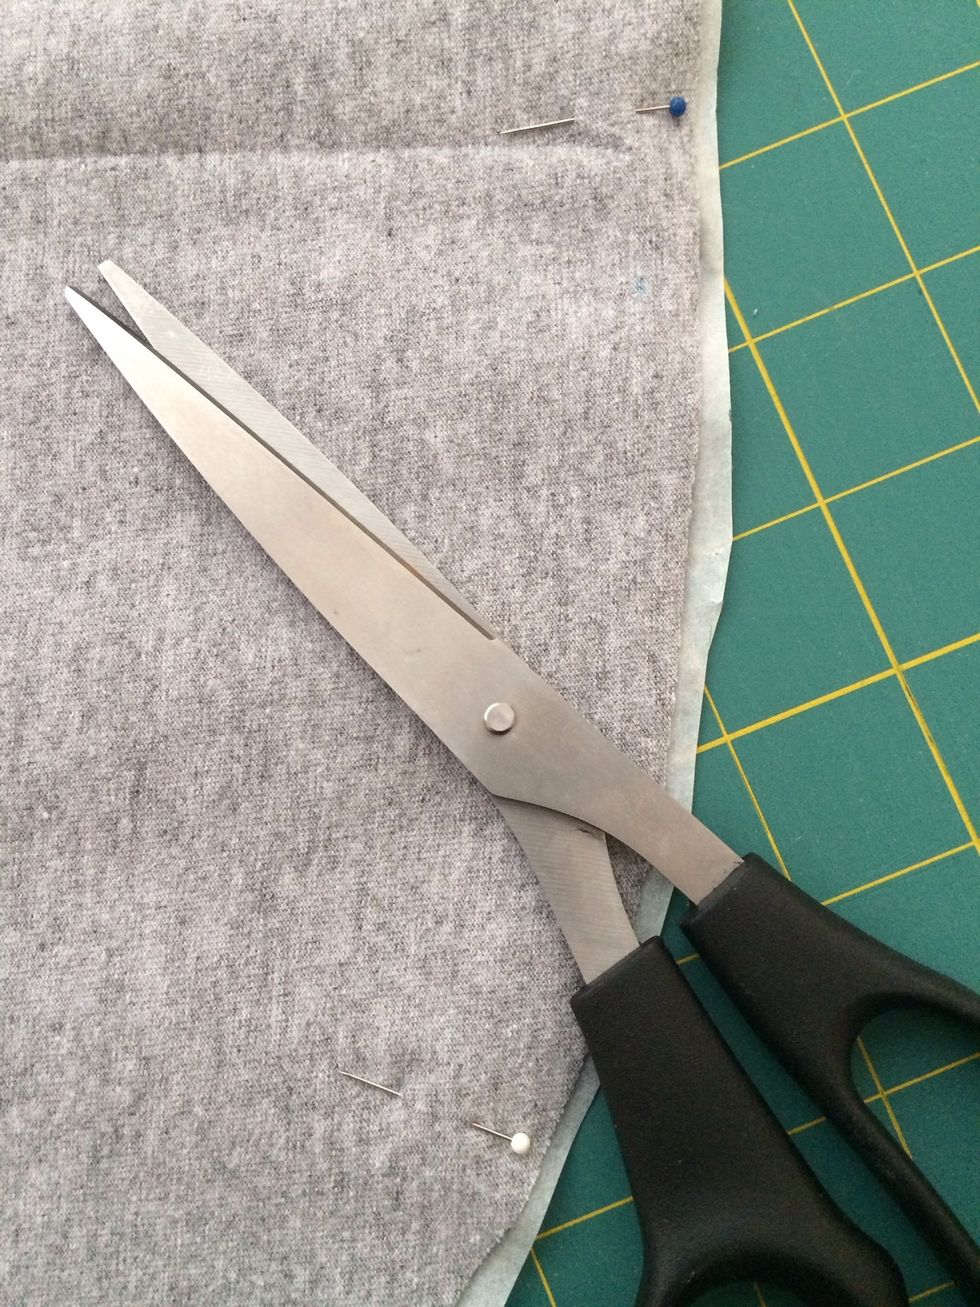
I like the Heat & Bond better but whatever gets the trick done is fine and this process is the same either way. Pin out your adhesive paper and then trim the edges.
You might want to leave a bit of extra at the edges as knits shift as you iron them.
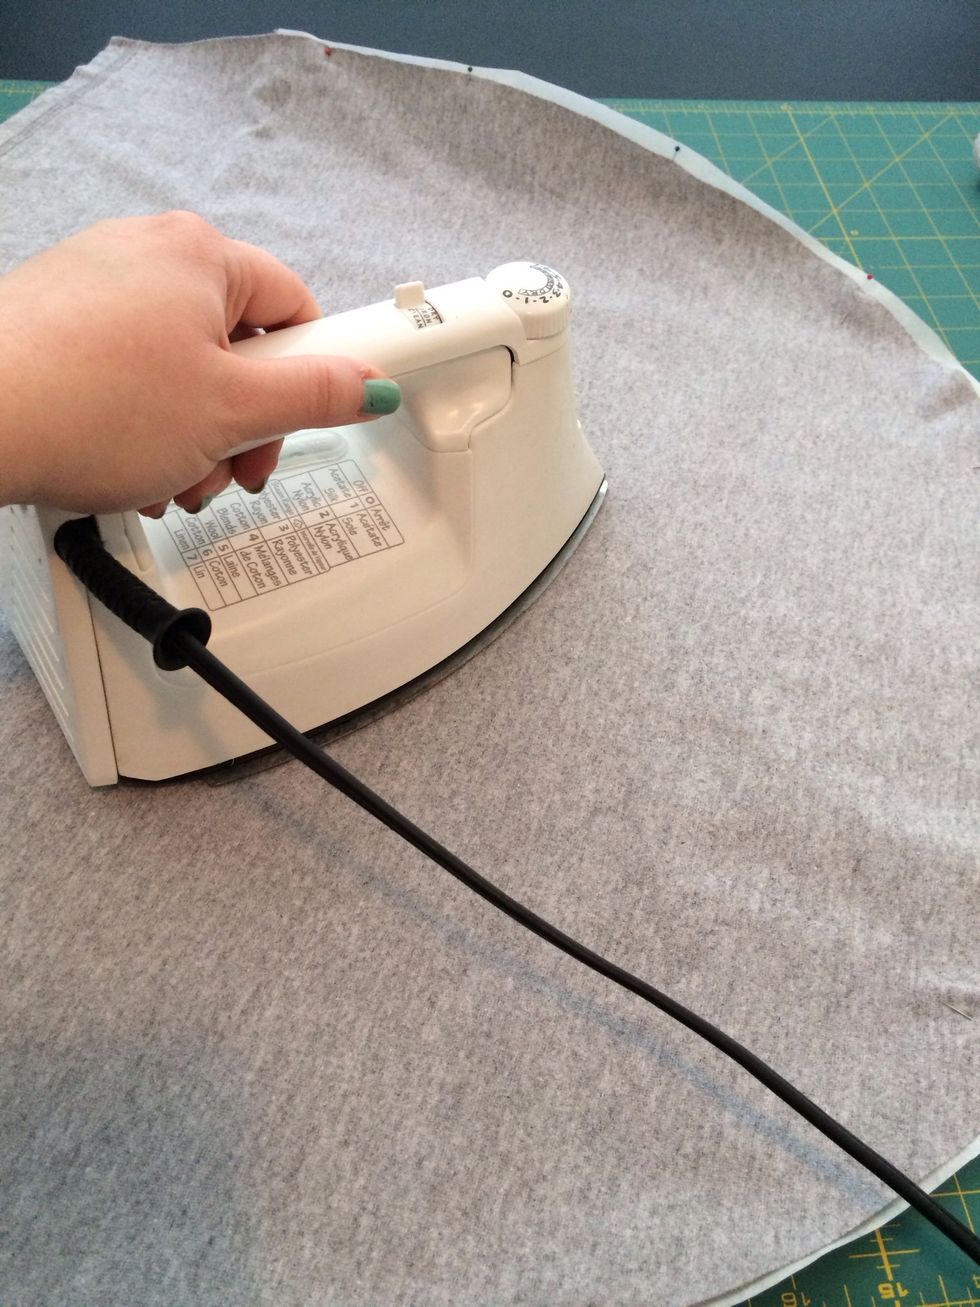
Start in the middle and iron outward. Follow the directions on your adhesive paper package.
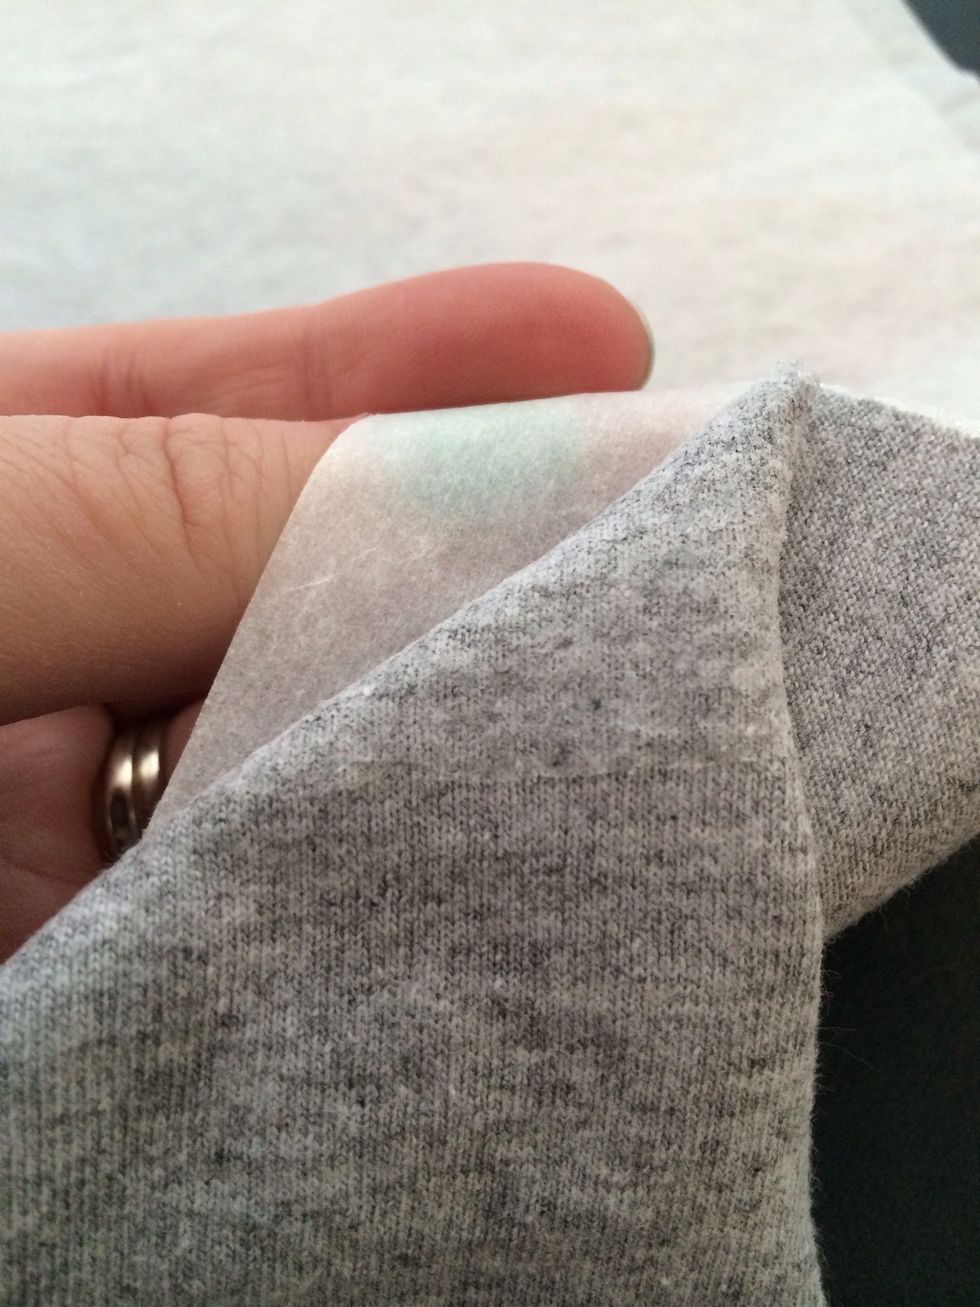
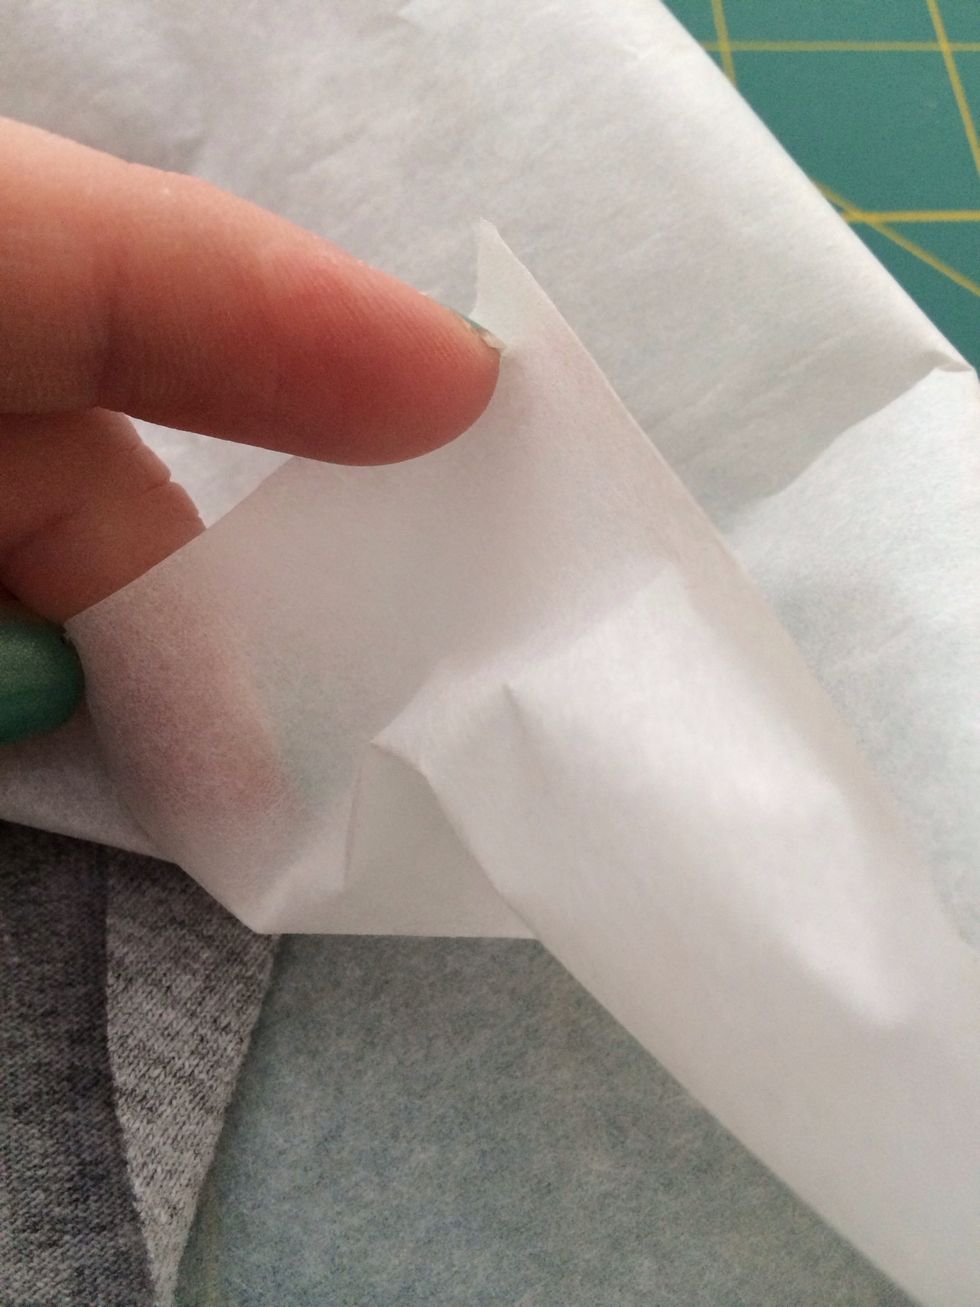
When you peel the paper backing off, the sheer adhesive will be left. If the paper won't come off just hit with an iron again, it seems to come off better when warm.
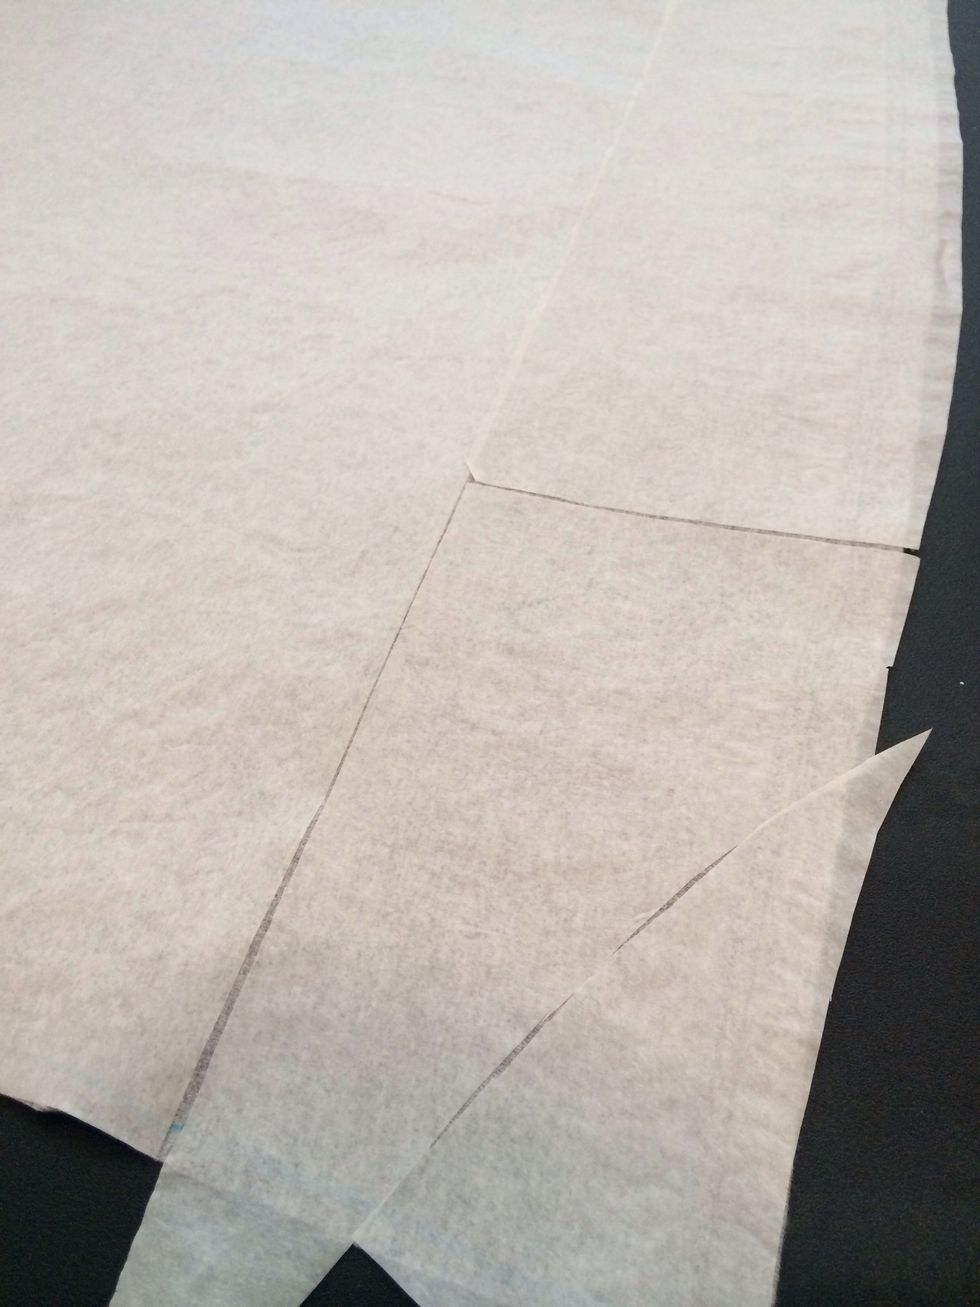
Don't be afraid to piece the adhesive.
The extra at the edges can now be trimmed off before ironing your belly onto the shirt.
Lay your belly, adhesive side down, where you want it and iron it on according to your adhesive directions.
When finished, your edges should be clean and secure. You can cut scraps of the bond paper and retouch areas that aren't secure. You can even sew it down easily after this if your adhesive allows.
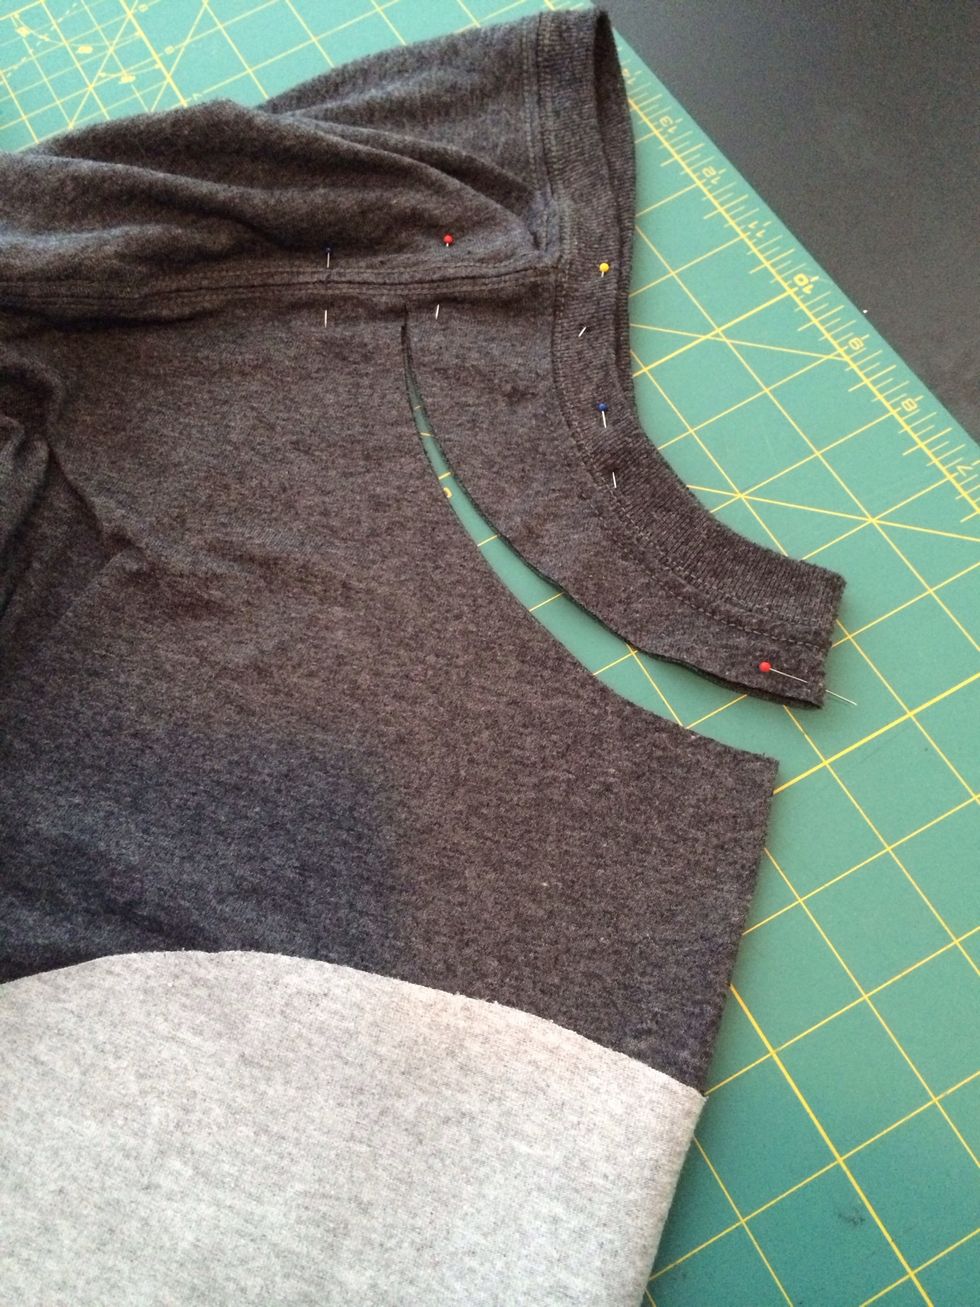
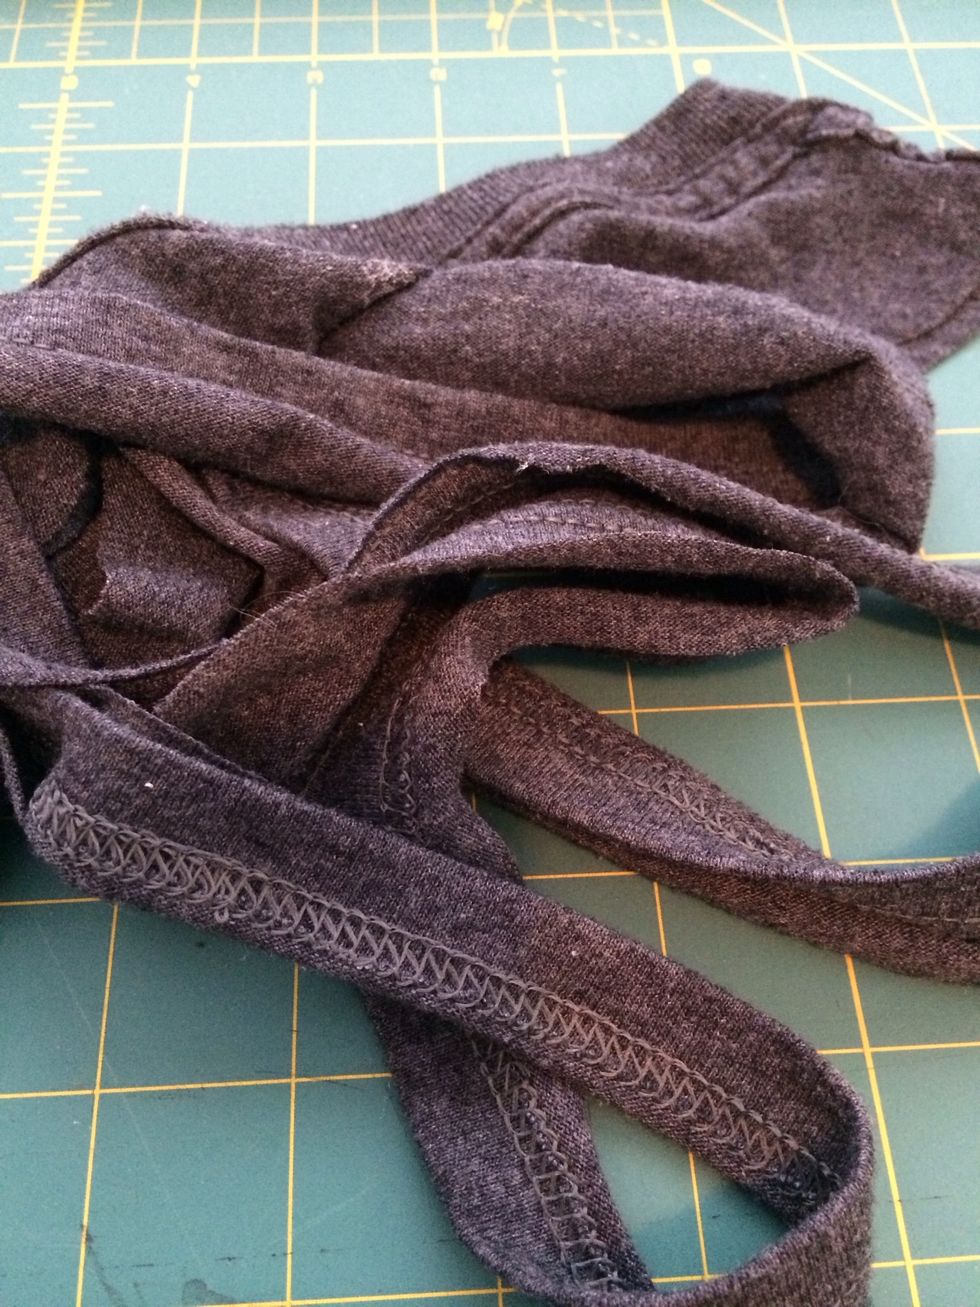
Next, I cut out the neck and sleeves. It's important to cut the front of the neck seperate from the back for better fit. Fold the front together and cut, then flip and repeat on back.
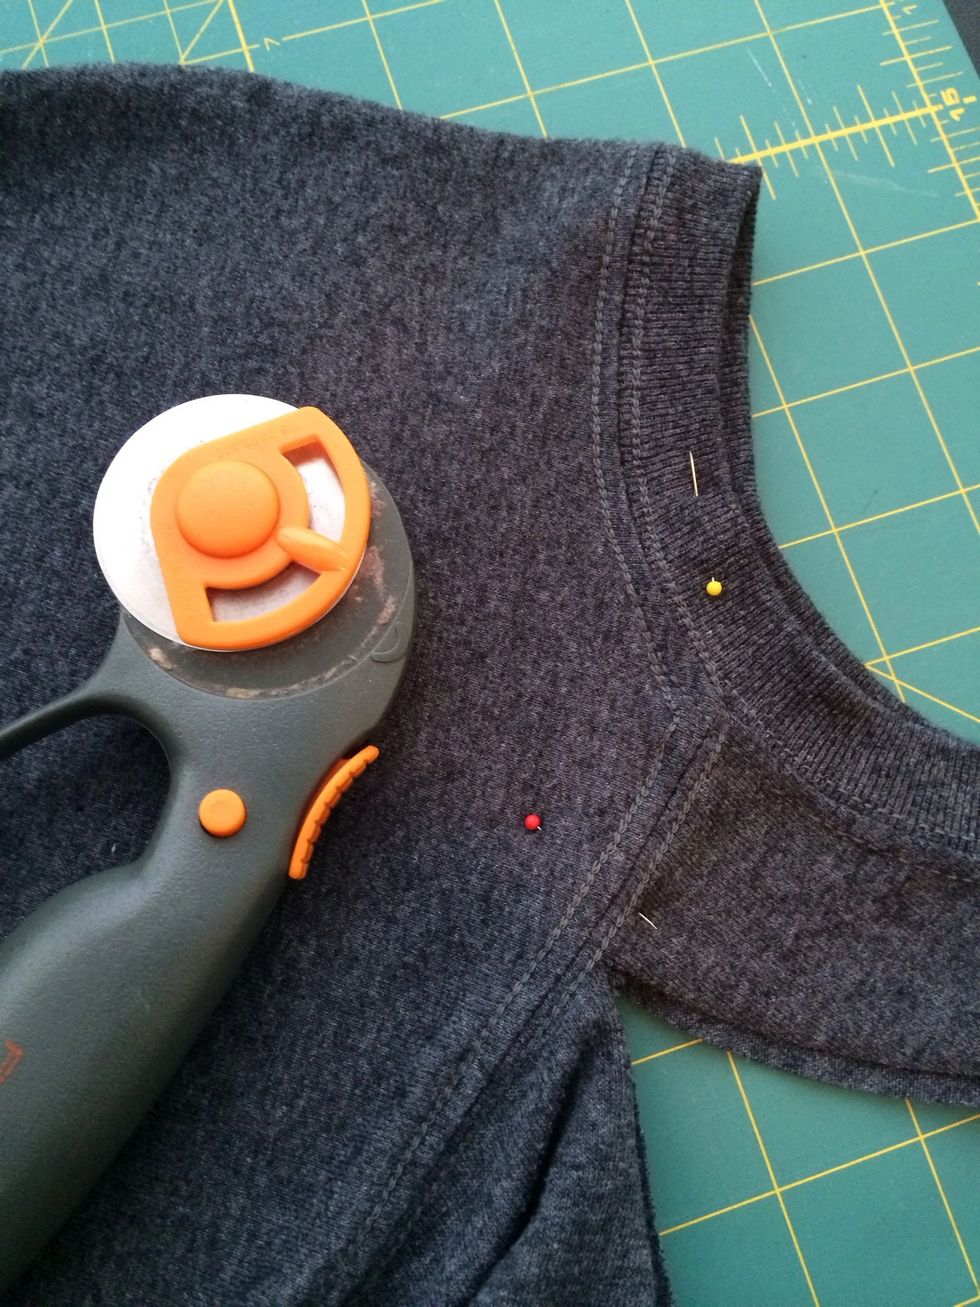
The back of your neck needs to be smaller than the scoop in the front unless you want it to fall of your shoulders (think flash dance).
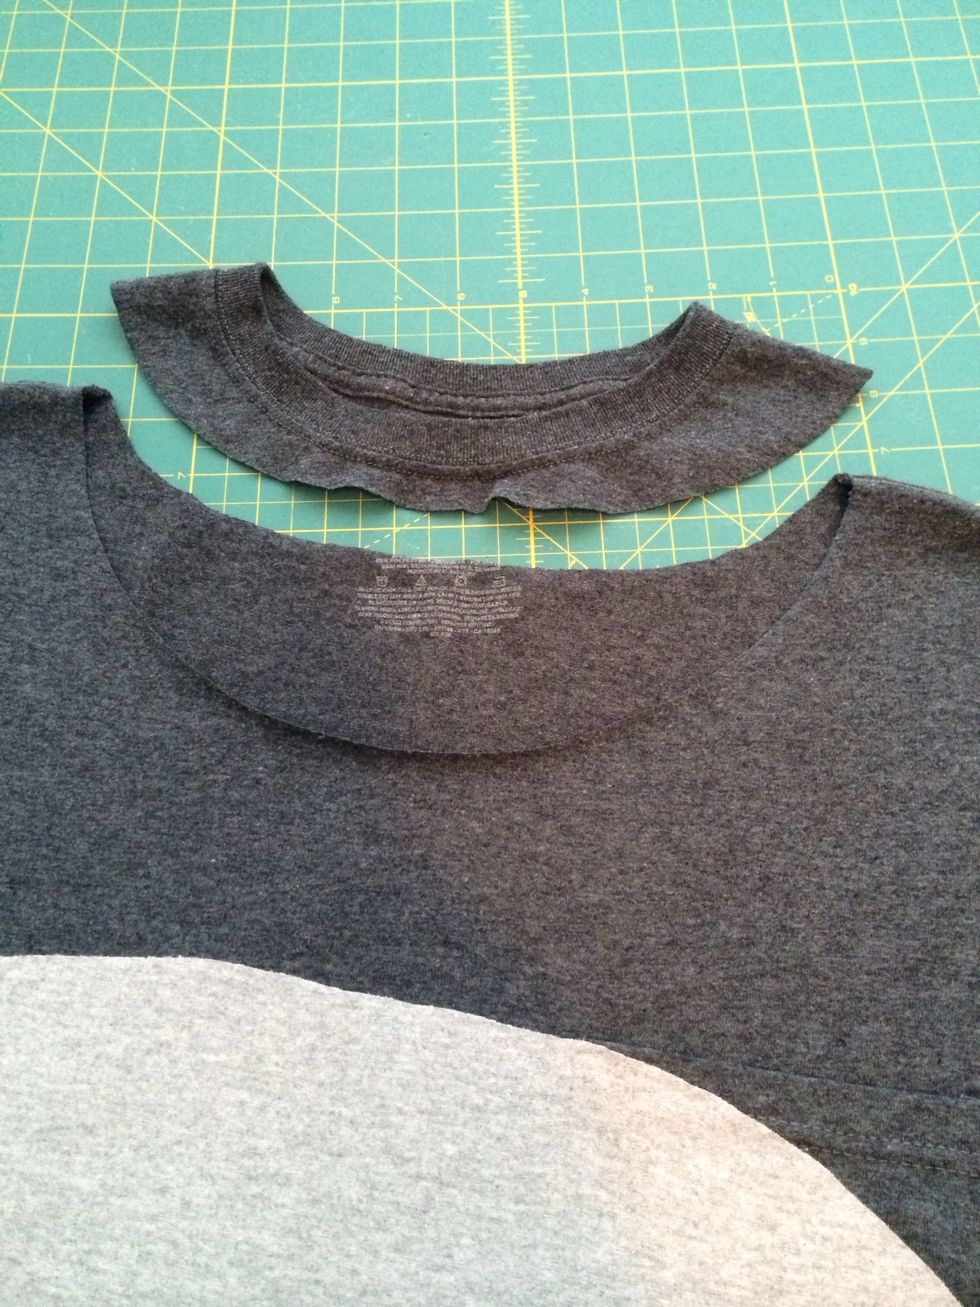
Voila! A much better scoop neck that isn't choking the life out of me.
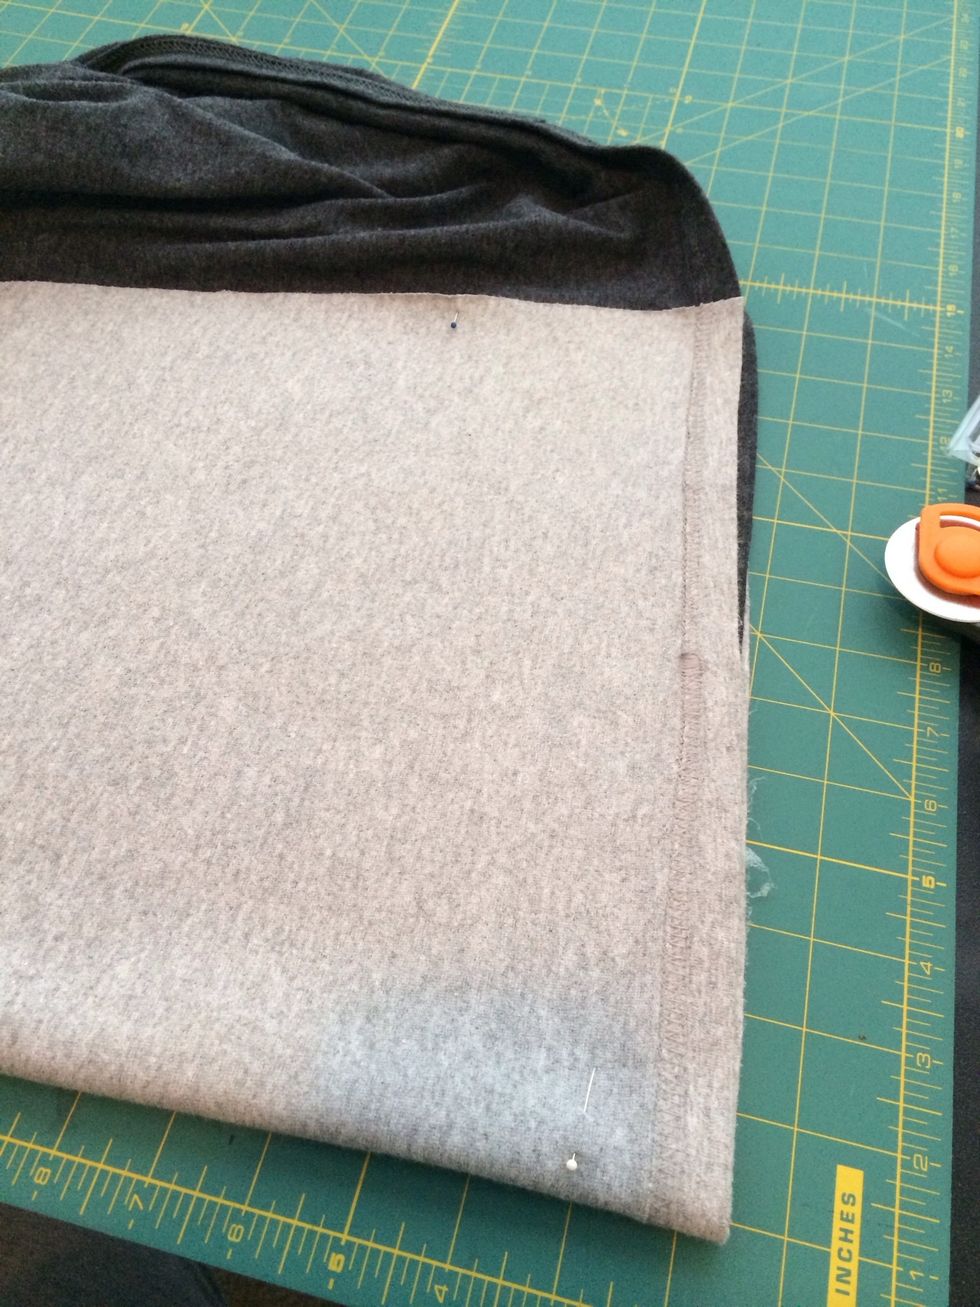
I also decided to cut the end off / it was way too long. I cut the bottom in a curved baseball style. I folded the front in half and cut it separately from the back of the shirt.
Better!

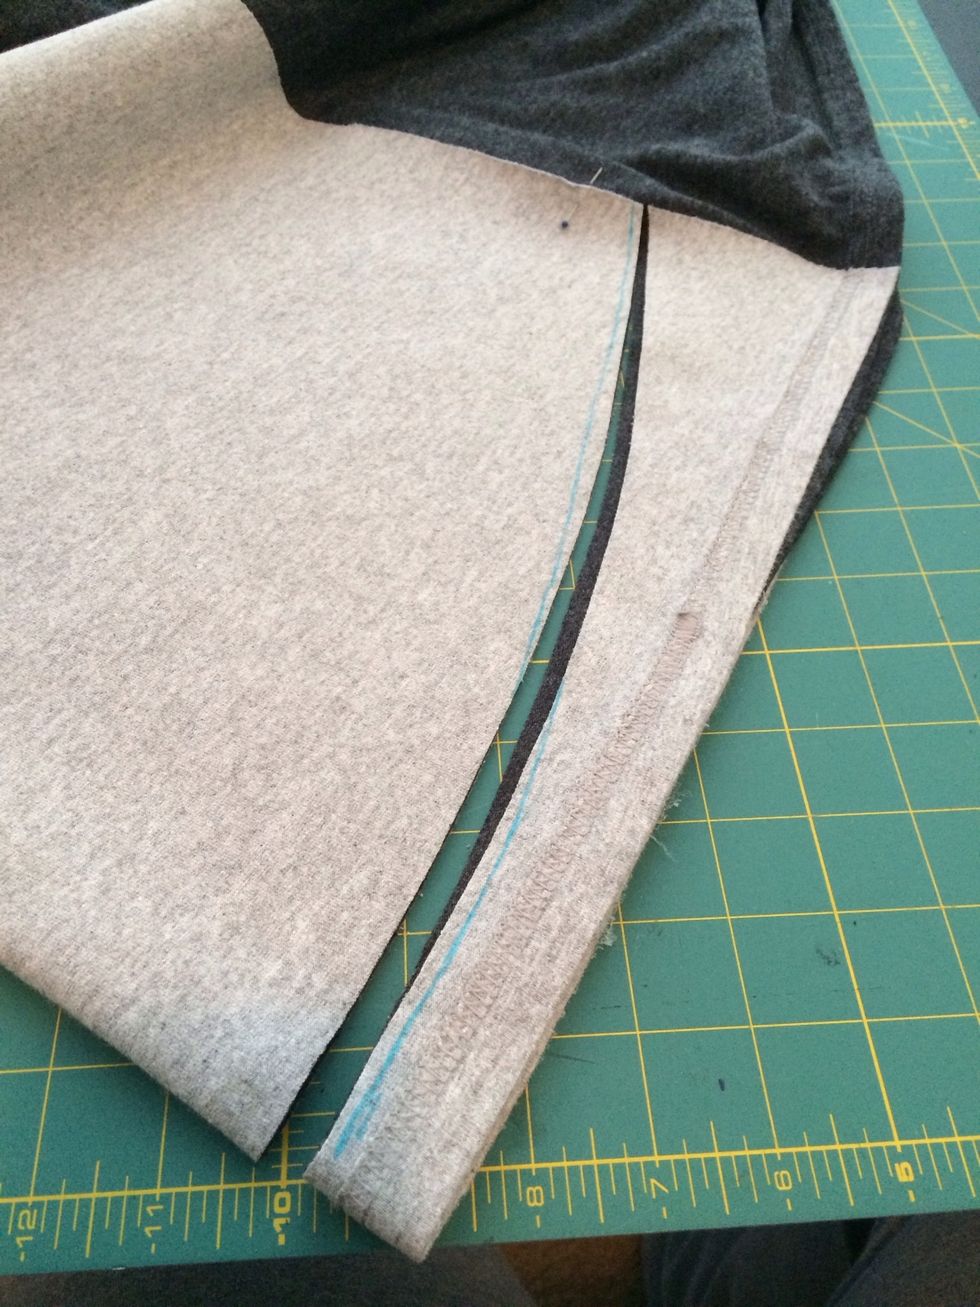
I then folded the back in half and used the piece I just cut from the front as a template for the back curve.
These edges will curl when washed and dried.
Keep all the scraps! Use them to cut 9 little boom-a-rang shaped pieces for the chest.
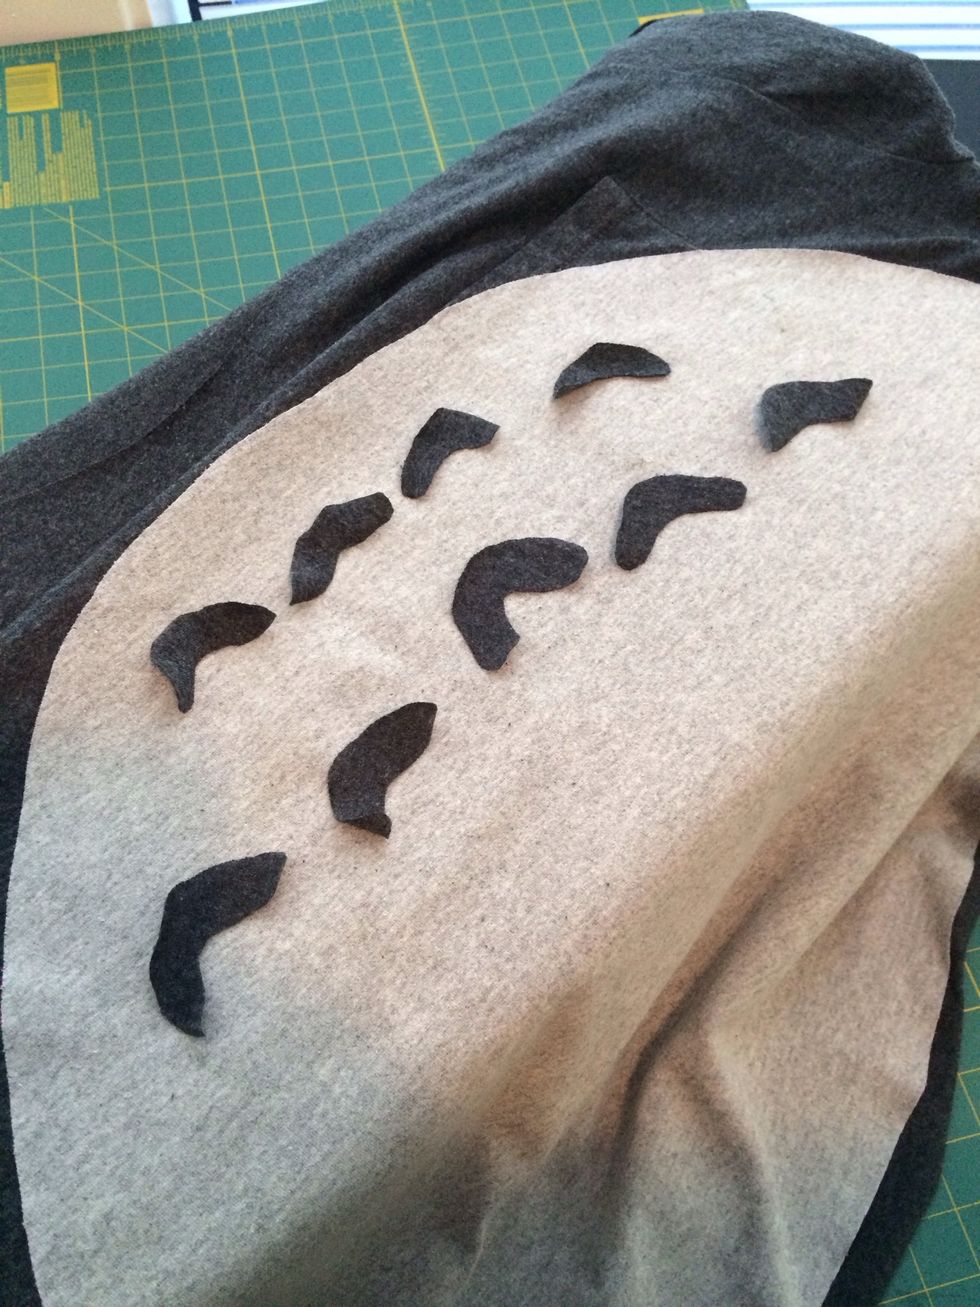
Don't worry about shoddy edges if you cut these out with scissors, there's a trick...
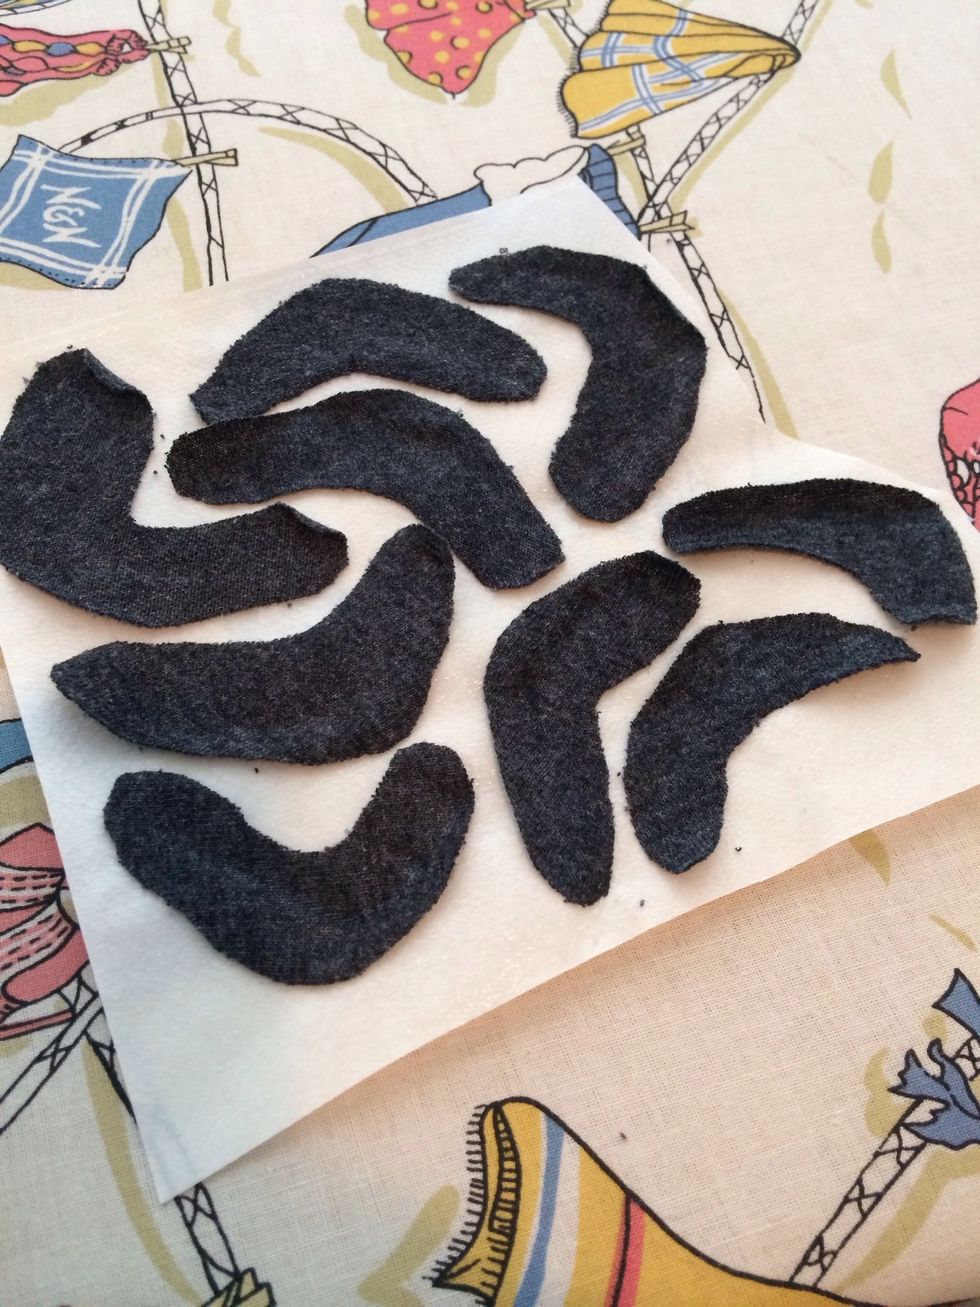
Lay all the rough edged parts on the adhesive paper.
Cover with a sheet of paper and iron.
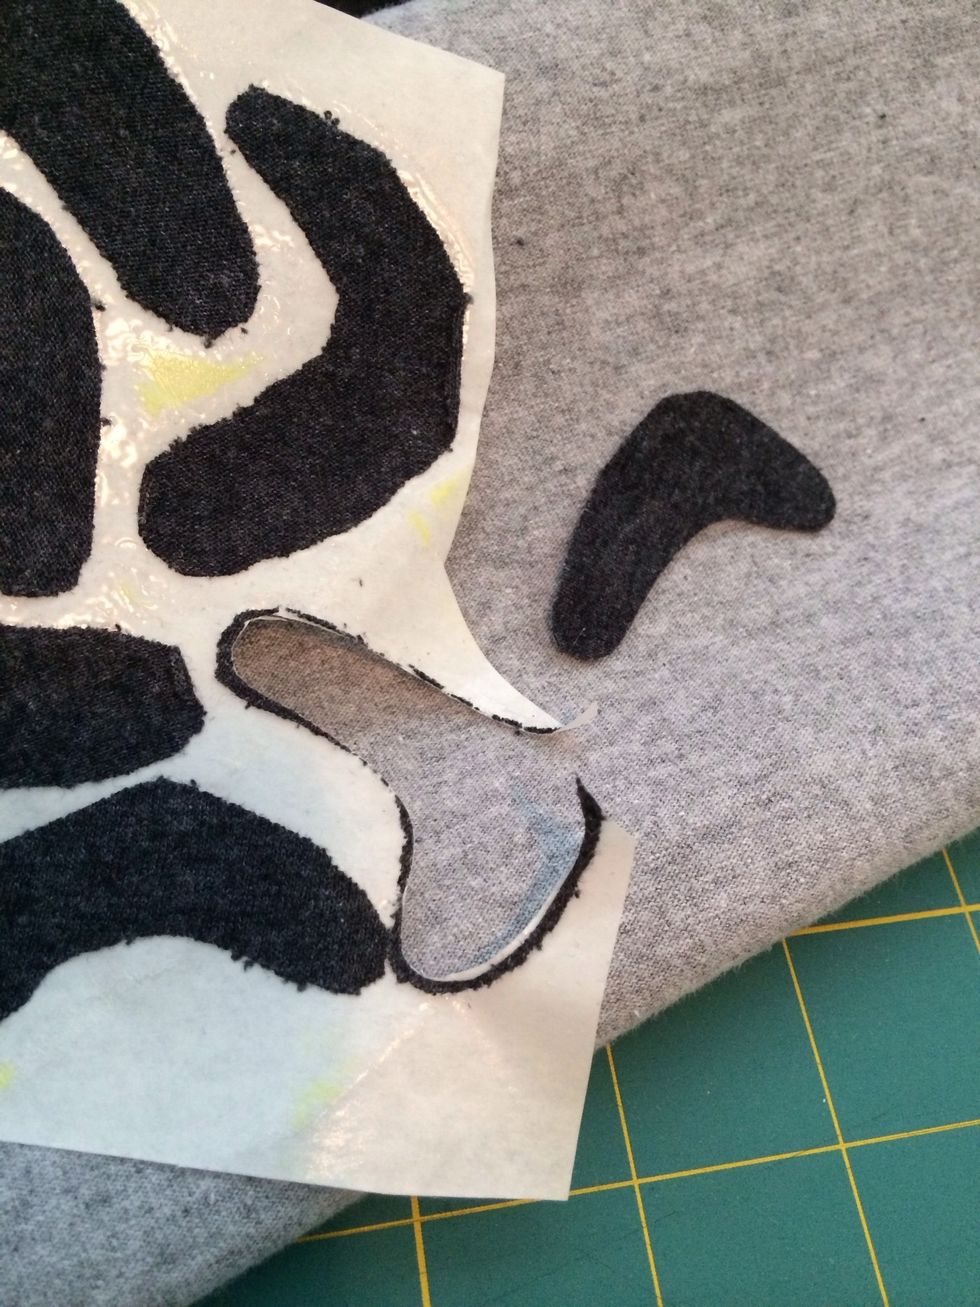
Peel off the paper and then cut out the shapes with nicer edges (which is actually possible this way).
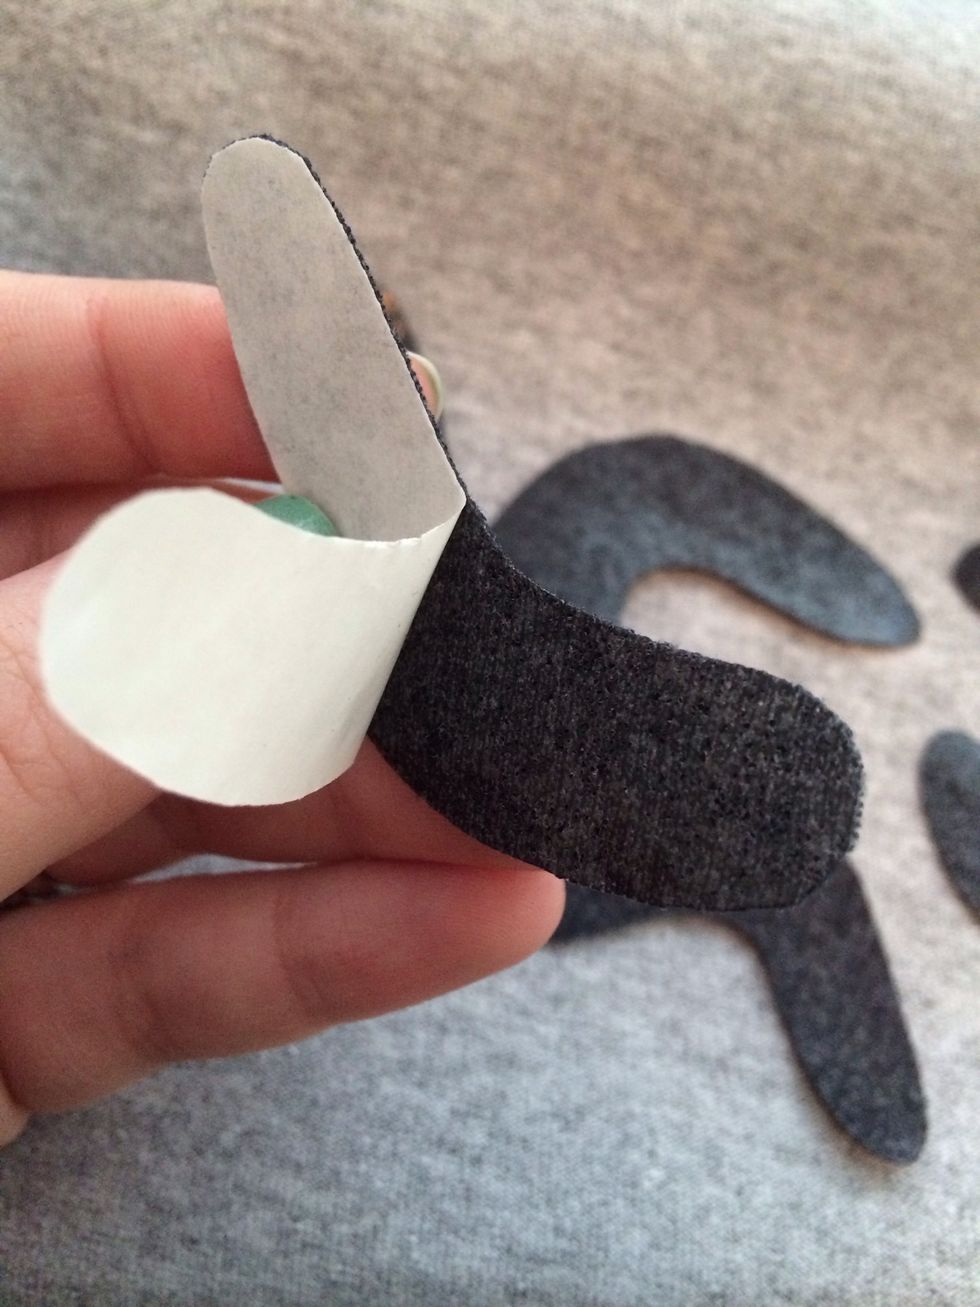
Next, you'll peel off the paper, position, and iron on.
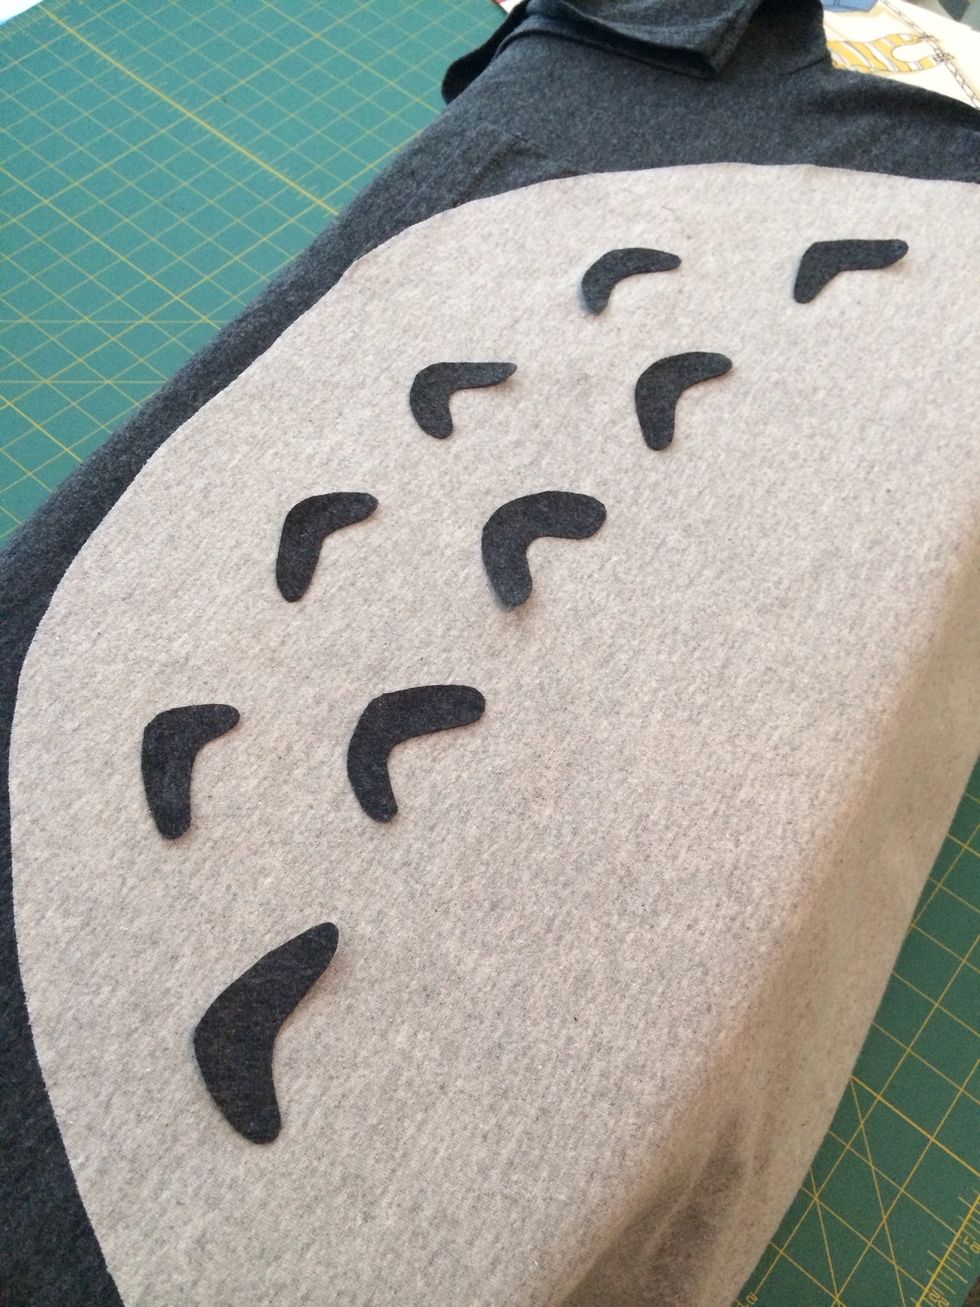
This is the Totoro arrangement - 5 bottom (slightly bigger) and 4 on top. There are lots of examples of other arrangements so do what you can with however much leftover fabric you have.
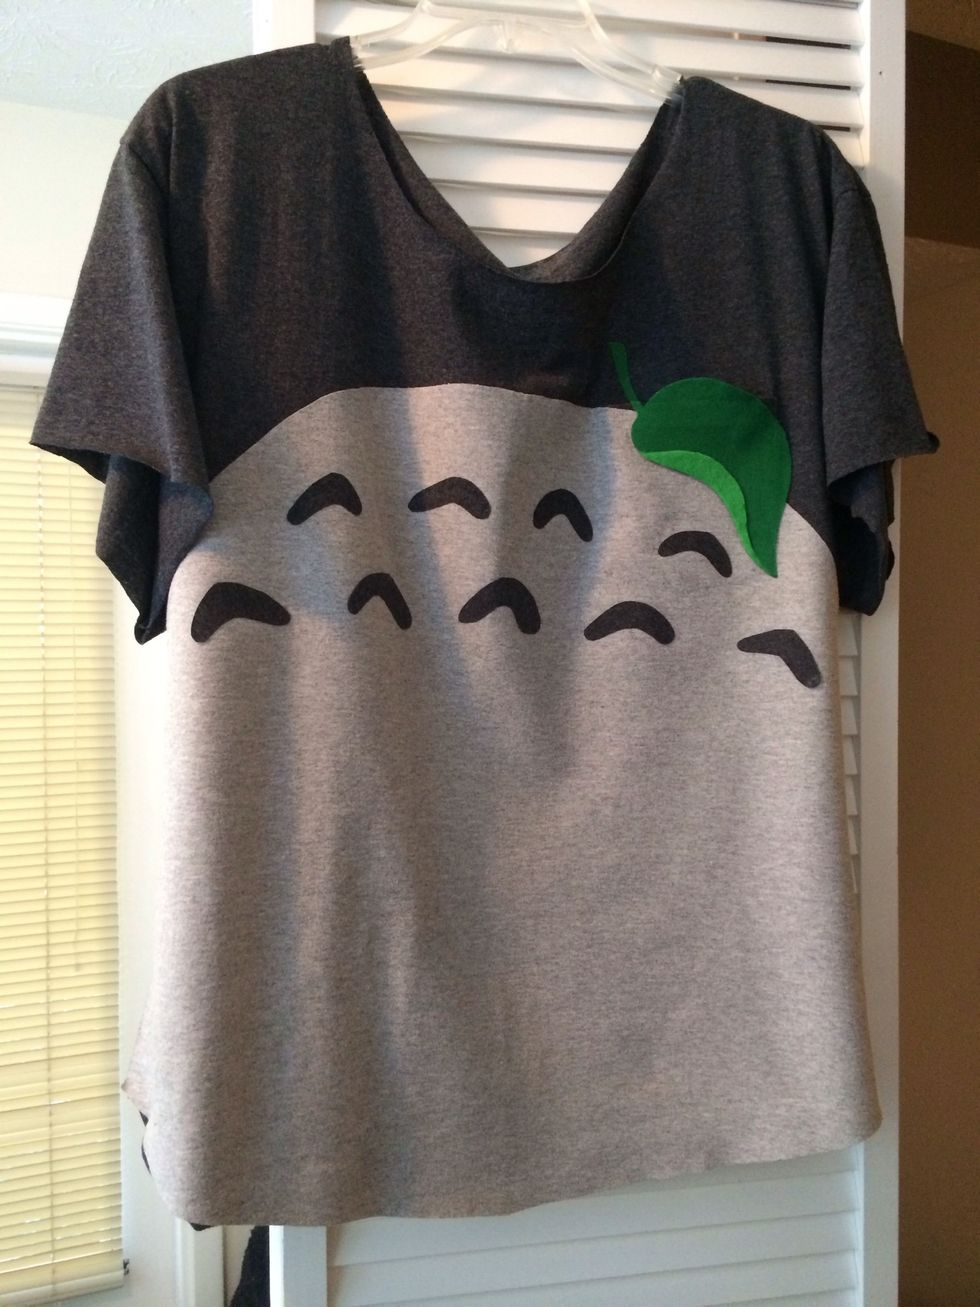
At this point you've made a Totoro shirt. I had a pocket that seemed out of place and - keeping with Totoro's leaf - I decided to do something to hide it better. The rest shows how to make the leaf...
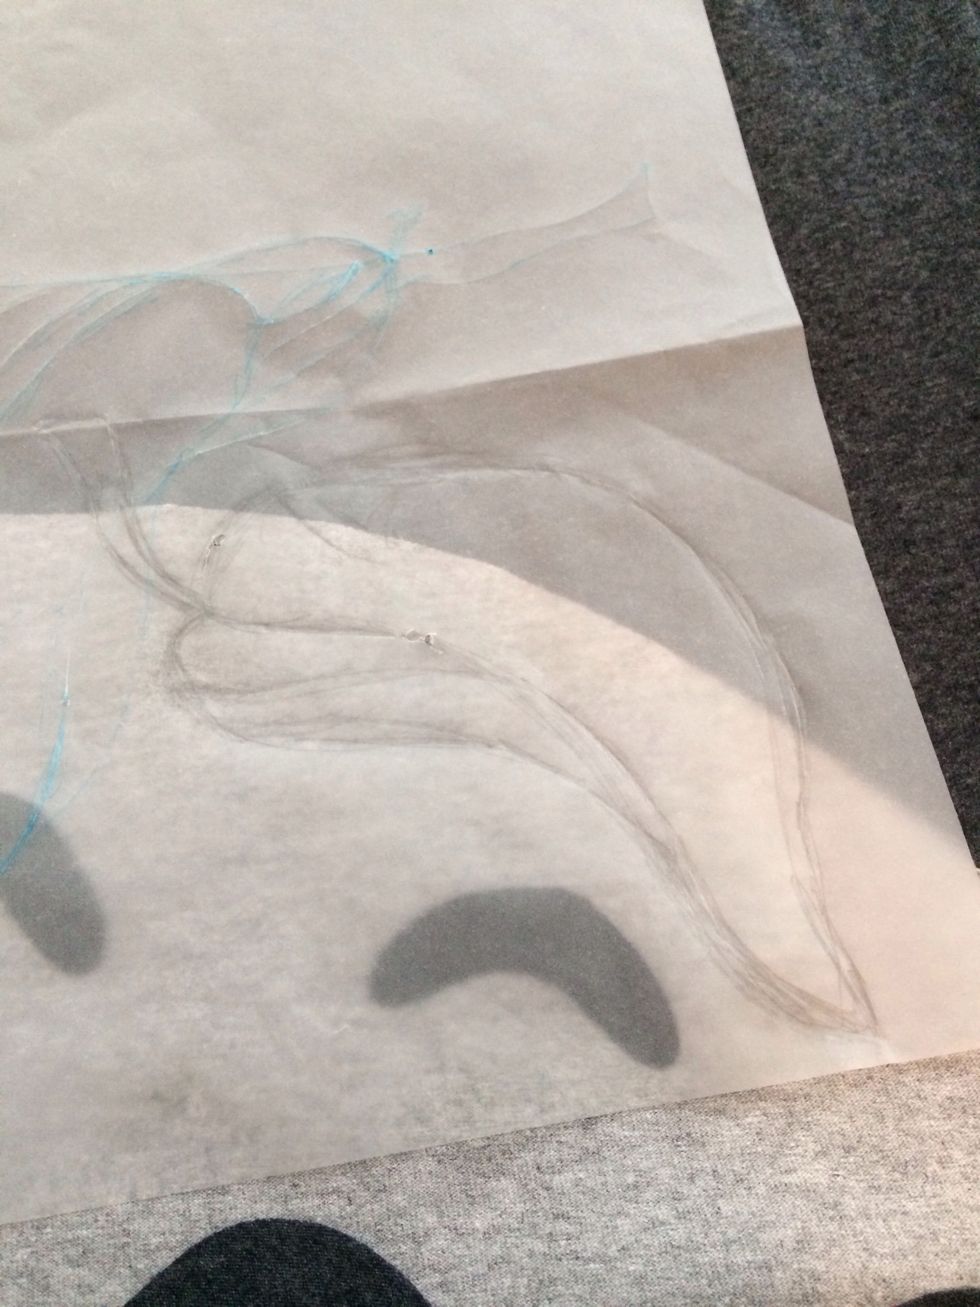
I used tracing paper to determine where I wanted to place the leaf to hide the pocket, the shape I wanted, and how big it needed to be.
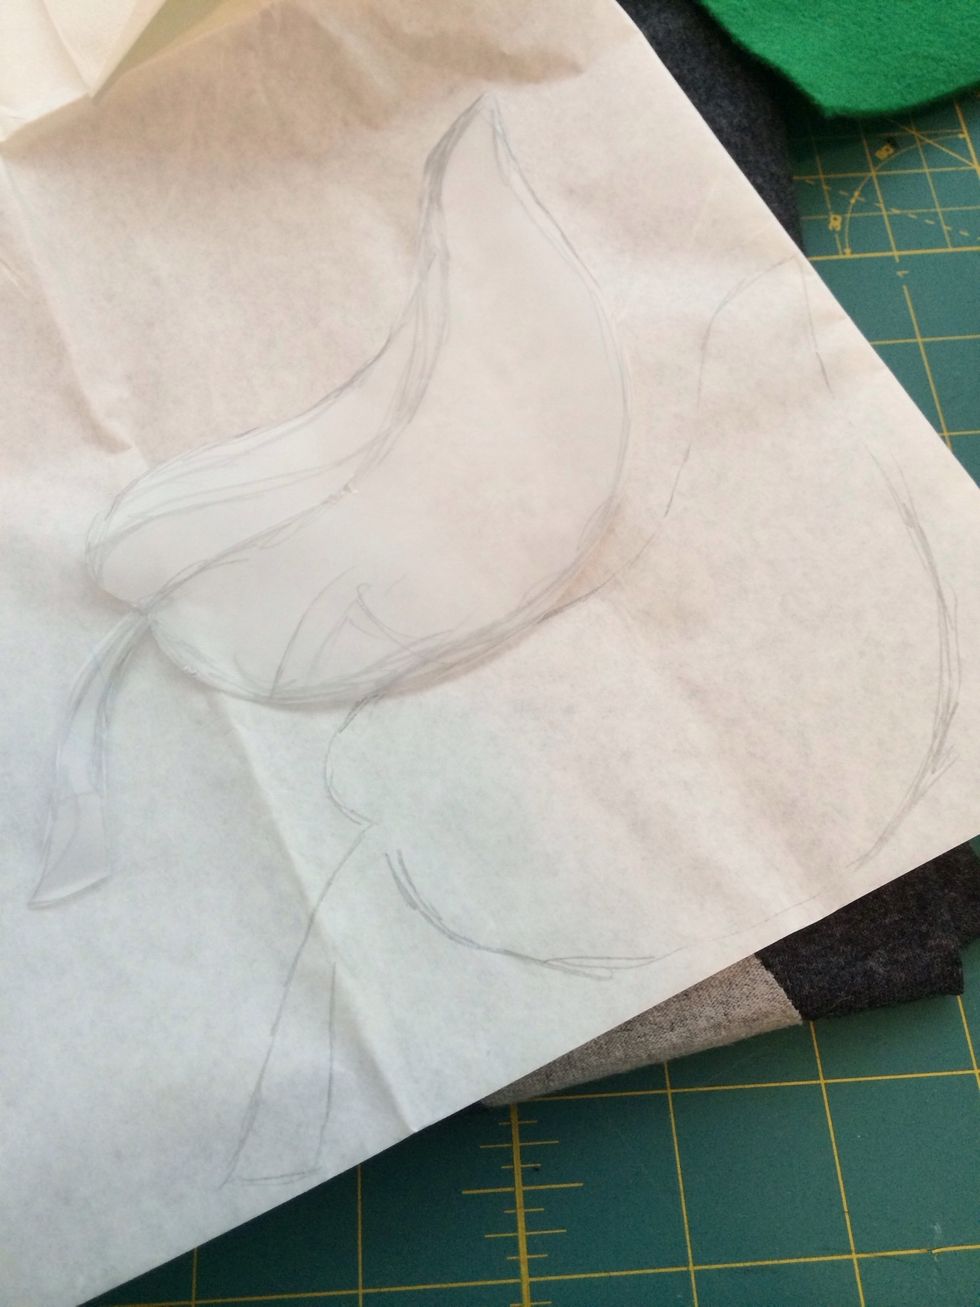
I flipped this cut out over and traced it on the back of the adhesive paper.
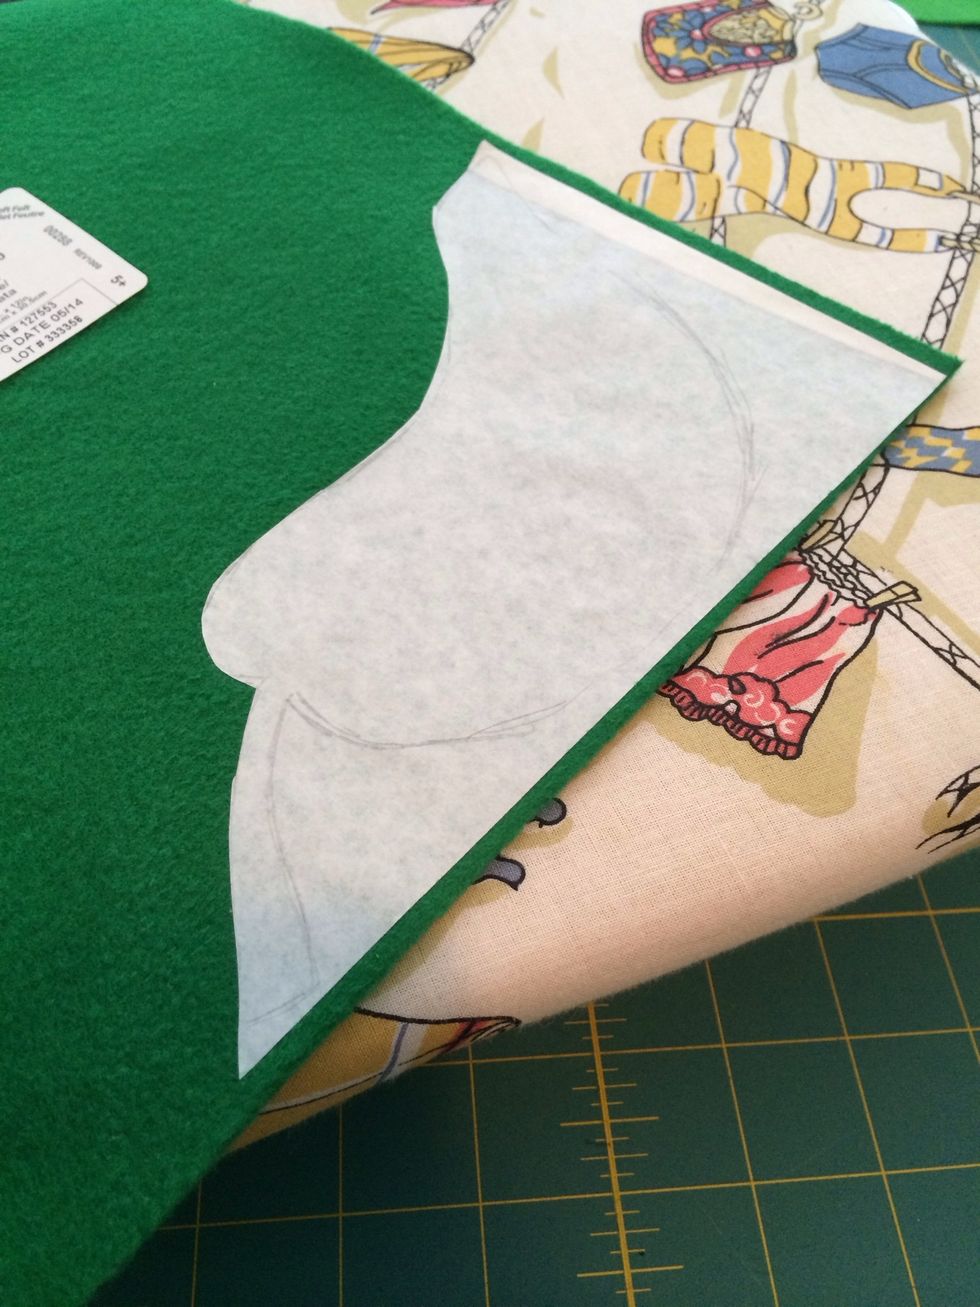
I then glued this to the felt I wanted to use. If you're making something to wear often (and thus wash and dry a lot) I wouldn't advise felt... Use fabric instead.
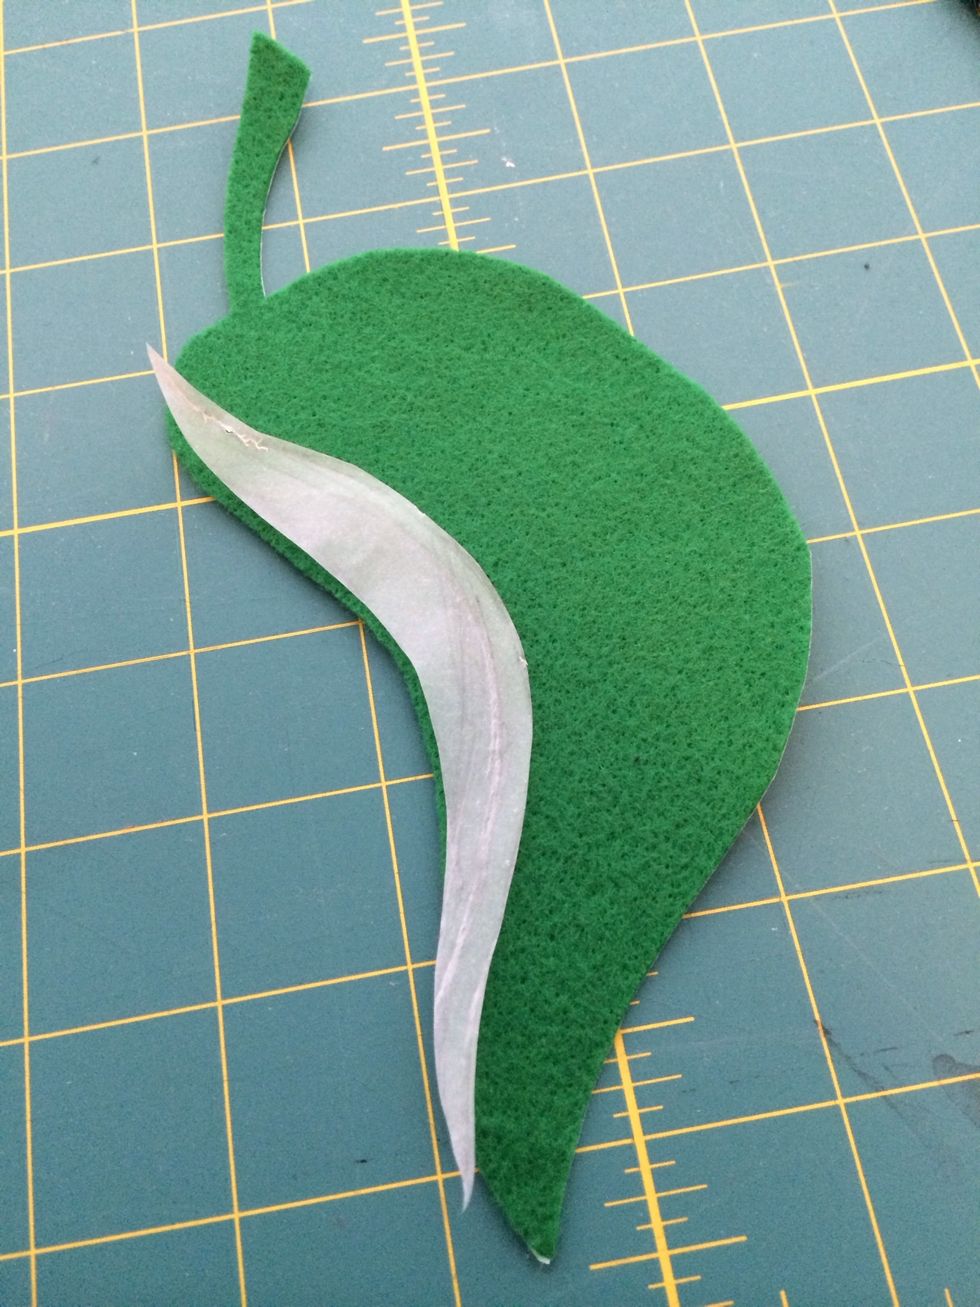
I repeated this process with the small section of green that indicates the underside of the leaf.
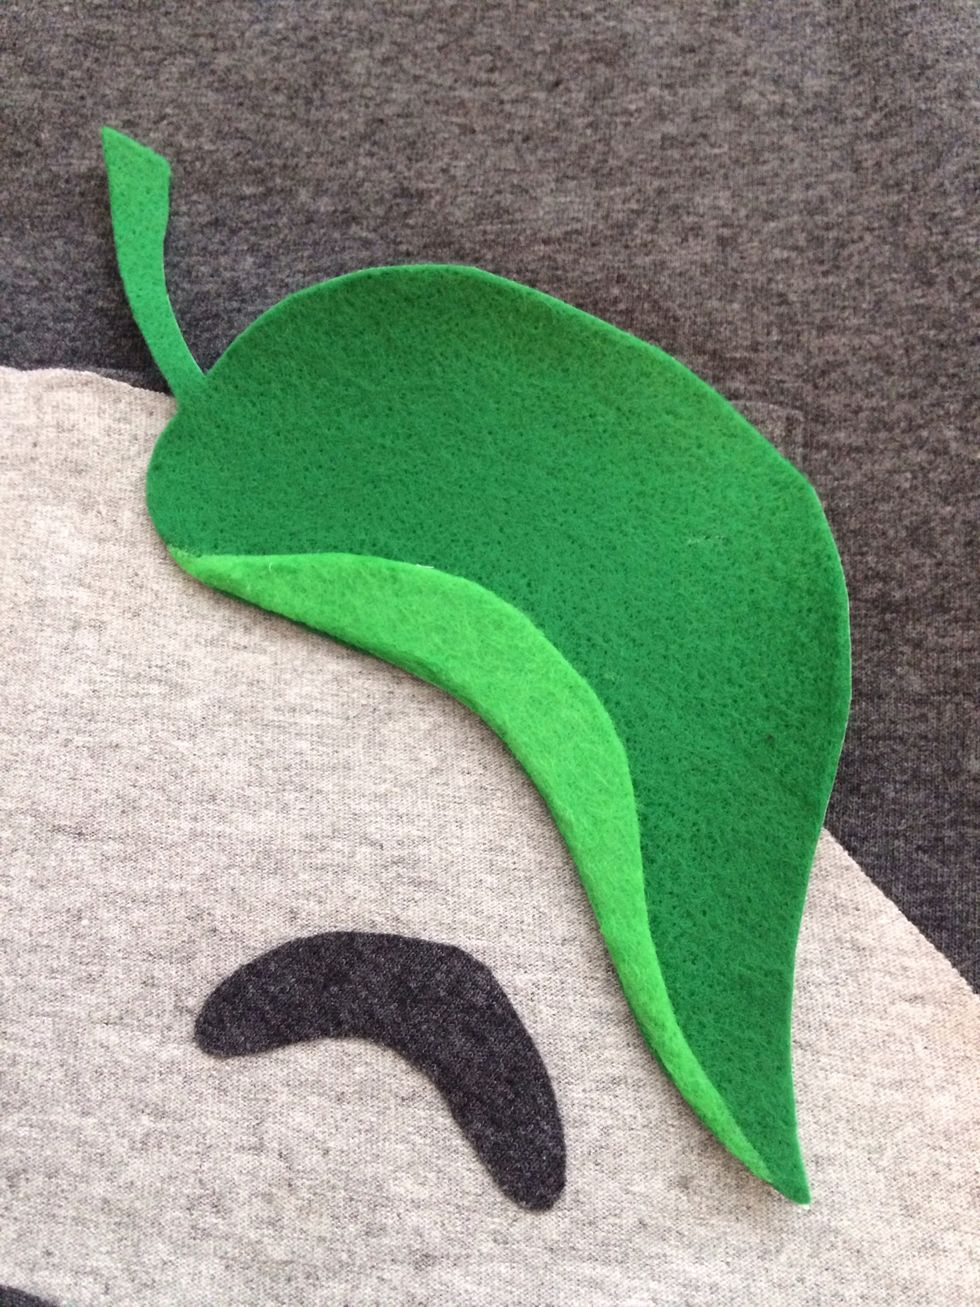
Normally you'd just position and iron but I had the pocket, remember?
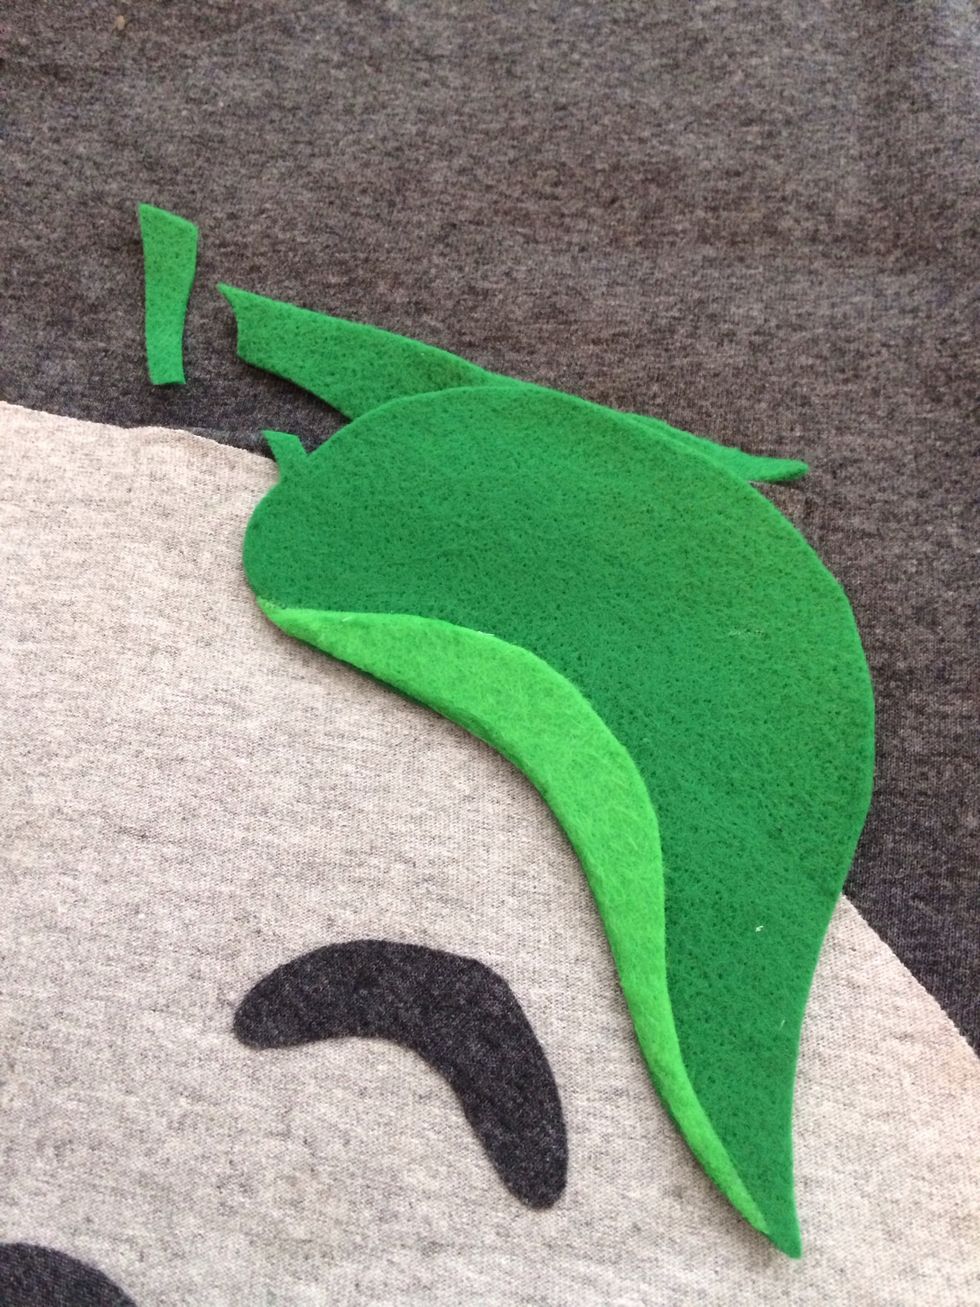
I had to use another section of felt to keep my sticky leaf from sealing the pocket shut. I also cut the stem in two.
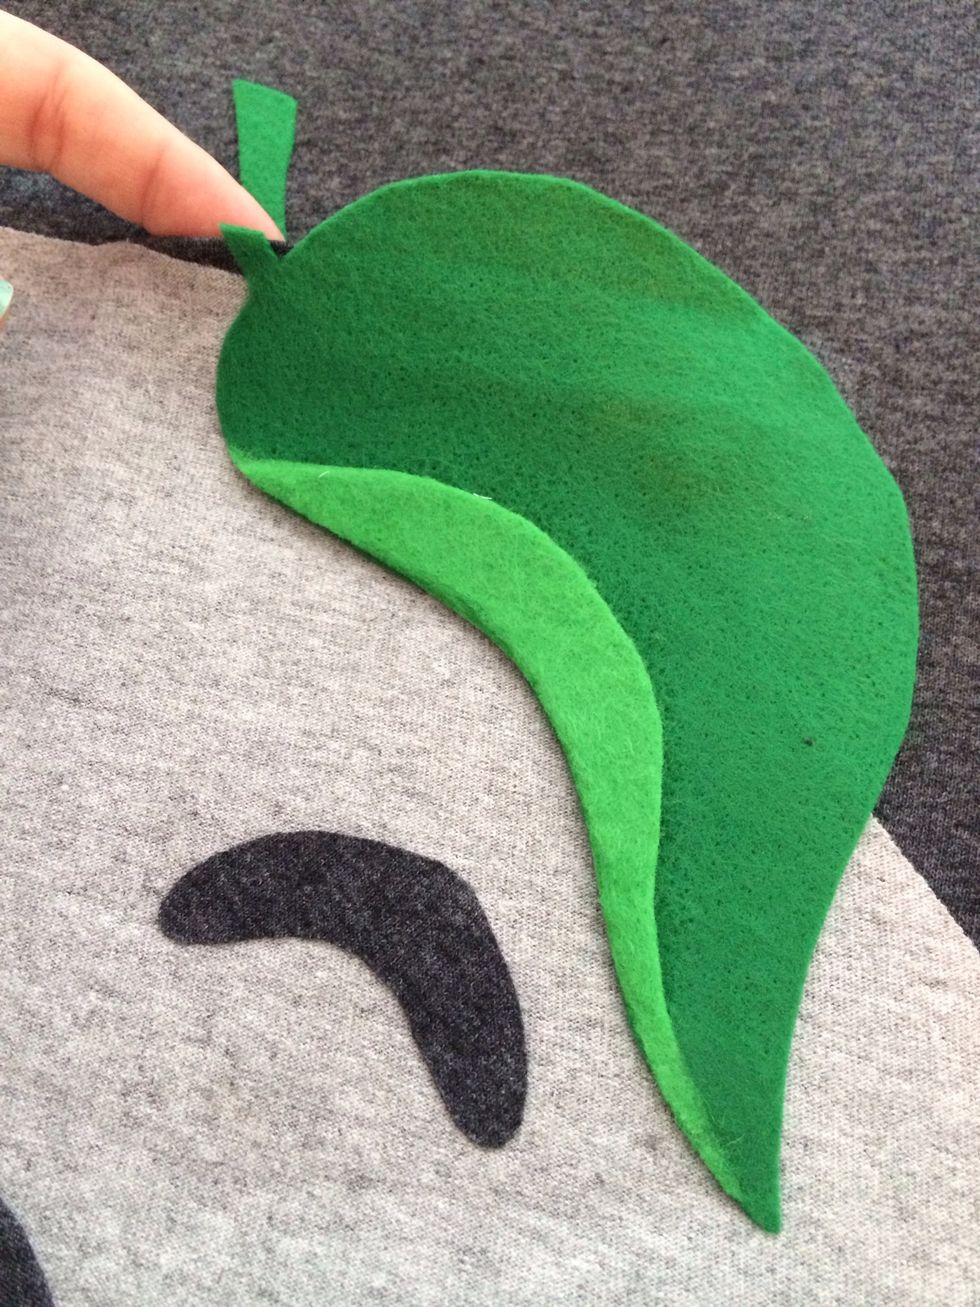
I cut off the extra felt that I used to back the top of the leaf. I ironed the stem down on the main shirt.

And there you have it! The pocket would be ideal for some soot sprites or mini Totoro toy. I plan on making a headband with corresponding ears and soot sprites but it's not necessary, really. Enjoy!