The Conversation (0)
Sign Up
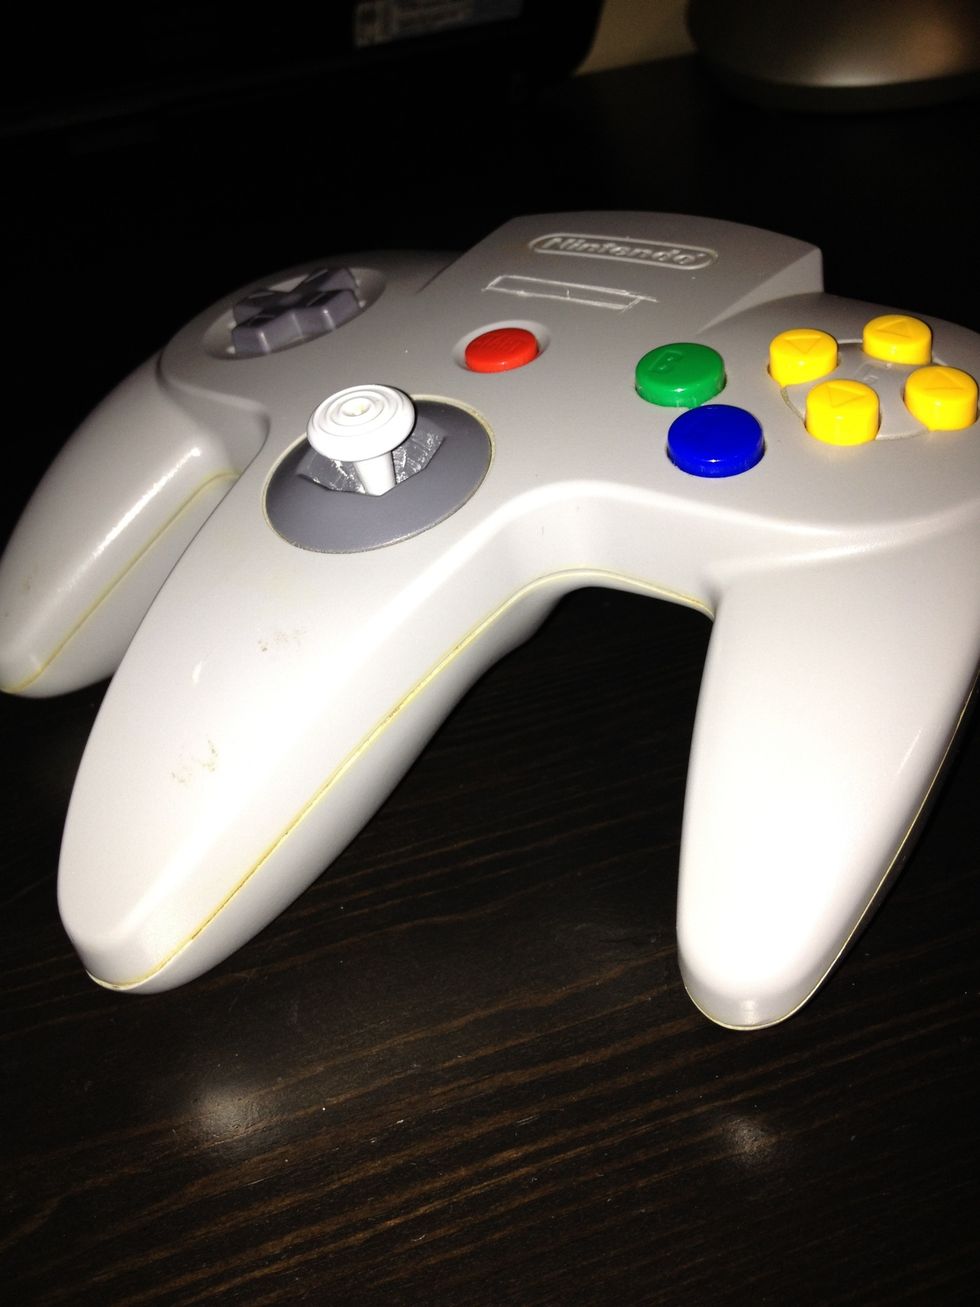
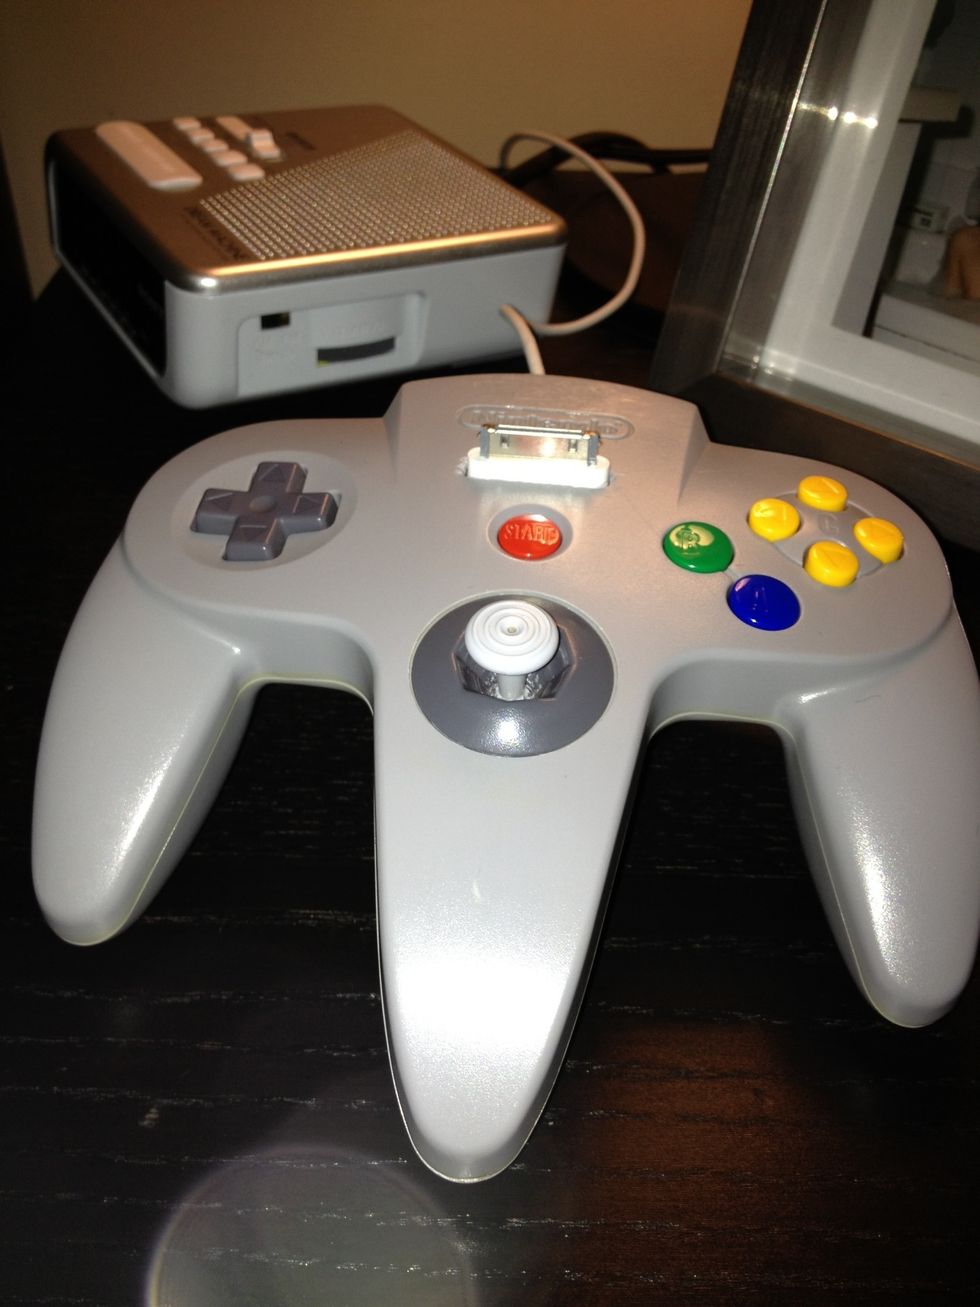
Take an old Nintendo 64 controller. I used a broken one I had that was lying around.
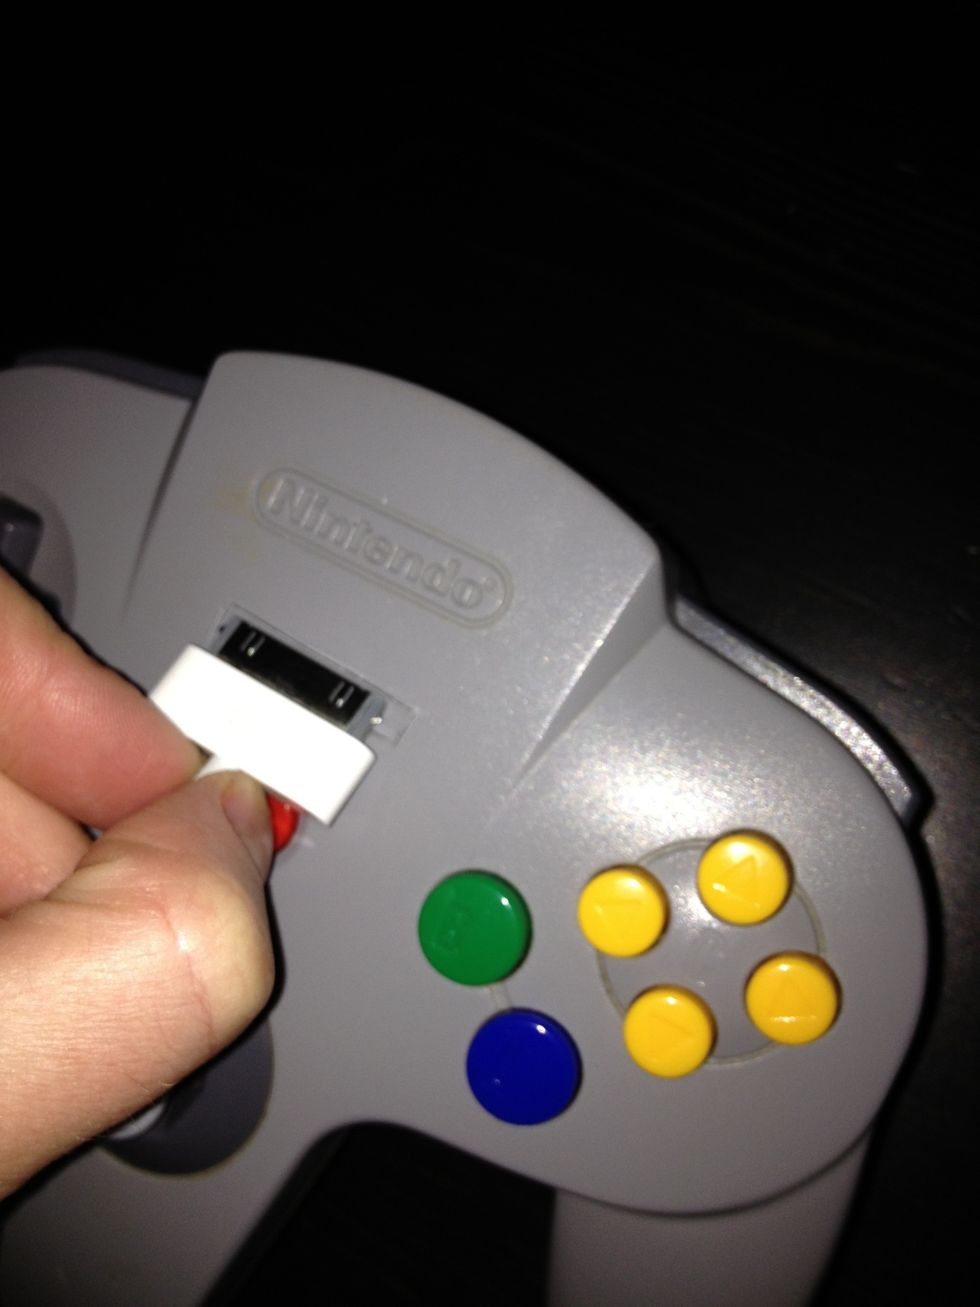
Use the Apple USB to measure and mark where you'll cut a hole to allow the USB through.
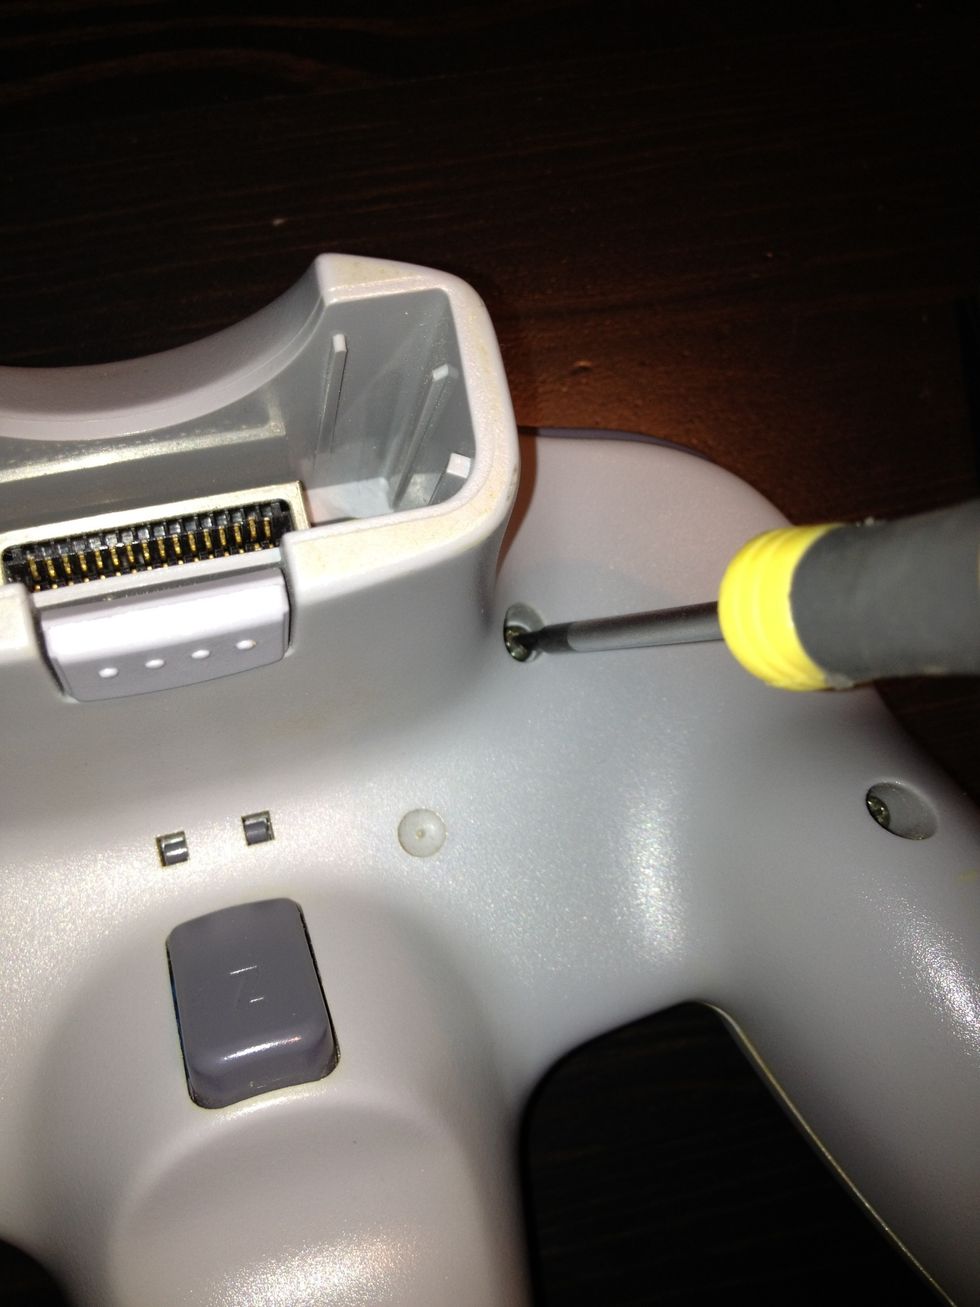
Use a screwdriver to unscrew all the screws on the back of the controller.
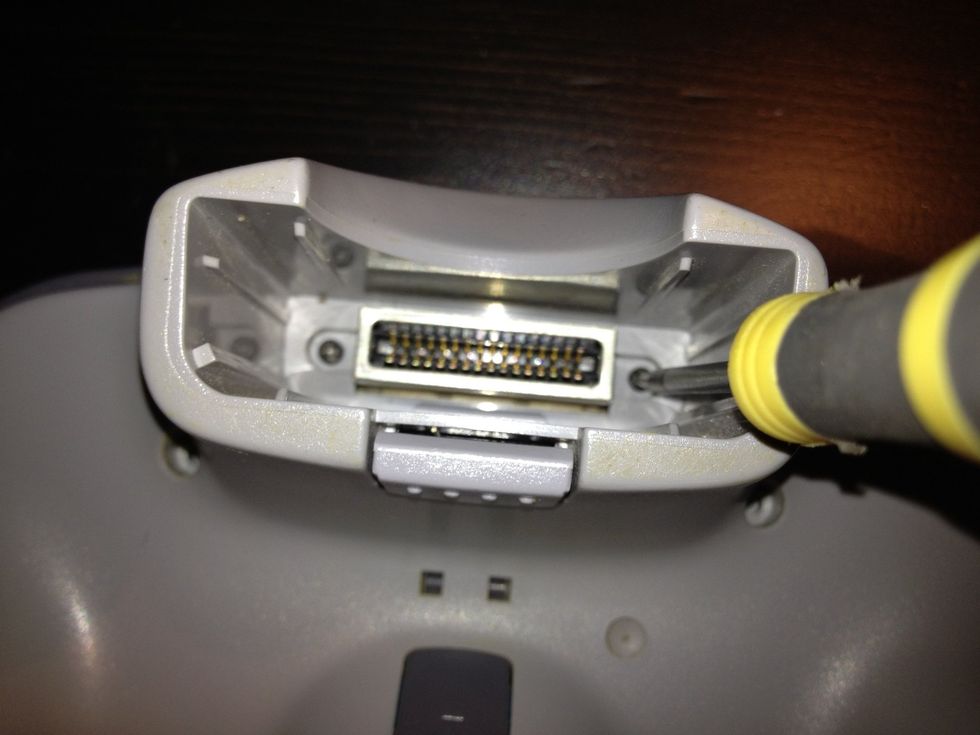
Don't forget the small screws in here.

Open the controller and remove the power cable.
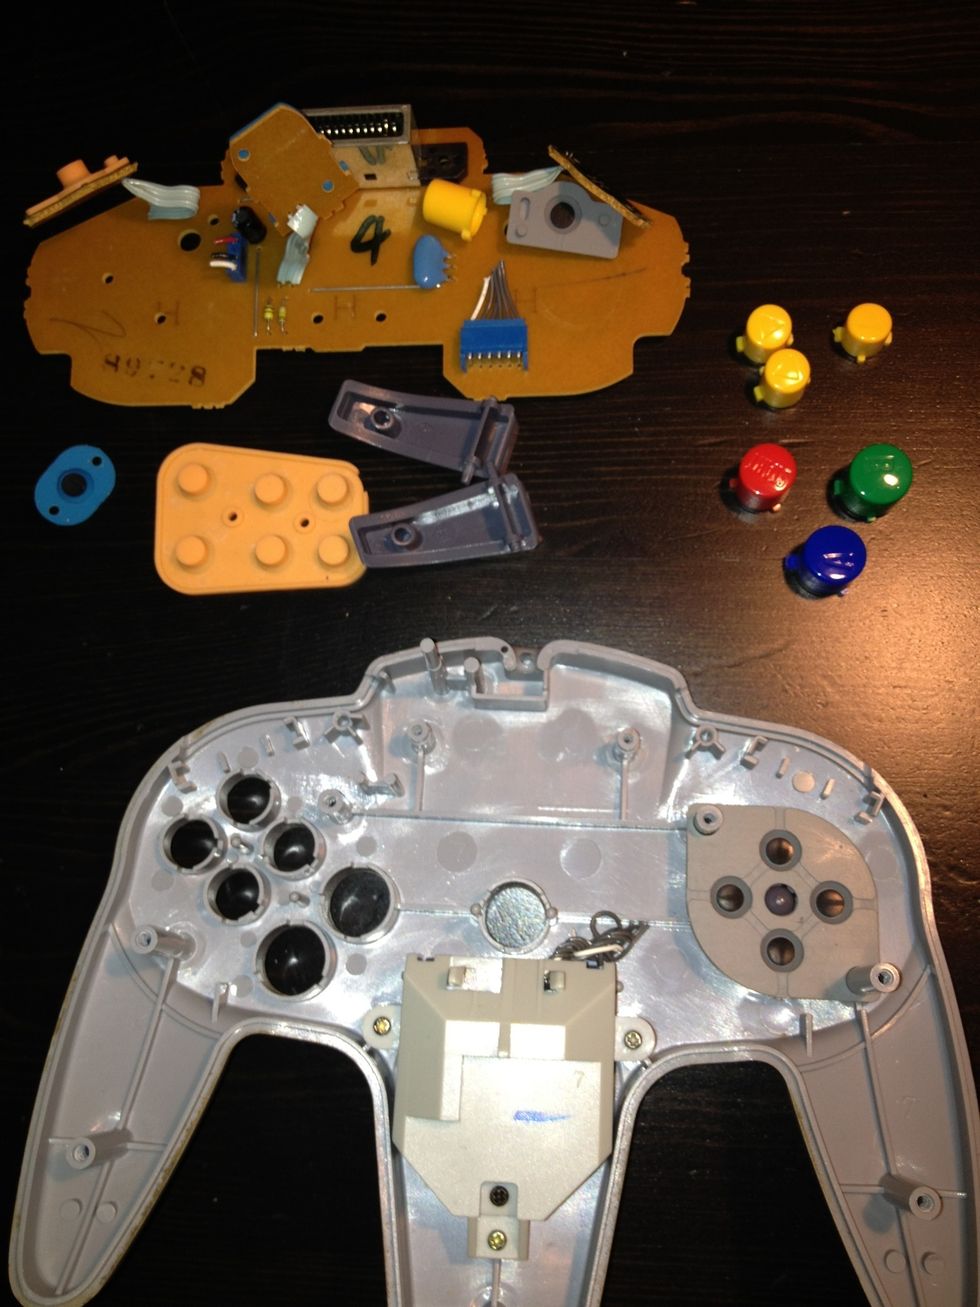
Take all the small components out of the controller, leaving the plastic casing bare. This allows you to work easily while drilling a hole for the USB.
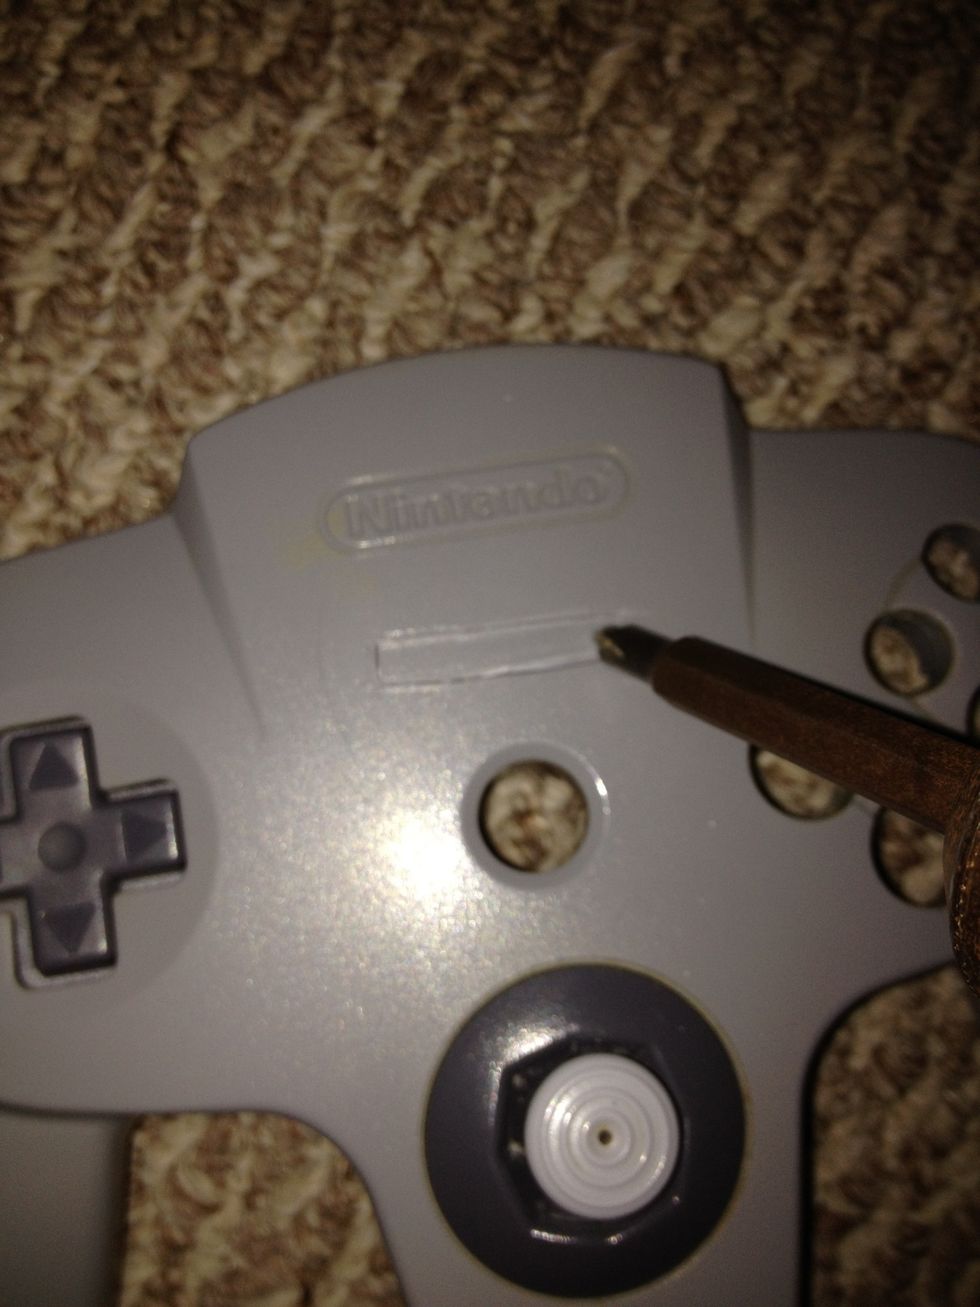
Use a drill to make holes in the marking you created allocated for the USB. Drill a few holes horizontally. Then with the sharp knife clean out the cut space making the slot smooth.
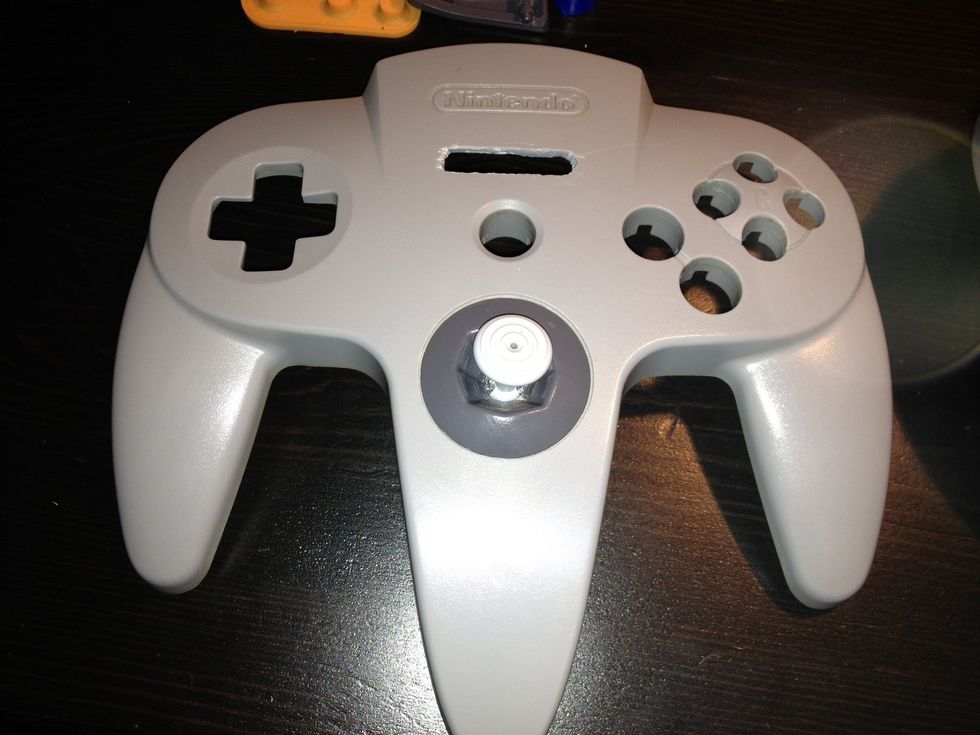
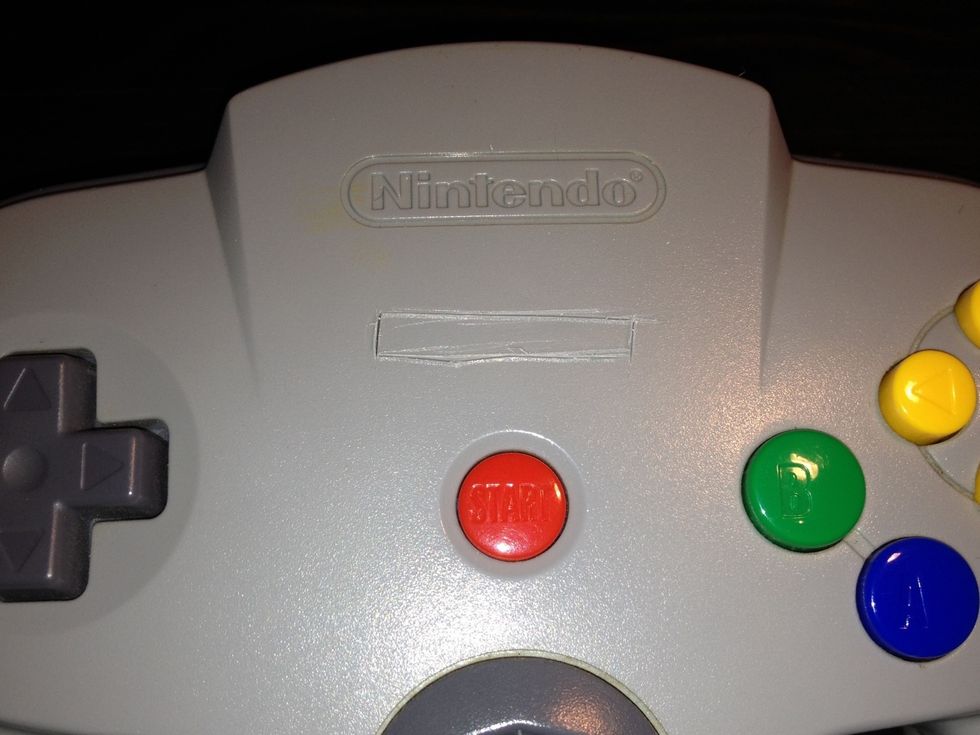
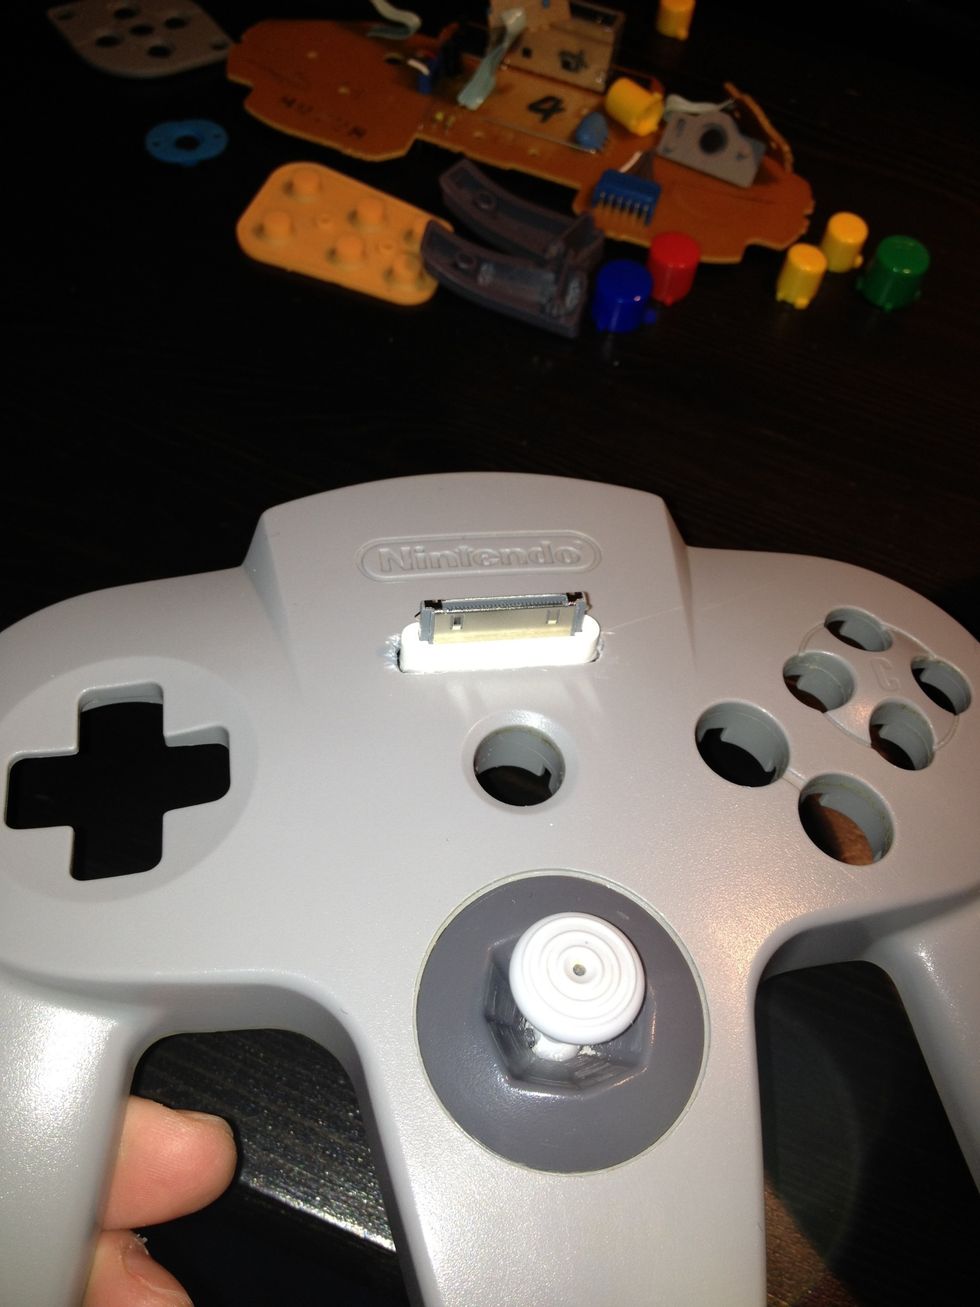
This is what it should look like.
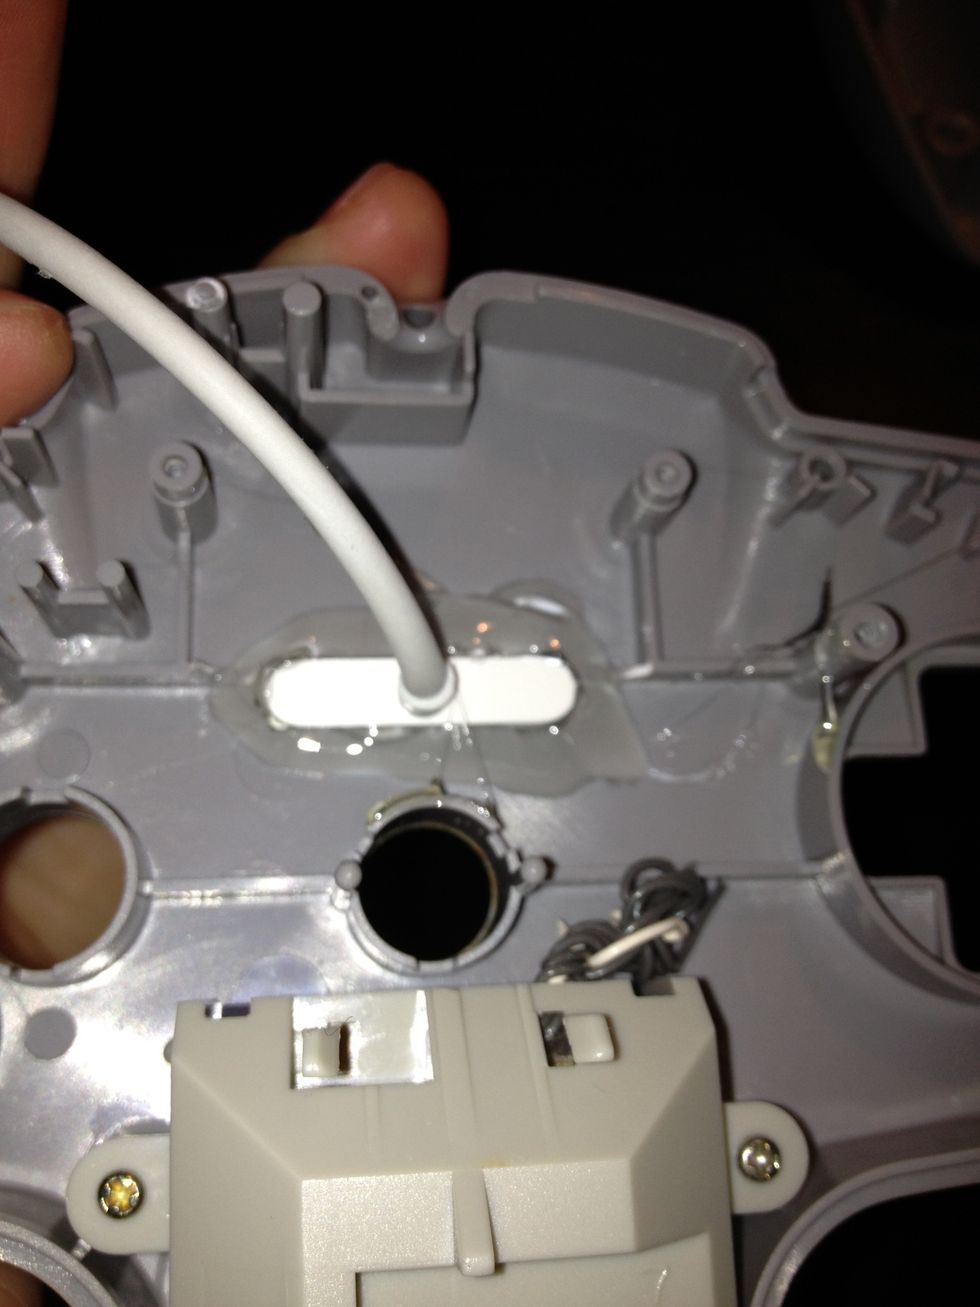
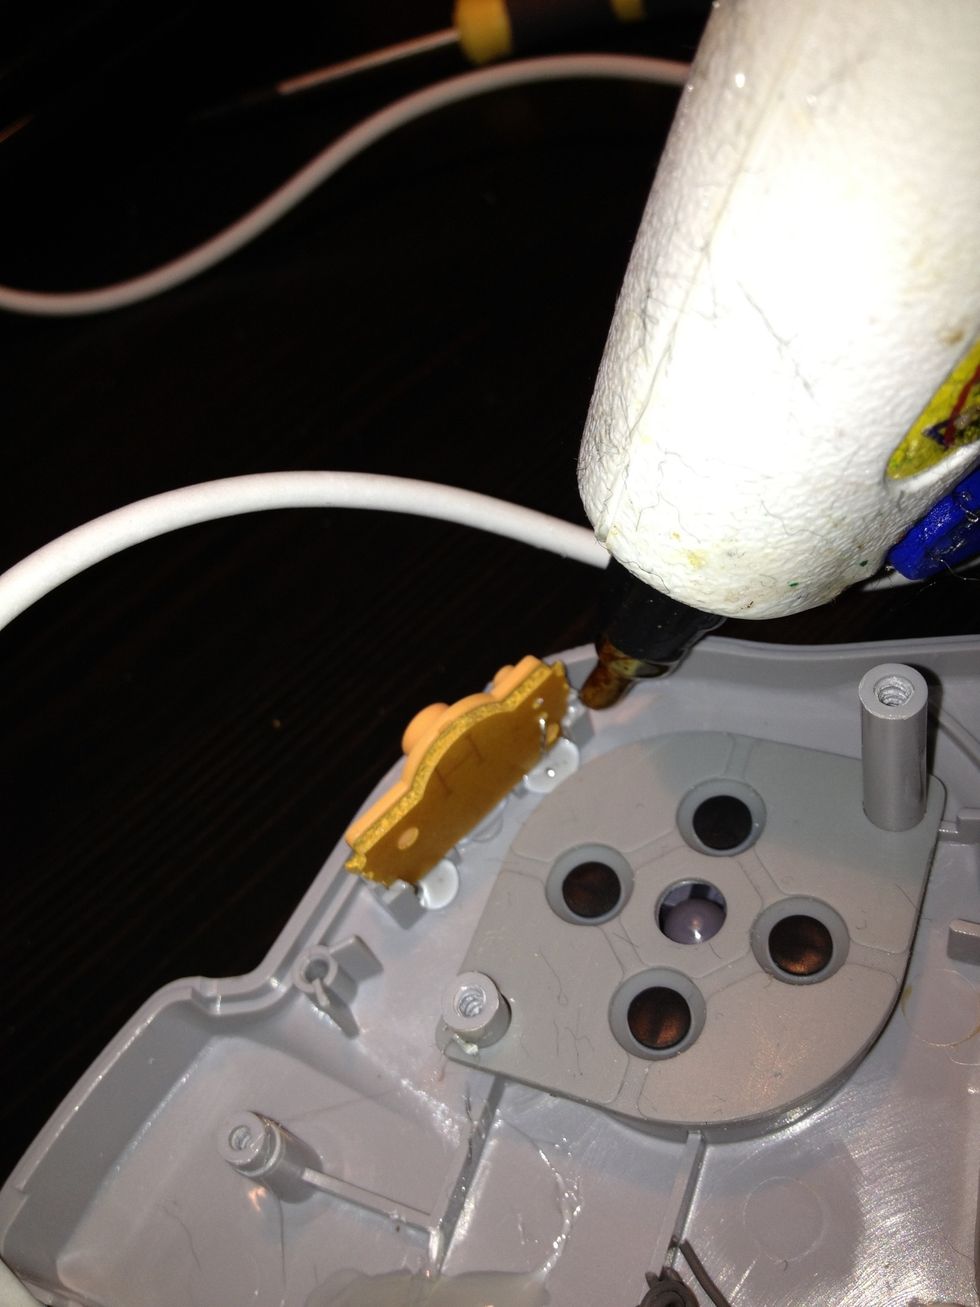
Take the USB and insert it into the newly-cut hole. Making sure the USB is facing the correct way, glue-gun it into place.
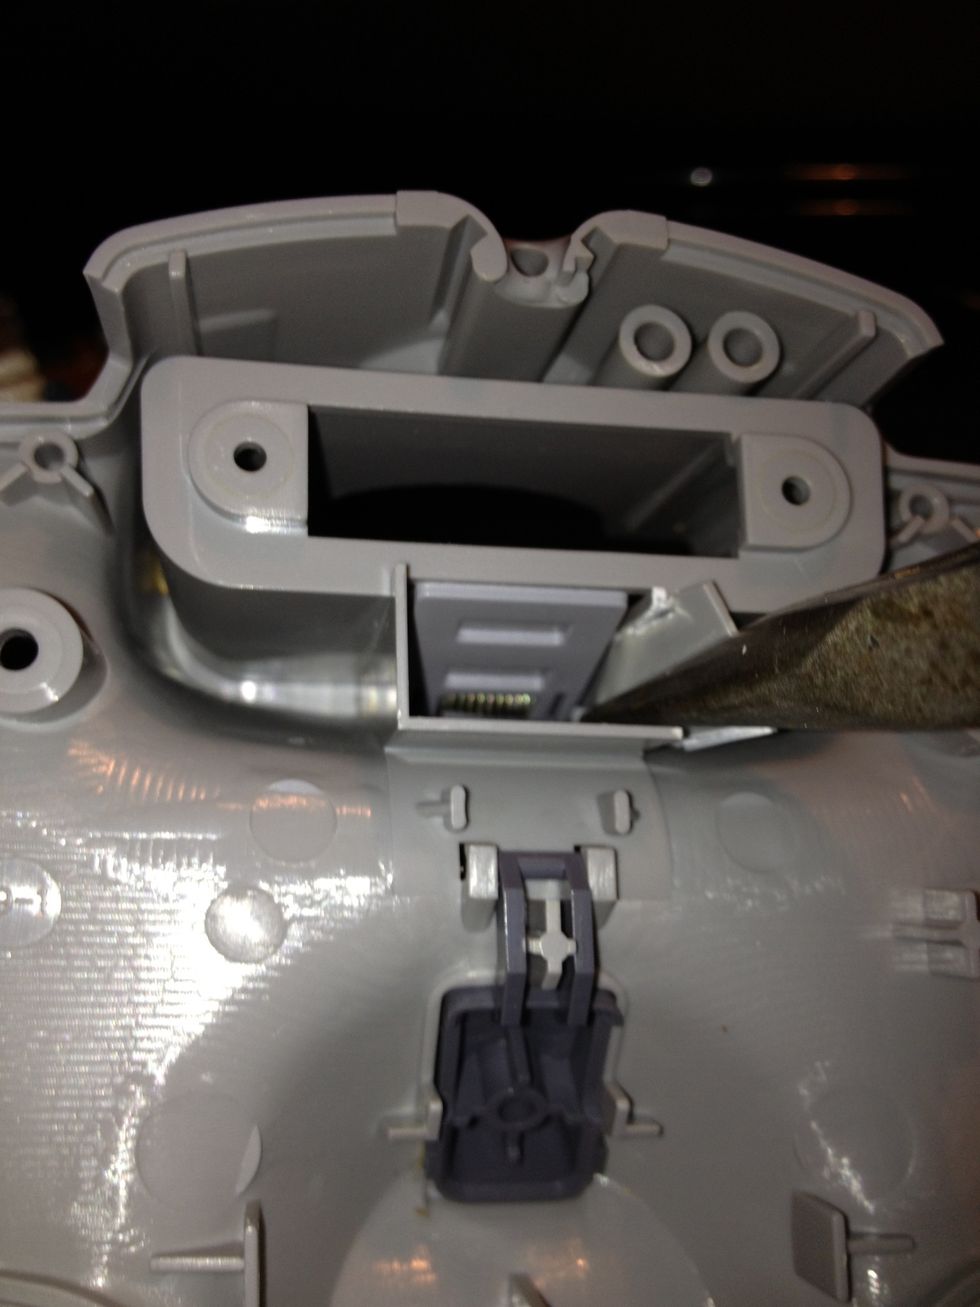
Use pliers to remove these bits of plastic as to allow the USB to not become damaged when closing the controller.
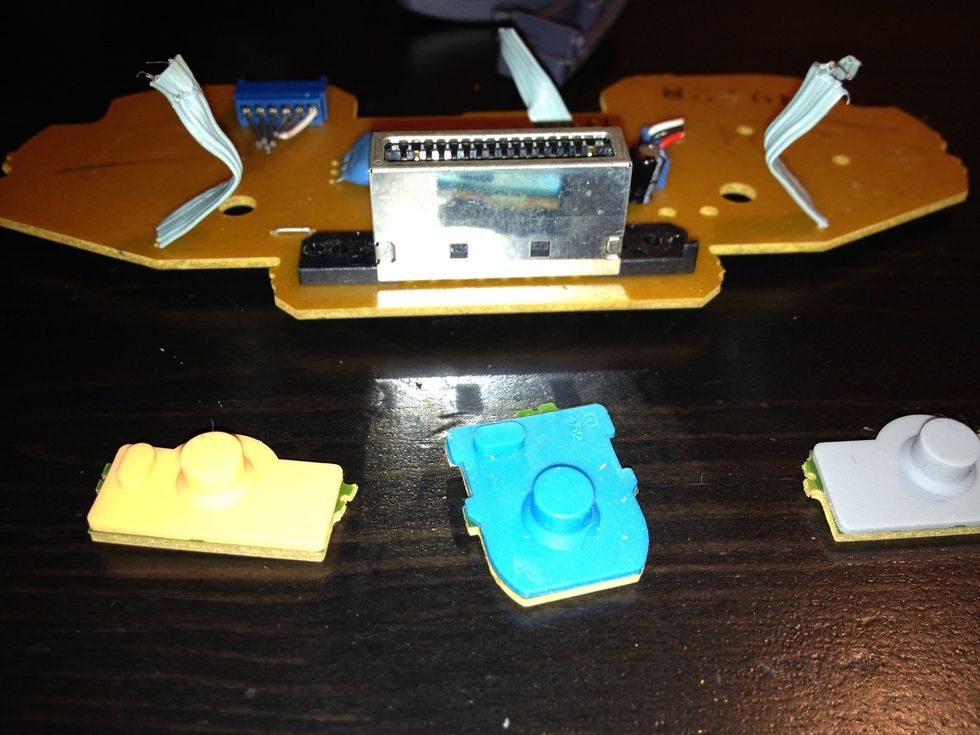
Remove these pieces from the electrical part of the controller.
Using the glue gun, glue them into place. This allows them not to jiggle or fall out of place when the controller is closed.
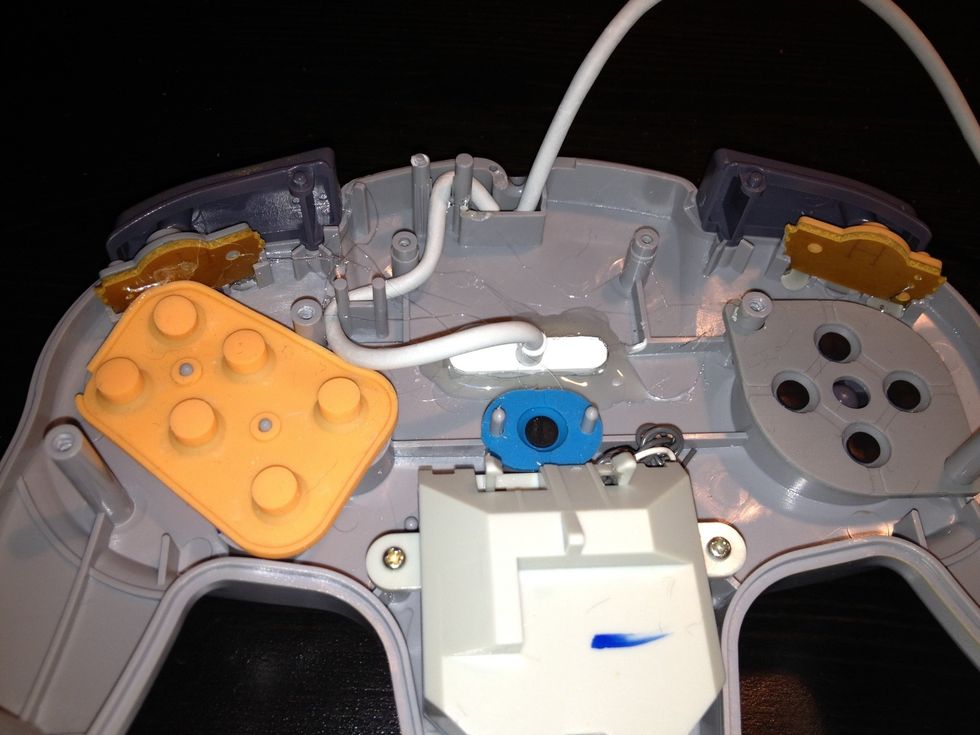
Weave the USB where the original controller was weaved so the controller can be closed properly without harming the USB cord.
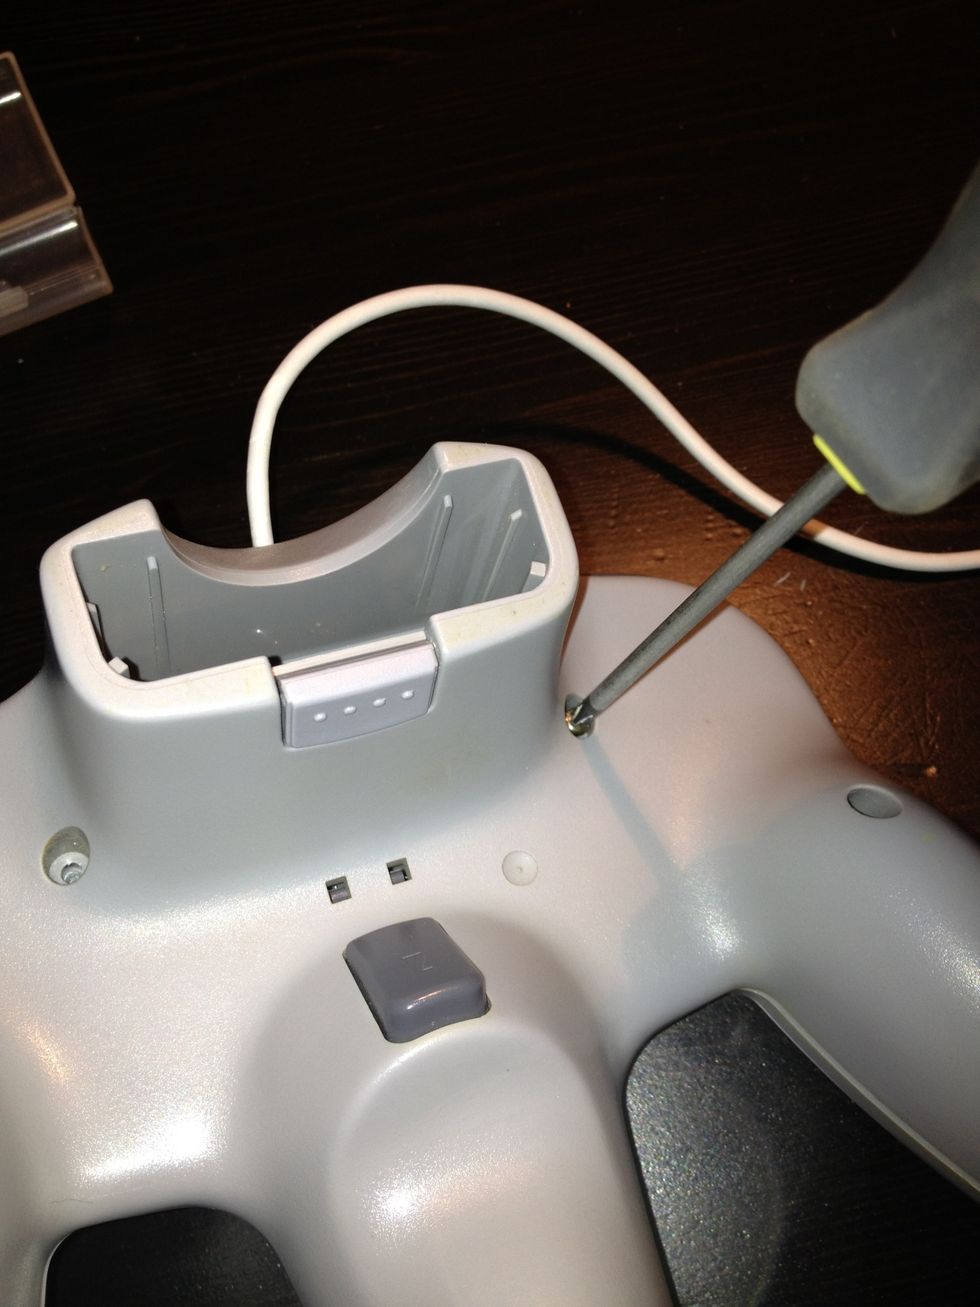
Close up the controller and screw the screws back in.
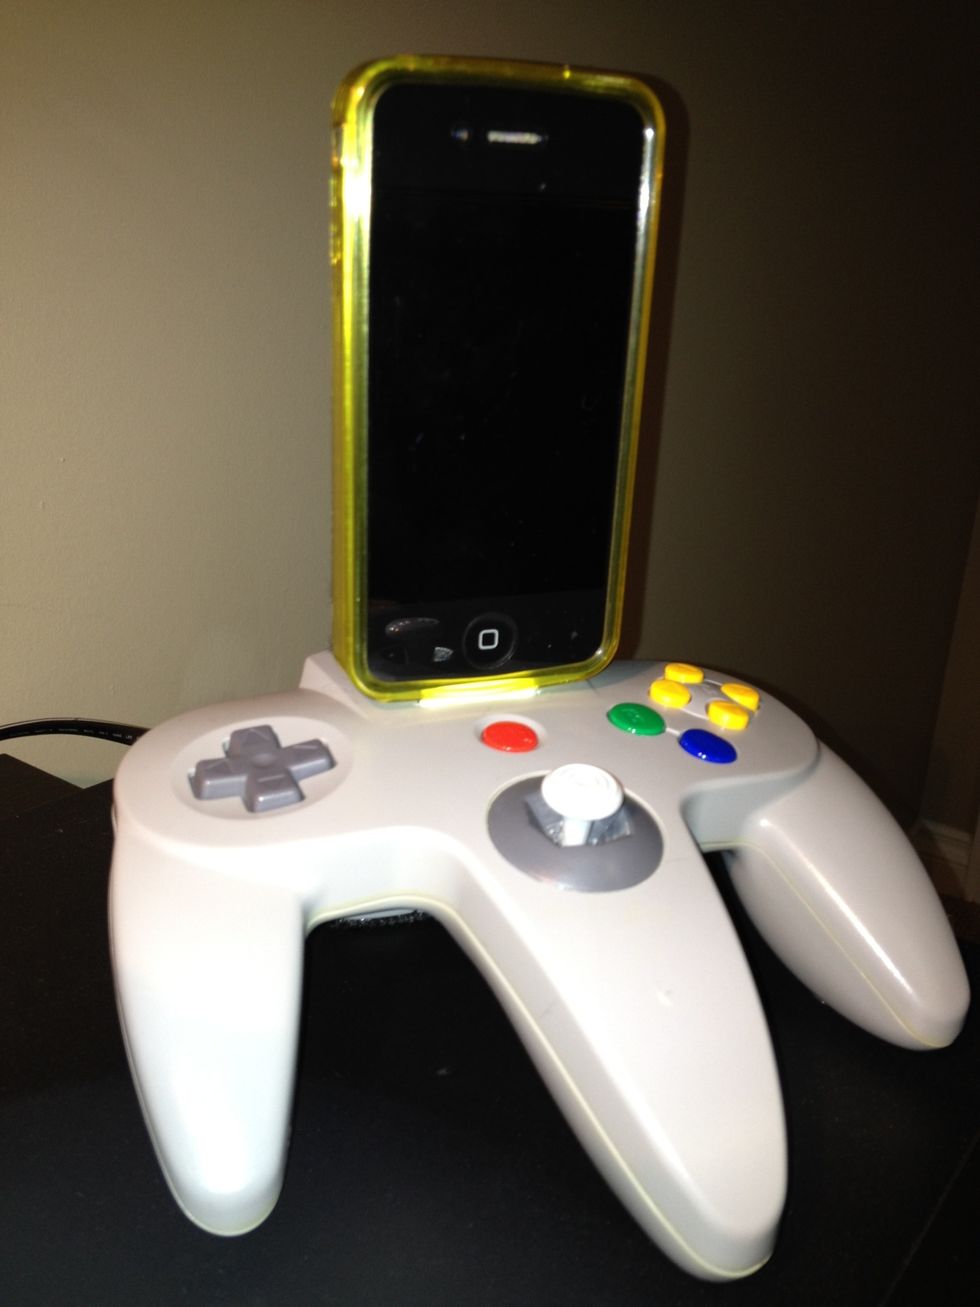
There you have it! A vintage charging dock for your iPhone or iPod 📱
It also makes for a great decoration piece :)