The Conversation (0)
Sign Up
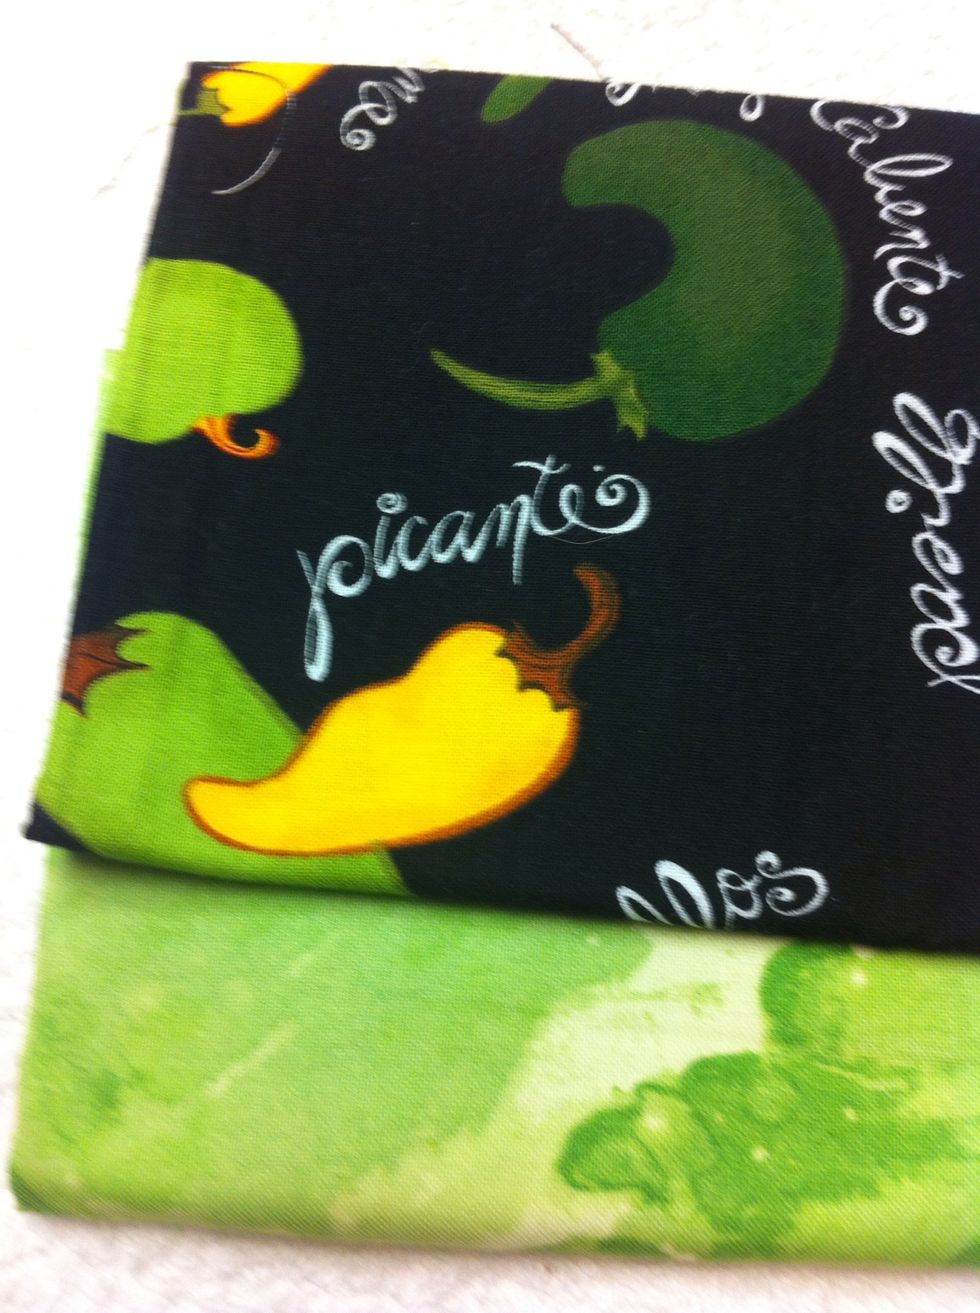
GET READY. Choose 2 fat quarters (18" x 22"). One light. One dark. This will make 2 nine-patch quilt blocks. Finished block will be 12-1/2" x 12-1/2".
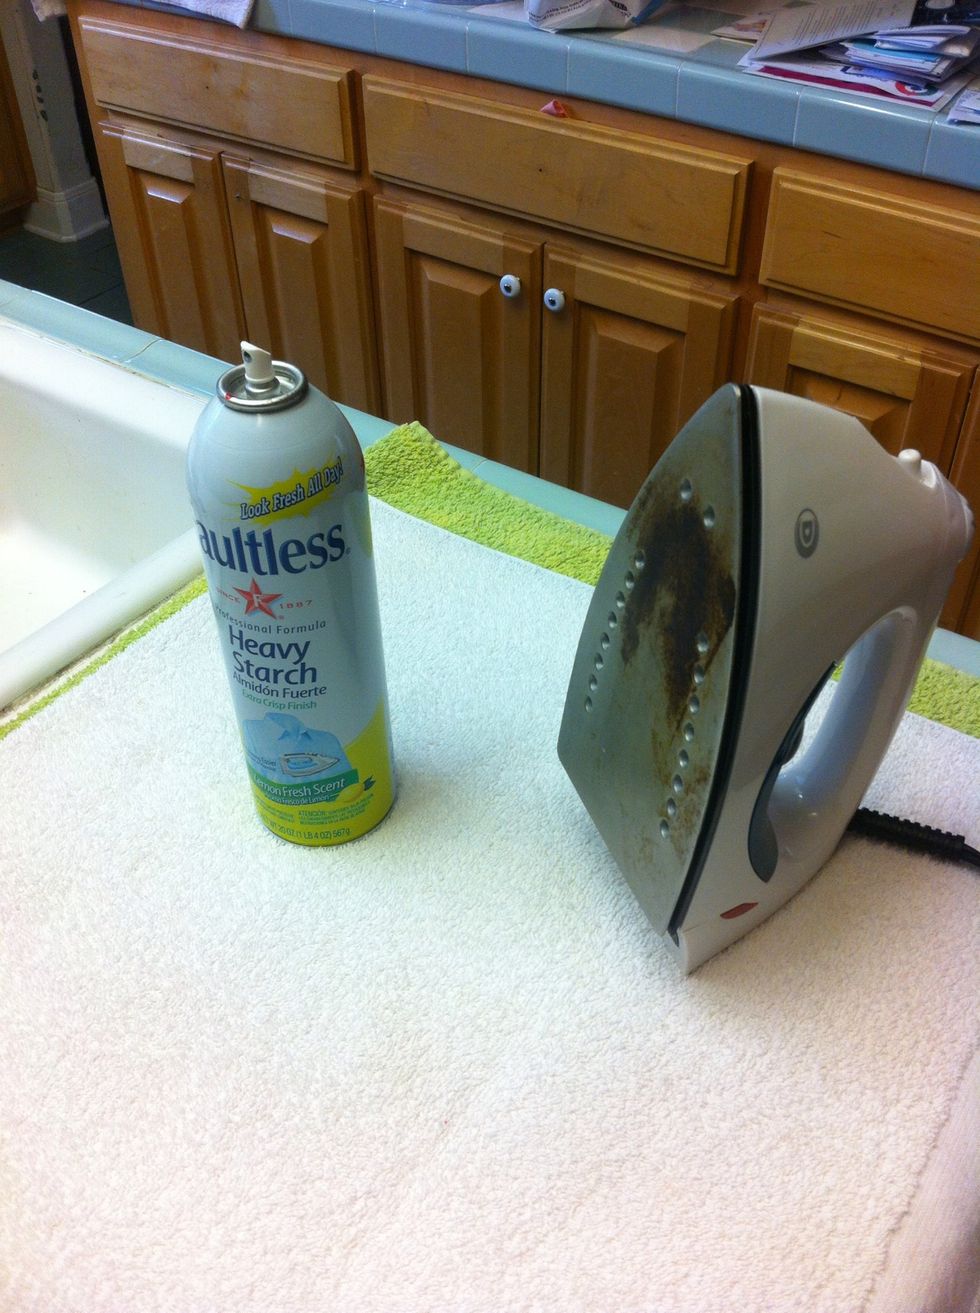
Set up an ironing station. I use 2 folded towels, an iron and spray starch.
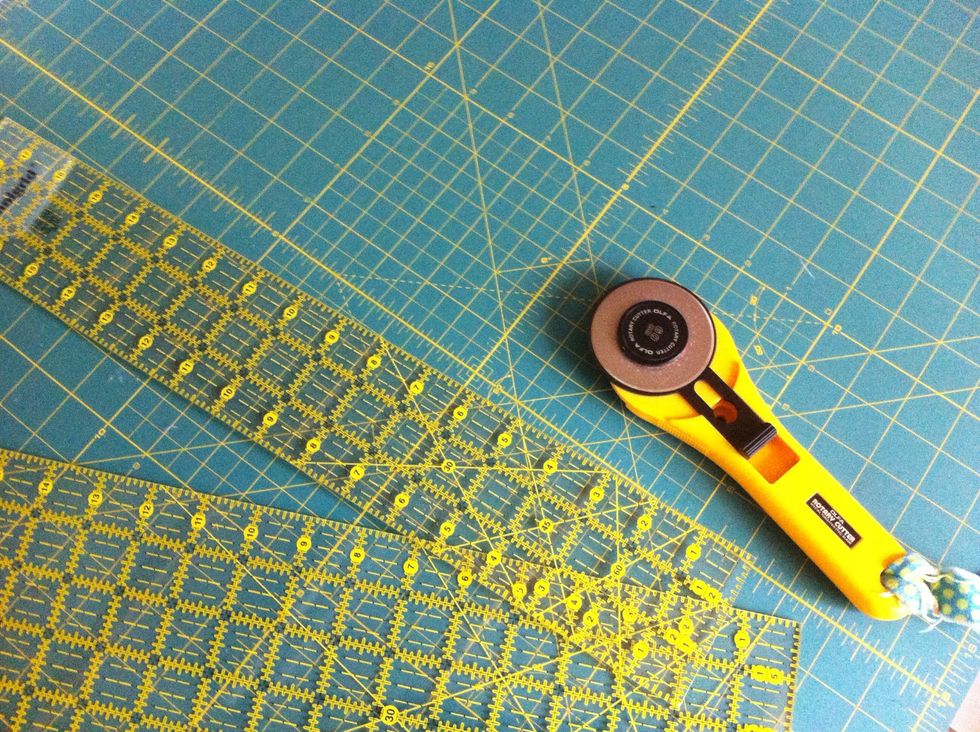
Set up a rotary cutting station. You will need a rotary cutting mat, a rotary cutting tool (be sure blade is sharp and in good condition), and a rotary cutting ruler.
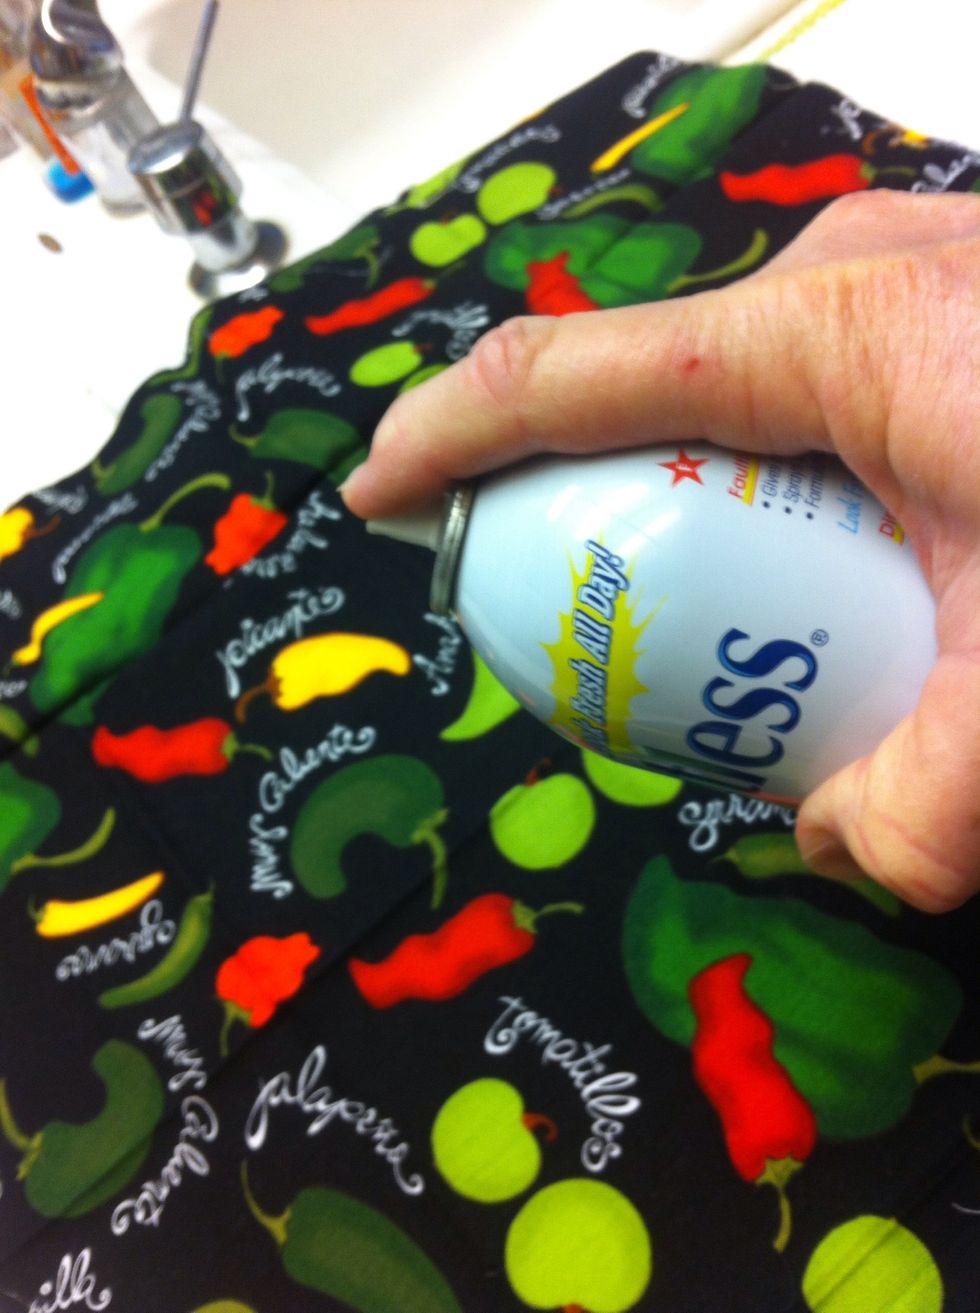
Mist fat quarter with spray starch.
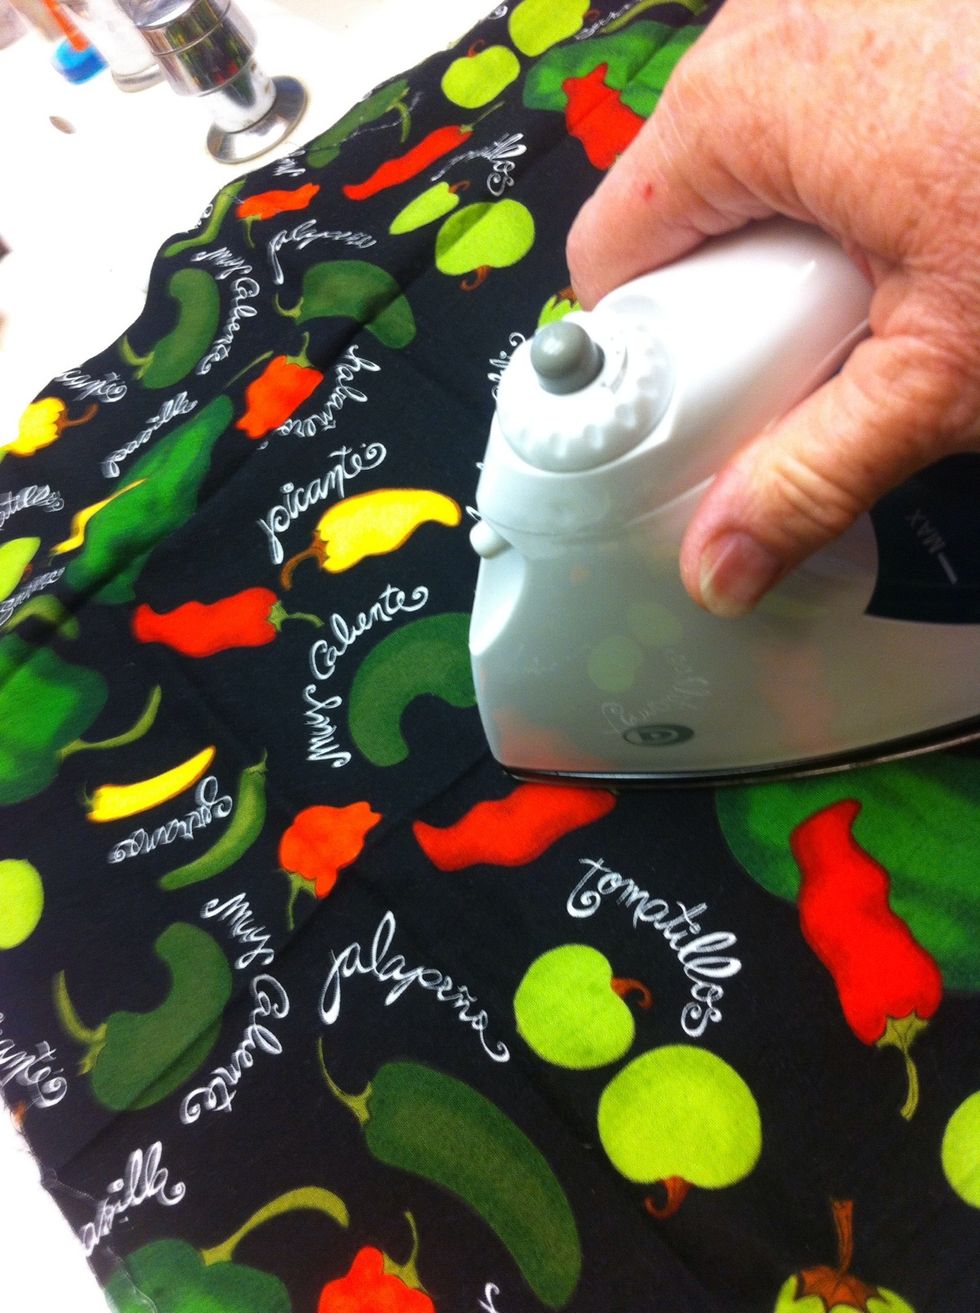
Press fat quarter.
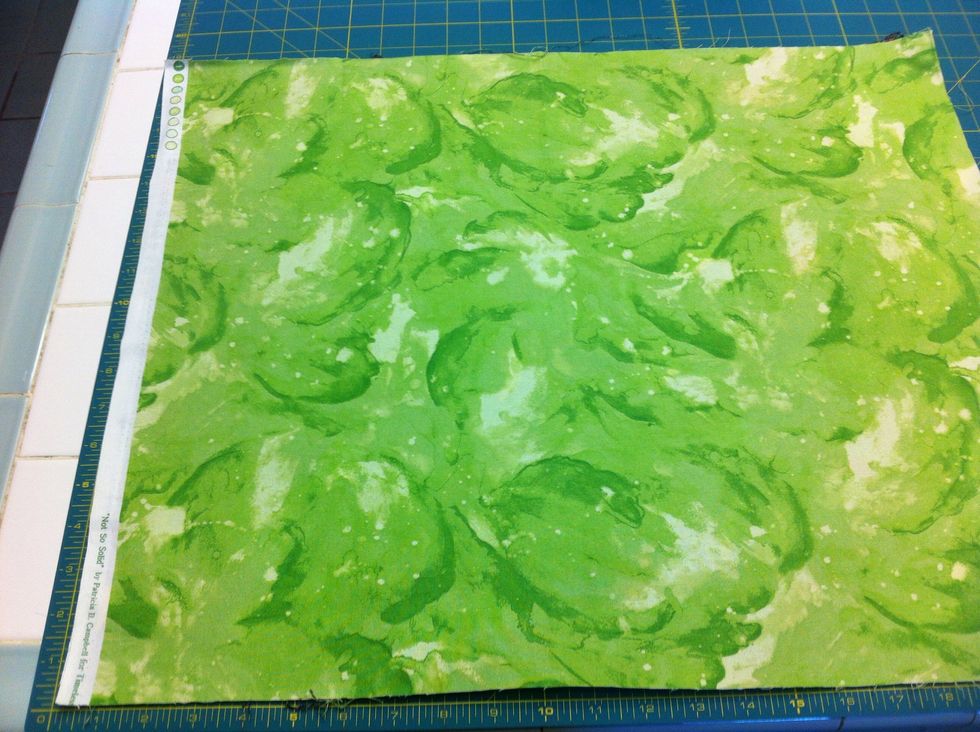
CUT. Align fabric on rotary cutting mat. Trim 2 sides to straighten. You can stack the 2 fat-quarters.
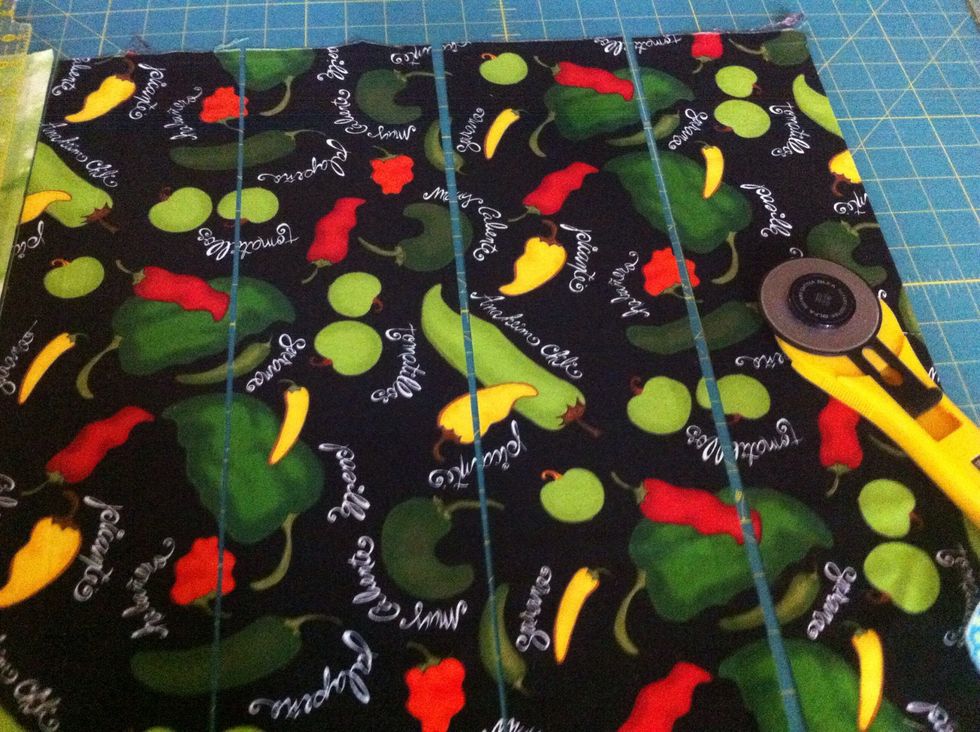
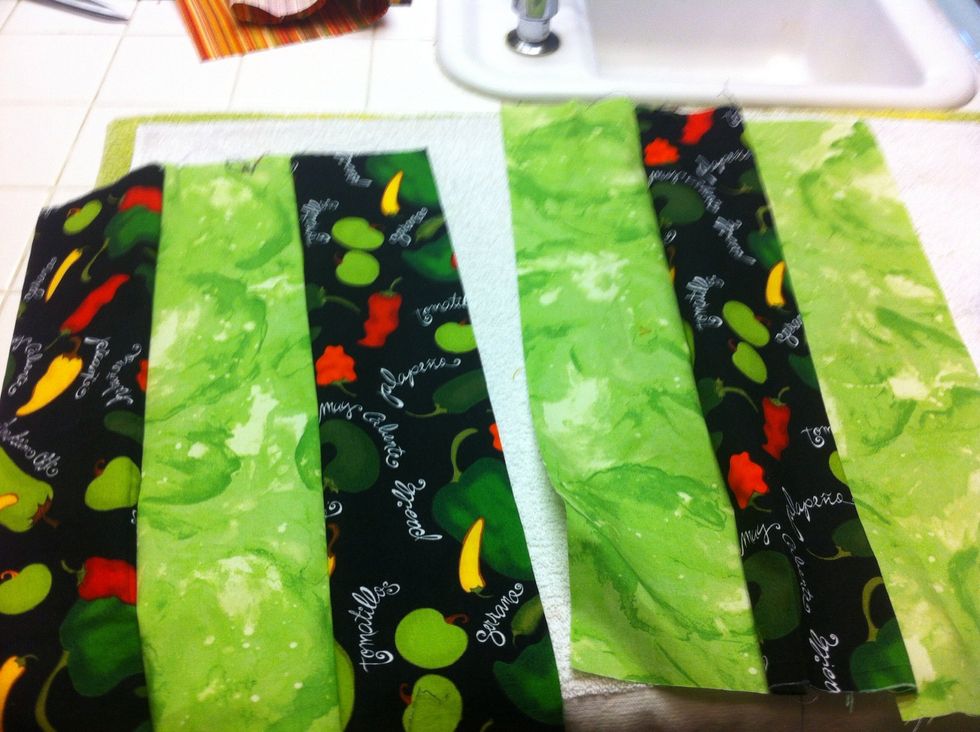
Cut three 4-1/2" x 22" strips. (Fat quarters are 18" x 22")
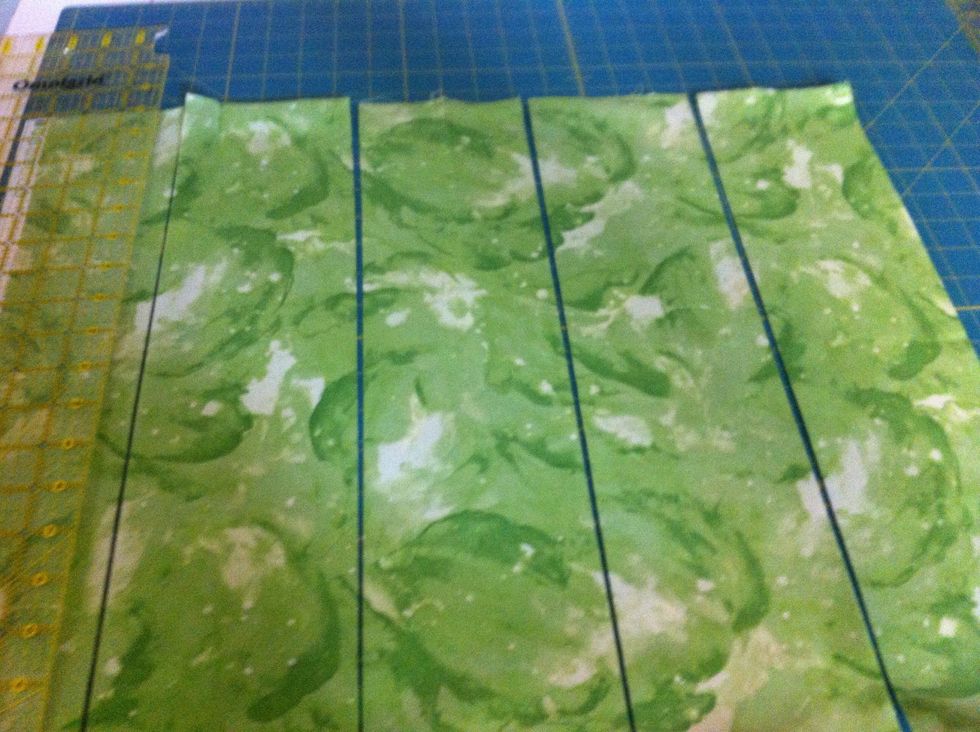
From both fat quarters.
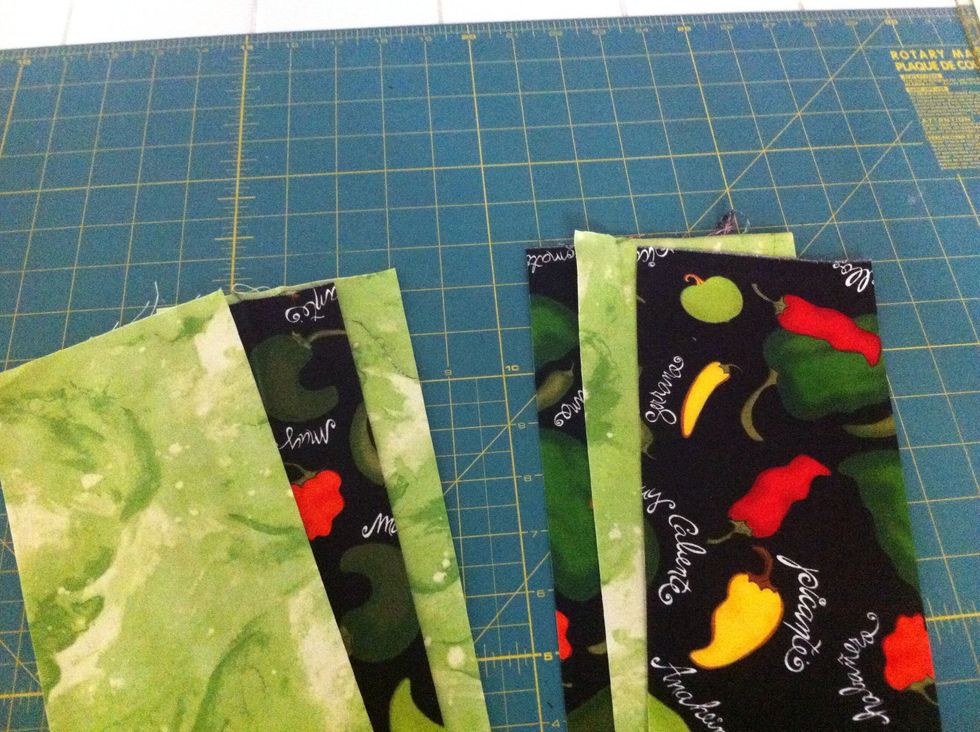
Use one set of 2 light/1 dark and one set of 2 dark/1 light strips. These sets of strips, sewn together will magically transform into your 9-patch blocks!
Jed says "always pin the pretty right sides together before stitching" ....beware the dark side
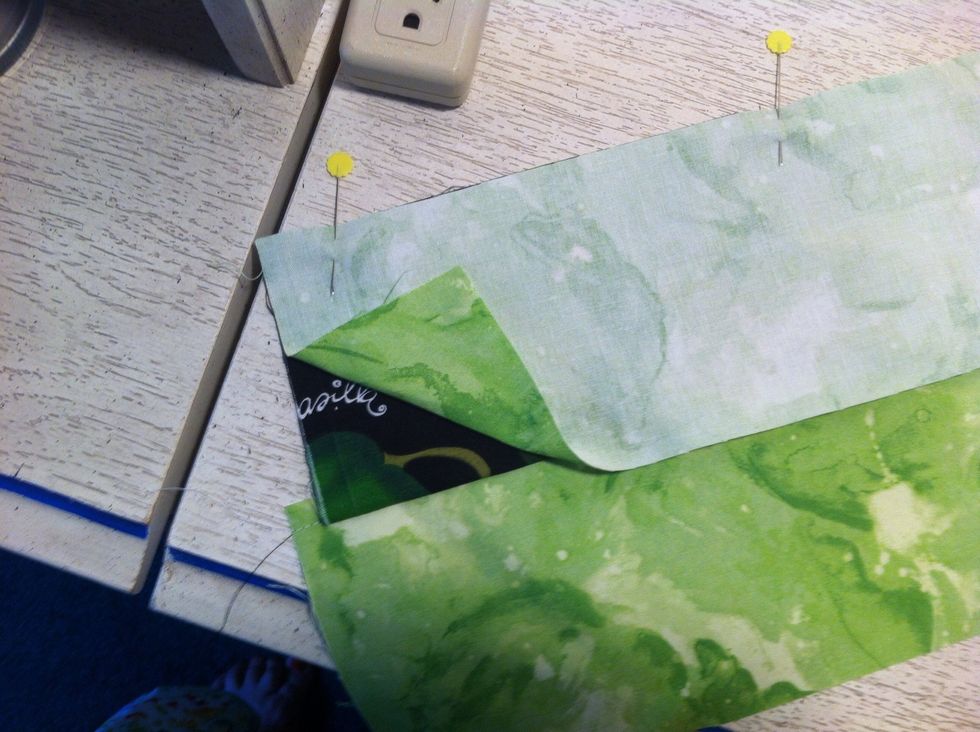
Pin and sew strips. Use 1/4" seam (usually the width of the presser foot). Make one set by stitching one light strip to one dark strip, add a third strip to create one light-dark-light and one D-L-D.
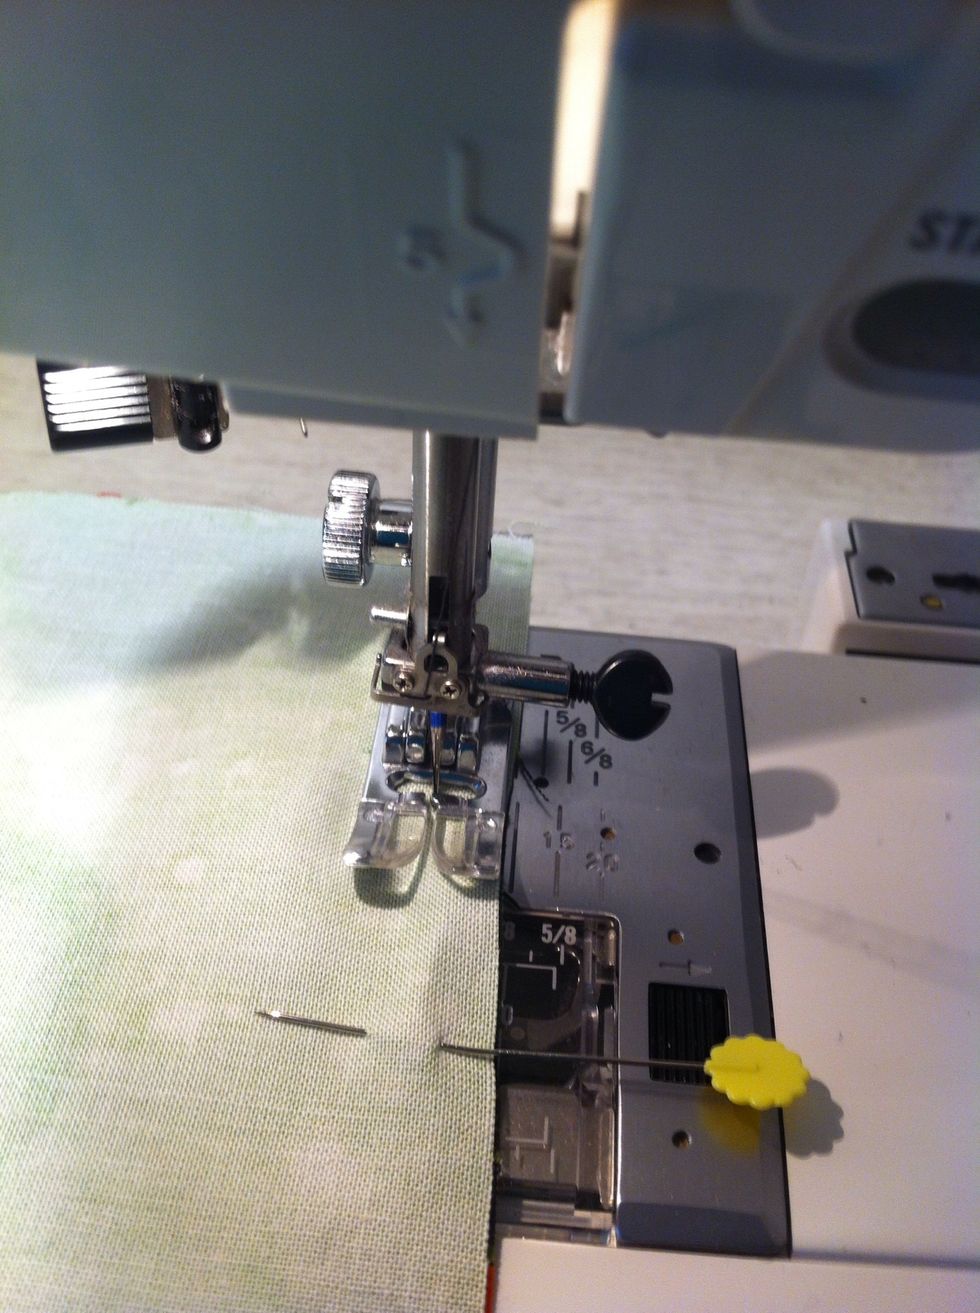
It's always a good idea to measure the distance from the needle to the edge of the fabric. If your seams aren't EXACTLY 1/4" everything else will be "off". Hmmm .....the voice of experience? 😁
Ta-da!
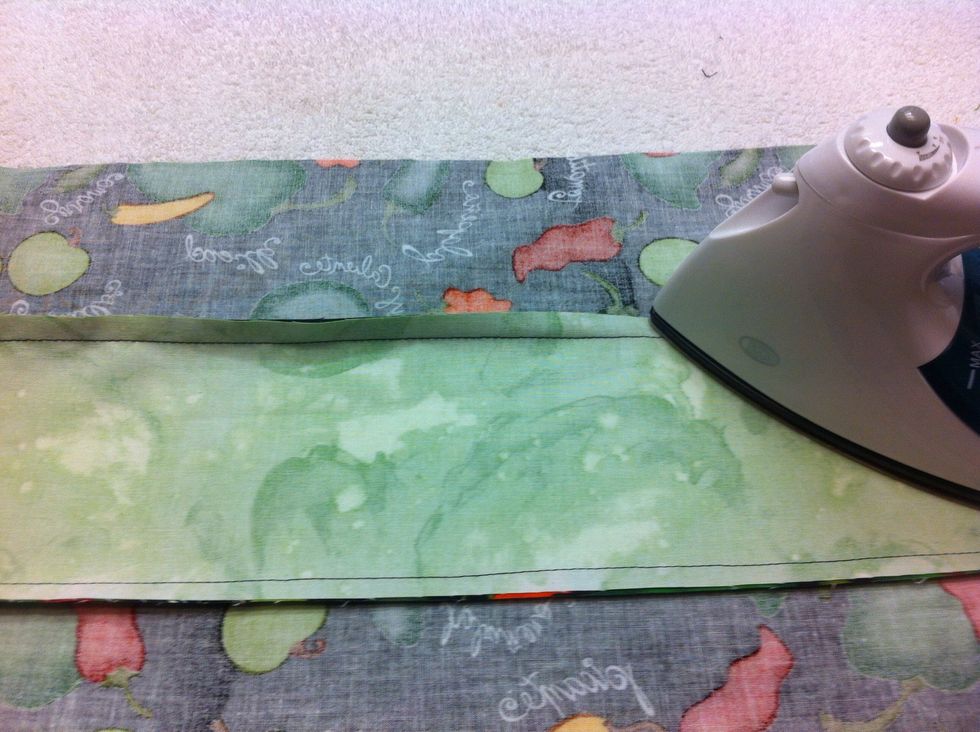
PRESS. Remember my young Jedi, press seams toward the dark side.
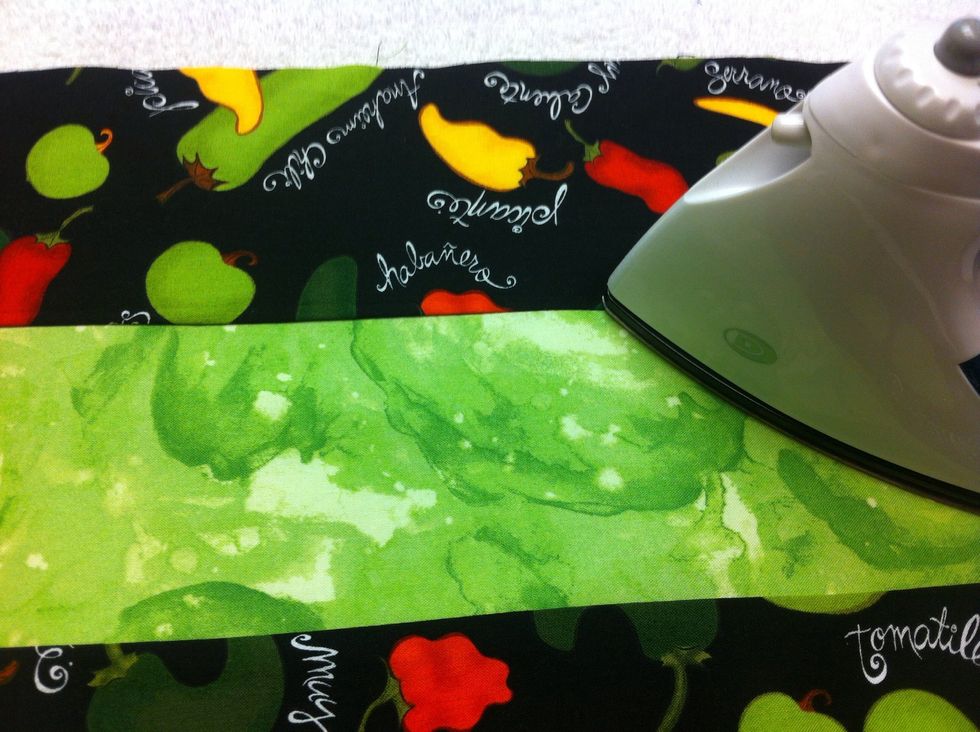
Then press AGAIN on the right side of fabric.
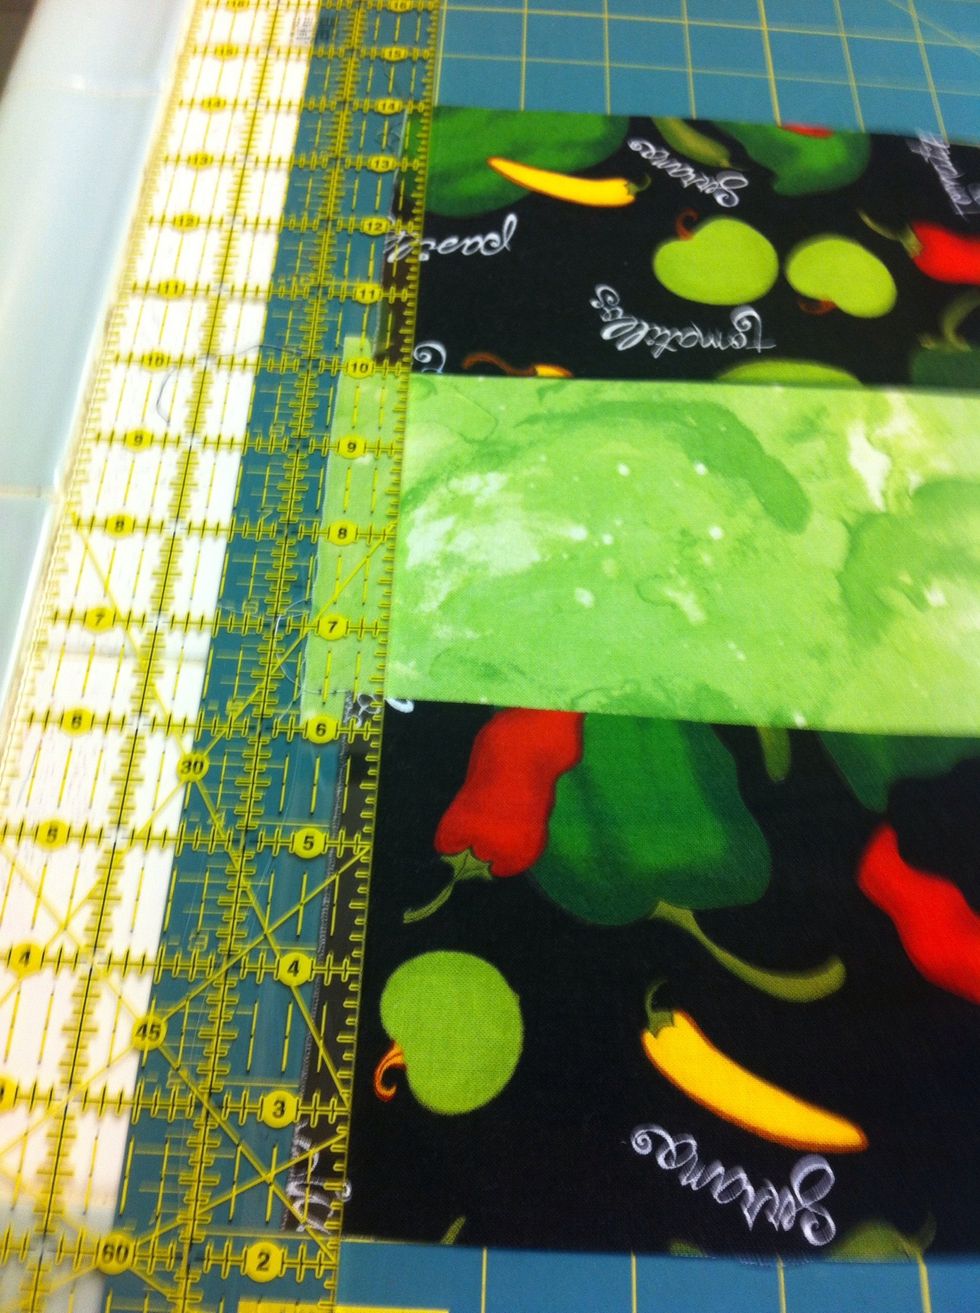
TRIM. Align on rotary cutting mat. Trim to straighten edges.
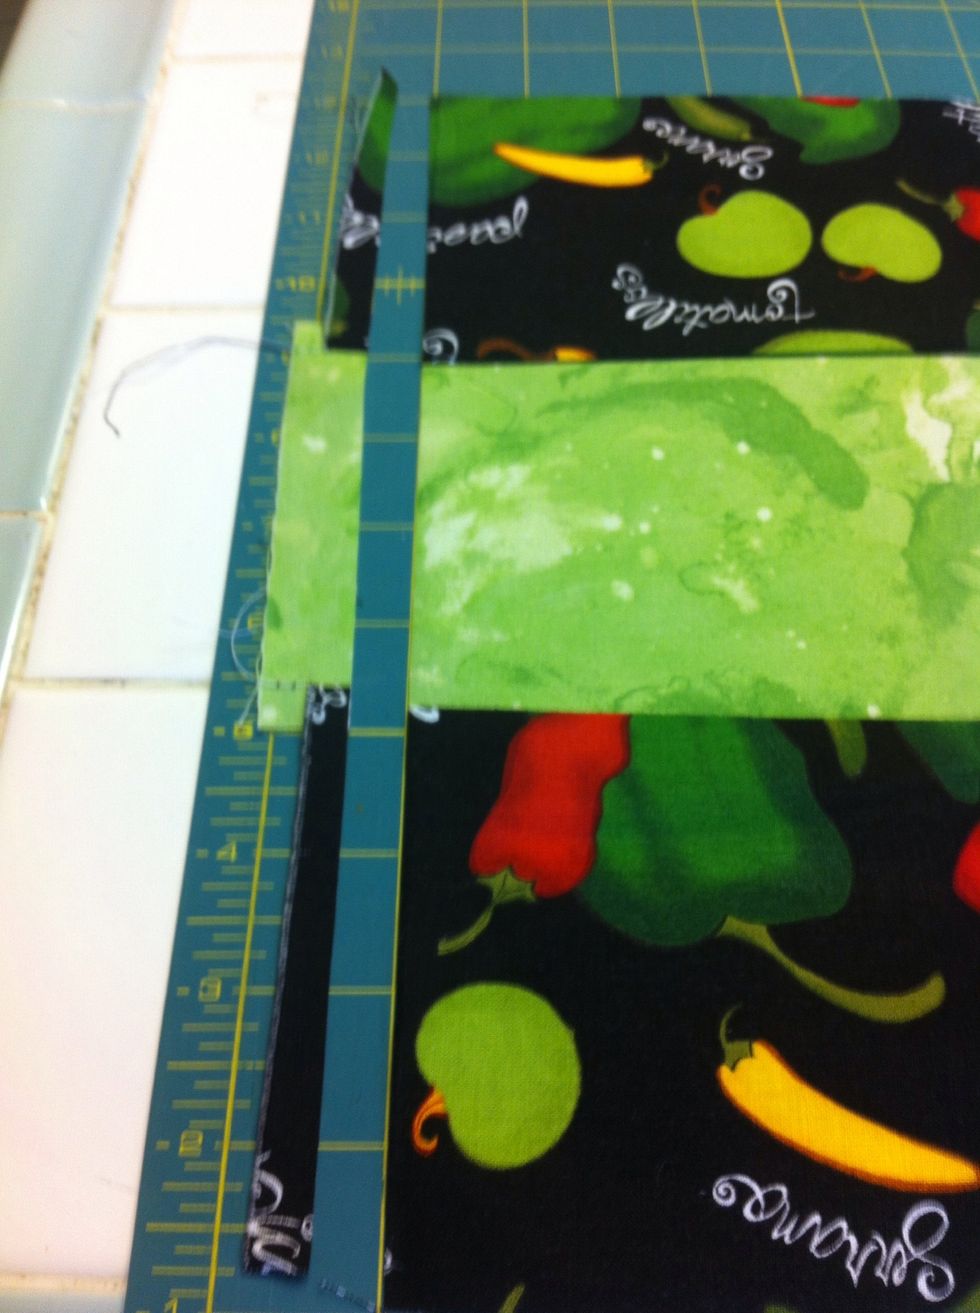
Doesn't that look better?
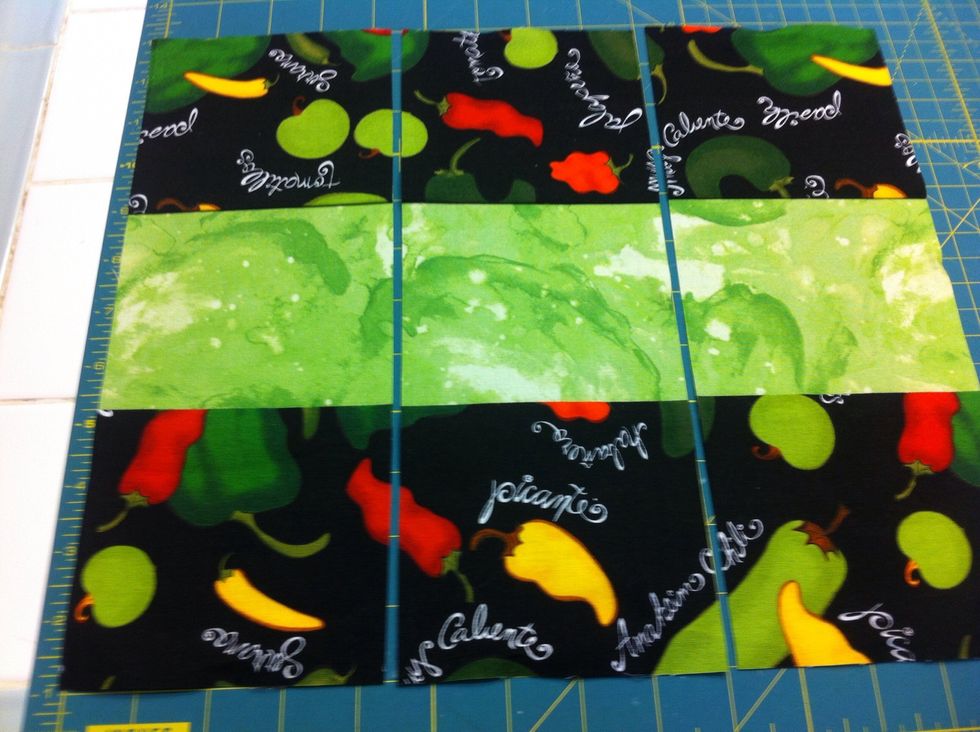
CUT. Now align on cutting mat and cut three 4-1/2" wide strips.
Yes, of course you do both pieces!
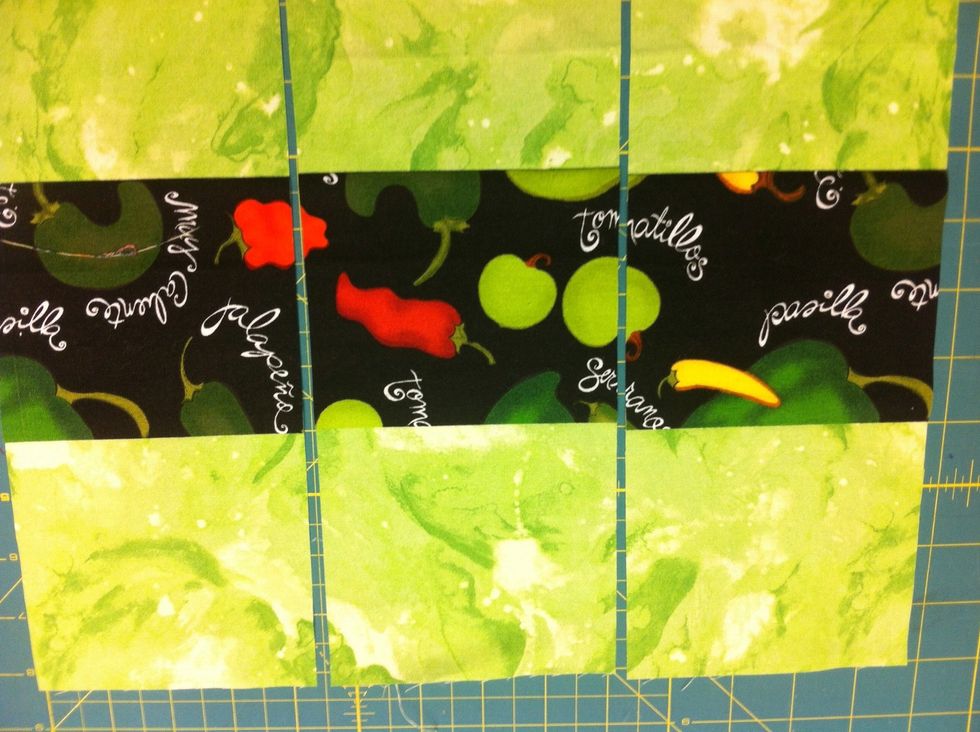
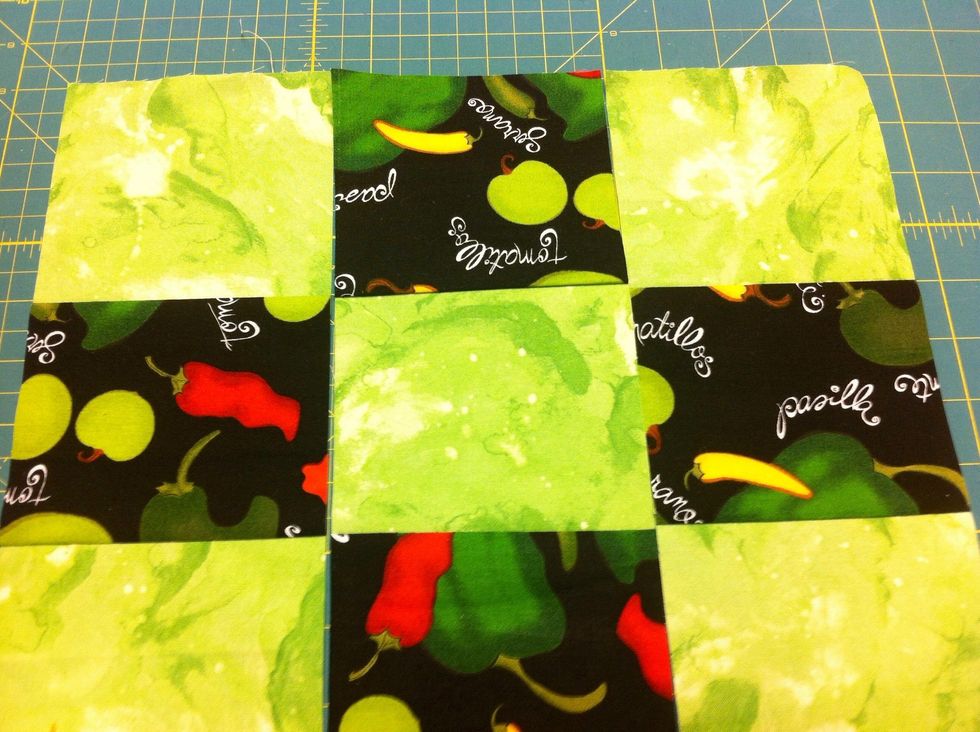
Choose two opposite pieces to sew together.
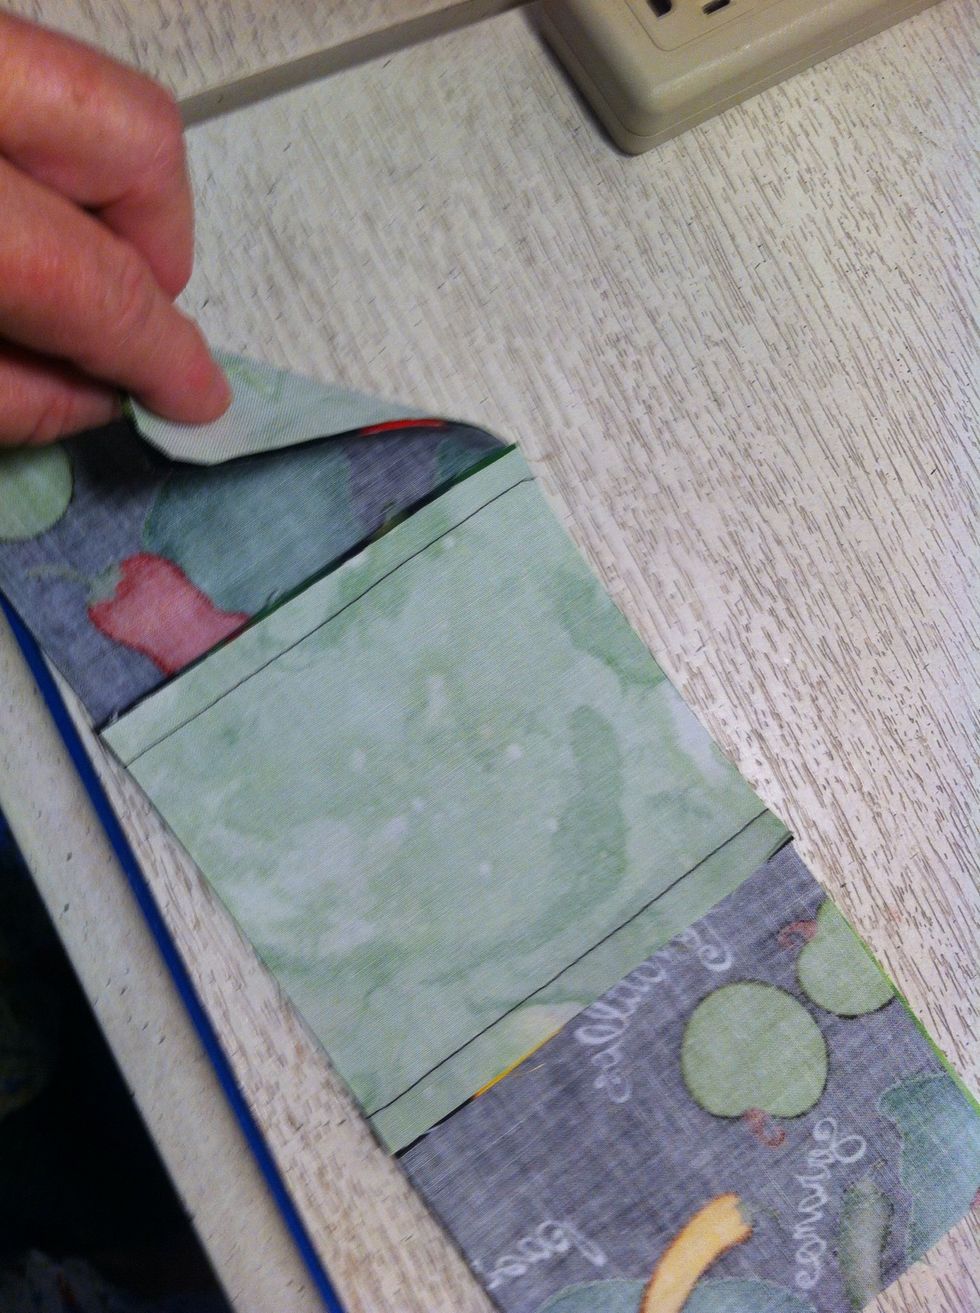
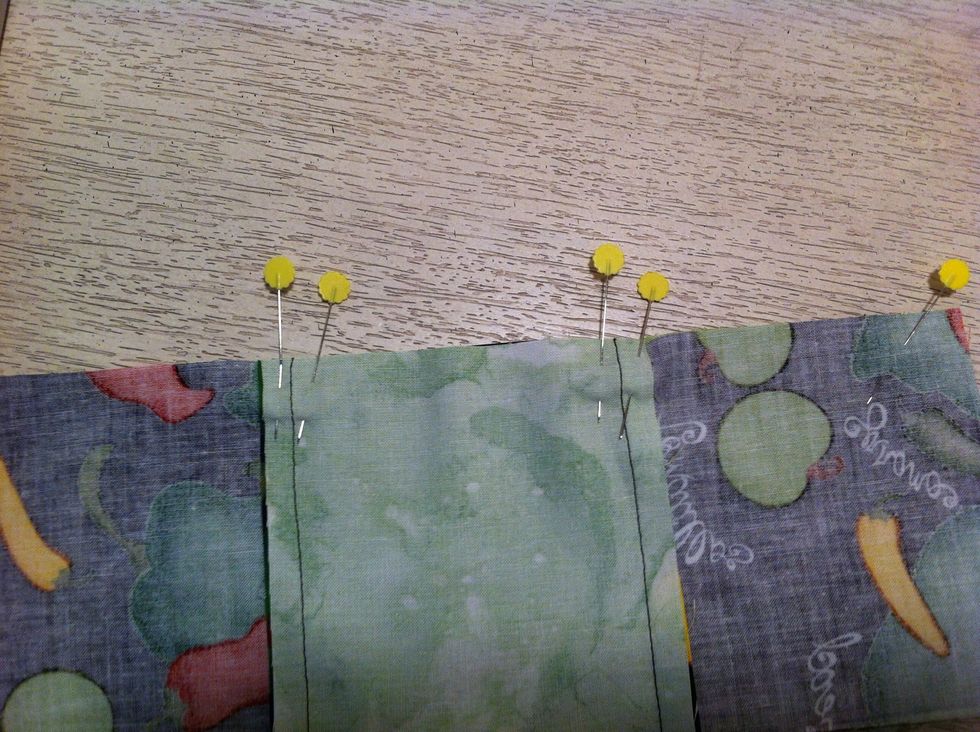
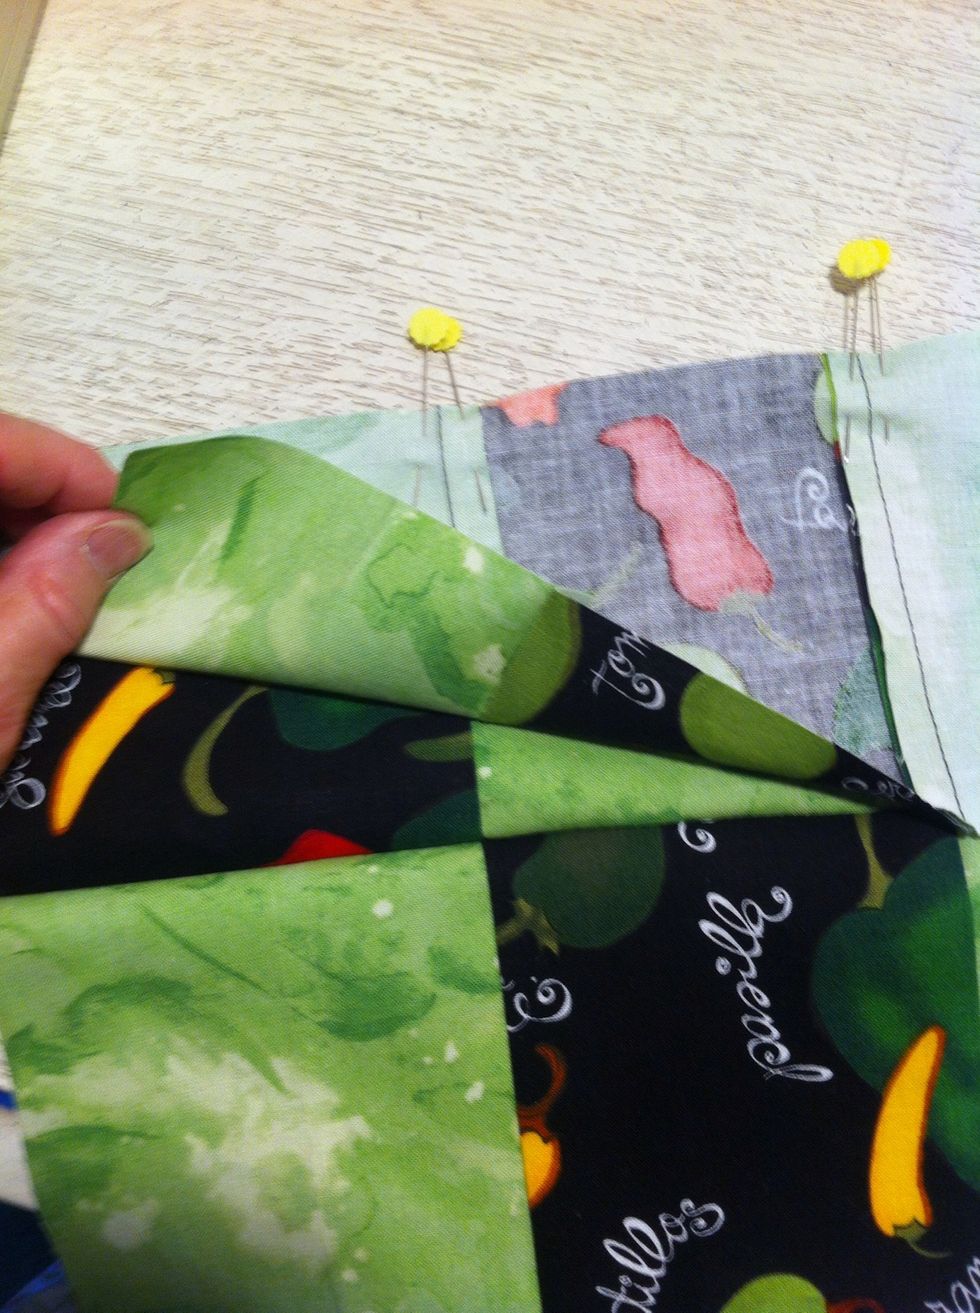
PIN. Pin two pieces, marching seams.
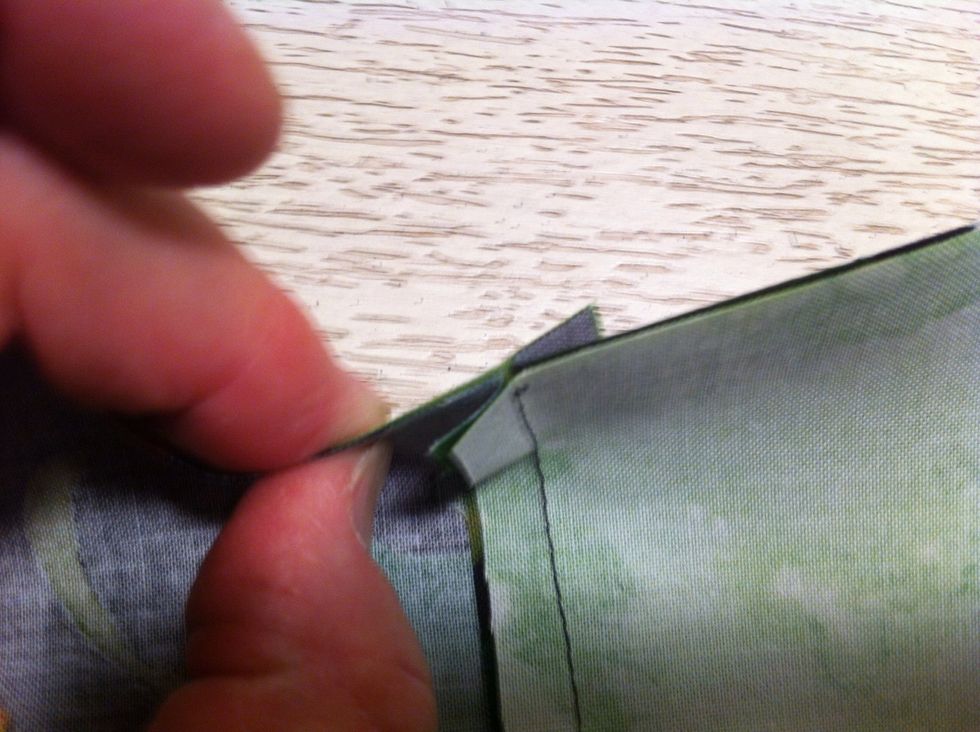
Because you pressed the seam allowances to the 'dark side' now the seam allowances are pointed in opposite directions. Slide the seam lines together with allowances pointed in opposite directions.

PIN. Place a pin through each side of the seam allowance. (This prevents the seams from shifting when you sew, which gives you perfectly aligned pieces)
FORGIVENESS. If you were not exactly exact somewhere just ease in the difference between the seam lines as you sew. Fabric weave has some give and stretch. Use it to your advantage as you learn.
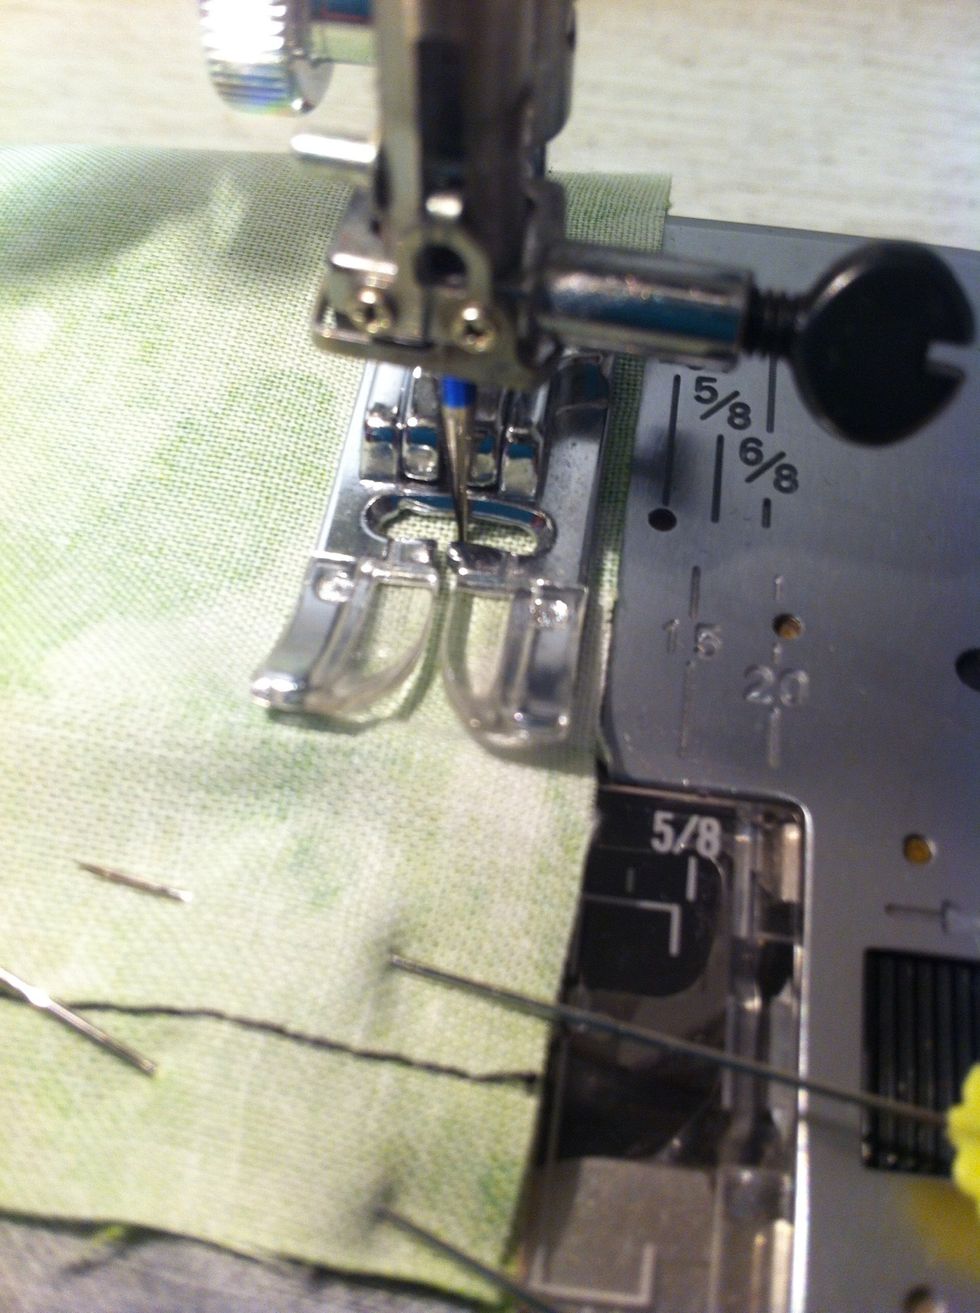
Use a 1/4" seam. Did you measure the distance from the needle to the edge of the fabric?
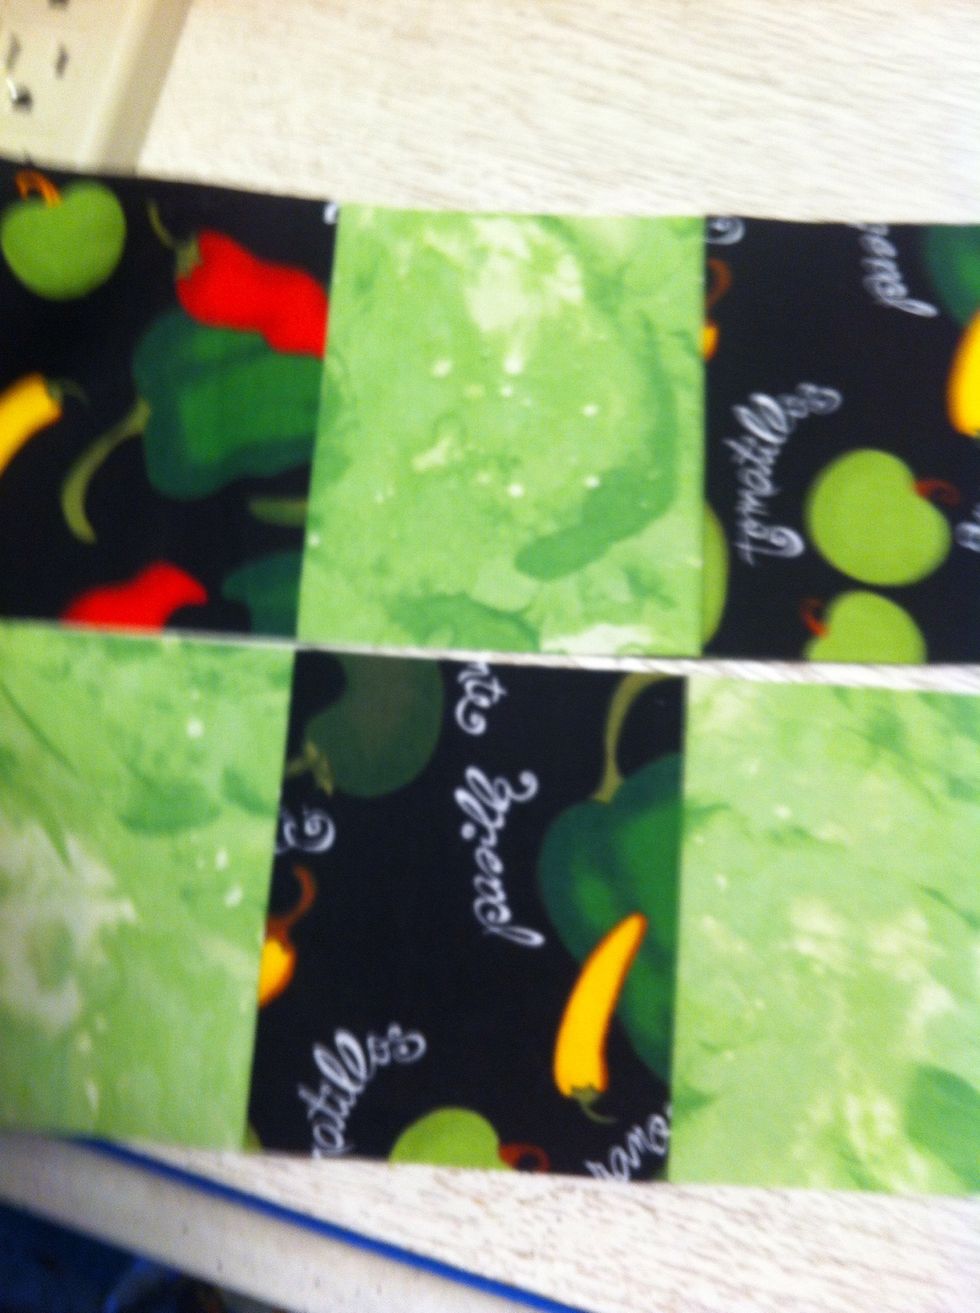
Add third strip to create alternating checkerboard pattern.

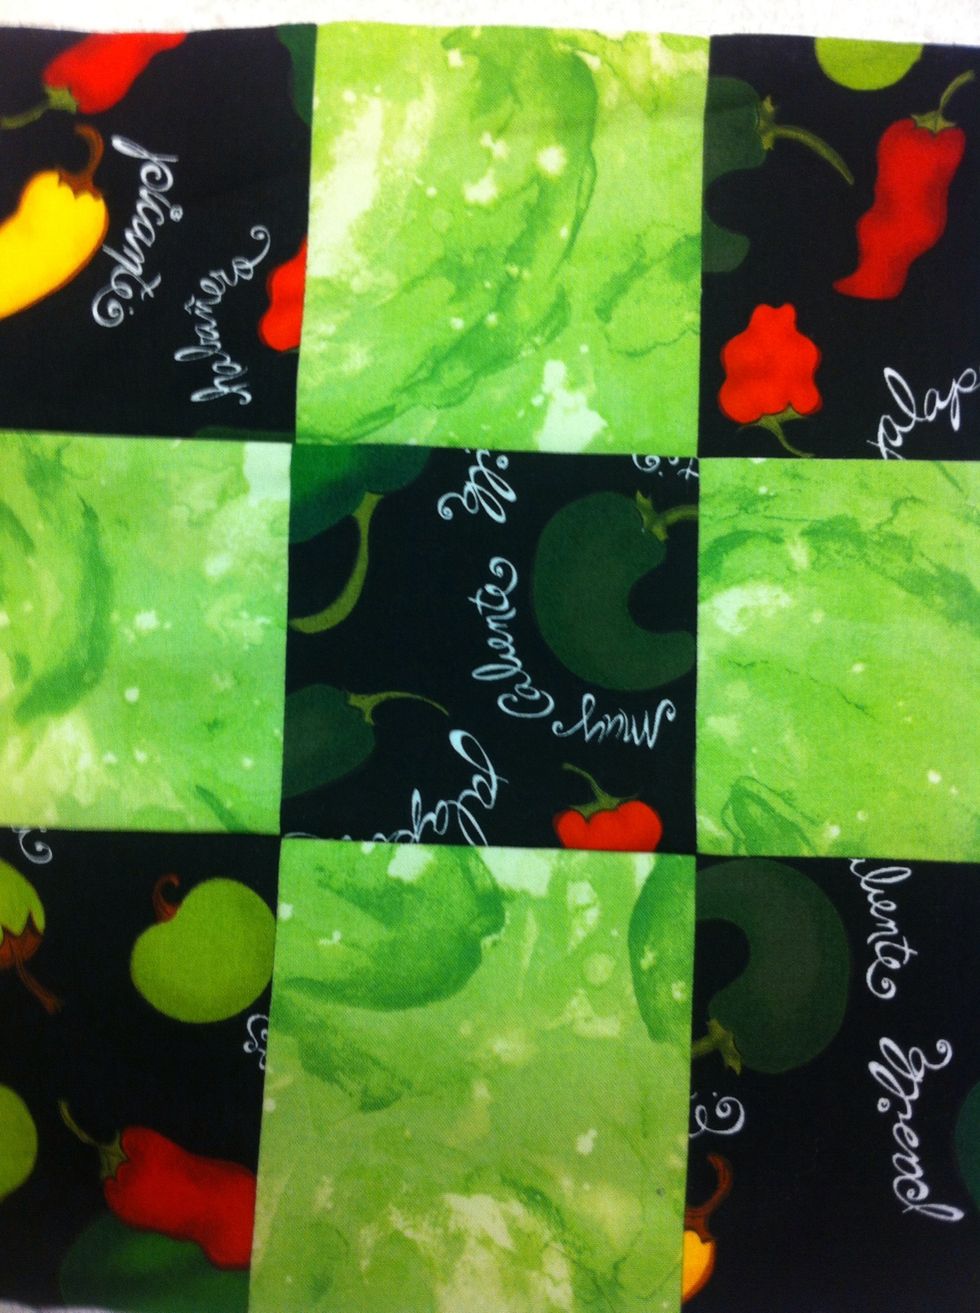
Wow! You made a nine-patch! But wait! You still have the most important steps before you are finished..,,.
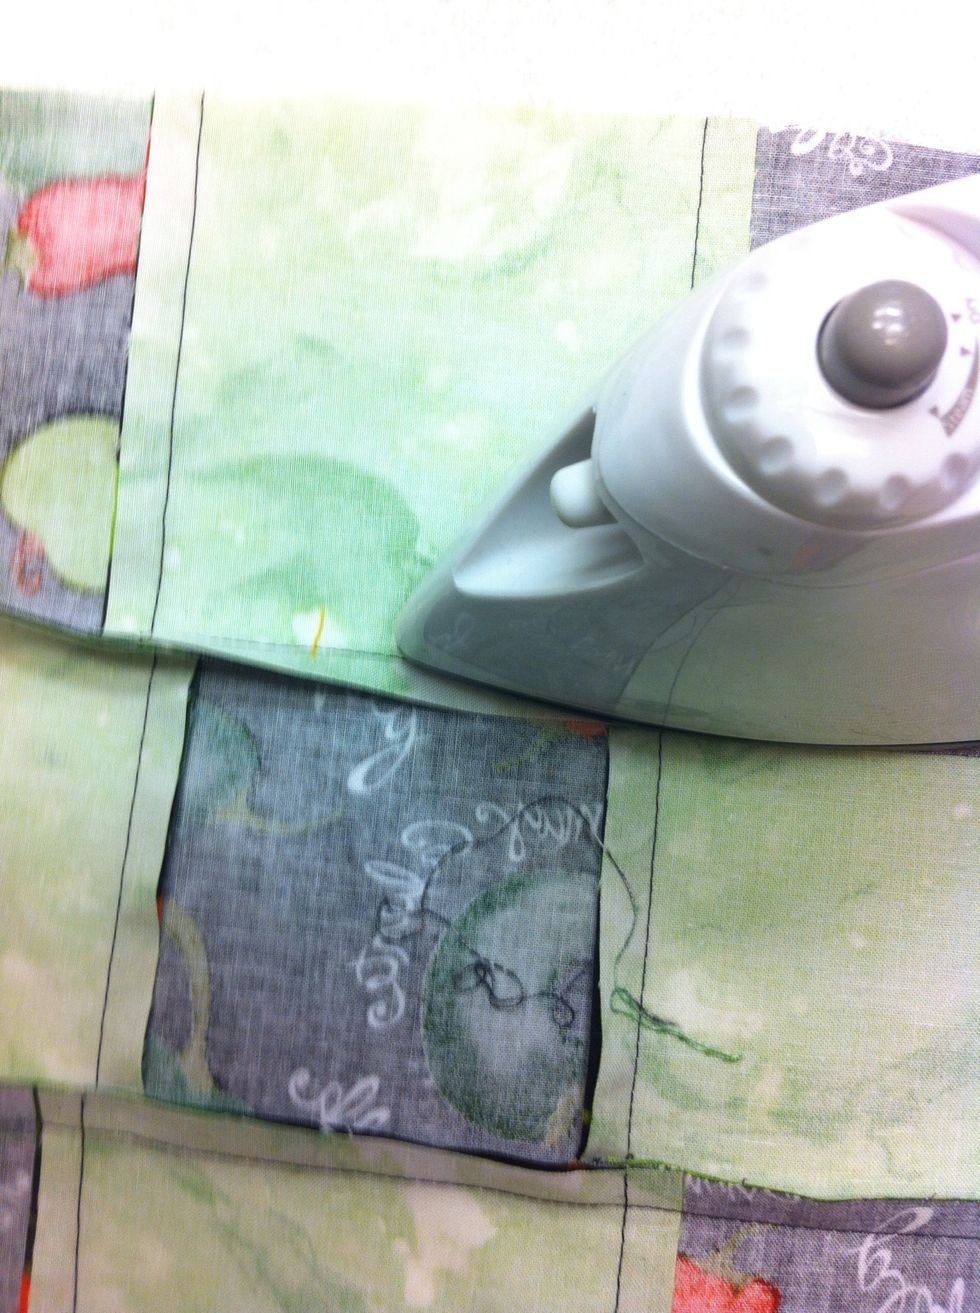
PRESS seam allowances toward outside edge of block.
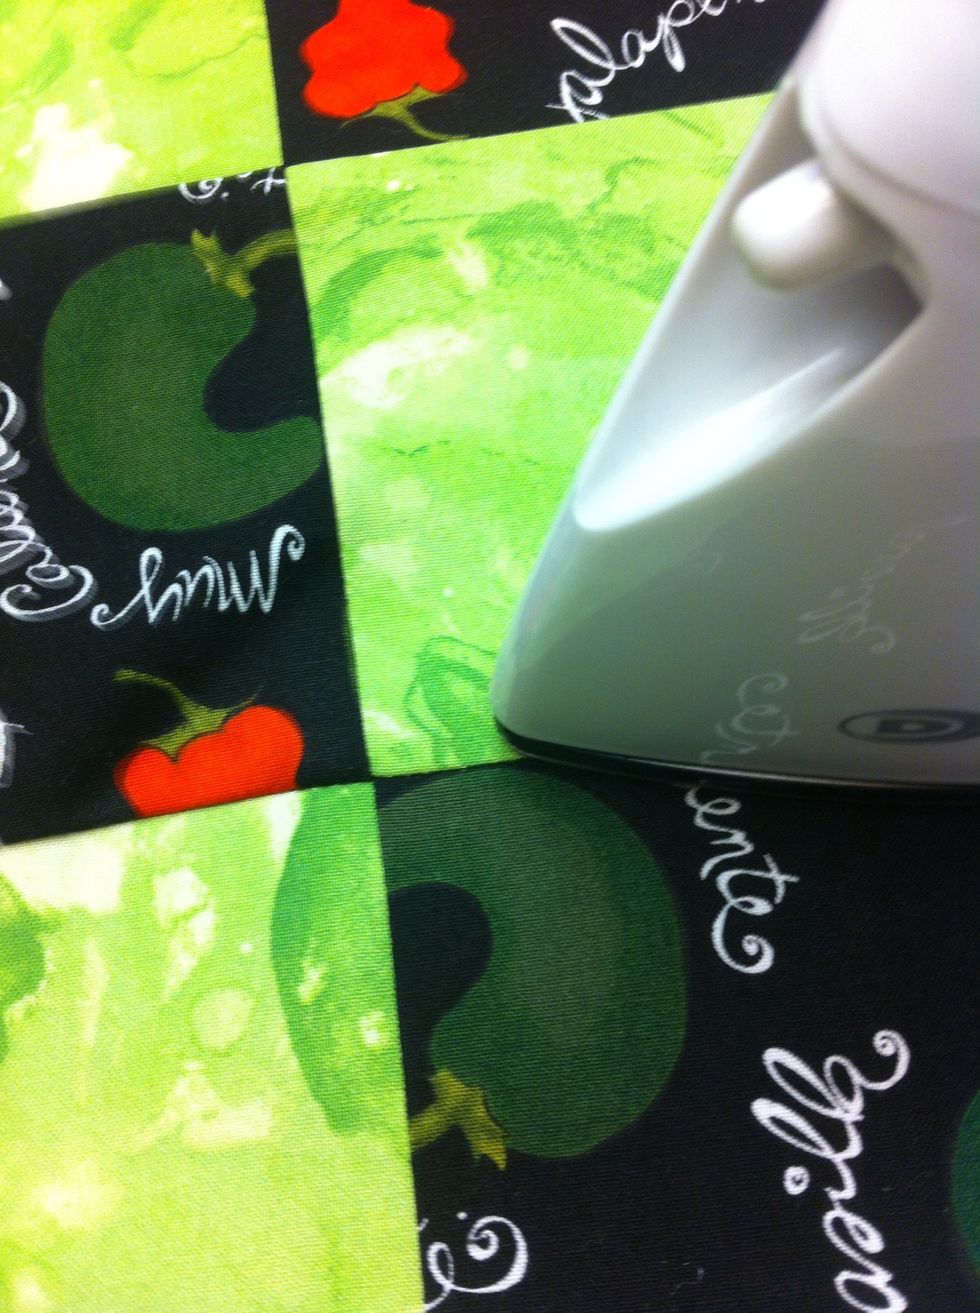
PRESS on right side also.
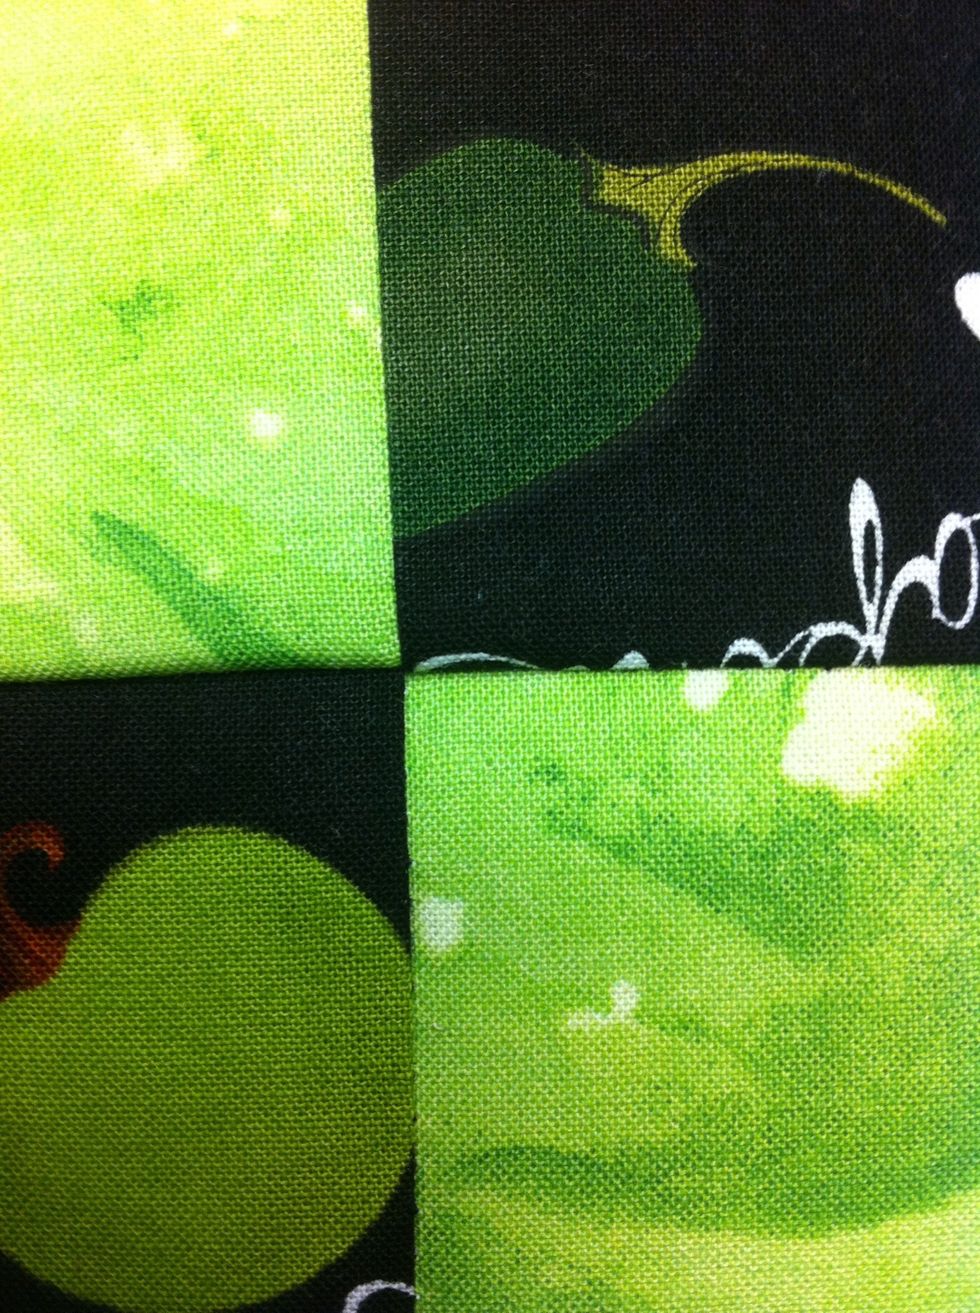
LOOK AT THOSE PERFECTLY MATCHED CORNERS!

Repeat until all rows are joined to form two blocks.
FINISHED! You now have two nine-patch quilt blocks. Let your creativity lead you to a finished product.
WOW! You just made two 9-patch quilt blocks!! Make some more for yourself OR find some friends and swap blocks. BTW if you use regular yardage, not fat-quarters, cut your strips 4-1/2" by WOF (42")