The Conversation (0)
Sign Up
I made a needle book ahead of time, so I will be showing step by step with extra materials! This way it will be easier for both of us! :)
Also, forgive me for the terrible picture quality! I'll update to clearer quality as soon as I can.

Step one! Cut 2 (or 3 if you want it thicker) pieces of fabric into equal sizes. Mine is 6 inches wide and 4 inches tall. Also, I'm using felt! It's all preference really.

Step two! Sew along the outside of the fabric until the whole square is sewn together, using any stitch you prefer -- I suggest the blanket stitch, because it works well and it's quite pretty!
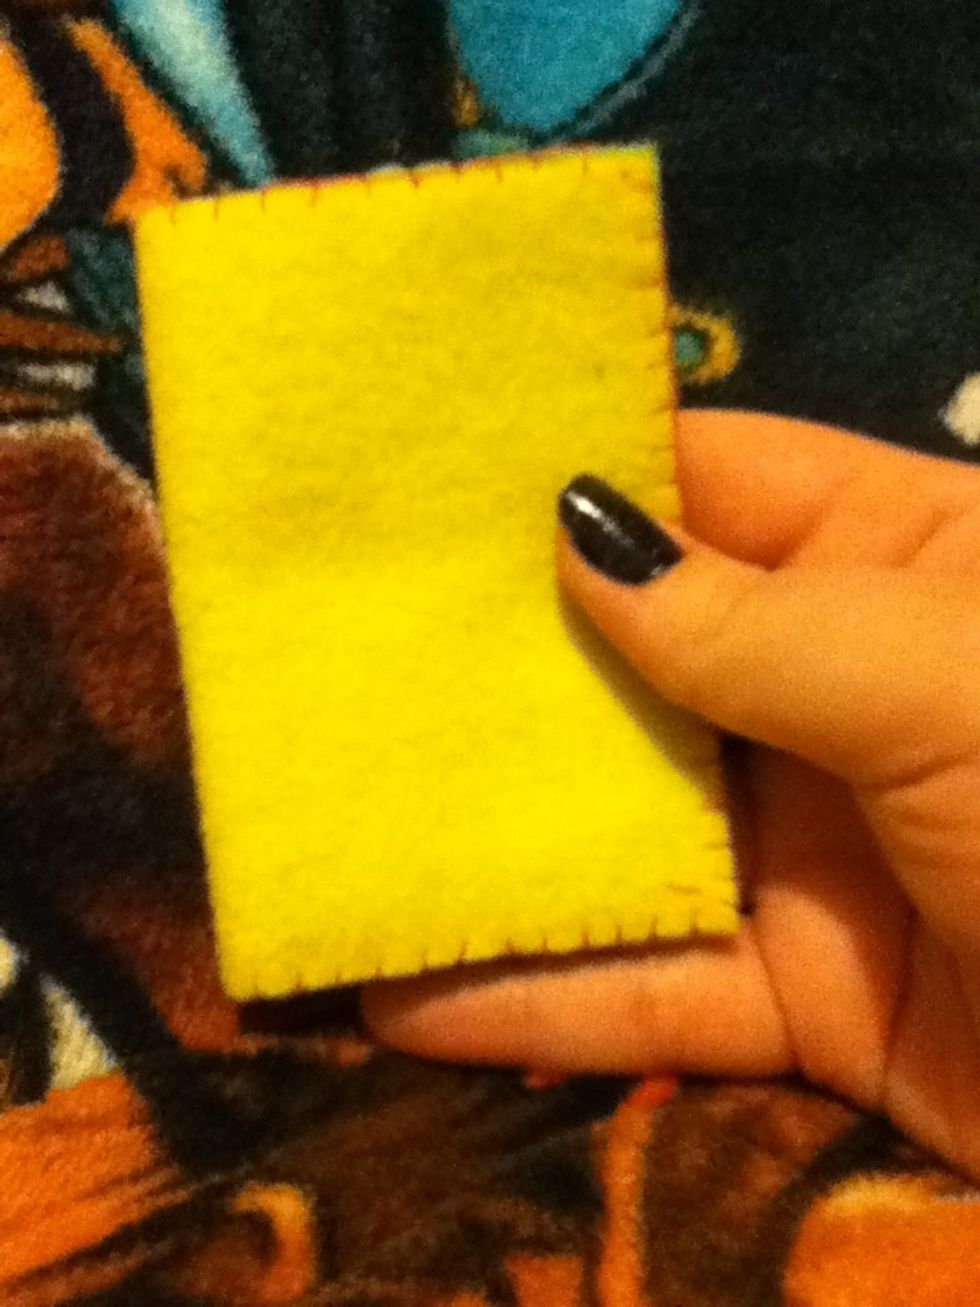
Step three! Fold it in half, to make the 'book crease'. Depending on what material you chose, it should stay closed like a real book! And you're done!
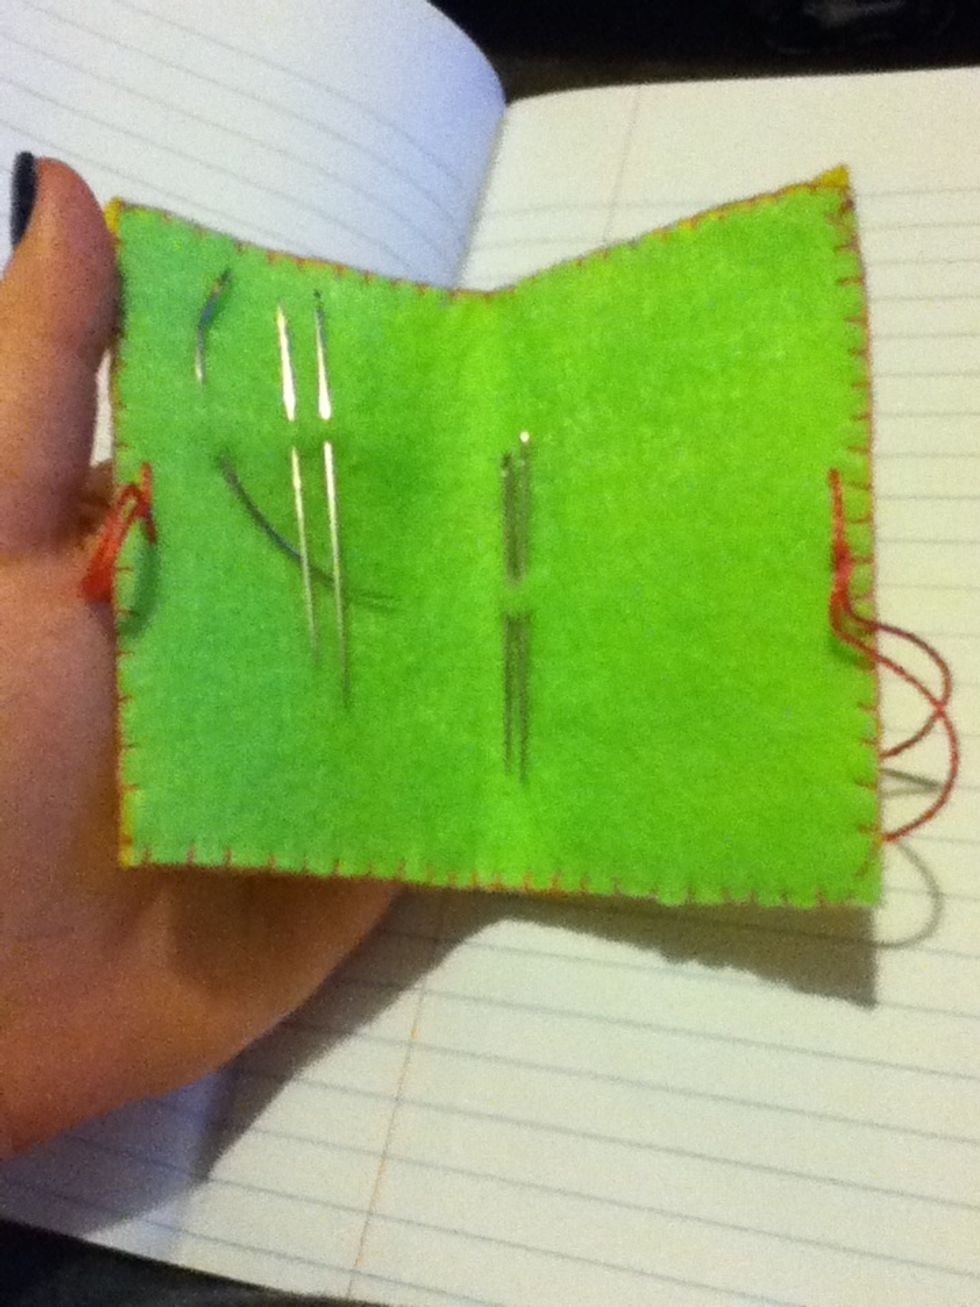
This is what mine looks like! I made it reversible. Adding the strings to either side is also preference. The book stays closed without them, but I added them anyways!

And here's the closed view! It's not too large, and holds many sized needles -- even large quilting needles!
I hope you enjoyed the tutorial! Remember, most of this tutorial is preference, so have fun with it! If you have any questions or requests, let me know. Happy sewing! :)