The Conversation (0)
Sign Up
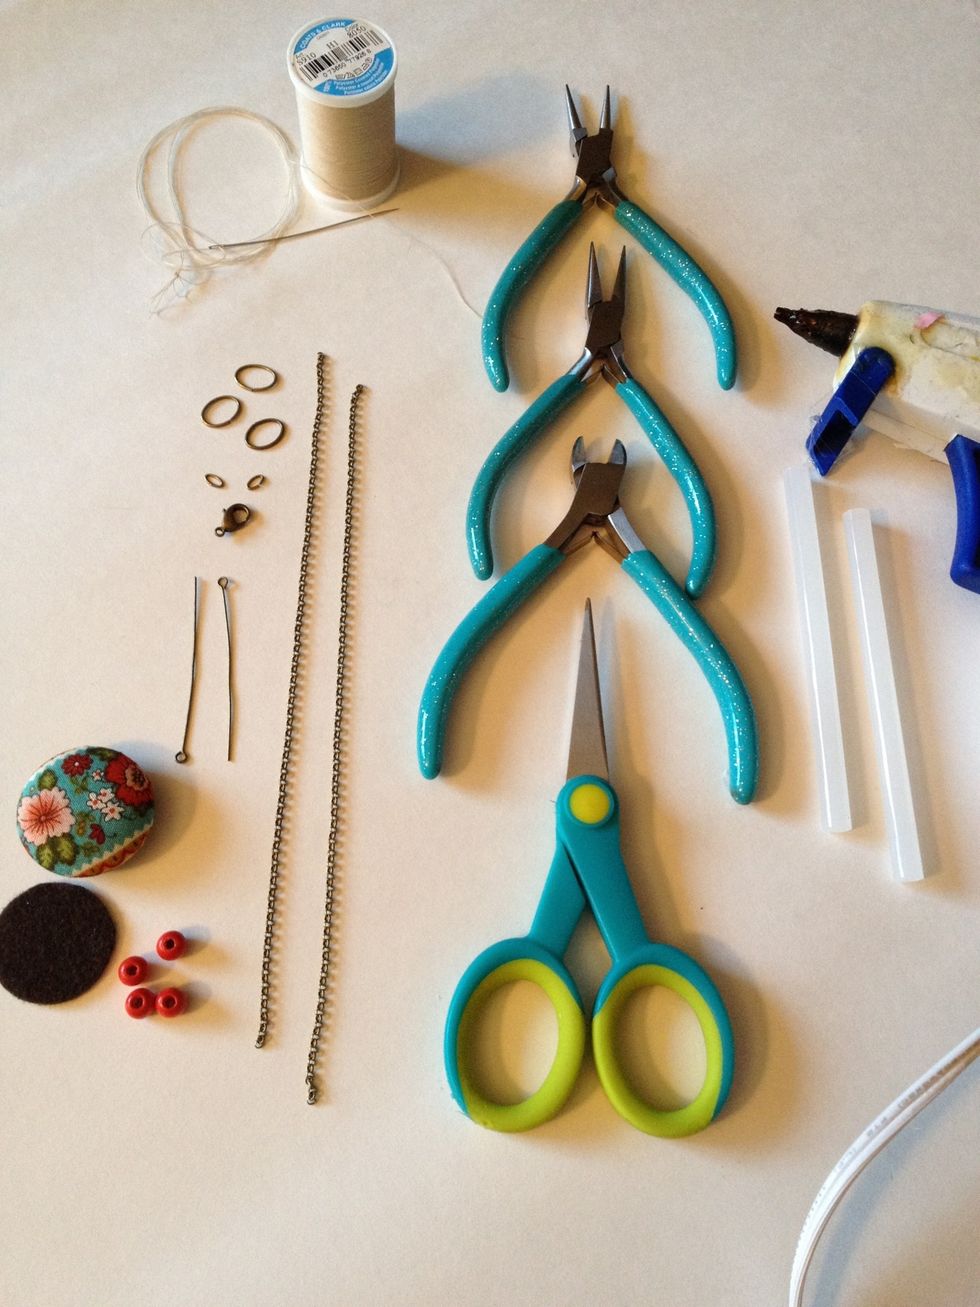
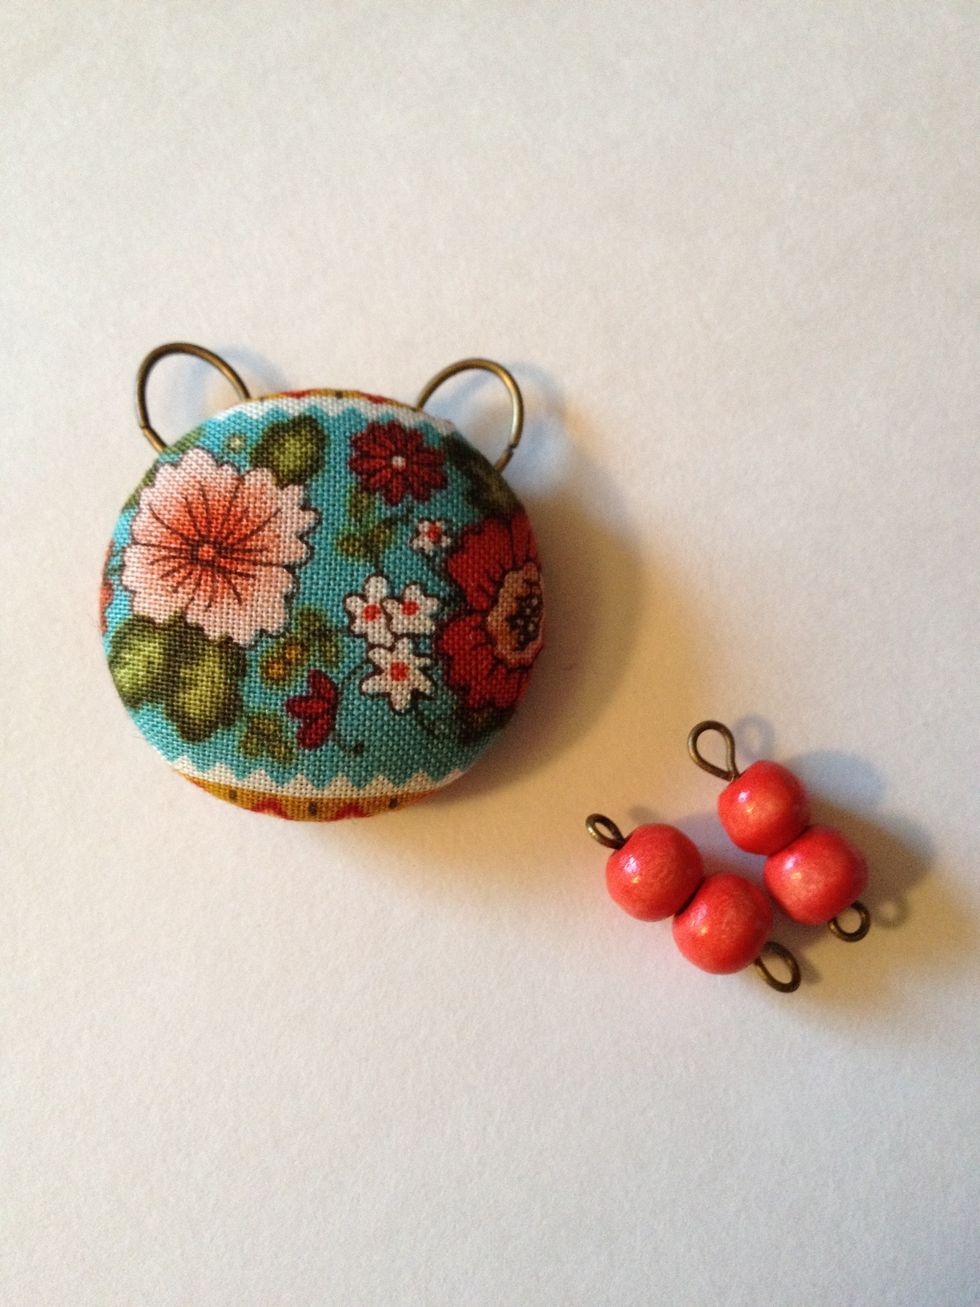
Supplies!
This is written with the assumption that you have a small amount of jewelry making experience. If there are any steps you need explained in more detail, please leave comments!

Thread needle and knot end. Enter fabric from underneath, coming up about 1/4" from the edge.
Note: pay attention to the pattern on the front of your button! Whatever you have chosen to be the top, move to the left and bring needle up there.
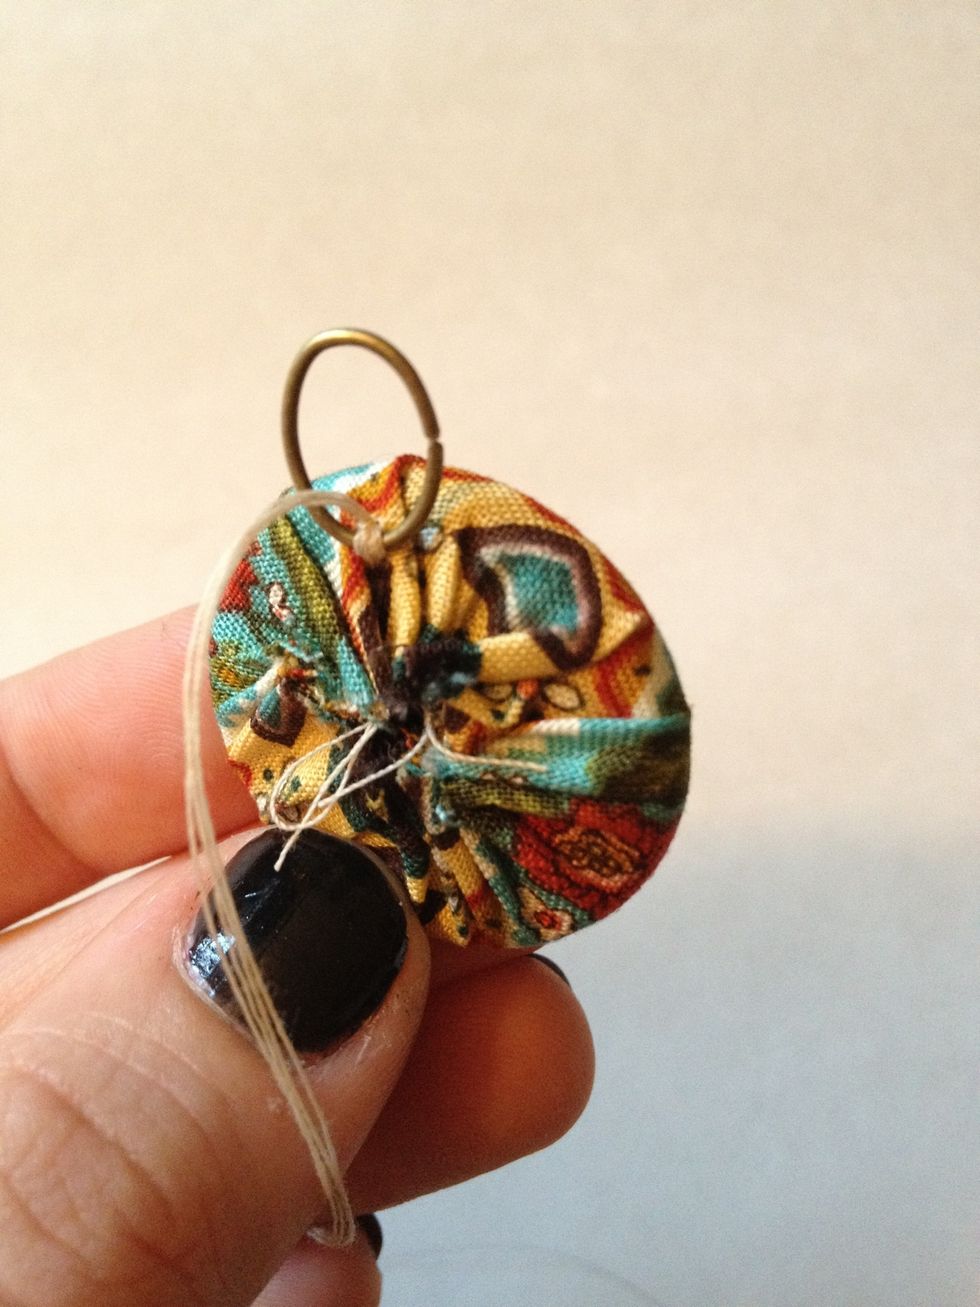
Pull thread through one large jump ring and stitch around the bottom twice (my needle is double threaded)
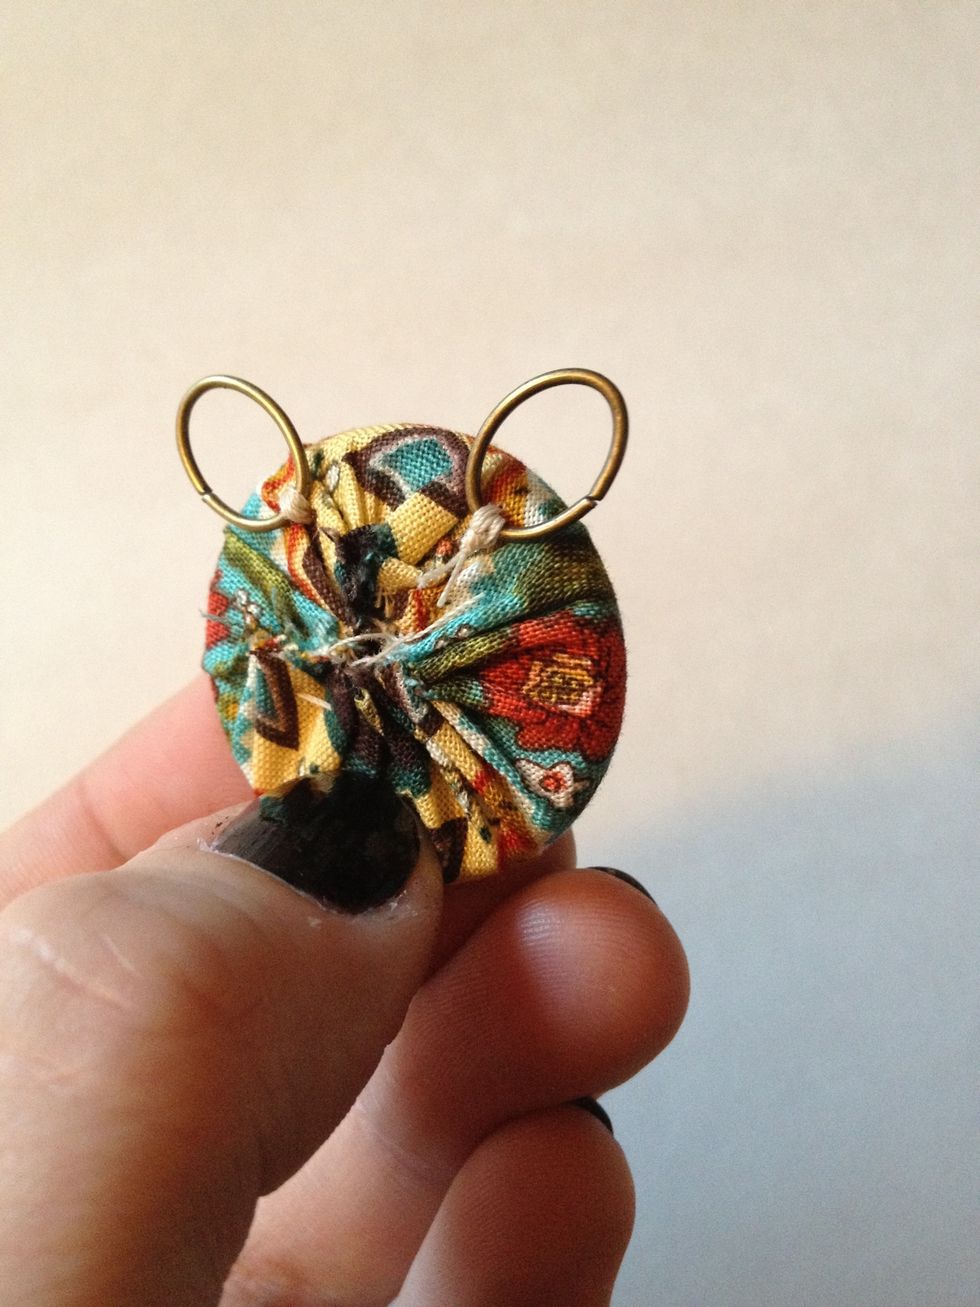
Go under fabric and emerge on other side (right of center). Repeat step 5 and knot off.
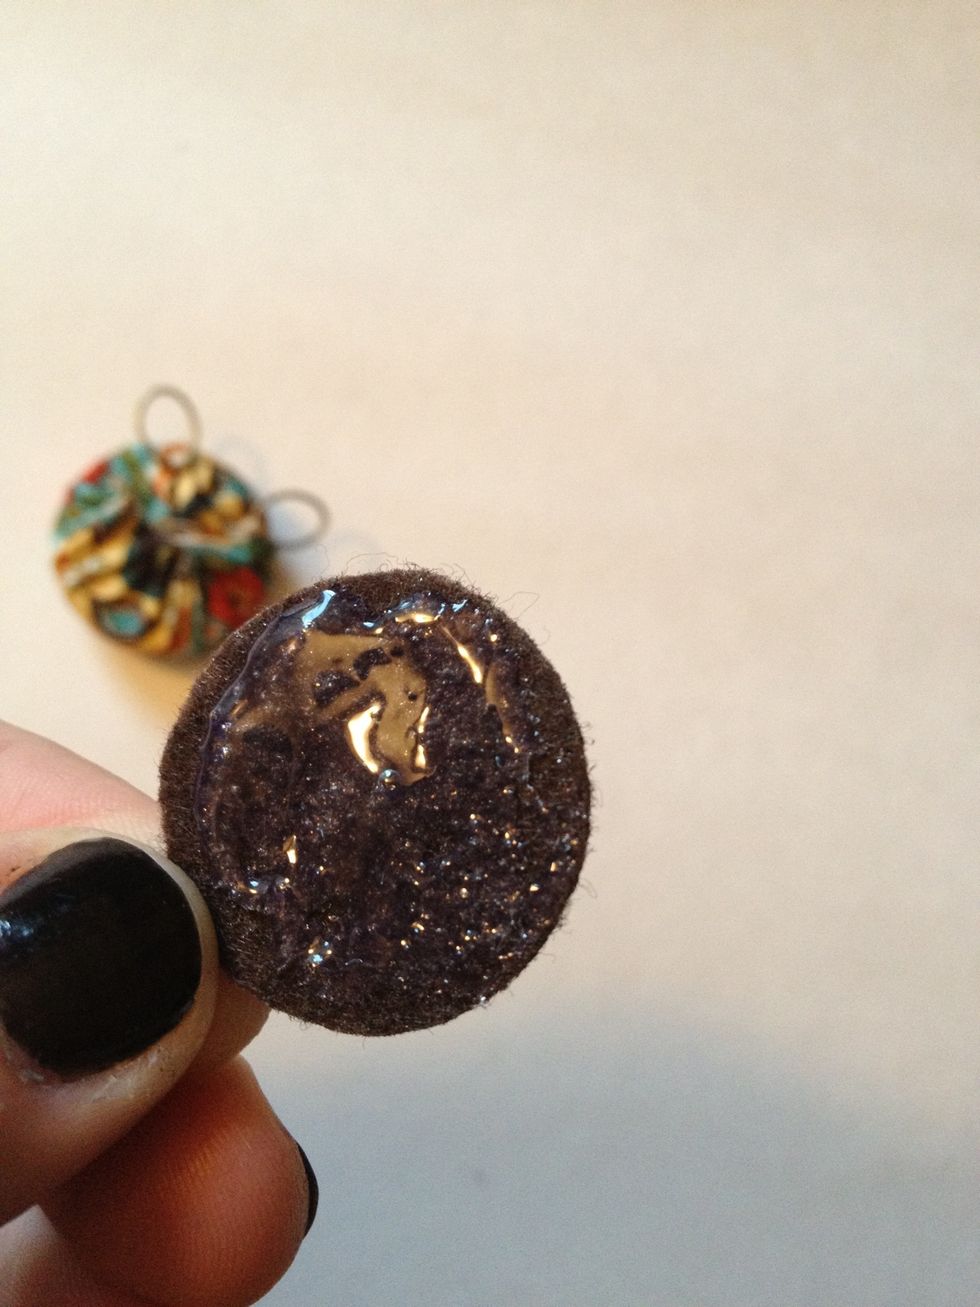
Put hot glue onto back of felt circle
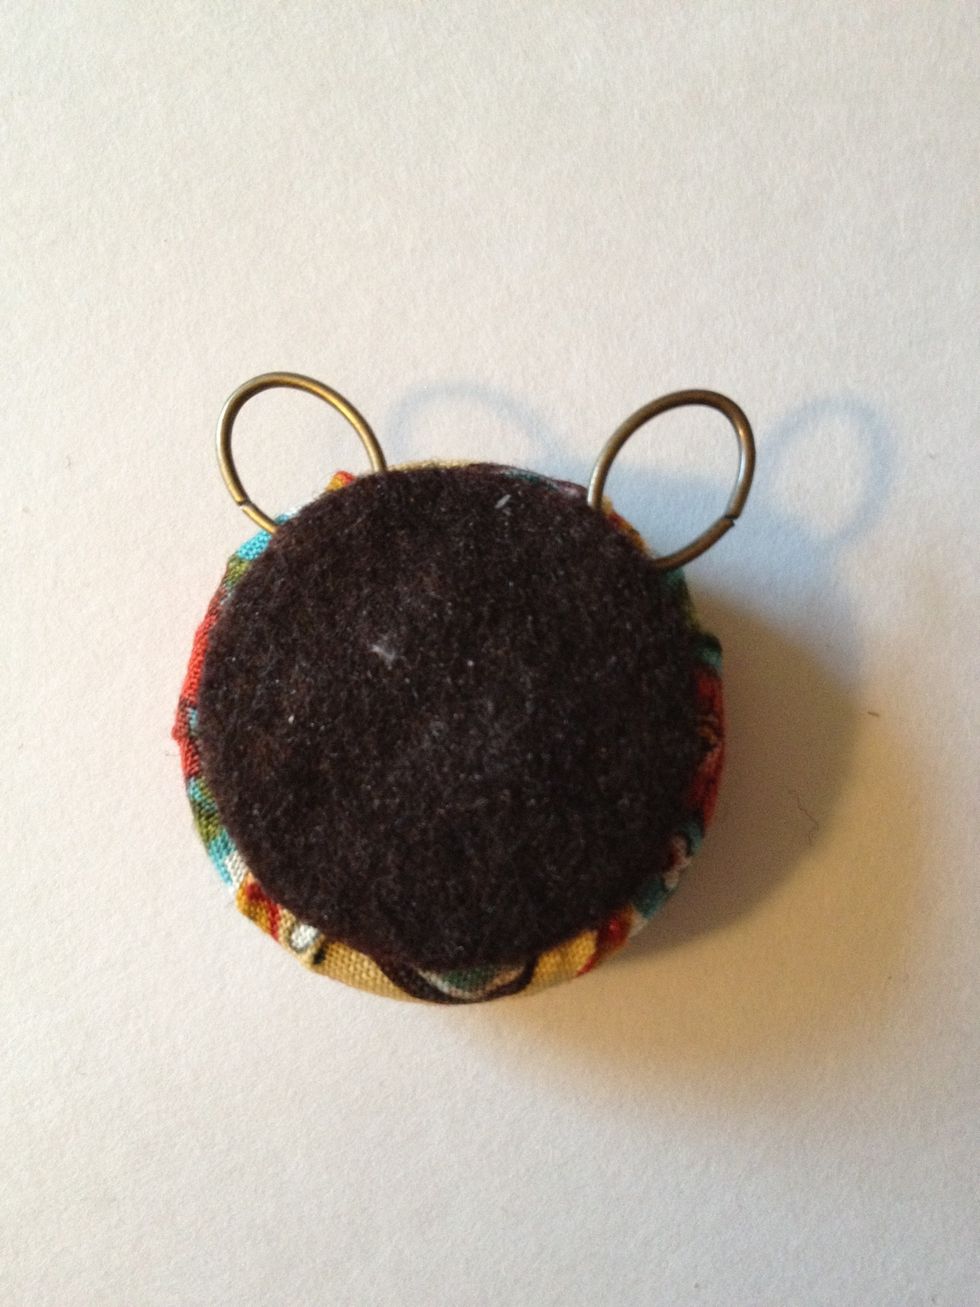
Place on back of button, being sure to cover the stitches at the bottom of the jump rings.
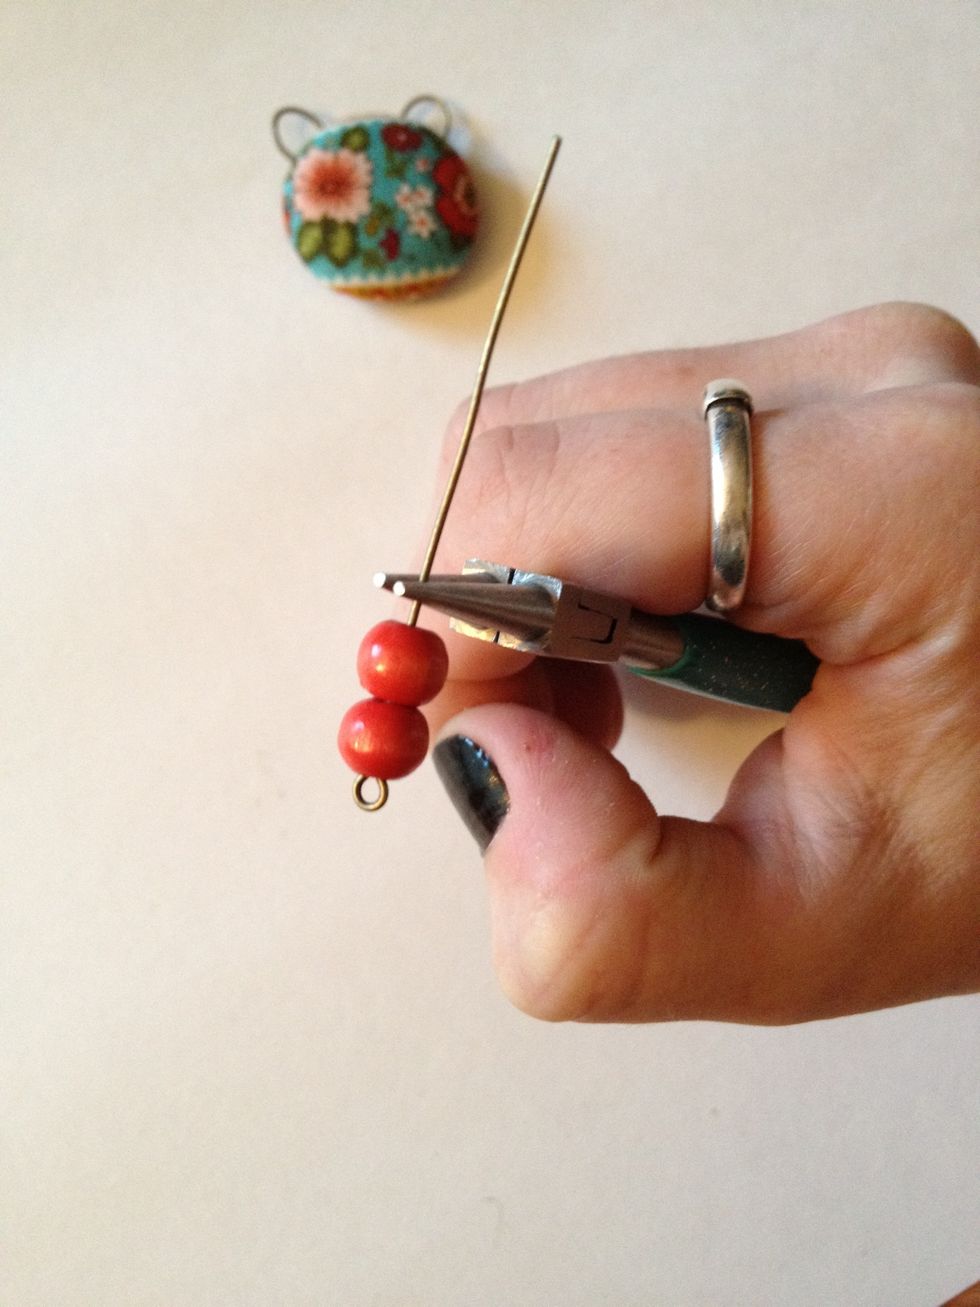
Put bead(s) onto eye pin. Grasp slightly above with needle nose pliers.
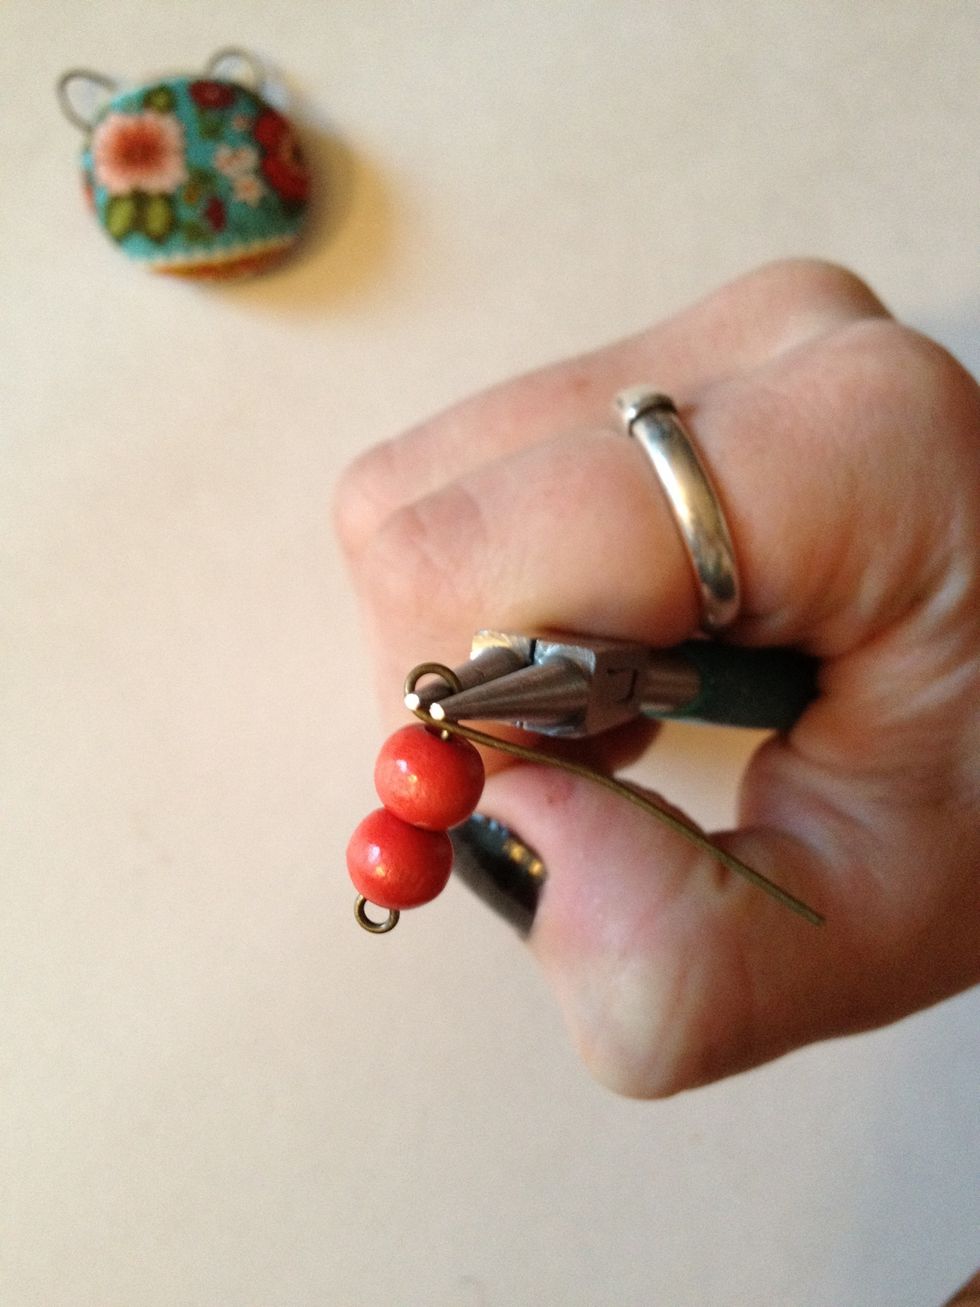
Wrap wire around pliers.
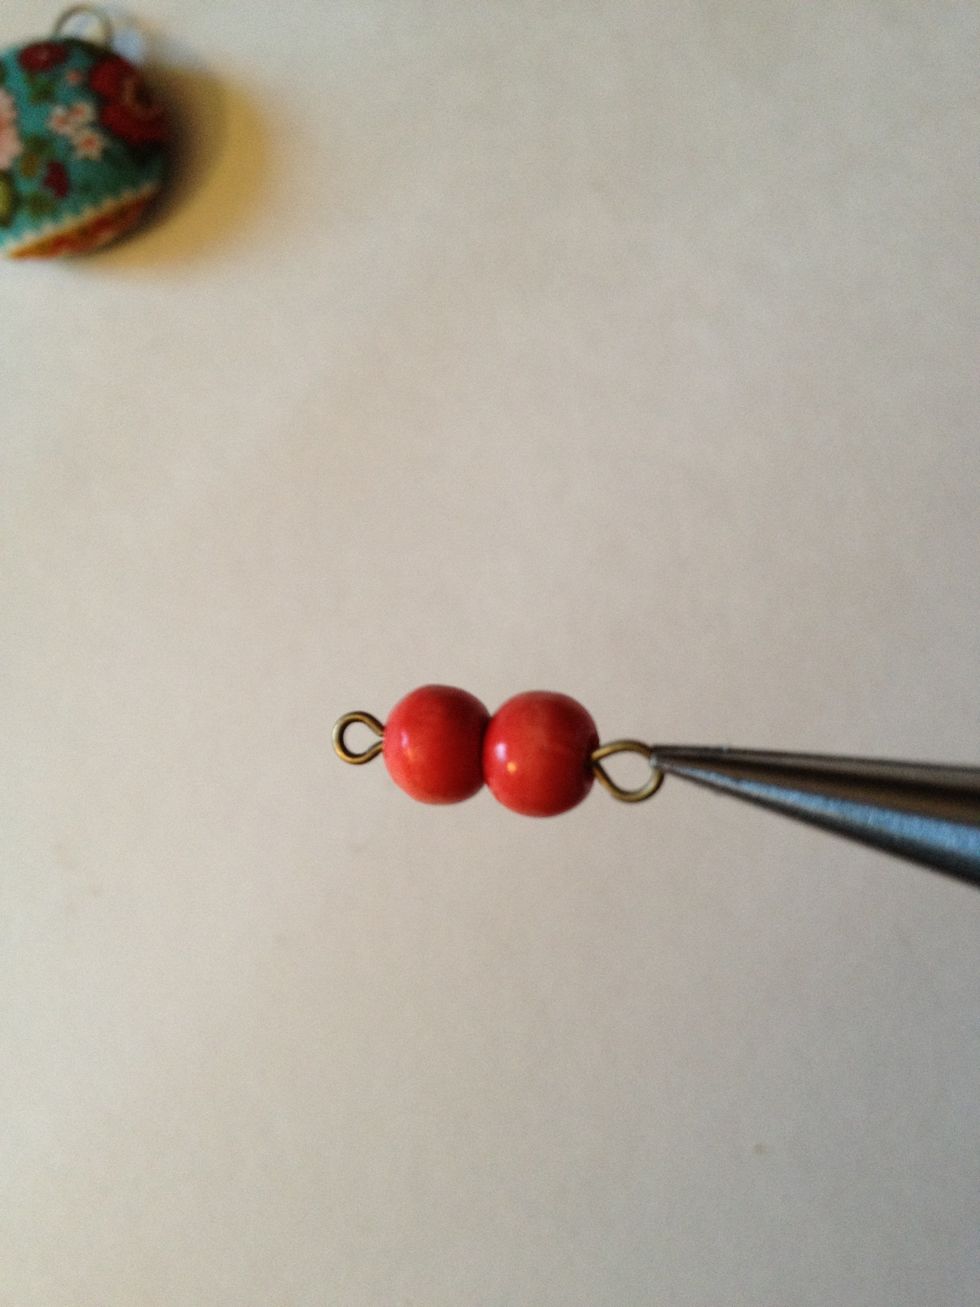
Snip the excess with wire cutters. It should look like this.
Repeat steps for the other side.
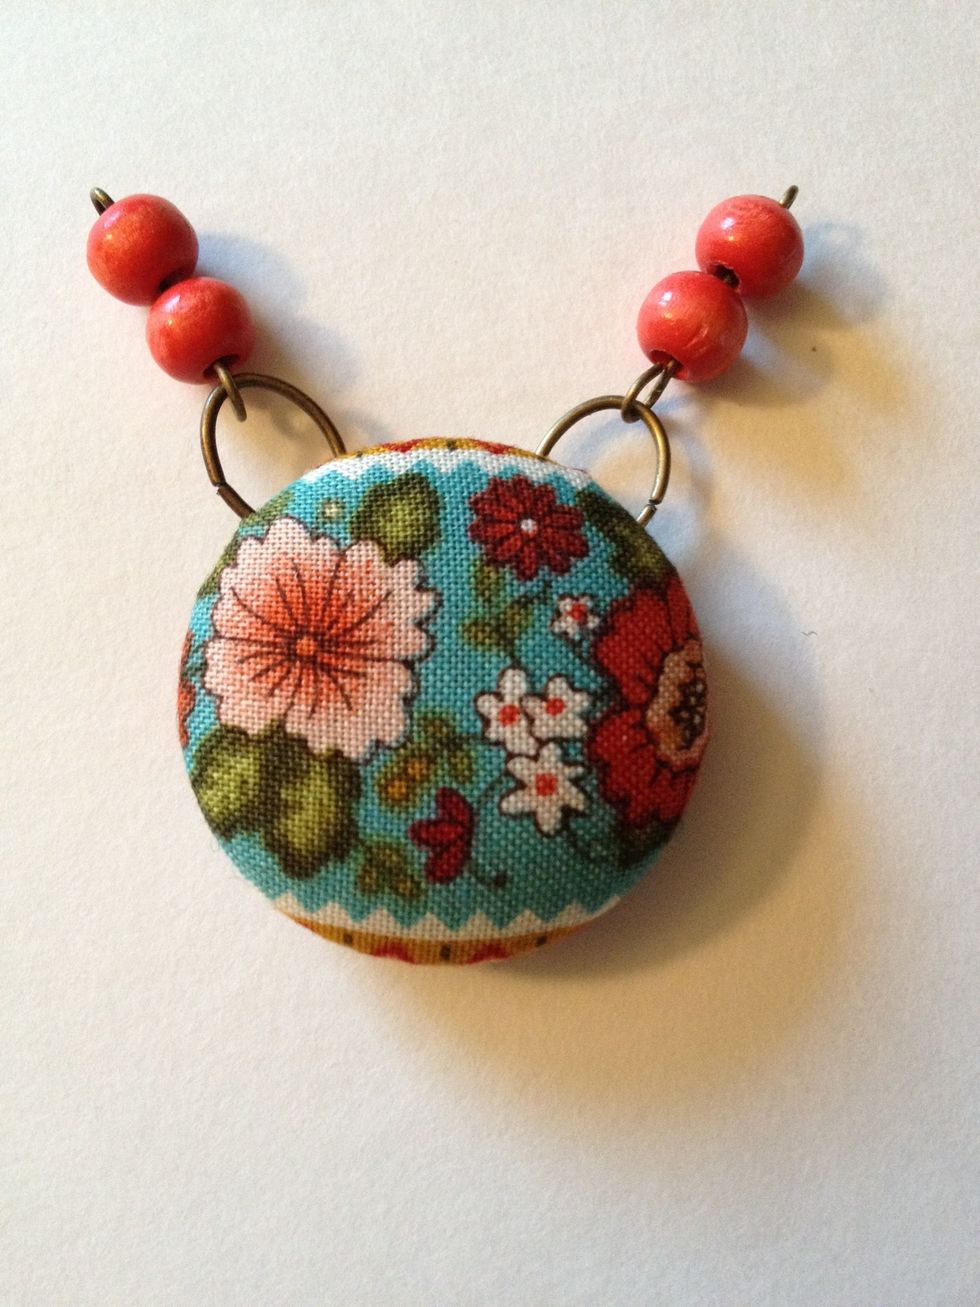
Open one loop of eye pin slightly to attach to one jump ring. Repeat on other side of button.
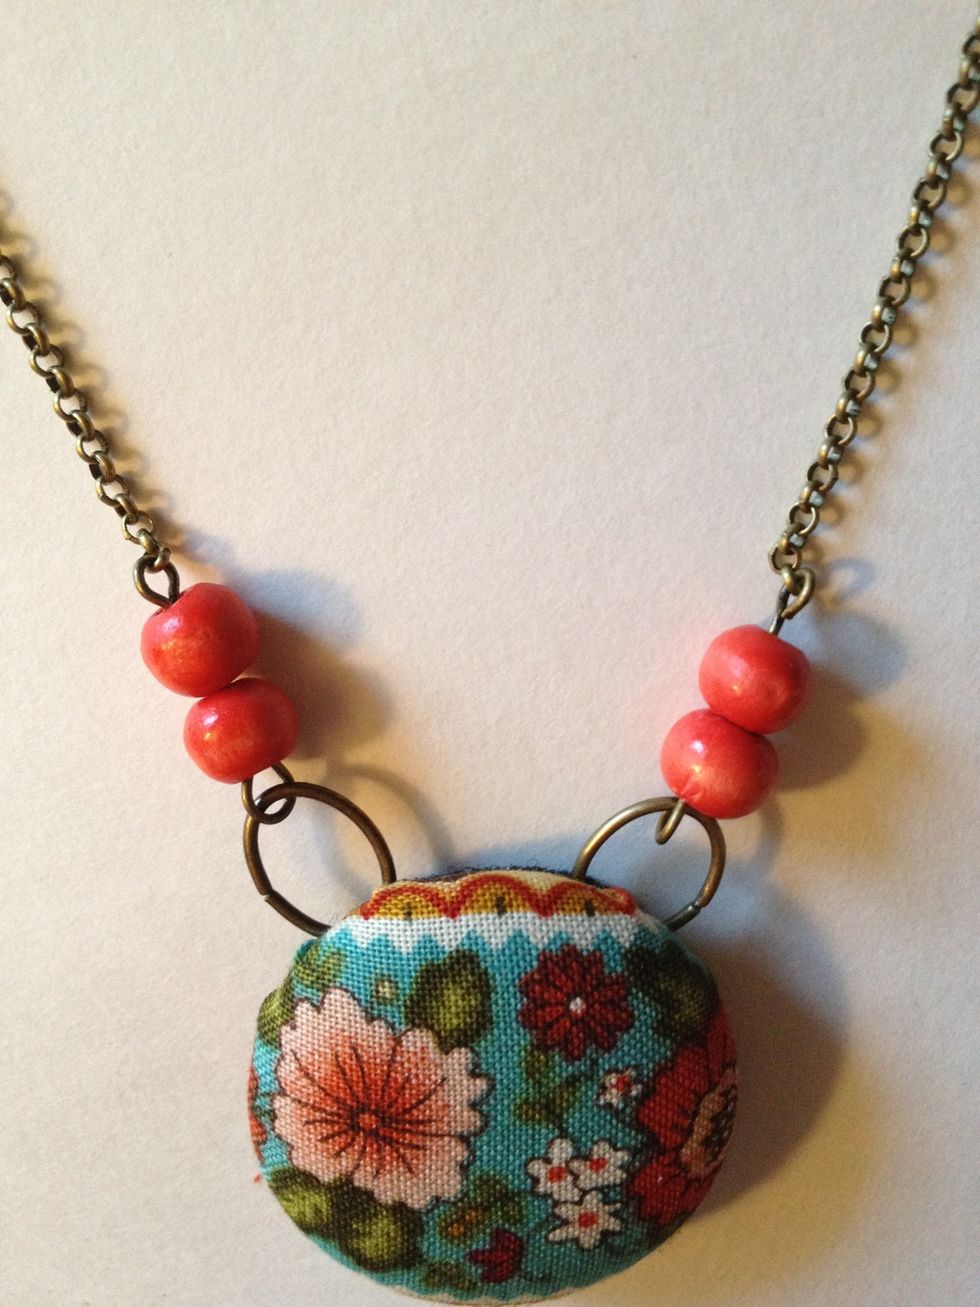
Open top loop of eye pin and attach to one length of chain. Repeat on other side of button.
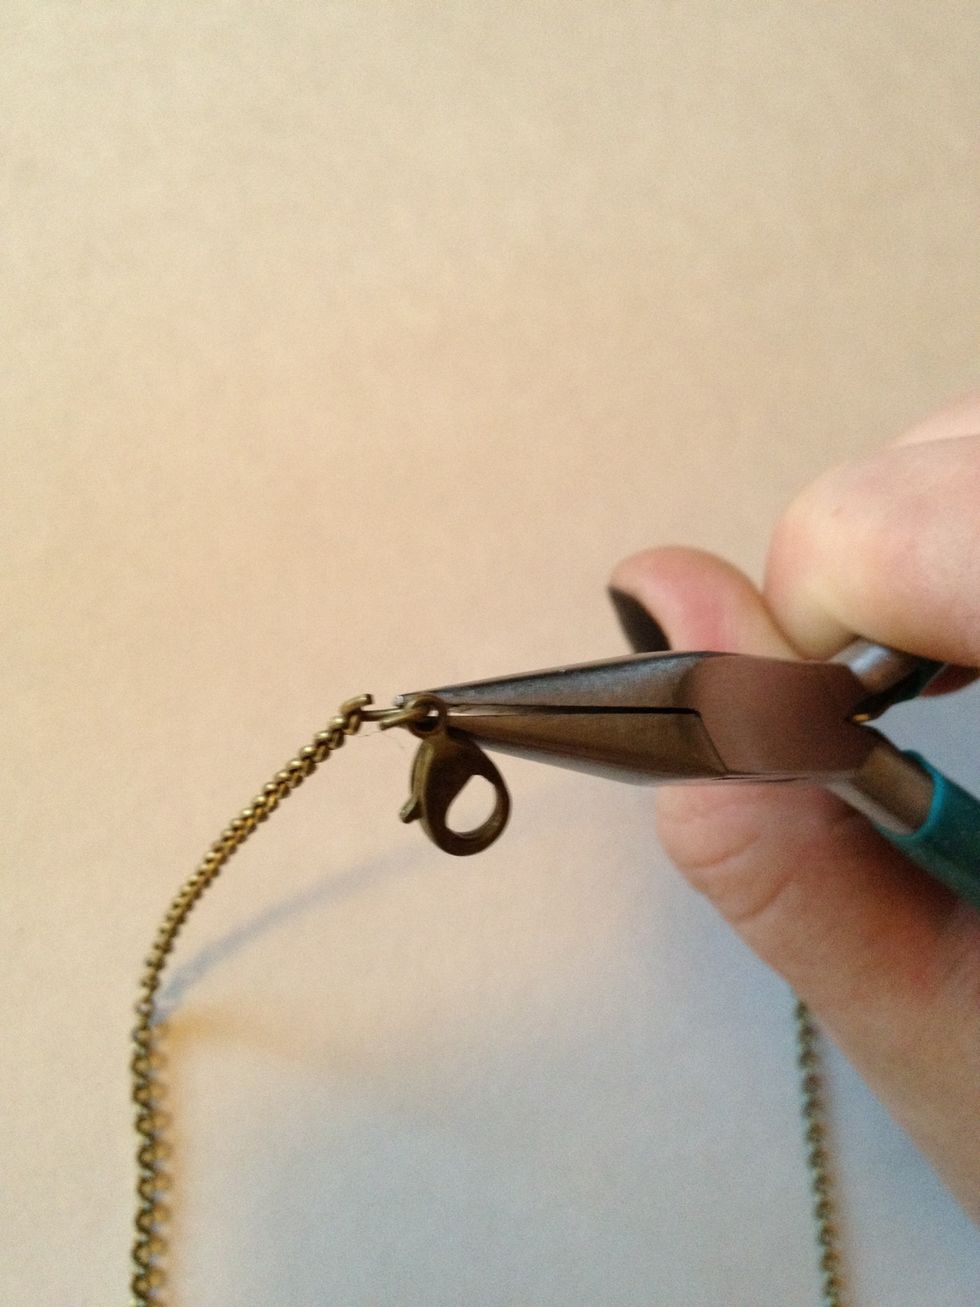
Twist small jump ring open and attach other end of chain as well as clasp.
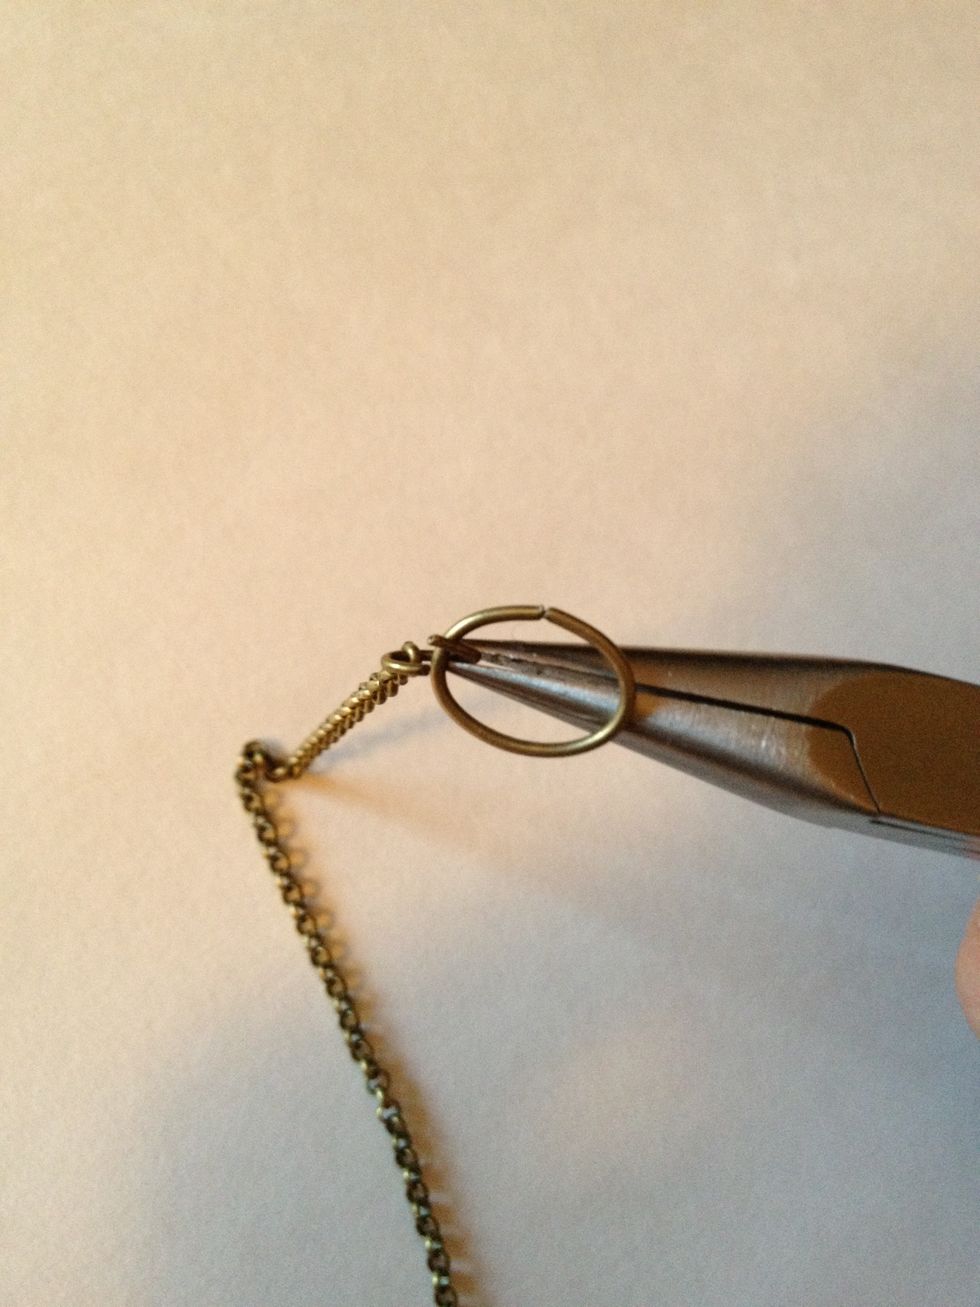
Twist other small jump ring open and attach other length of chain as well as large jump ring.
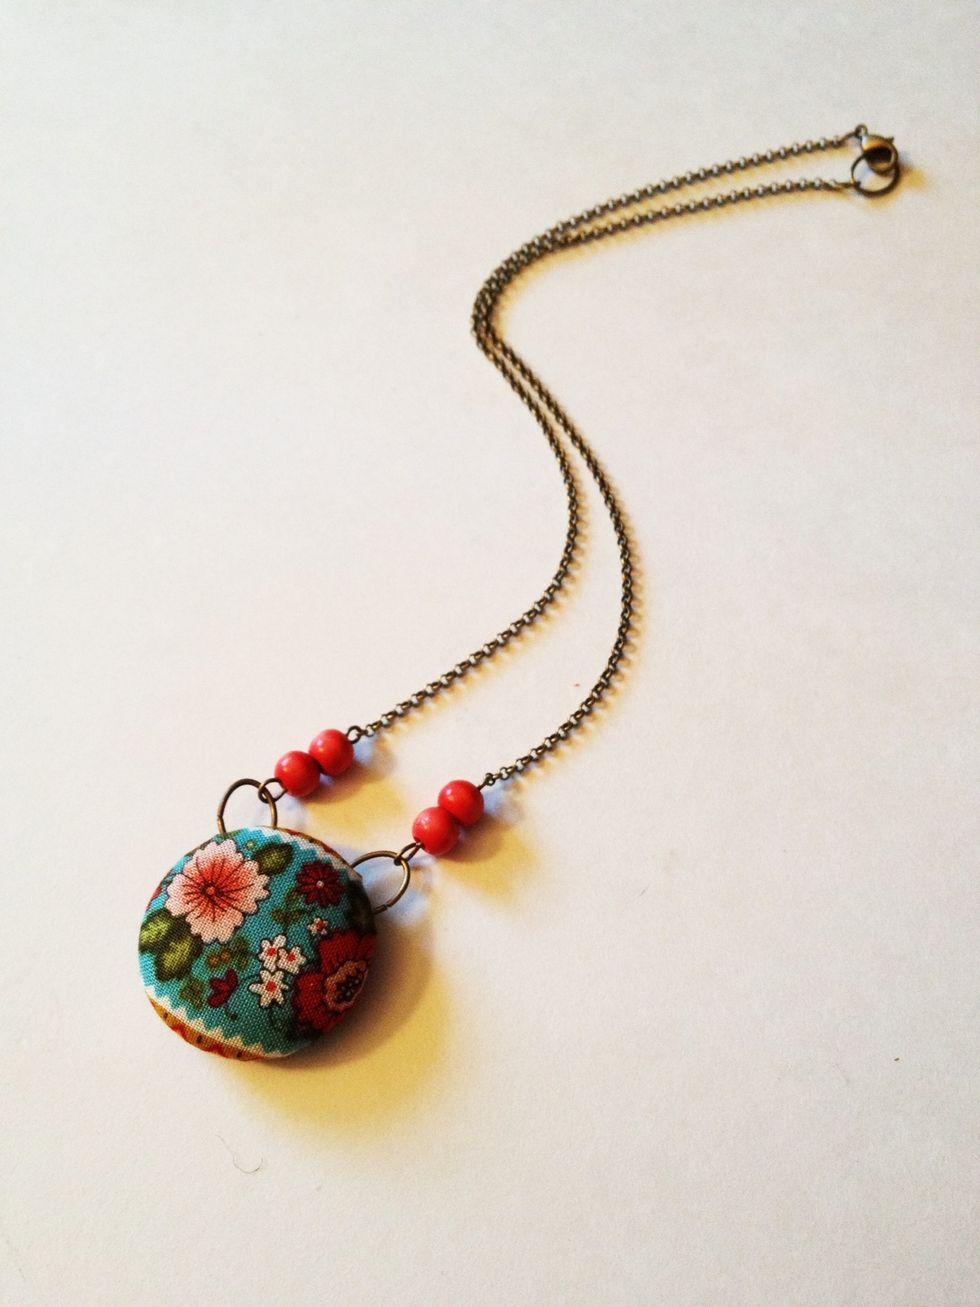
Finished necklace!
There are many things you can adjust to your liking, such as number of beads and length of chain. The example here is what I make the most. Enjoy! Please leave any questions in the comments section!