The Conversation (0)
Sign Up
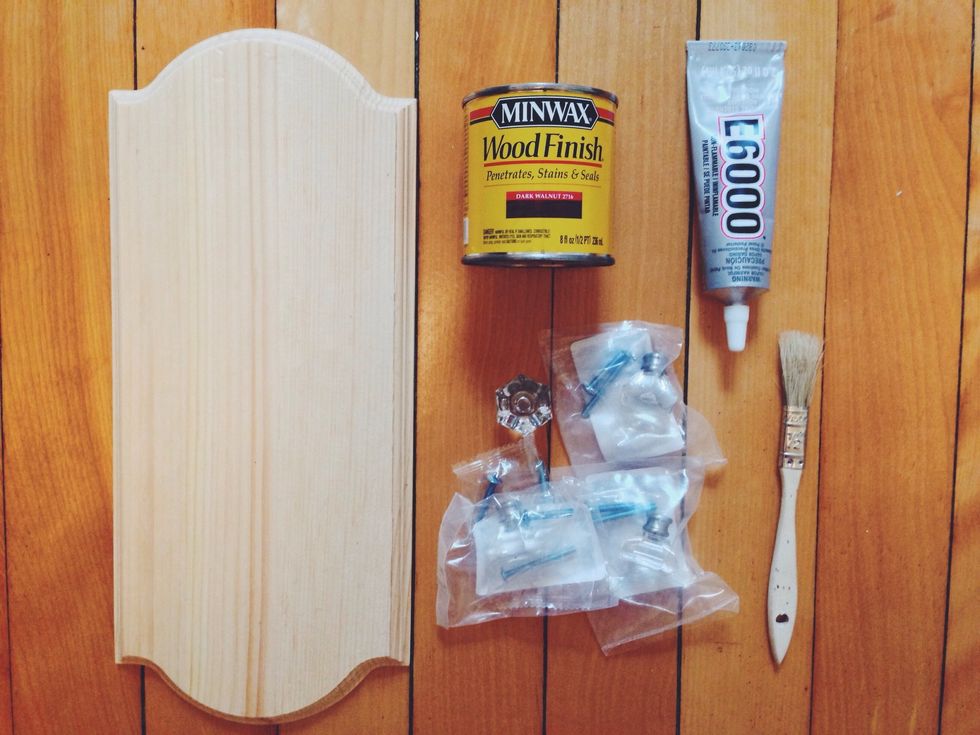
- Wood Block ($5 at Michaels) - Wood Stain (they sell this at Michaels but it is half off at Home Depot) - 4 drawer pulls (Home Depot) - E6000 glue or drill - Paint brush - Command Hanging strips
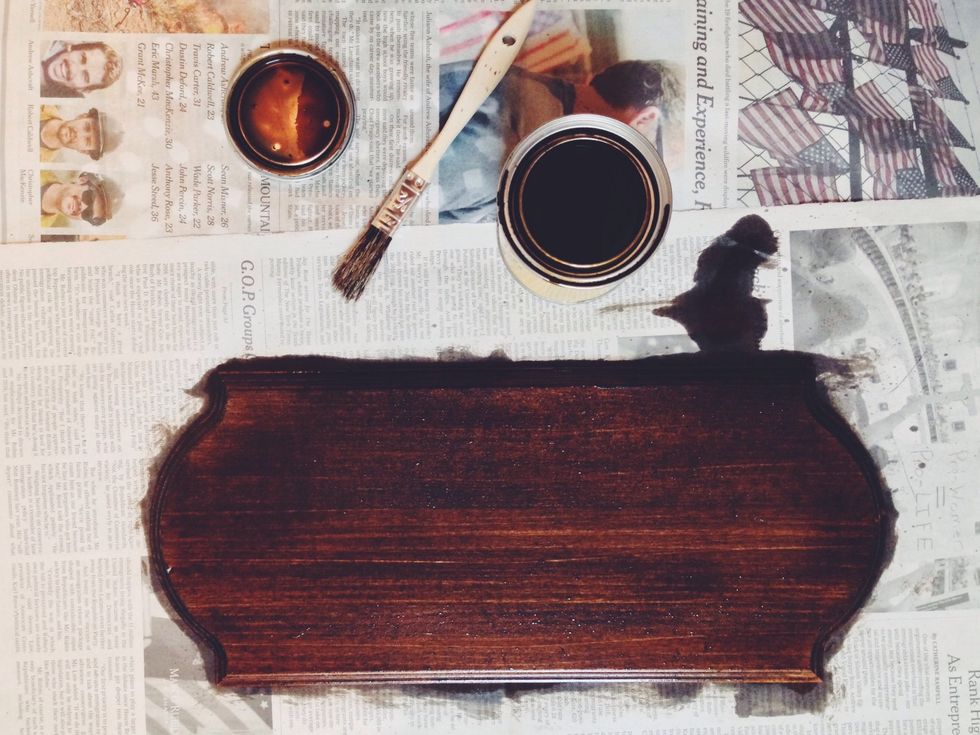
First, stain your wood. (you may skip this step if you like the untreated look) You will want to lay down layers of newspaper and be careful not to spray when painting.
Wait patiently for the stain to dry…then stain the back and wait to dry again (you might want to wait about 24 hours) I’m not so patient so I did not coat the back since it’ll be facing the wall.
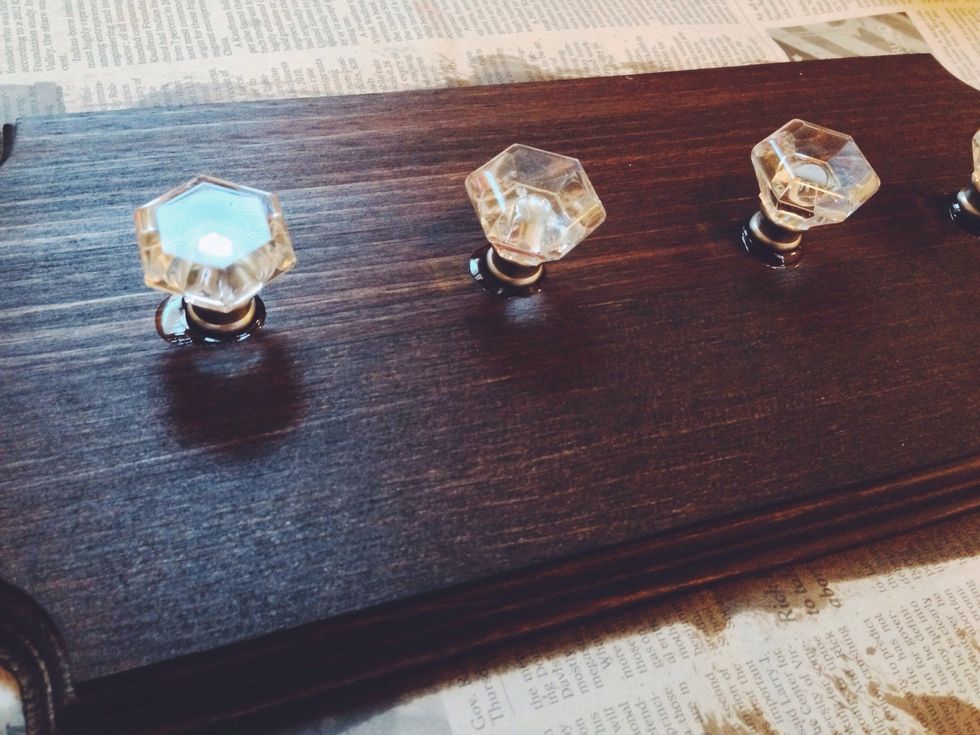
Next, space out your knobs based on how many you have and the size of your block. If you have a drill, go nuts! then screw on your knobs are you are good to go.
I don’t have a drill so I chose the next best thing…GLUE. E6000 should do the trick. I figured I will only be hanging necklaces off of it so the E6000 should hold. Wait for it to dry.
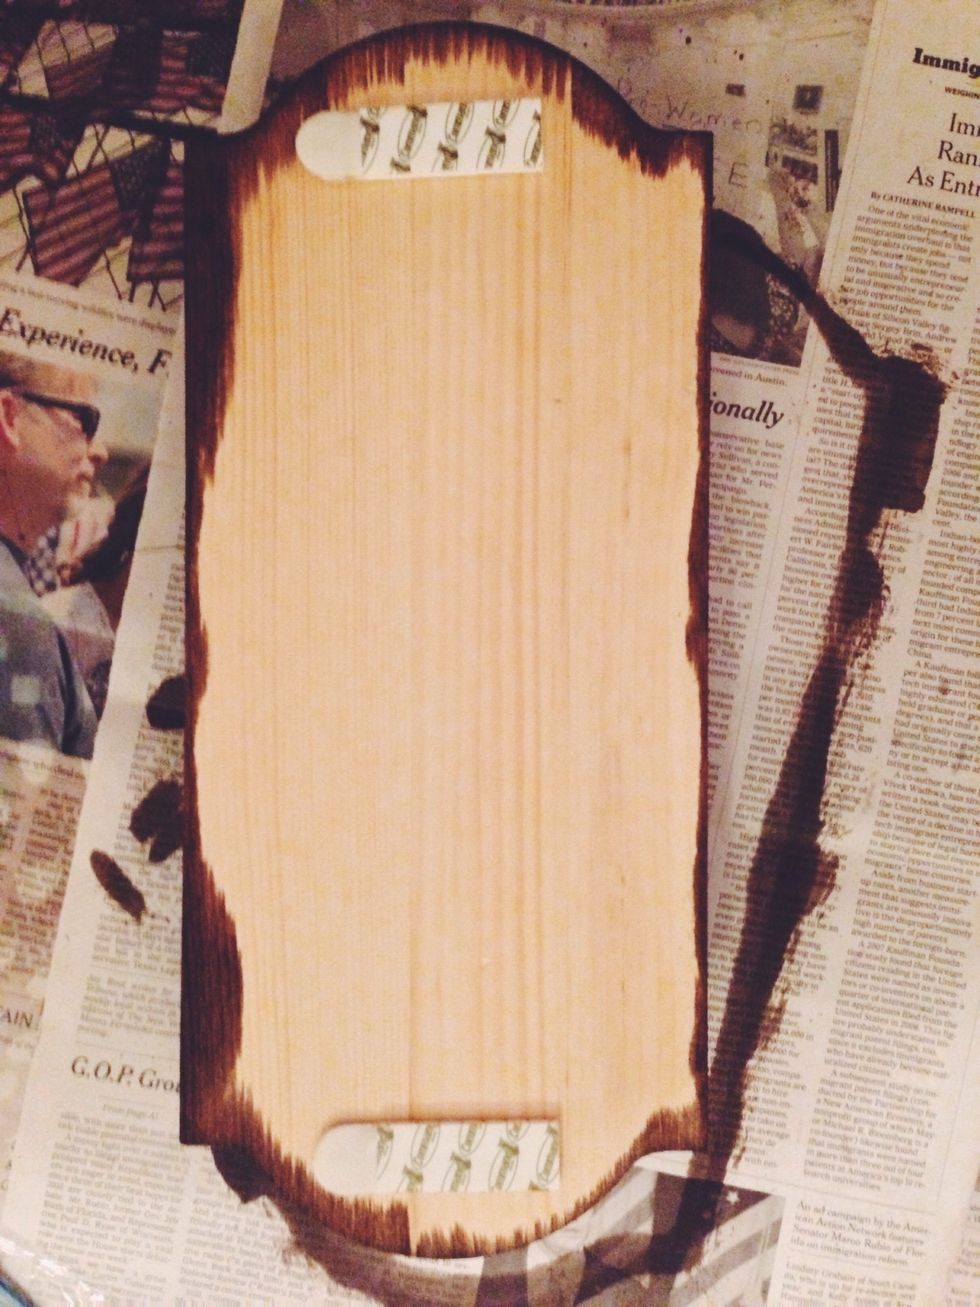
When finished drying, attach your command strips and hang it on your wall. Make sure it is straight before doing so, or you’ll waste your command trips.
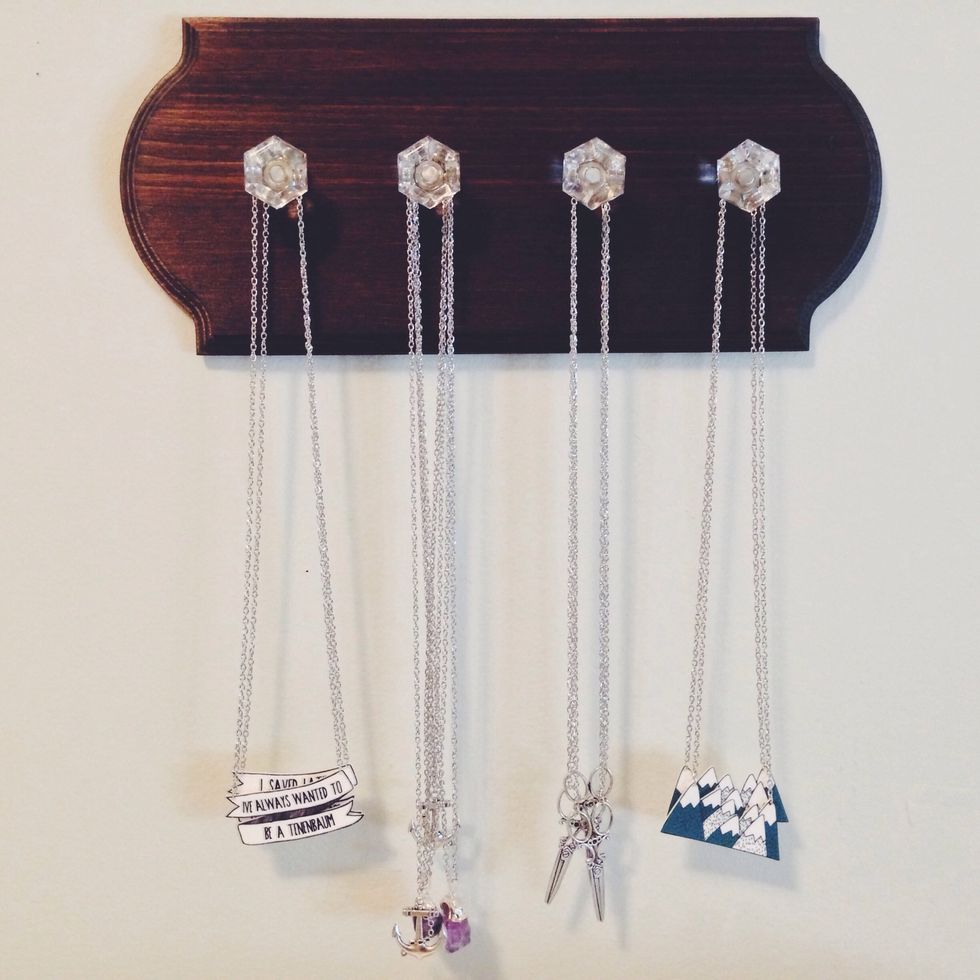
TA da!