The Conversation (0)
Sign Up
First, you will have to gather your supplies. You will need a board at least as wide as your wire rack. I used one from a black entertainment center we were going to throw).
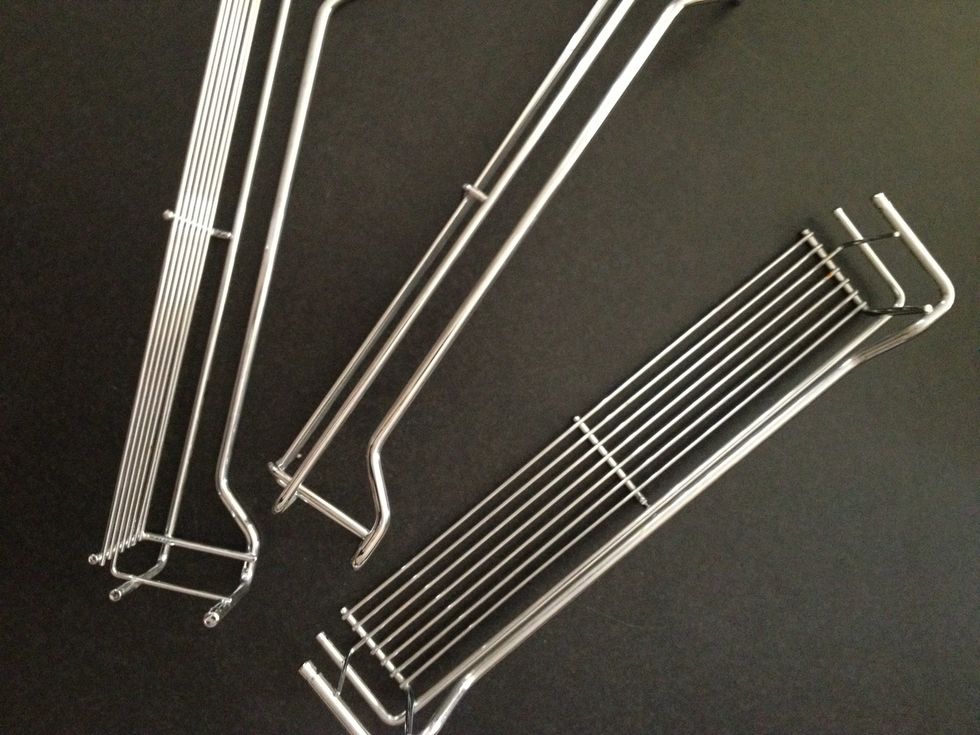
The other item I used was a metal spice rack I found at Goodwill. It had pieces, but no support pieces- great for me! These are a few of the metal rack pieces.
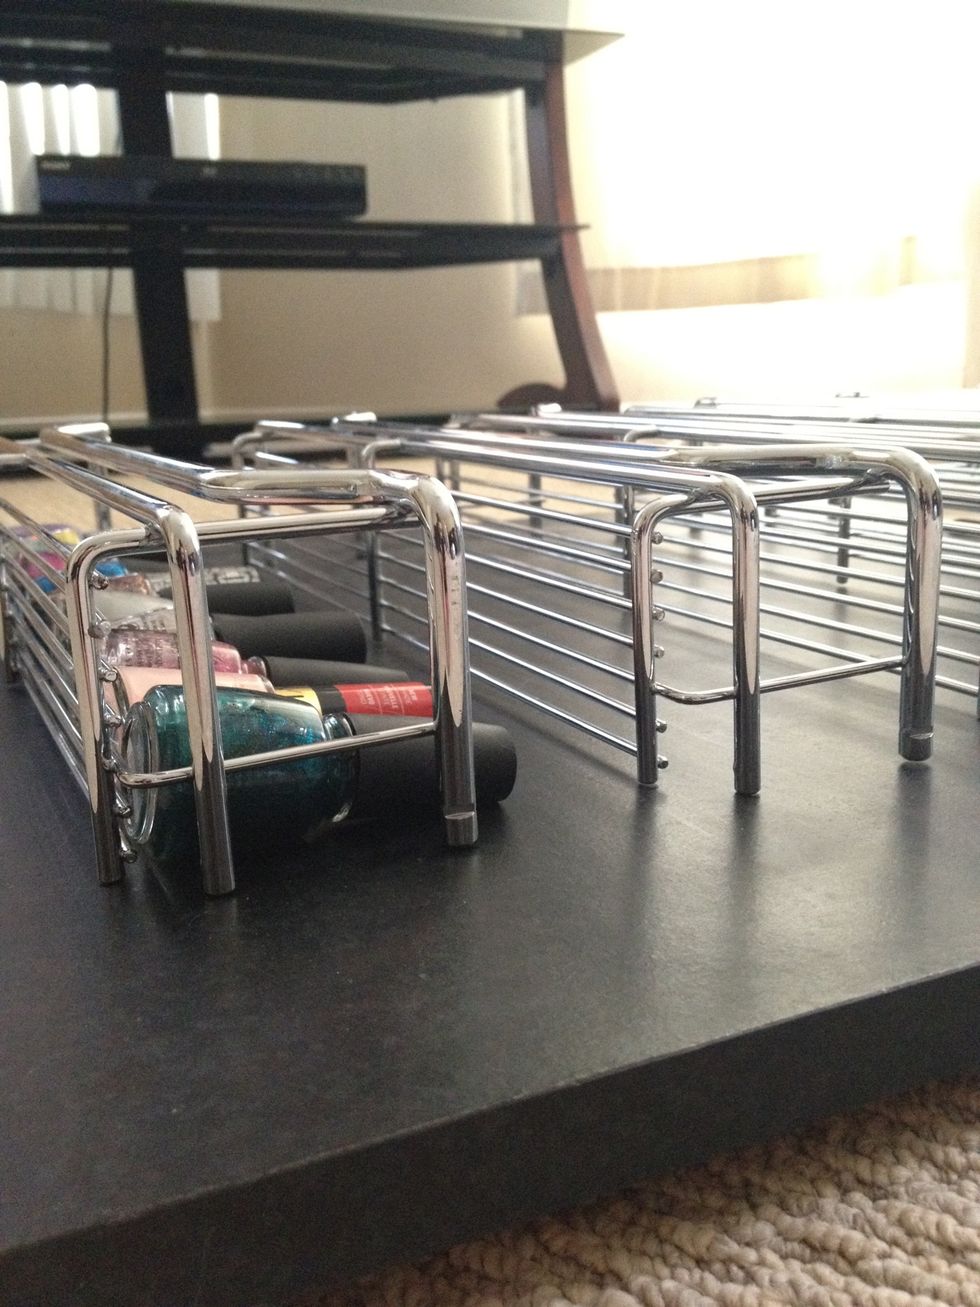
I set the racks down to get a rough visual of what I was doing. I wanted to make sure the different sized polish bottles would fit.
I decided I should break off the 2 metal pieces that were not attached to the side brackets. This would provide more support, and be more secure for the polish bottles on the rack.
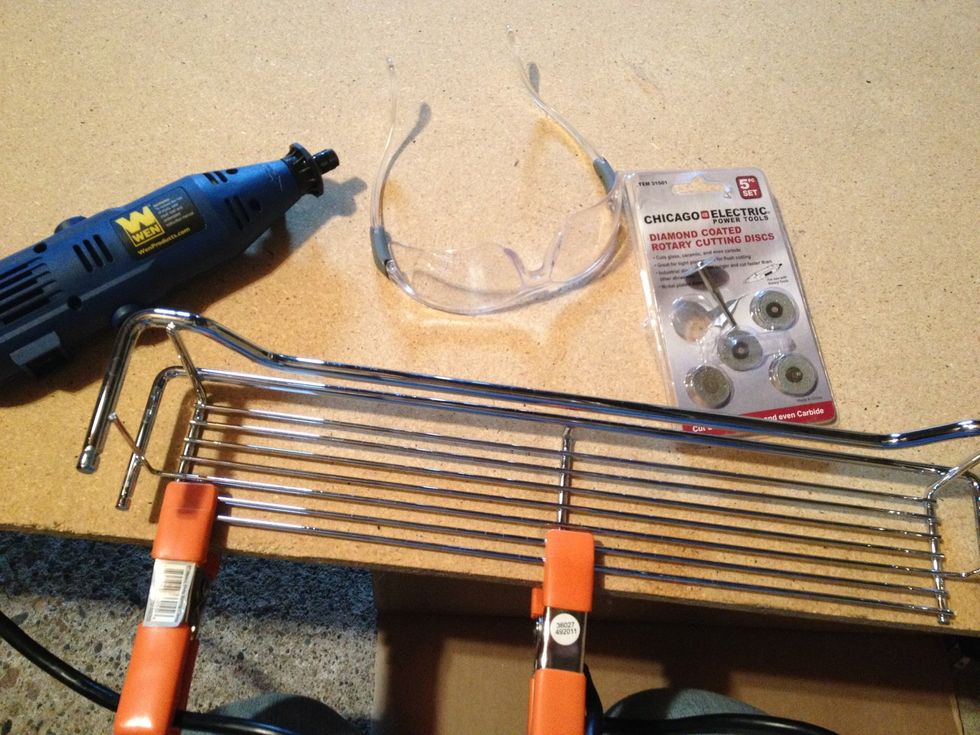
I thought I needed to use a rotary cutting tool, That was not the best idea, it took forever to break 1 weld.
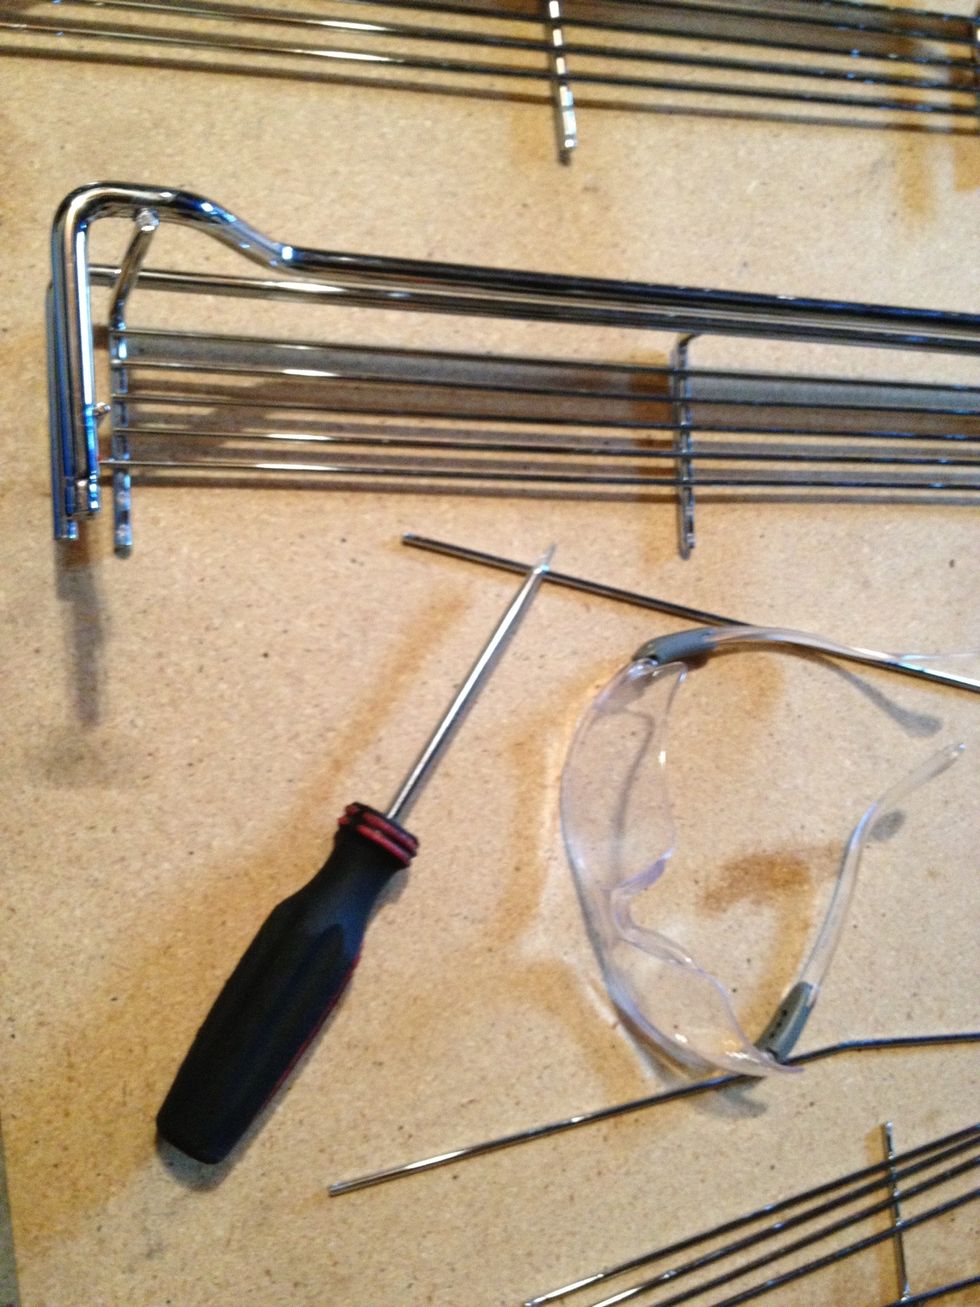
The screwdriver proved to be successful! I was able to pop off the bars with just a little leverage in no time at all!!
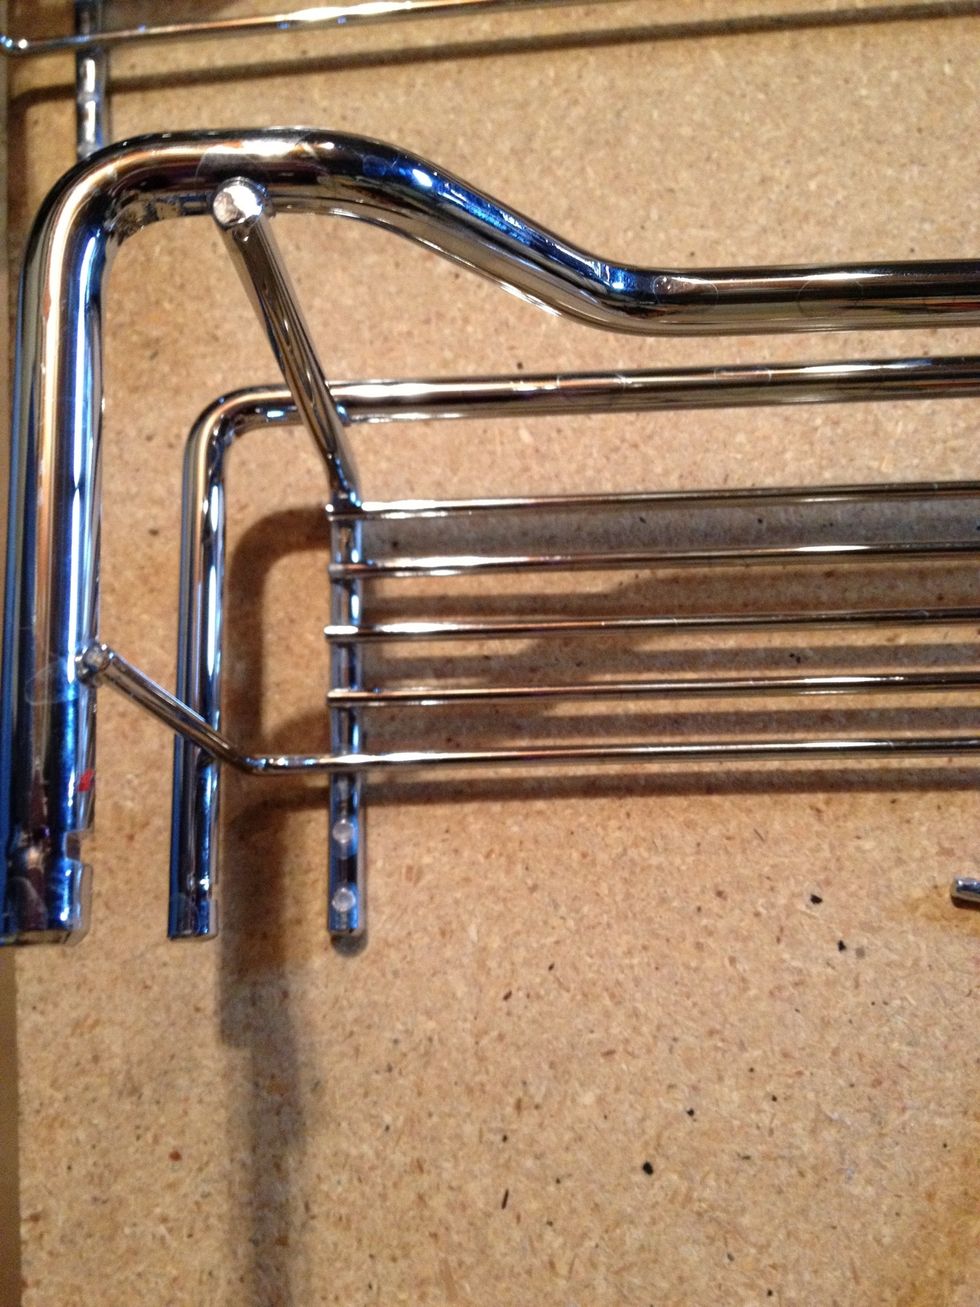
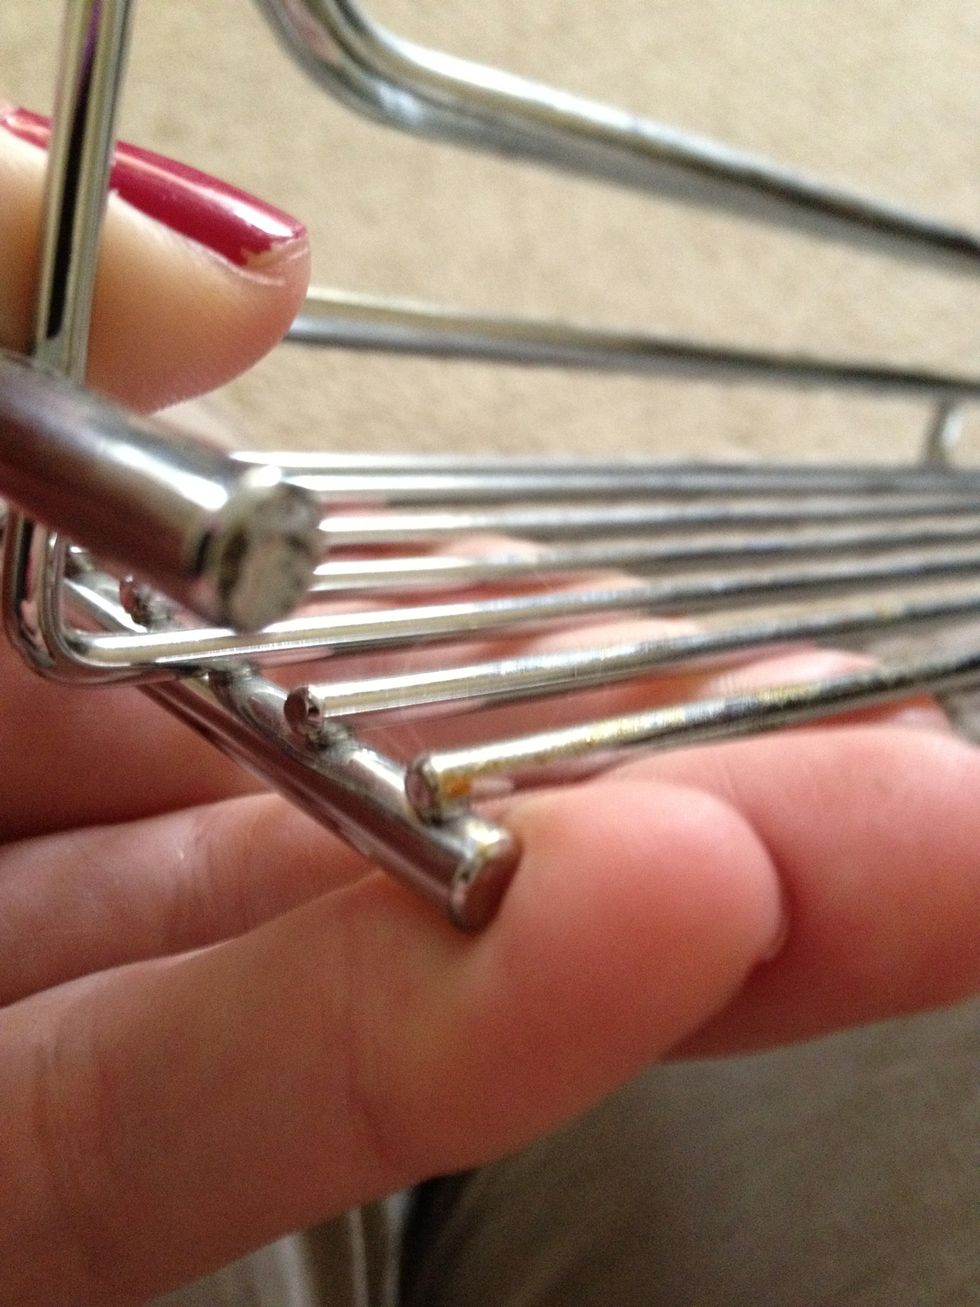
You can see where the weld spots are, I figured that it was no big deal since these areas would be hidden within the board.
For the next step, use your tape measure and figure out the distance between the metal posts. Use a square to make sure they are straight.
I laid out the tape in straight lines, and marked with the tape measure where to drill the holes. The tape was to help minimize the particle board chipping.
I used a drill bit the same size as the as the posts. After the first set was drilled, I removed the tape and put the first rack in to see if it was correct. I used a soft mallet to pound the rack in
I finished drilling the holes, slowly removed the masking tape, and colored any chipped areas with my black sharpie, and put the rest of the racks in using the mallet.
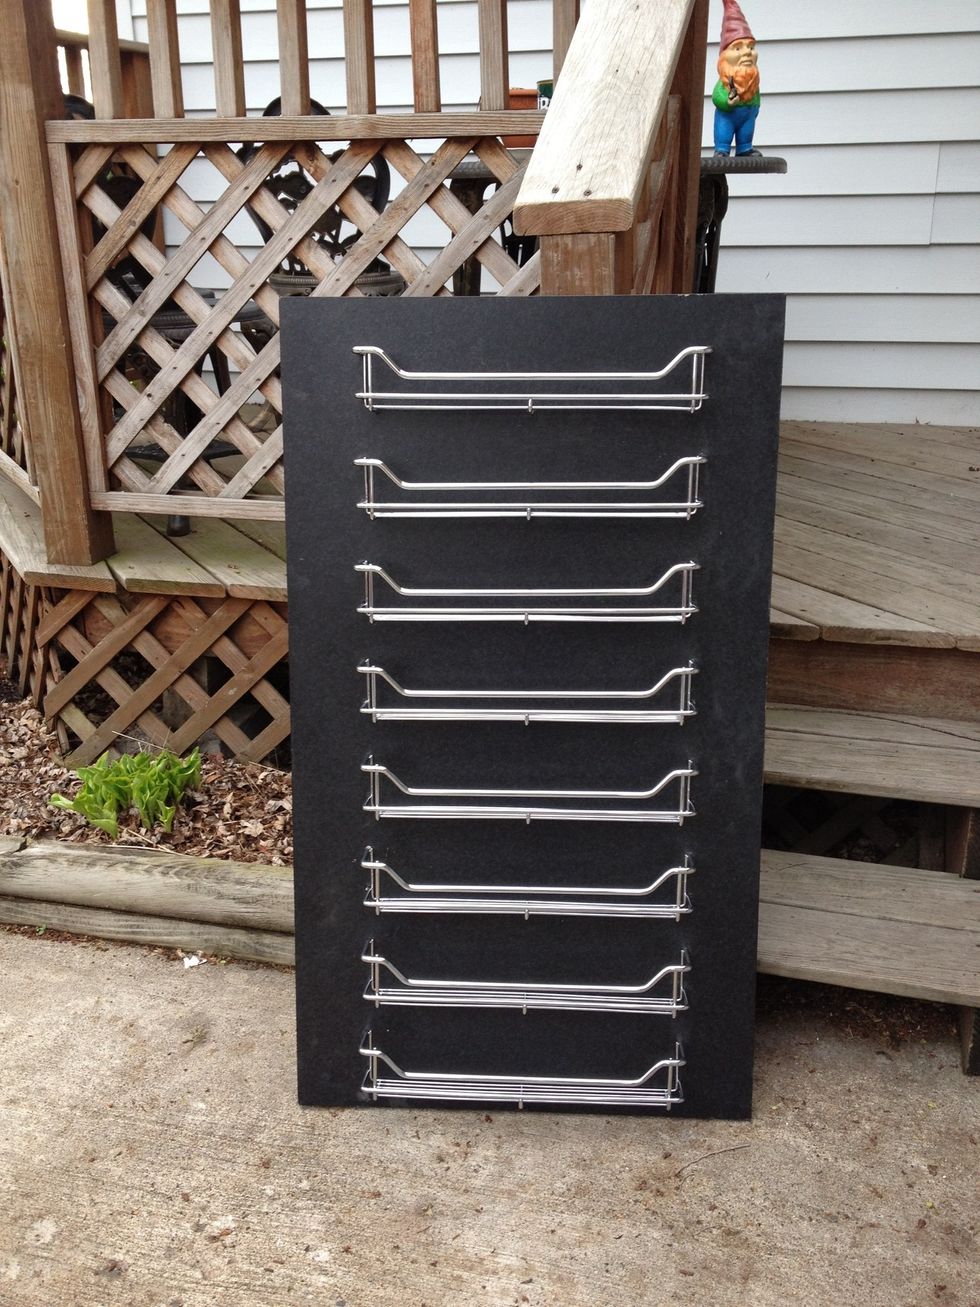
Finished product outside.
The holes I drilled were tight enough, and deep enough that I didn't need any adhesive to make sure the racks stayed in place.
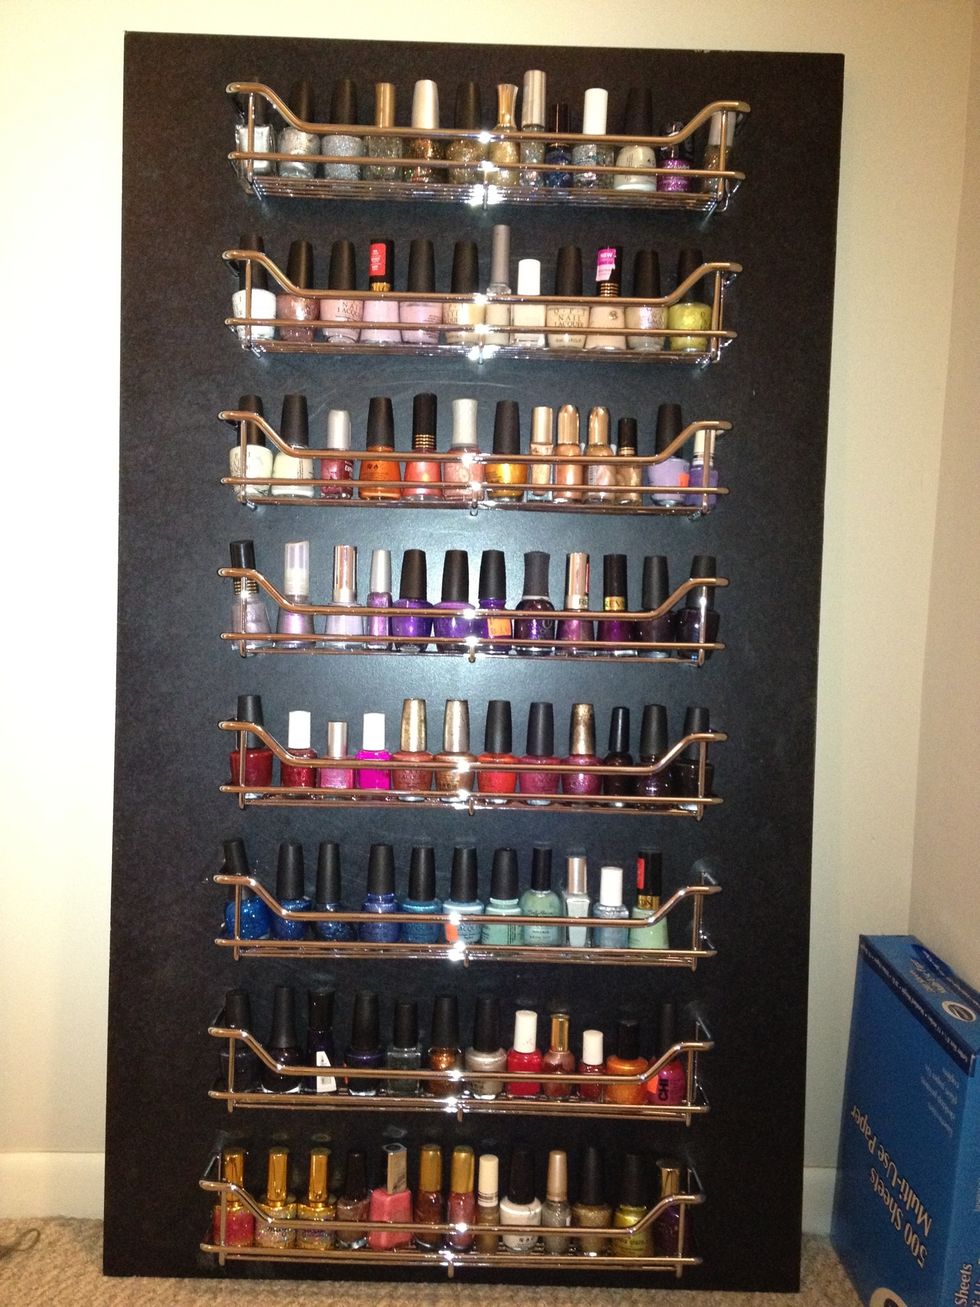
Final product loaded up! I will have to attach it to studs, I will pre-drill the holes, and use black screw covers.