The Conversation (0)
Sign Up
Option: add food service gloves to protect hands as citrus juice can sting cuts, lotion as natron is drying to skin
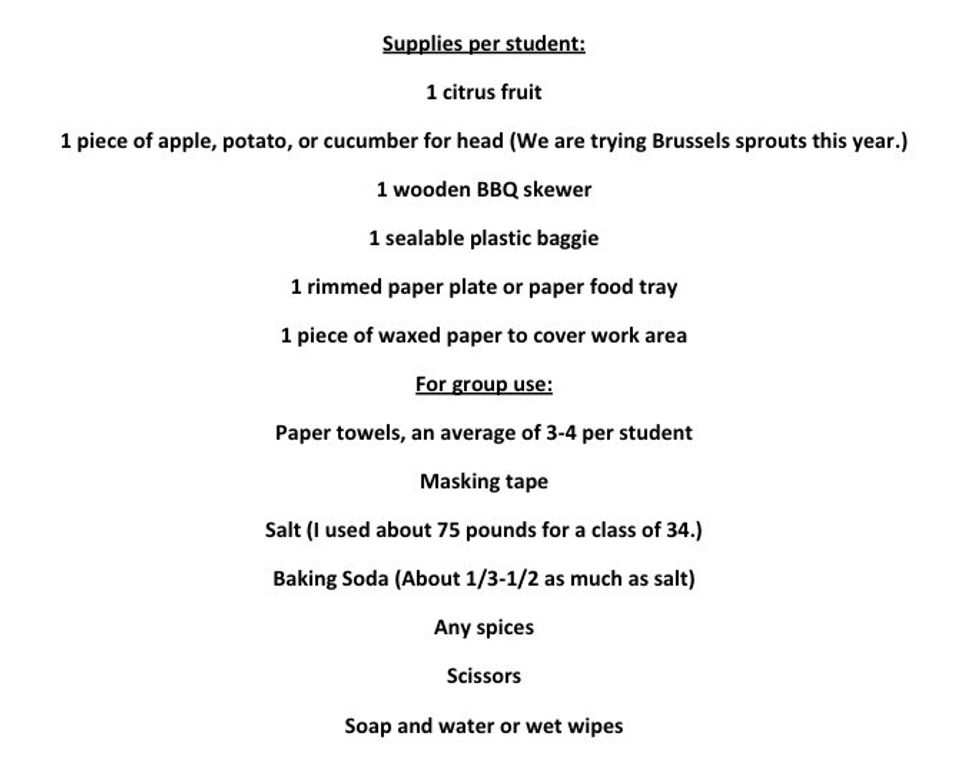
PREPARE THE WORK AREA - Before getting started, give students the supplies they need to build the mummy: citrus, head piece, skewer, tray and wax paper.
Welcome students to the Per Nefer, or embalming chamber. Introduce yourself as the Hery Seshta, or head embalmer and welcome them to their new jobs as Wetyus, or embalming assistants.
Tell students that there has been an attack during which the Pharaoh and his sons were killed. You have been called upon to mummify them to enable their passage to the afterlife.
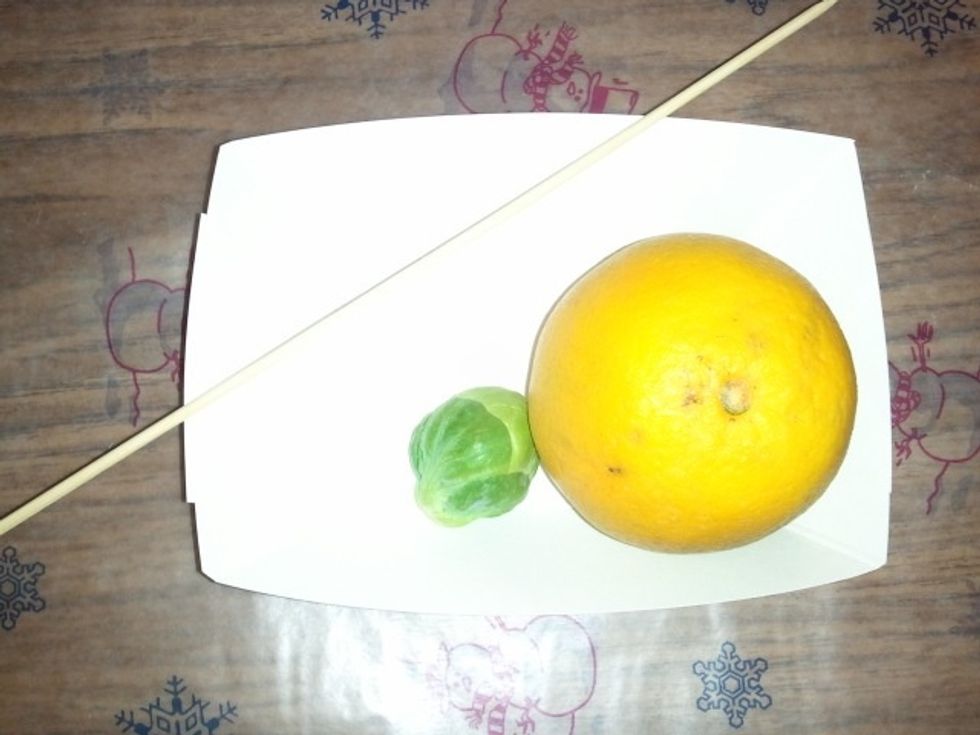
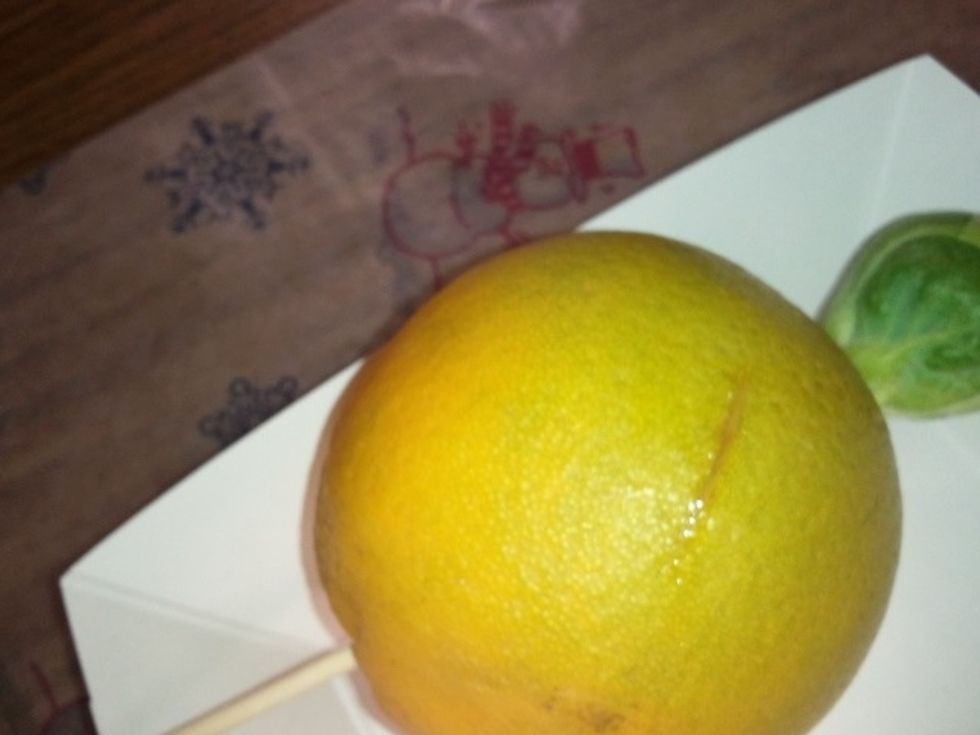
CREATE THE PHARAOH - Starting from the bottom of the citrus, insert the pointed end of the skewer all the way through the fruit and halfway through the head. Leave the point embedded in the head.
Don't worry about the extra skewer. It will help students handle the Pharaoh as they remove the internal organs. It will be cut off before placing the Pharaoh in the natron.
You can extend the lesson to include science and math by having students find the mass of their Pharaoh before mummification and again when mummified.
Egyptians made the incision on the left side of the body below the ribs using a sharpened piece of obsidian. Small stones were thrown at the cutter to symbolize punishment for desecrating the body.
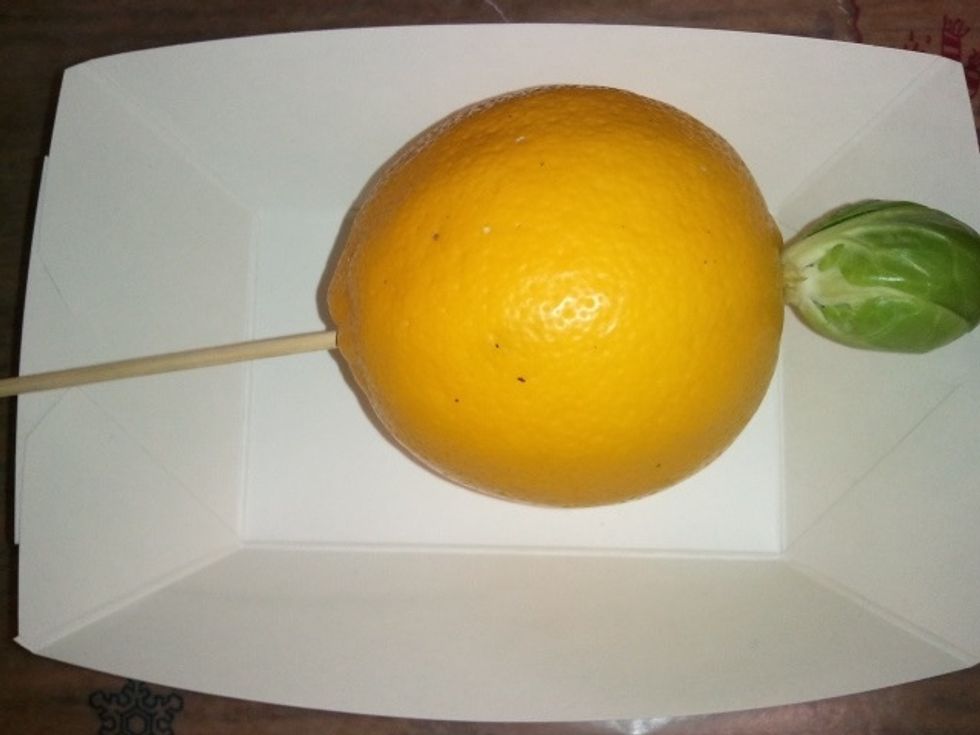
MAKE THE INITIAL SLIT - Have an adult use an Exacto or sharp kitchen knife to make a 1-2 inch slit through the rind of the citrus. Allow students to throw small paper wads representing the stones.
Remind students that the Egyptians kept the body as intact as possible so that the Ka would recognize it. Students should work slowly and carefully, trying to avoid tearing the mummy's skin.

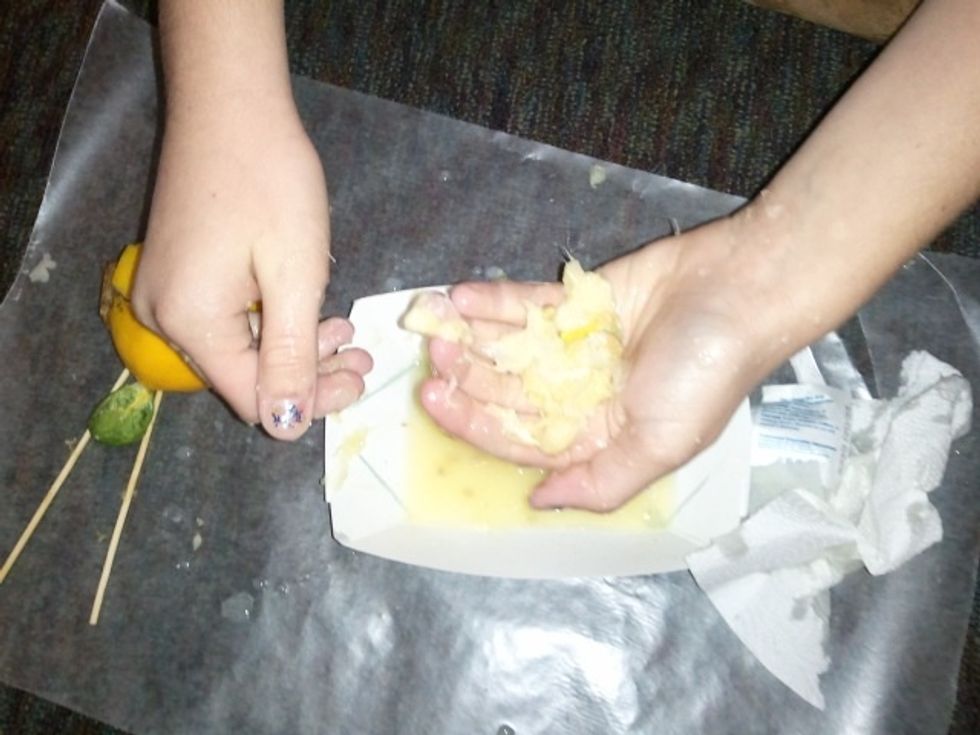
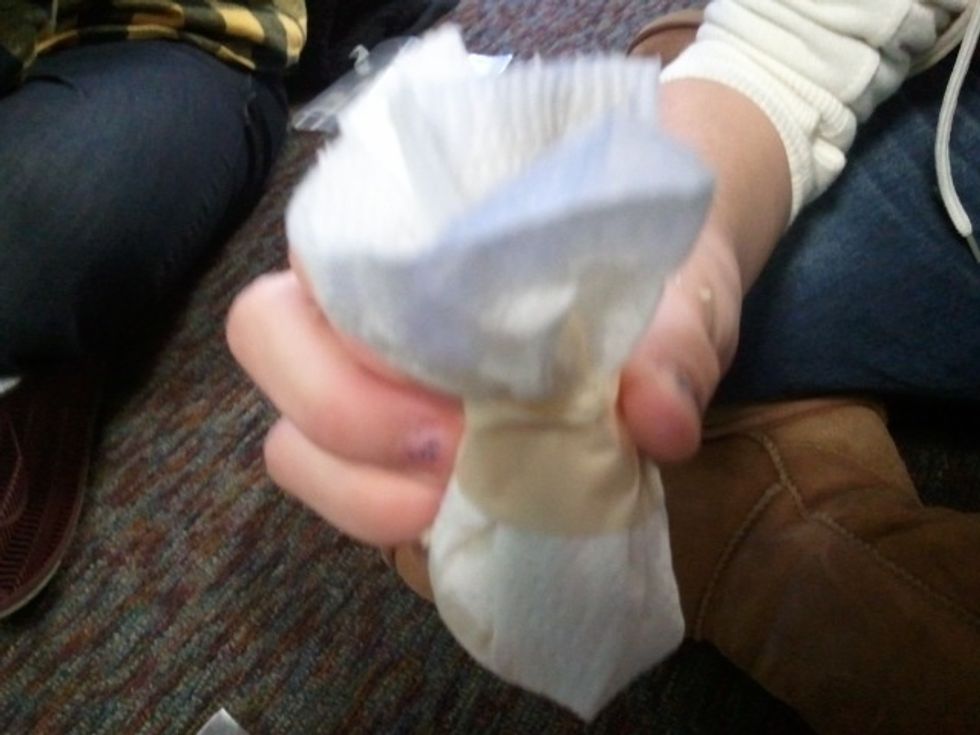
Students use their fingers to remove as much of the juice and pulp as possible. Students who have cuts or are squeamish about getting sticky may want to wear food service gloves if you have them.
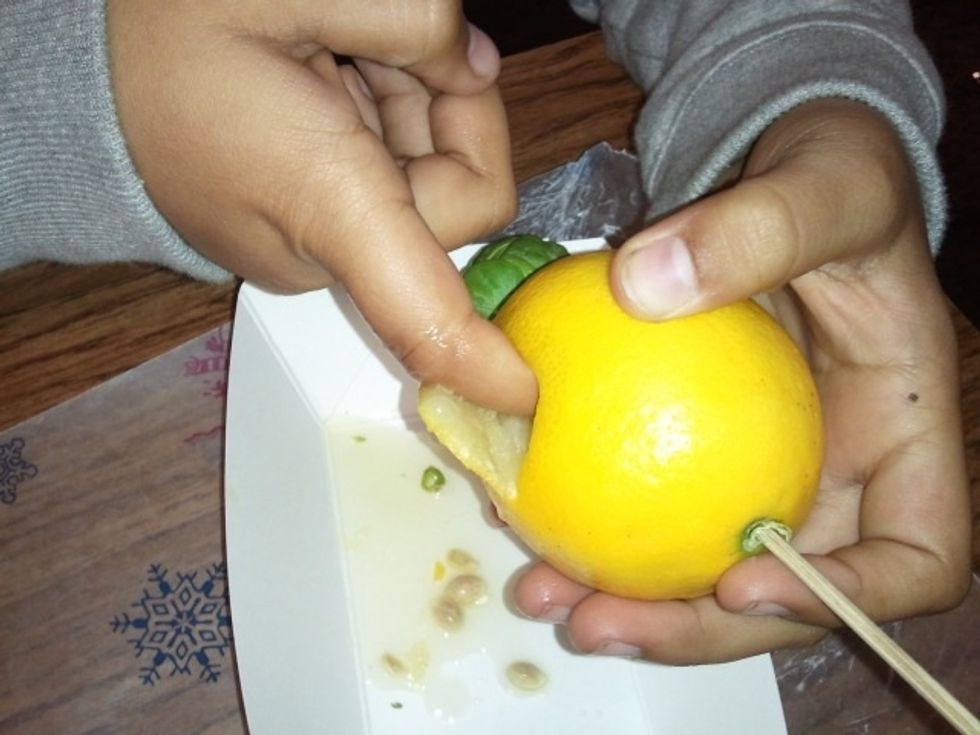
It is helpful if students can fold back some skin to access the interior. Using a fingernail to separate the meat of the fruit from the rind makes removal easier.
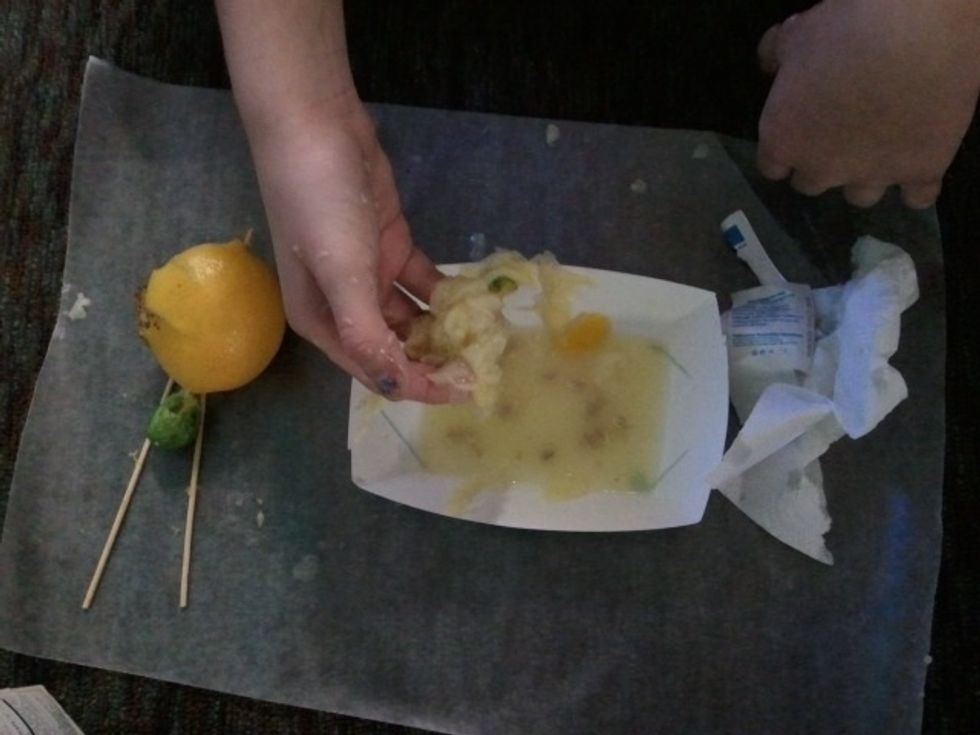
As students remove juice and pulp, they should let it drop into their plate or tray. Some students will notice the similarity between this process and the removal of the brain by the Egyptians.
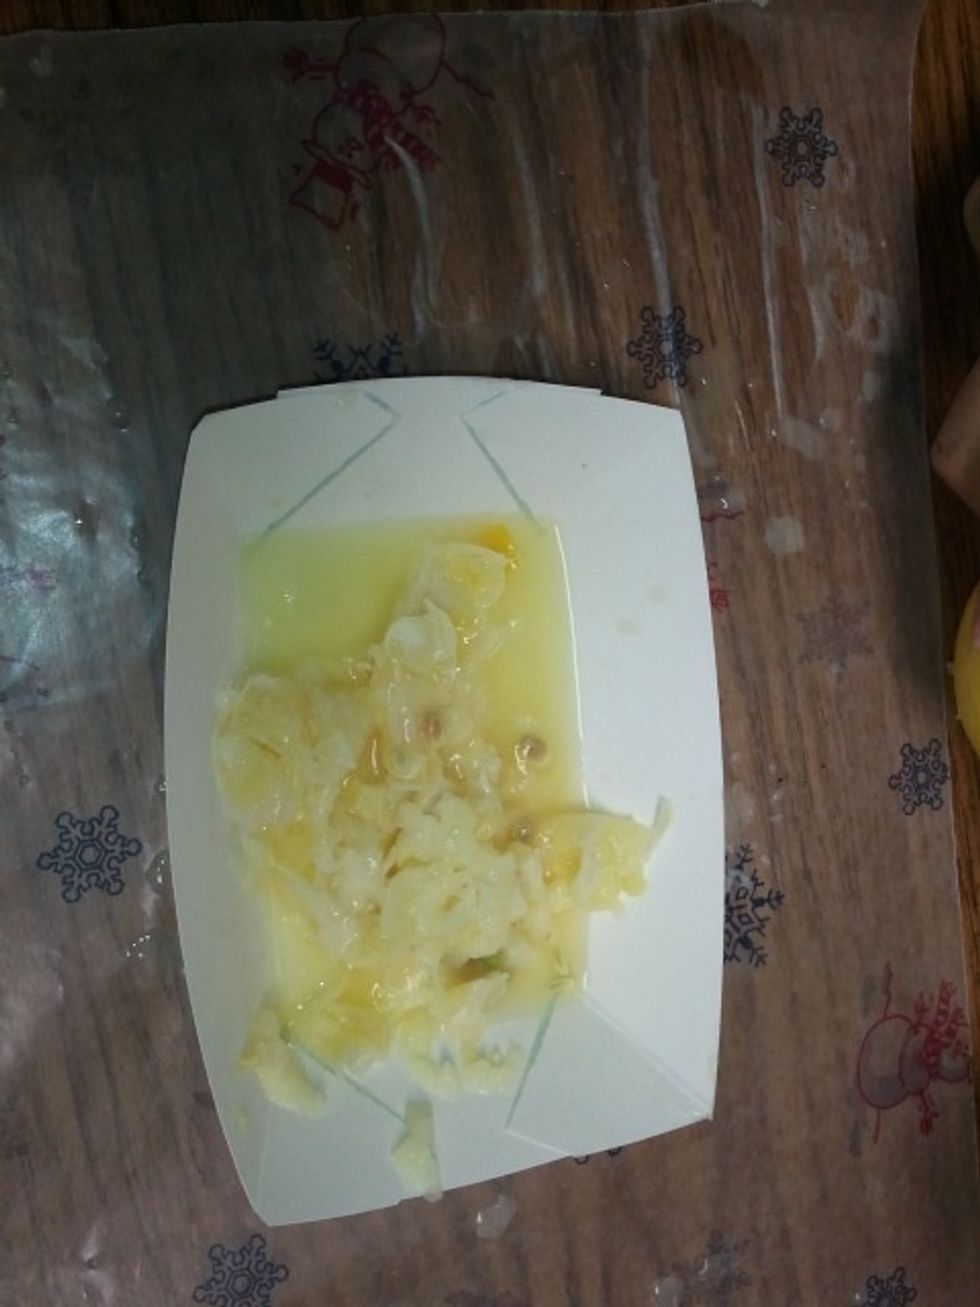
Once the internal organs have been completely removed, students should have something that looks like this.
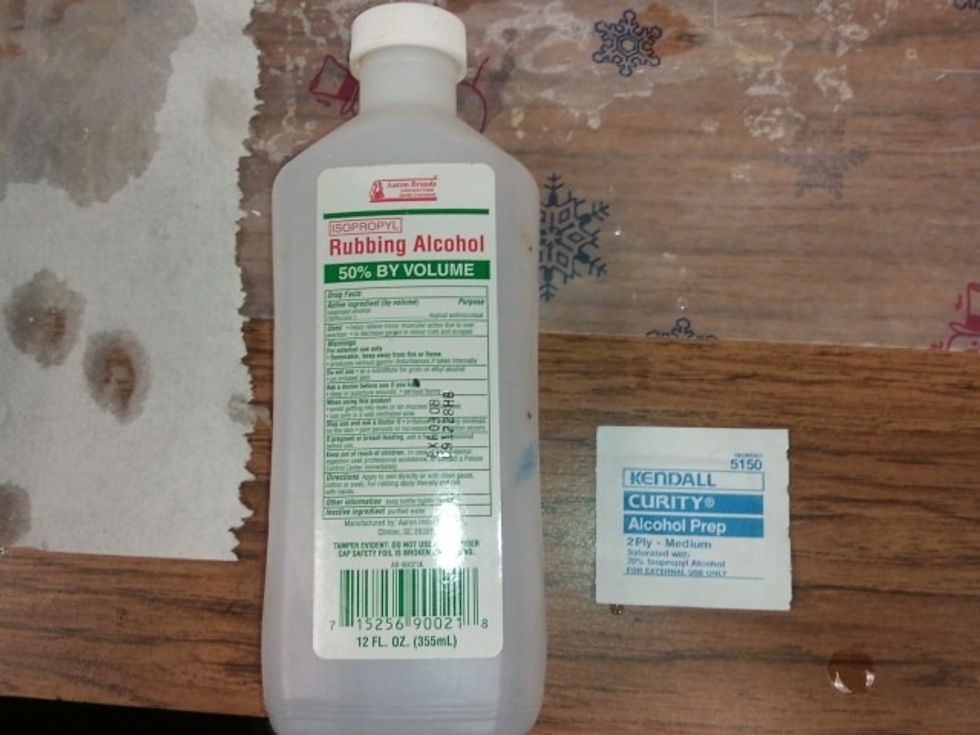
CLEAN THE MUMMY- Use alcohol and cotton balls or alcohol wipes to clean the mummy. This represents cleaning the body with wine, done by the Egyptians at the start of the mummification process.
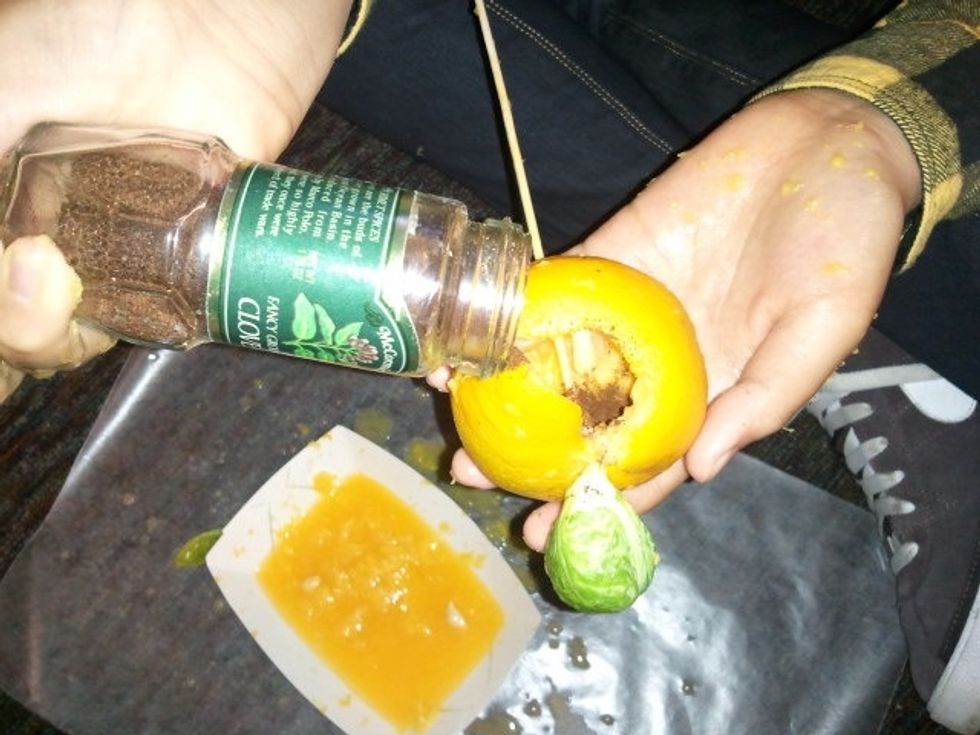
Sprinkle spices inside the empty cavity. Any spice will do. I like cloves because they make the Pharaoh smell good and help to brown the mummy as the resin did in ancient Egypt.
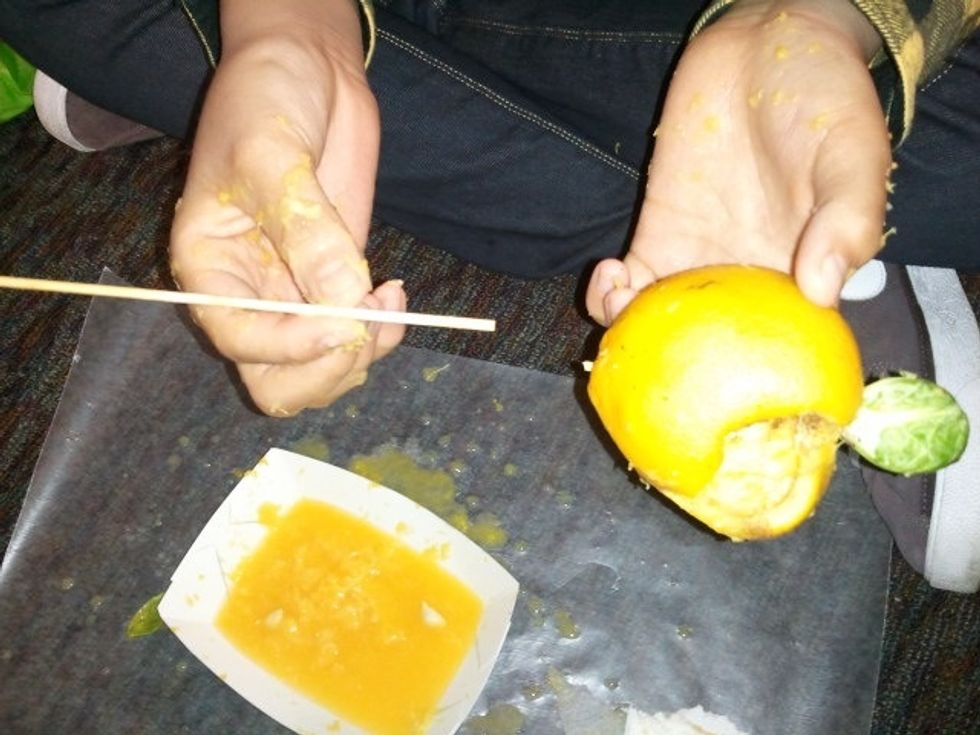
Now that the mummy has been prepared, push the head and body close together and cut off the excess skewer. Leave a small piece sticking out of the citrus. Adult scissors will easily cut the skewer.
If you haven't pre-made the natron, you can do it while students prepare their internal organs. You'll need enough to completely bury each mummy and internal organs once now, and once in a few days.
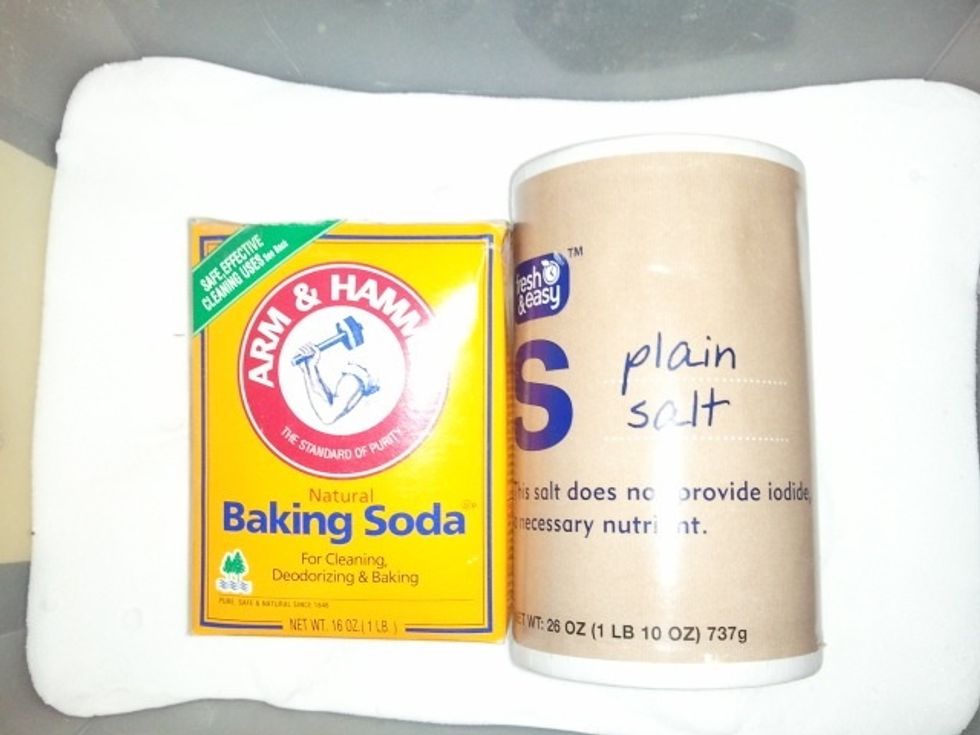
Natron is a 2:1 mix of salt and baking soda. If you need to save on costs, make it 3:1 salt:baking soda. Making small batches at a time works best. Note: The mix is drying to your hands.
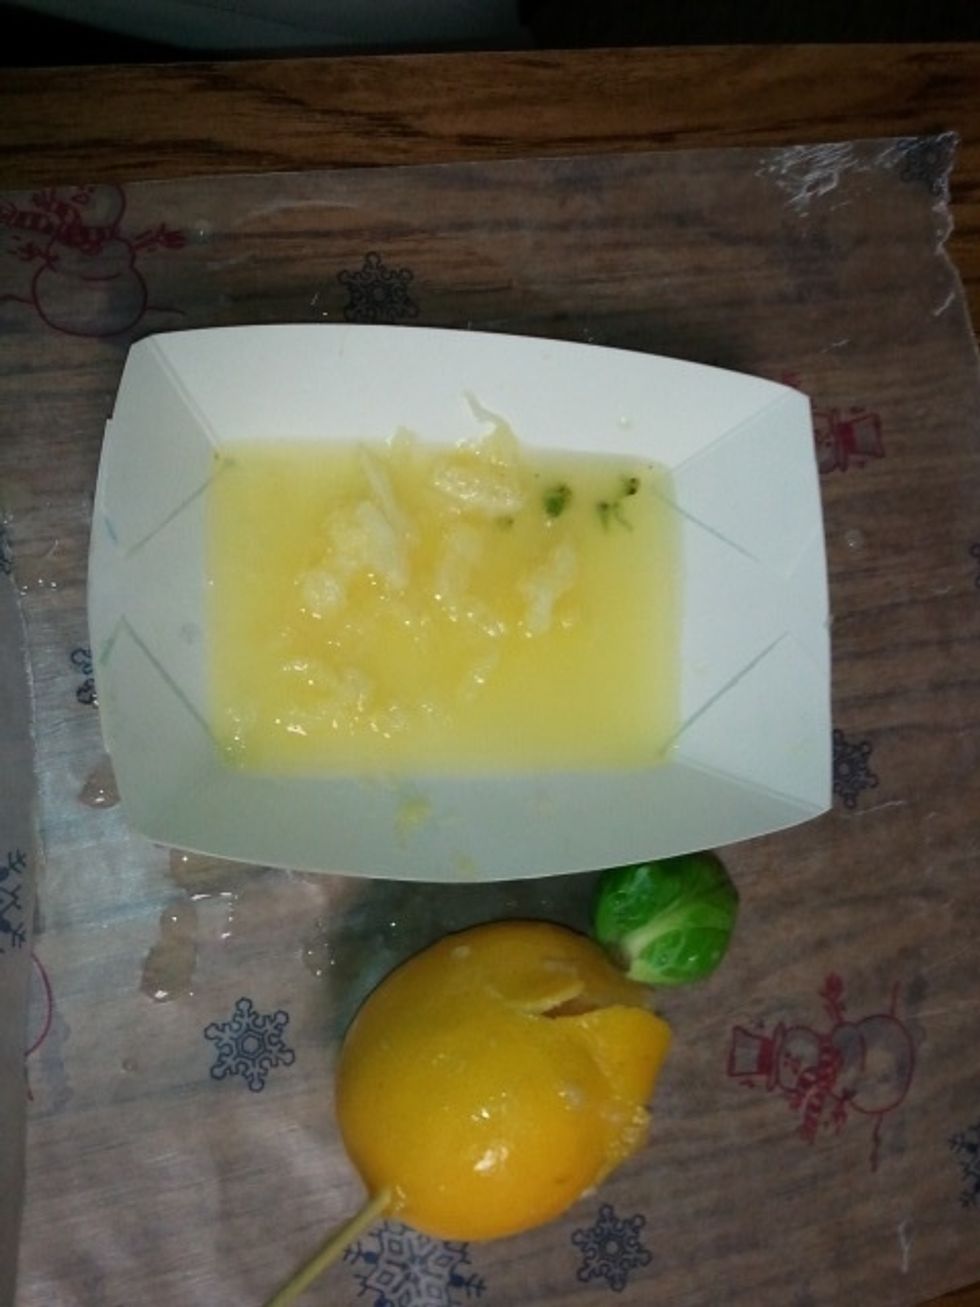
THE INTERNAL ORGANS- the pulp represents the removed internal organs: stomach, intestines, liver, lungs.
PREPARE INTERNAL ORGANS- Have students remove pulp from their trays and use hands to squeeze out as much liquid as they can without damaging the pulp. Remember, it's needed in the afterlife.
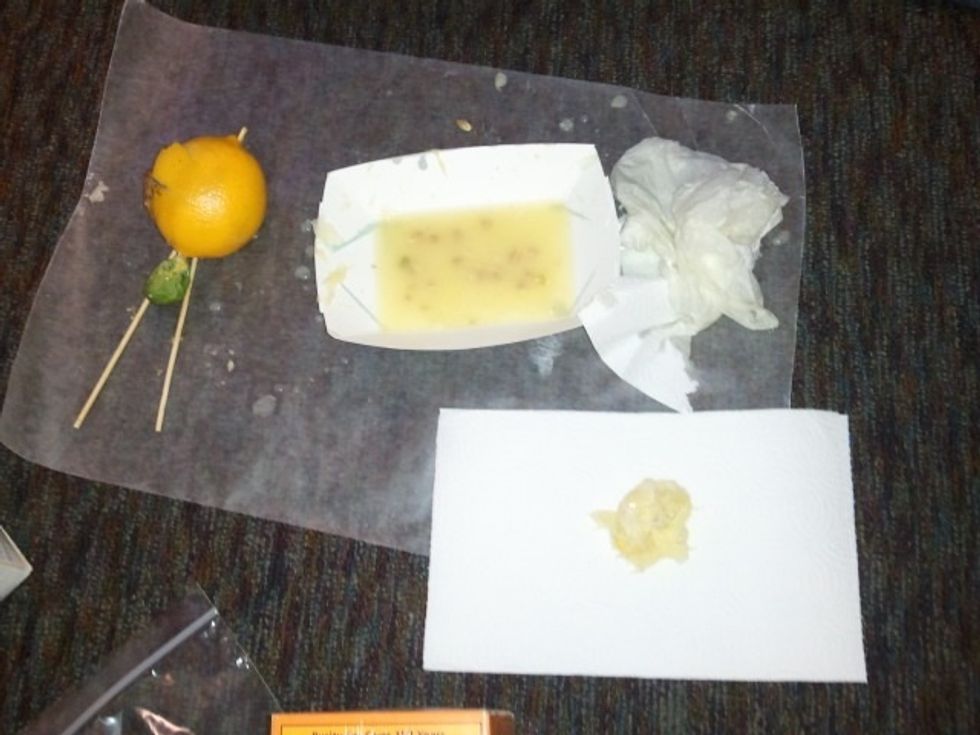
Have students roll internal organs in paper towel to remove any remaining liquid. When done, place on a clean paper towel folded in half. Students are now ready for natron.
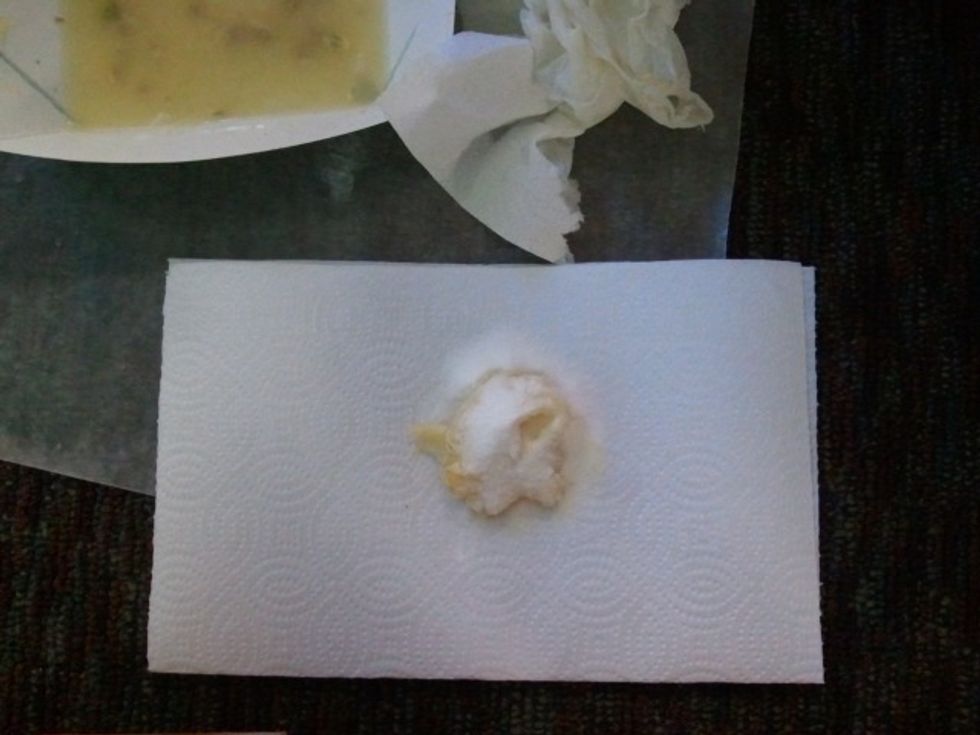
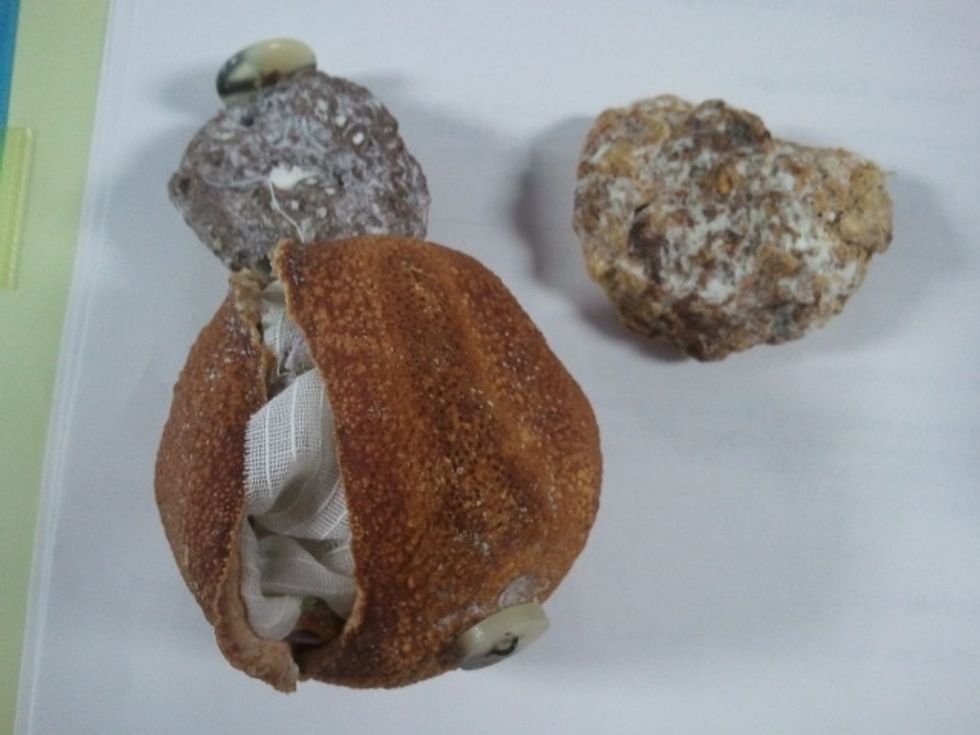
Pour some natron on top of the pulp. Fold the clean paper towel up and around the pulp and natron. It should look like a sac rather than like a ball.
SEAL THE ORGANS- Use masking tape to seal the paper towel by wrapping it just above the ball of pulp. Do not wrap the pulp with tape as that prevents the moisture's escape through the paper towel.
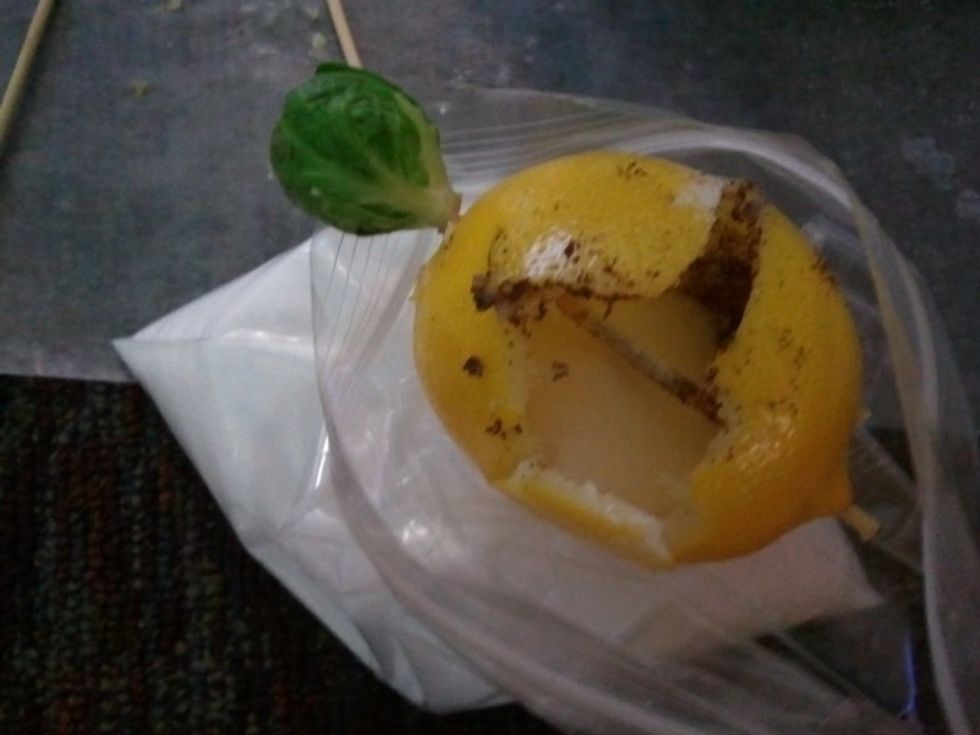
Add a layer of natron to the bottom of the baggie. Fill the cavity of the citrus fruit with natron.
Place the Pharaoh in the baggie.
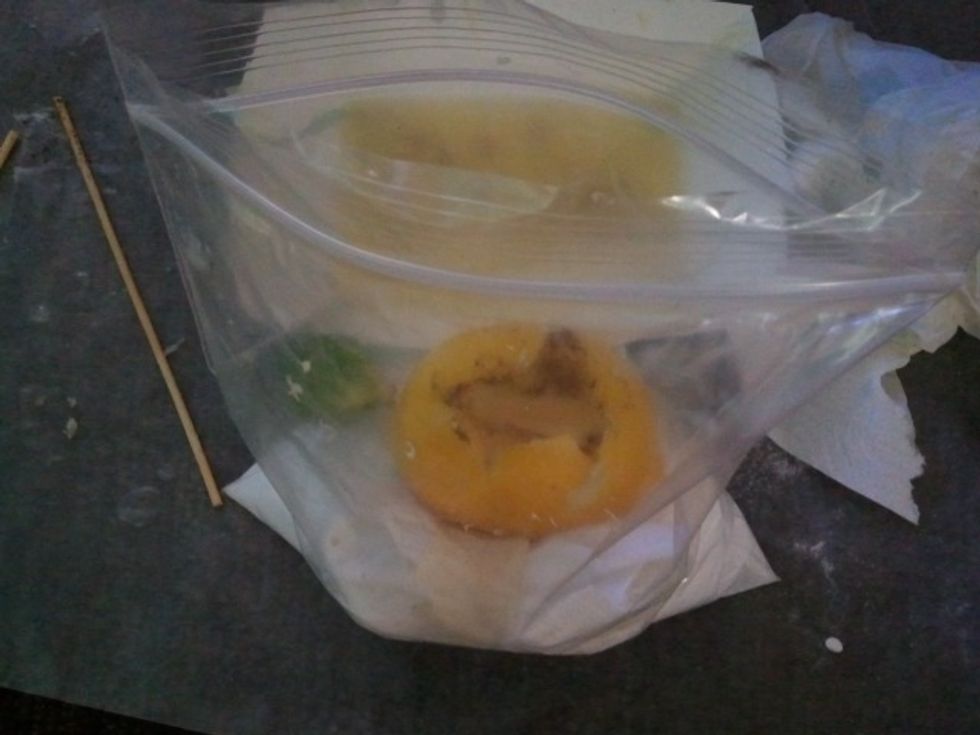
Add the paper towel with the pulp to the Baggie.
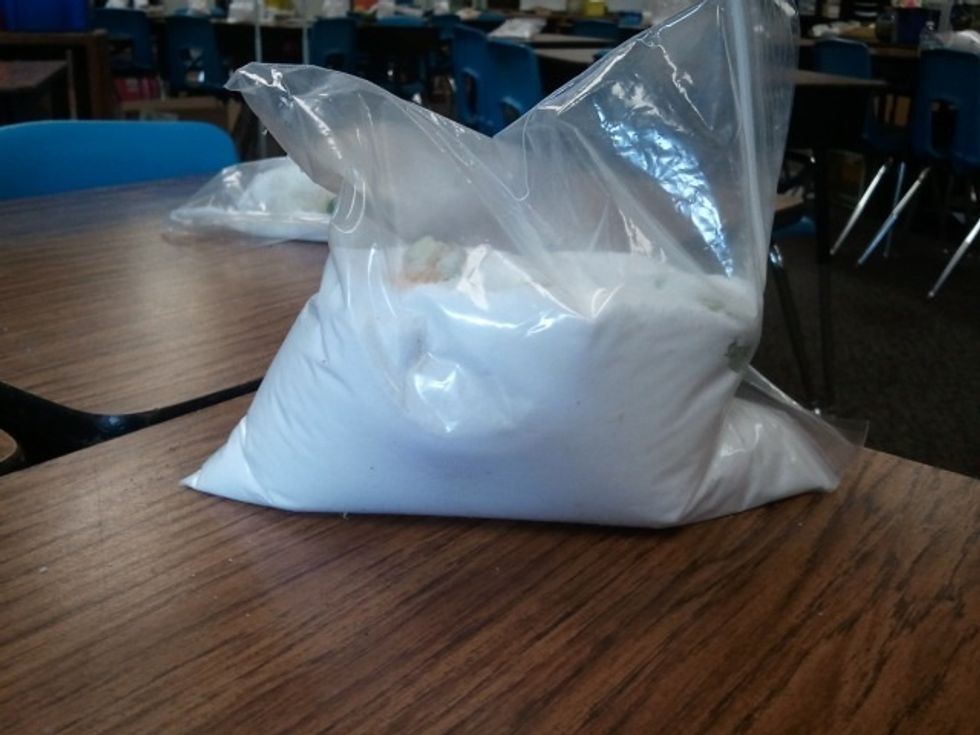
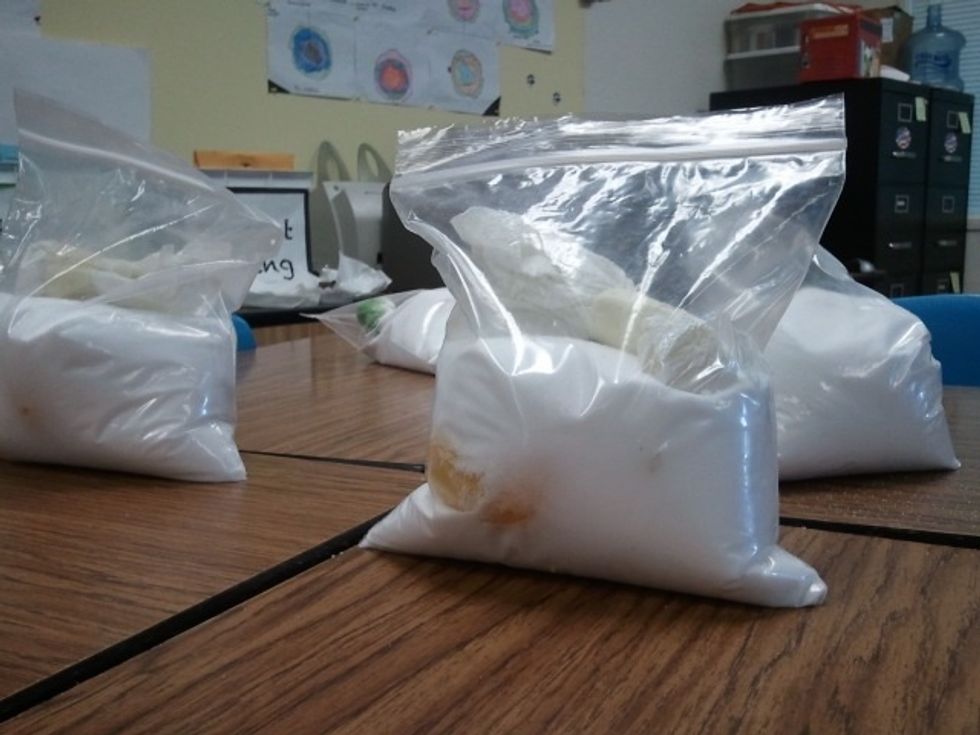
Fill the Baggie enough to cover both the Pharaoh and the internal organs. Leave baggies in an accessible place for students to observe mummies.
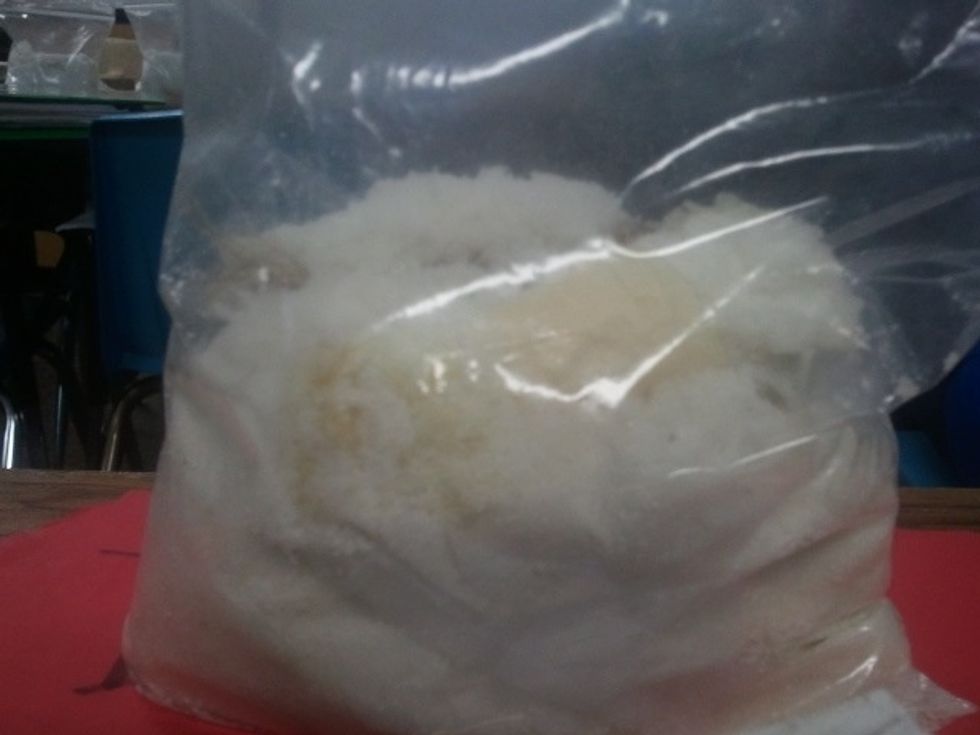
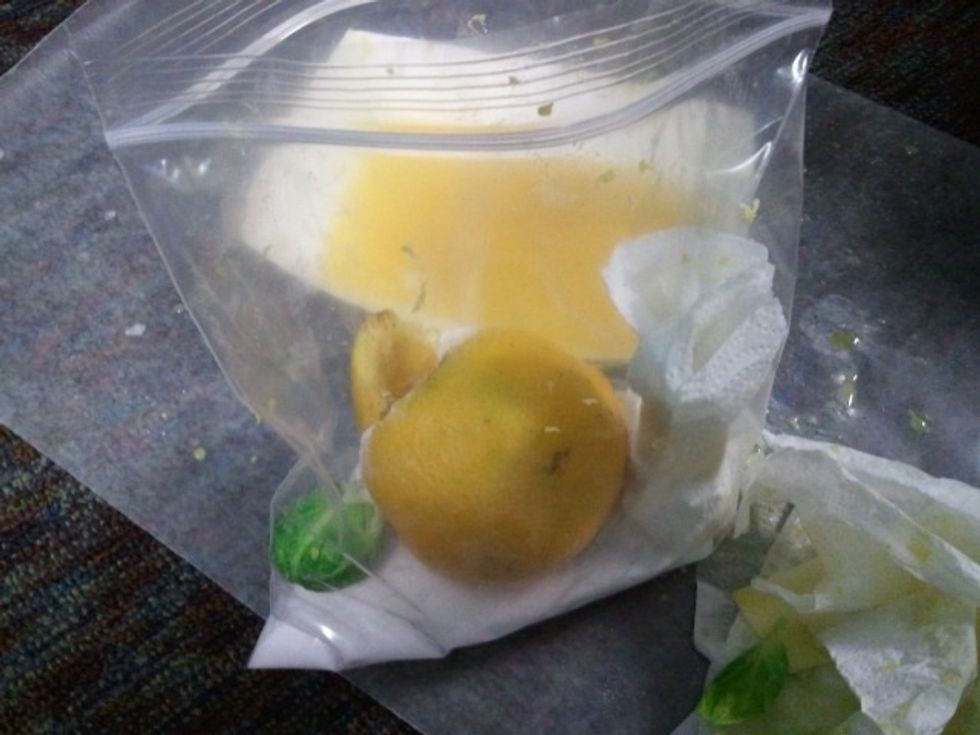
After a few days, students will notice some hardened yellow sections. This means the natron has absorbed all it can now and should be changed. The used natron can be saved and used again once dry.
Allow mummies to sit in natron for 2-3 weeks. The fruits that had the most pulp and juice removed will mummify faster than those left with more moisture. Keep an eye on natron and replace as needed.
Once mummified, remove fruit and internal organs from natron. Your mummy is now ready to be stuffed and wrapped with linen. The internal organs are ready for a canopic jar.
Students can now find mass of the dehydrated Pharaoh, calculate percent of mass and volume of liquid lost. They can also use the relationships they found to predict how much mass a person would lose.
This process is an adaptation of the lesson available on Neferchichi.com. See their site for the original directions as well as the lessons on amulets, shabti, canopic jars and sarcophagus.