The Conversation (0)
Sign Up
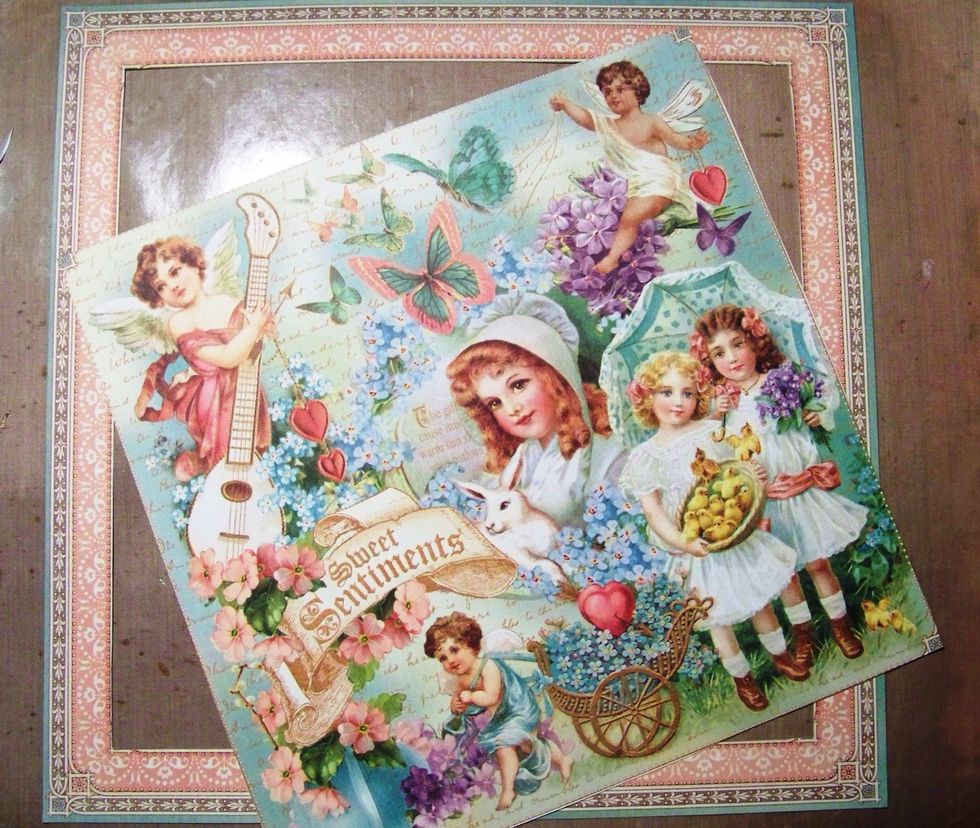
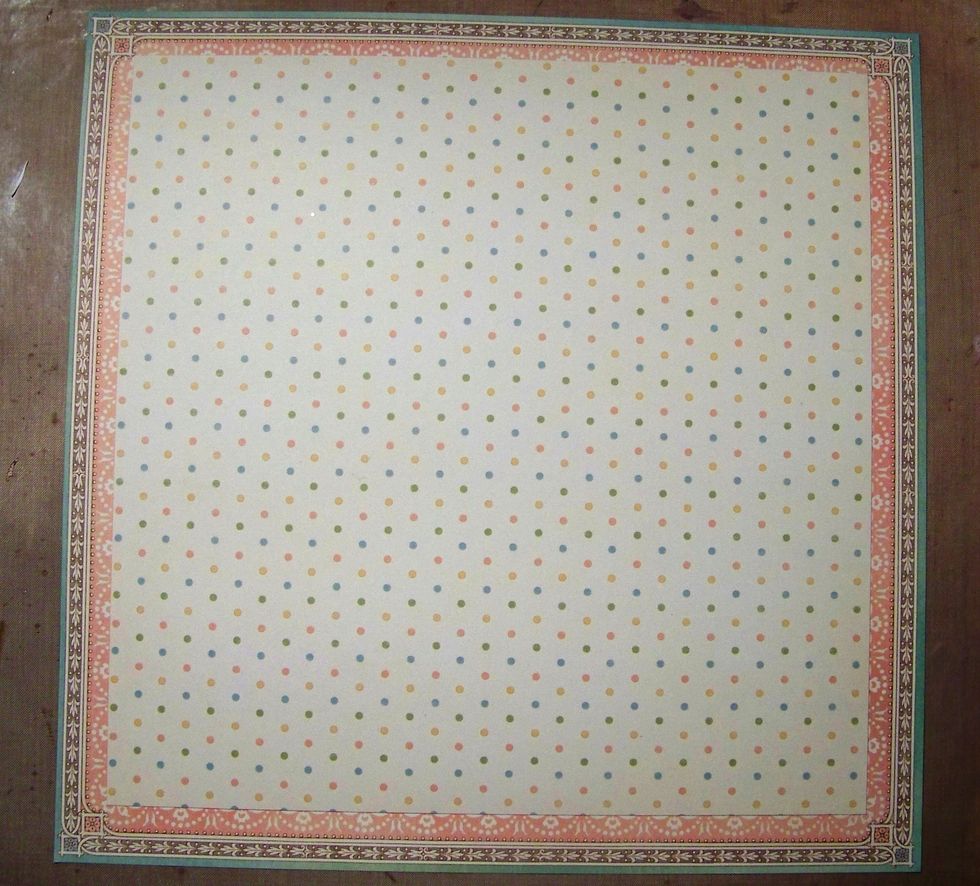
Trim center piece of Sweet Sentiments paper
Trim second and third sheets of paper to 10 1/2" and 9 3/4"
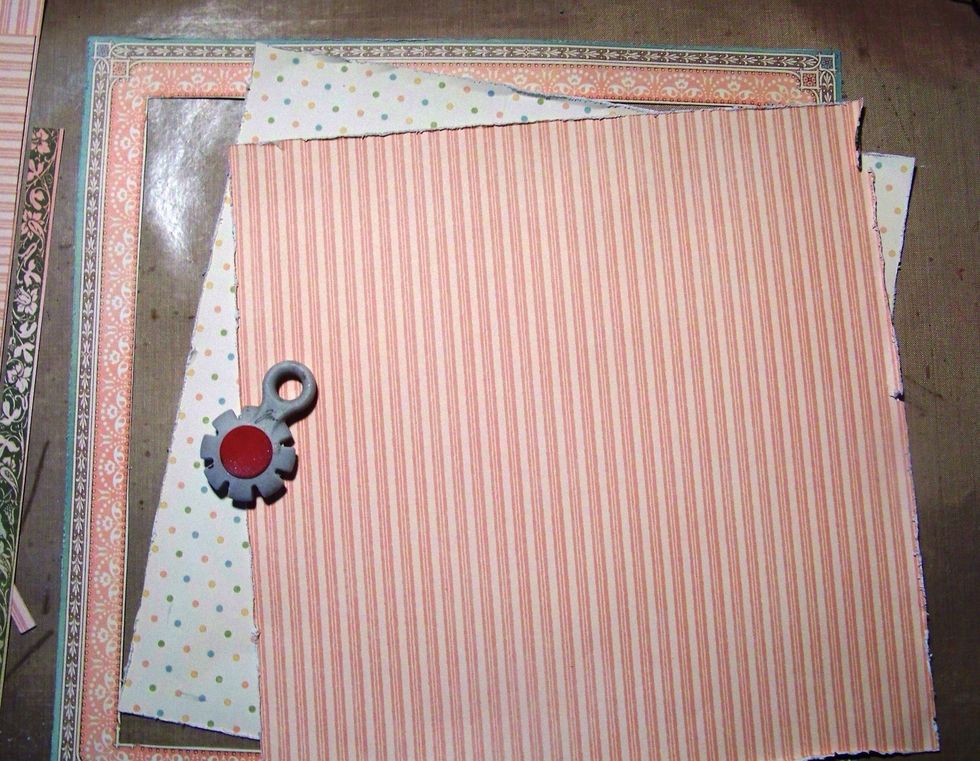
Distress and ink edges.
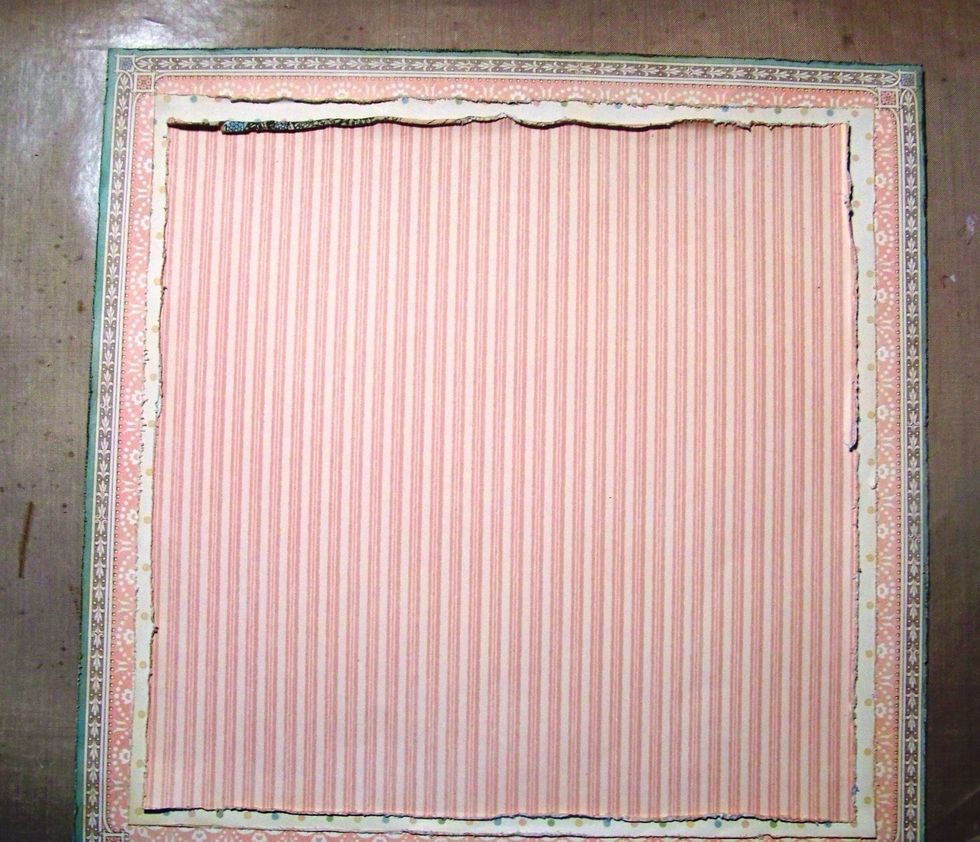
Now adhere each sheet on top of the other. Distress and manipulate edges for a bit more texture. *tip, cut the middle out of 2nd layer and save piece for mats
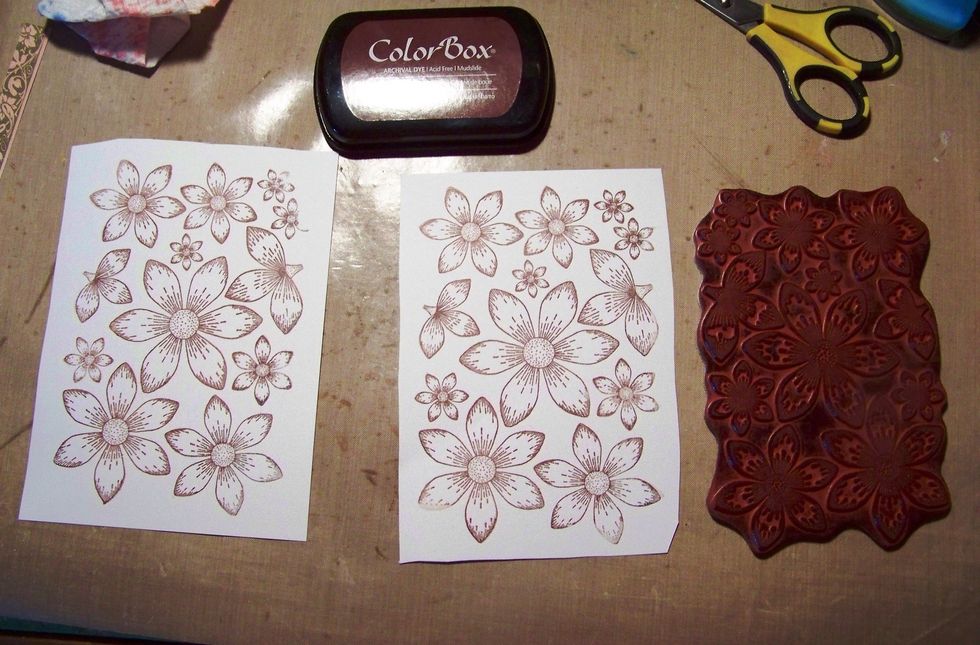
I made my own flowers using Heartfelt Creations Sun kissed fleur stamp and die set.
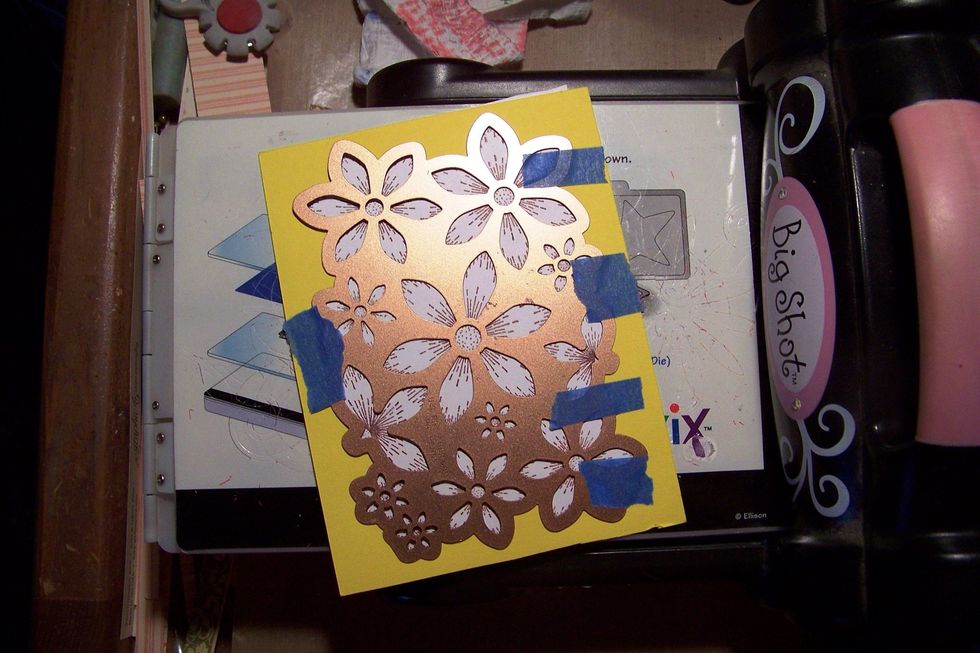
For cutting with the die, I absolutely suggest using the template for perfect alignment with the stamped image. Watch Heartfelt Creation's Emma Lou's Youtube video on this for more detail.
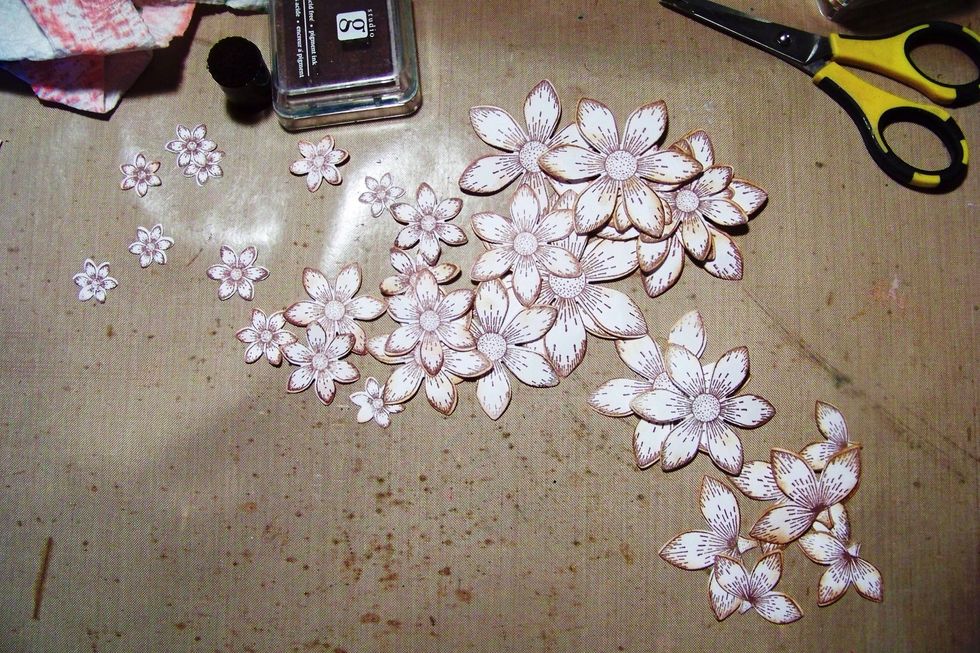
All edges inked up and ready for color.
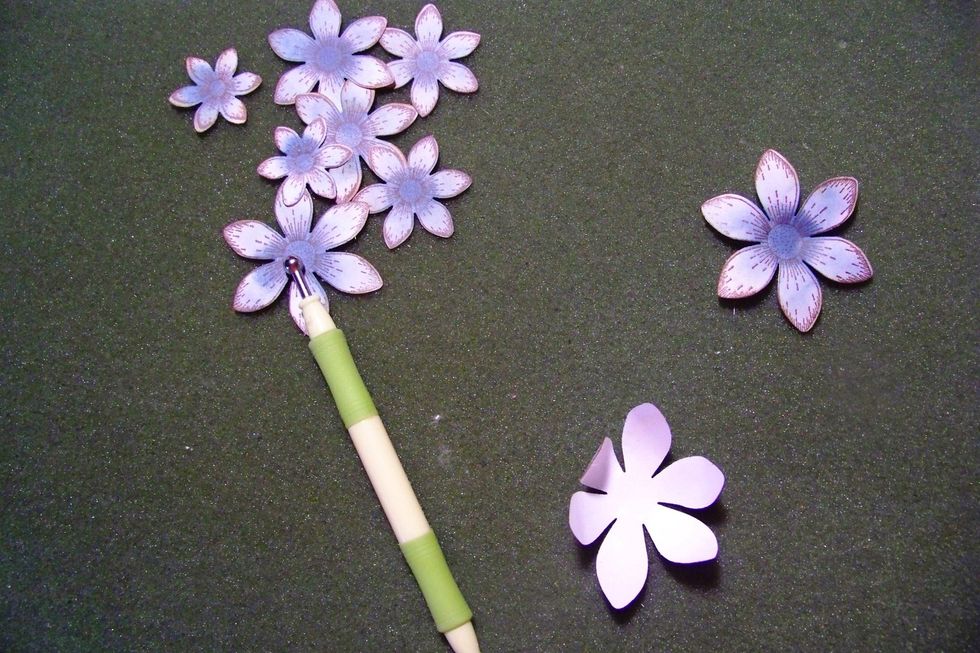
Now for shaping. I use the petal shaping tool, but you can use anything with a rounded edge.
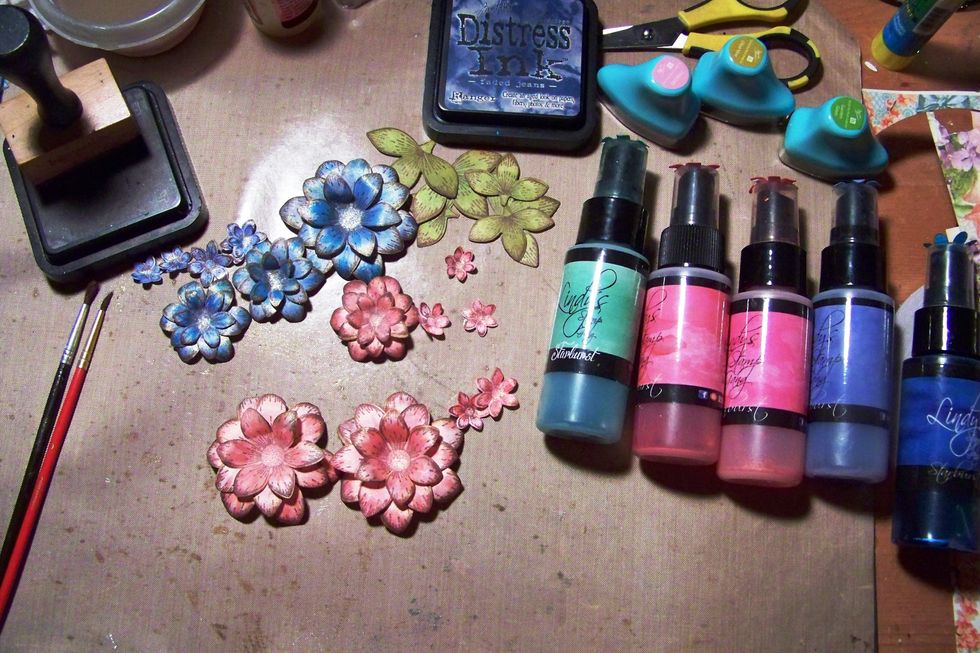
More coloring with some Lindy's mists.
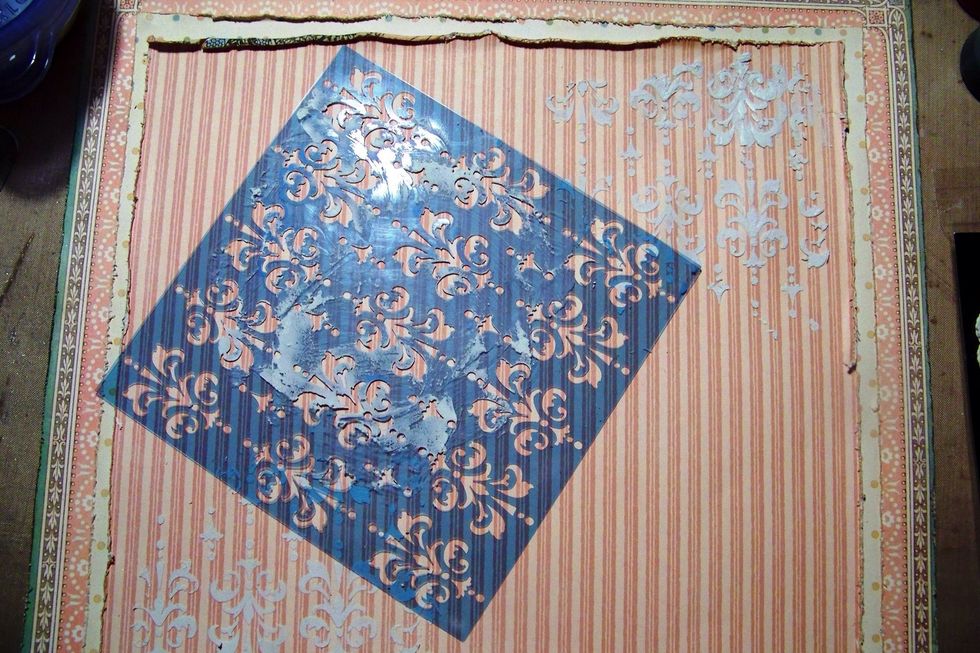
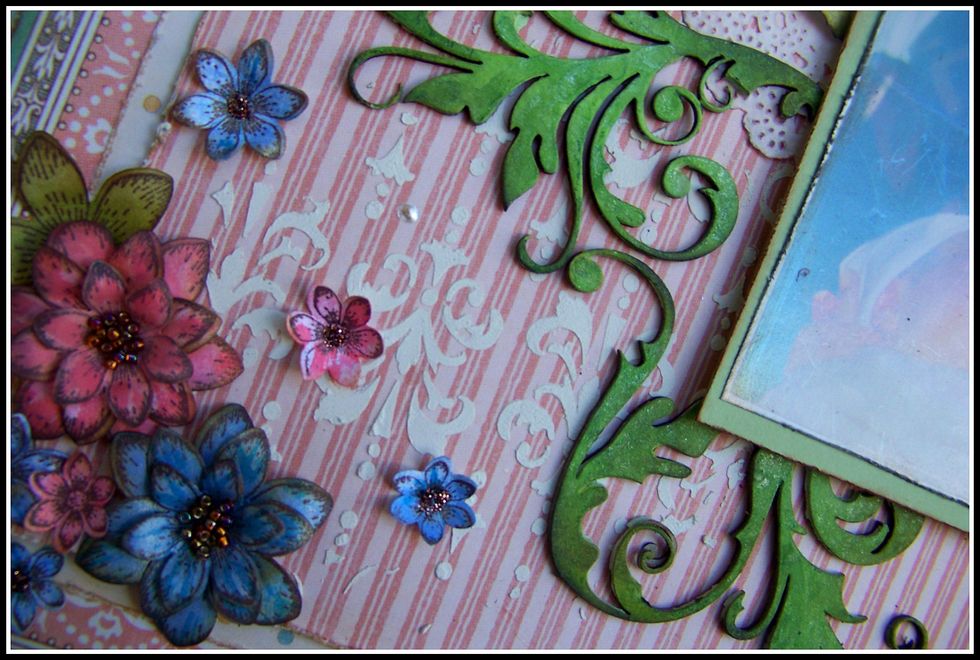
Using a stencil I add some texture paste adding another layer to my page.
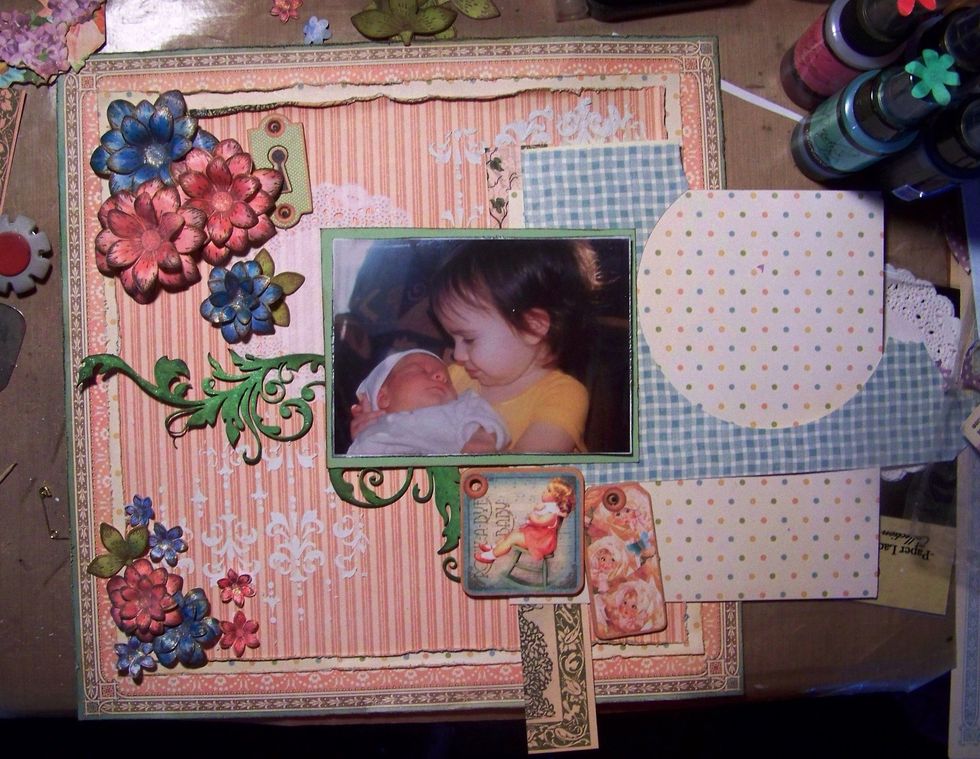
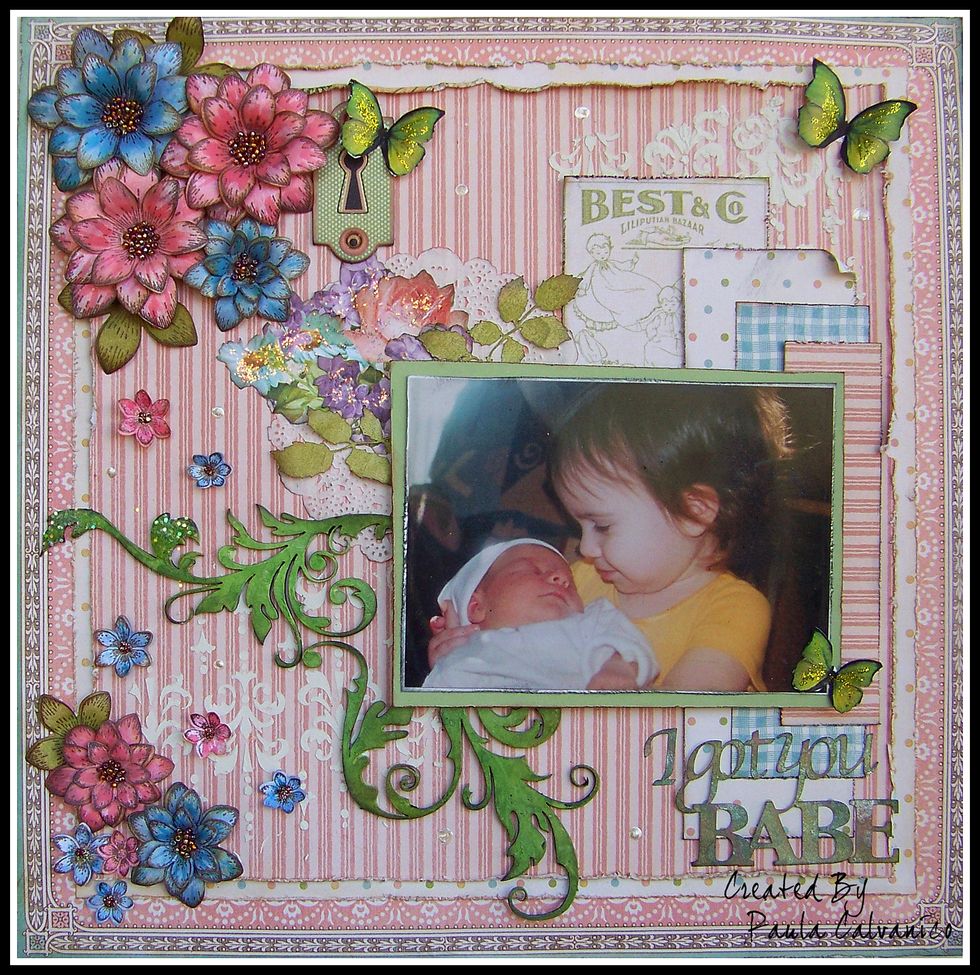
I do a dry placement to get an idea of where I want all my goodies. I use my smaller pieces and scraps of paper for layers under my photo. I take a pic so I remember where most of it goes.
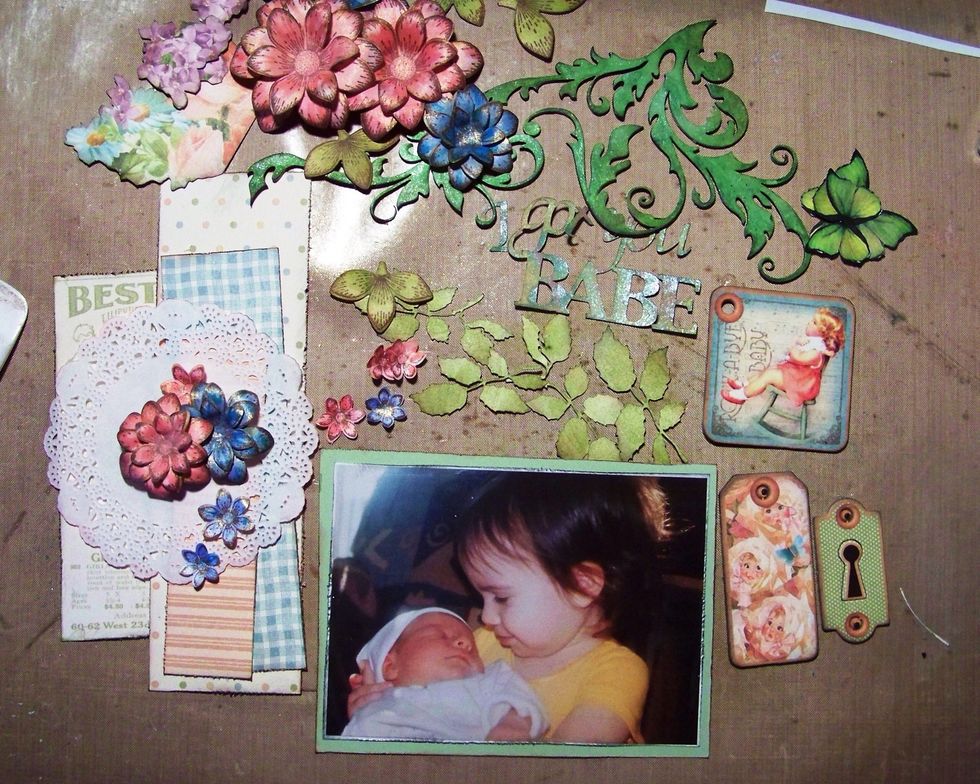
I put out all my embellies. I pull quite a bit, and don't always use them all. I like to have a variety to choose from. Take time to ink up all your edges.
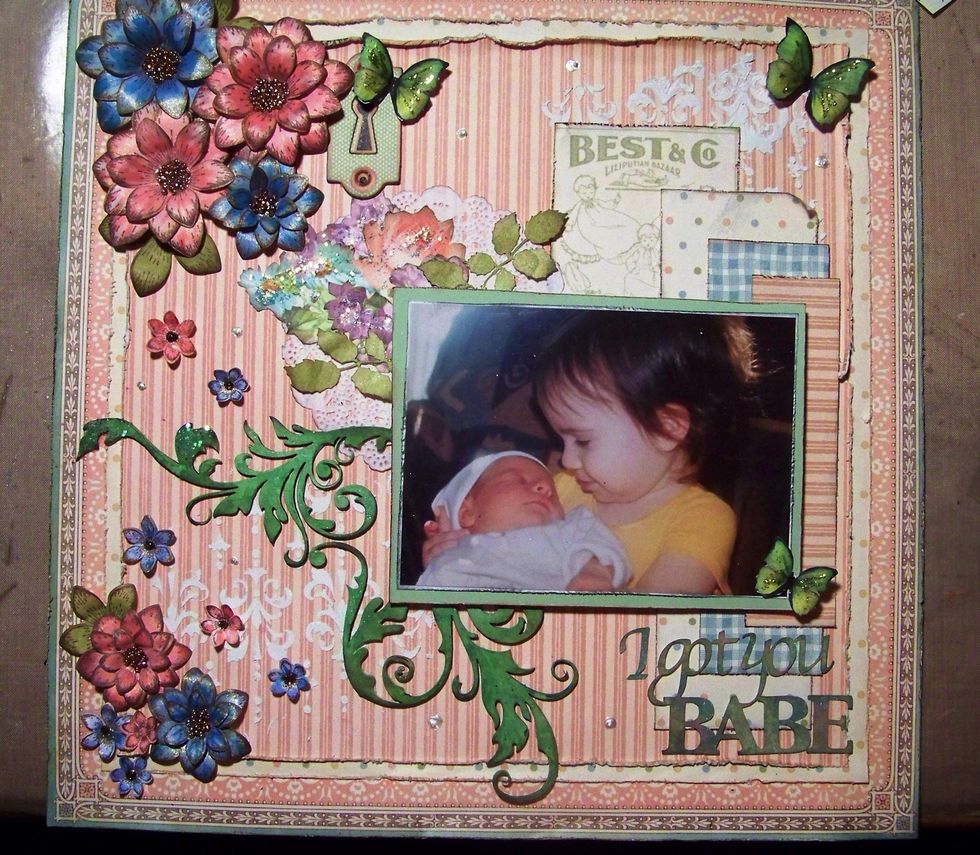
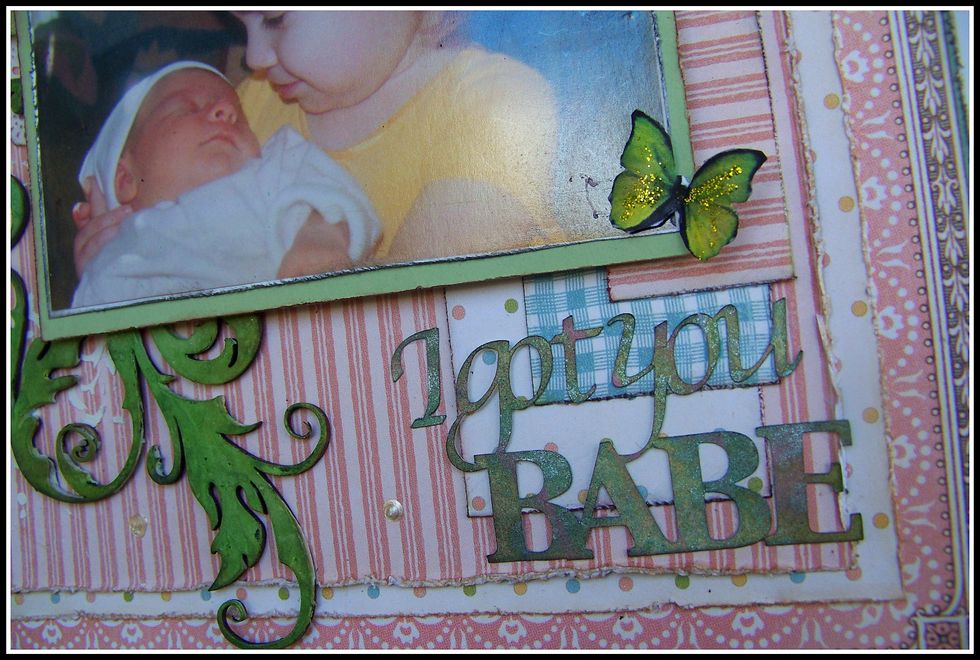
Everything gets glued down, I pop my pic on foam for height. My flower centers are filled with micro-beads, I add some stickles for sparkle and liquid pearls randomly around the layout.