The Conversation (0)
Sign Up
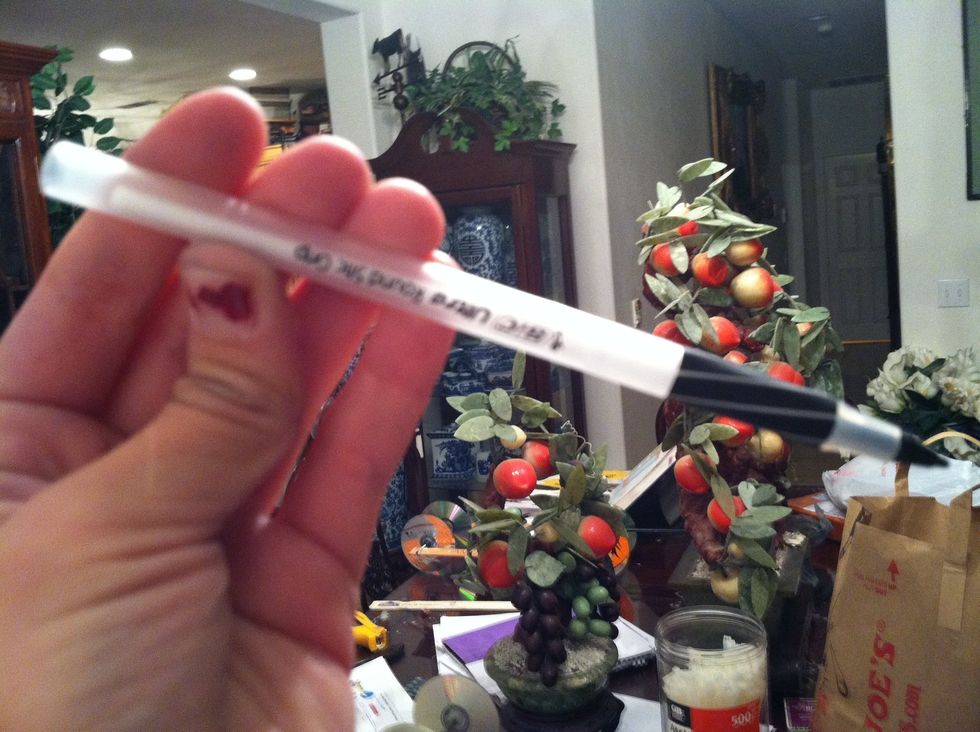
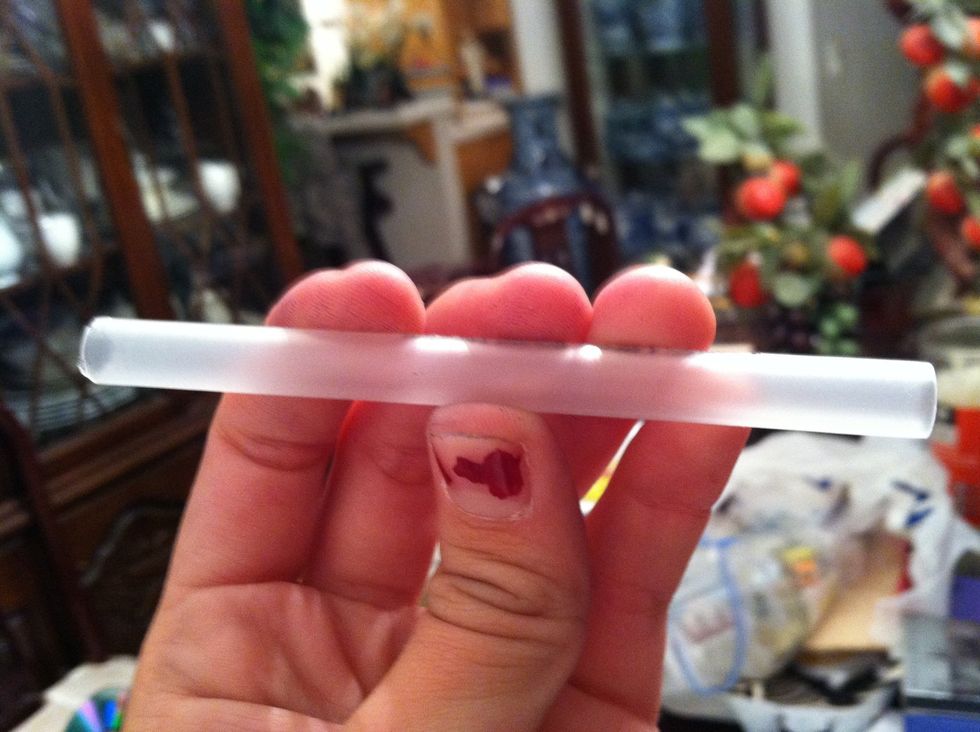
Take your pens remove the ink capsule and insides so all that remains is the plastic pen body

Take your aluminum foil put your cd on top take your pen capsule place it vertically in the center of your cd and use your hot glue gun to glue around the circular hole in the cd with the pen capsule
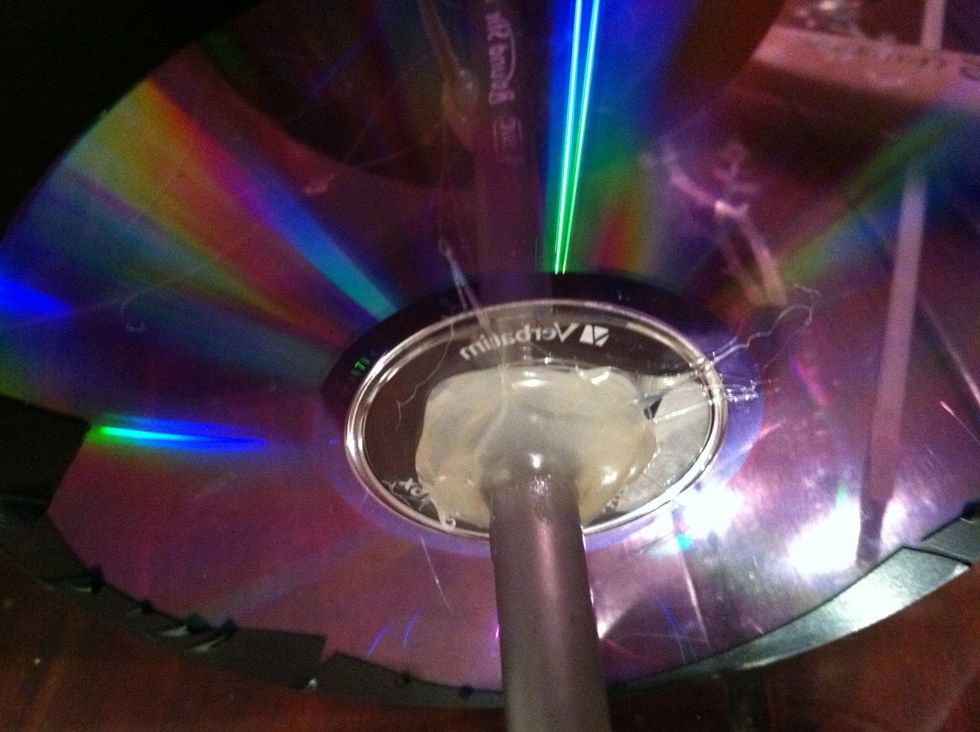
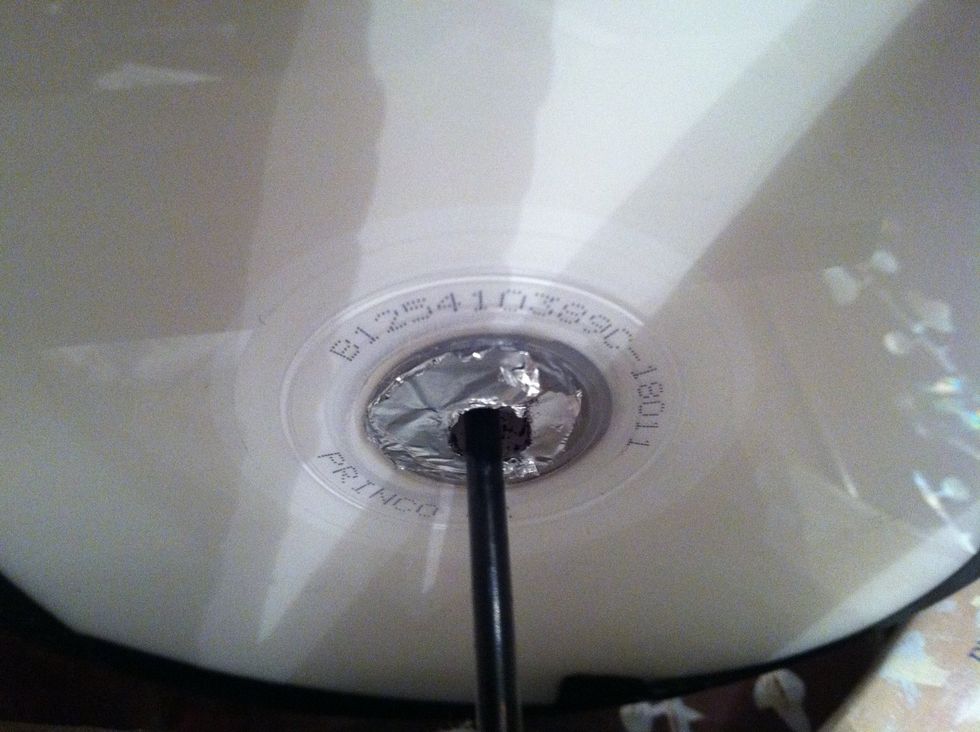
Let your cd wheels set so the glue can dry the cd's with your pen body attached will serve as your axel and wheels for the mousetrap car
Each axel will need to have two wheels so you will have to glue each cd to the pen body. Also your car will require to sets of wheels each pair will need an axel
After you have finished your wheels you need to take the original insides of the pen the ink cartridges, and places them through the hollow pen body
The black portion in my axel you see is composed of two ink cartridges from two pens placed one with in the other from one pen ink cartridge tip to to end of the other ink cartridge body
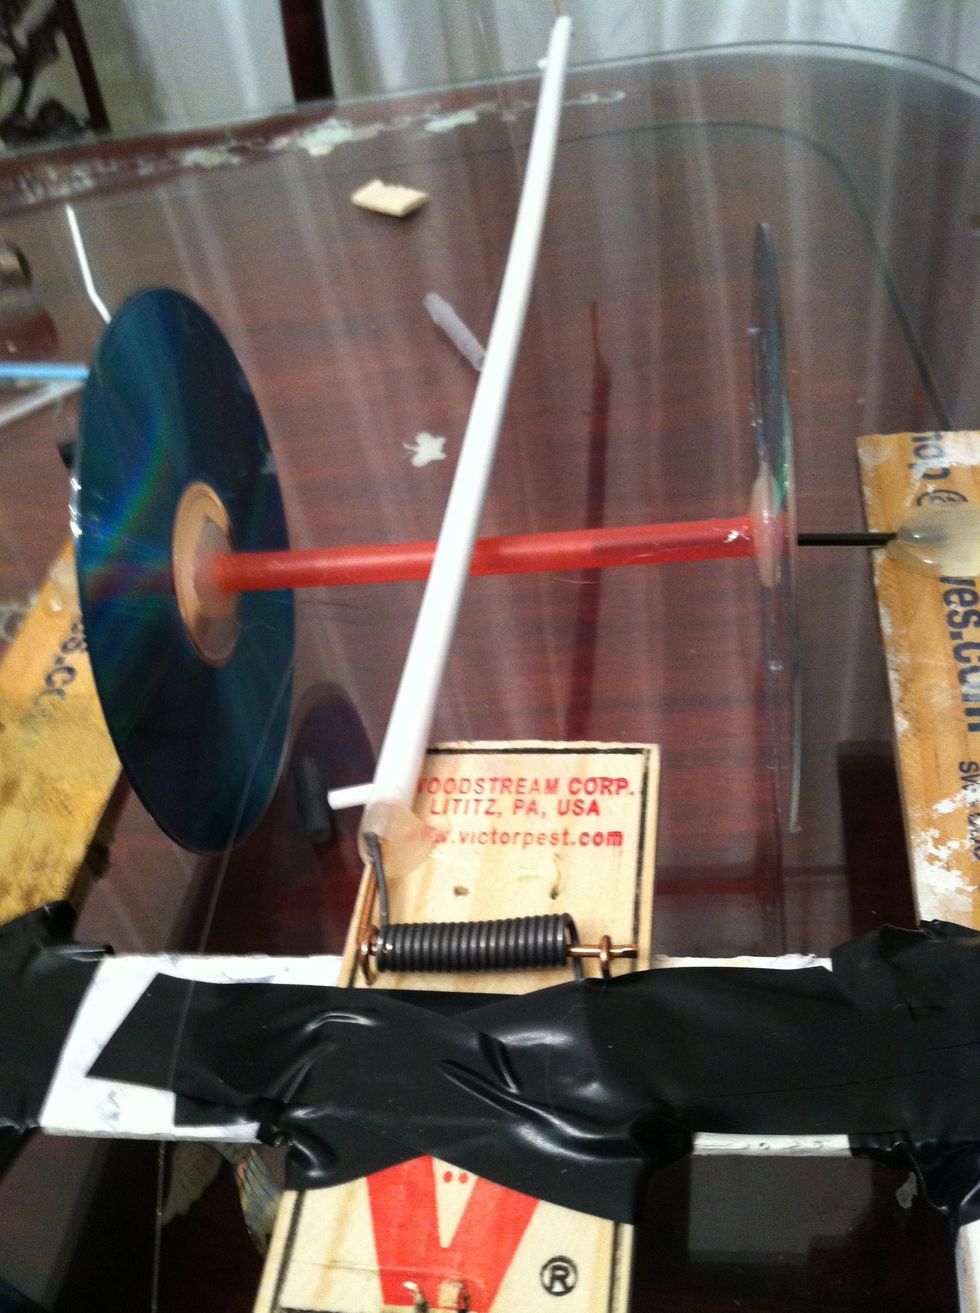
Now you can begin working on the body 1) take your 3 paint mixing steps and align two of them with your wheels these two sticks will function as the side of your mouse trap vehicle

You want to allow room between the side of the vehicle and your wheels so they don't have friction against the body while in motion, do this with both sets of wheels
After you have made sure there is room between the wheels , leave the wheels between the side body and with the ink cartridge axel inside the wheel glue that part down to the cars body
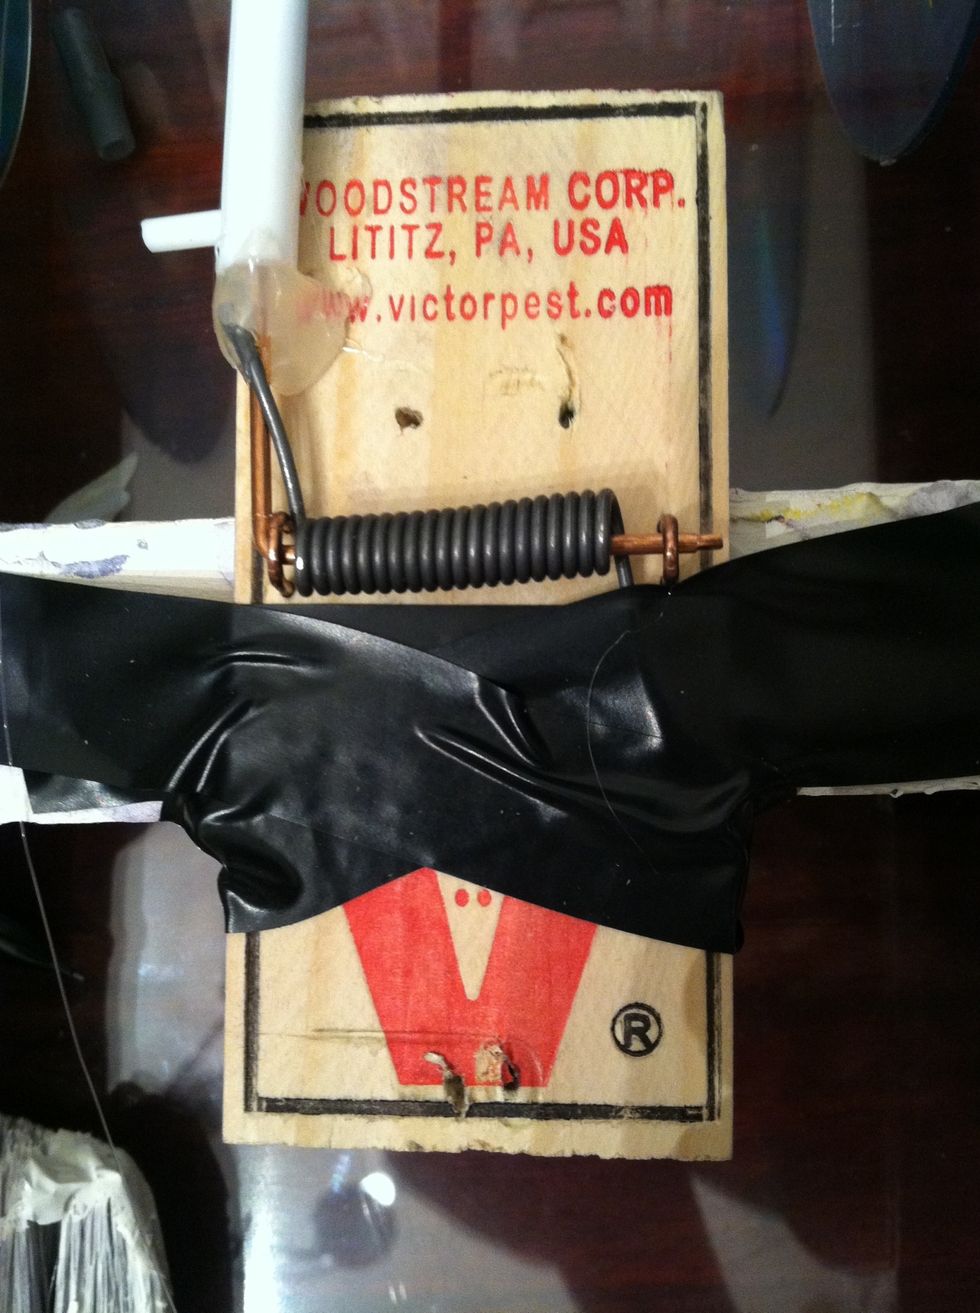
Now take your third piece of wood ,cut it so it can fit across the body of the car you will need to glue it down and tape it if you like, lastly once the glue is dry, then glue your mousetrap on top
Finally to make a lever arm to increase the acceleration of your mouse trap car
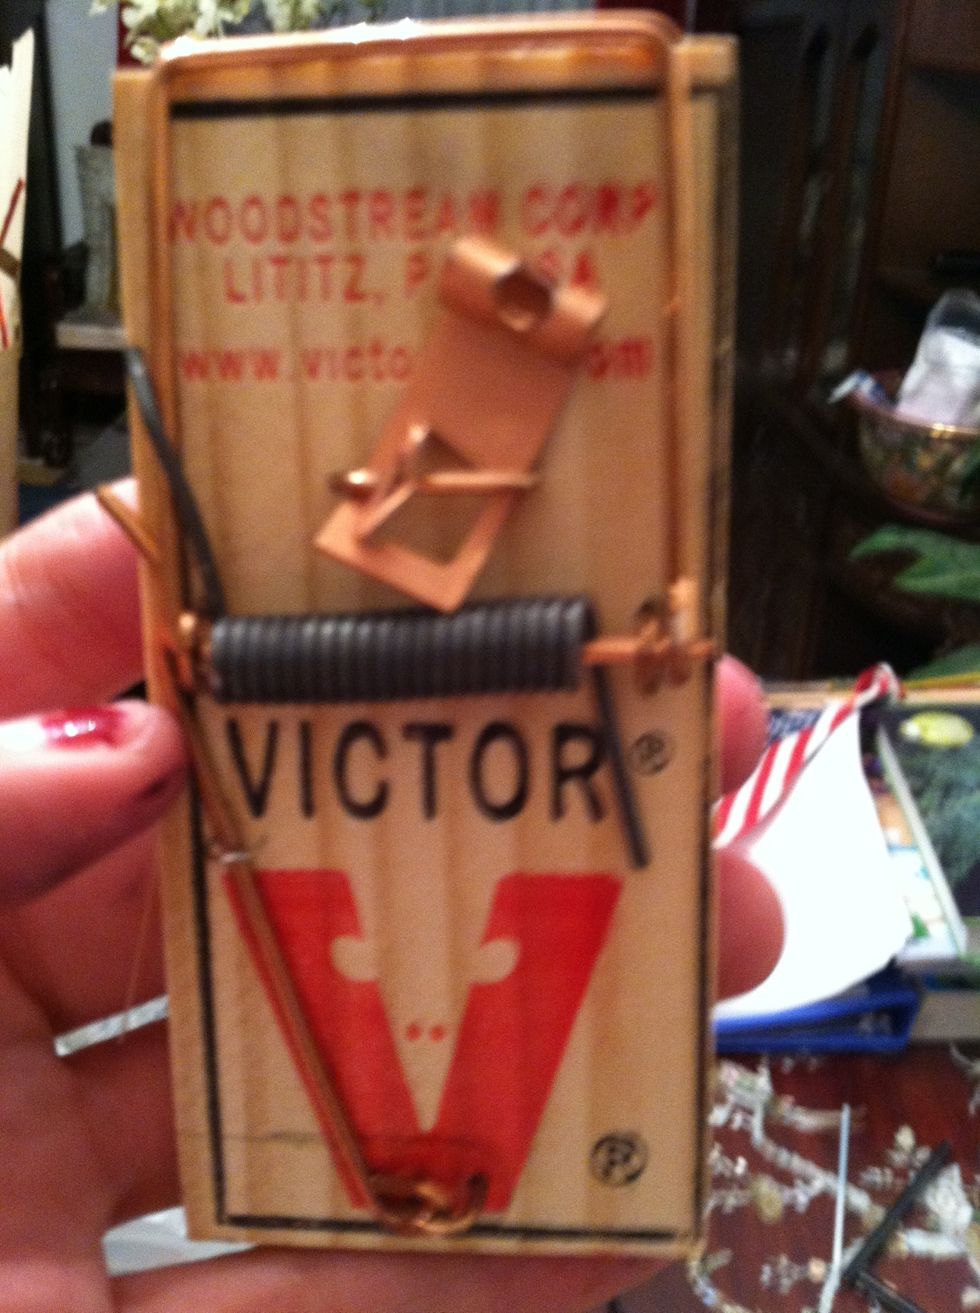
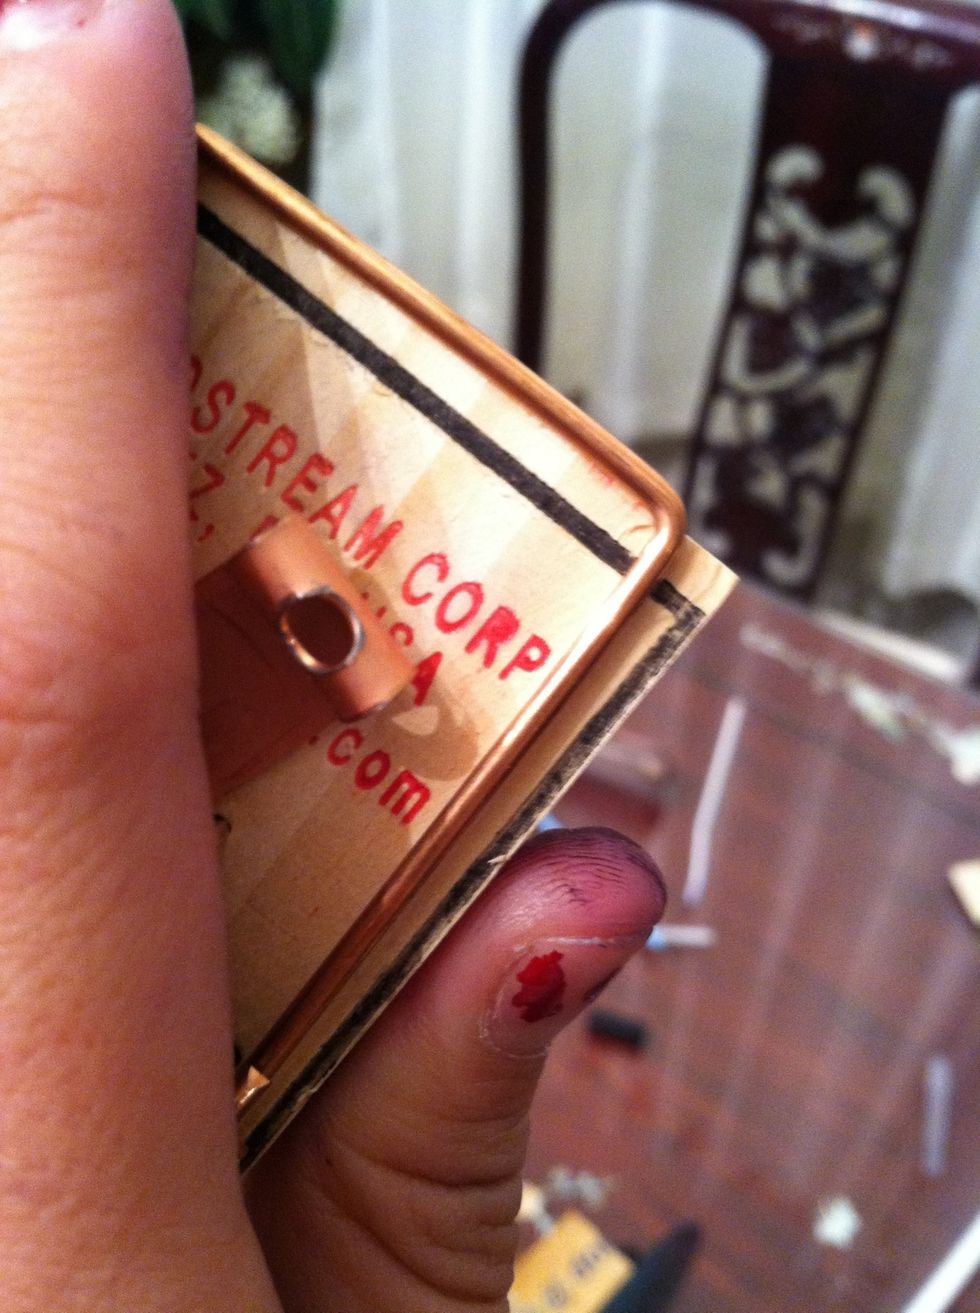
Take your mousetrap
Cut the right side off of mousetrap snapping part
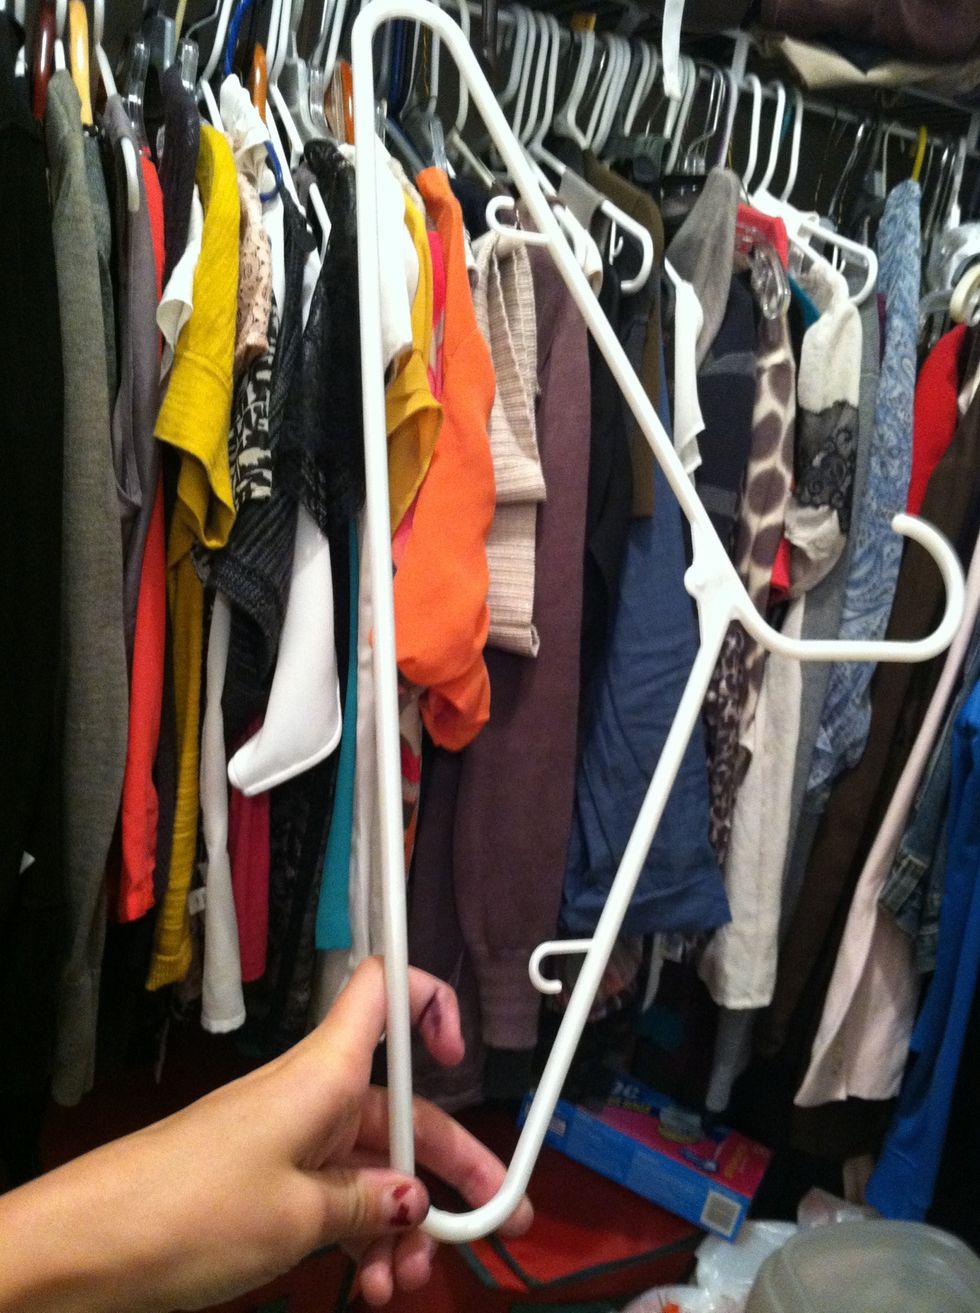
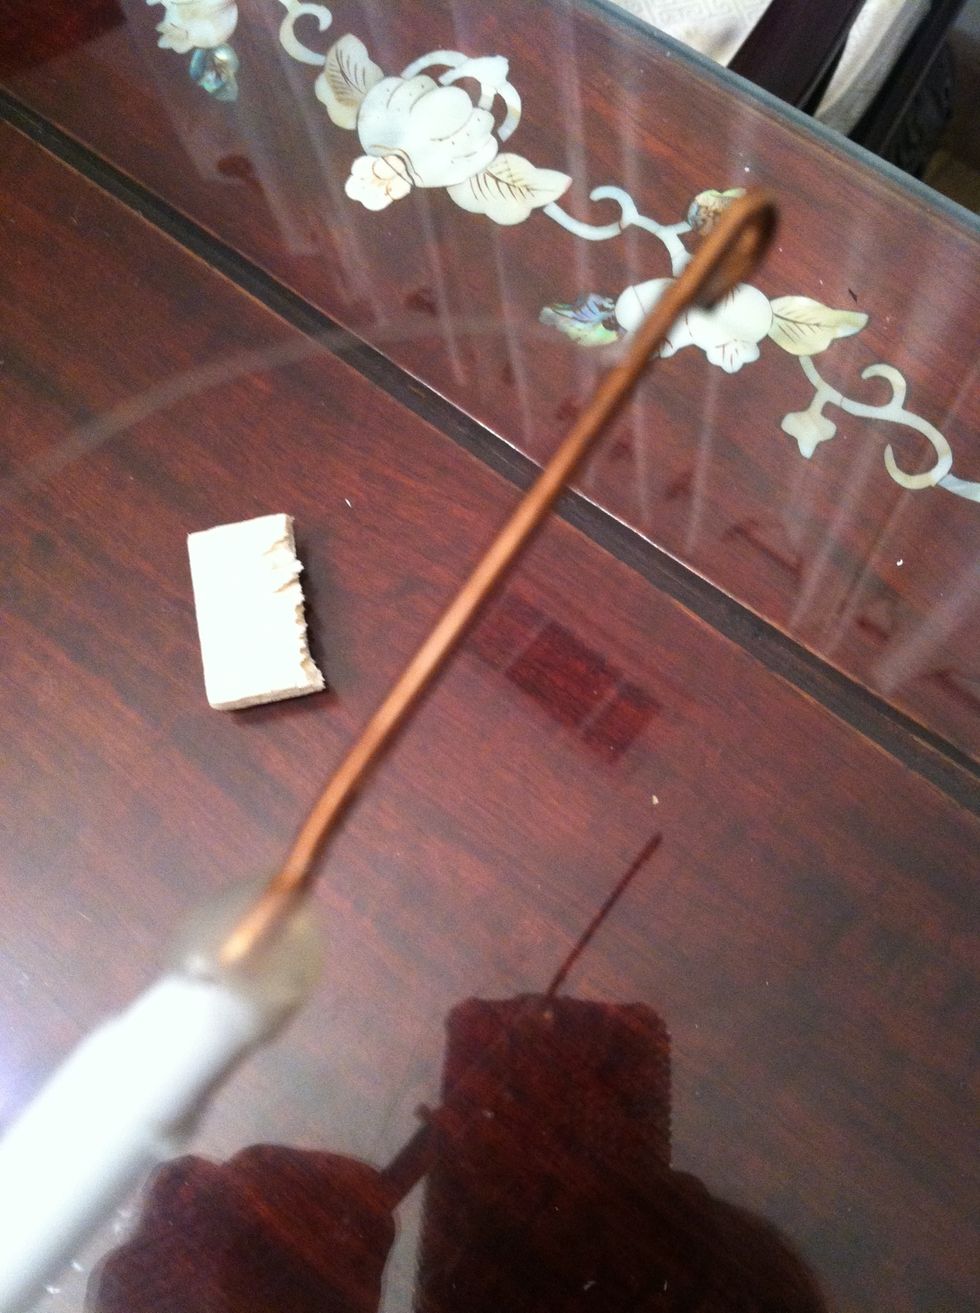
Take a hanger and cut it so you can get the lower portion of it isolated
Take the lower portion of the hanger make sure both side have clear whole after you have cut them so you can slip the remaining snapping portion of the mousetrap inside now glue so it doesn't come out
Take the right side that you originally removed from the mouse trap and straighten it
The part that you just straightened will function as the hook of the hanger connecting the fishing line to the lever arm
Take the fishing line place it on the hook
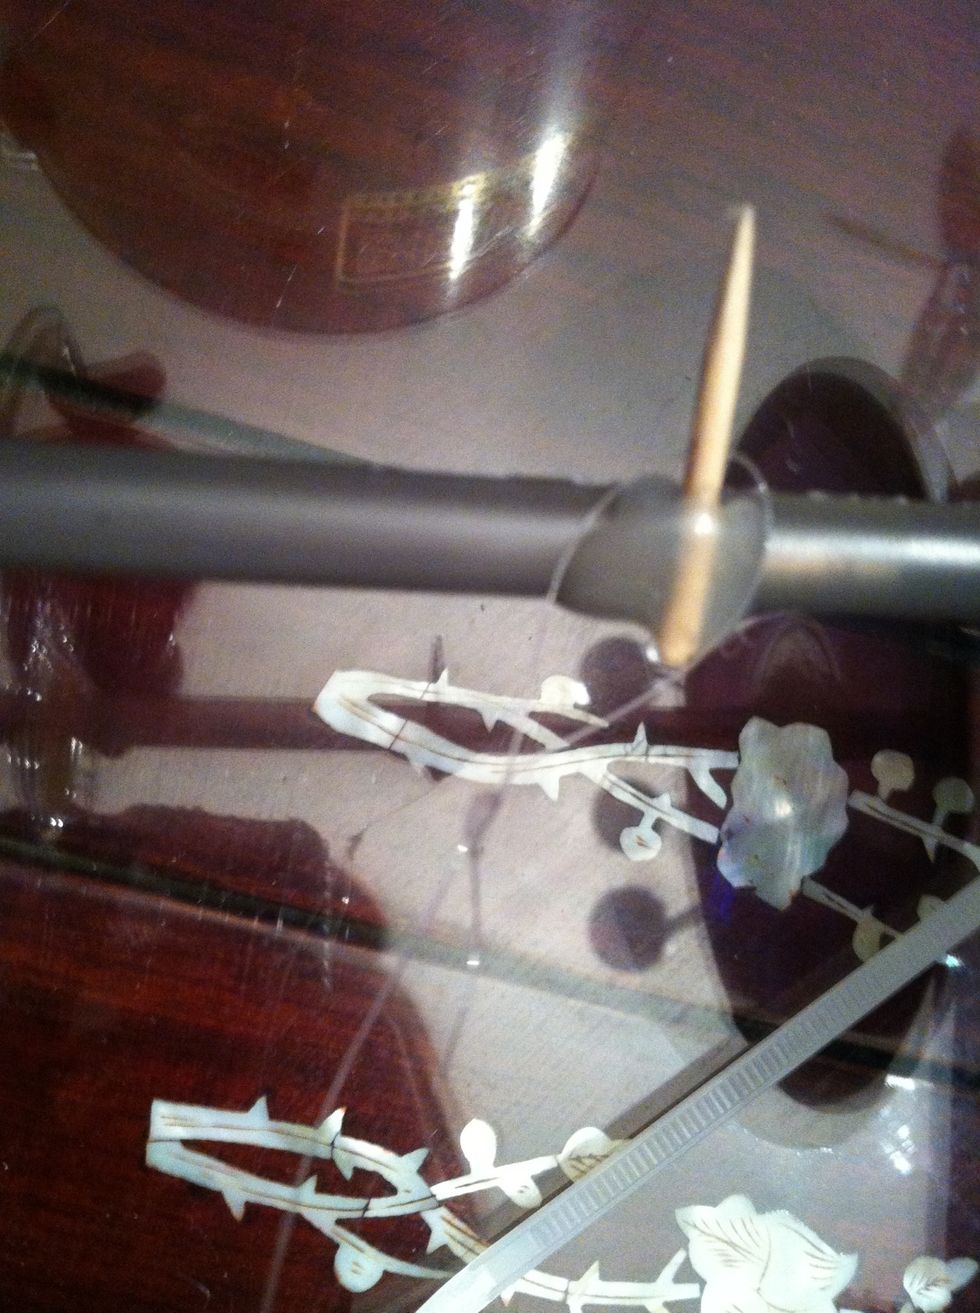
Glue a toothpick to the final wheel in the back of the car on its Pen body make a loop with the fishing line and place on toothpick
Lastly wind axel
Now test drive!!!