STEPS
TOOLS
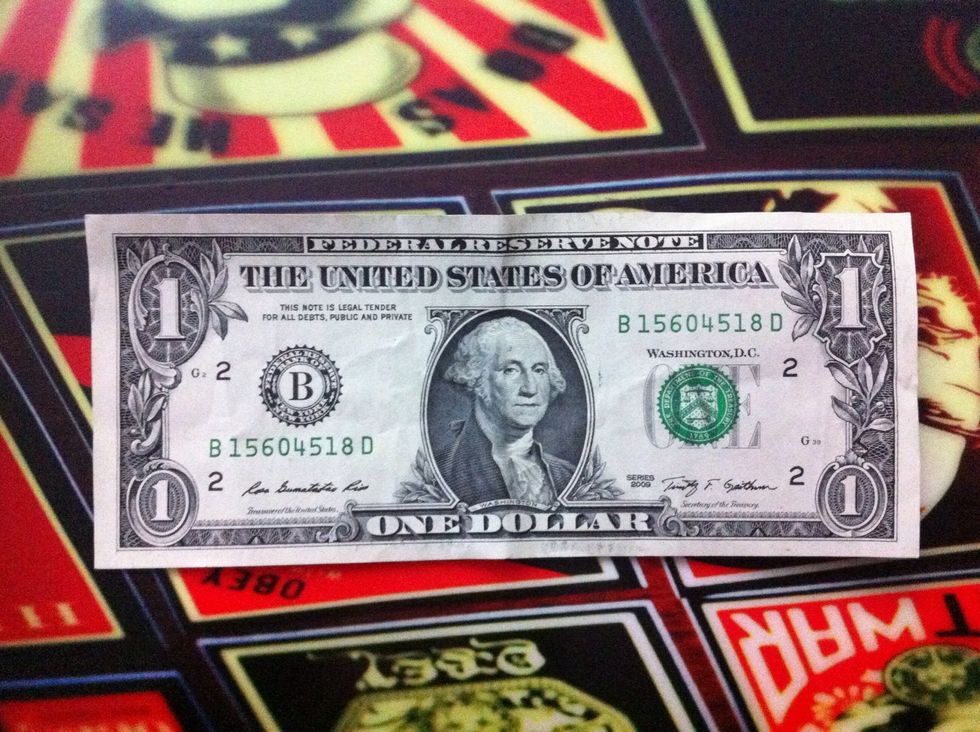
Works BEST with crisp bills! For demonstration I'm using a dollar bill. Feel free to use any other U.S money amount.
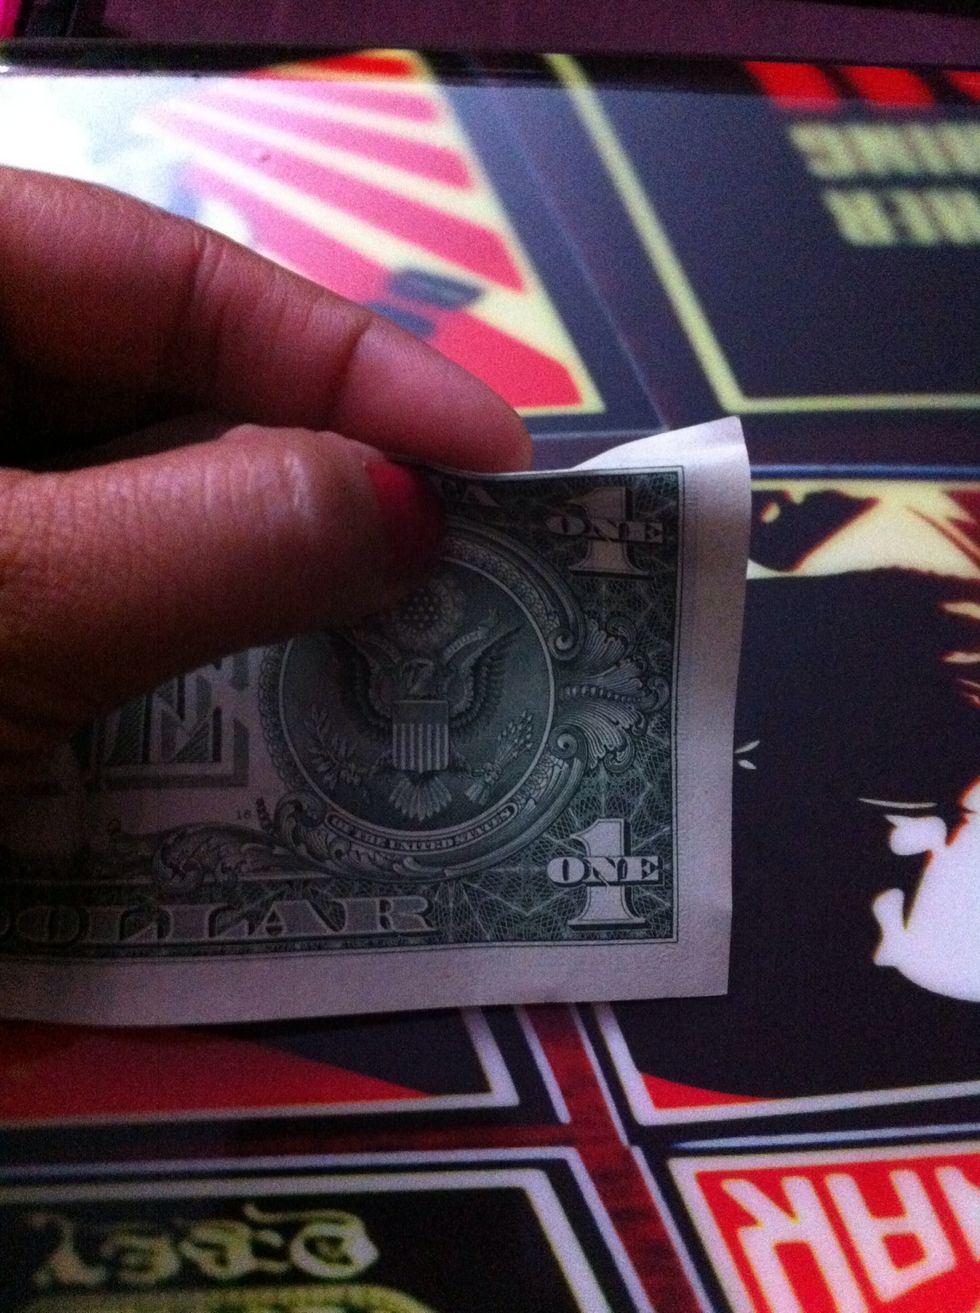
Start at the back of the bill and fold down all the way across the top between the green and white line.
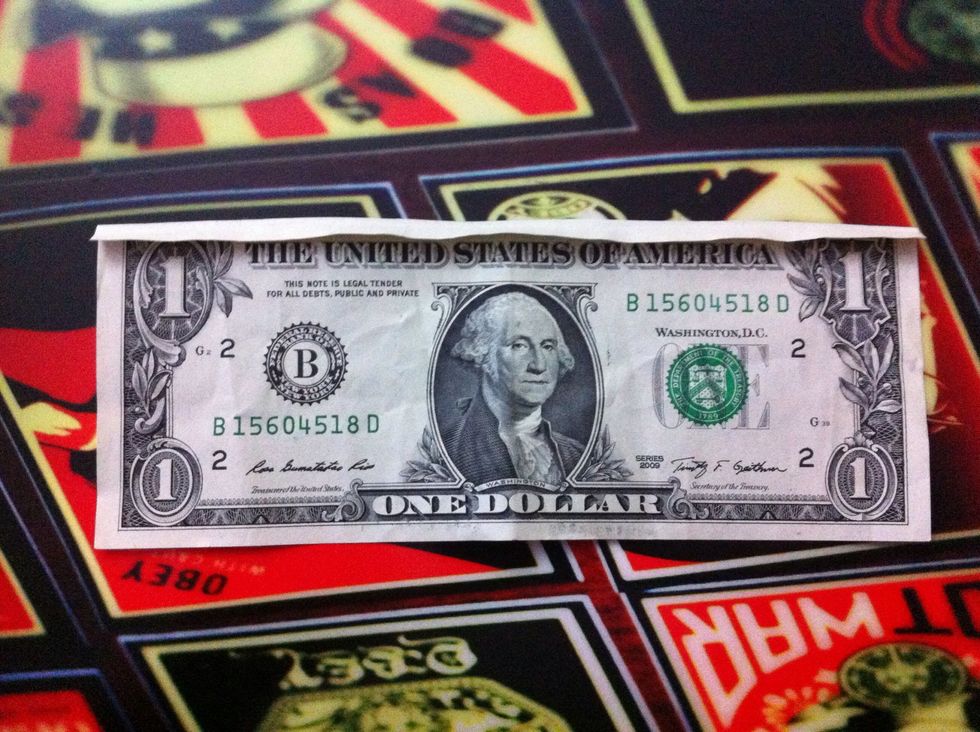
This is what it should look from the front of the dollar..
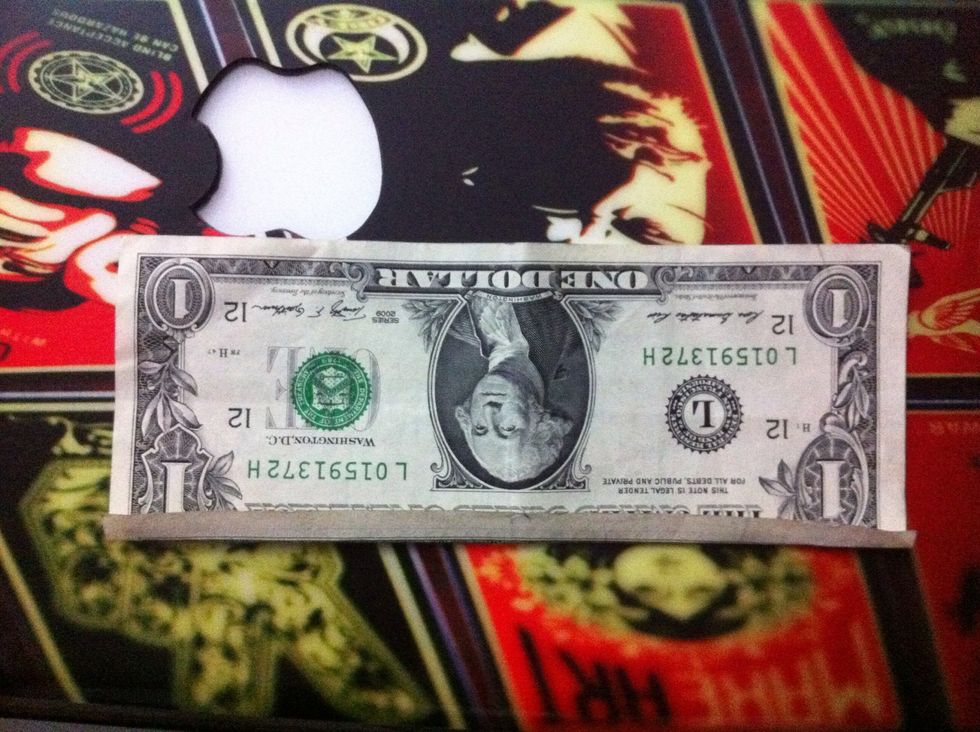
Now turn the bill 180 degrees to your left so that George Washington's head is upside down.
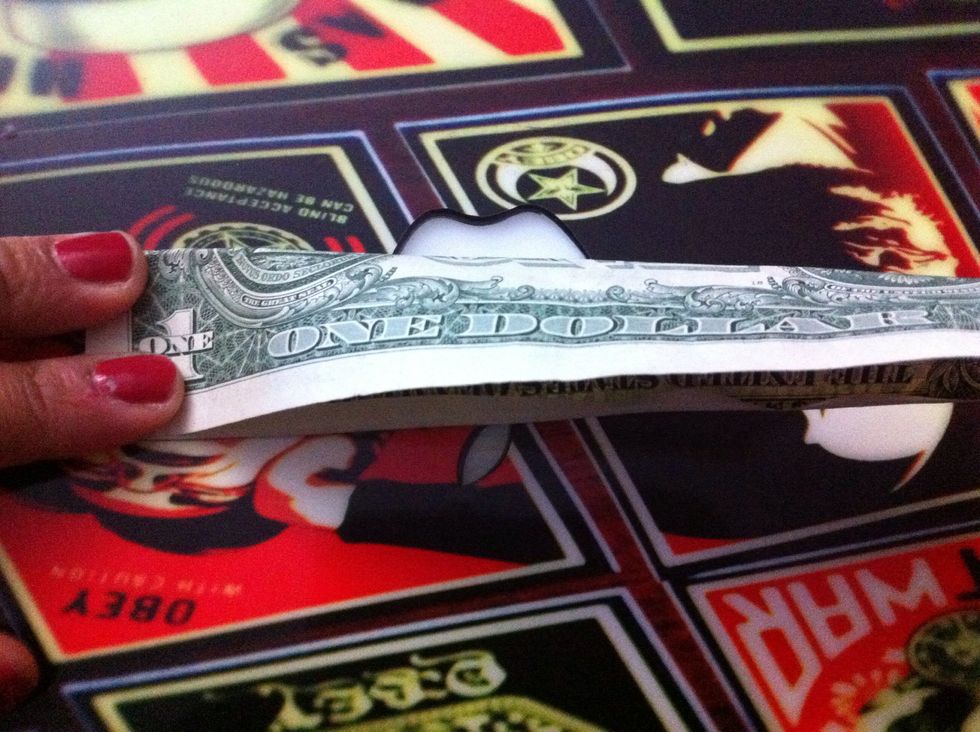
Now fold the top down to the bottom of the line.
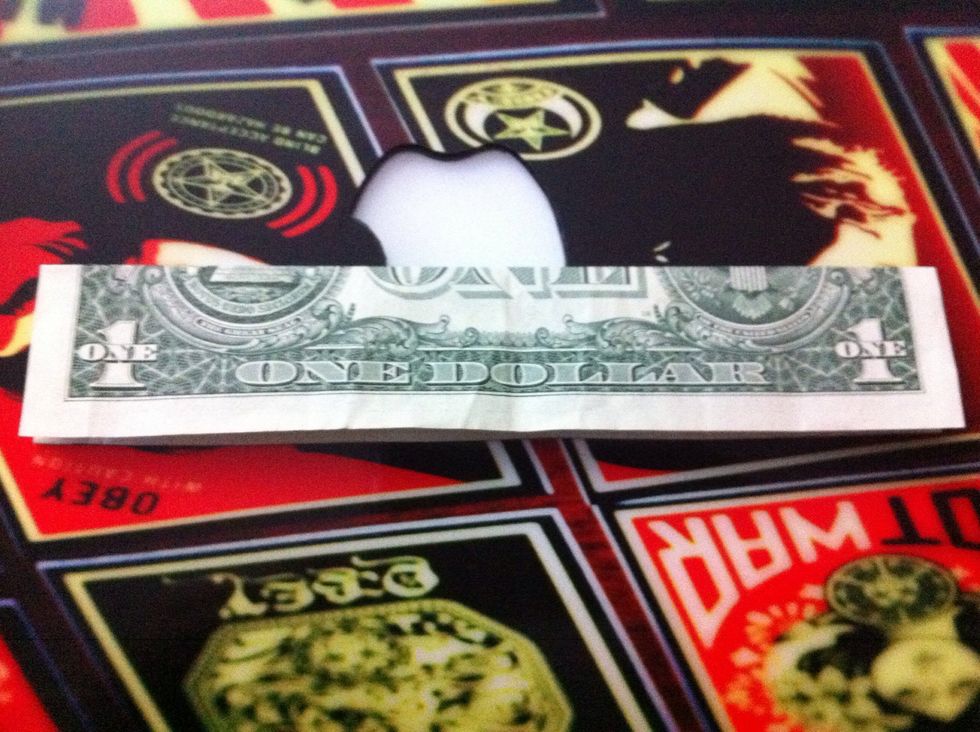
Should look like this right now.
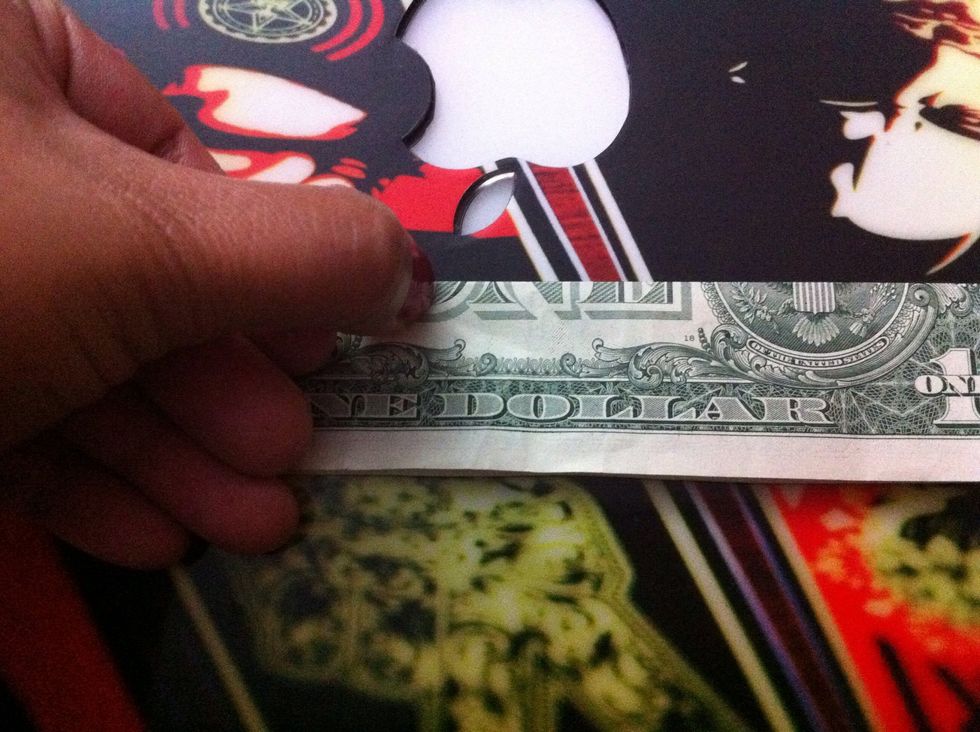
Fold the crease sharp throughout the top line. You can even use your nails or a coin to do this.
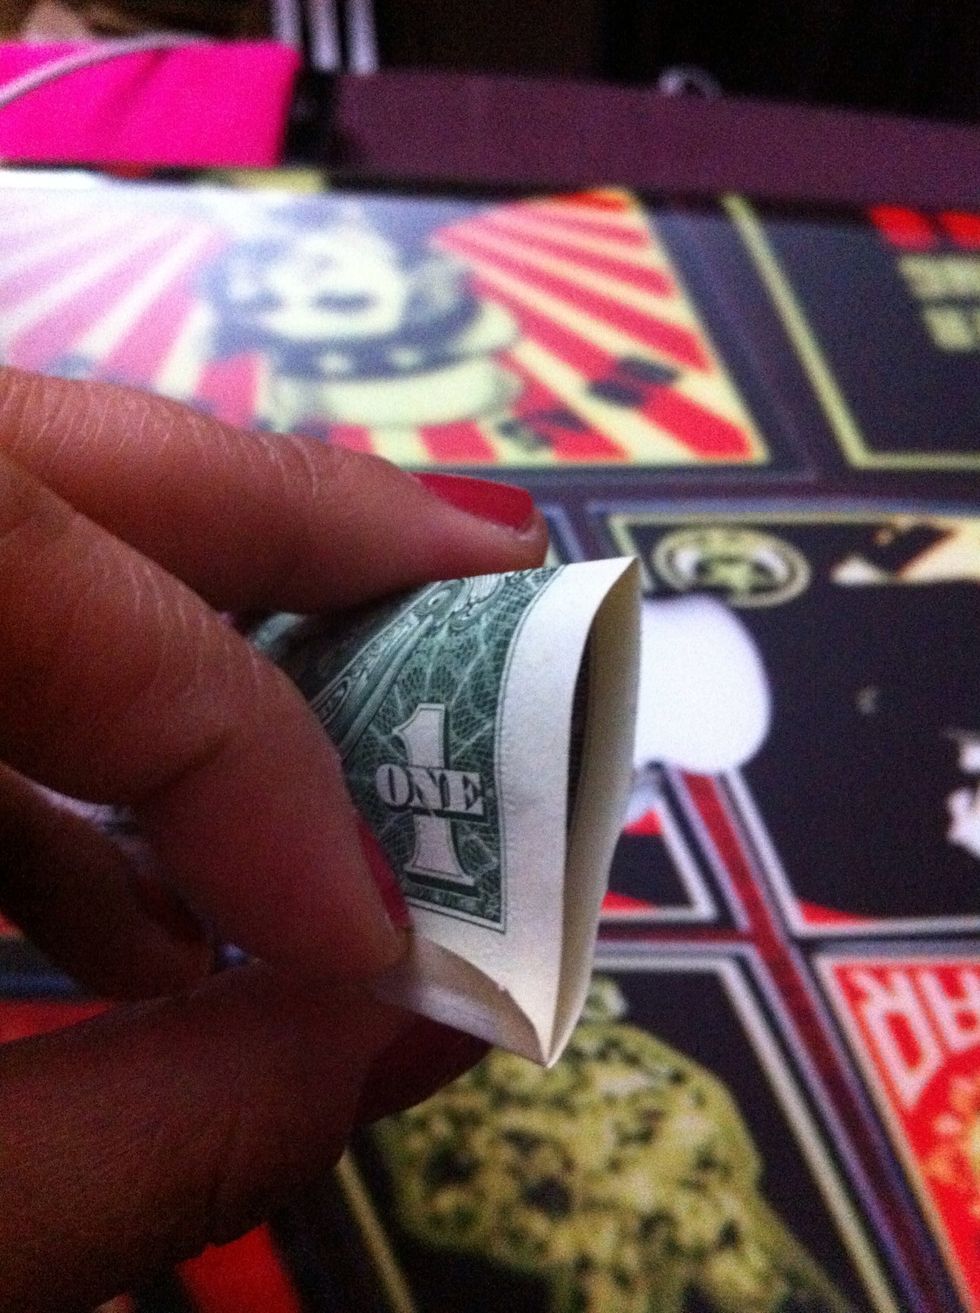
Now fold the bottom inside the little fold to look like this.
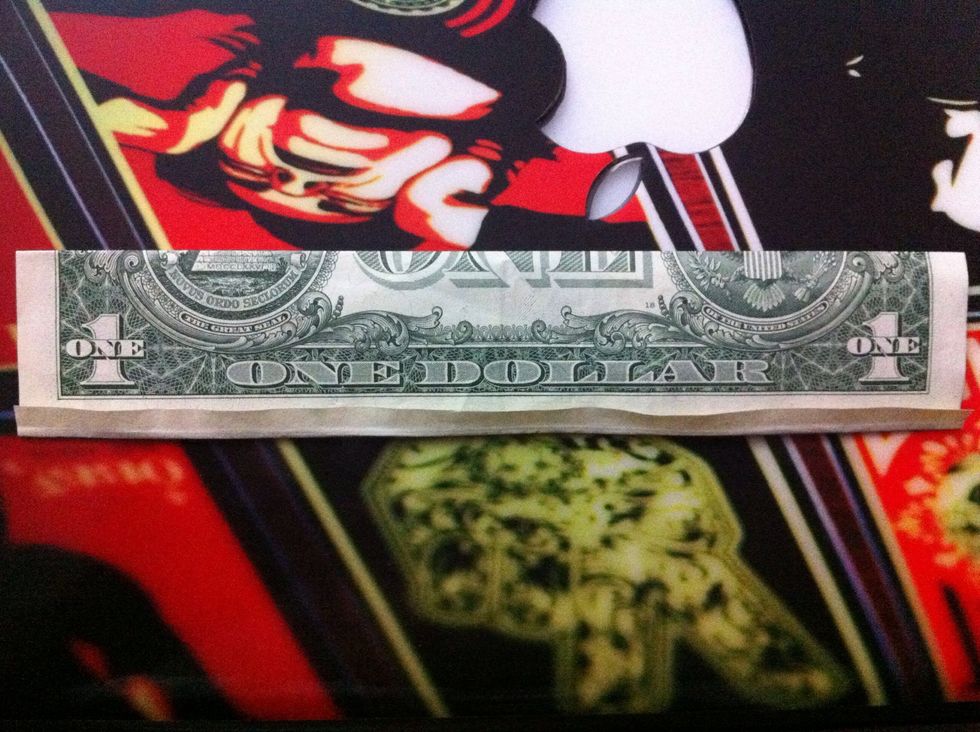
It should now be tucked inside the small fold.
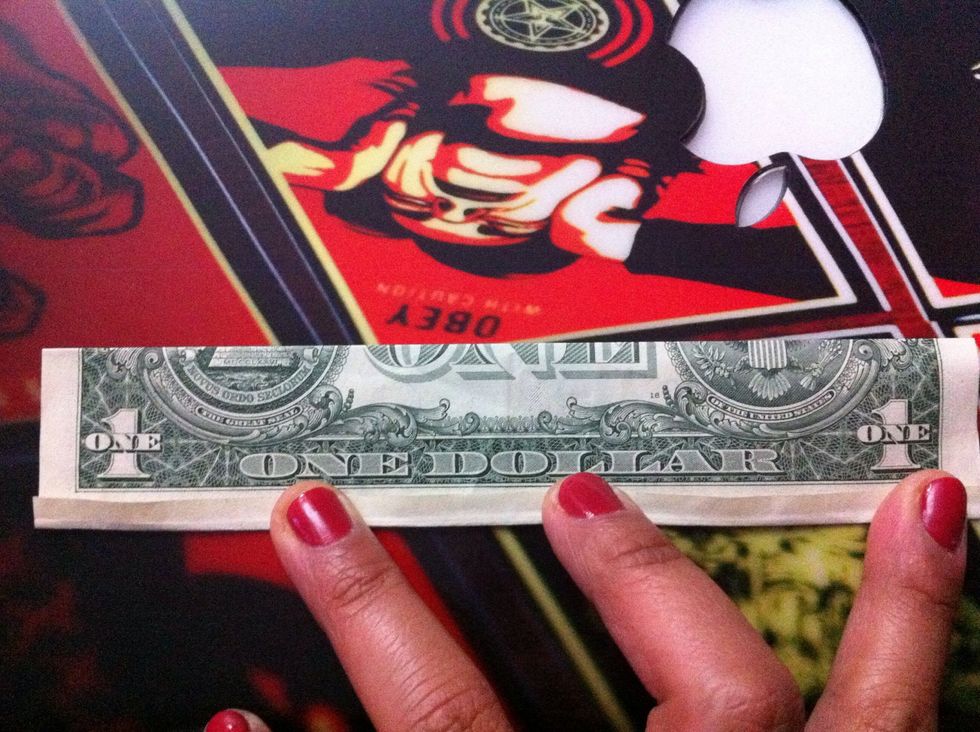
You can also take a coin to make sharp crease lines on the bottom part.
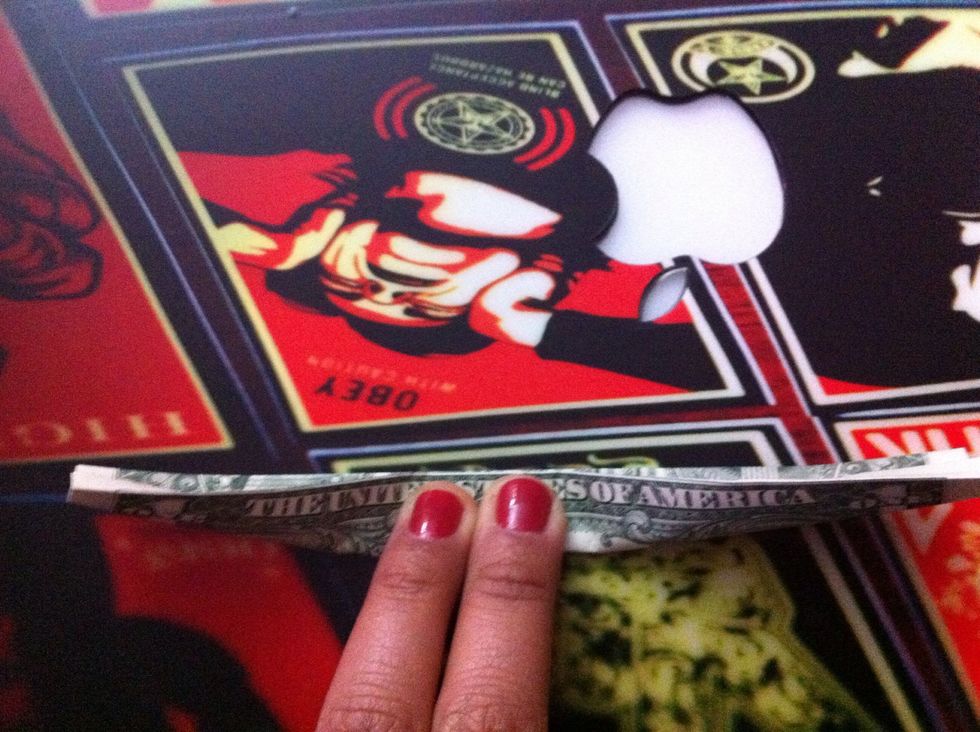
Now fold the bottom up to the top.
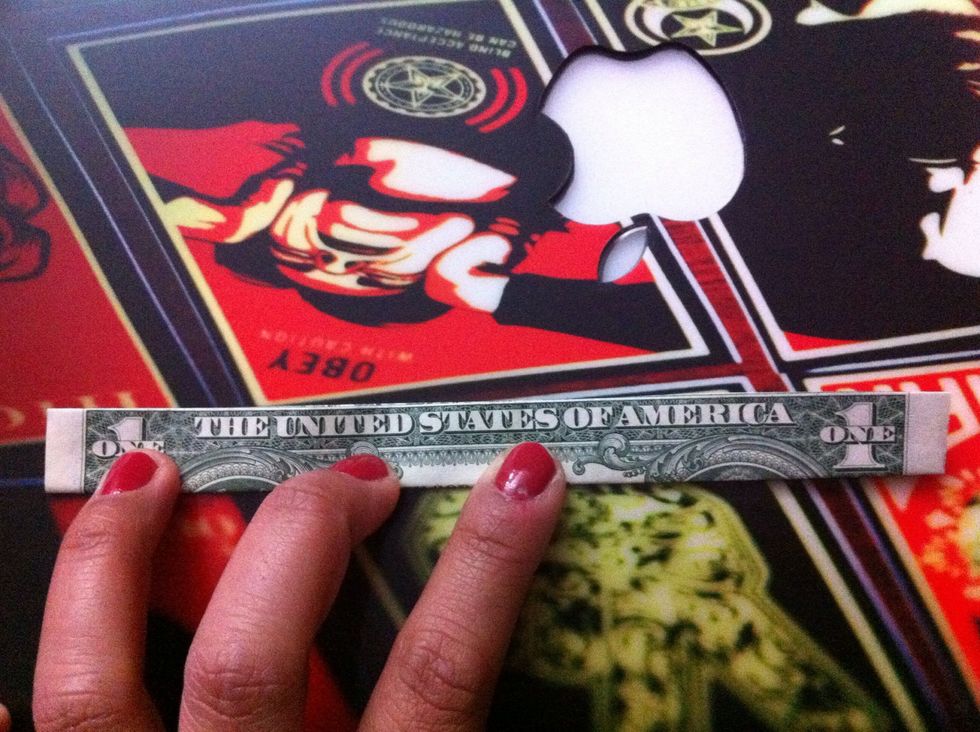
Now it should look like this after folding up.
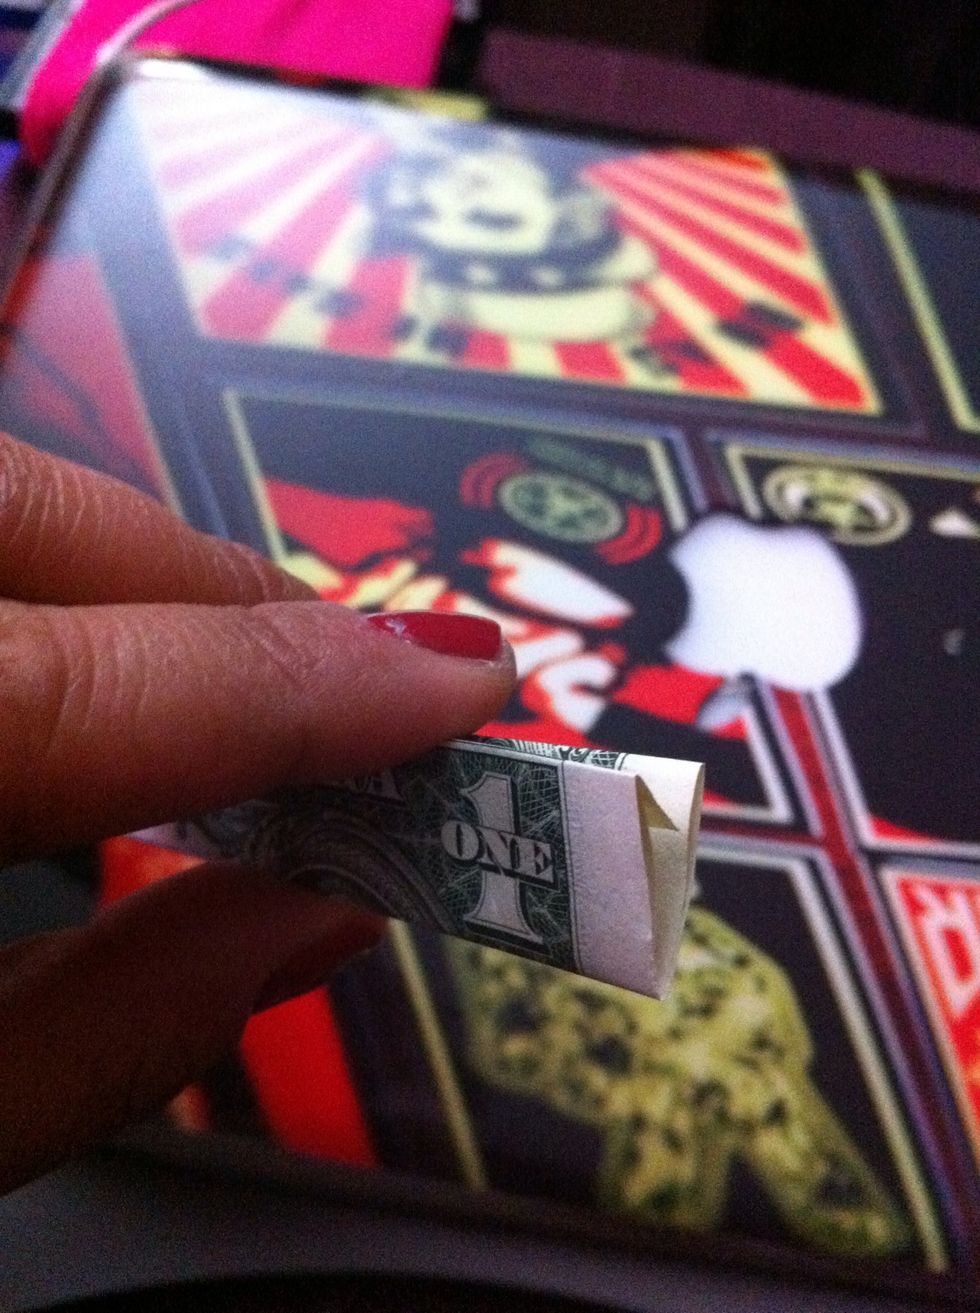
The right side should look like this just to give u an idea.
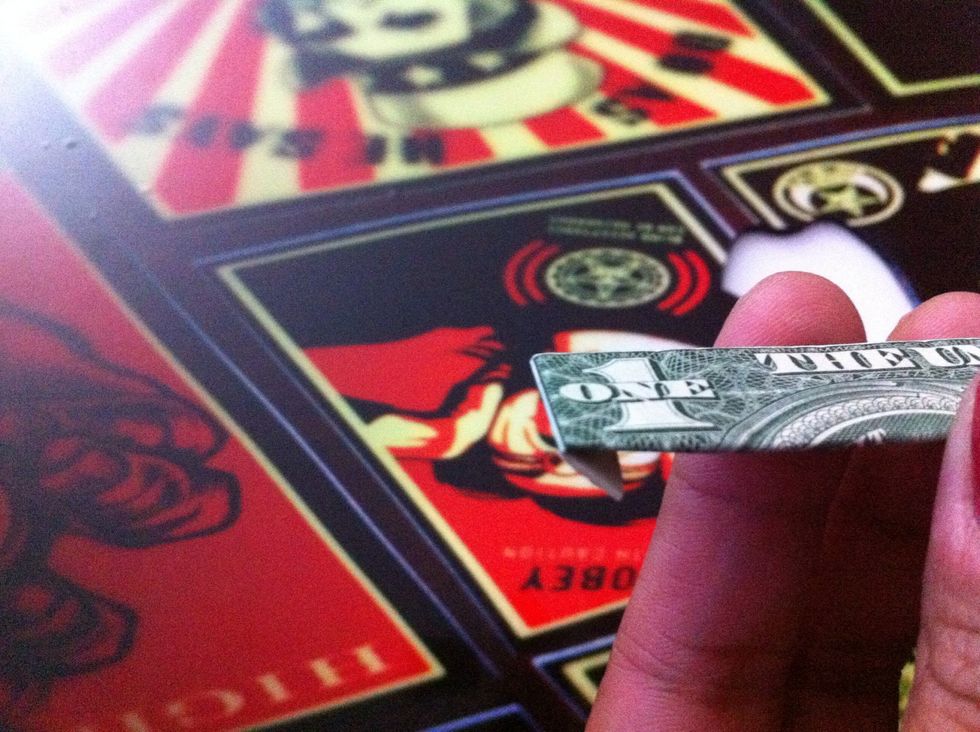
Take the left side of ur bill and square off the number 1 by folding down the white area of the edge.
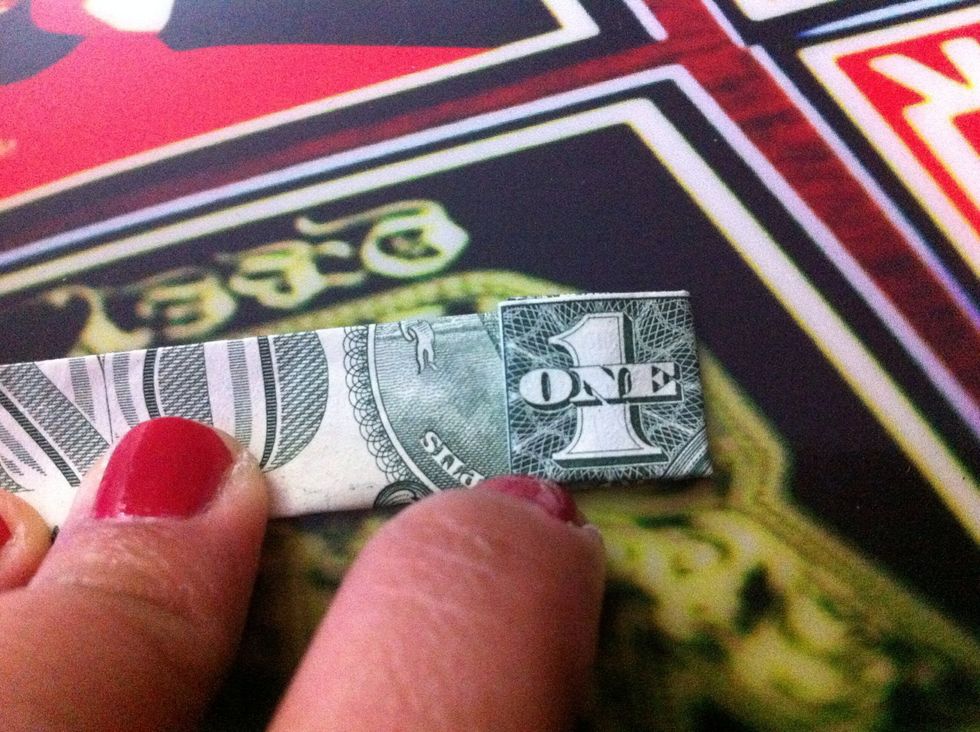
Fold the square piece to the back to make a crease line to the right side of the 1.
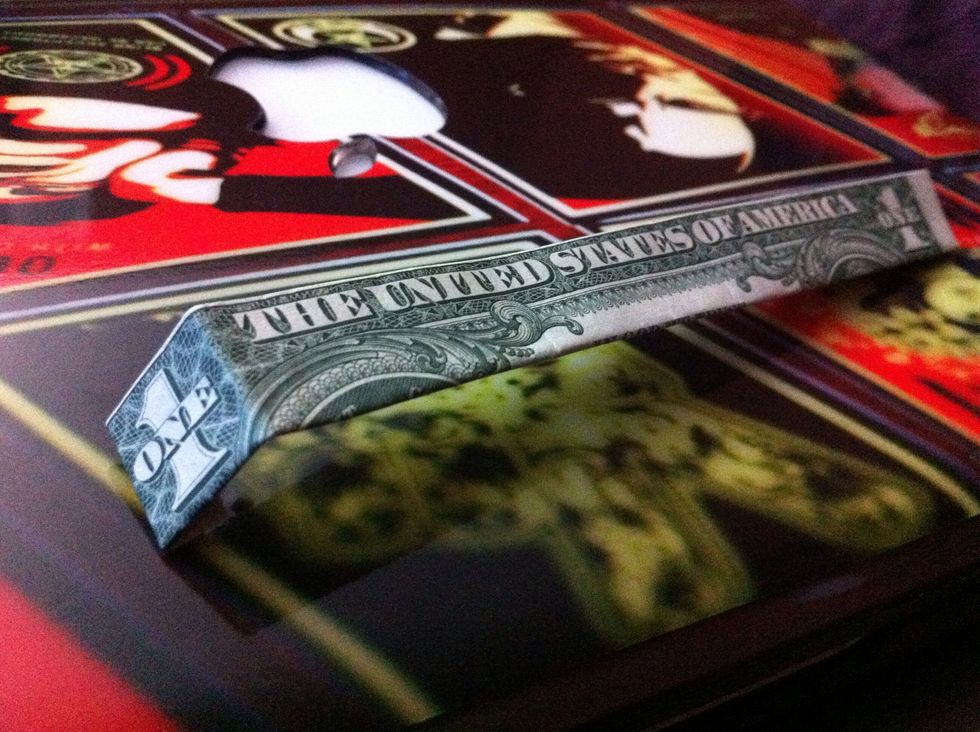
Should look like this when u lay it down. Notice the 1 is now has a square shape.

Then take the square part hold the bottom with your thumb while taking the rest of the dollar bill and go clockwise until it wraps around your finger.
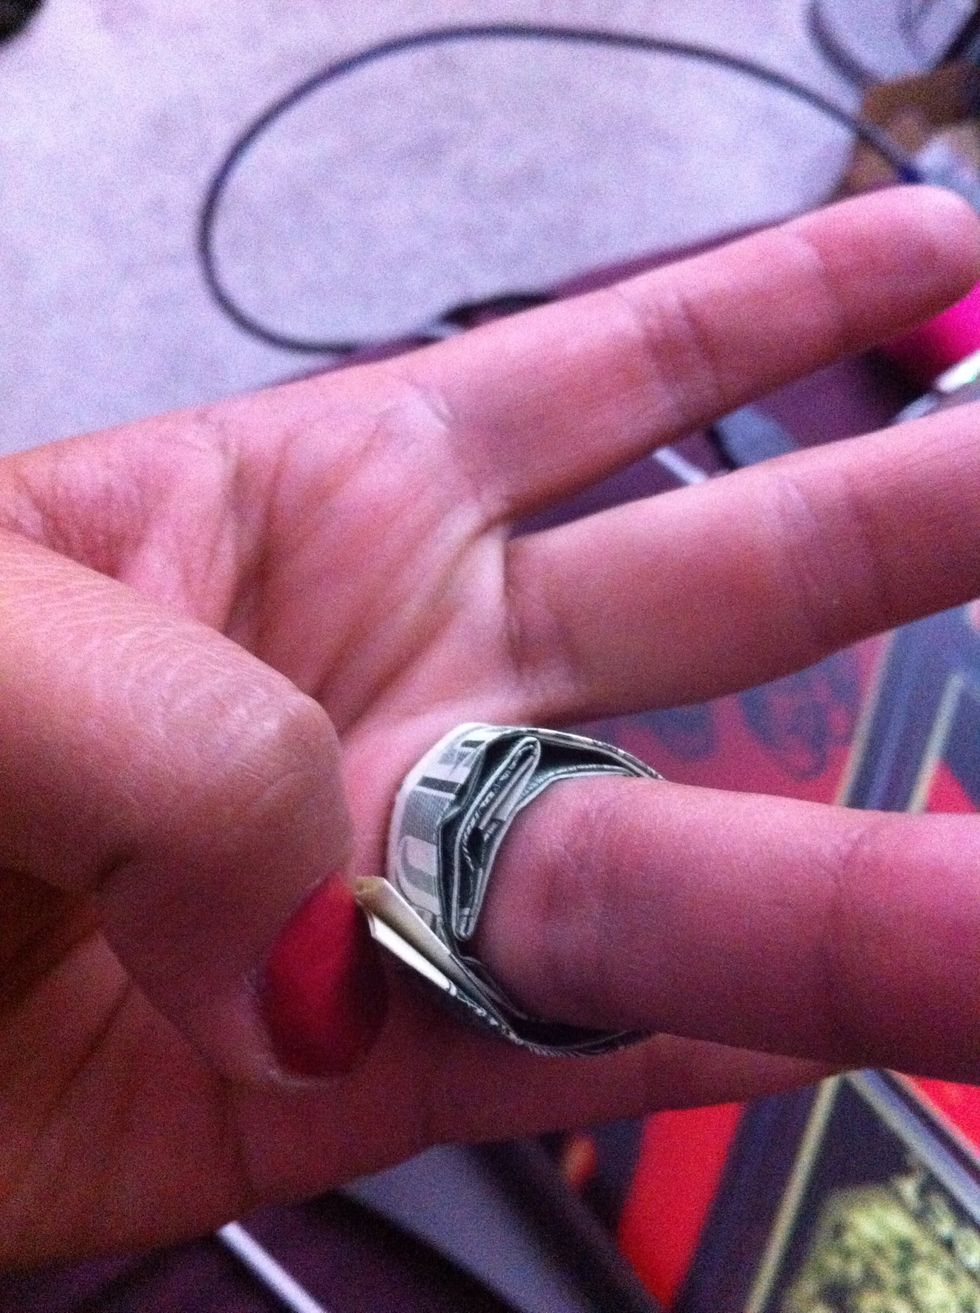
It should now wrap around like this.
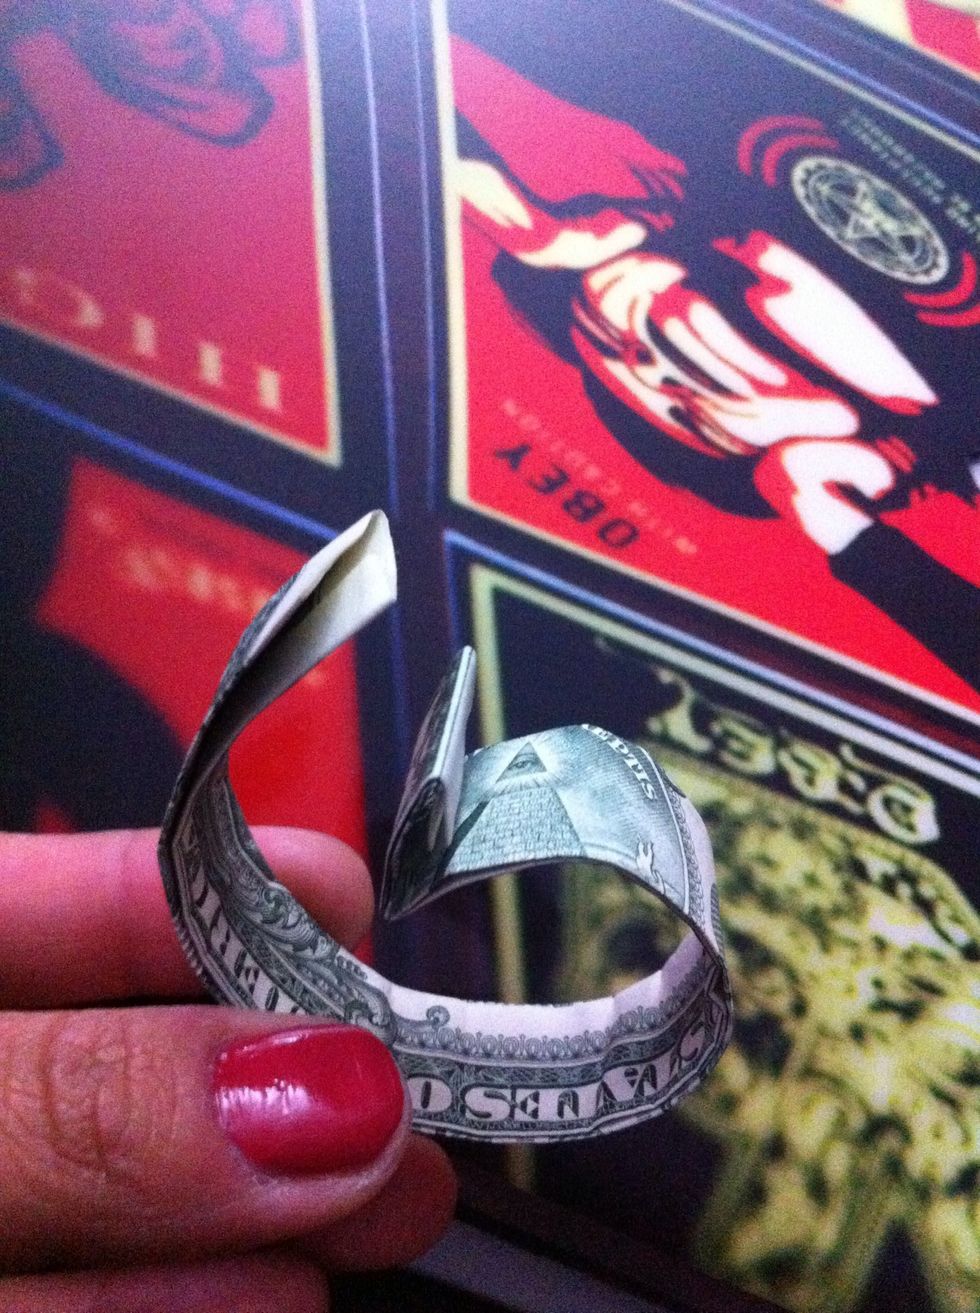
When u take it out of your finger it should make this shape.
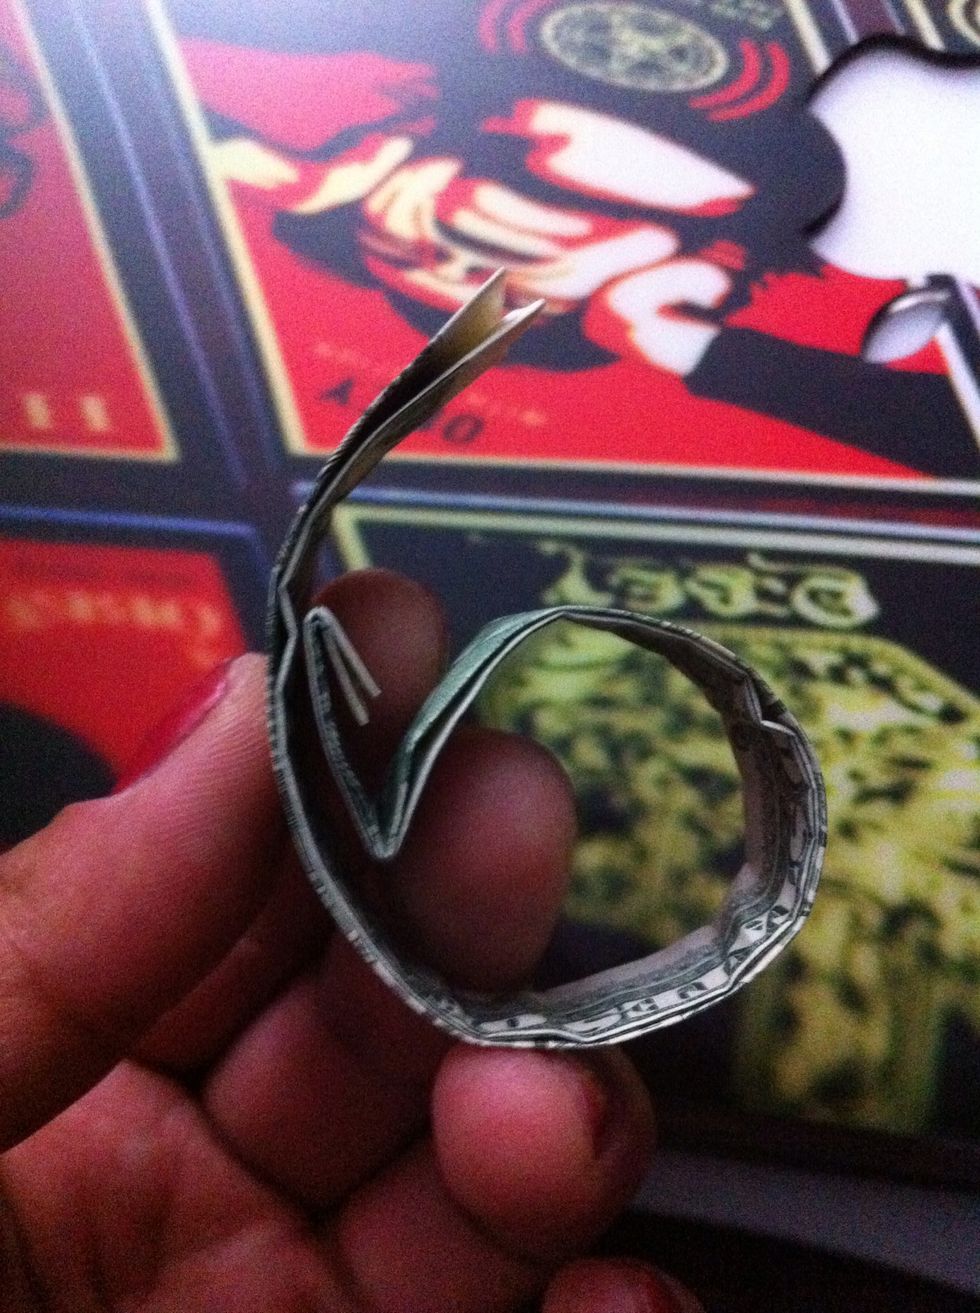
It makes a "number 6" shape.
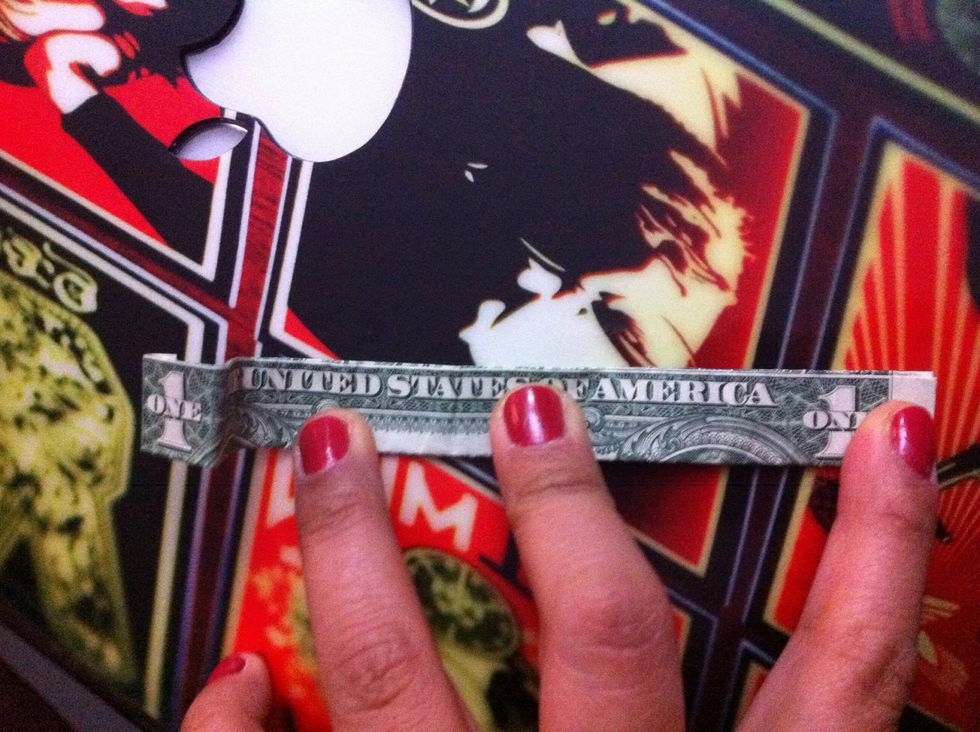
Un roll the curve and lay it flat with the square piece "1" on the left side.
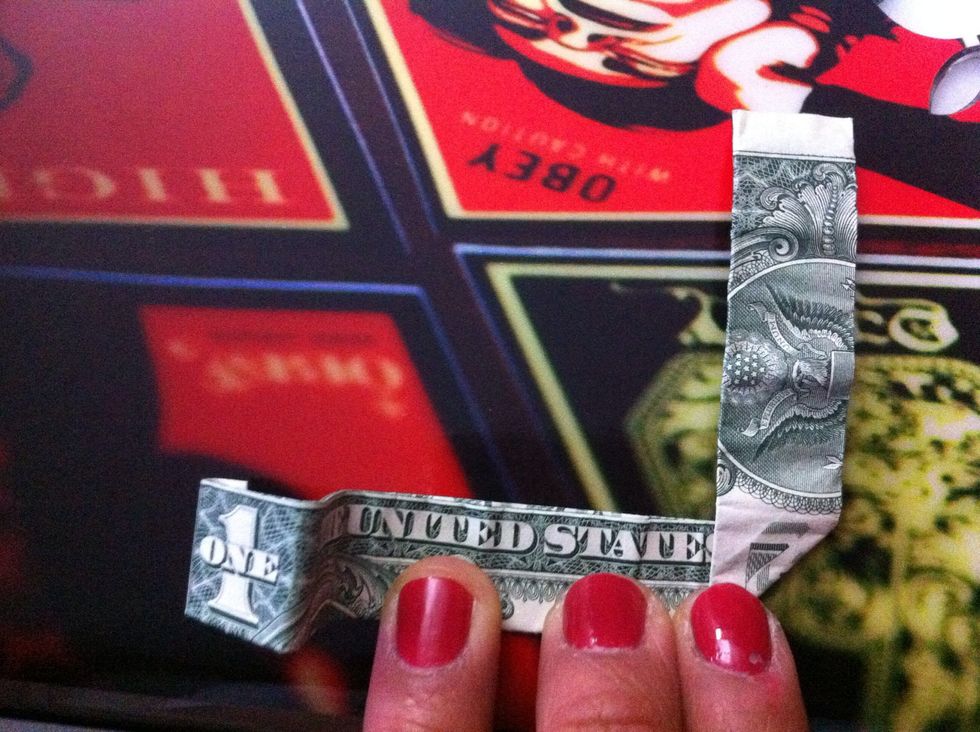
Take the right side and fold up between the letters "E" and the "S.". NOTE: This determines the width of the circle part of the ring.
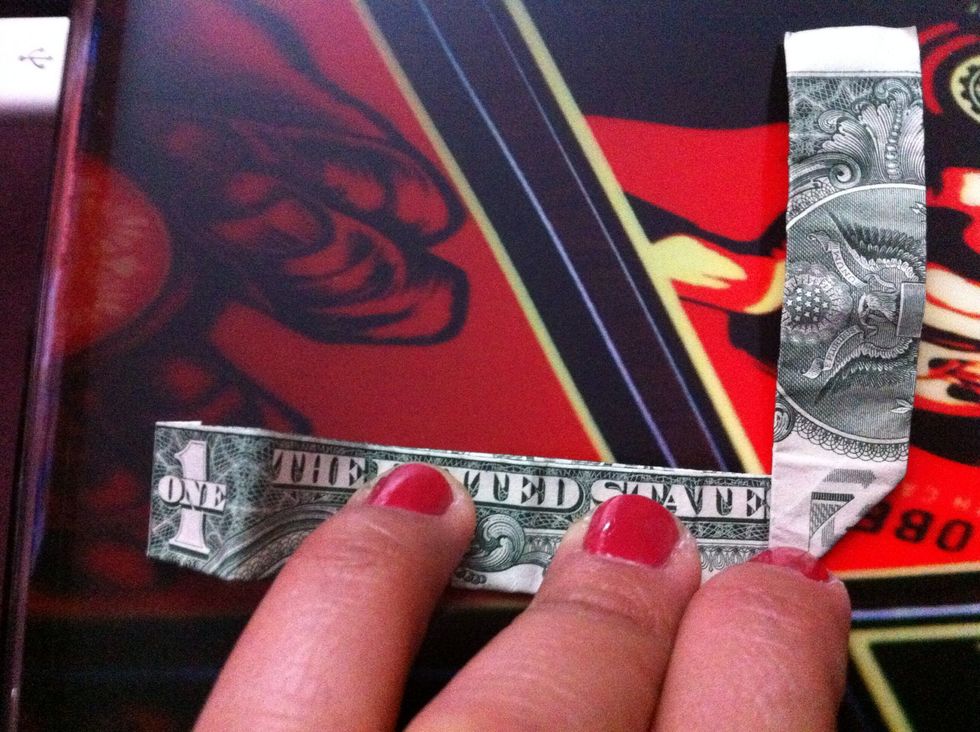
NOTE: Fold up to other letters in between to ur LEFT if u want the ring TIGHTER. Fold in between letters more towards the RIGHT side to make the ring hole more LOOSE.
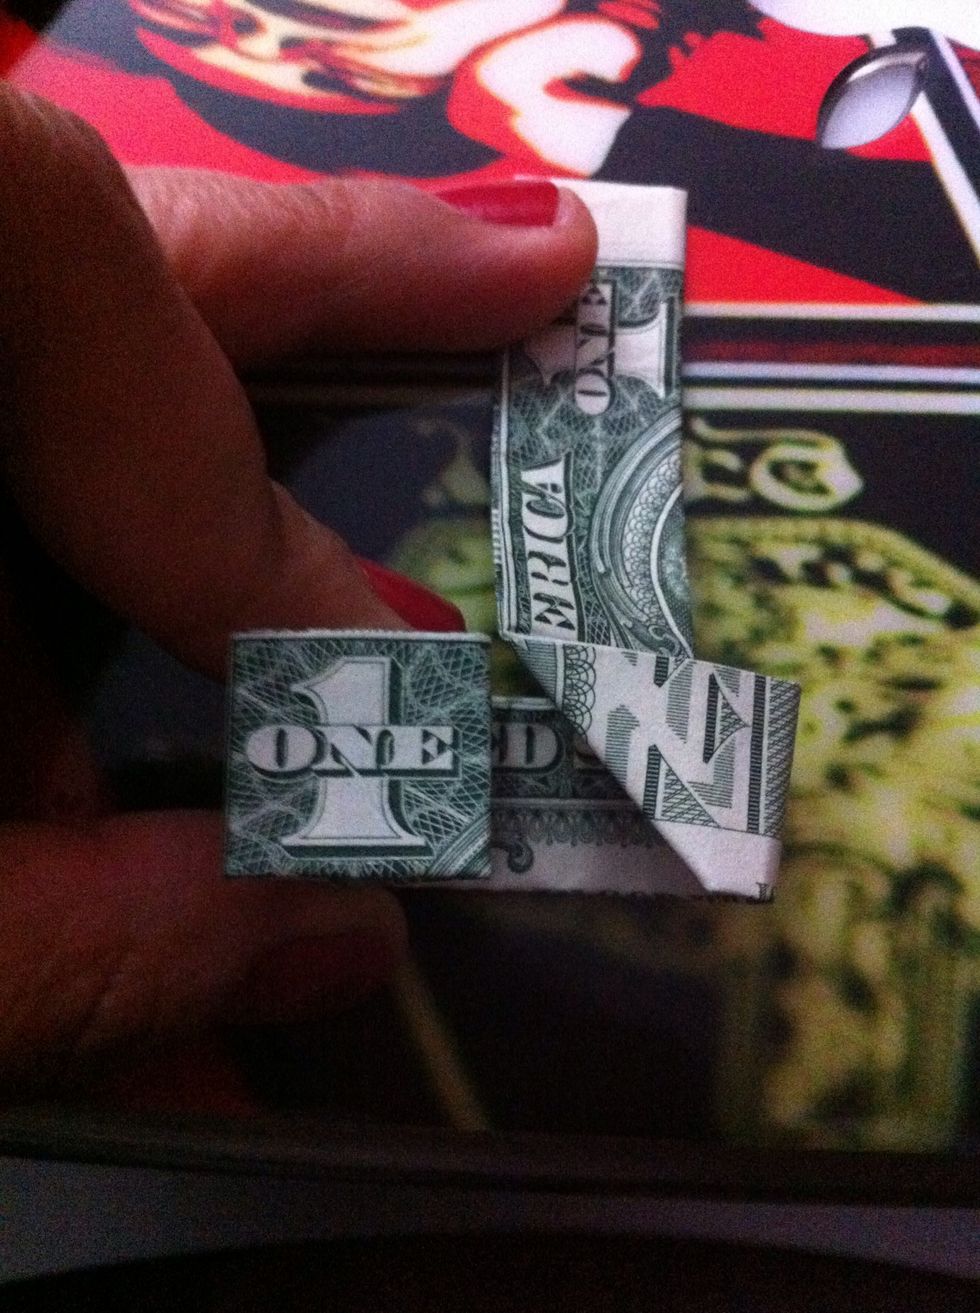
Now take the 1 and place it on top until it covers the triangle fold.
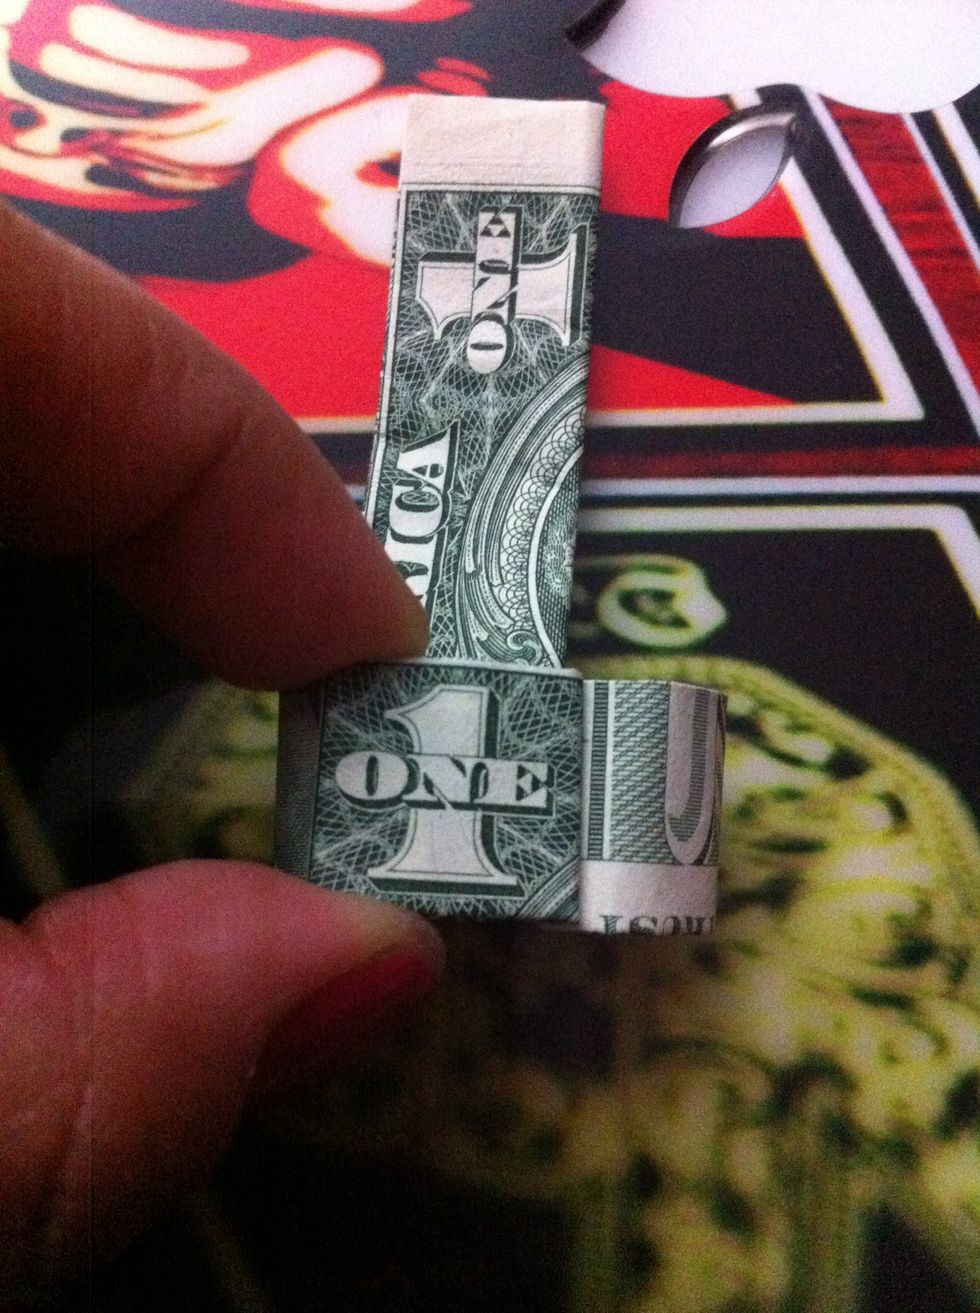
The 1 should now be on top aligned like this.
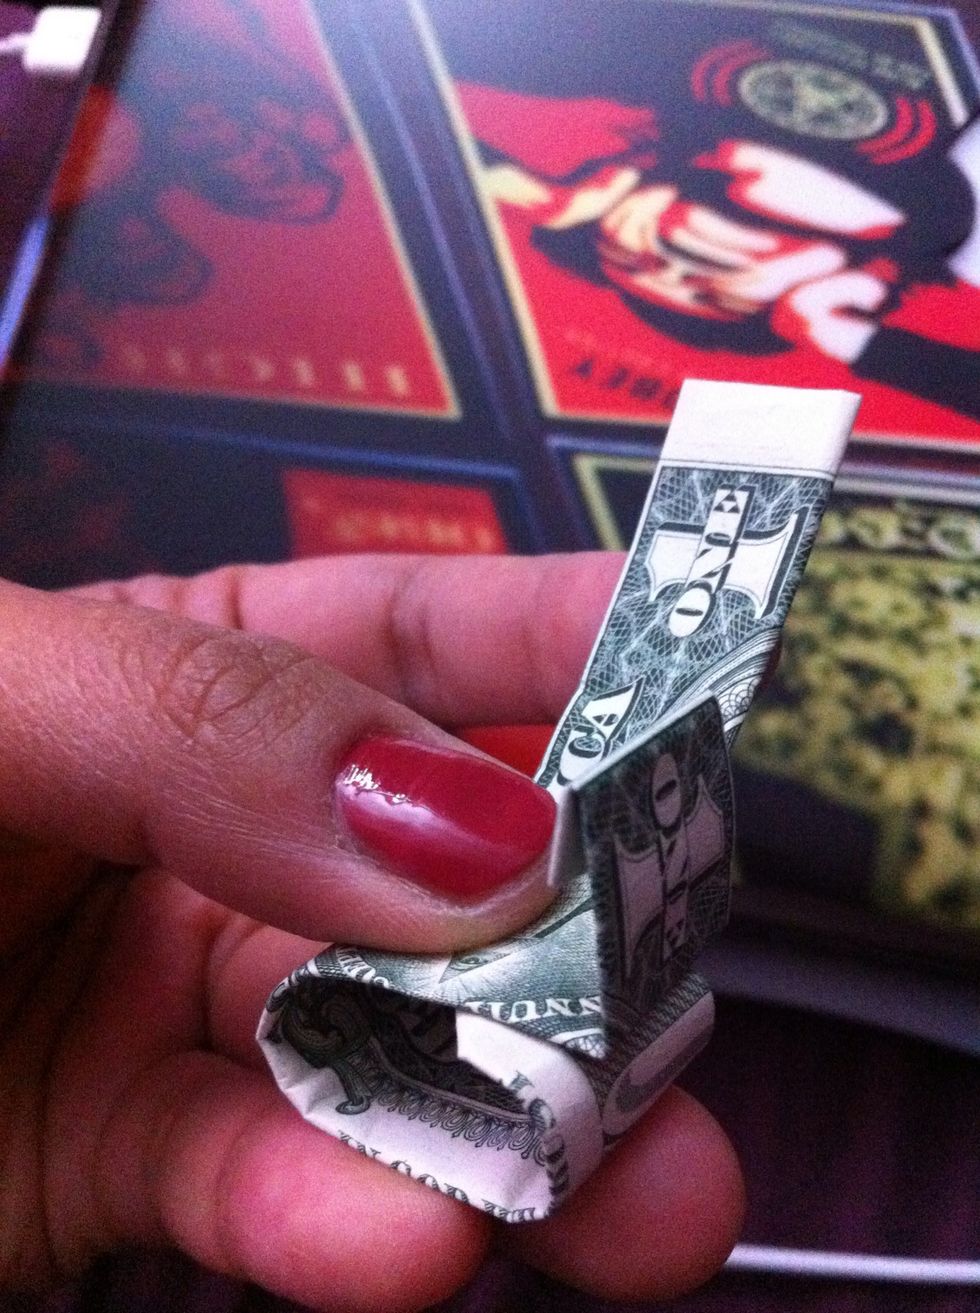
Now open the 1 and begin to fold down the top on to the bottom.
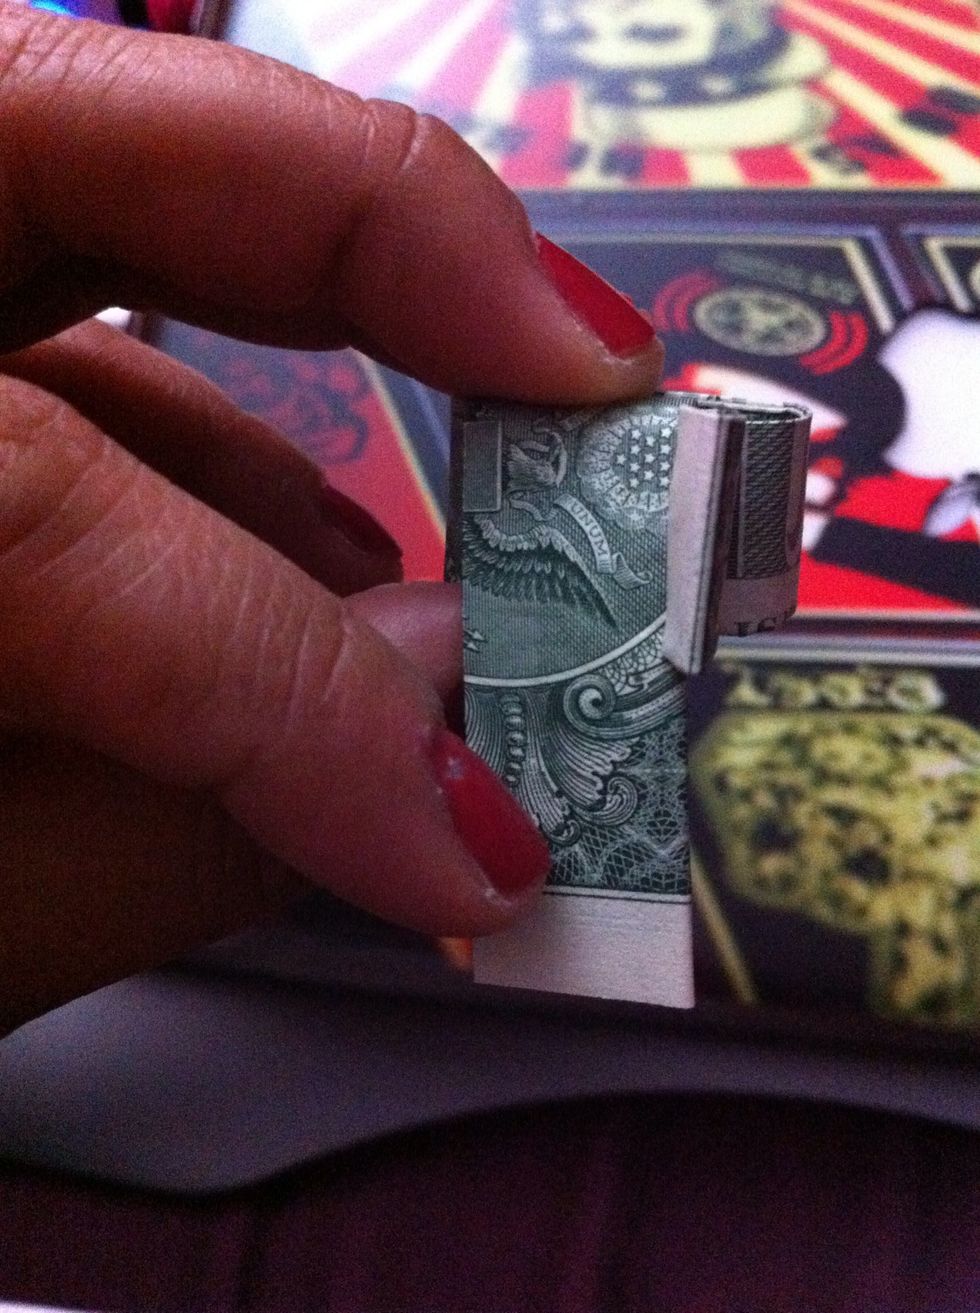
Now it should be folded down.

Take the 1 and unfold the little crease so it can wrap underneath as seen.
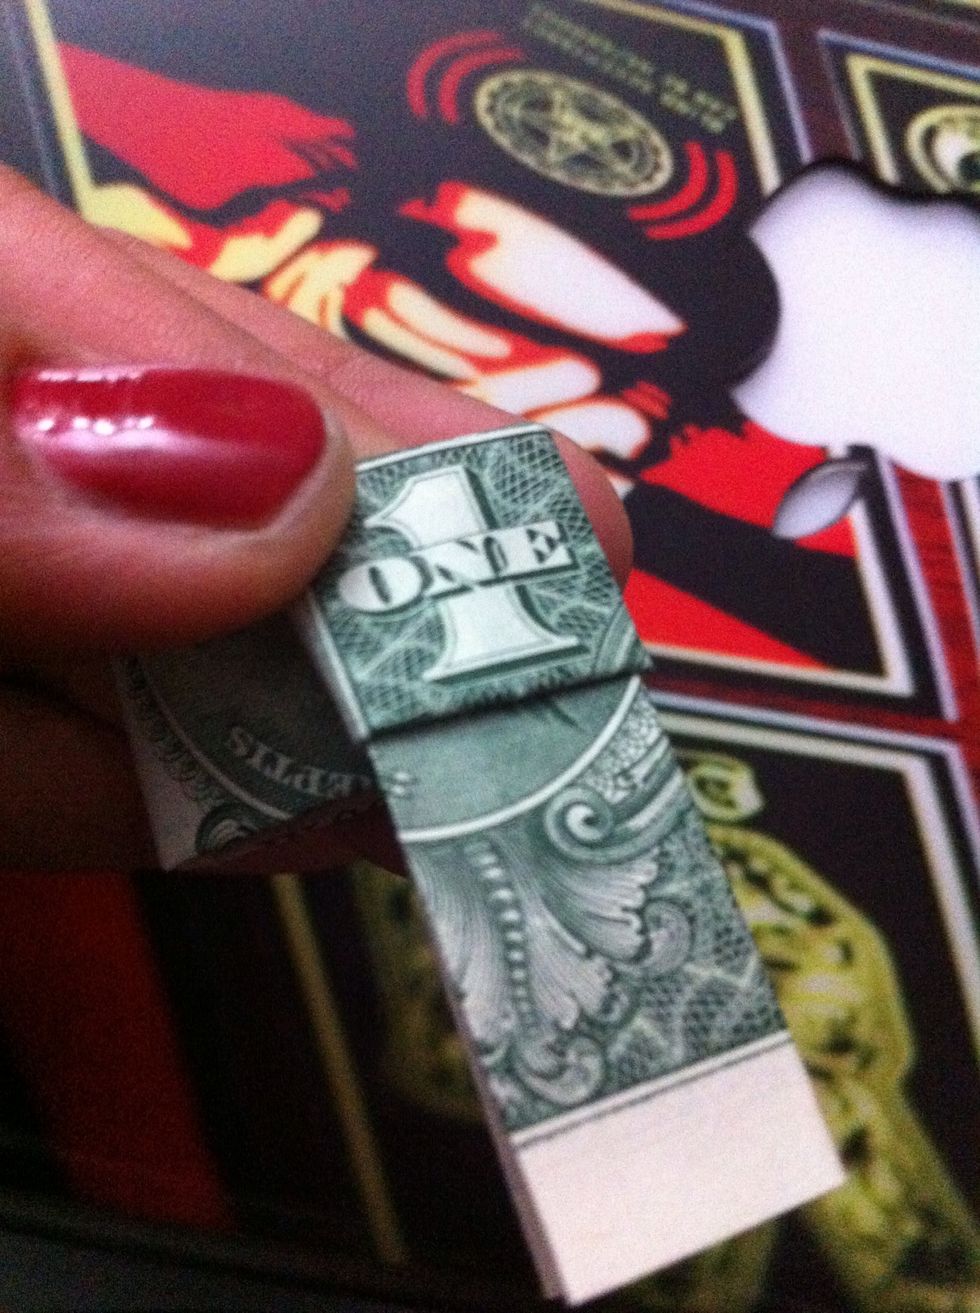
Should look something like this now.
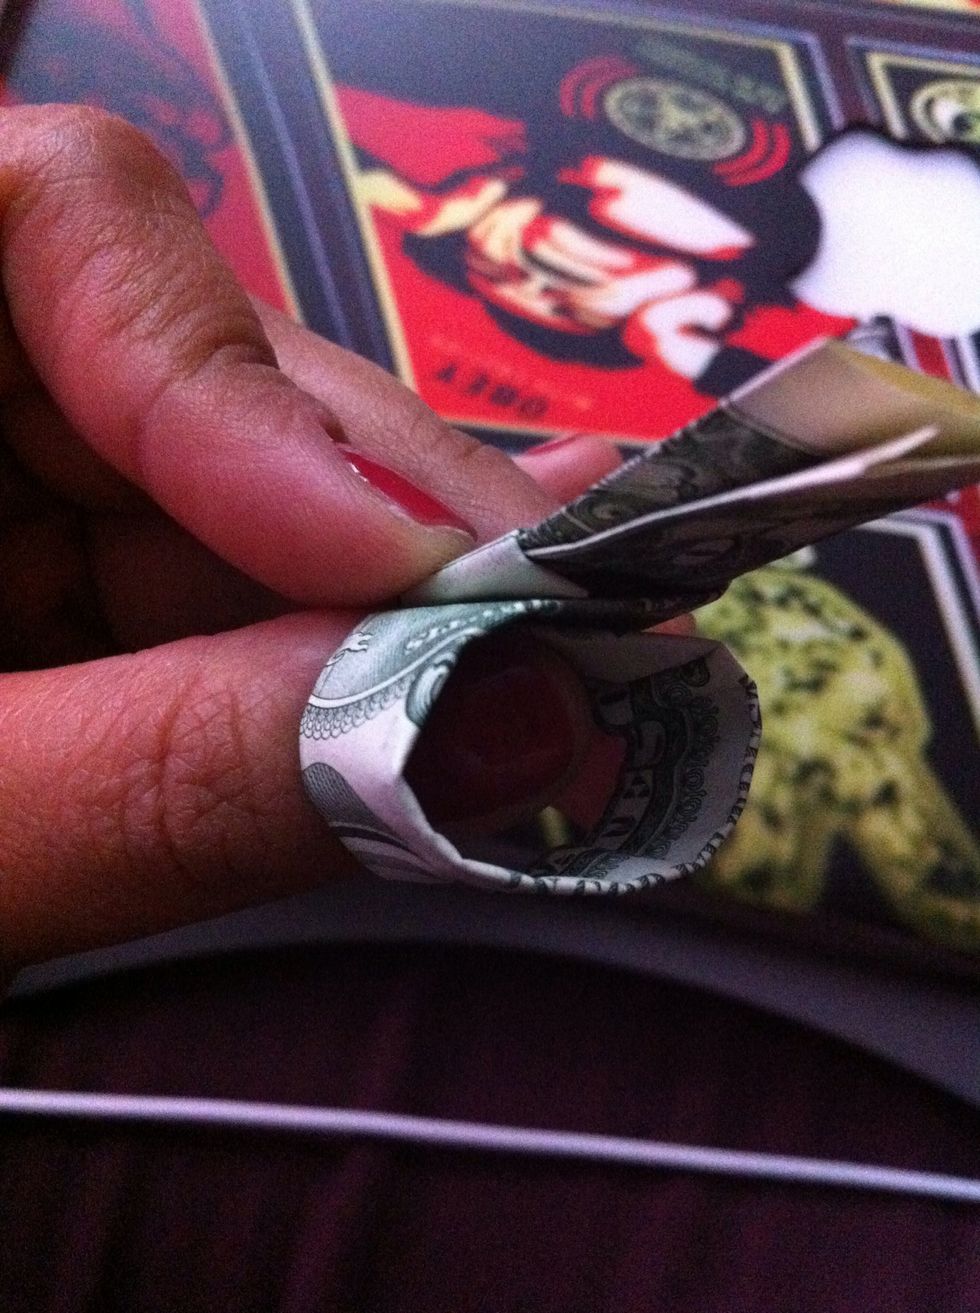
Take the part sticking out and fold inside the circle.
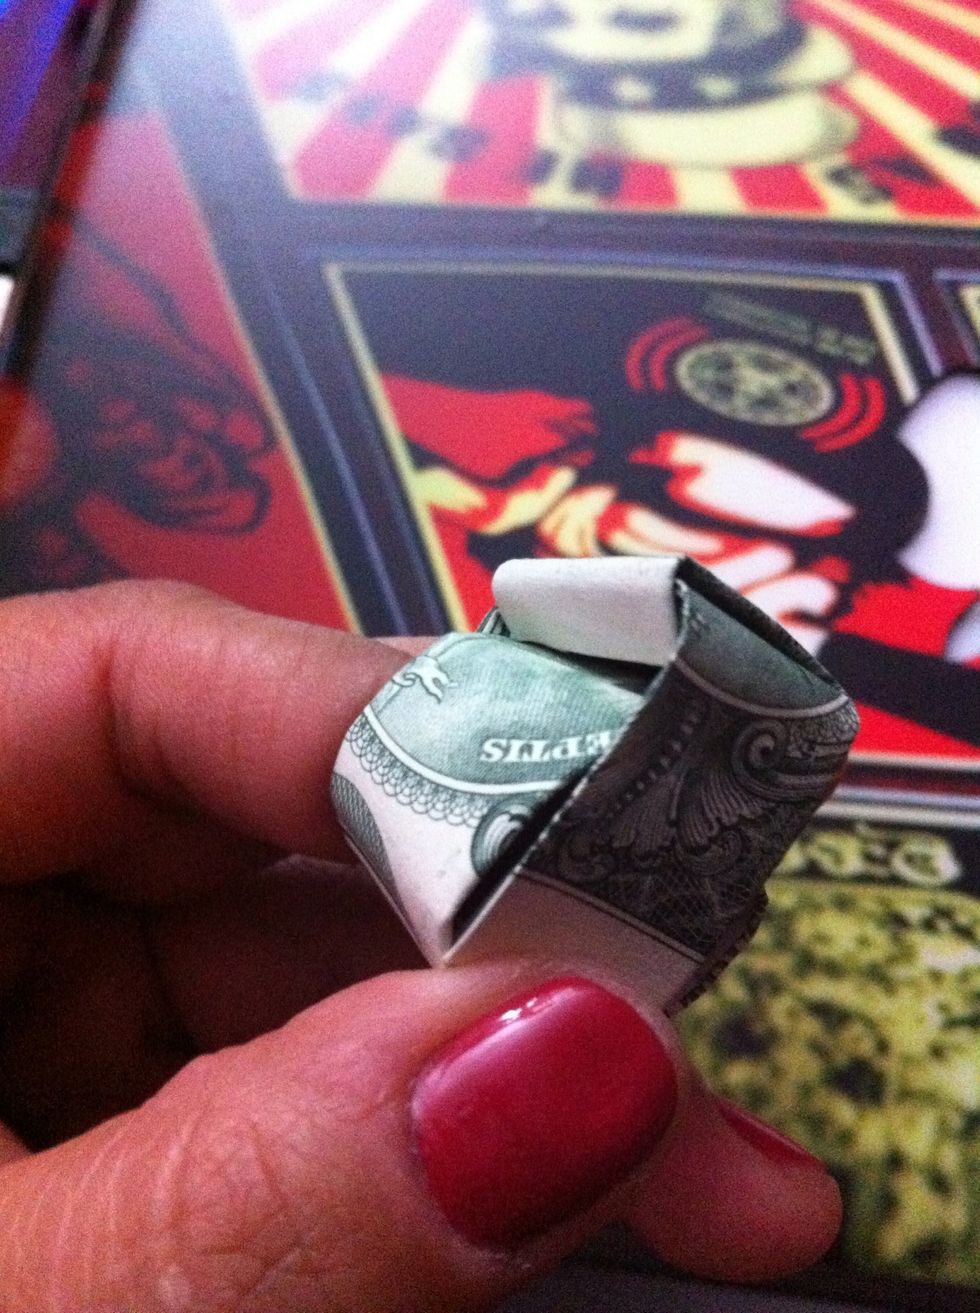
Fold all the way inside the tunnel.
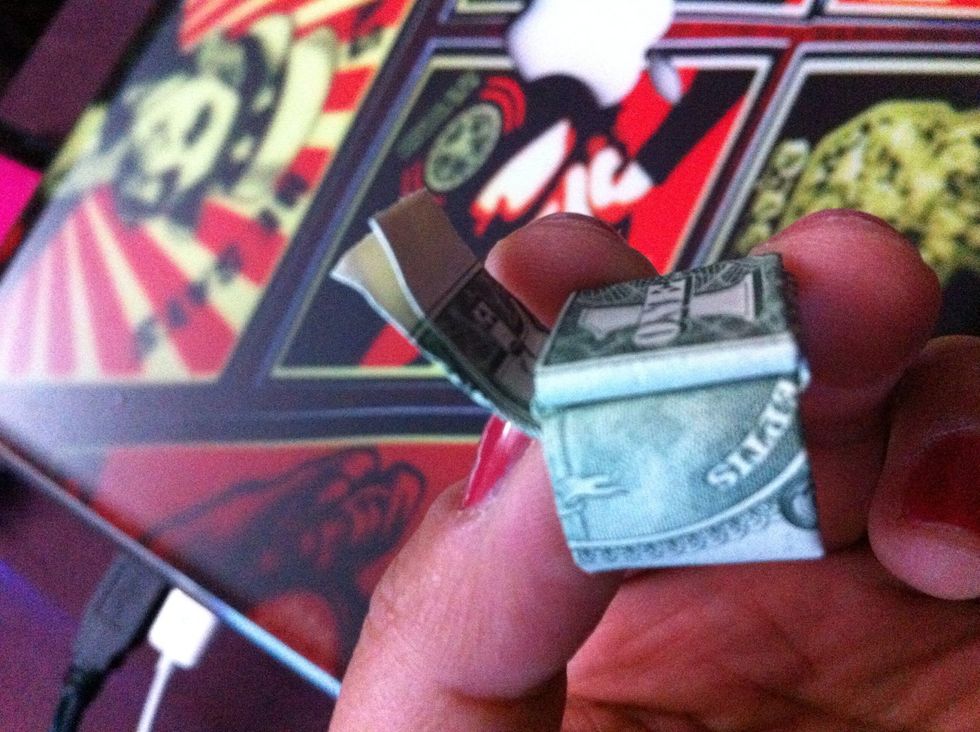
Once it's folded in, the extra part will be sticking out.
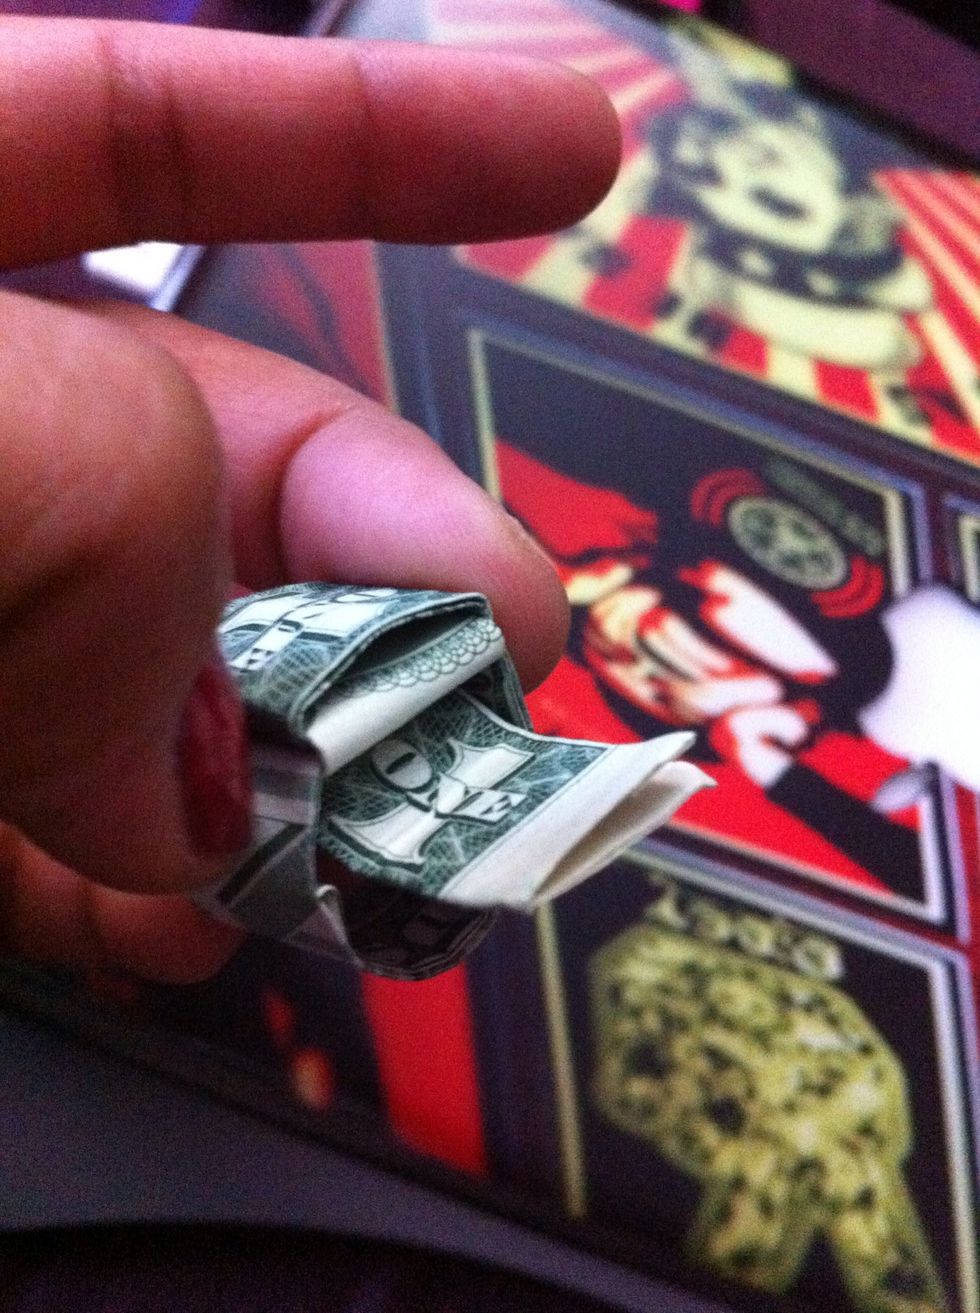
Lightly squeeze the sides of the 1 to make a slight opening. Now tuck the piece sticking out inside the 1.
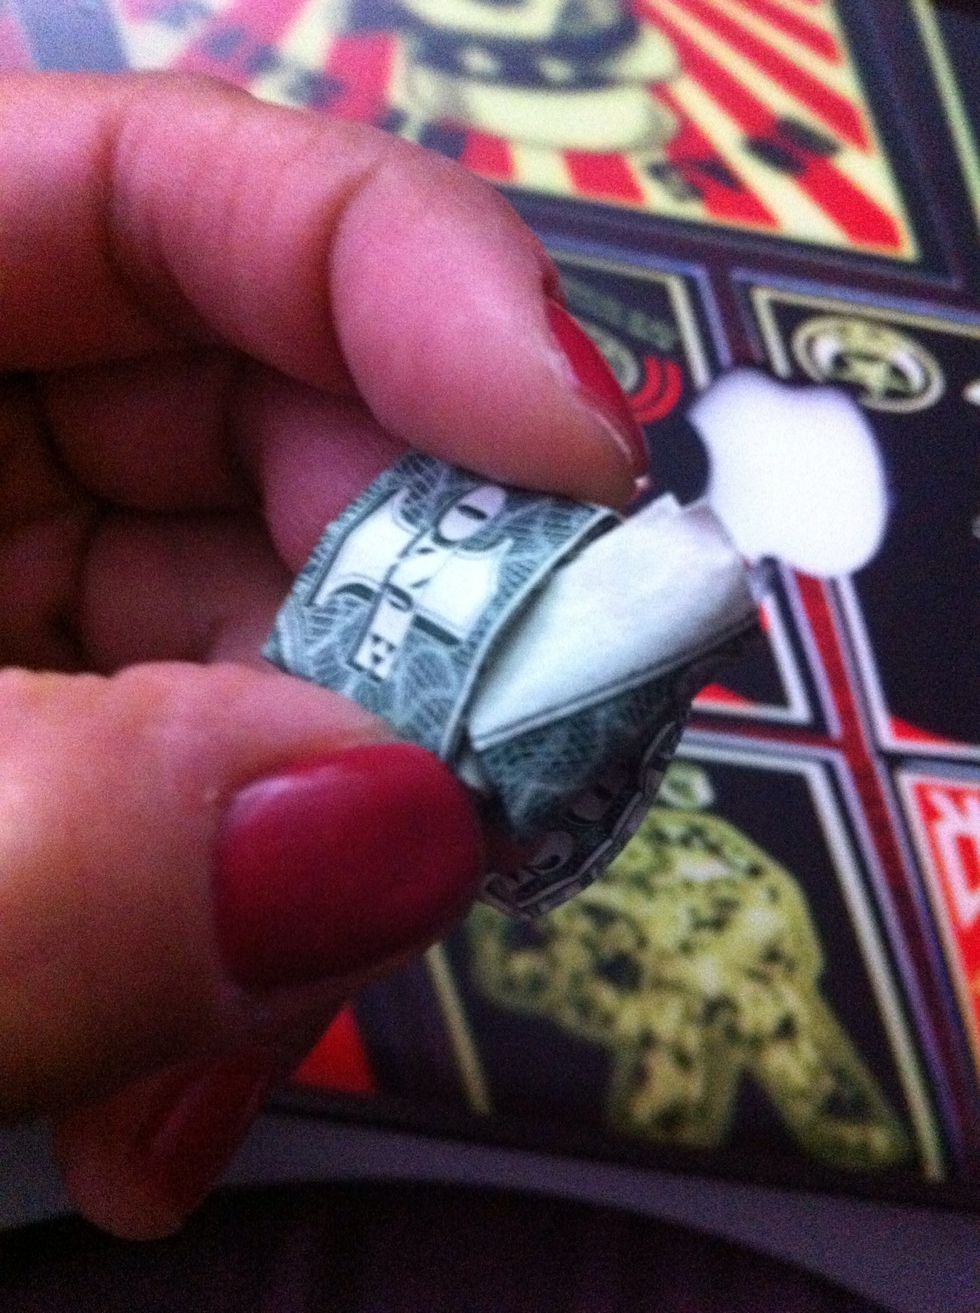
Tuck it in nice and snug.
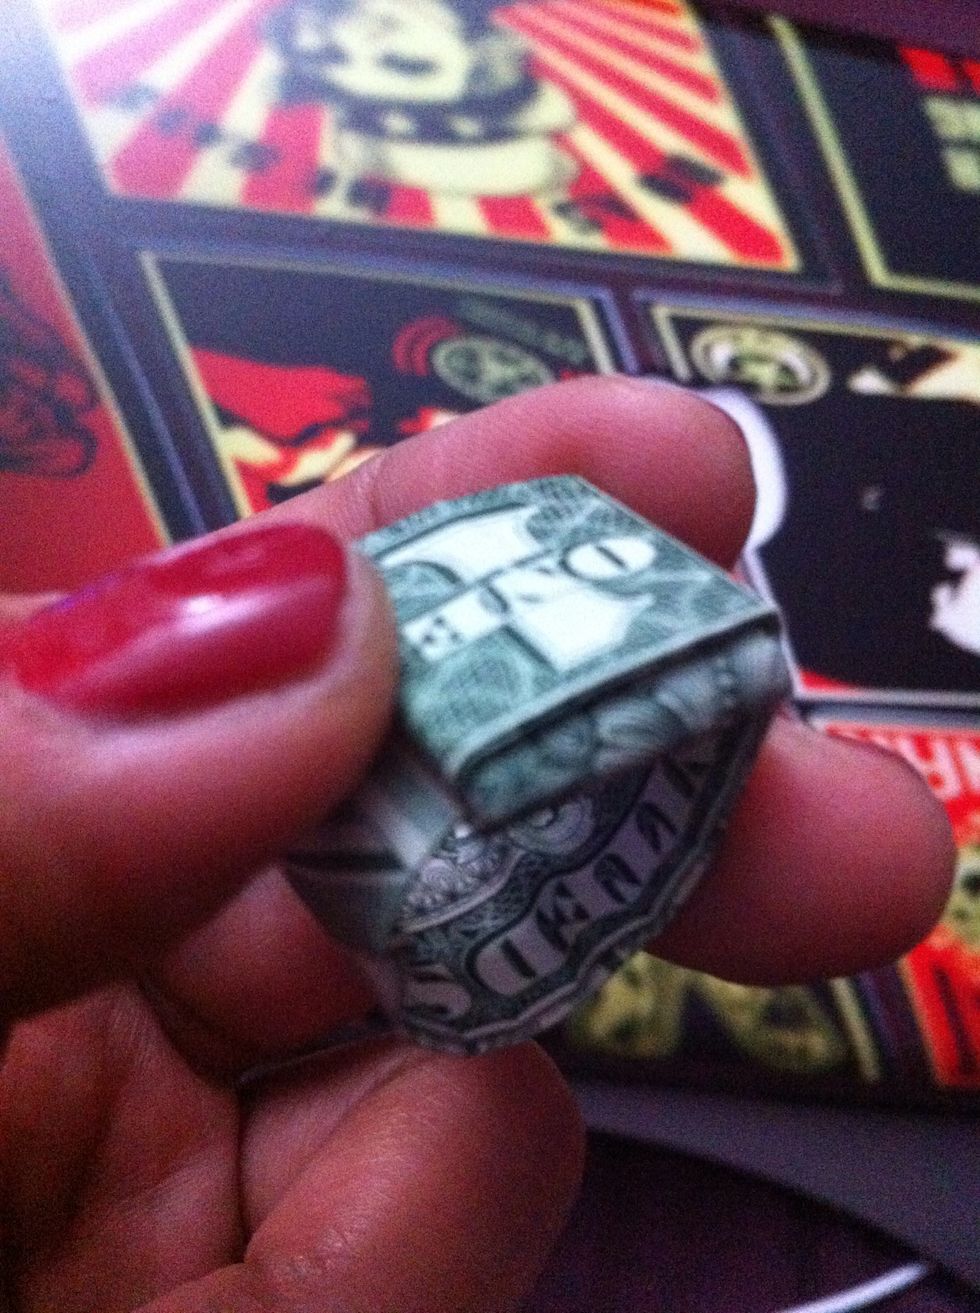
Should now look like this. Just line up the edges accordingly so it looks clean and folded.

It's nice and snug in all of the edges.
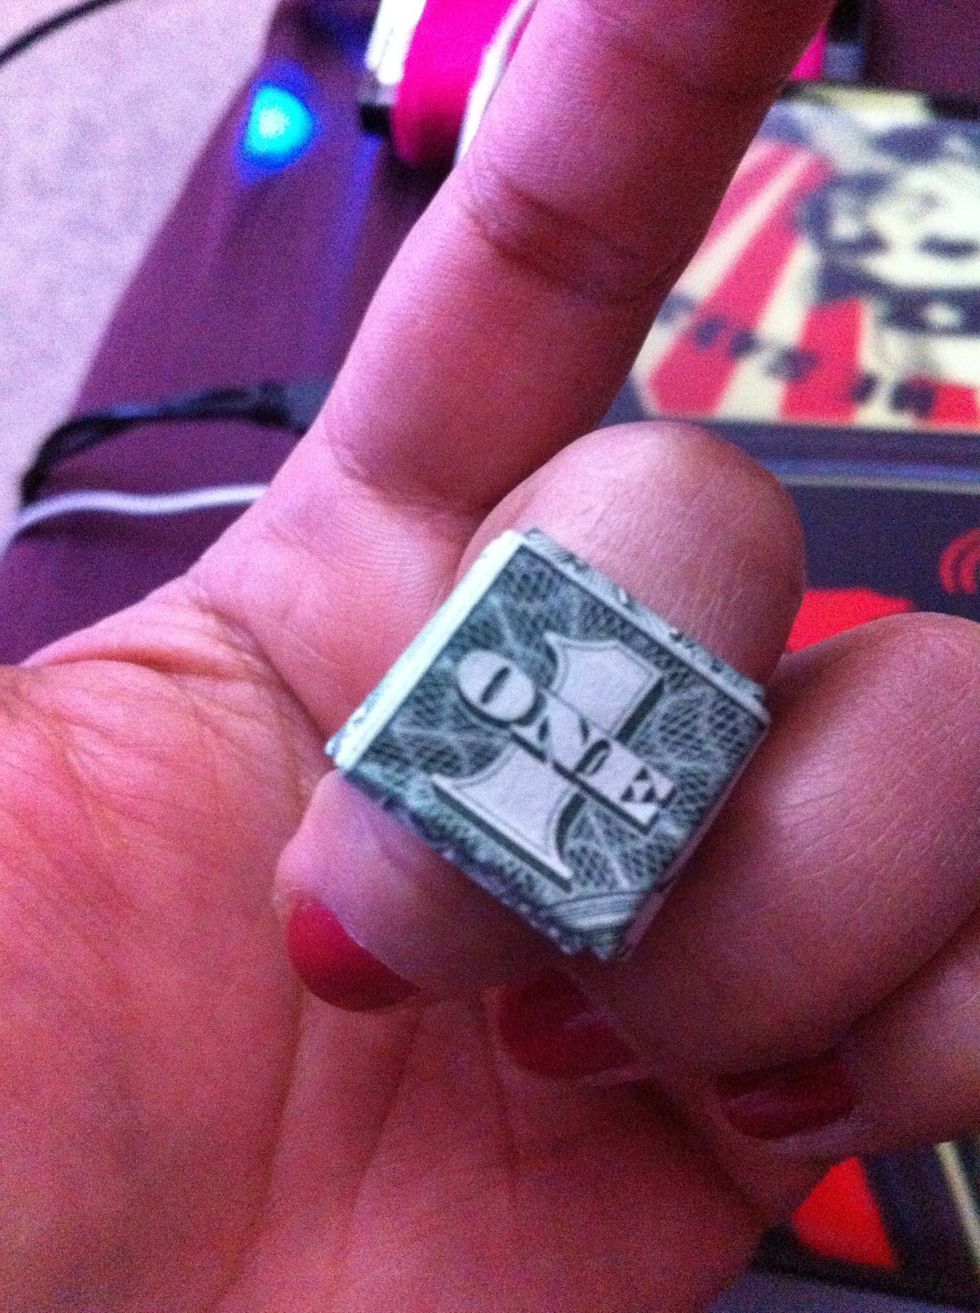
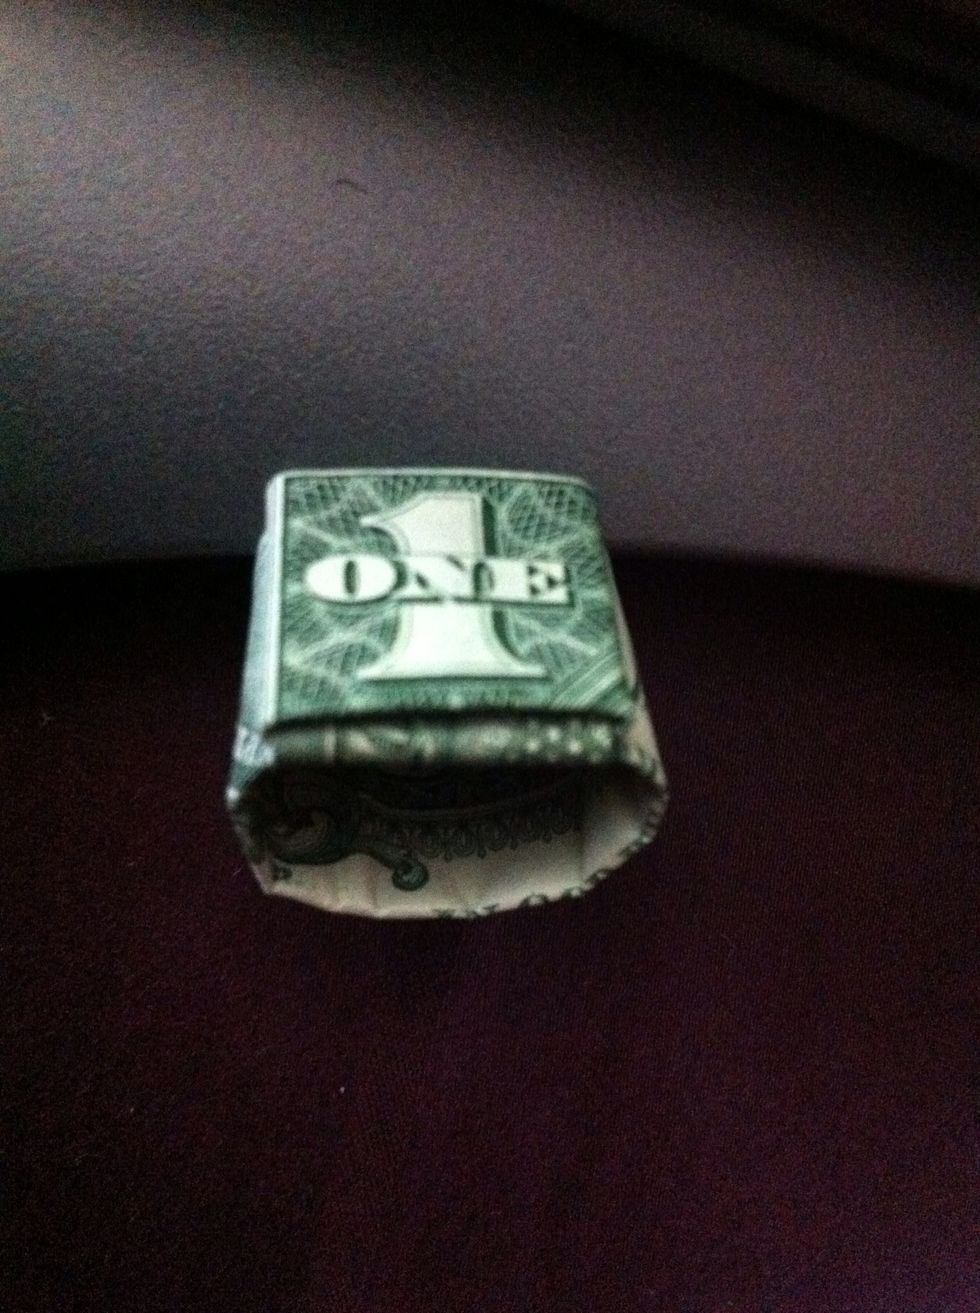
The 1 is nice and square and visible.
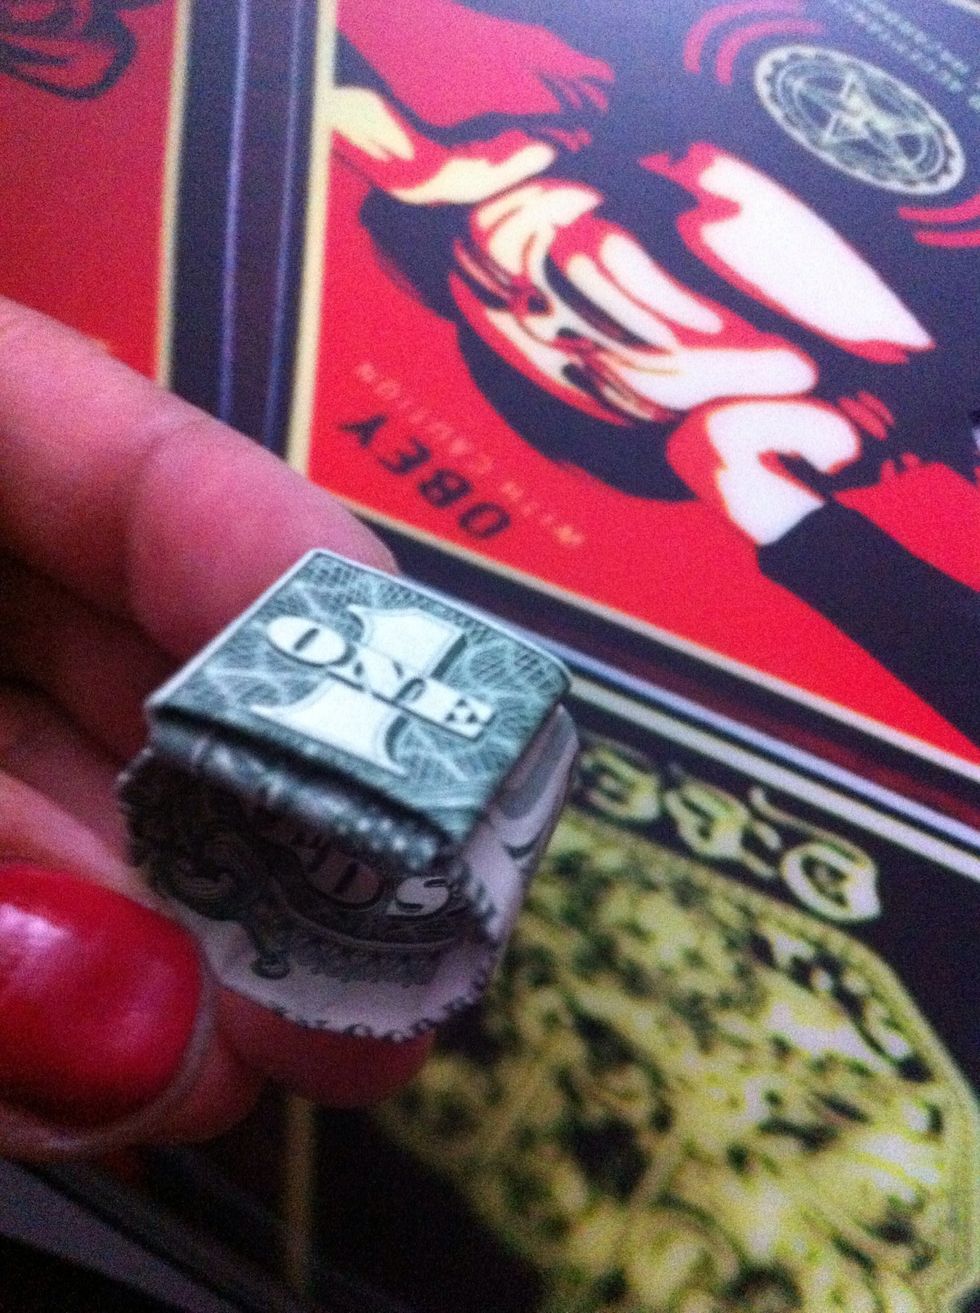
When u take it off it should look like this. If the circle is too small adjust it by going back to STEP 22 and make it wider by going in between letters towards your RIGHT.
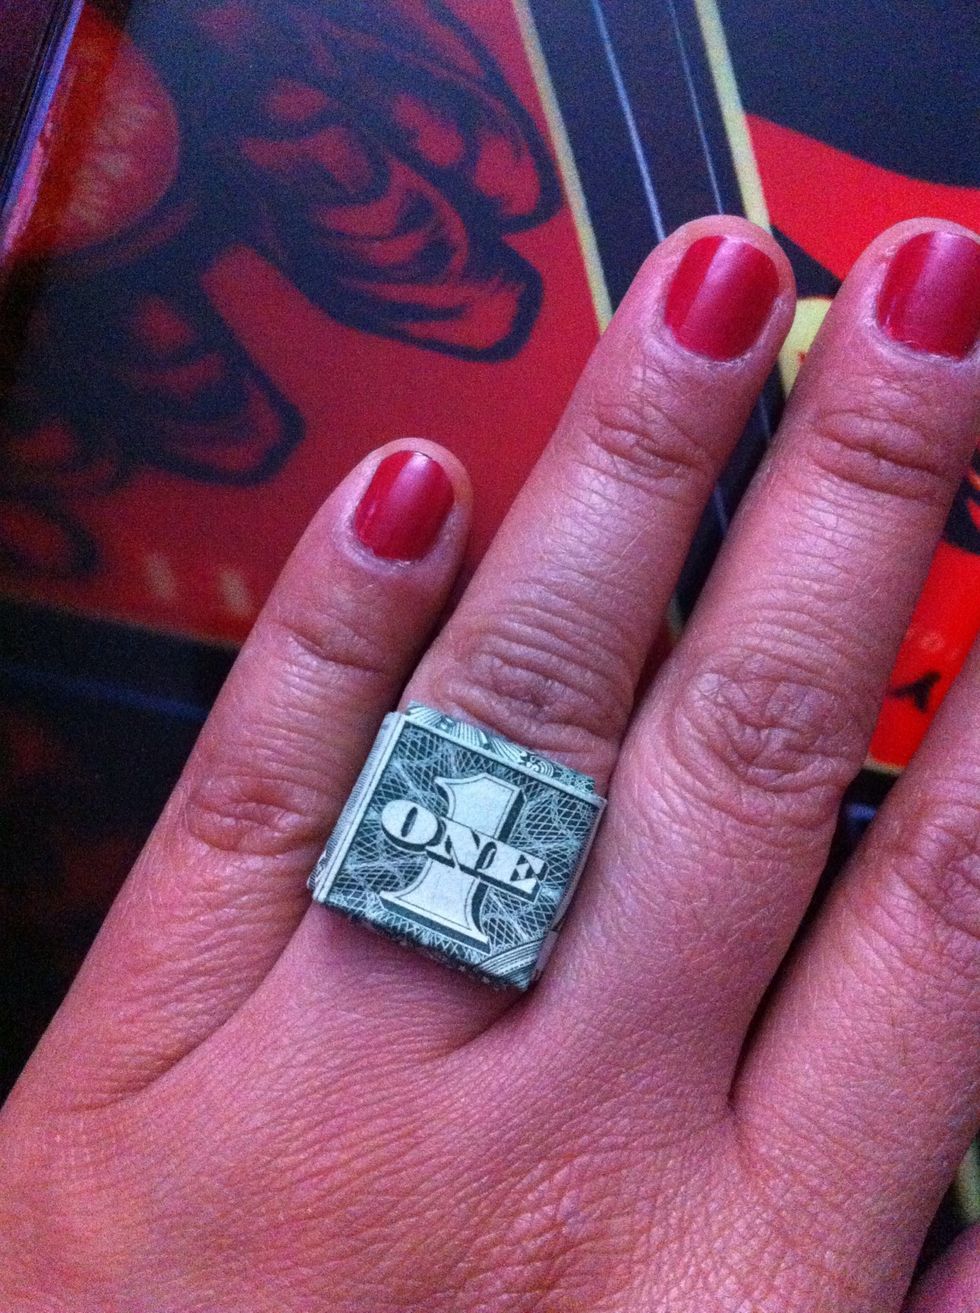
Take your money ring and wear it! YAY congrats u are done! 😃
Thanks for taking the time to read the step-by-step tutorial! Have fun with it! 😃
- 1.0 Choice of bill ($1, $5, $10, $20, etc)