The Conversation (0)
Sign Up
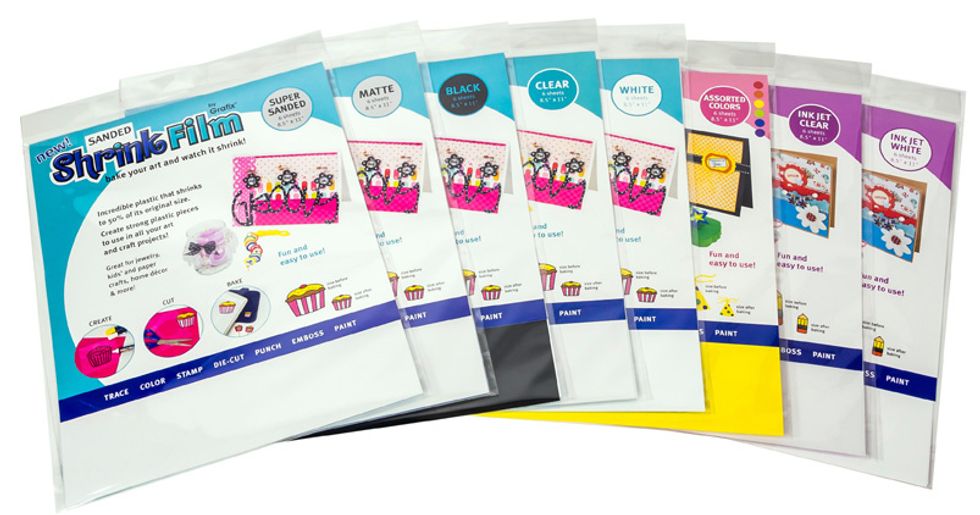
Shrink Film from Grafix comes in a wide range of colors and styles. for this project, we'll be using Clear Shrink Film
you don't have to totally fill in the designs on the stencils; you can use scribbled lines to partially color them in.
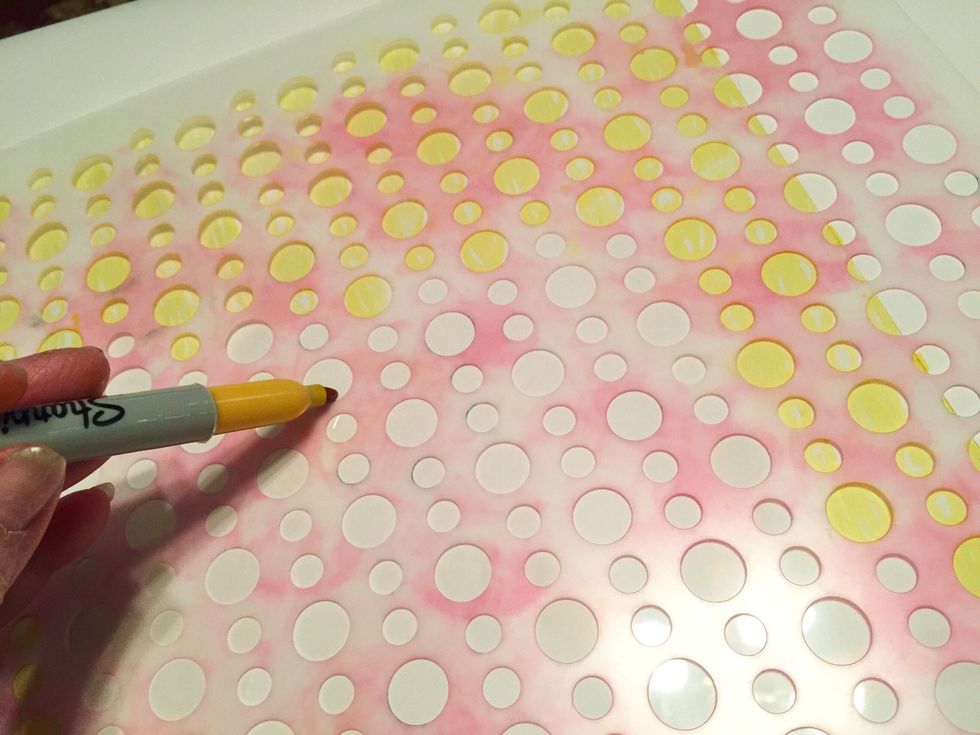
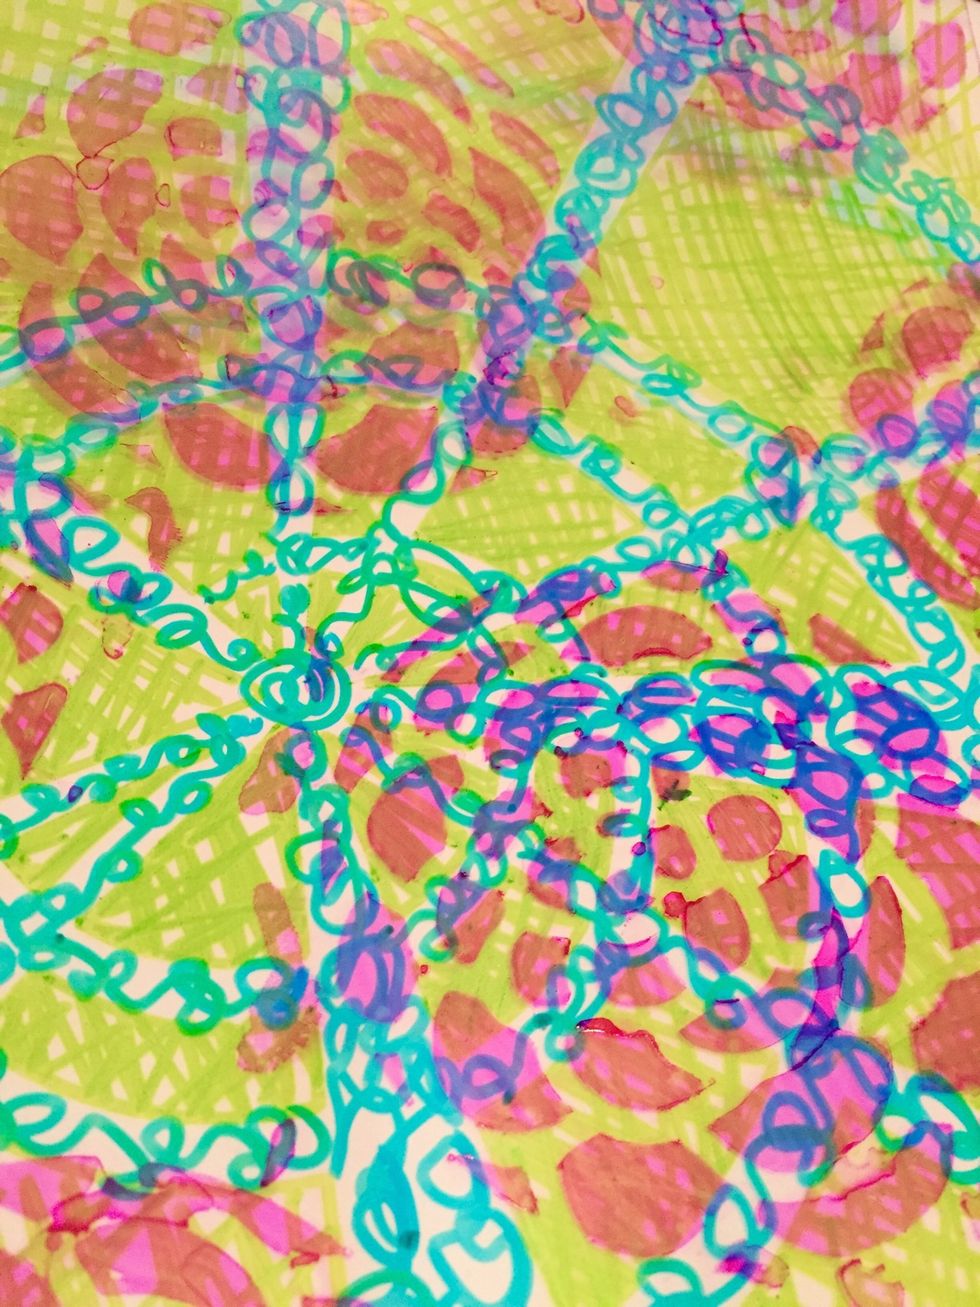
tape a sheet of Clear Shrink Film down to work surface. place Beaded Curtain stencil on top of sheet and tape down to secure. fill in circle designs using Yellow Sharpie.
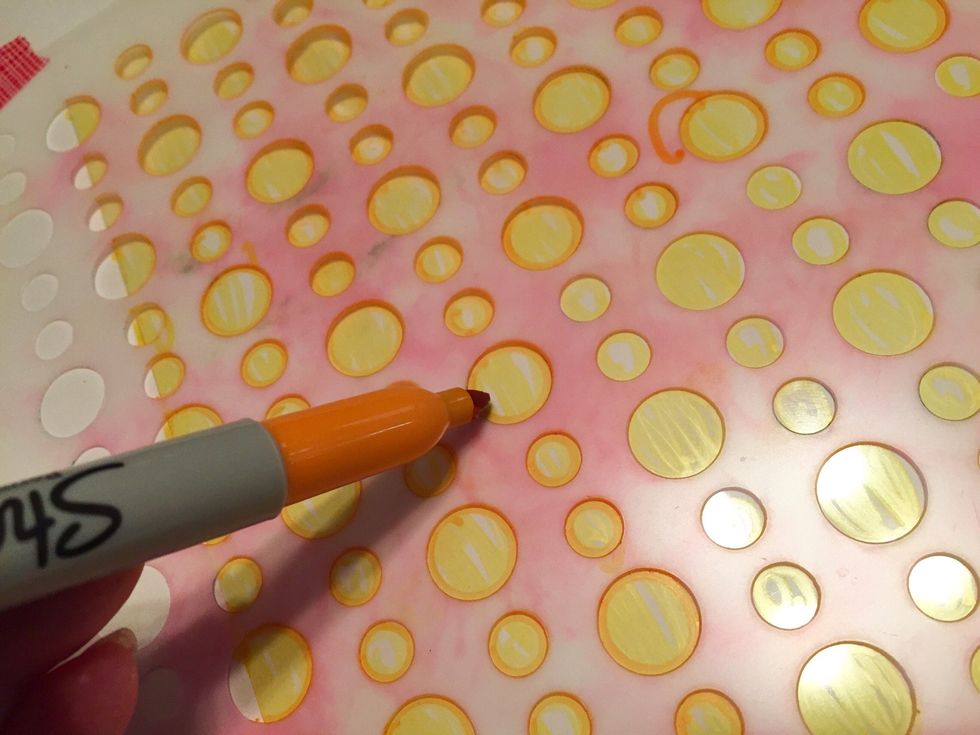
outline circles using Orange Sharpie.
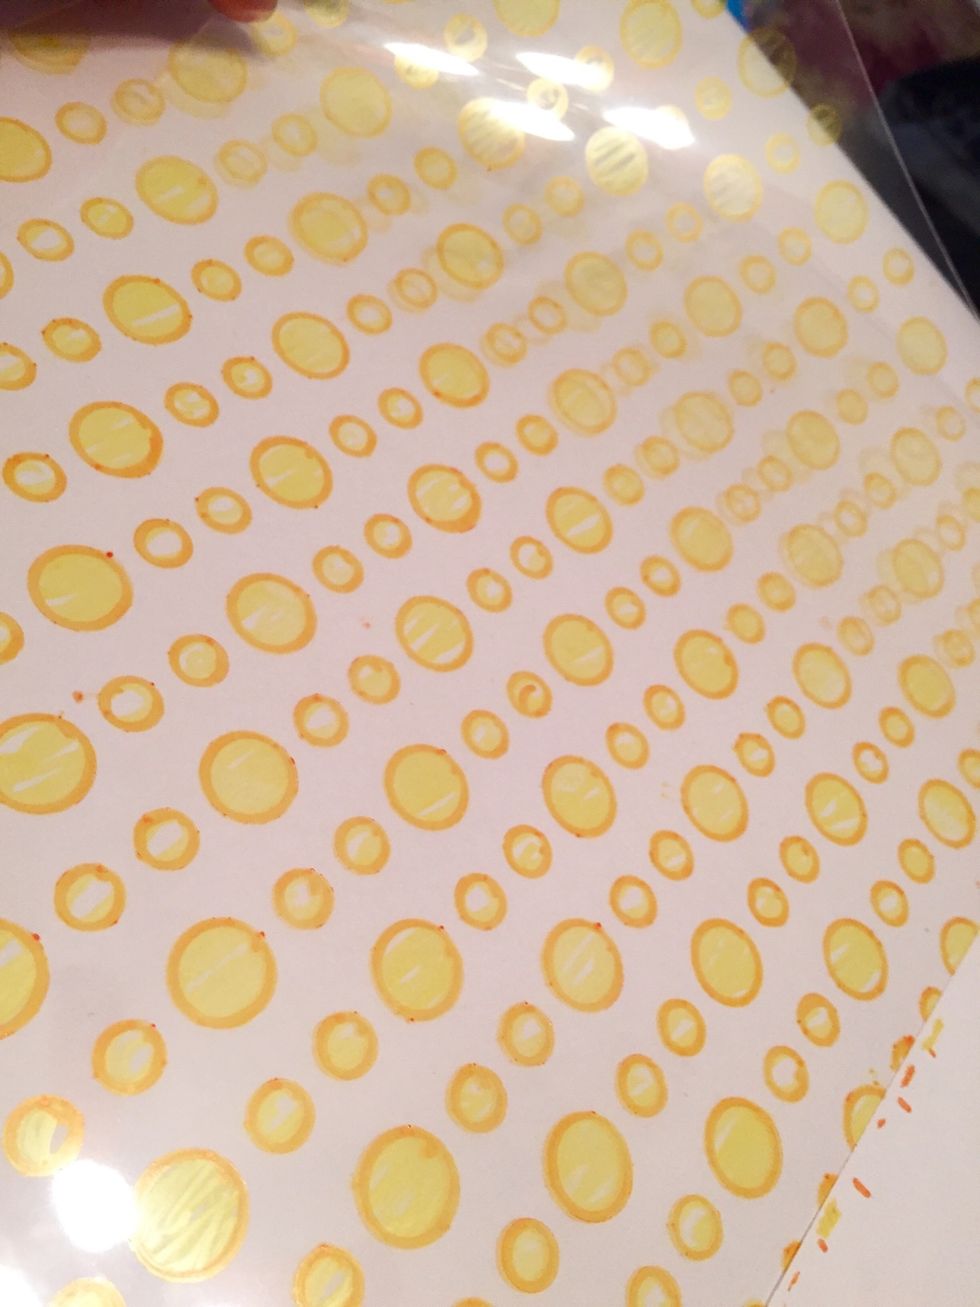
Shrink Film sheet after circle design has been completed. place sheet face down on work surface and tape back down. adding designs to both sides of the Shrink Film adds depth to your finished pieces.
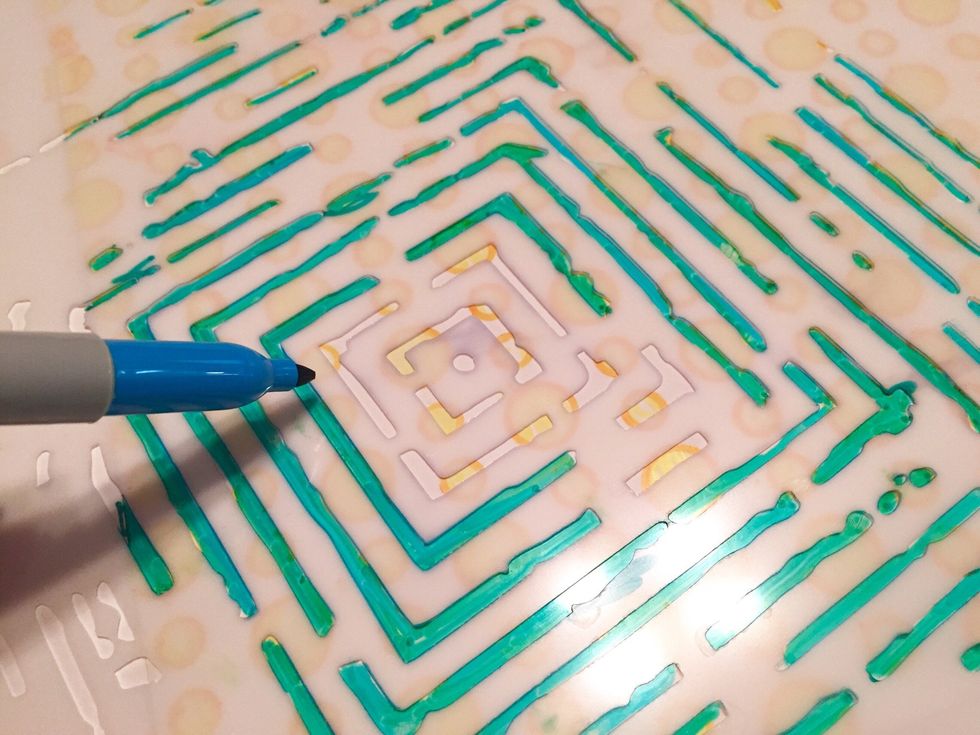
tape Labyrinth stencil over sheet with circle designs. use Aqua Sharpie to fill in designs. reposition and retape stencil as needed to cover sheet with designs.
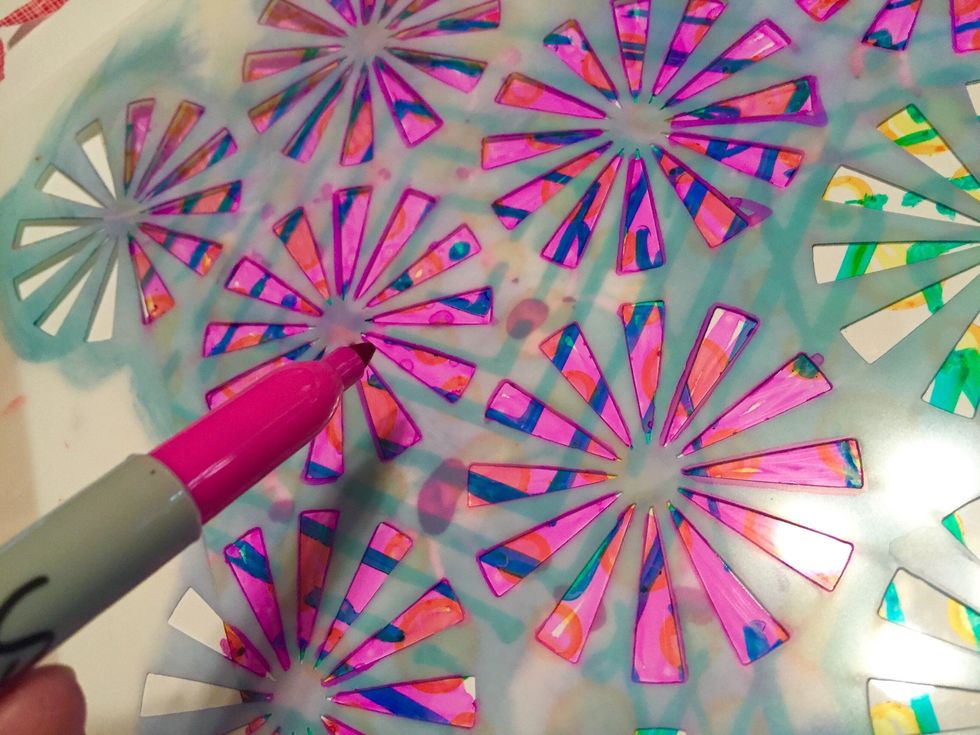
to finish sheet, tape down Retrobursts stencil and fill in designs using Hot Pink Sharpie.

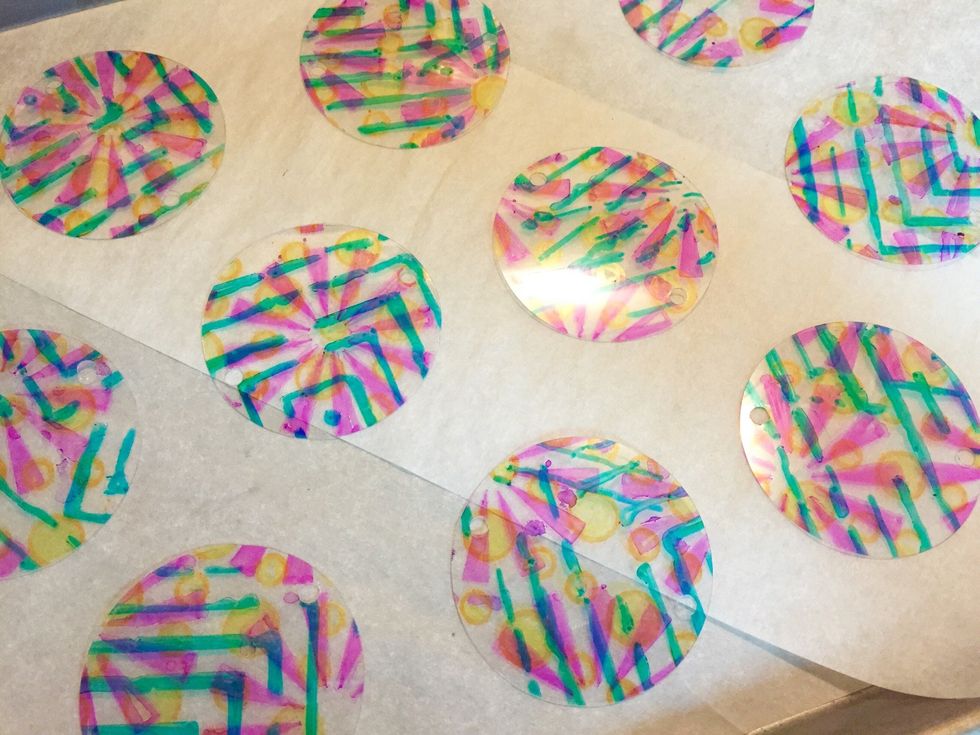
first sheet finished.
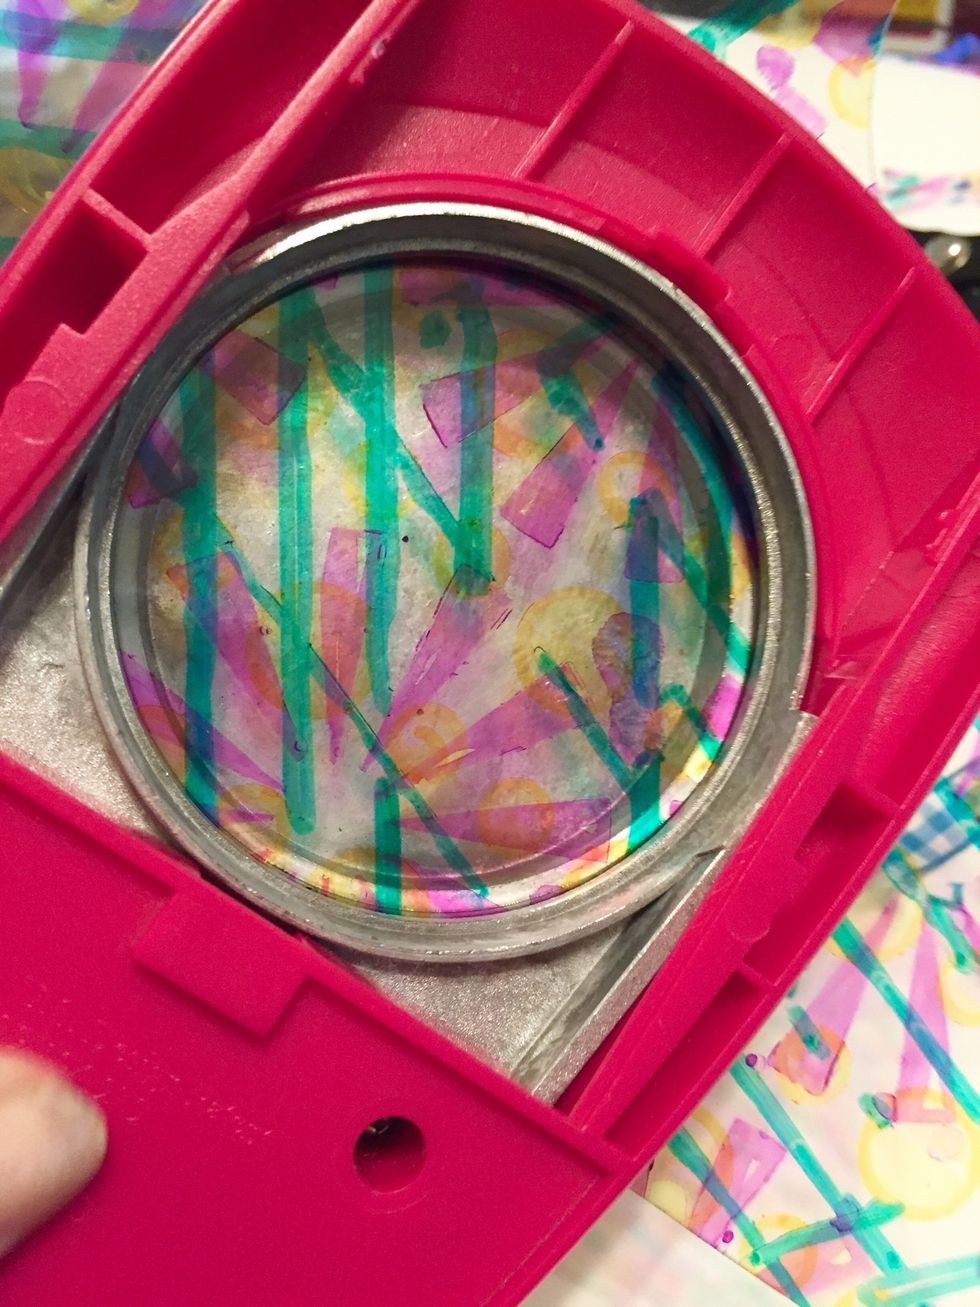
punch 6 - 3 1/2 circles from sheet.
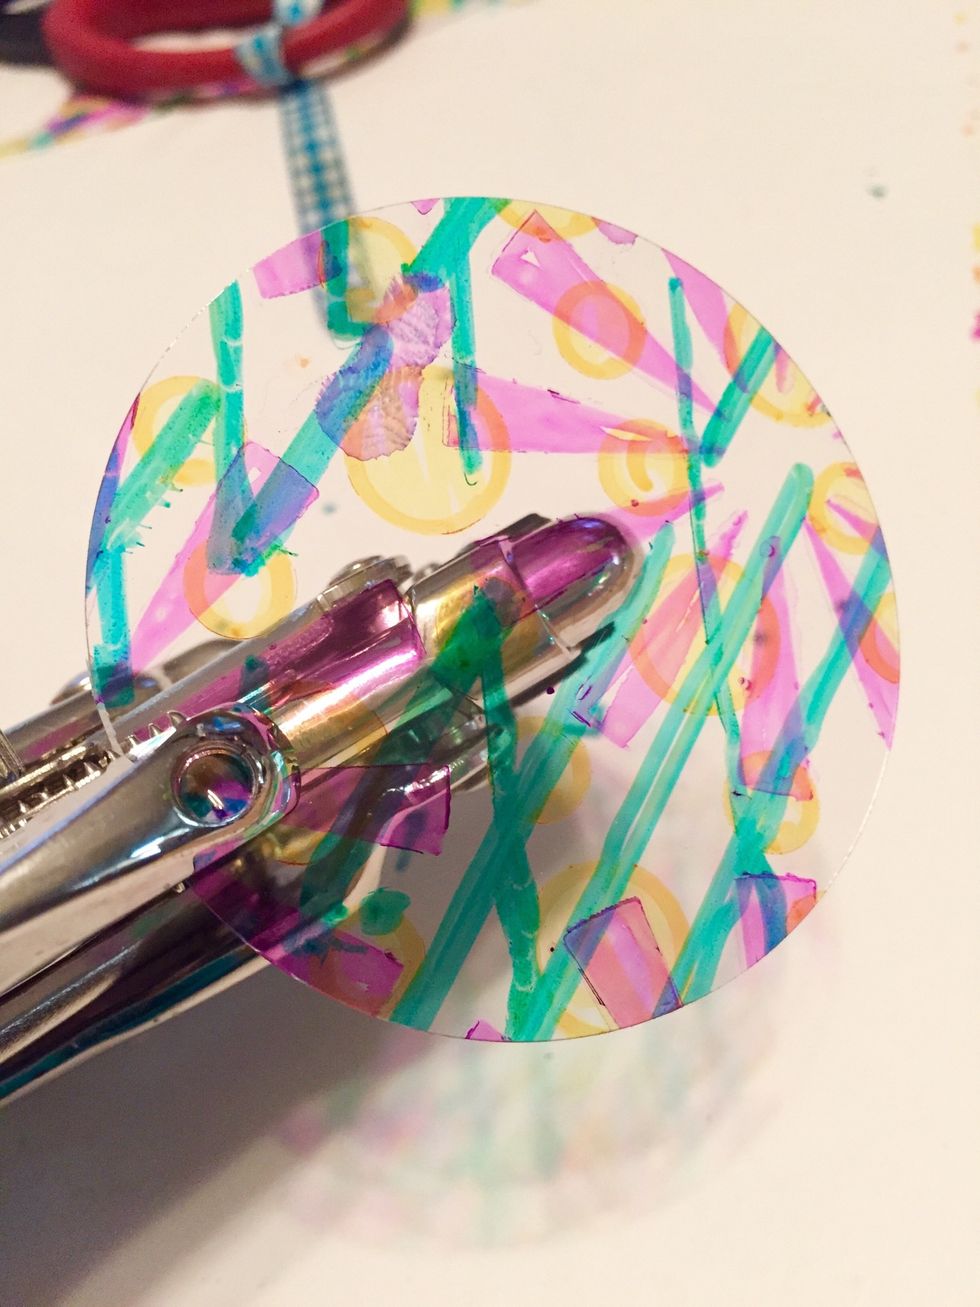
punch holes at top and bottom of each circle.
line baking sheet with parchment paper. lay circles on sheet - making sure all same sides are up - and bake Shrink Film pieces according to package directions.
shrink pieces will be HOT! allow to cool on baking sheet for a few minutes before transfering to another surface to finish cooling.
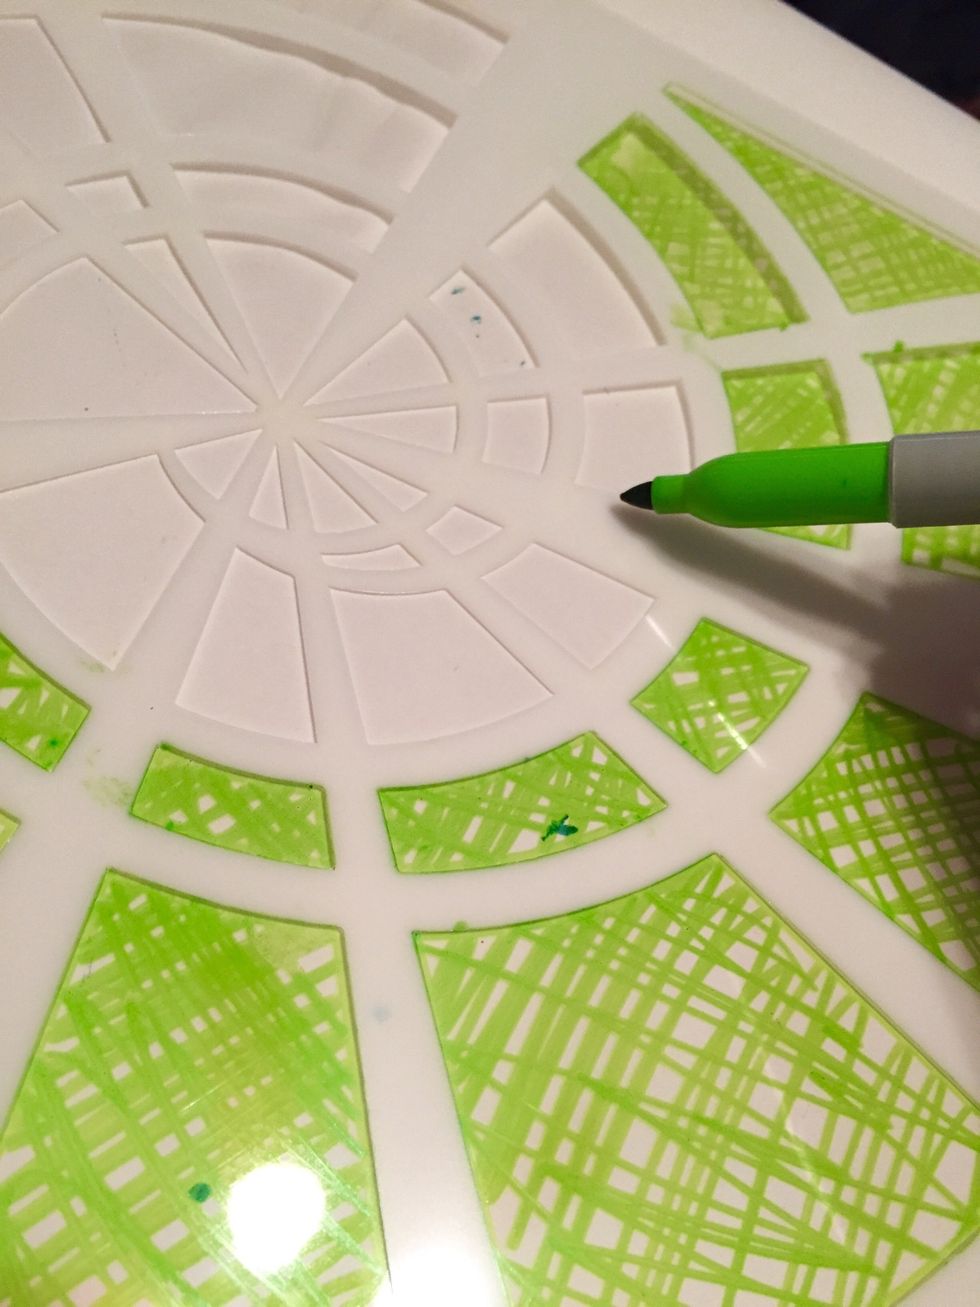
tape another sheet of Shrink Film down to work surface. begin to fill in design with a cross-hatch pattern using Lime Sharpie. reposition stencil and retape as needed to add designs to whole sheet.
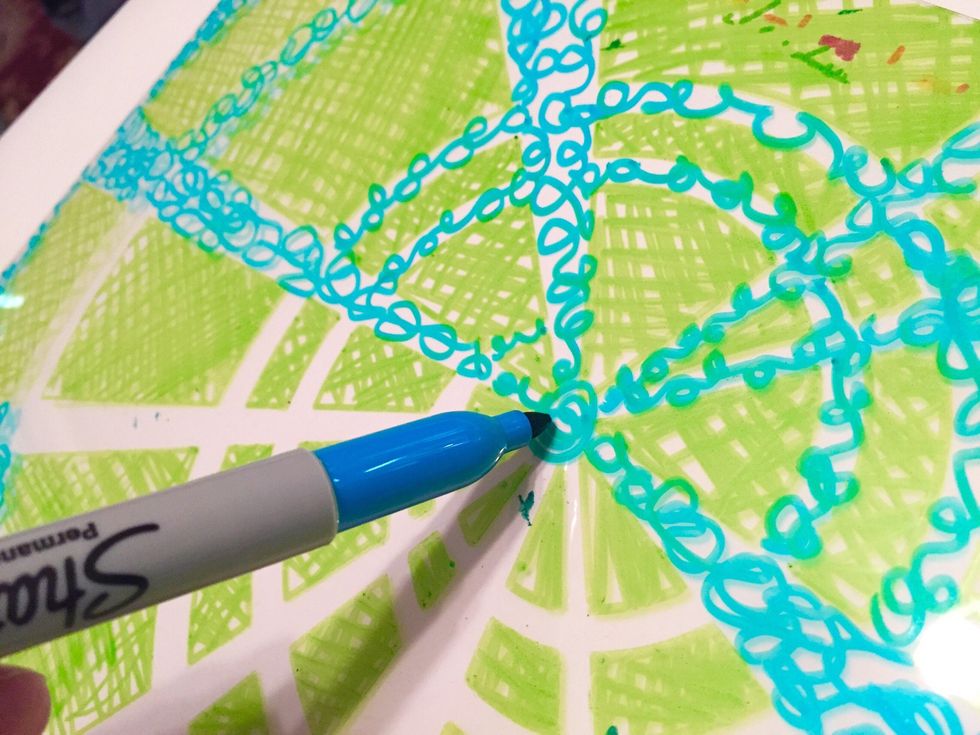
remove stencil and scribble in blank spaces using Aqua Sharpie.
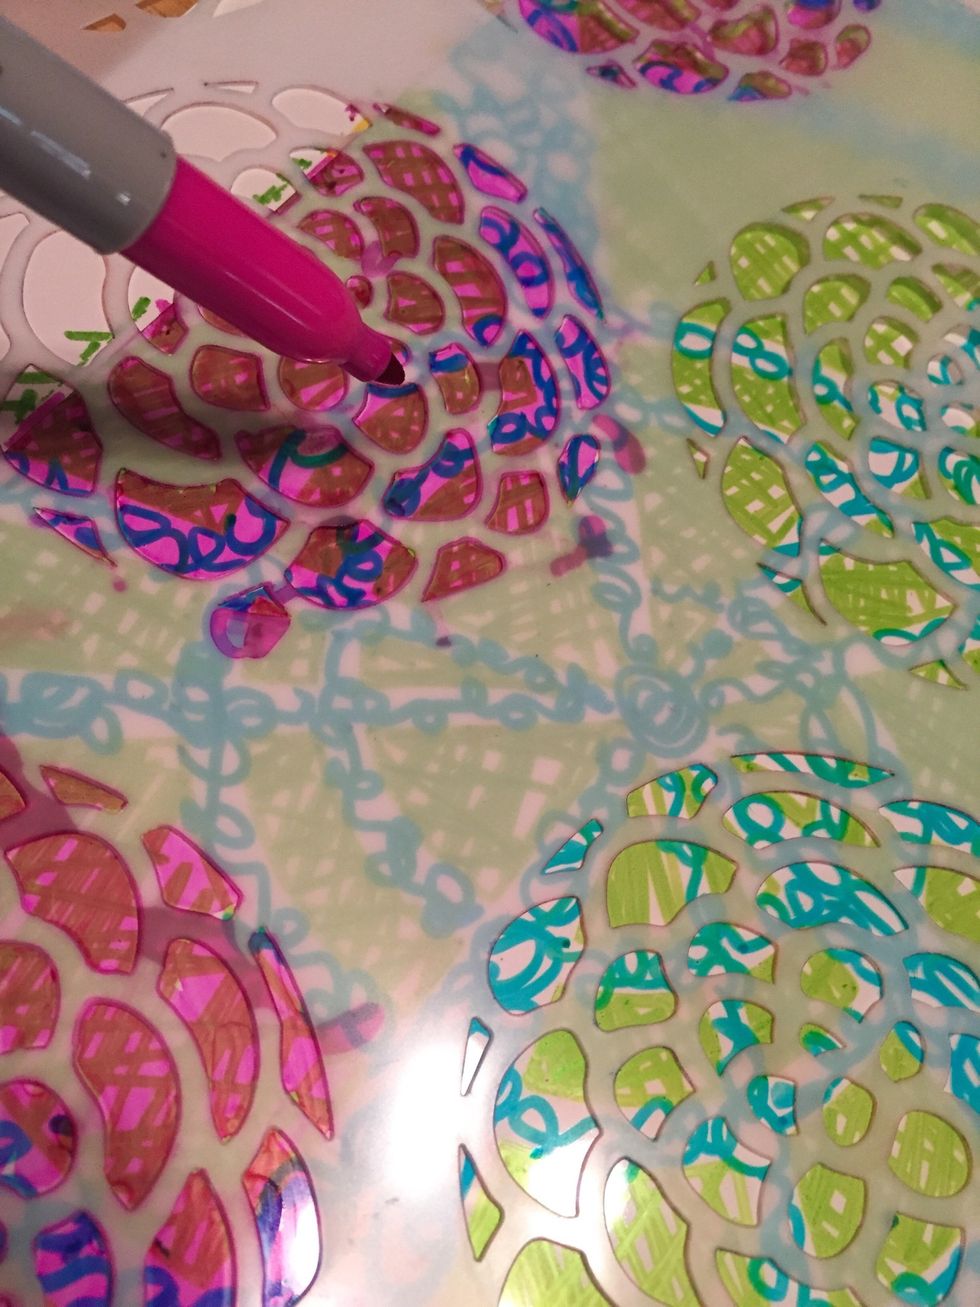
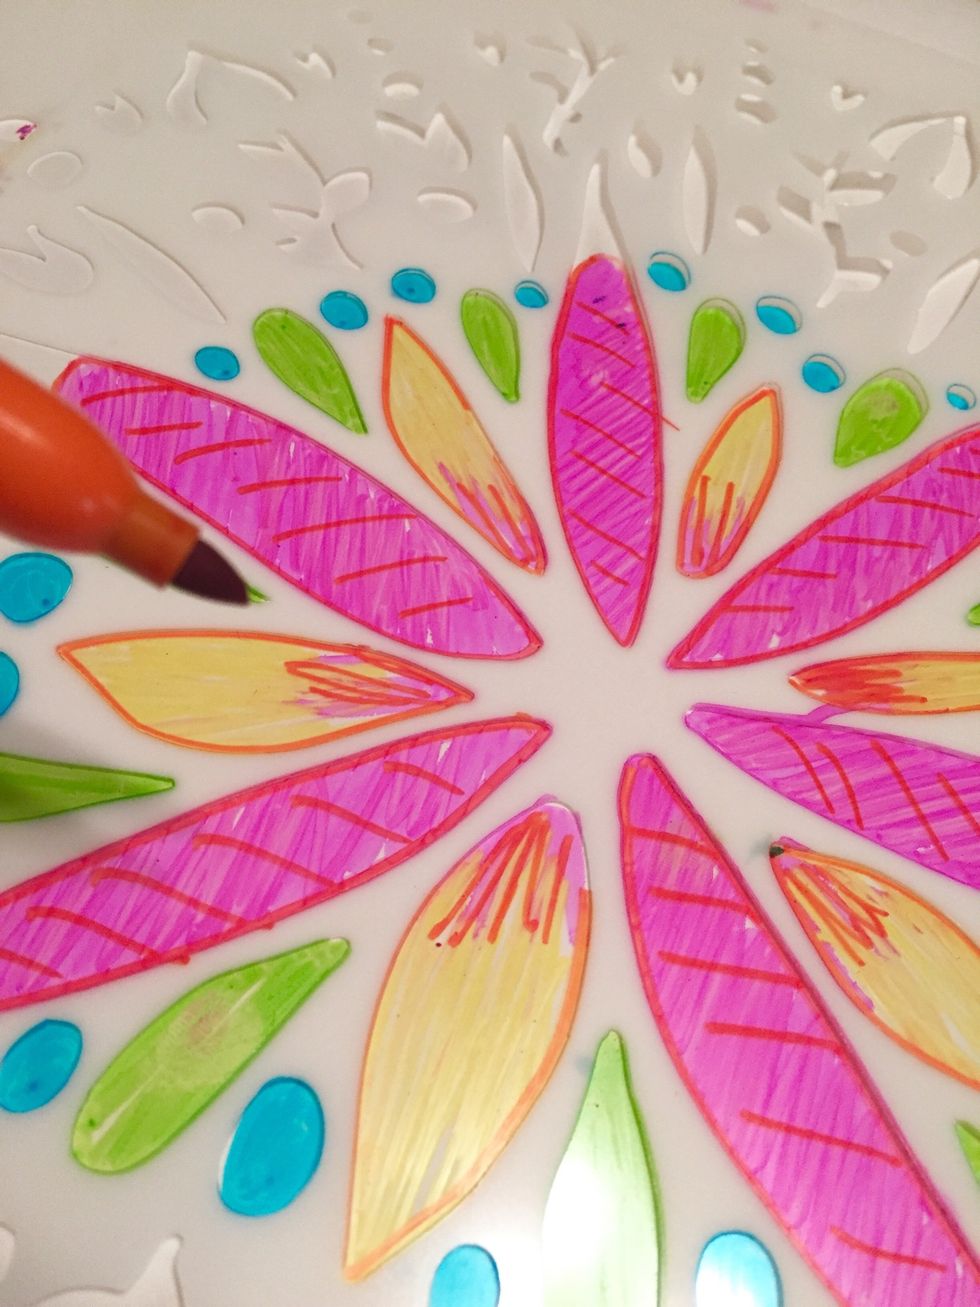
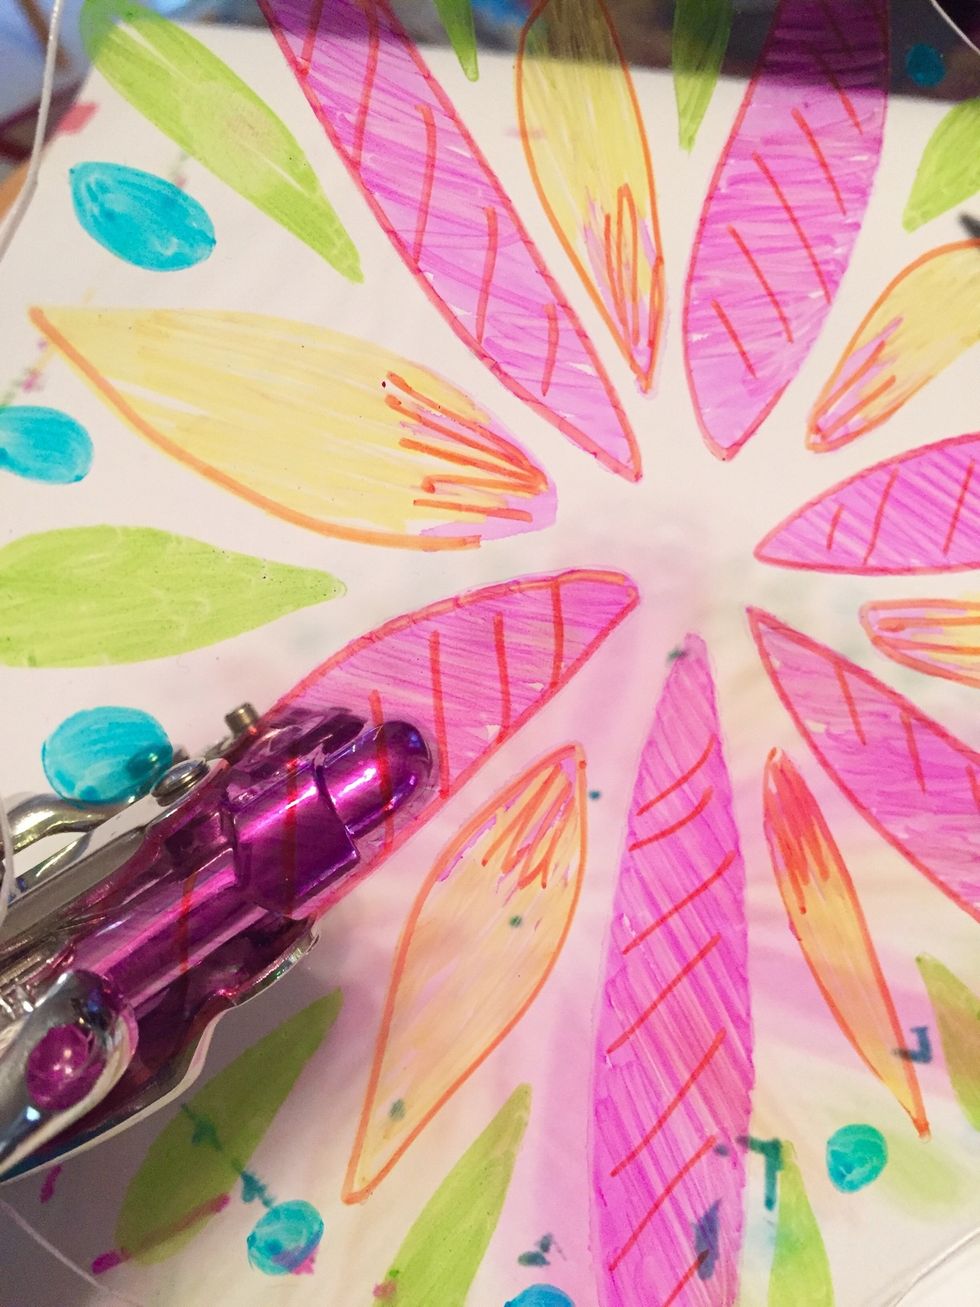
turn sheet over and tape down Scallop Flower Stencil. use Red and Hot Pink Sharpies to fill in flowers using a cross-hatch pattern.
second sheet finished. use 2 1/2 circle punch to punch 6 - 2 1/2 circles. punch holes at top and bottom and bake as before on lined parchment baking sheet.
use Folk Art Flower Stencil and all colors of Sharpies to make design on another sheet of Shrink Film to use as the top of the mobile.
cut out design loosely following outer edges of design. punch holes at ends of 6 pink petals to hang mobile parts from. bake as before.

use large butterfly on Butterfly Collage stencil and Orange Sharpie to add wing portion of design to Shrink Film (should have space on sheet used for top).
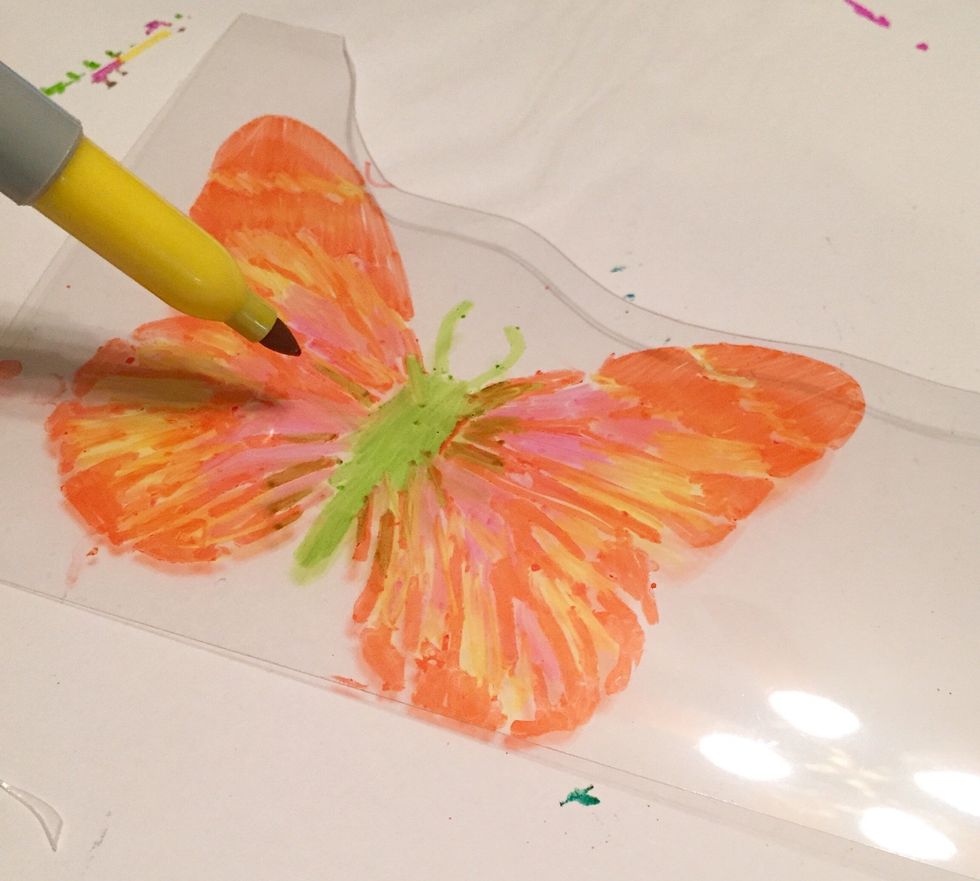
fill in body with Lime Sharpie and use Yellow and Hot Pink Sharpies to add colors to the base design.
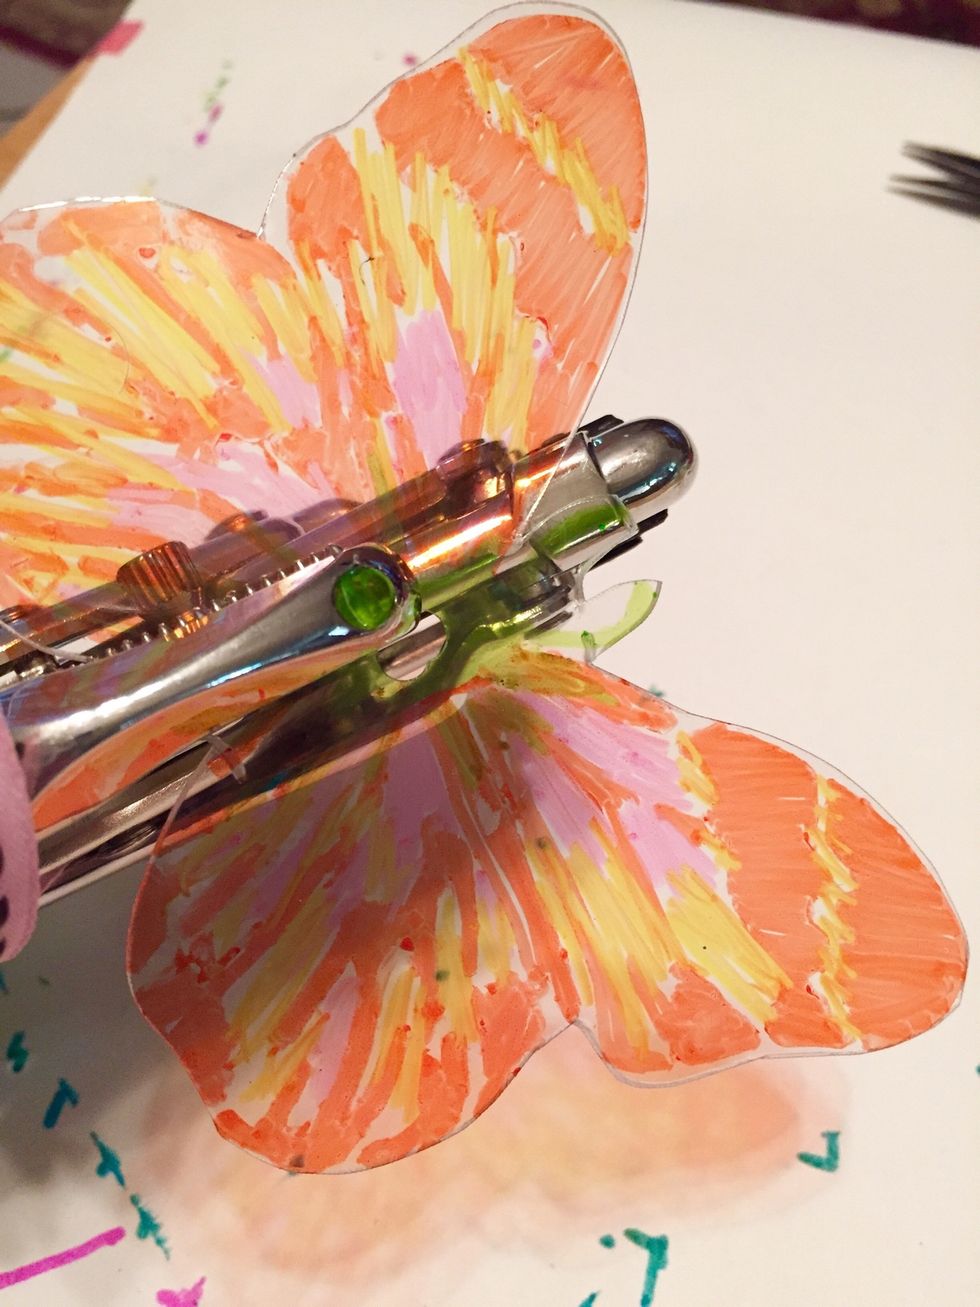
cut out butterfly and punch hole at center; bake.
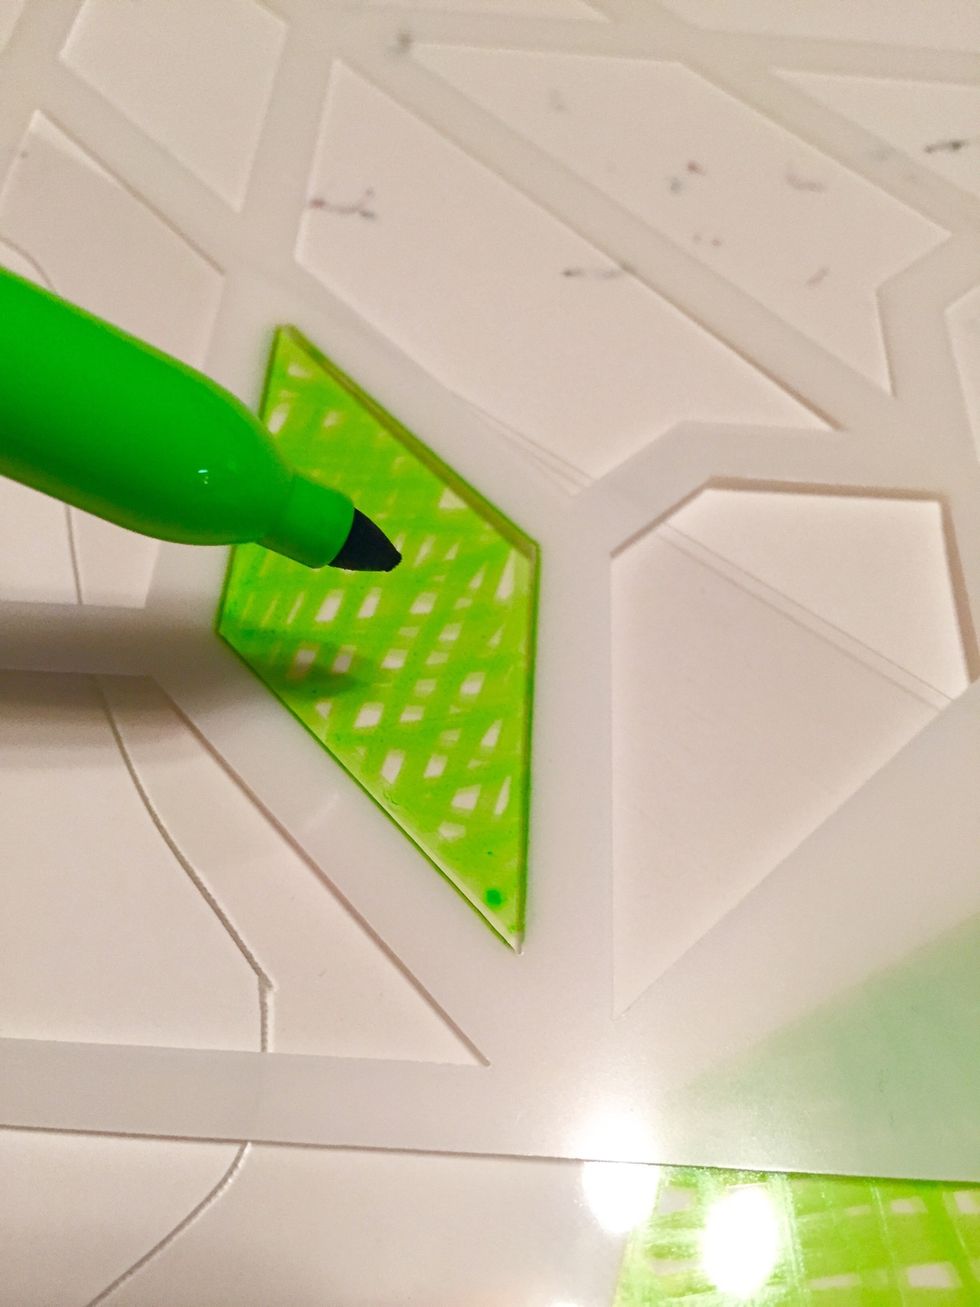
use Chrysanthemum stencil and Lime Sharpie to make 6 diamond shapes on leftover pieces of Shrink Film.
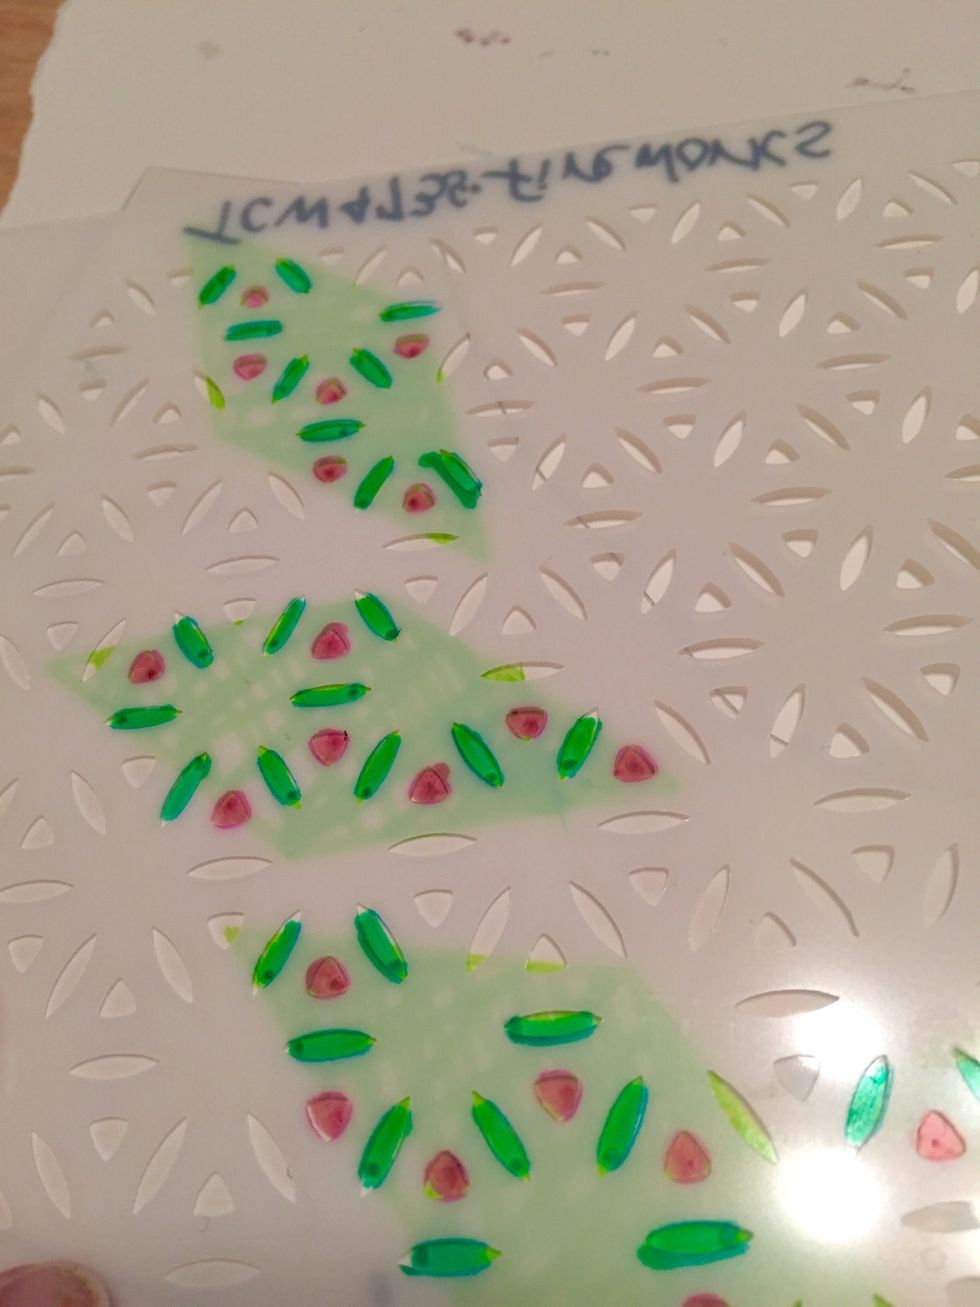
turn over diamond pieces and add accents to them with Fireworks stencil and Aqua and Hot Pink Makers.
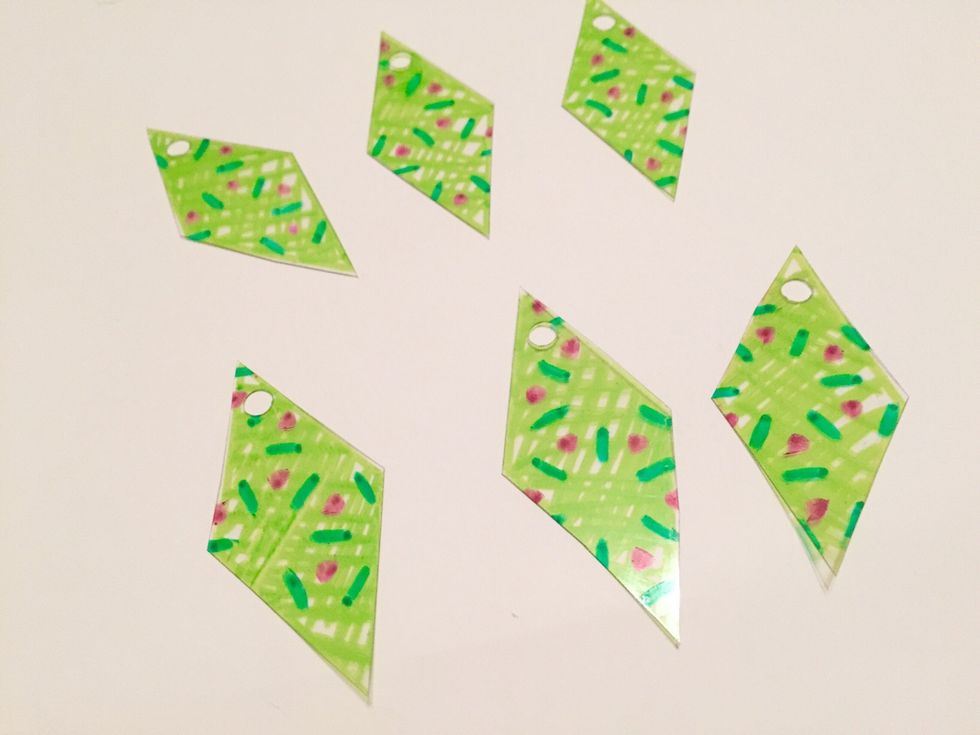
cut out diamonds and punch holes at top; bake.
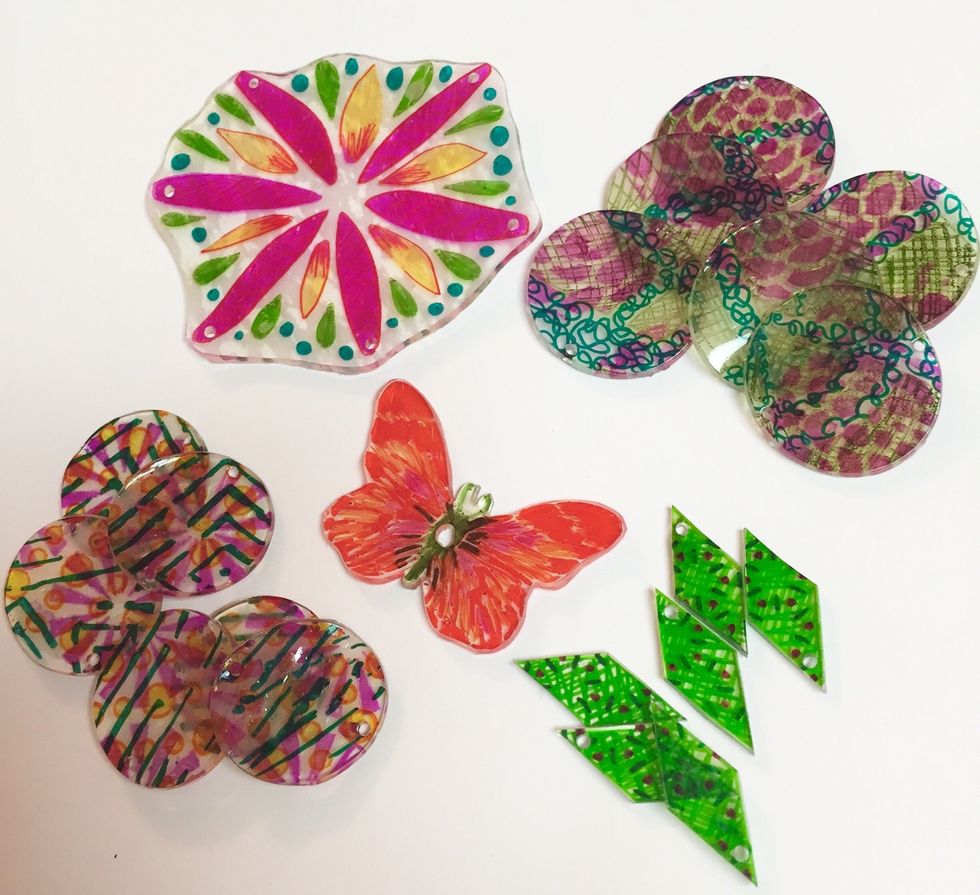
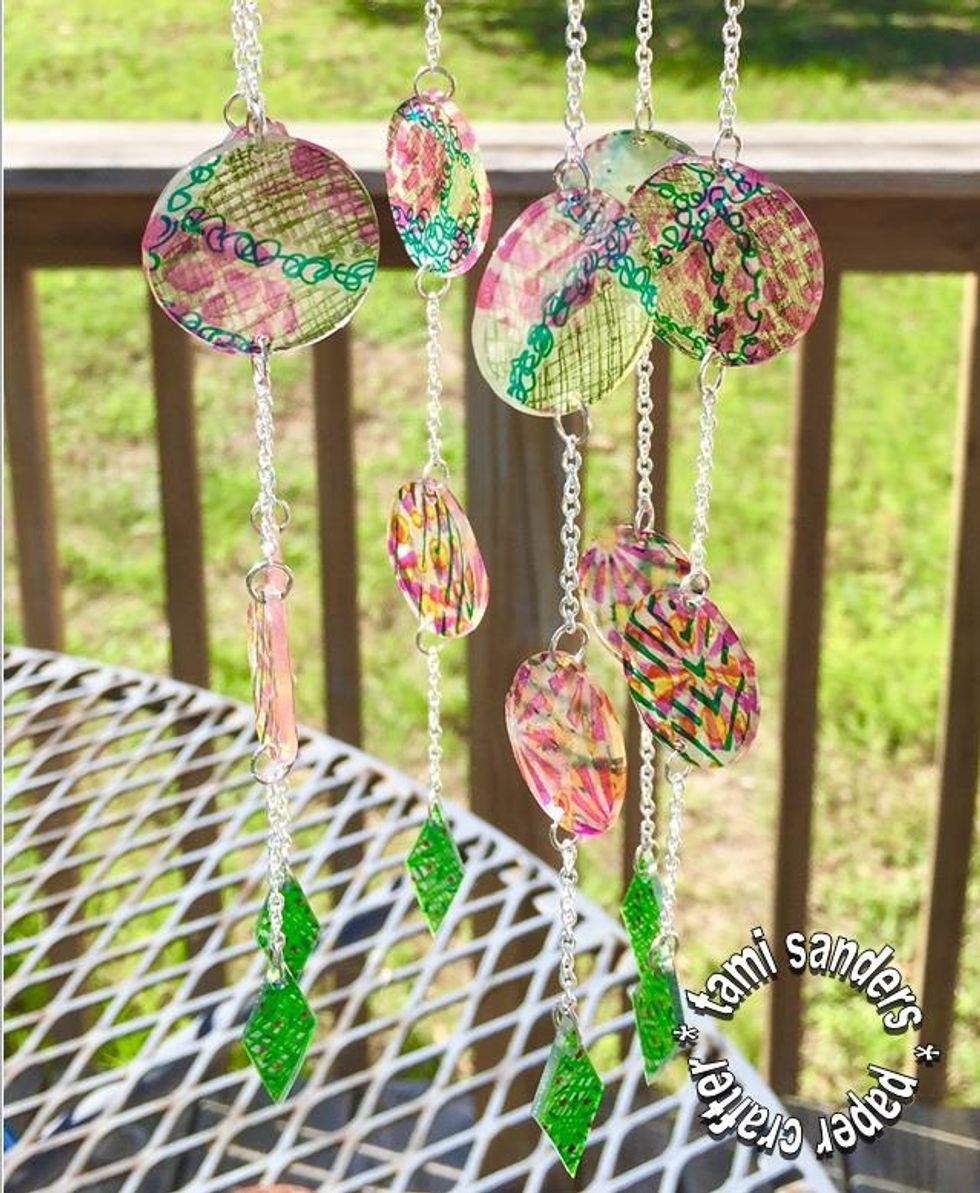
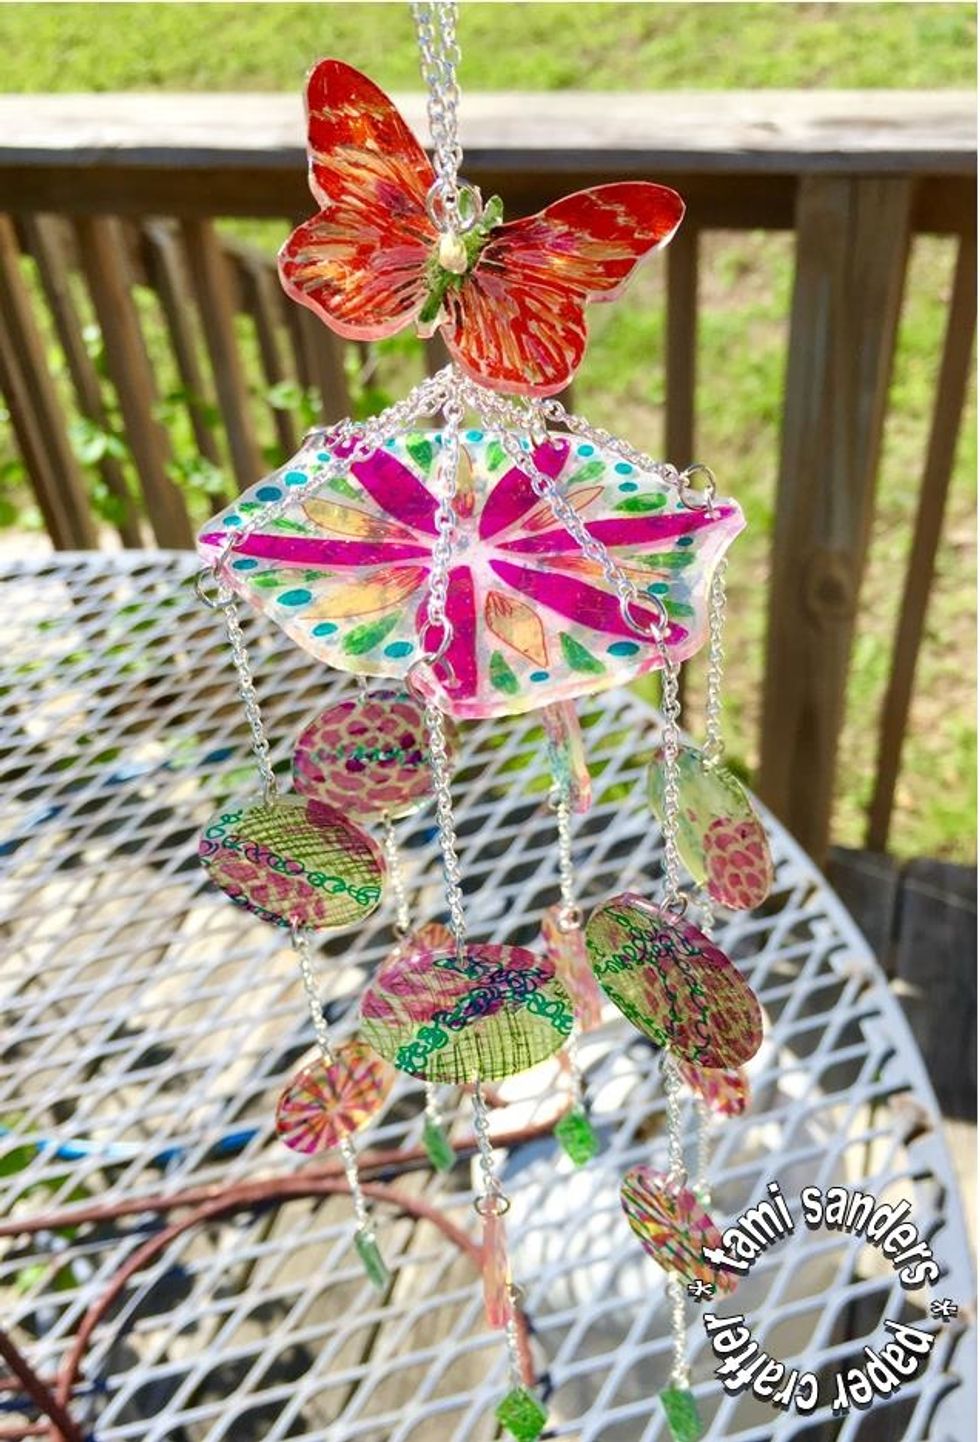
baked pieces ready to be assembled.
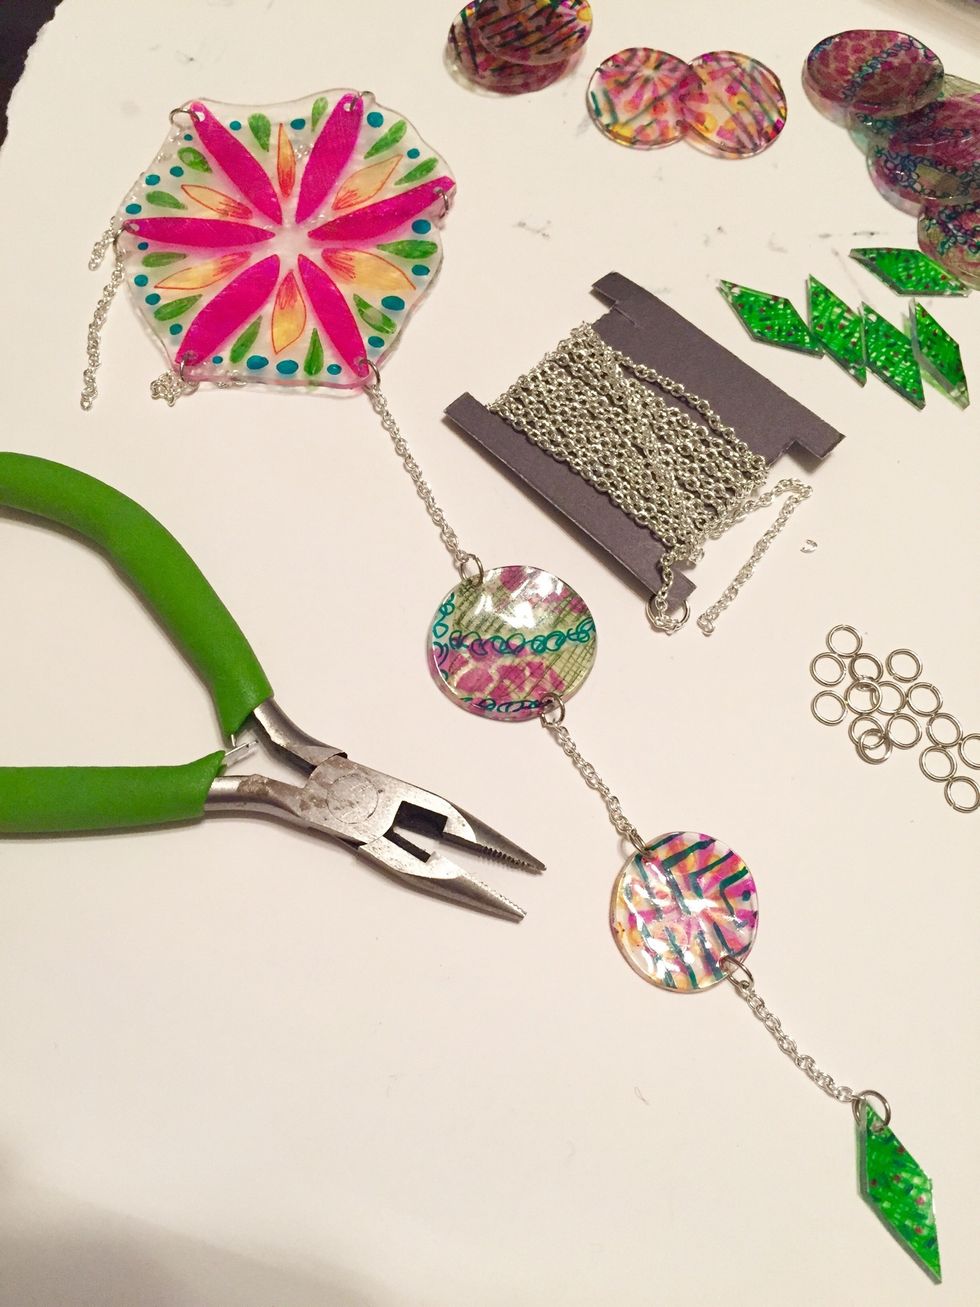
using small jump rings: attach 1 1/4" of chain to hole in top piece. then attach large circle, 1" piece of chain, small circle, another 1" of chain and attach diamond at bottom. repeat around top.

cut 6 - 1 1/4" piece of chain and use small jump rings to attach them in each hole of top.
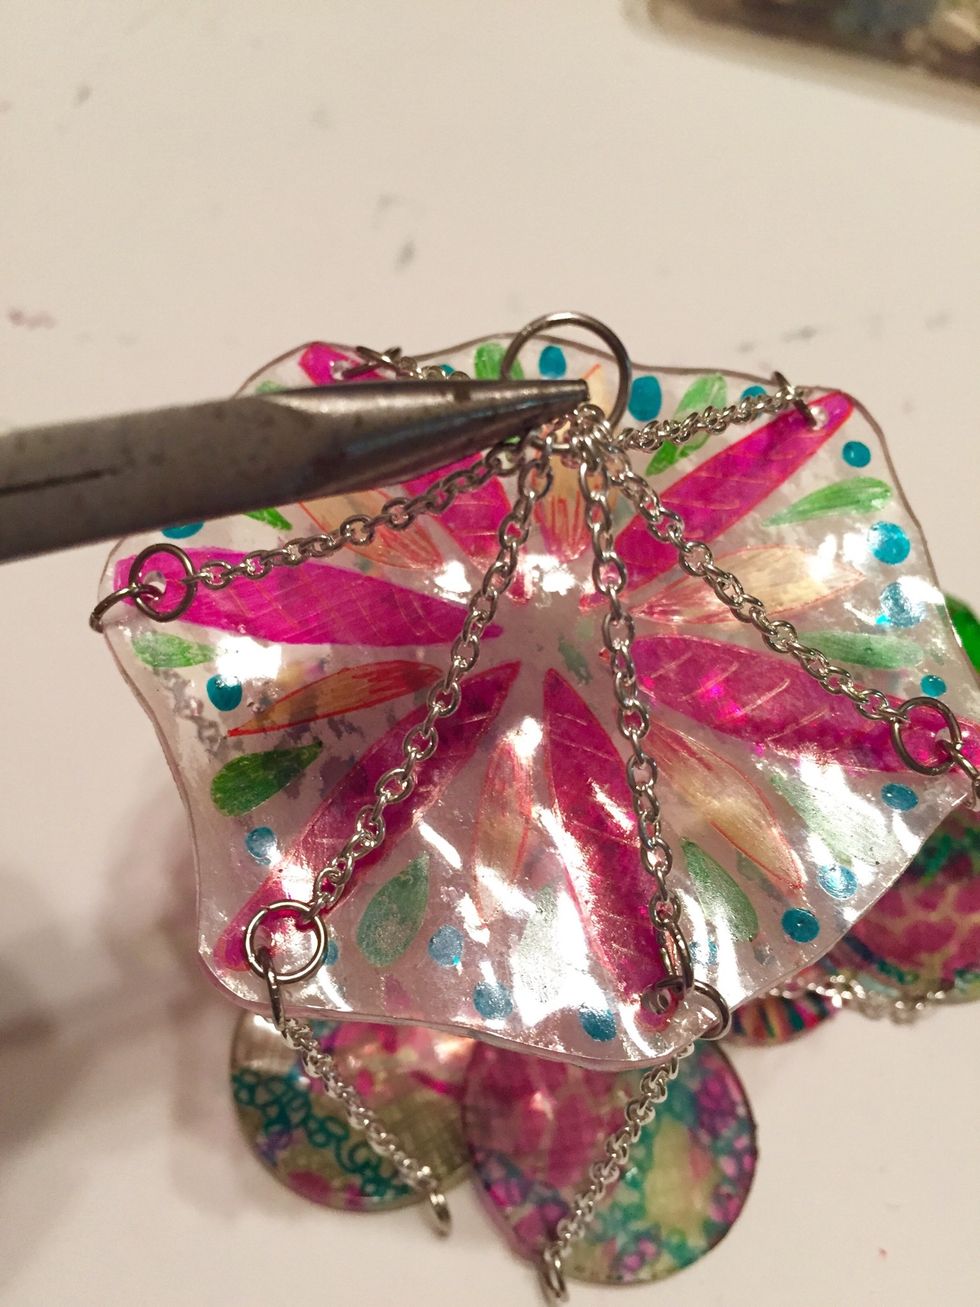
pull all chains to center and link using large jump rings. shorten any chains as needed to balance top.
cut a 3" piece of chain and loop the top 2" and attach with small jump ring.
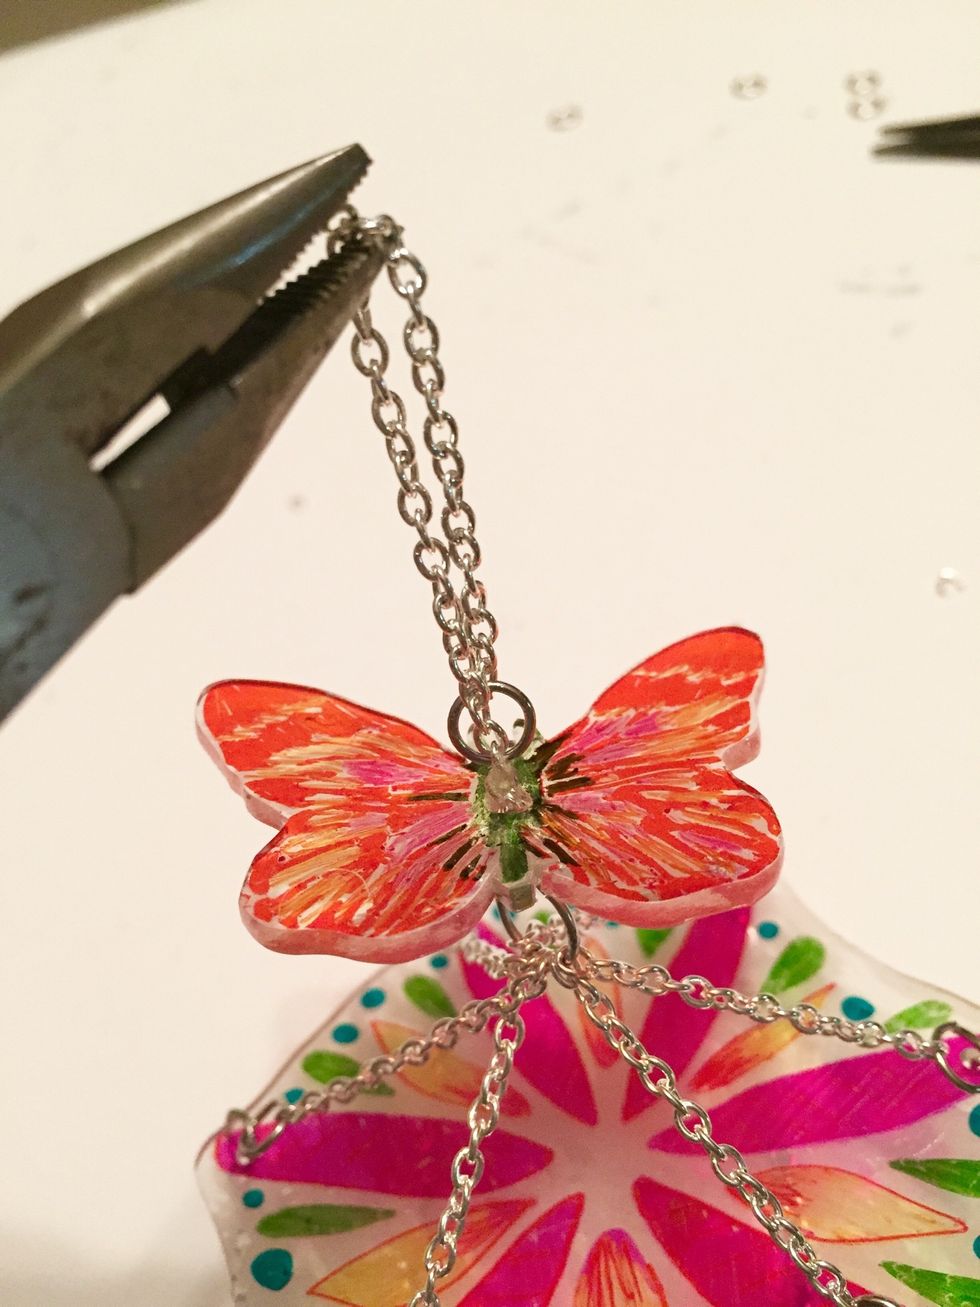
thread chain at base of loop down through butterfly and secure to large loop underneath.
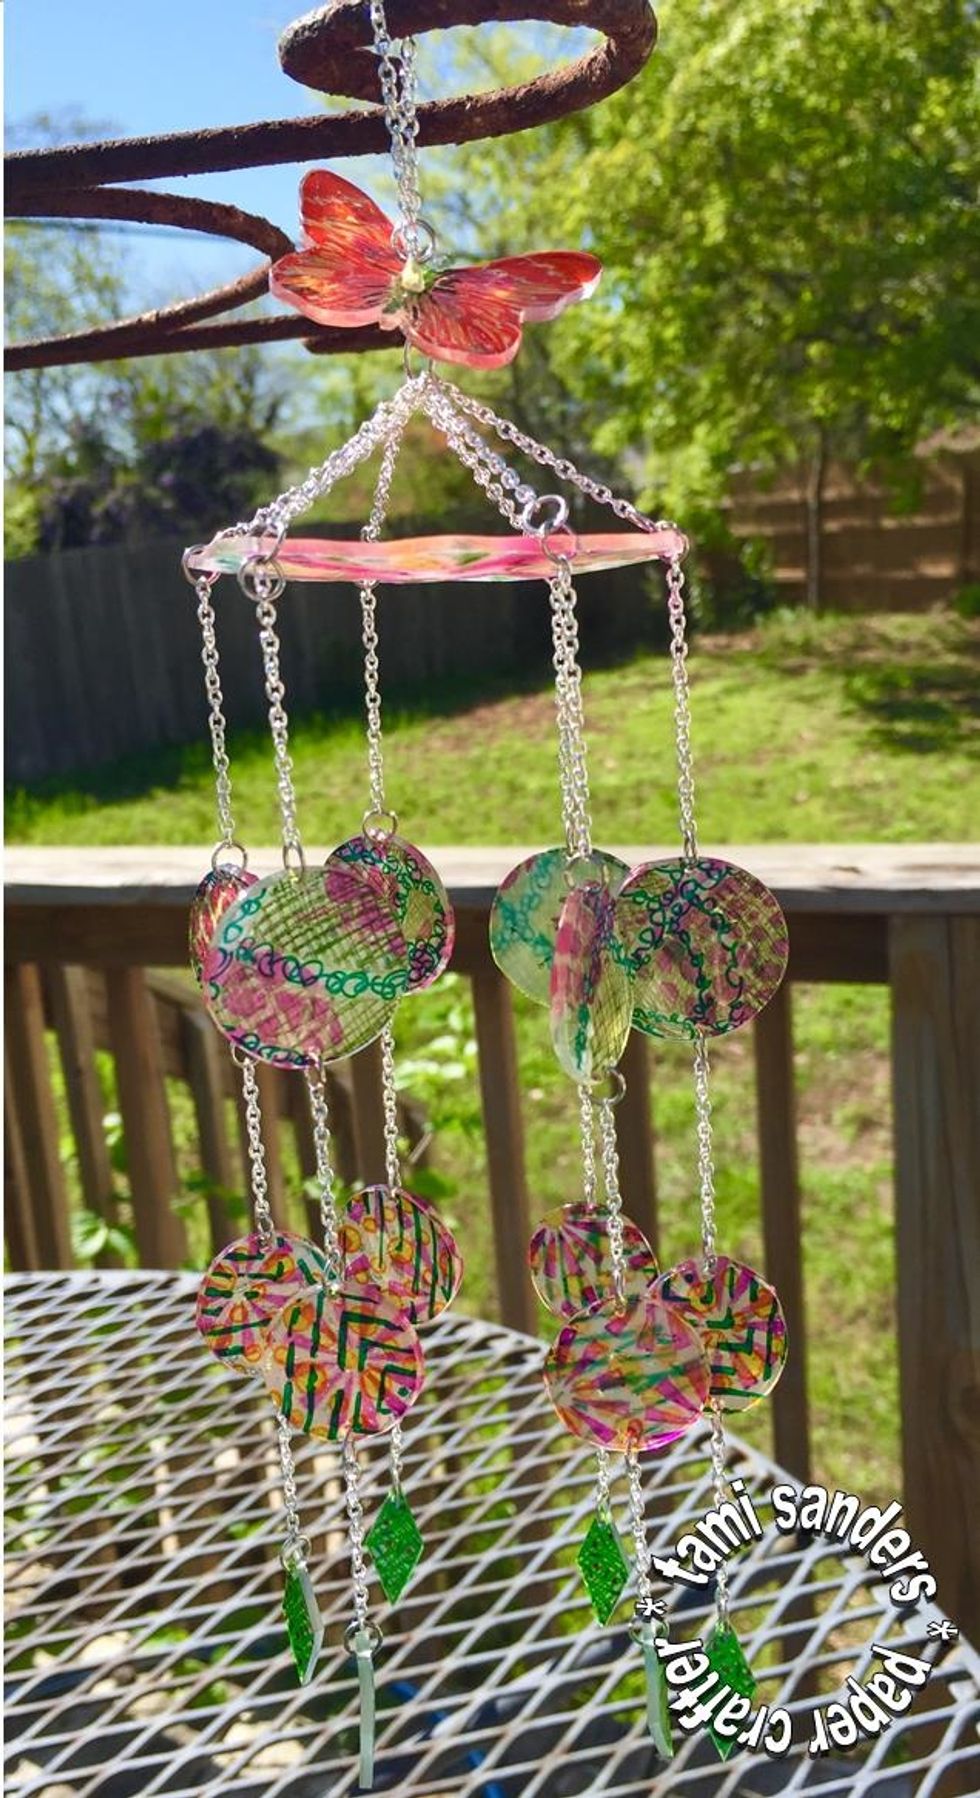
your mobile is now assembled and ready to hang.
bottom view of mobile.
top view... tami sanders * paper crafter --- www.tamisanders.com for GRAFIX --- www.grafixarts.com