The Conversation (0)
Sign Up
Gelato (R) colors used: Watermelon Black Cherry Snow Cone Blueberry Lemon Mango
Using an old tag template, cut your tag from watercolor paper. I use cold press because I like the extra texture.
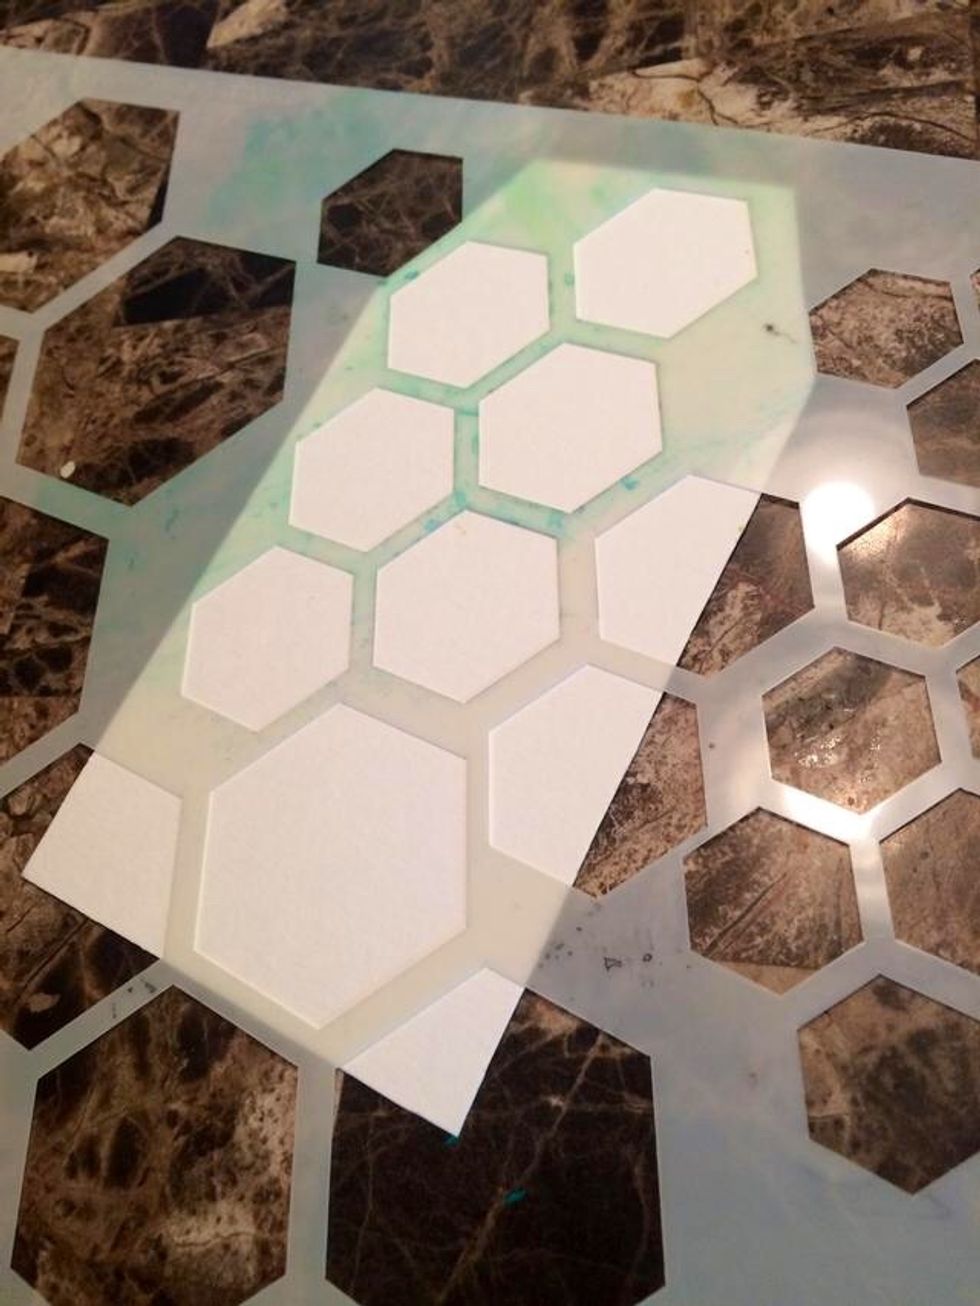
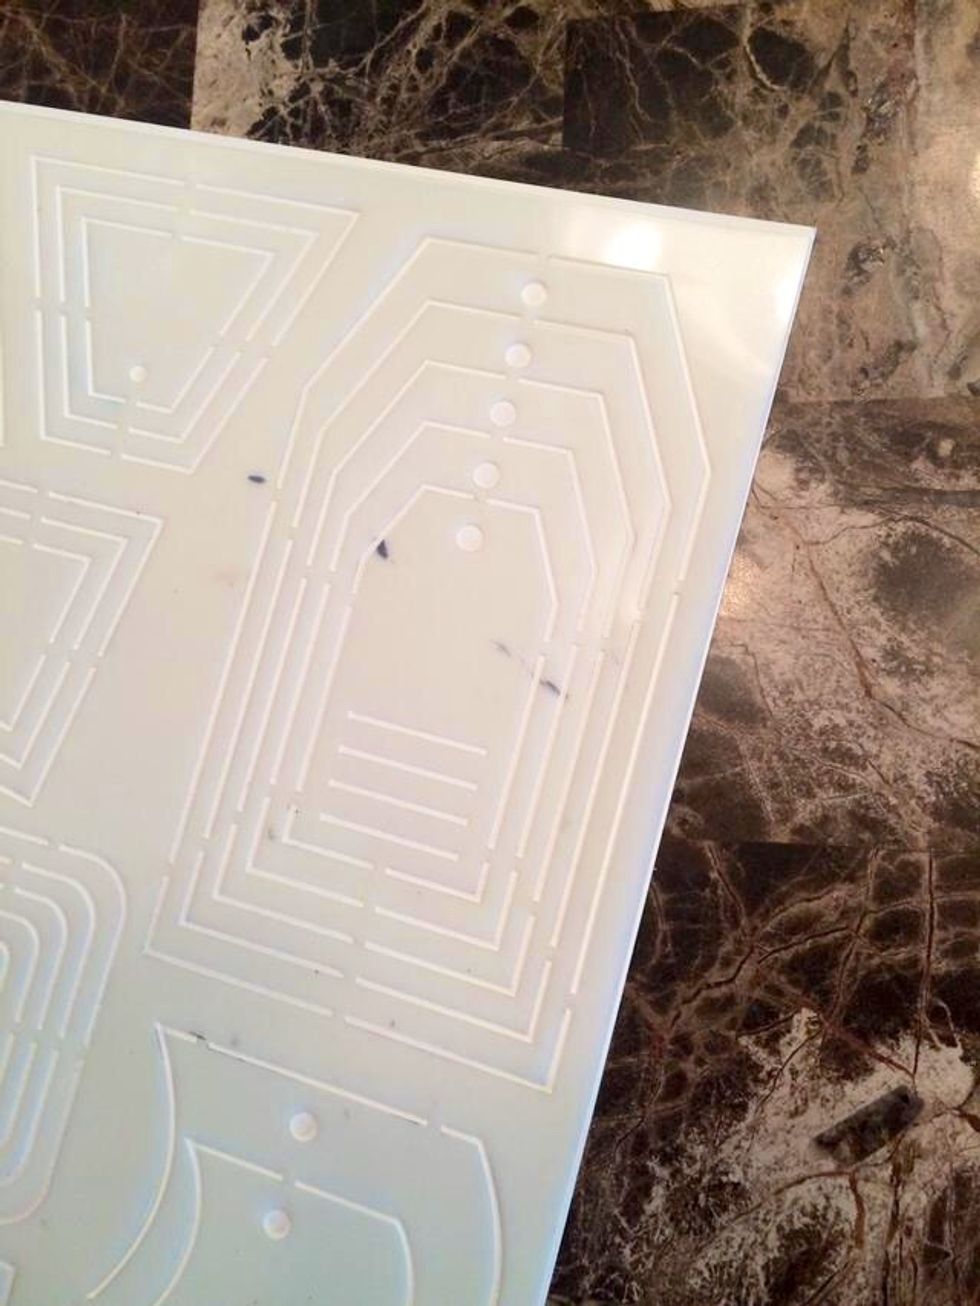
Arrange your stencil where you would like your hexagons. Because of the size of my stencil, I used the 2nd smallest hexagon shape. If you can, tape your stencil down to make things easier.
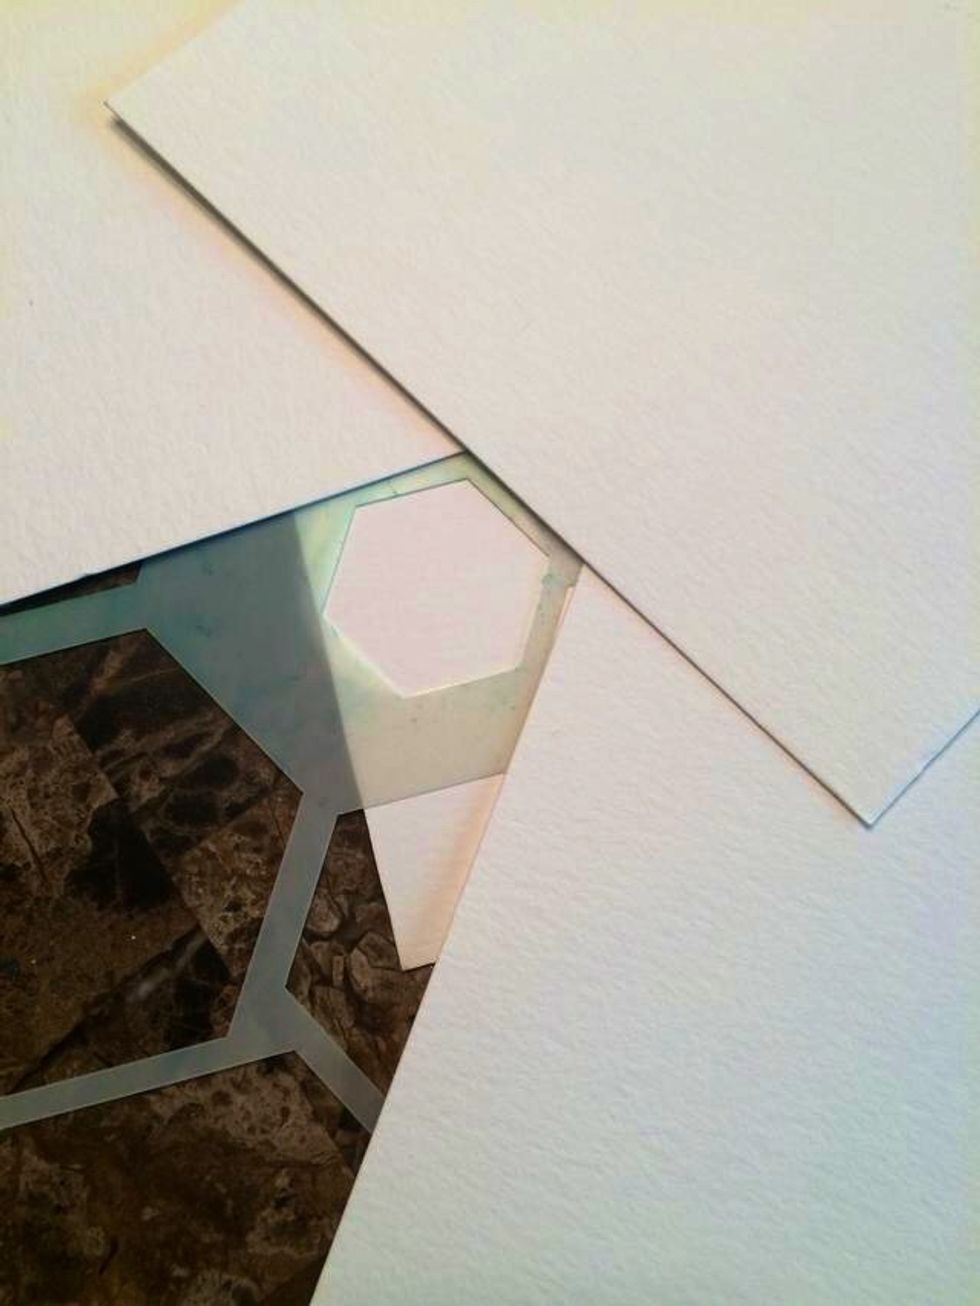
To block out the other shapes, use scraps of paper to cover them up.
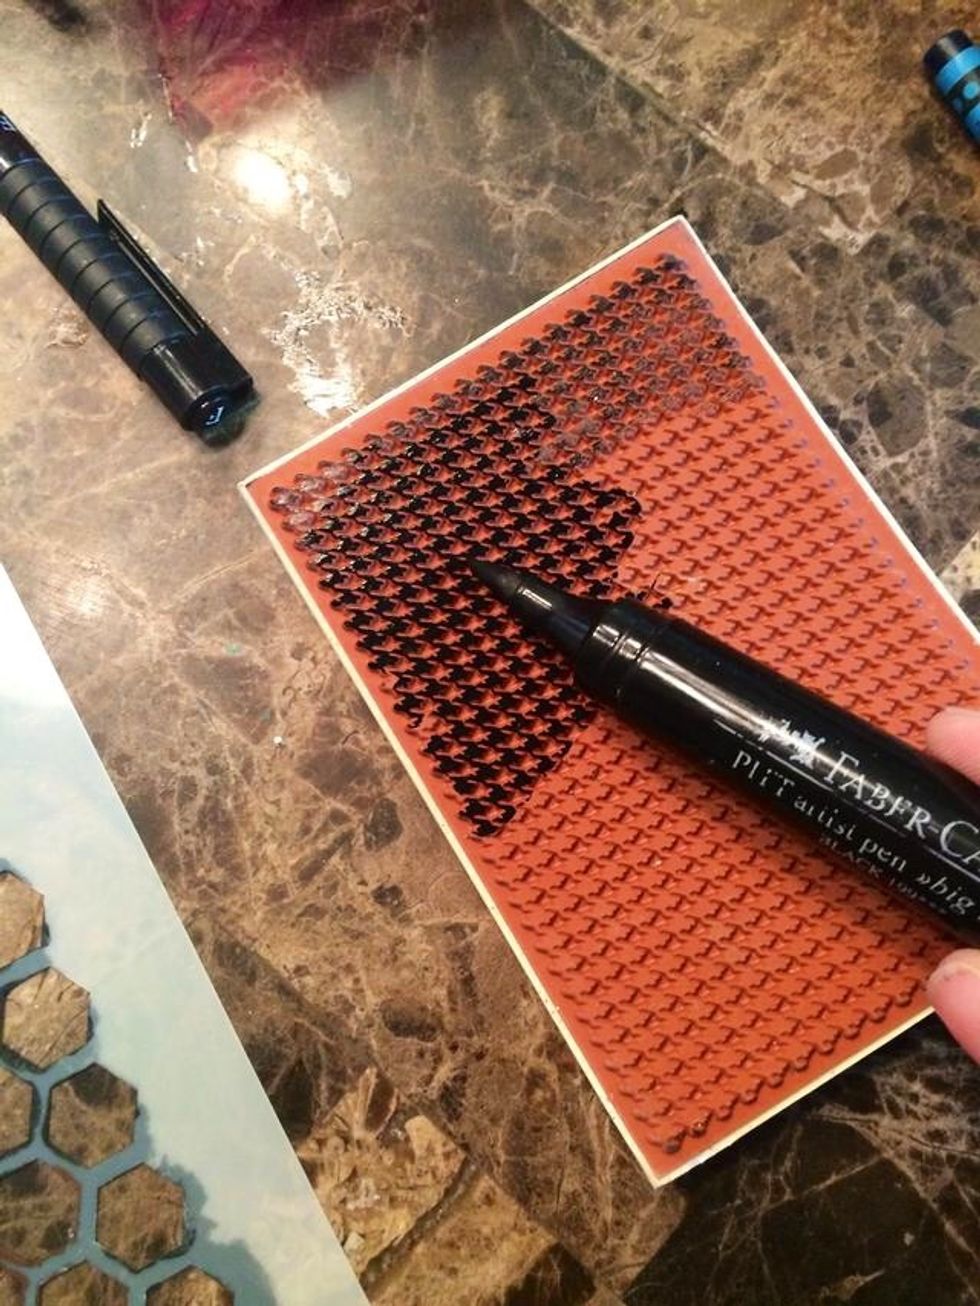
Using Your Faber-Castell PITT Artist Pen in Black, color your stamp. Make sure to work quickly so that the ink does not dry before you can stamp. Using an unmounted rubber or acrylic stamp works best.
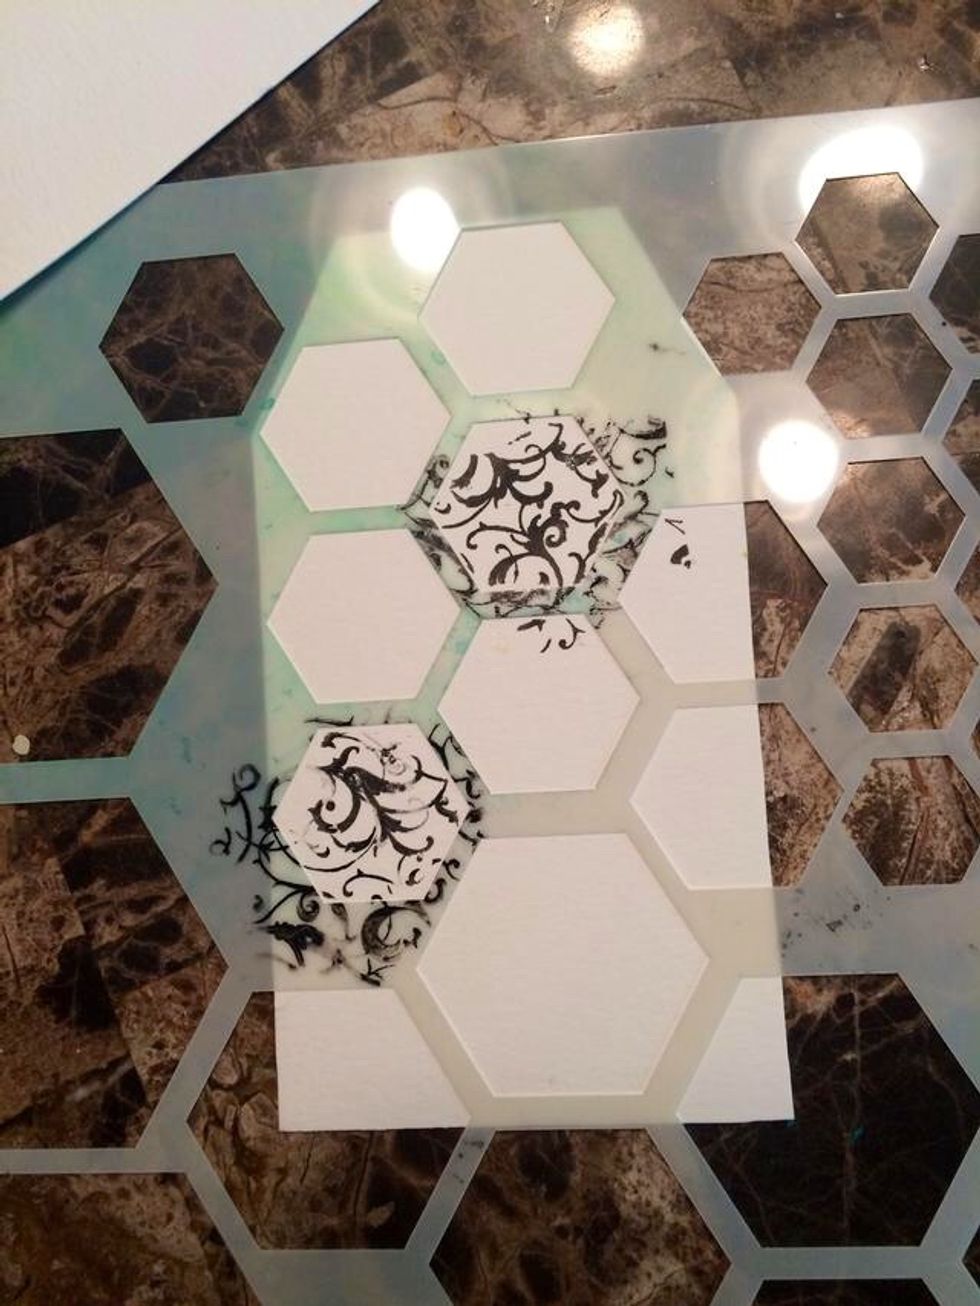
Stamp you image through your stencil. As you can see, on the top image, I didn't mask of the surrounding shapes. I did with the bottom image and it's much cleaner.
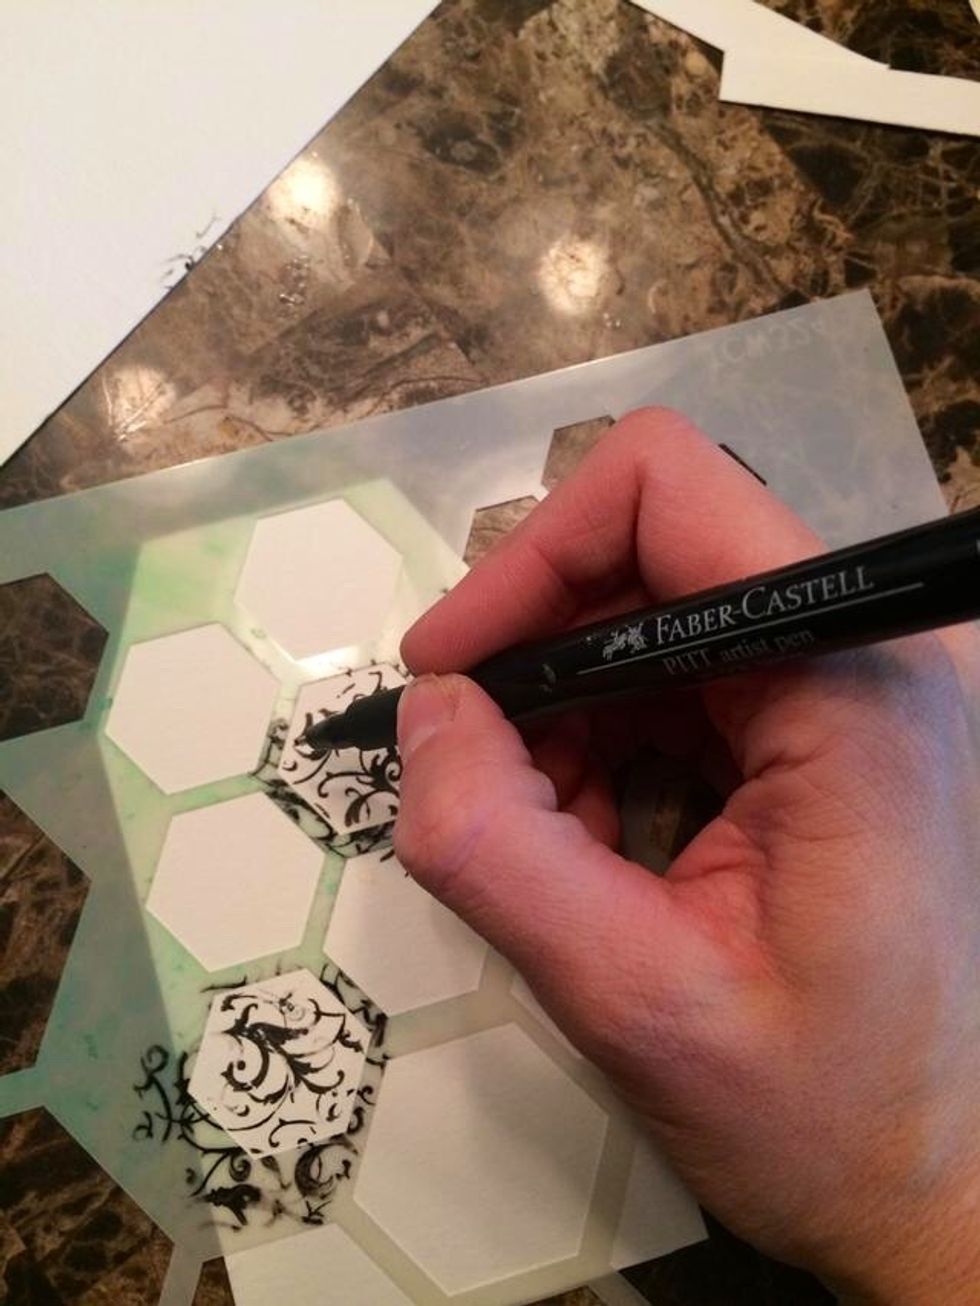
With image still in place, use your fine point PITT Artist Pen to outline your hexagons. Continue this process of masking and stamping until you have an many hexagons as you would like.
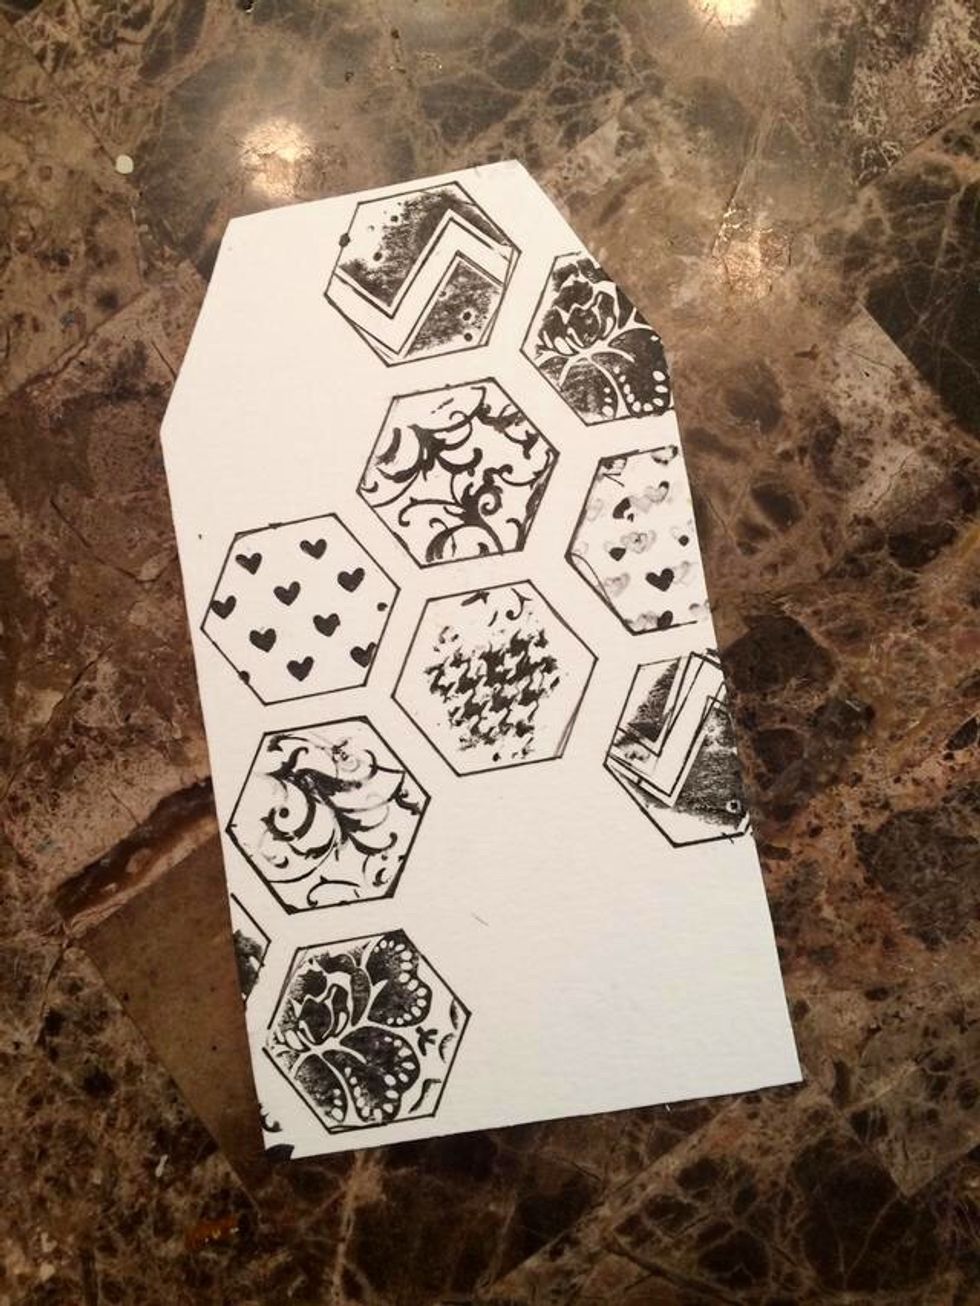
Here is my tag so far. Before moving on, hit your tag with a heat gun to make sure it is completely dry.
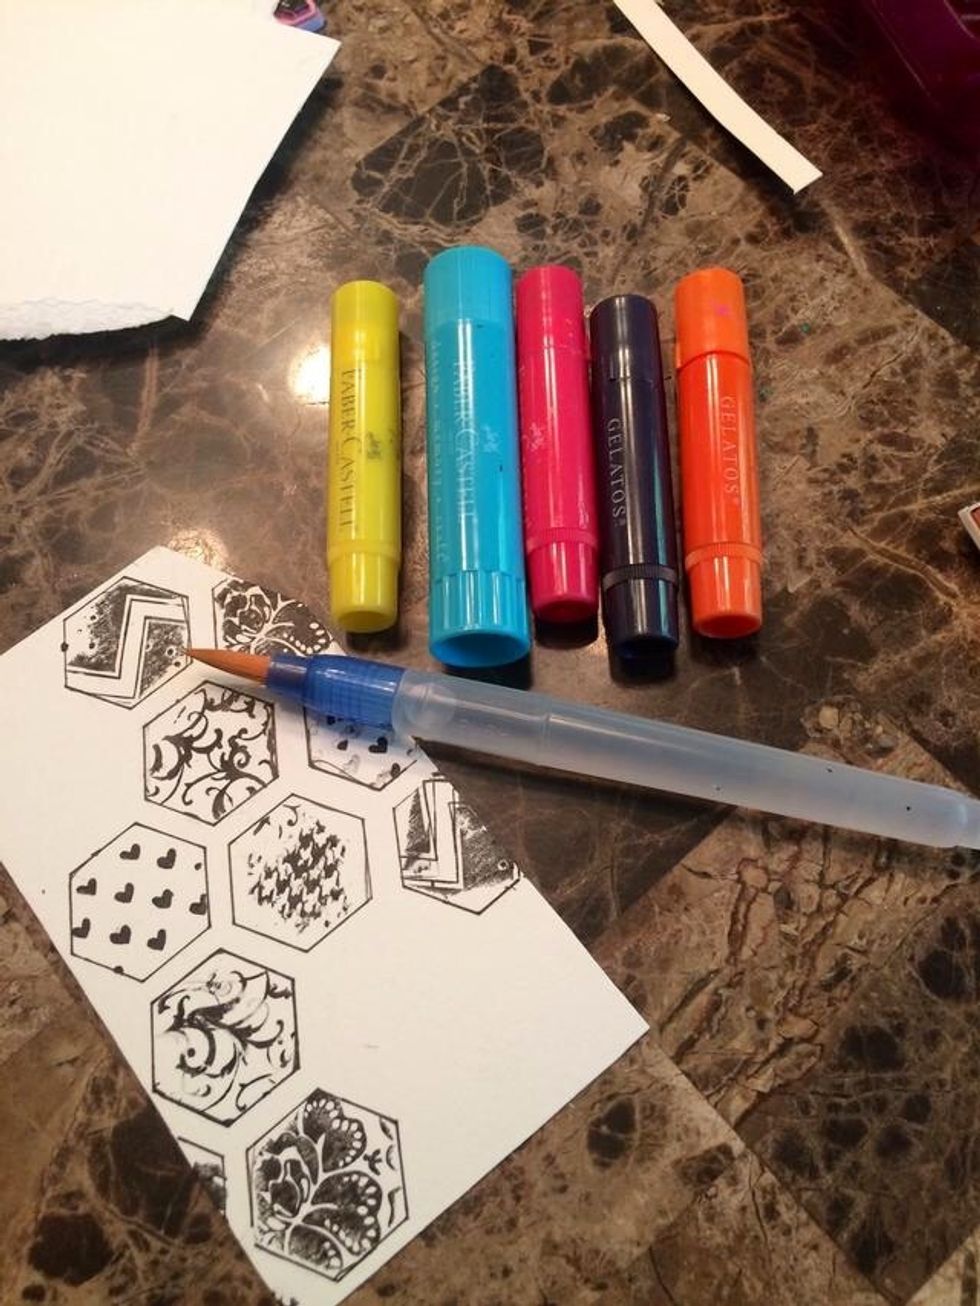
Next, grab your favorite colors of gelatos. Since Gelatos (R) are meant to be Mixed and Matches, feel free to use any colors you like! The colors I used are listed before step 1.
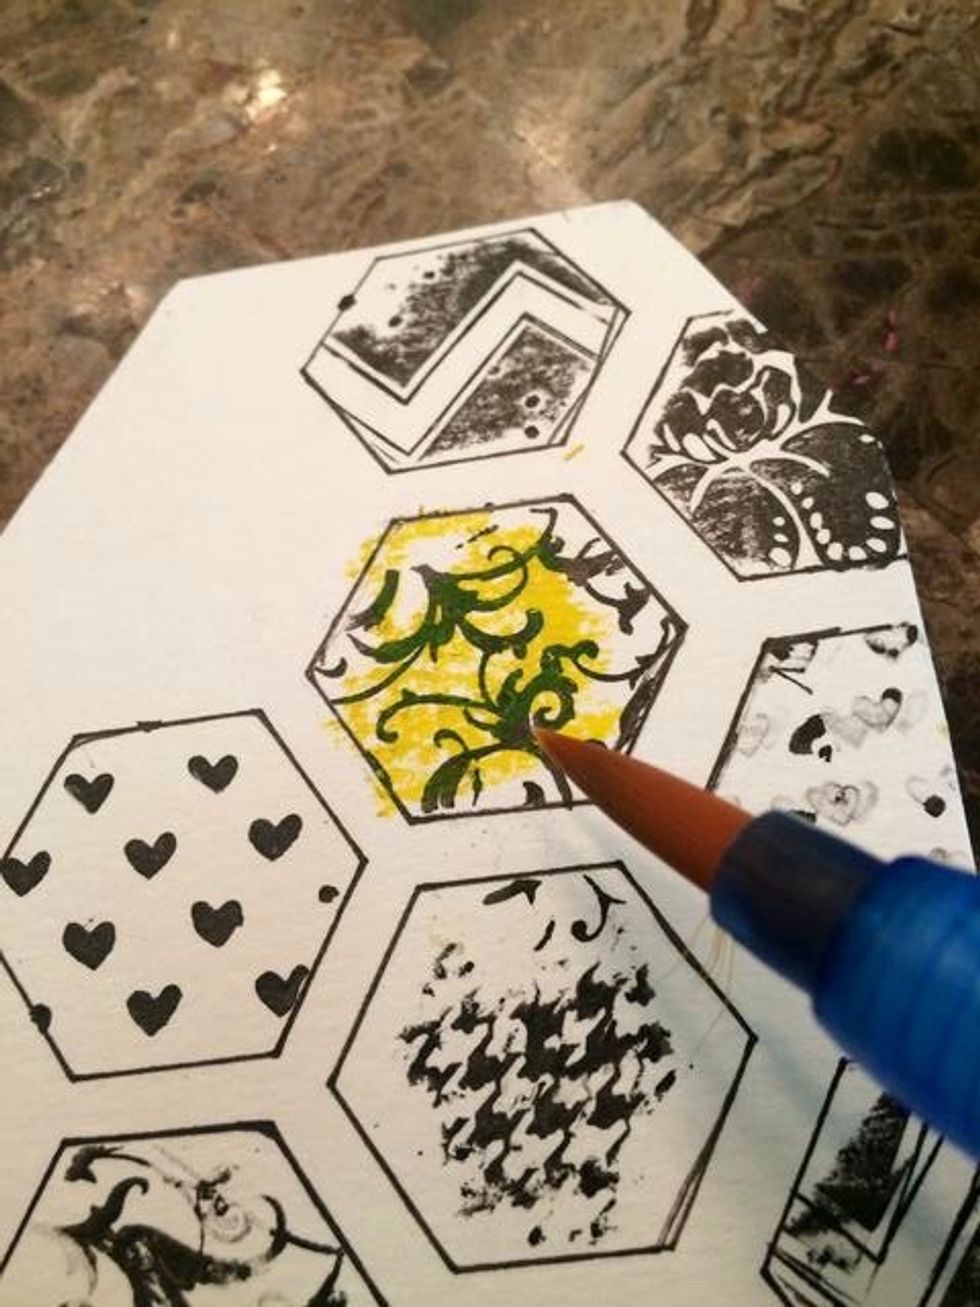
Rub your your Gelatos (R) on to your image and then use a water brush or damp paintbrush to move your color around your hexagon. Continue until all the images are filled in.
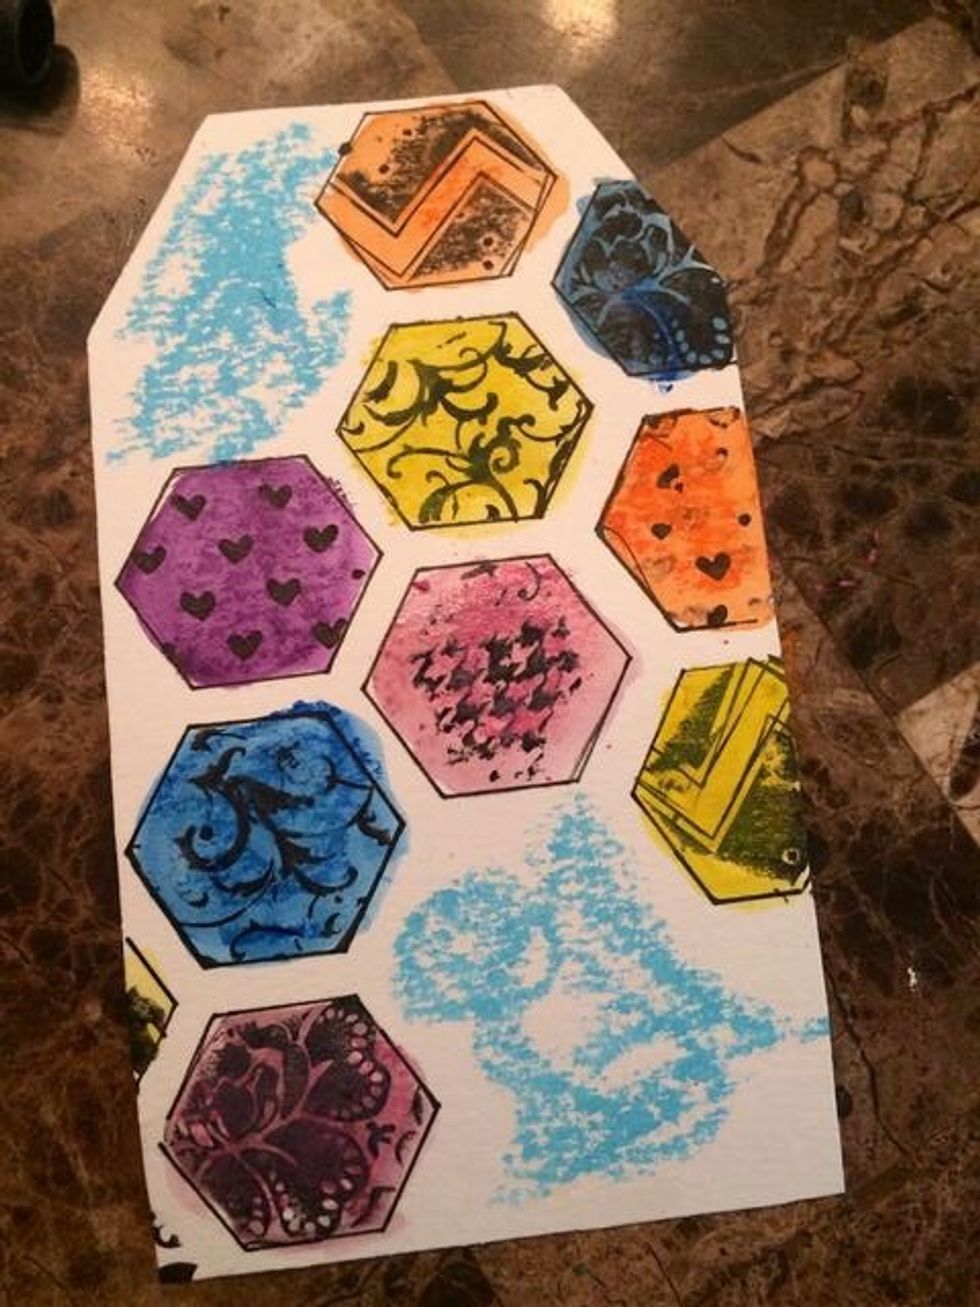
For the background, add your Snowcone Gelato (R) to the empty spaces of your tag...
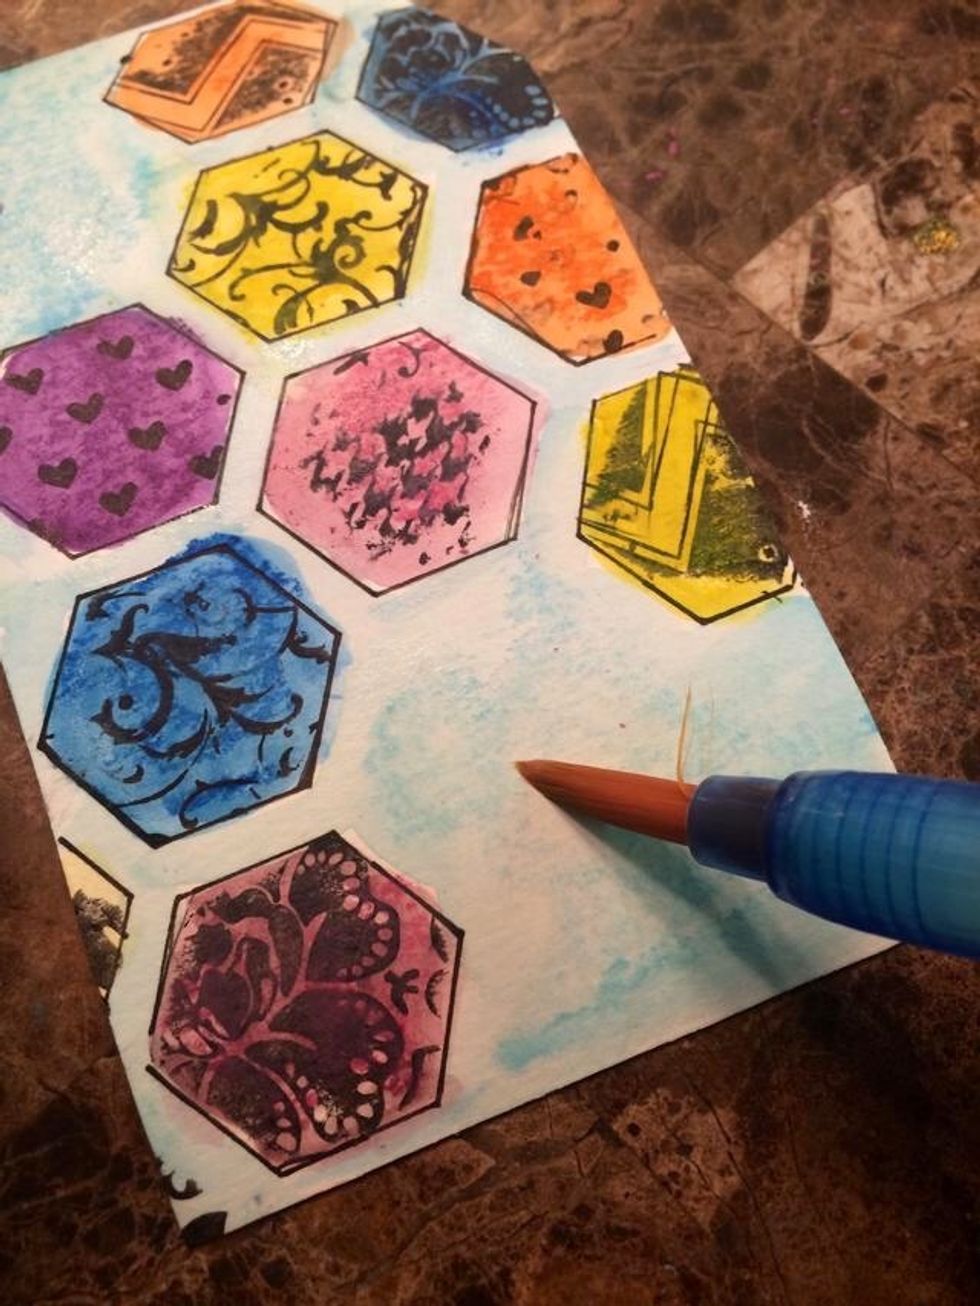
...and again use your water brush or damp paintbrush to move your Gelatos (R) around. Keep adding layers of Gelatos (R) and water until your are happy.

Once your tag is dry, use your Faber-Castell WHITE Big Stamper's Pen to add some lines in between your hexagons.
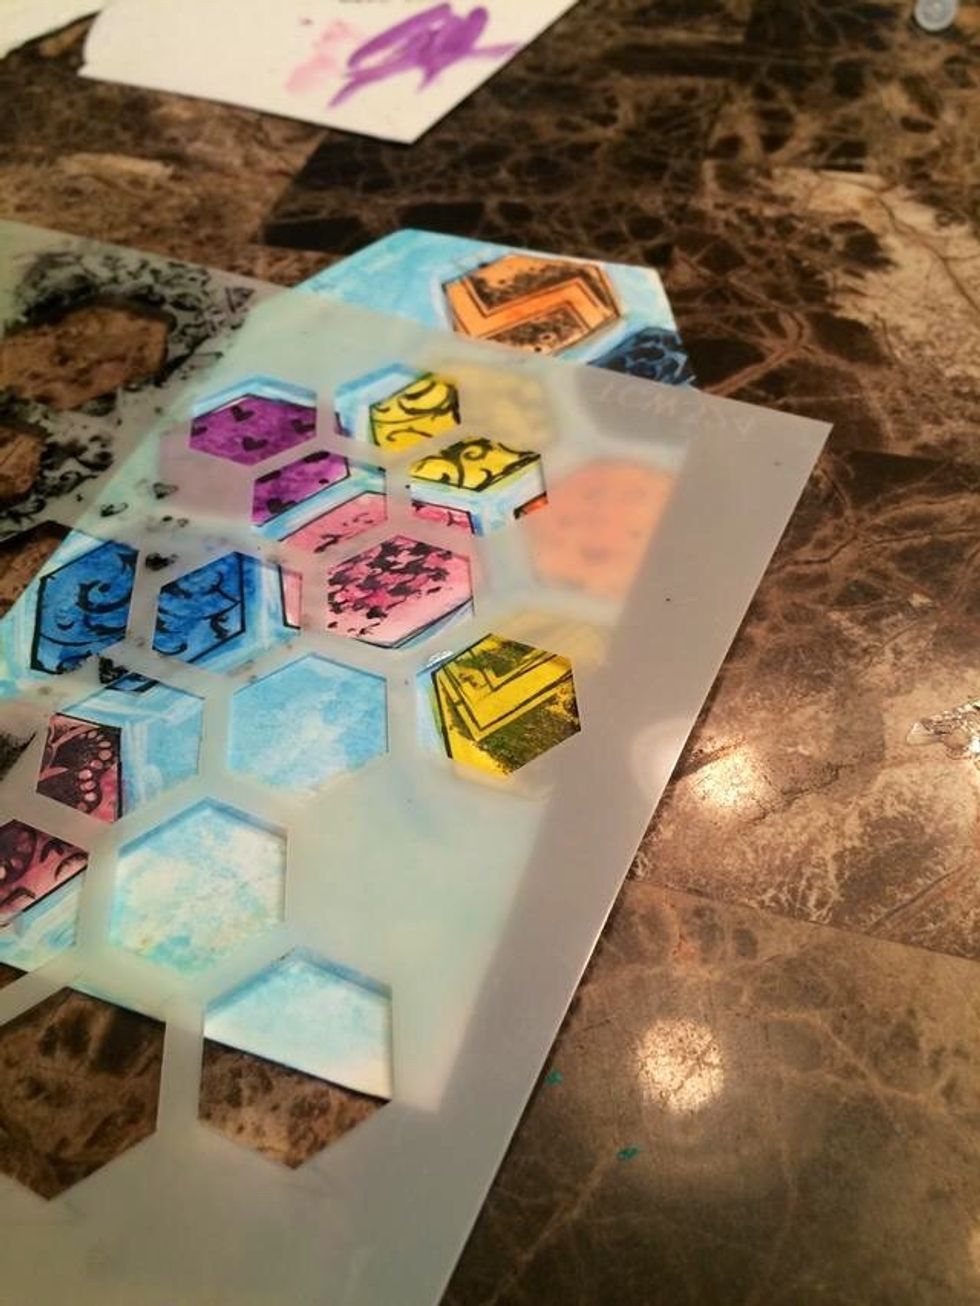
Bring your Stencil back! This time we are going to be using the smallest hexagon shape.
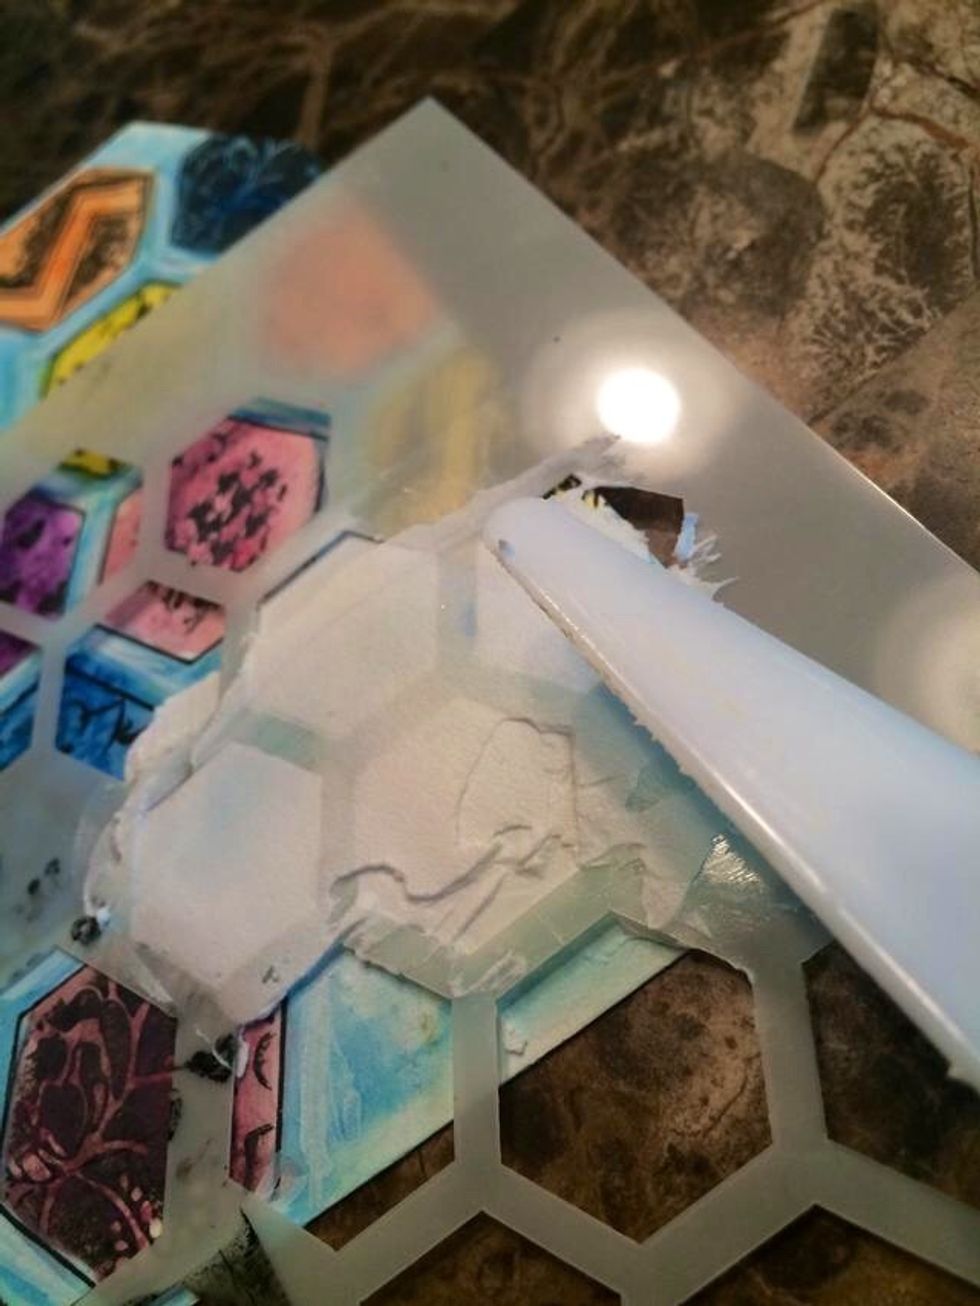
Using your pallet knife (or an old gift card) scrap your Design Memory Craft Whipped Spackle through your stencil in the bottom right and top left corners.

With your leftover Whipped Spackle, scrape the edges of your tag to add more texture.

I decided I wanted to add a 3D element, so I outlined 3 additional hexagons (the background size) on a scrap piece of watercolor paper. I then followed the same steps as my background and cut them out
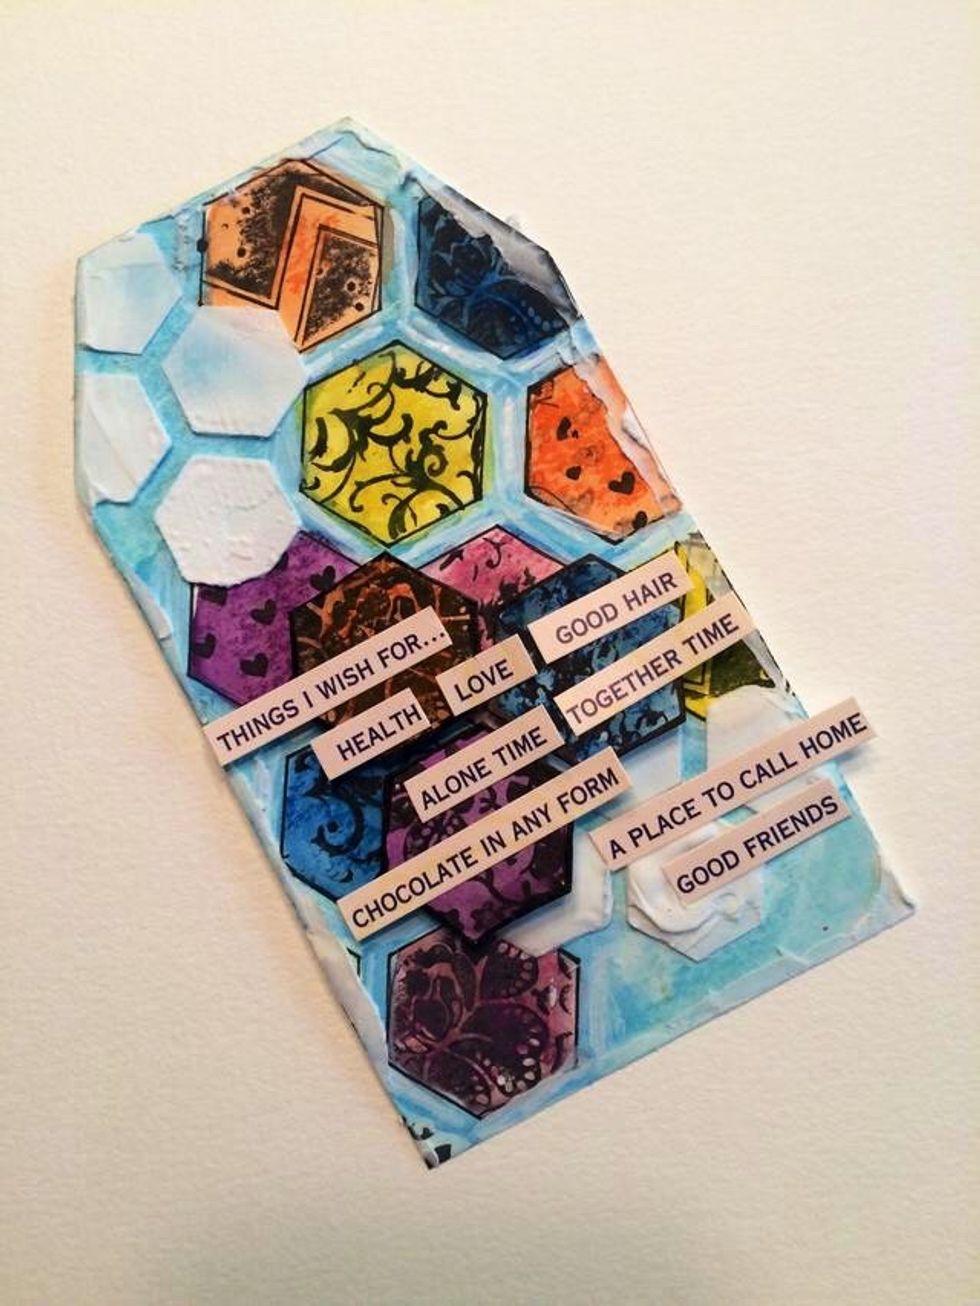
I used 3D foam dots to POP my hexagons up and then finished up my tag with some fun words from 7Gypsies. And we're done!!