The Conversation (0)
Sign Up
To form you card, start with a piece of water color paper cut to 6 x 12 and then folded in half.

Liberally spray you surface with Heidi Swapp Color Shine in Mustard. Speed the drying time with a head gun (use a tool like a spatula to keep you paper down while drying. It might warp slightly.)

Once dry, grab your Archival Ink (or any permanent ink) and Marion Smith Design's "Texture" Stamp.

Without a block, randomly stamp your surface.
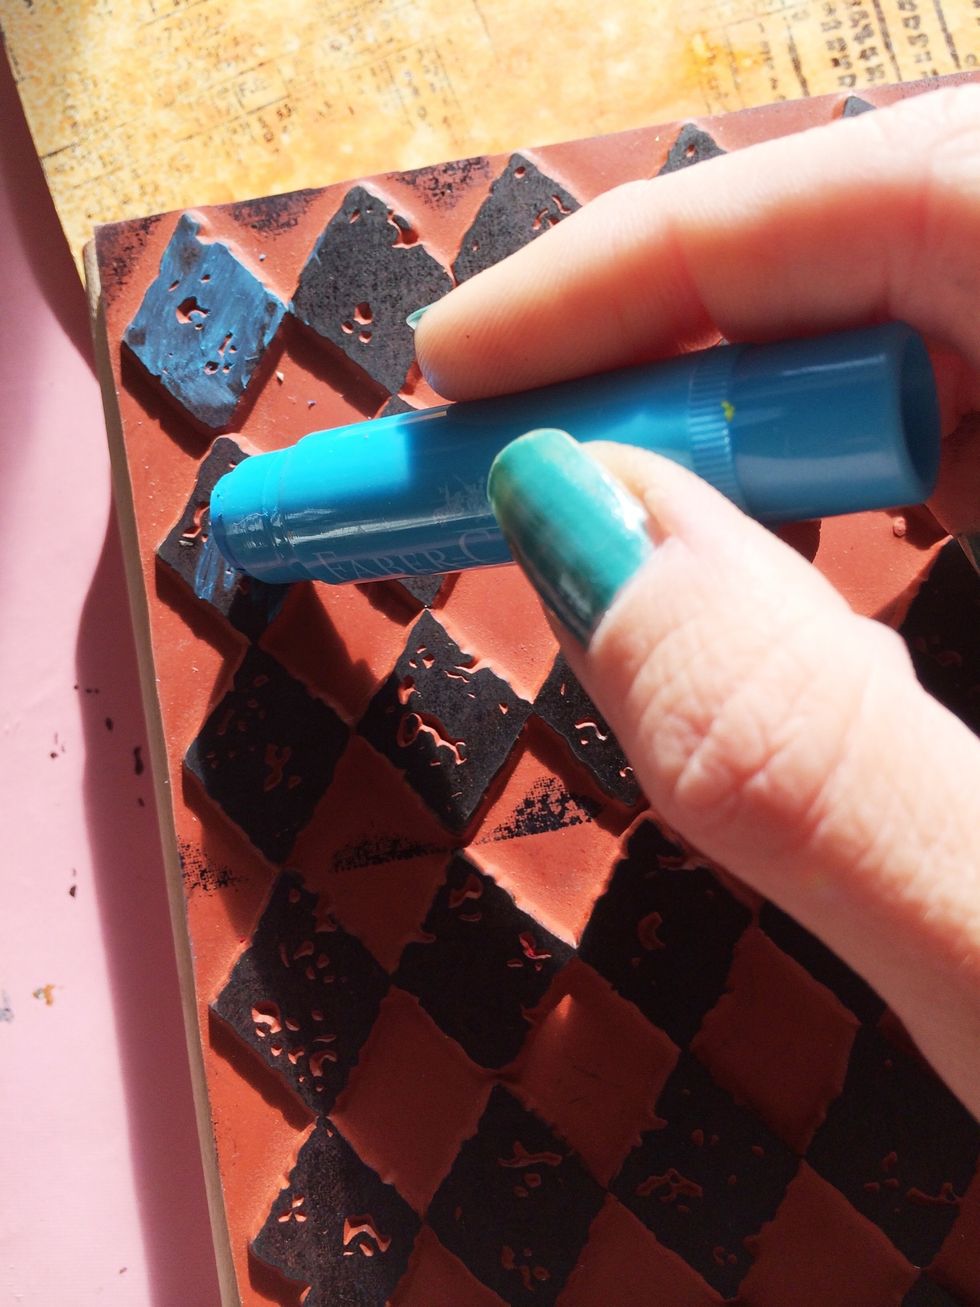
Next, grab a big image stamp, like this harlequin stamp. Using alternating colors, "color" your stamp with Faber Castell gelatos.
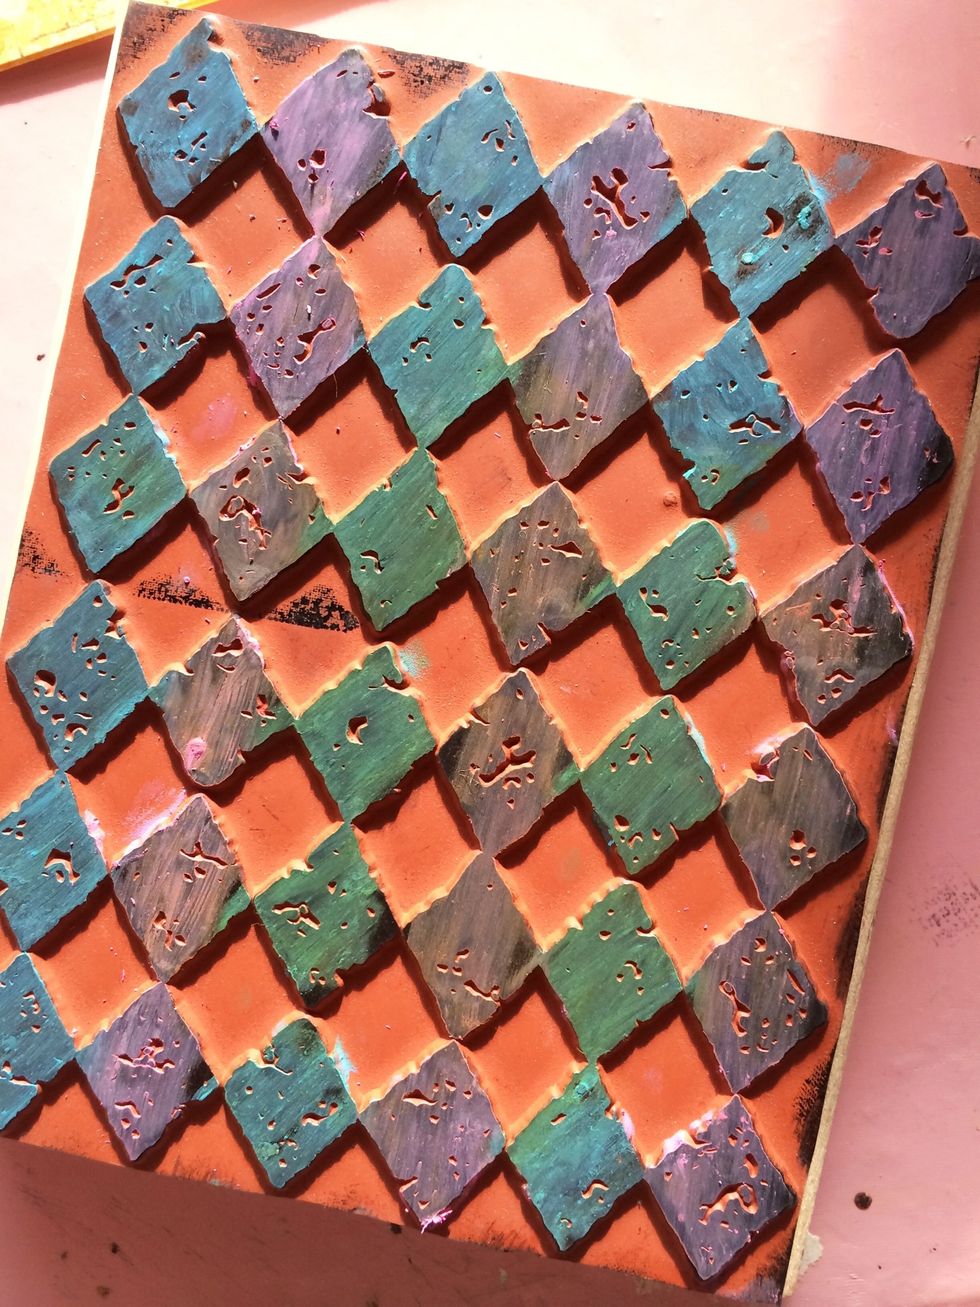
A point to remember...if you haven't cleaned your stamp well, the colors of your gelatos might change slightly. I was ok with this, but if you're not, make sure your stamp in completely ink free.
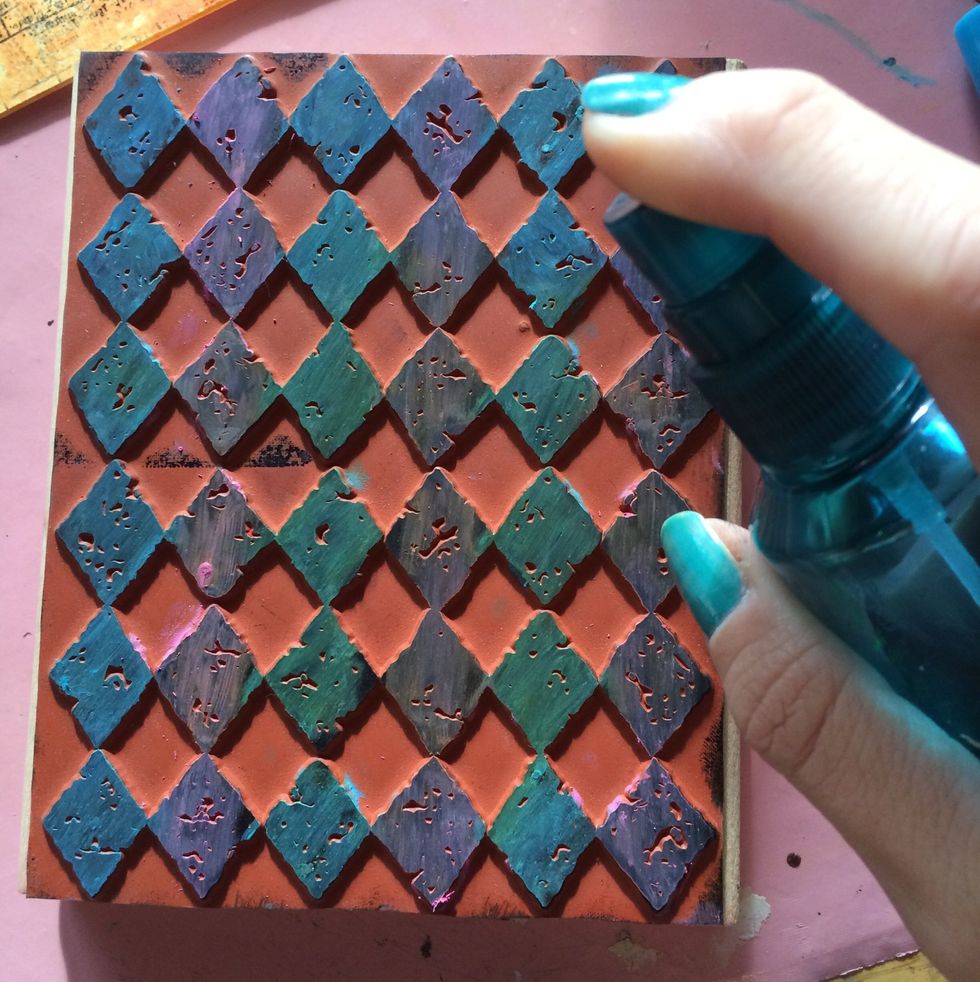
Once you've finished coloring, grab your water bottle. Lightly spray you stamp. Allow it to sit for a minute or two so that your gelatos mixes with the water.
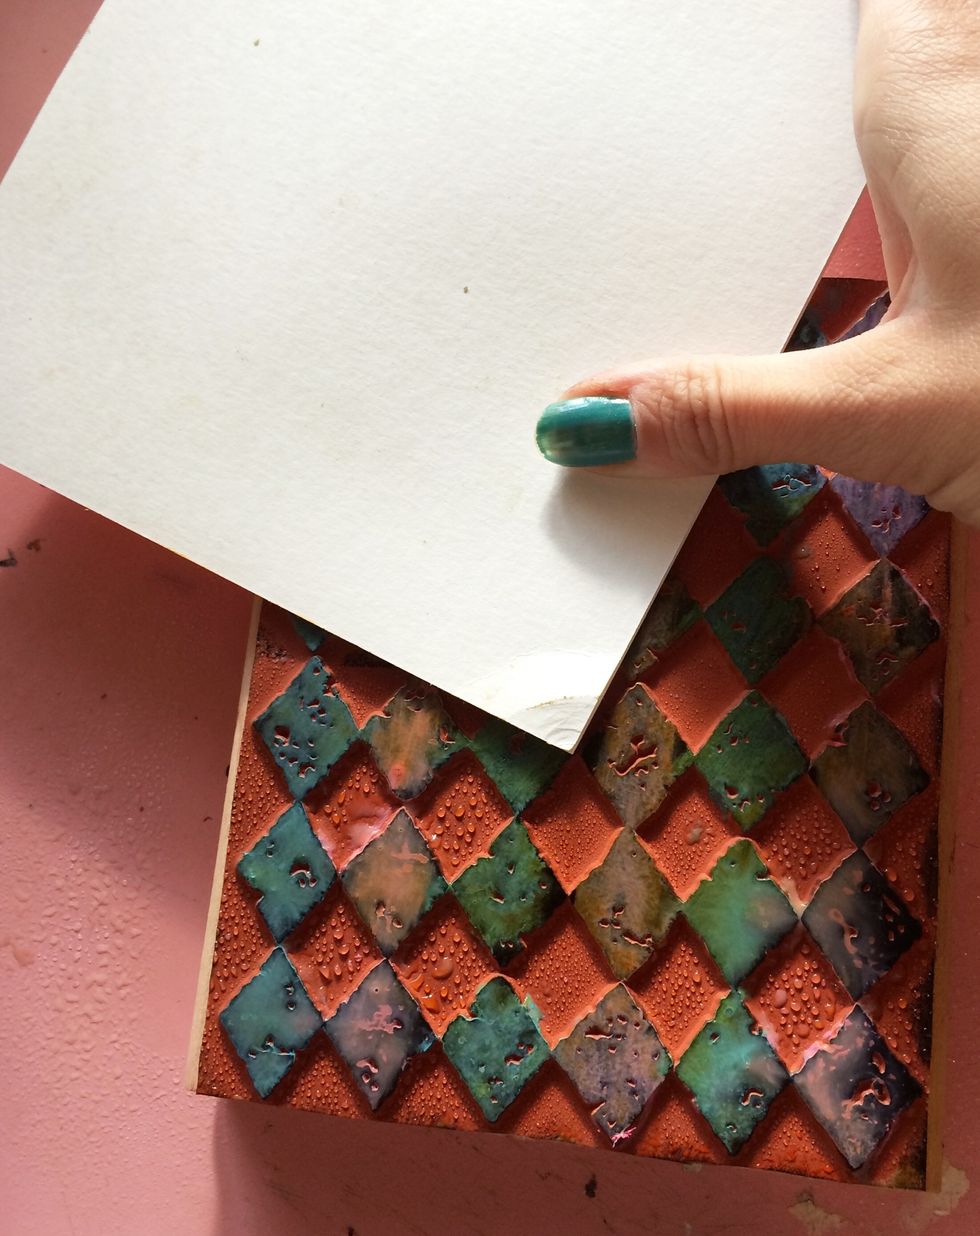
Turning your card over, press your card onto your stamp. Move it around your stamp and your card so that the image is all over.

Notice that my blue gelato mixed with my mustard background to make green! Happy surprise I didn't think about. LOL Next, grab your doilie. I get mine from the baking dept at Hobby Lobby.
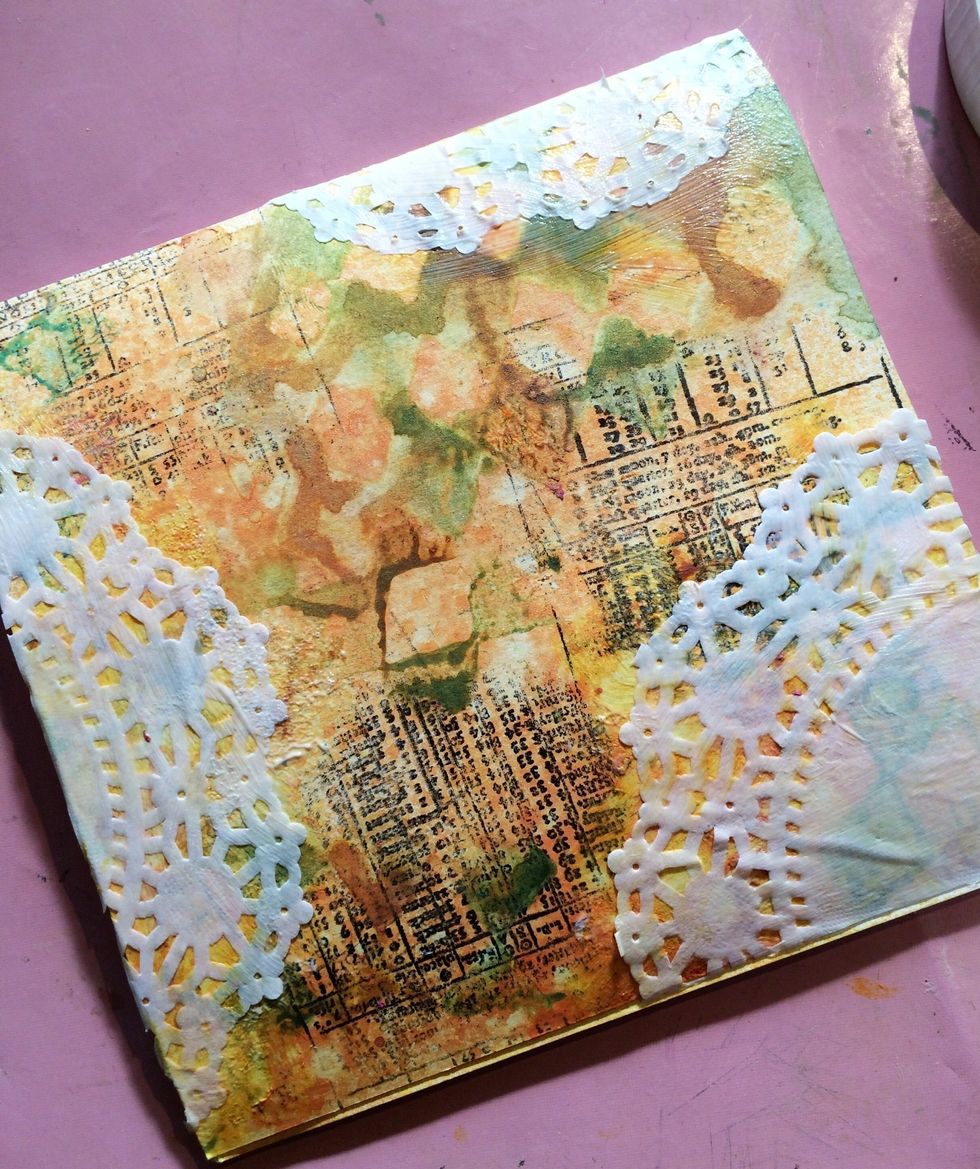
Using a gel medium, like Matte Gel Medium from Liquitex, apply pieces of your doillie to 3 places.Make sure to apply your gel under and over.
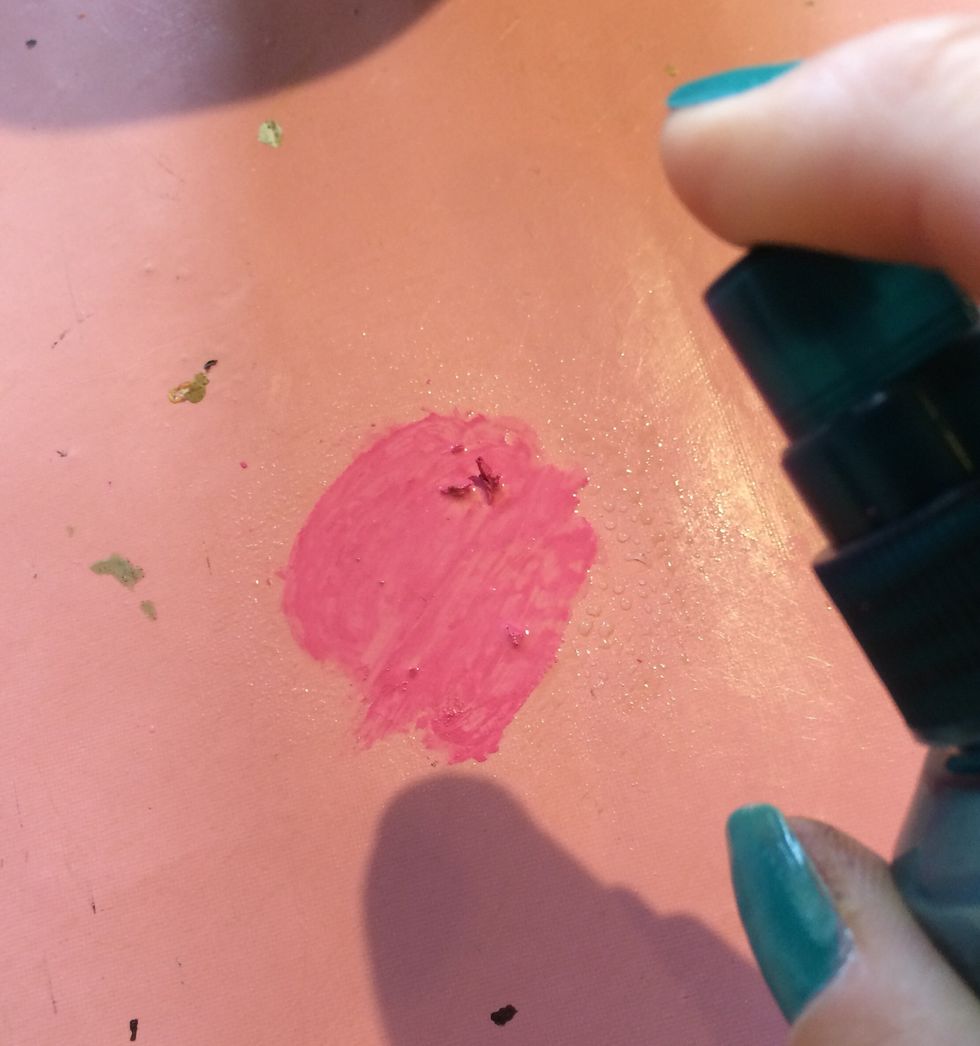
Scribble a small amount of pink gelato on your non-stick surface and spray with water to make the consistency of watercolors.
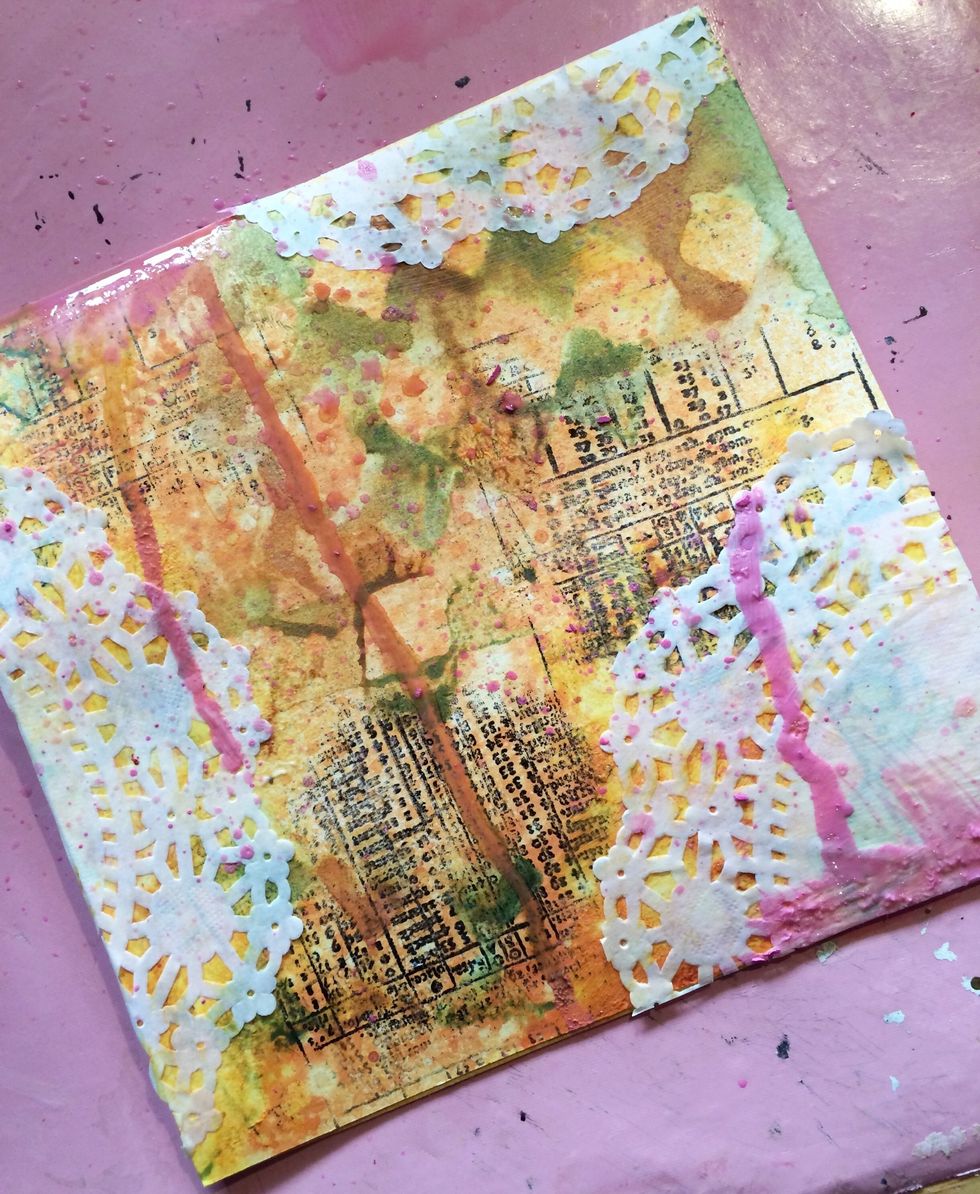
Apply a heavy dose of pink gelato to each corner and lift the card up so that it drips down your card.
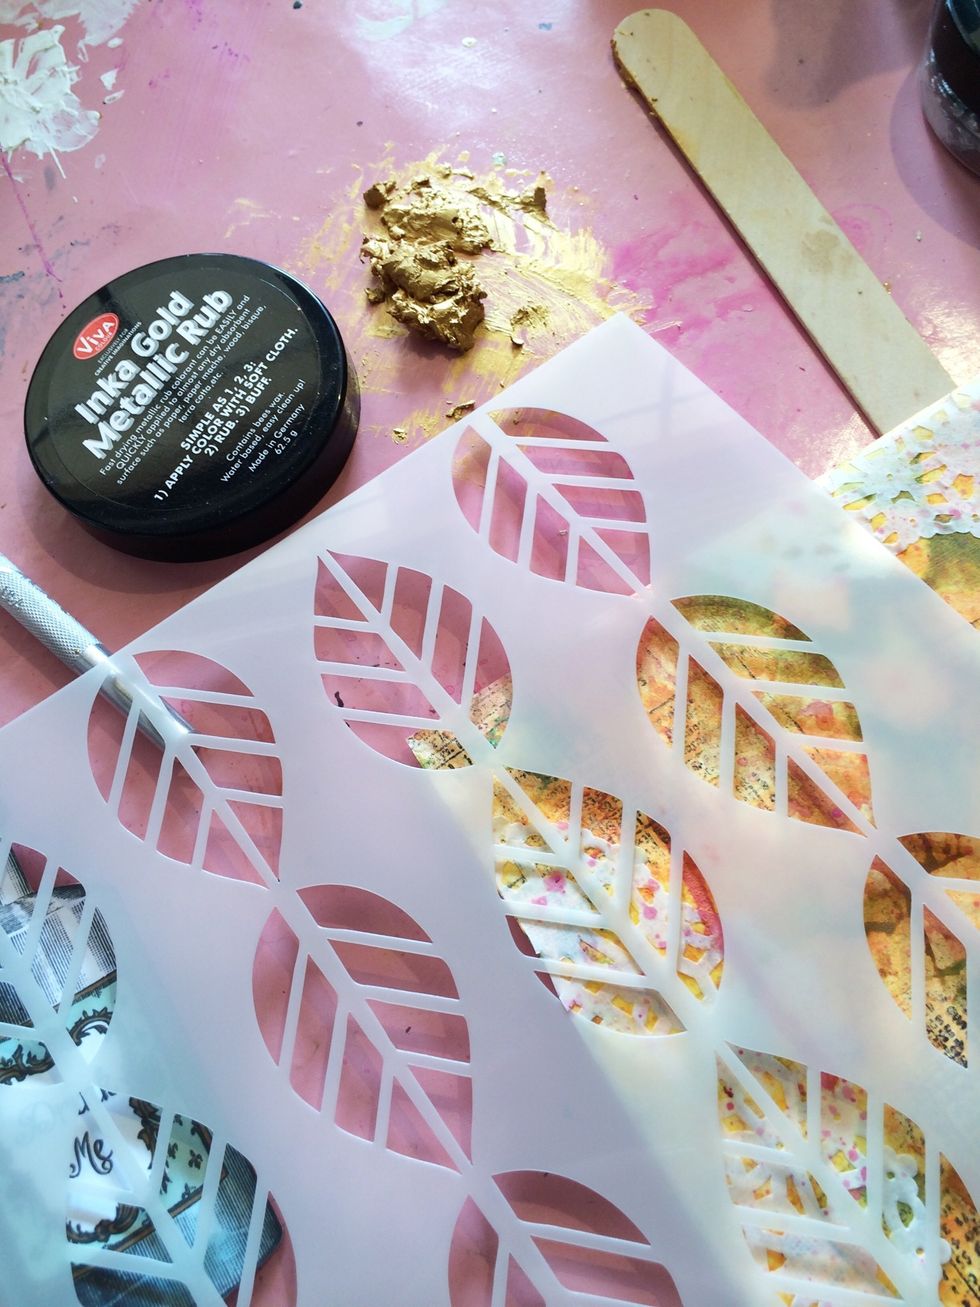
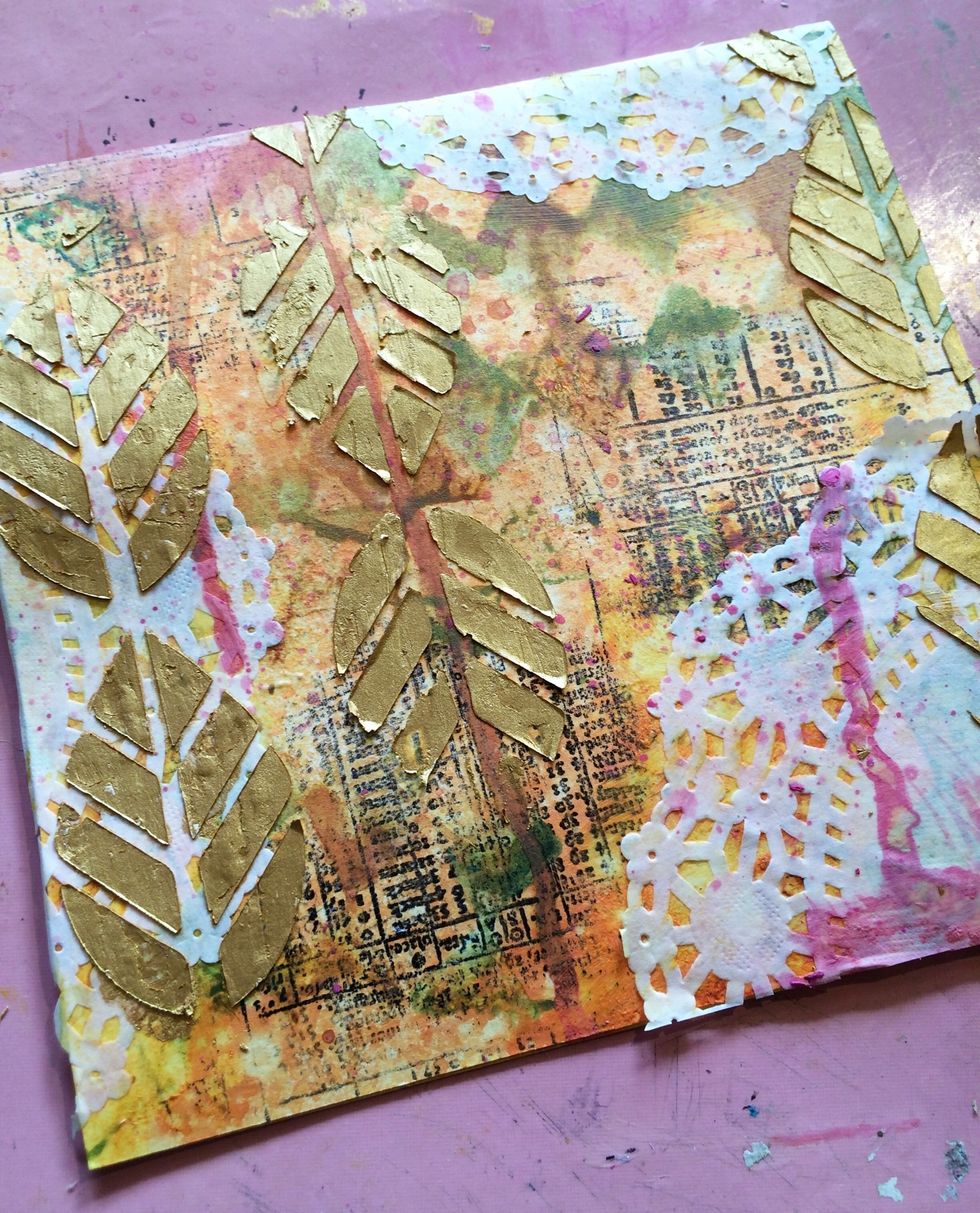
Next, grab your stencil and Inka Gold paste. I used "Striped Leaves" stencil by Dina Wakely for The Crafter's Workshop. Using a spatula, lightly scrape the paste through your stencil onto your card.
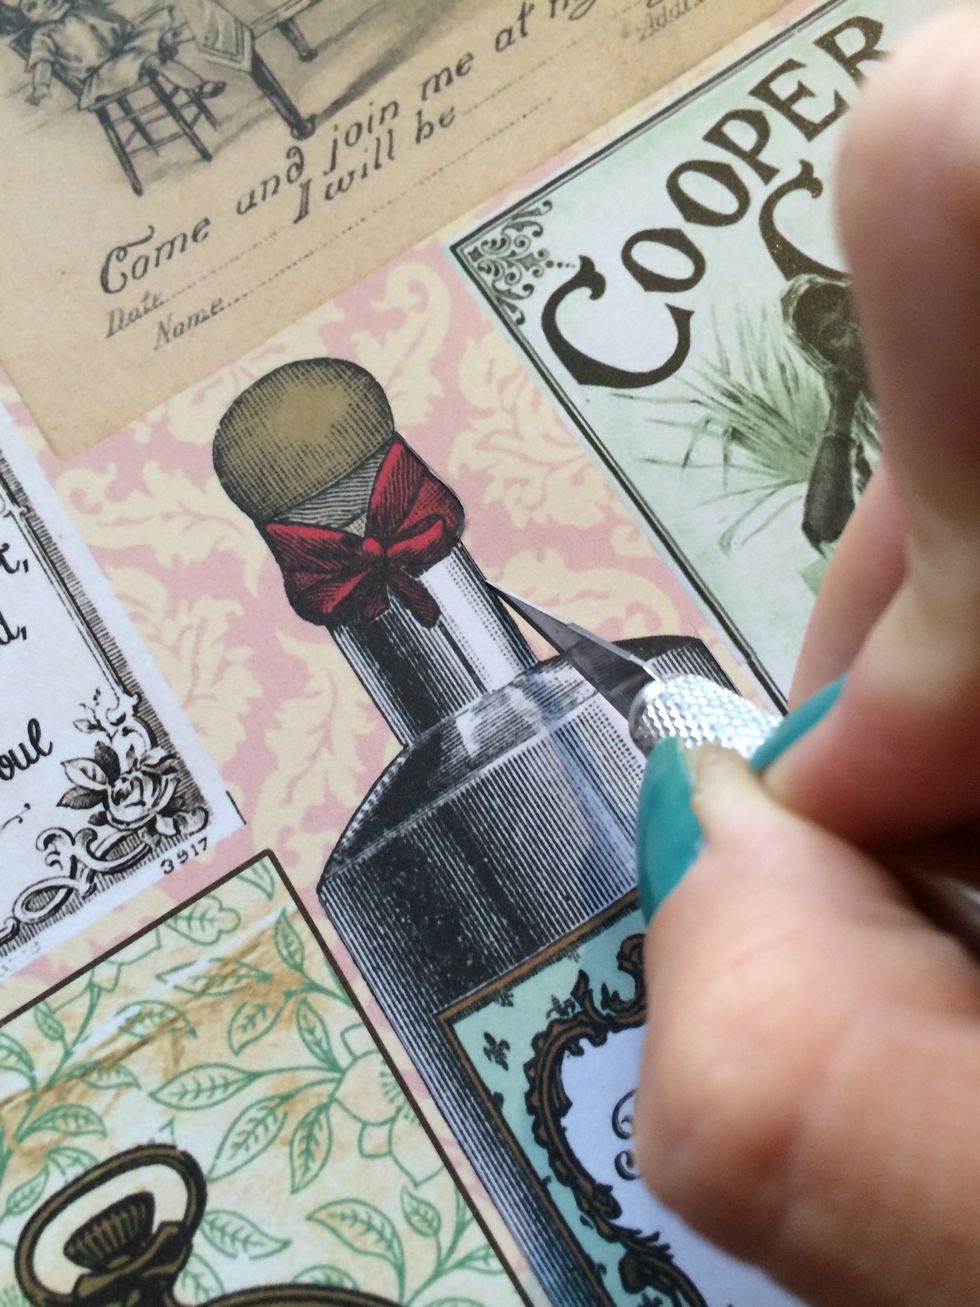
Now it's time to fussy cut! I prefer cutting my images with an exacto/craft knife rather than scissors. This image is from Marion Smith Design's "Mad Tea Party" Epherma paper.
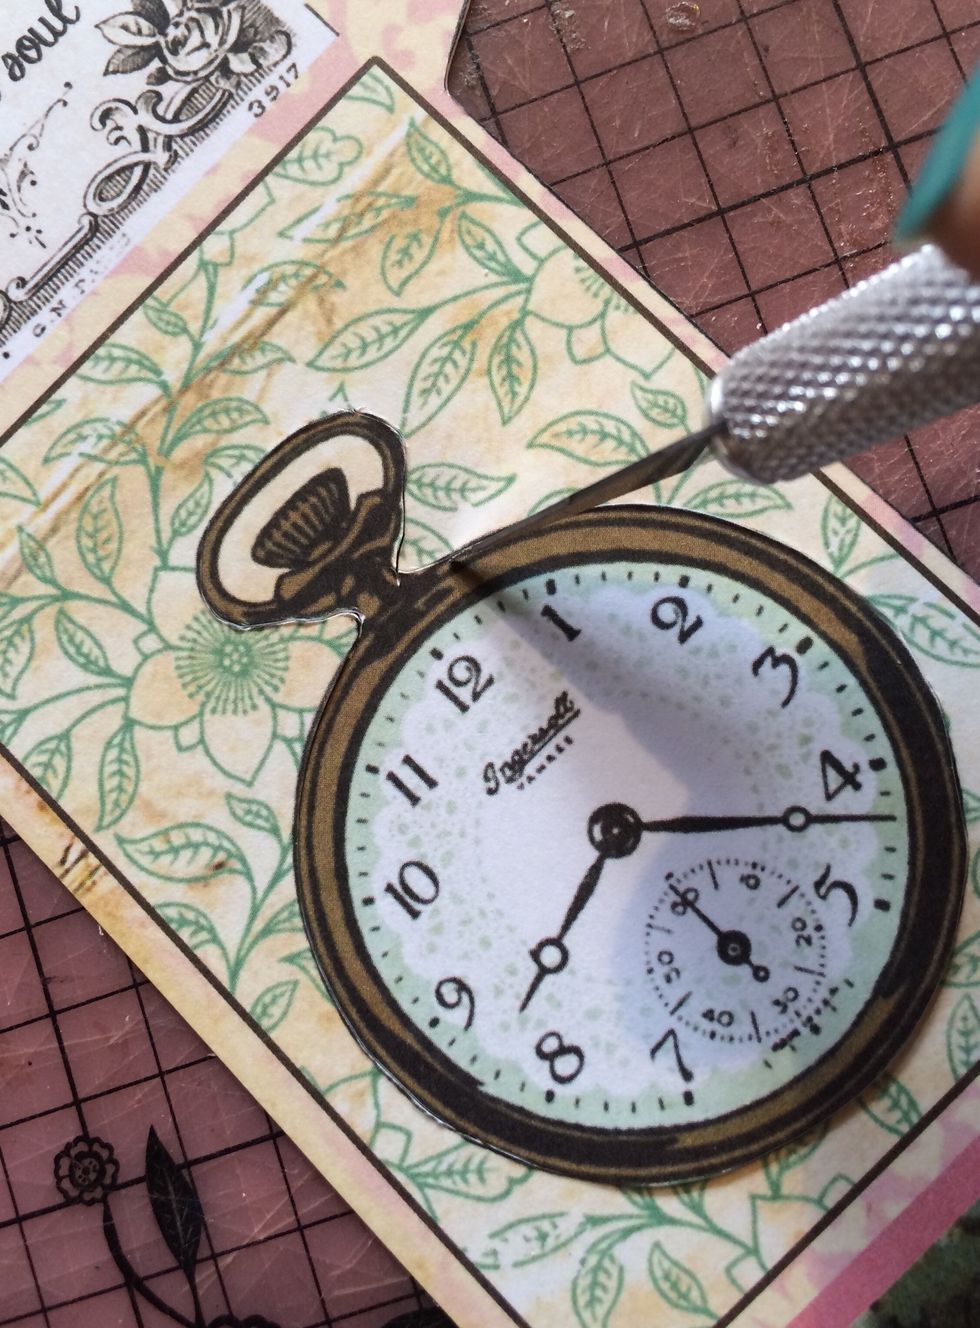
This pocket watch is also from the Ephemera paper.
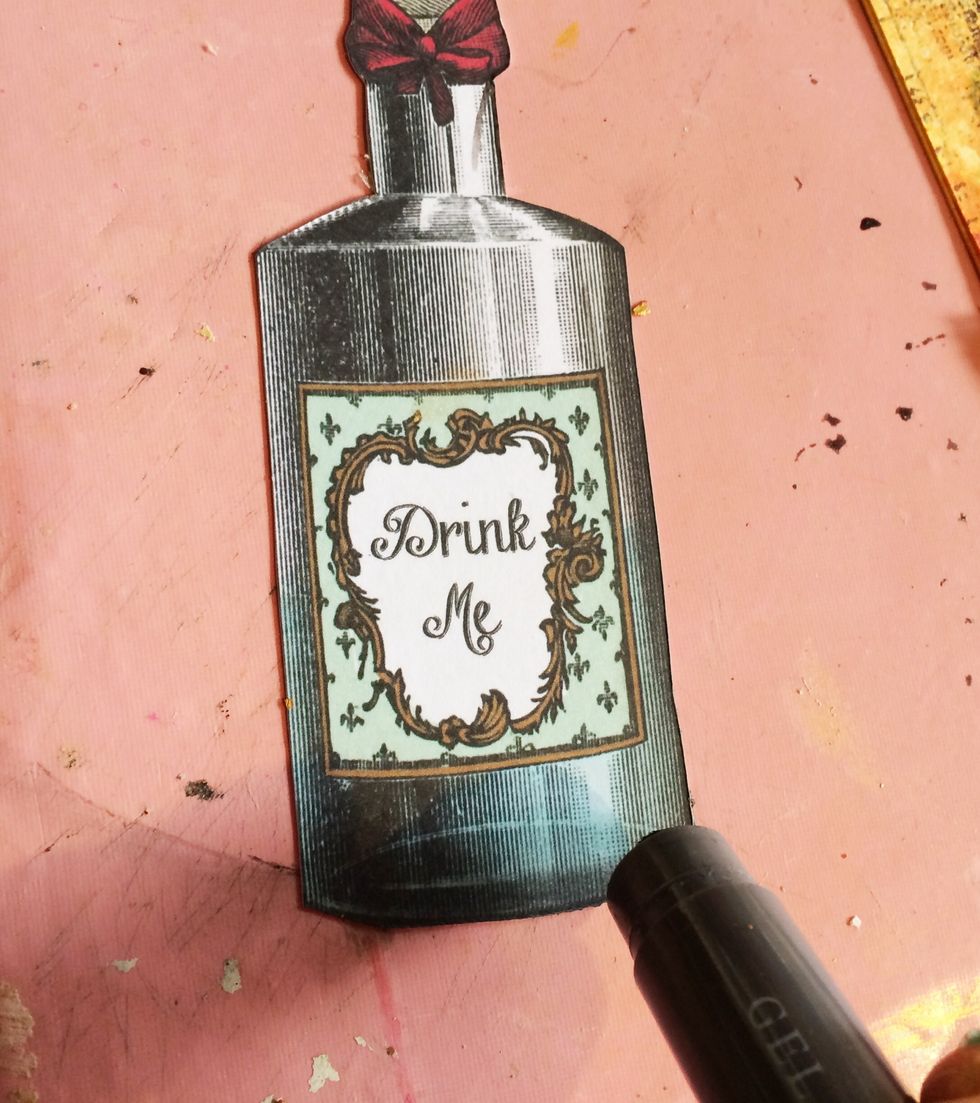
On your fussy cut pieces, lightly apply a grey gelato on the edges and rub with your fingers.
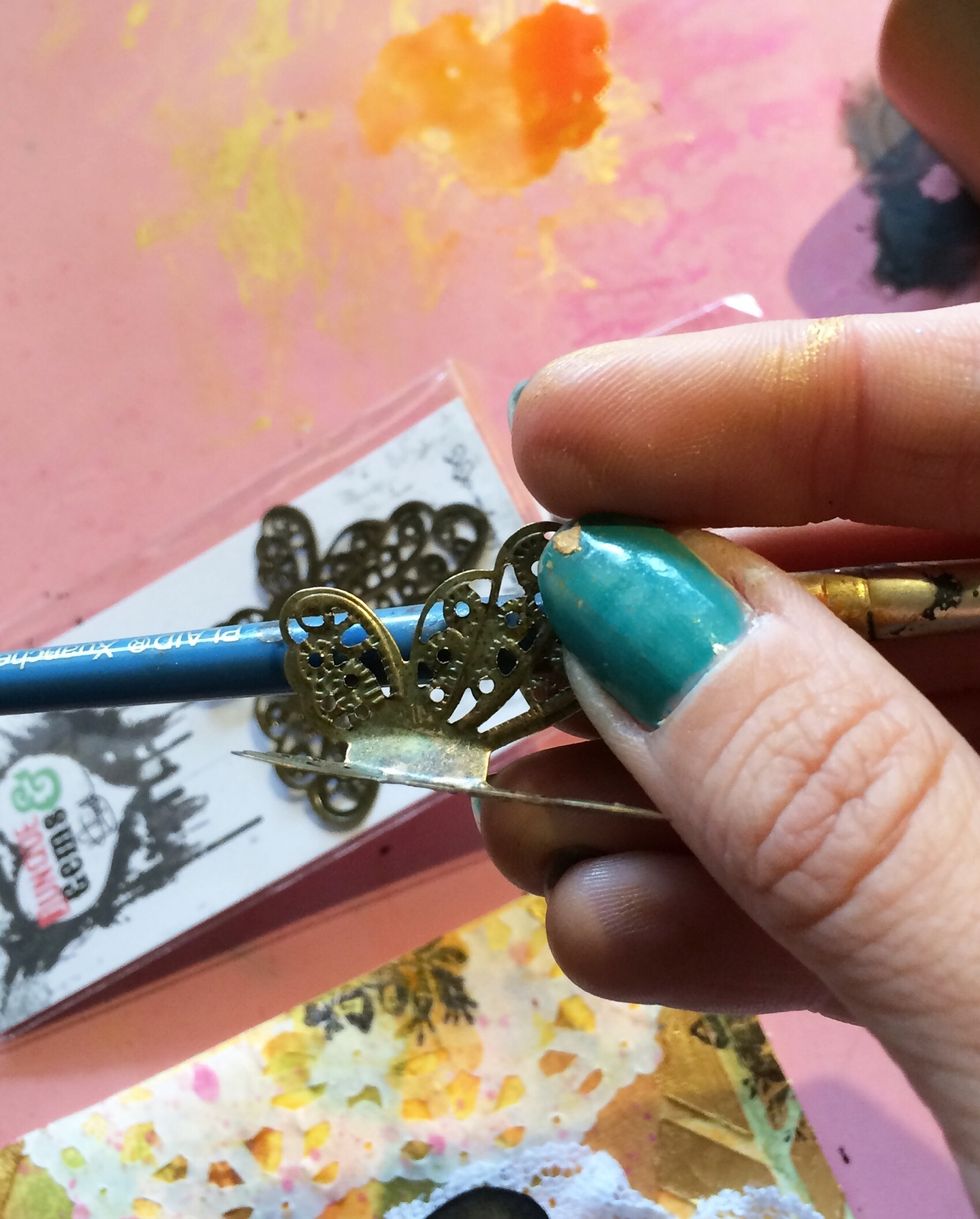
Now it's time to make our butterflies 3-D. Using Marion Smith Design's Filigree Butterflies and a medium paint brush, lightly bend the wings around the handle.
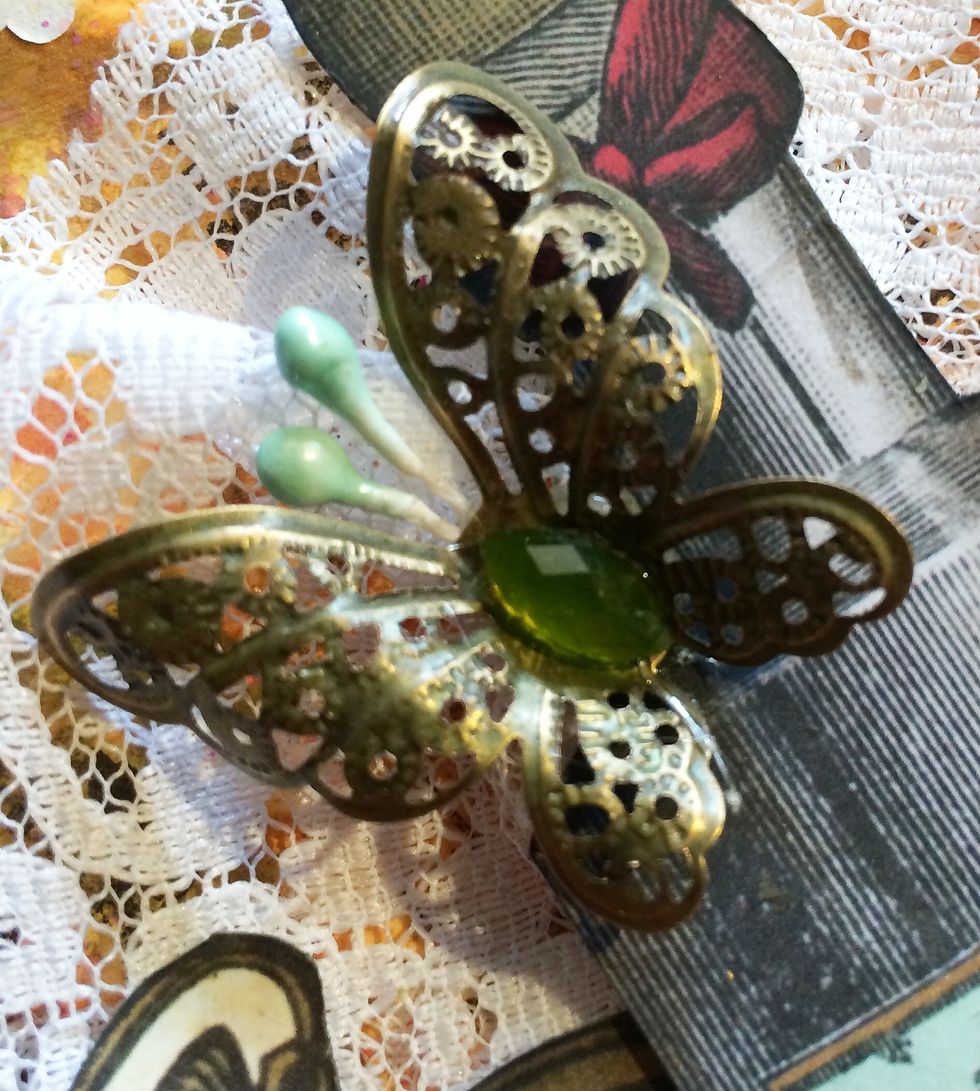
Add a Marion Smith Junque & Gems small stone to make the body and Aqua Stamen (also my Marion Smith) for antennae. Make 3 total.
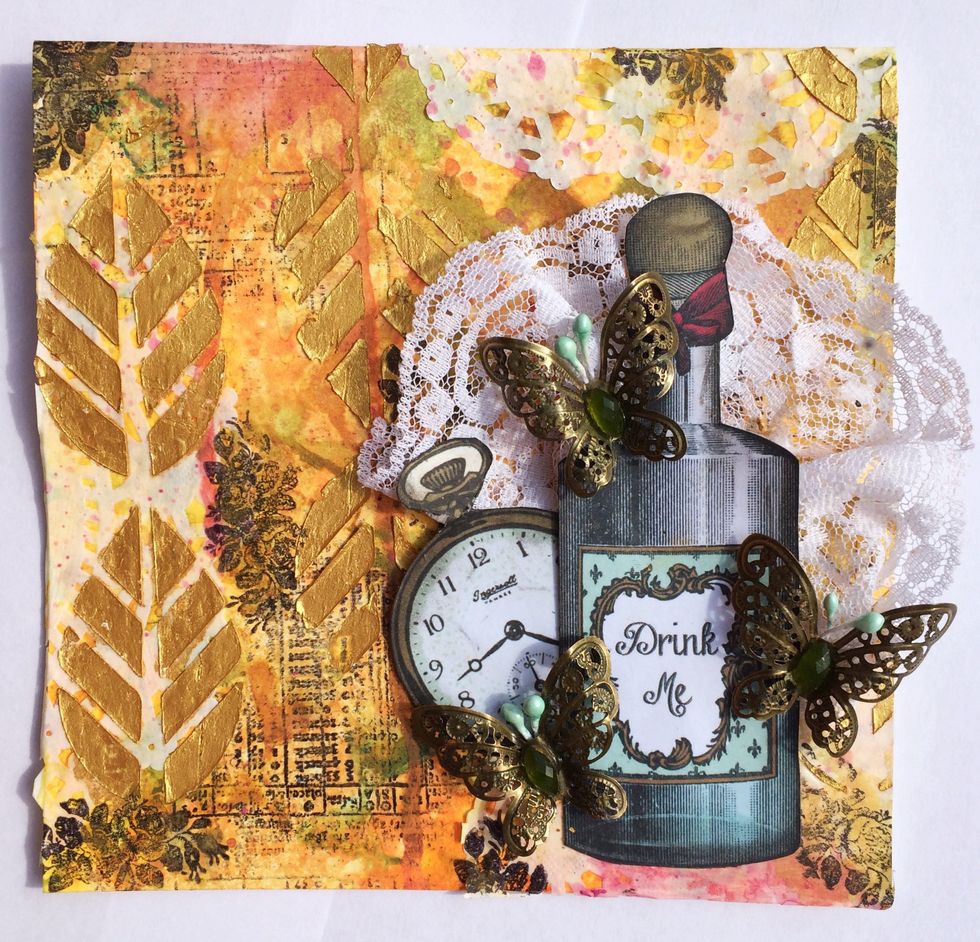
Lastly, add a few more floral stamps. Then layer your fussy cut pieces and butterflies with some lace to finish up you card.