The Conversation (0)
Sign Up
Colorique Colors: Ruby Slipper, Verdigris & Pacific Ocean ~~~ Ann Butler Colors: Berry, Limelight, & Aquamarine ~~~Rita Barakat Art Foamies: Zen Doodle Cloud & Fairy Wing
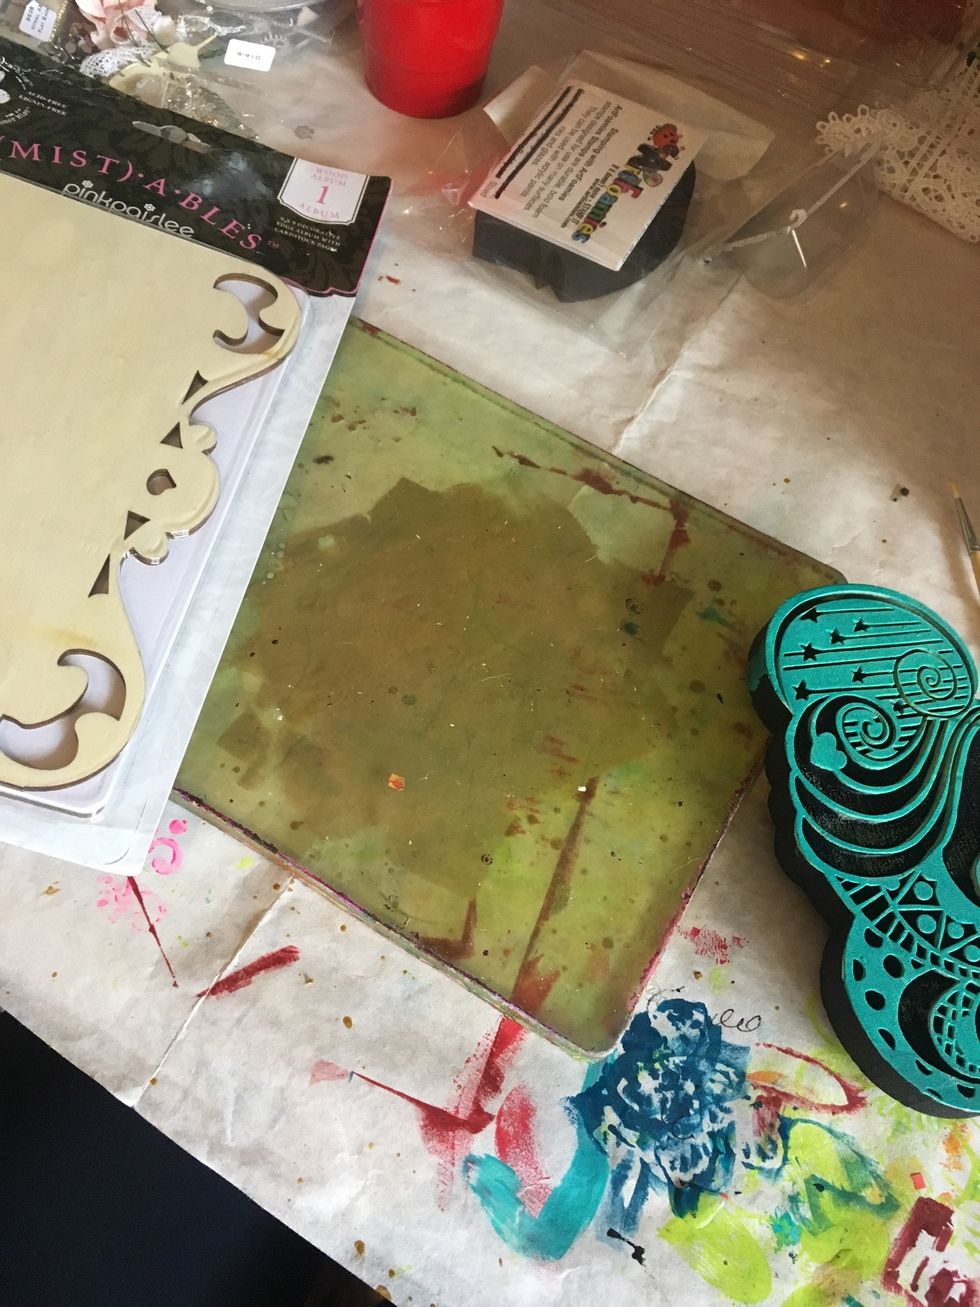
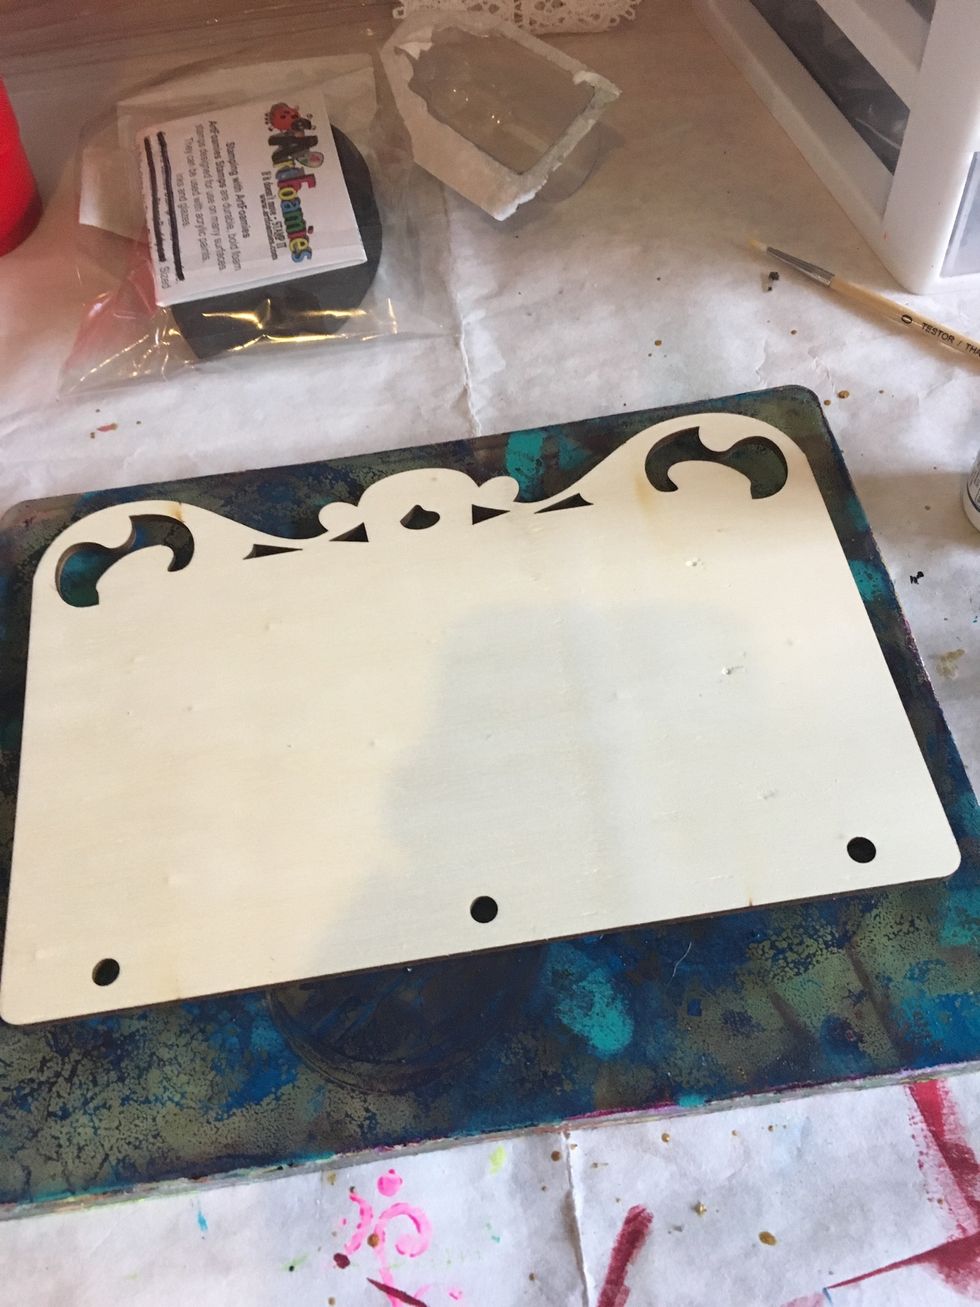
Start by gathering your supplies.
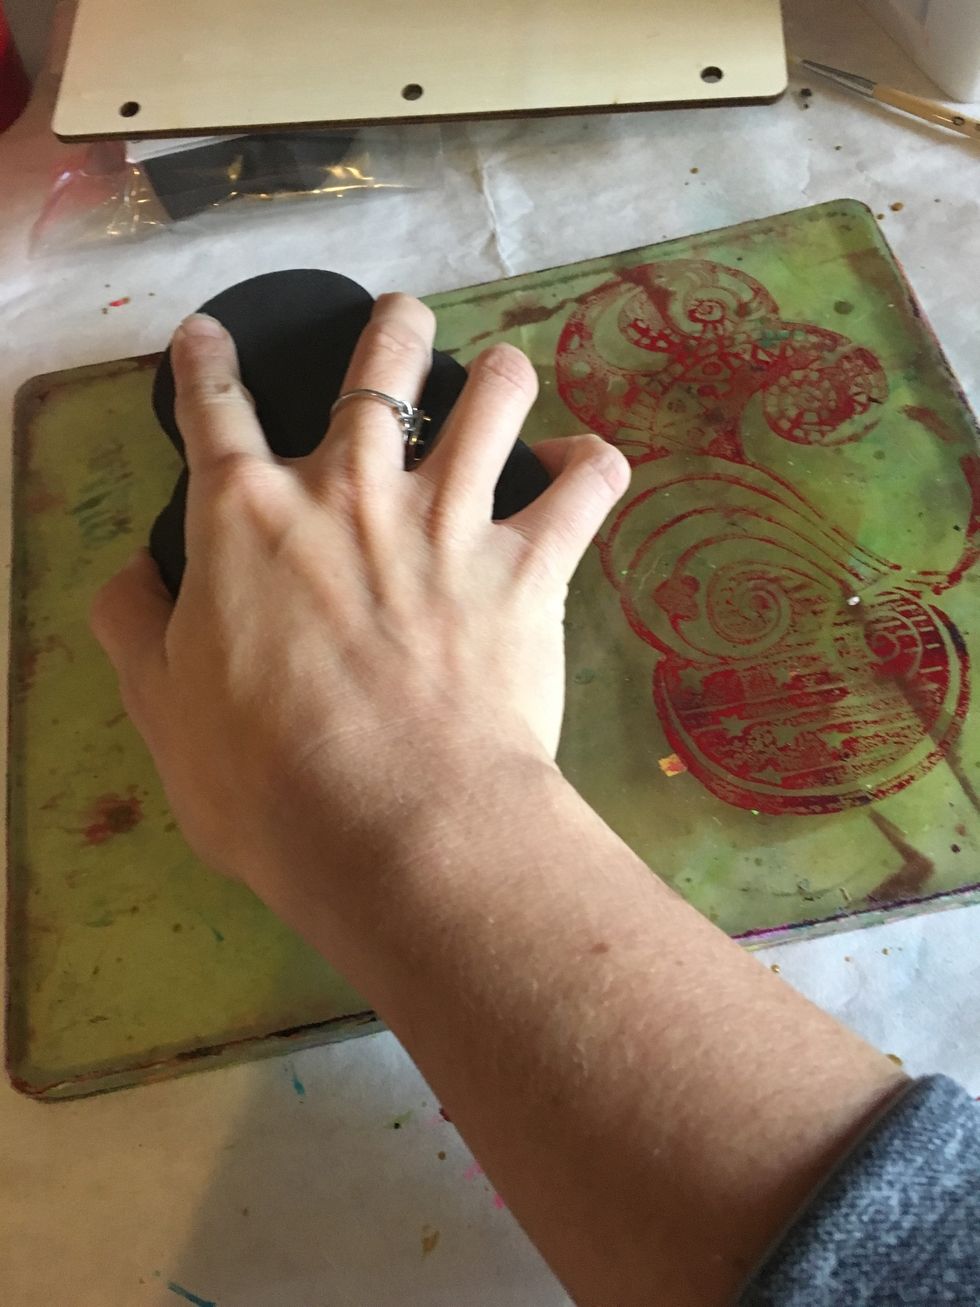
Using Colorique Ruby Slippers and the Zen Doodle Cloud Art Foamie by Rita Barakat, apply swirls to you Gel Press® Gel Plate
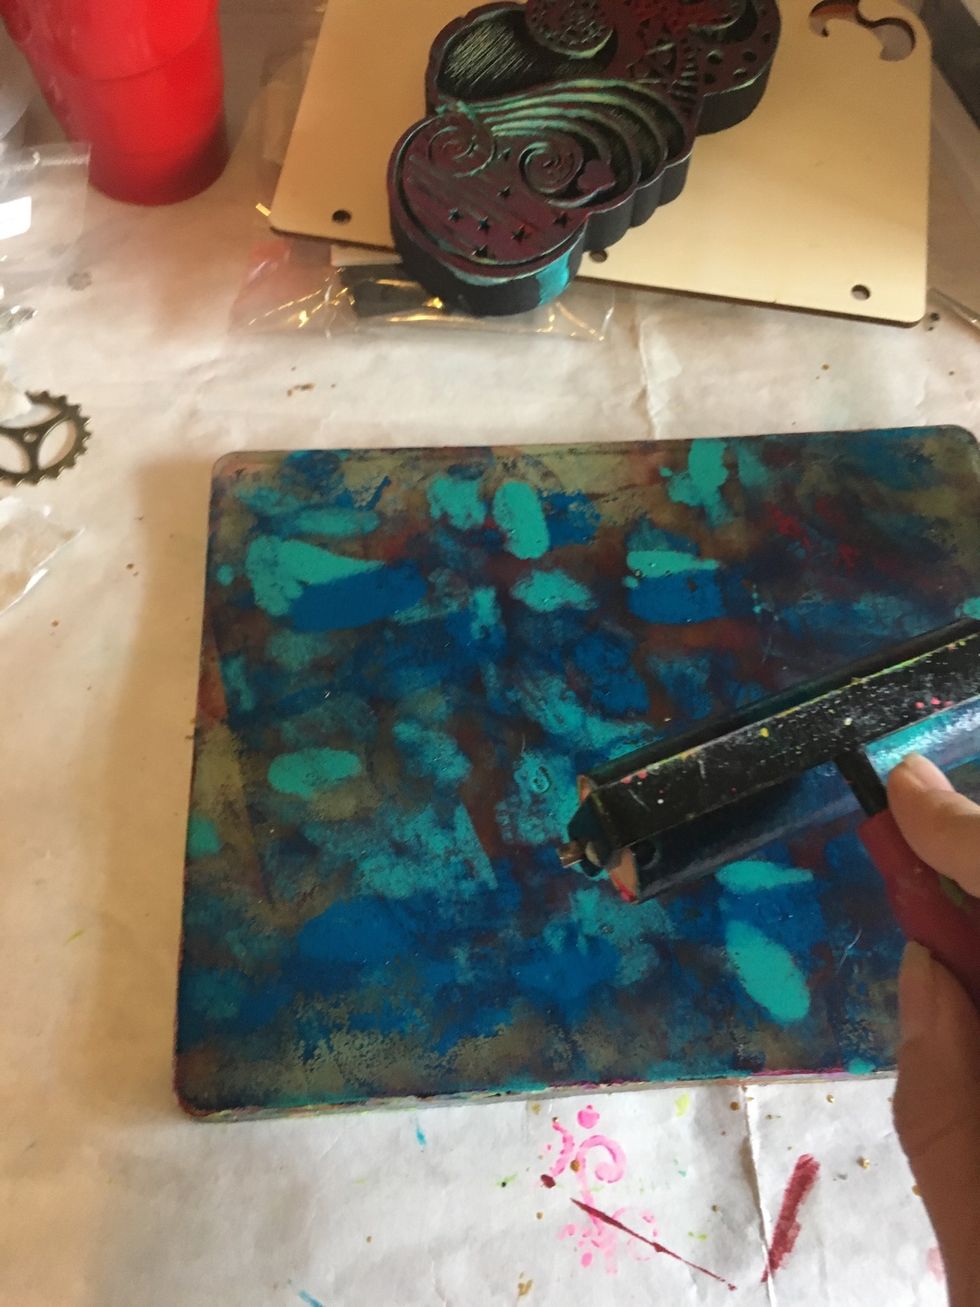
Use a brayer to roll your Verdigris and Pacific Ocean Colorique paints over your Gel Press® Plate. Be gently so you don't smear you Art Foamie swirls underneath
To add more, texture, stamp you Zen Doodles Cloud Art Foamie again into the wet paint.
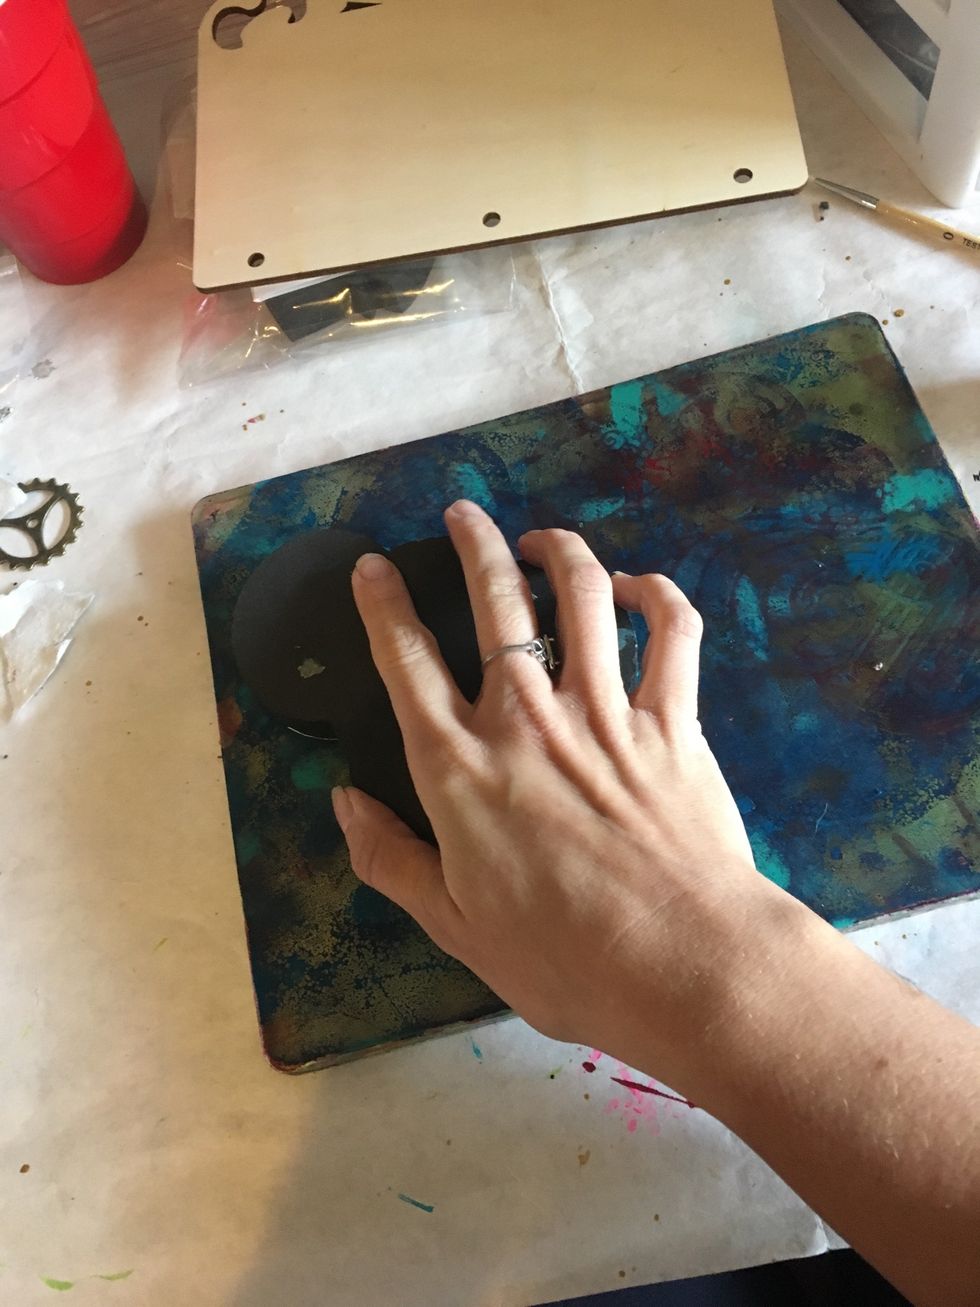
Press you wooden album from into onto your painted plate. If you need to, use a brayer across the back of the wood for even pressure.
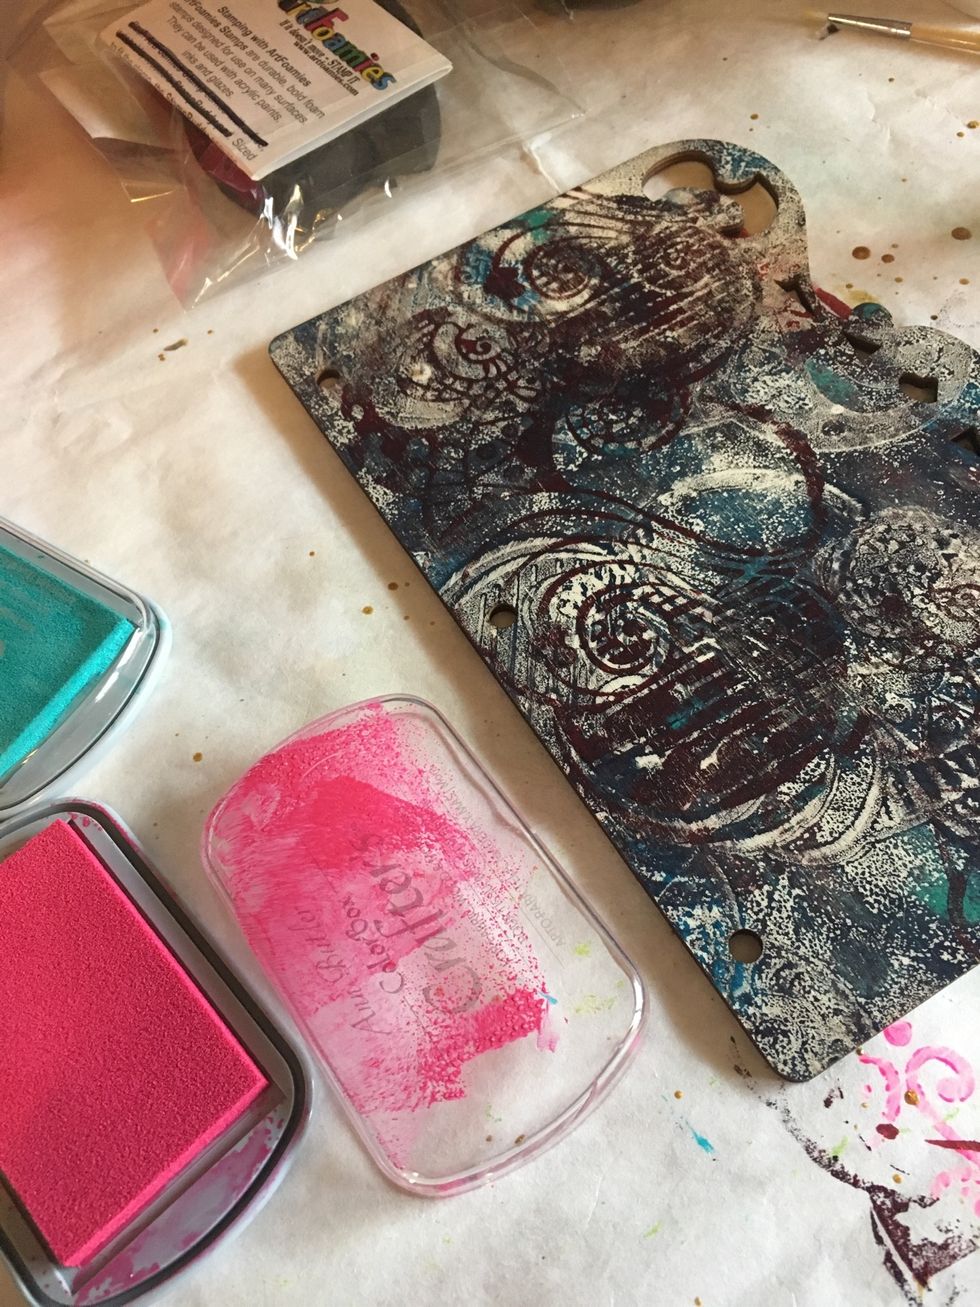
Gently peel your album cover back. I intentionally didn't gesso the surface first because I wanted the wooden feel to stay.
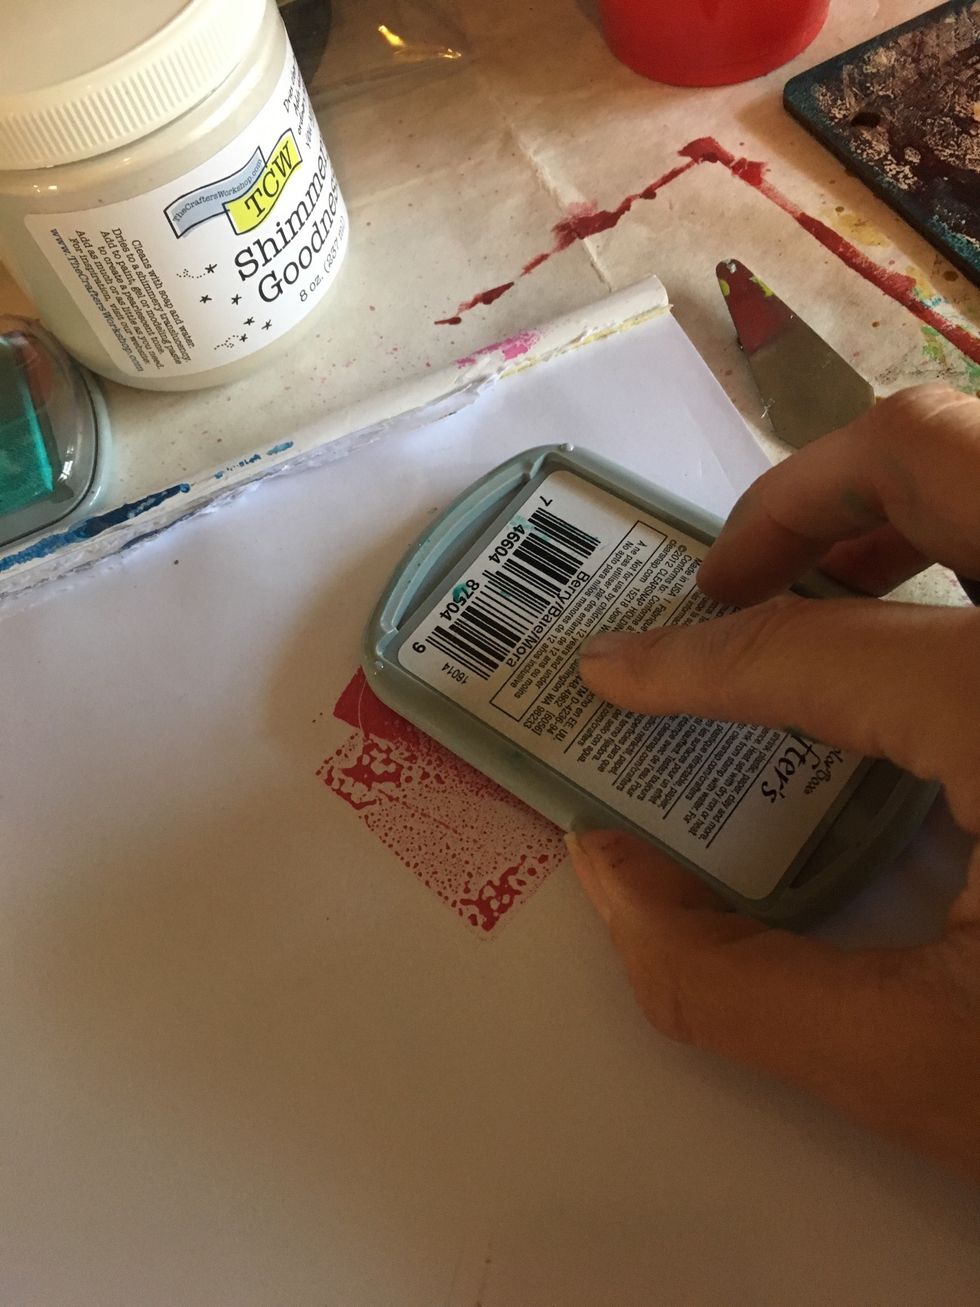
Using Ann Butler's Crafter's Ink in Berry, "stamp" you ink pad onto a piece of palette paper or wax paper.
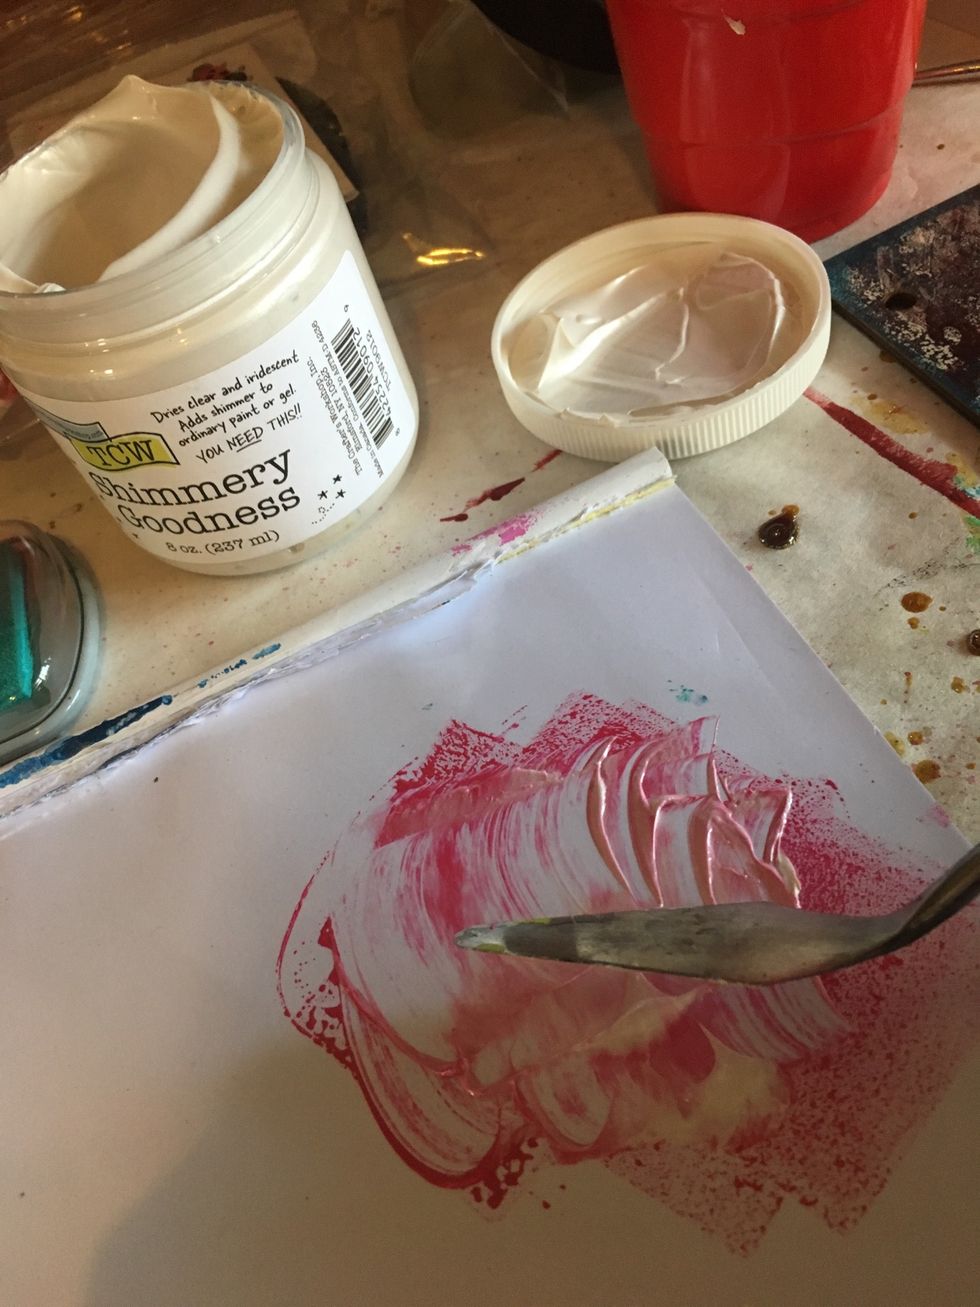
Mix in an additive like The Crafter's Workshop Shimmery Goodness to make a lose paste.
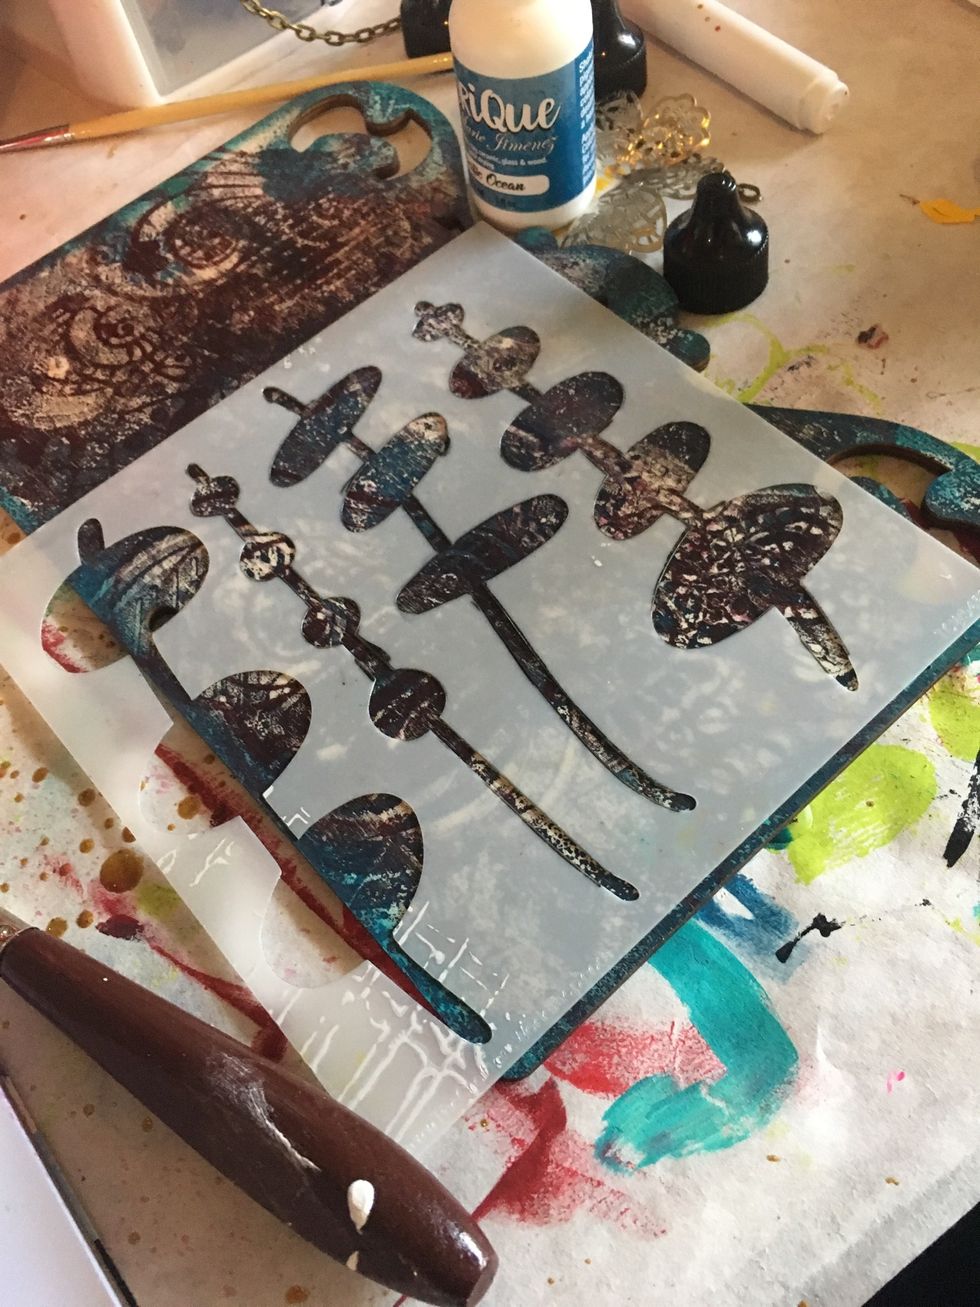
Using a fun stencil like this one from The Crafter's Workshop and a palette knife, scrap your paste through the stencil on to your album cover.
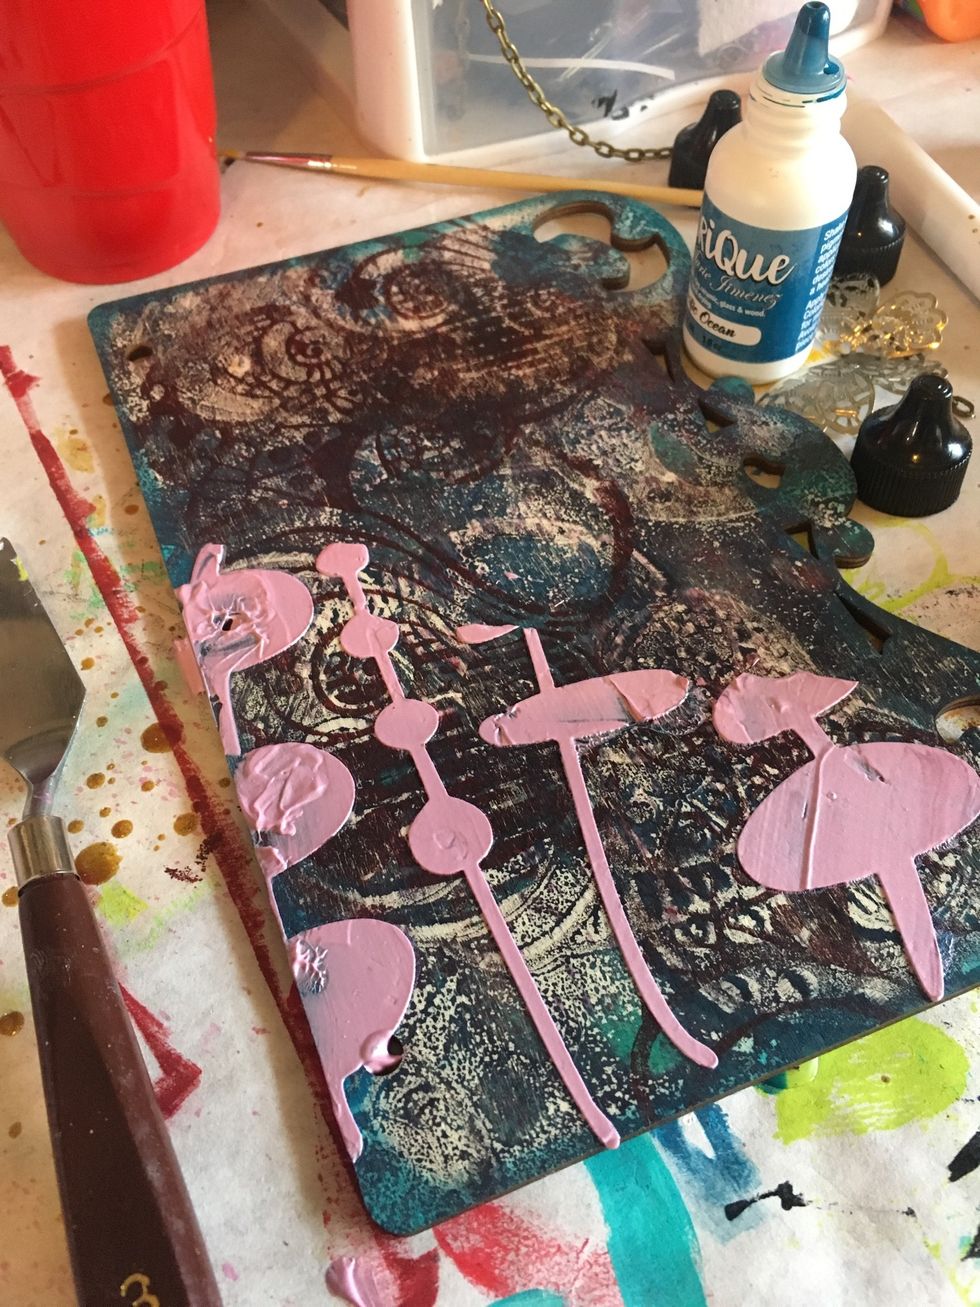
Carefully remove your stencil. Use a heat gun to speed up the drying process. Allow the heat gun to linger just a bit so that the page bubbles and adds texture.
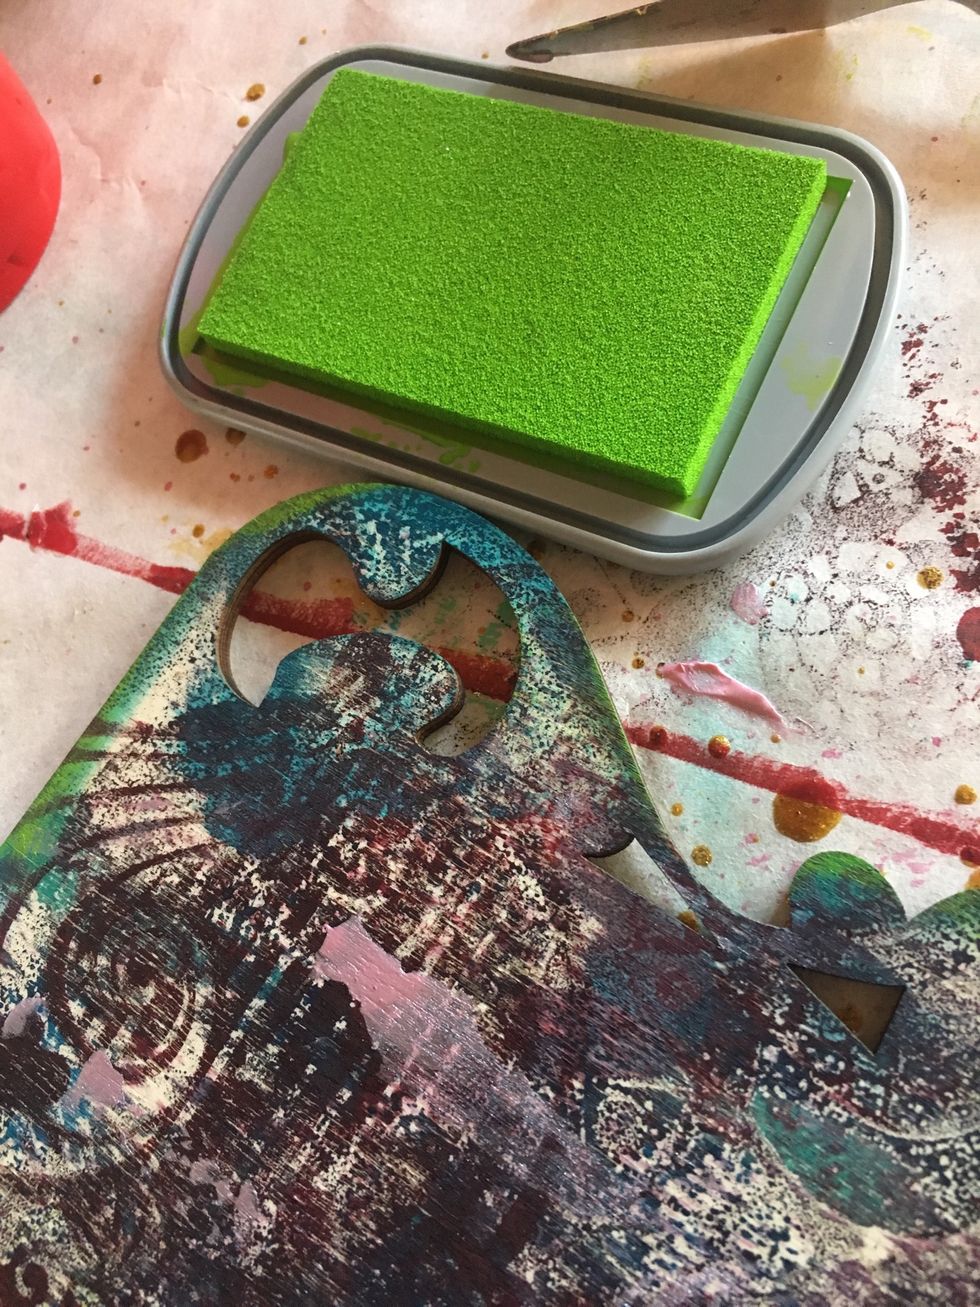
Use Ann Butler Crafter's Ink in Limelight to edge your album.
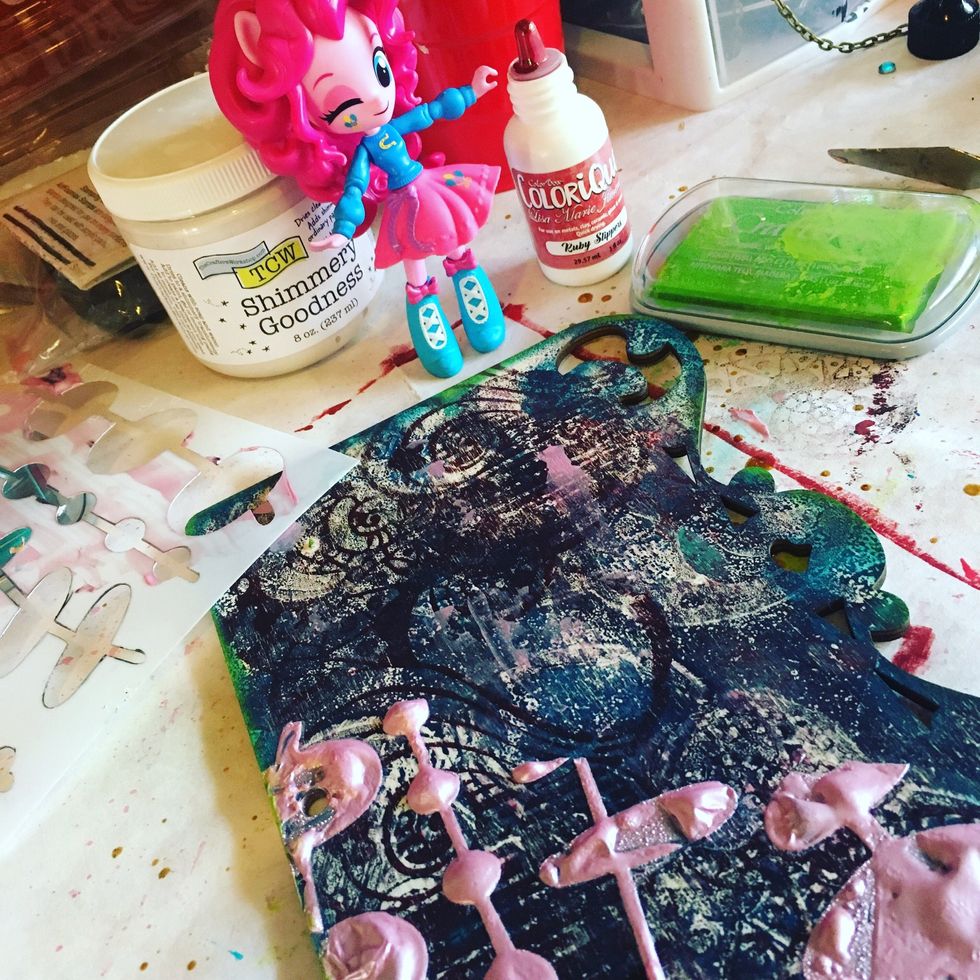
Pinky Pie is loving it!!

Grap your Rita Barakat Fairy Wing Art Foamie and stamp with your three colors of Crafter's Ink to create a multitude of marbled wings on regular copy paper. I used 5 for my flower.
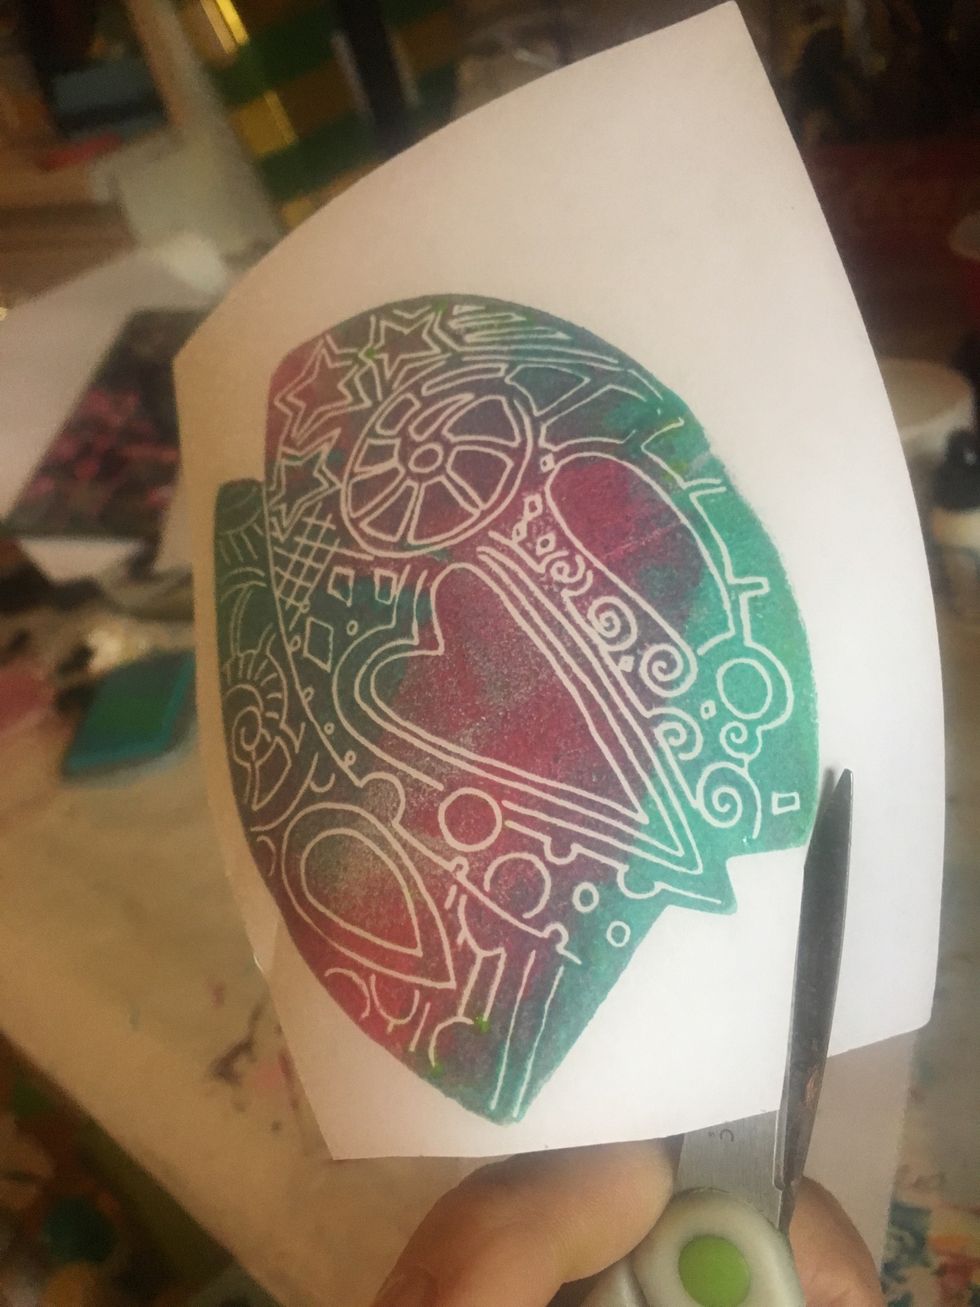
You can see that the wing is really 2 wings. We are going to use the larger of the 2 wings, so cut them out.
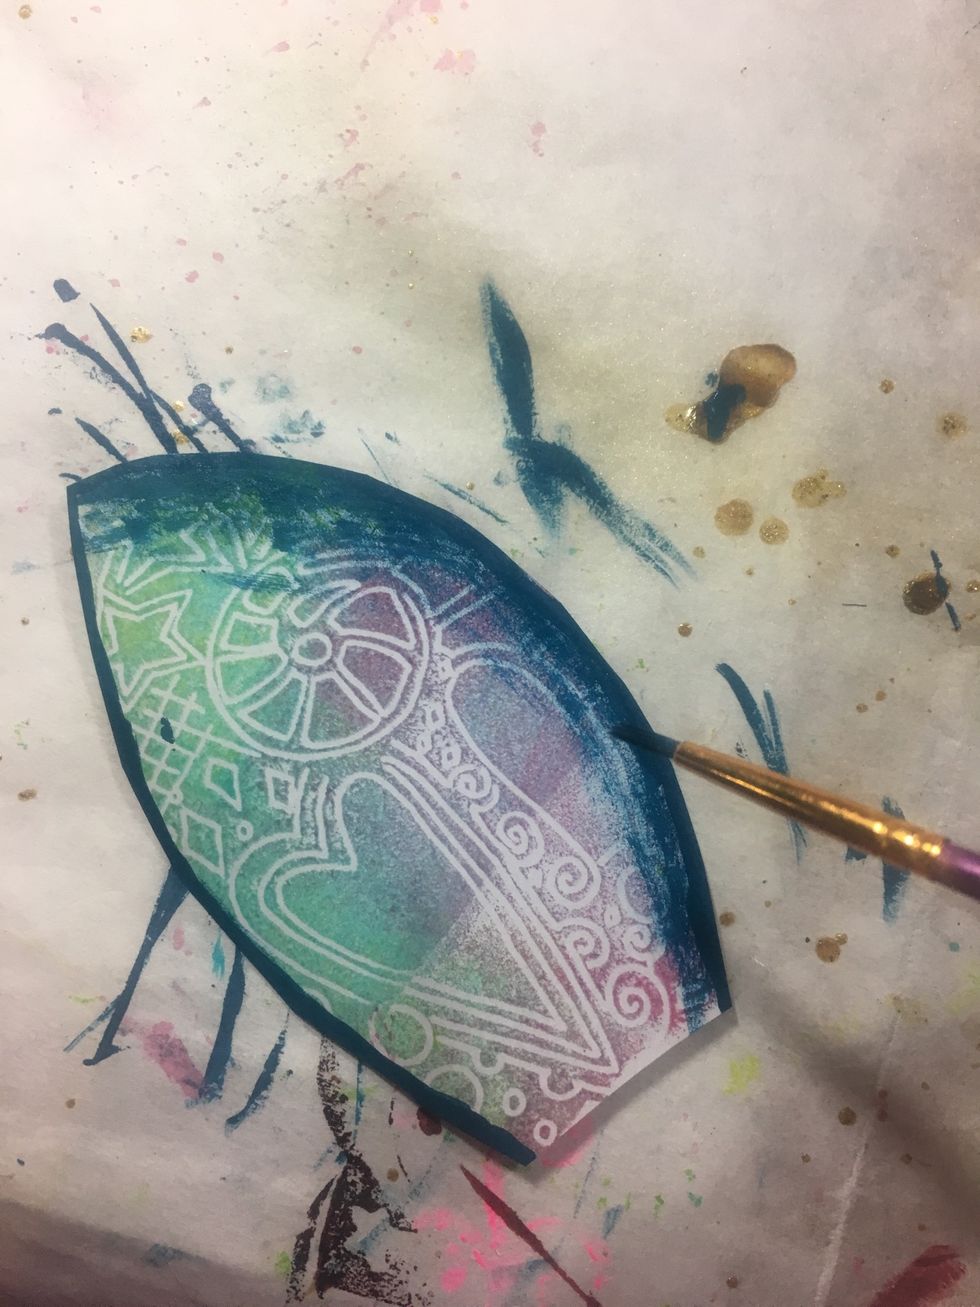
To add depth, I used Colorique by Lisa Marie Jimenez in Pacific Ocean to edge my wing/petals and then dry brushing it towards the center.
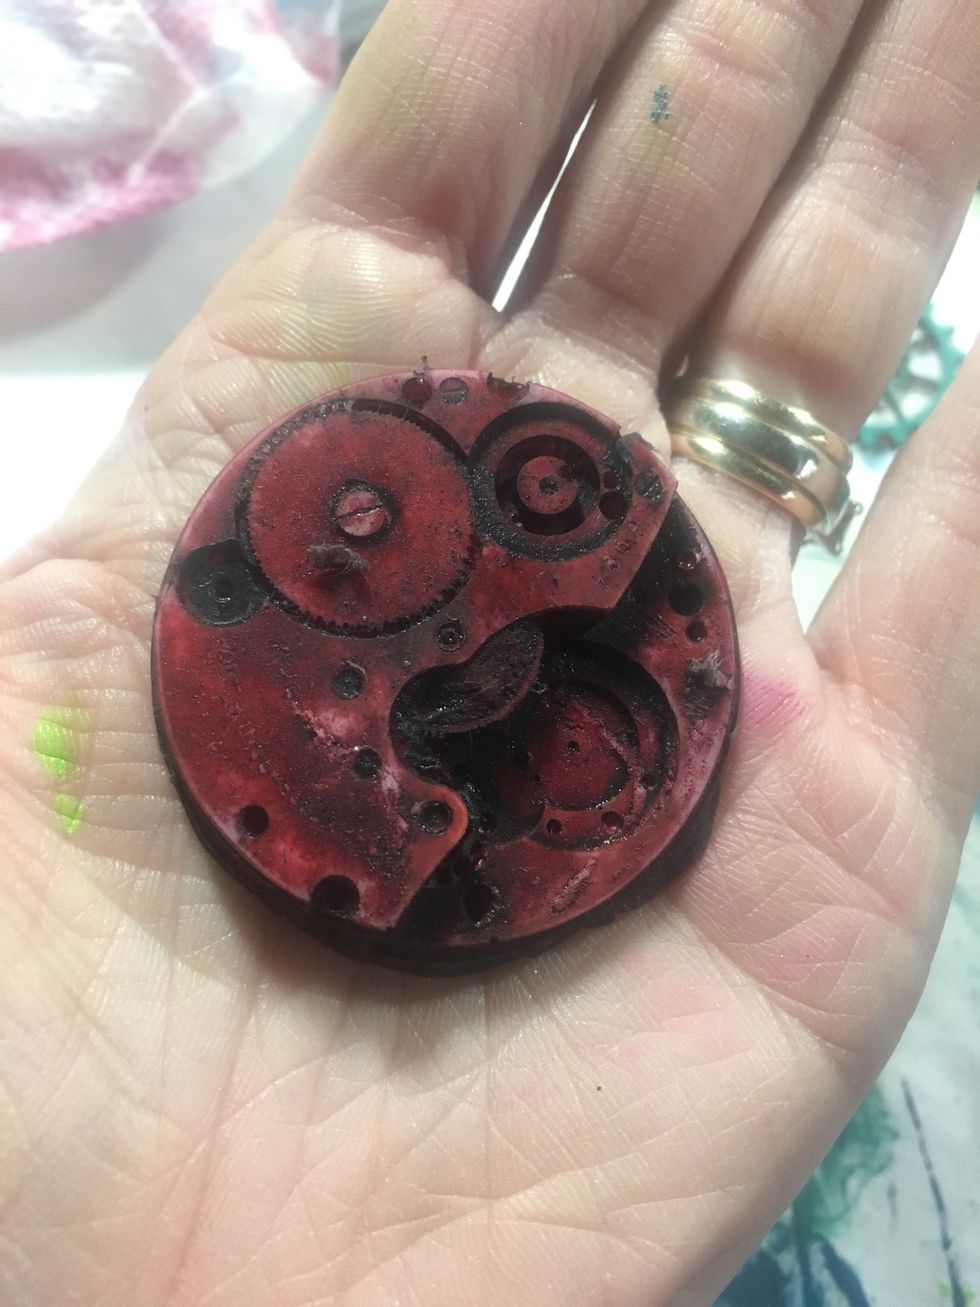
While my wings are drying, I used my Ruby Slipper Colorique to color my molded piece. Once my Colorique was dry, I used DecoArt Antiquing Creme in Grey to tone the color down a little.
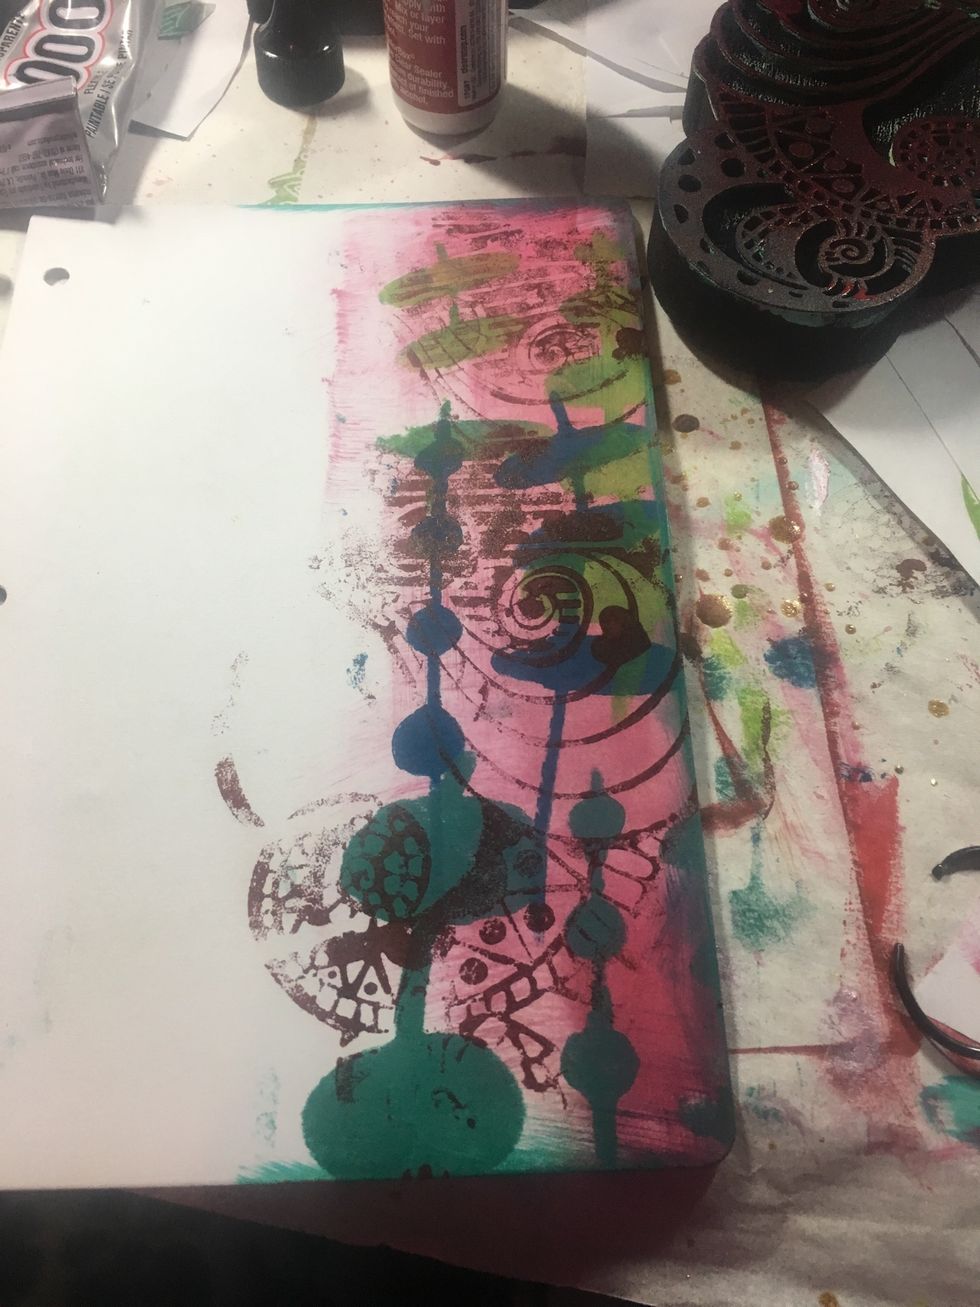
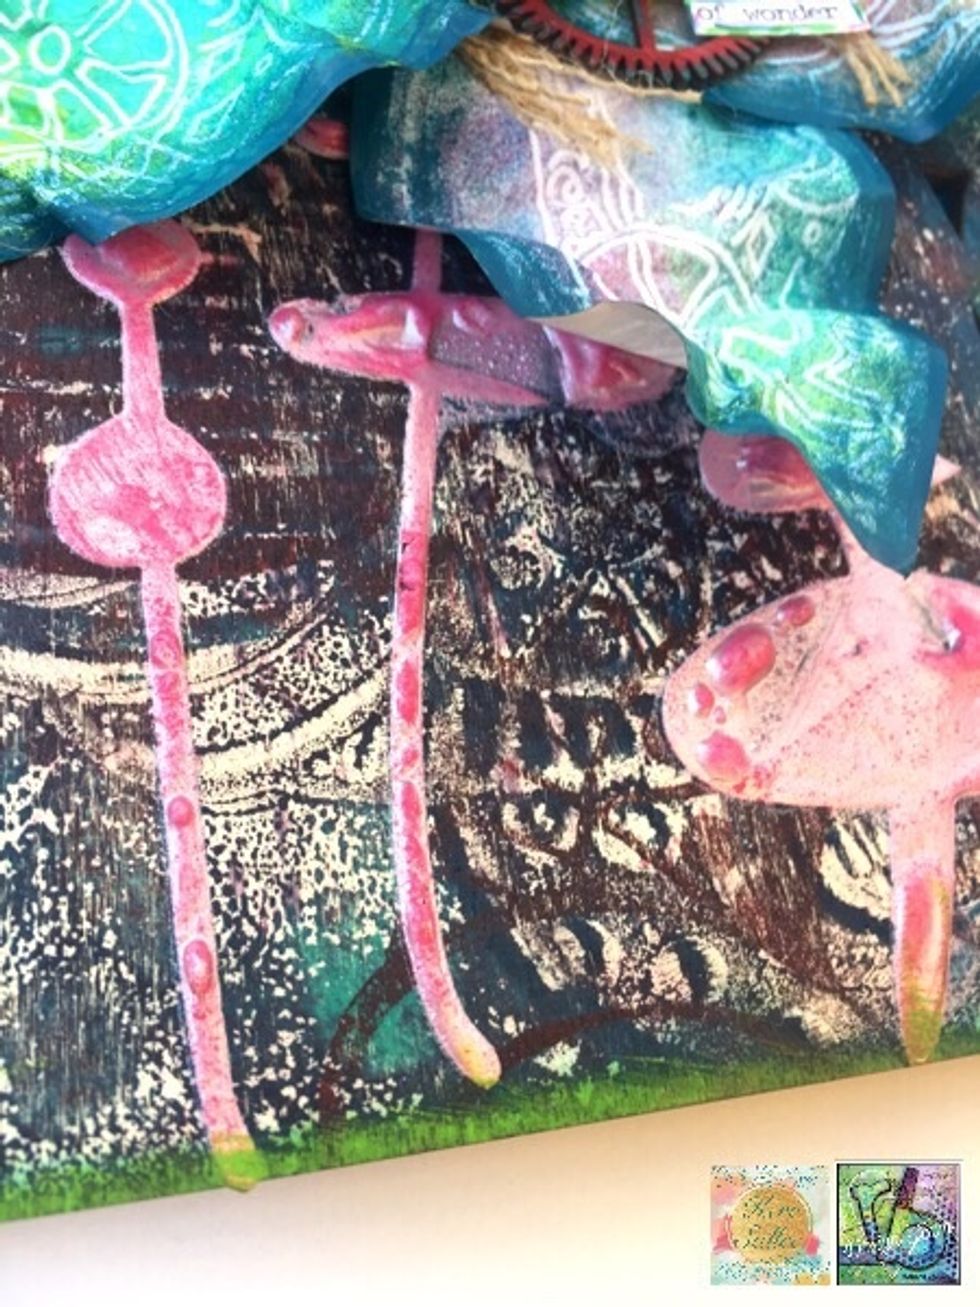
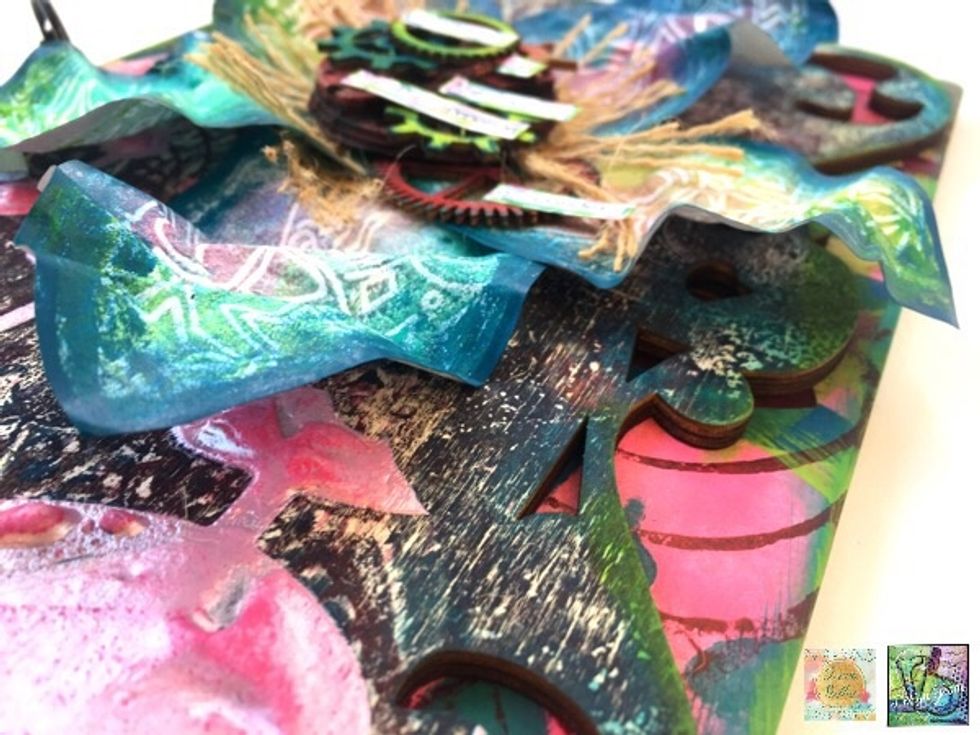
While all that dried, I was piecing my album together and realized the first page could be seen through the swirls of the album cover. So I added tons of color and designs to my from page.
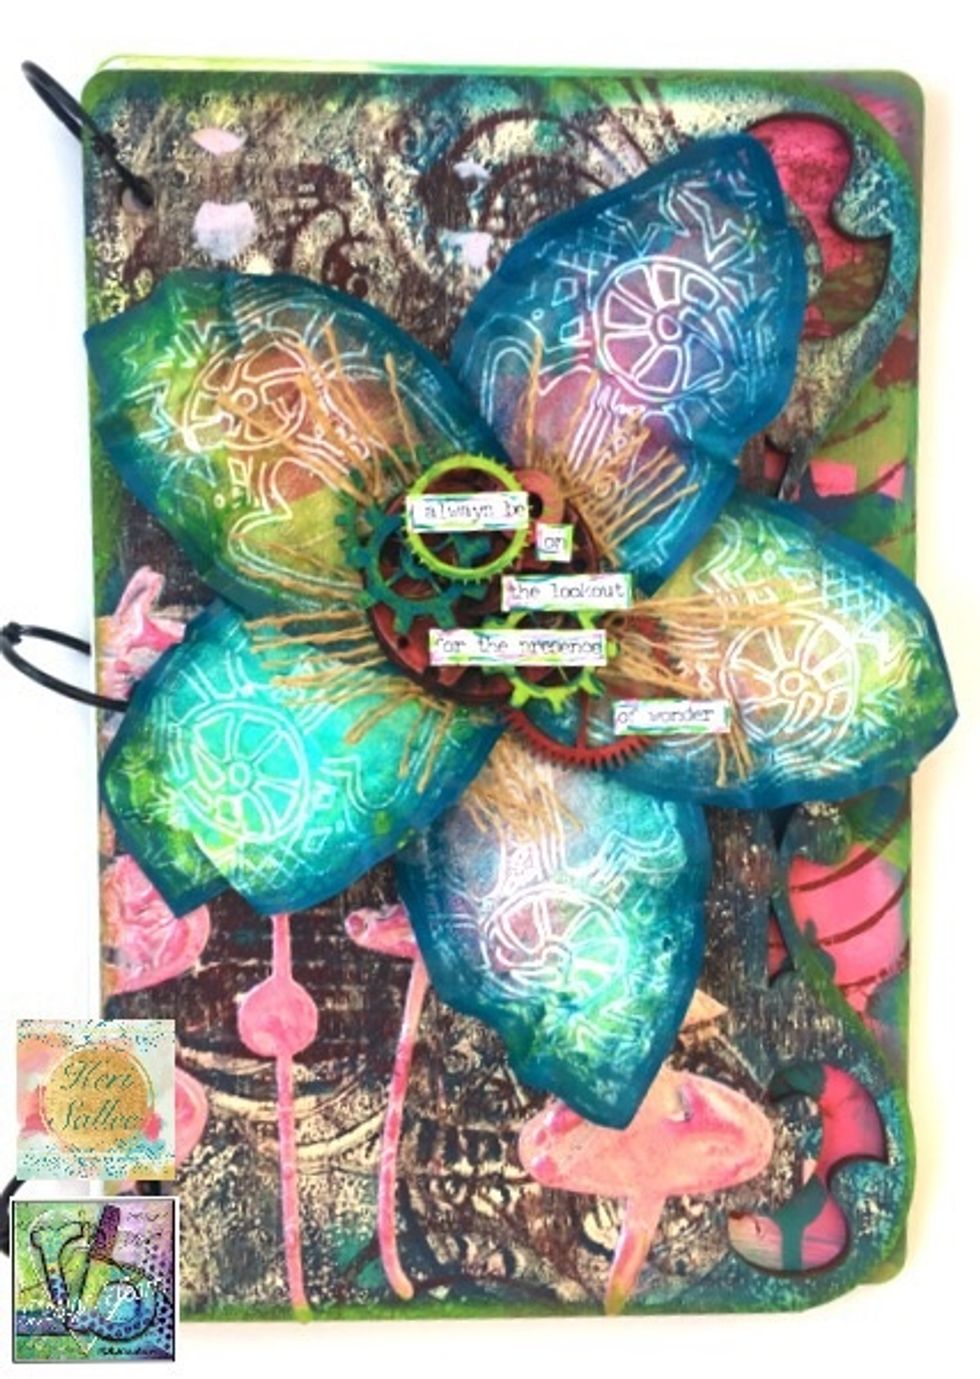
Here is my finished project: I turned my wings into petals and made my watch piece my center, along with some wooden gear pieces colored with Ann's Crafter's Ink.
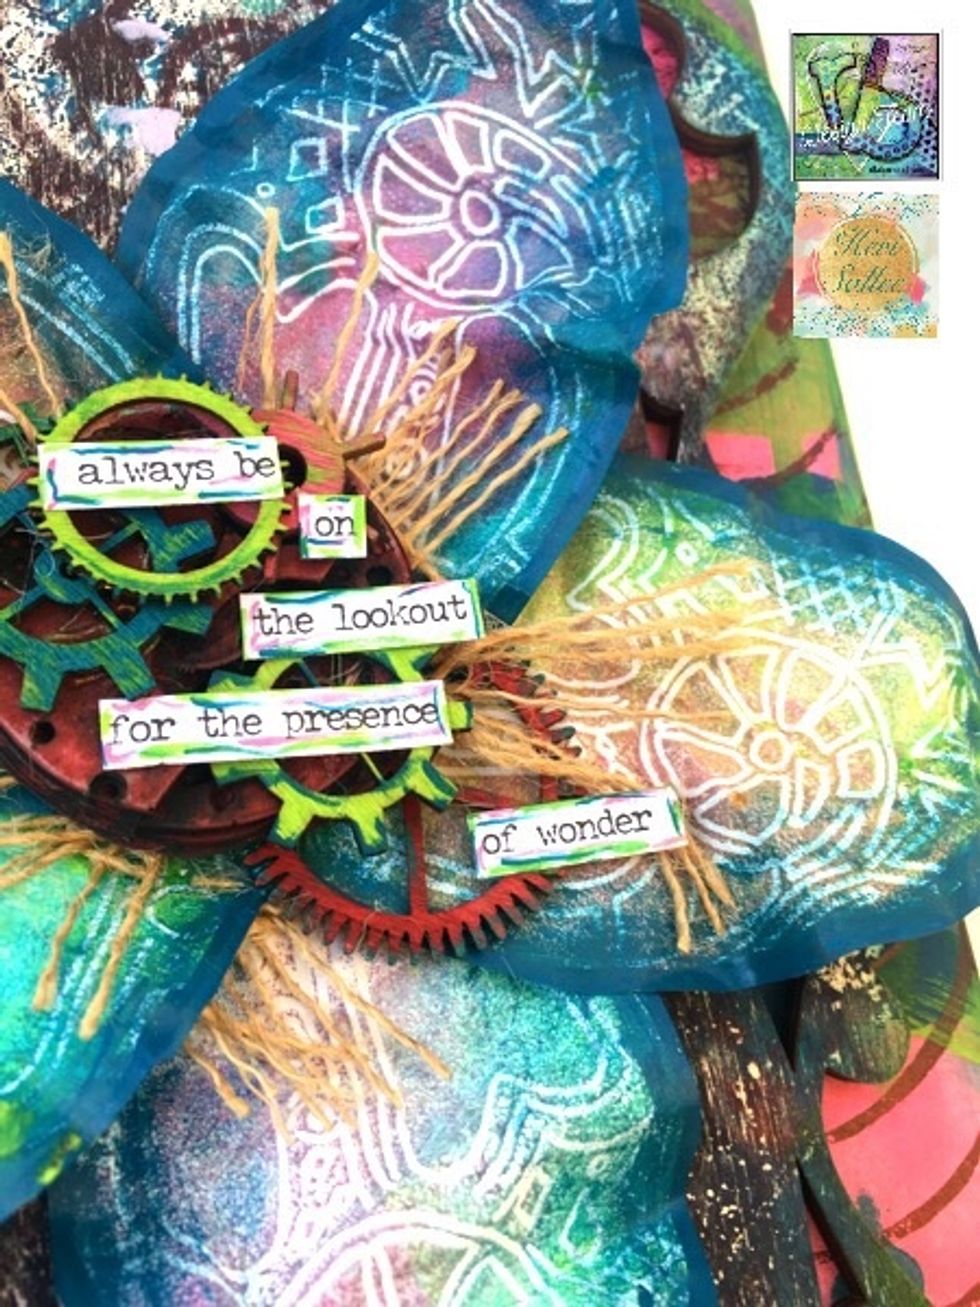
You can see the gears pick up the gear shapes in the Art Foamies Stamps. I also added my burlap strands and crinkled my petals to add texture.
Allowing the Shimmery Goodness to bubble slightly with the heat gun adds just another layer of texture.
layers. layers. layers! I love layers!!!