The Conversation (0)
Sign Up
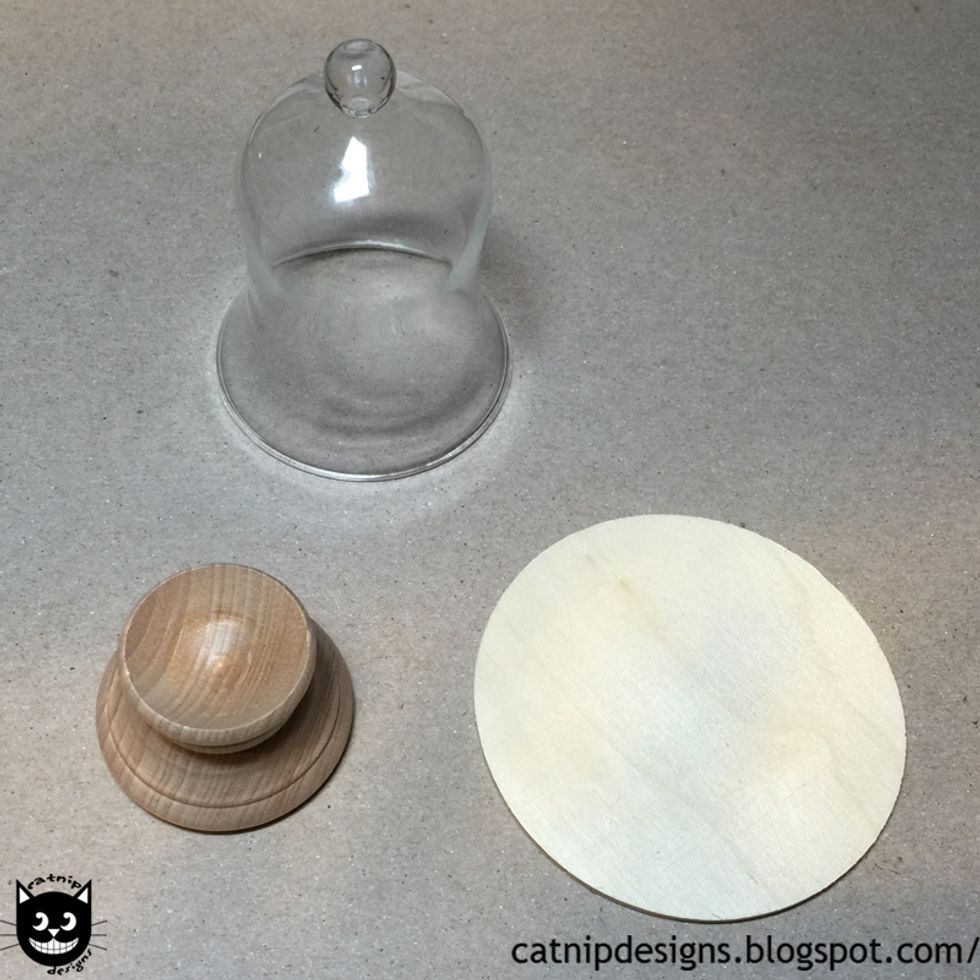
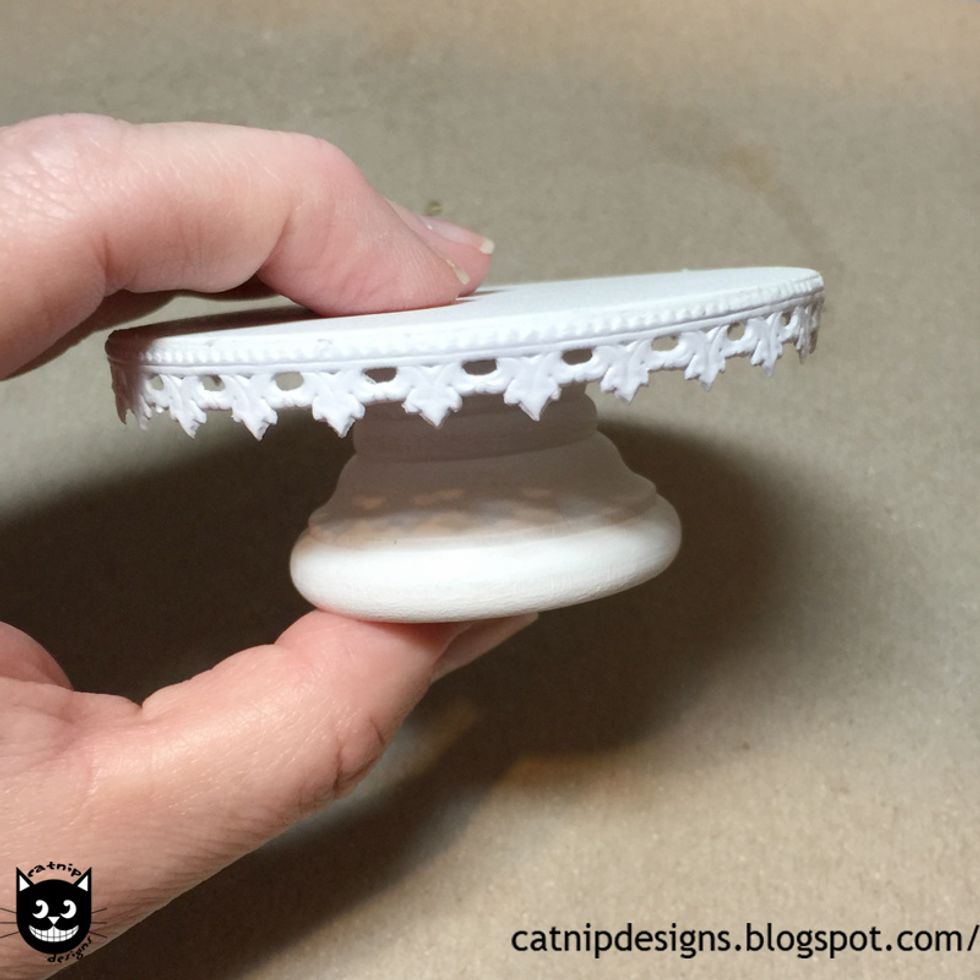
The fairy garden specimen starts with these 3 items: Large Glass Bell Dome, Egg Cup, 3" Round Wooden Base. **Please read through all of the steps before beginning!**
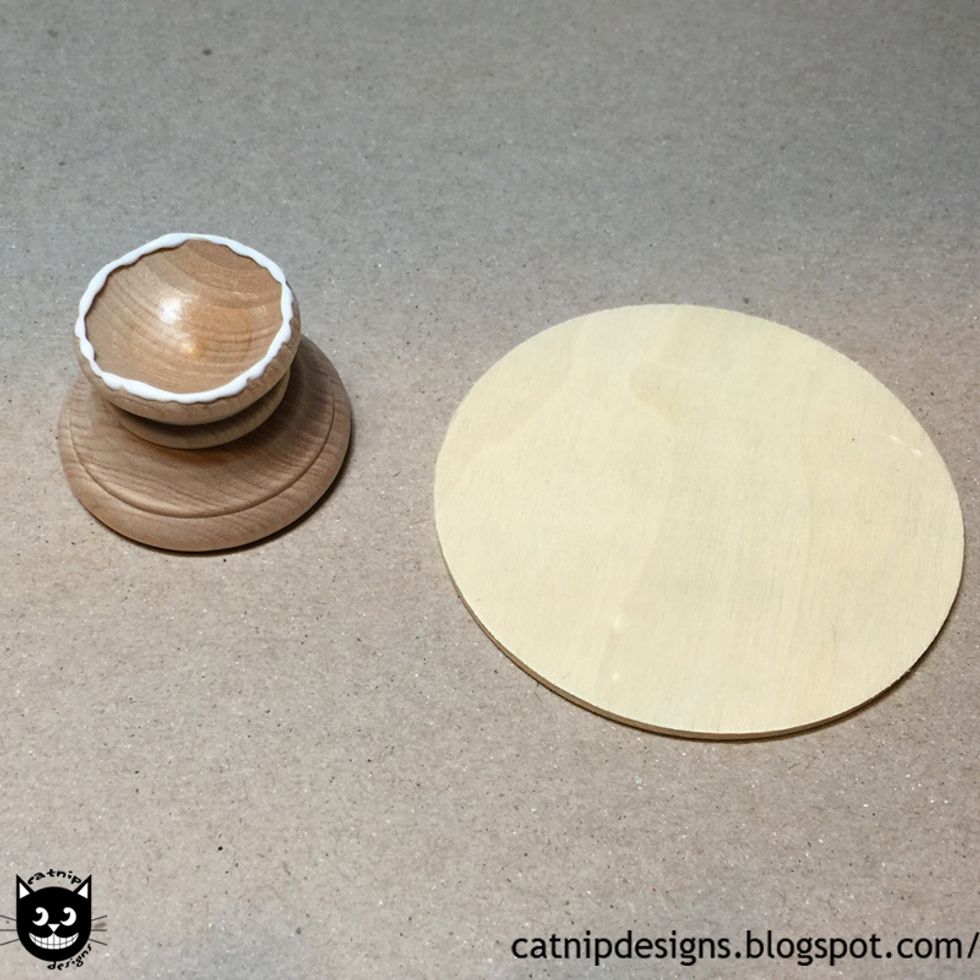
Run a line of white glue along the edge of the Egg Cup
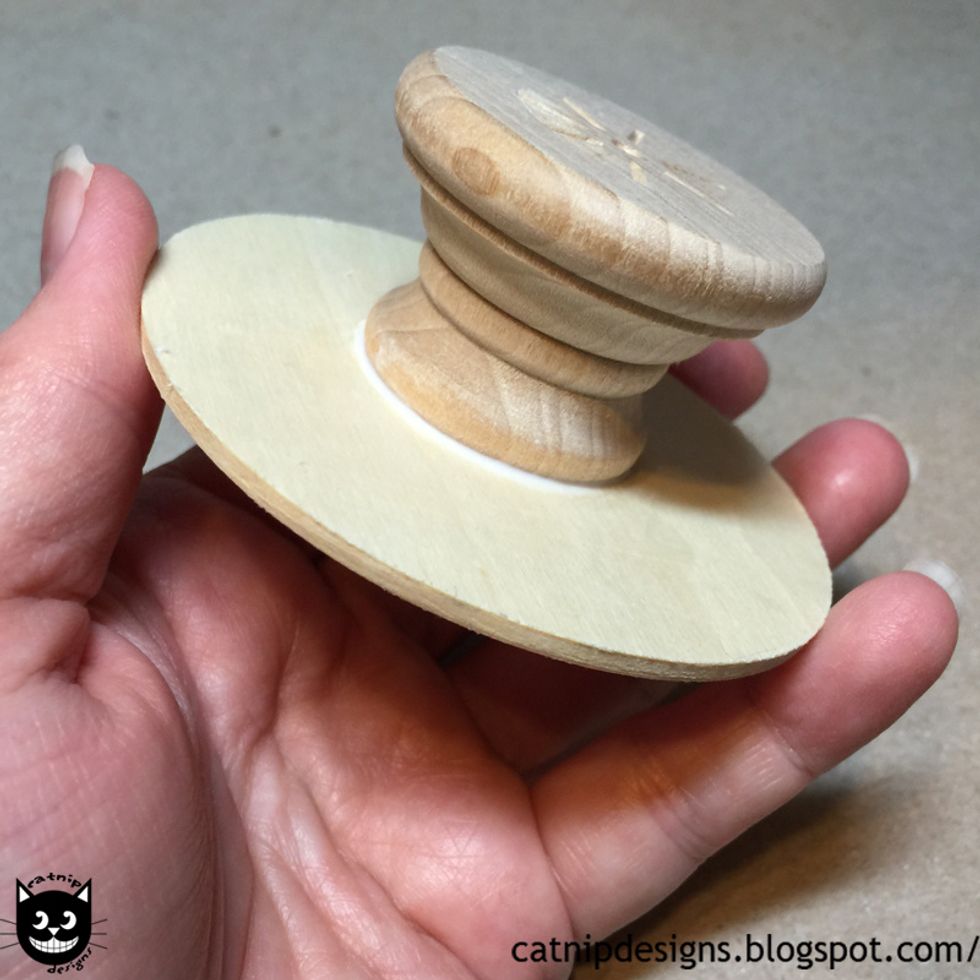
Glue to the center of the 3" Round Wooden Base.
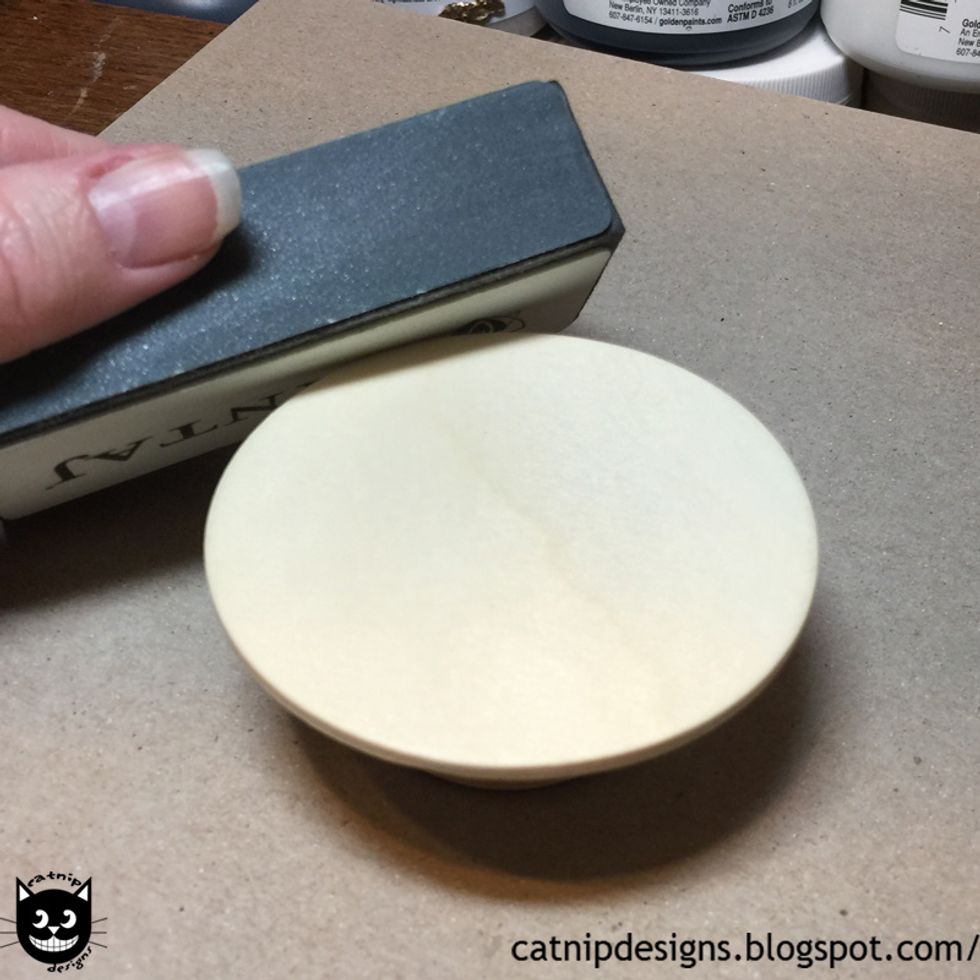
Sand any rough edges.
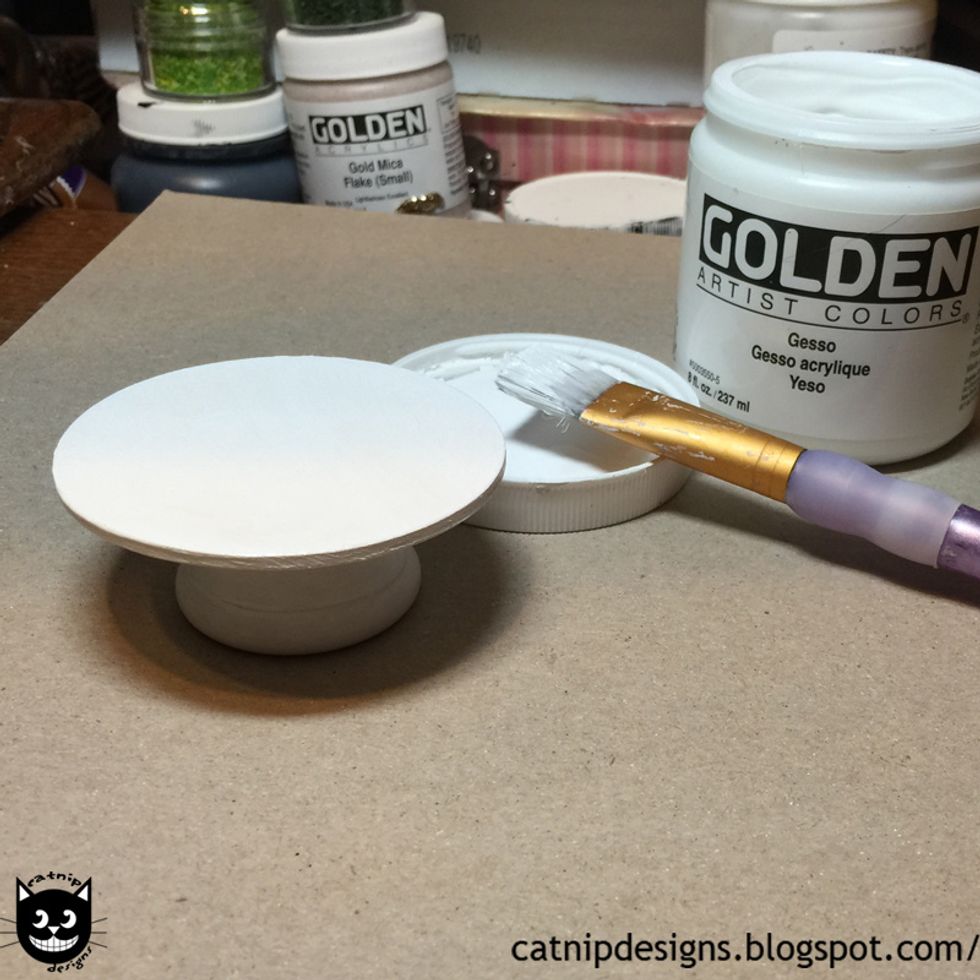
Paint it white with a coat of gesso. (I use gesso because it leaves a nice shabby matte finish.)
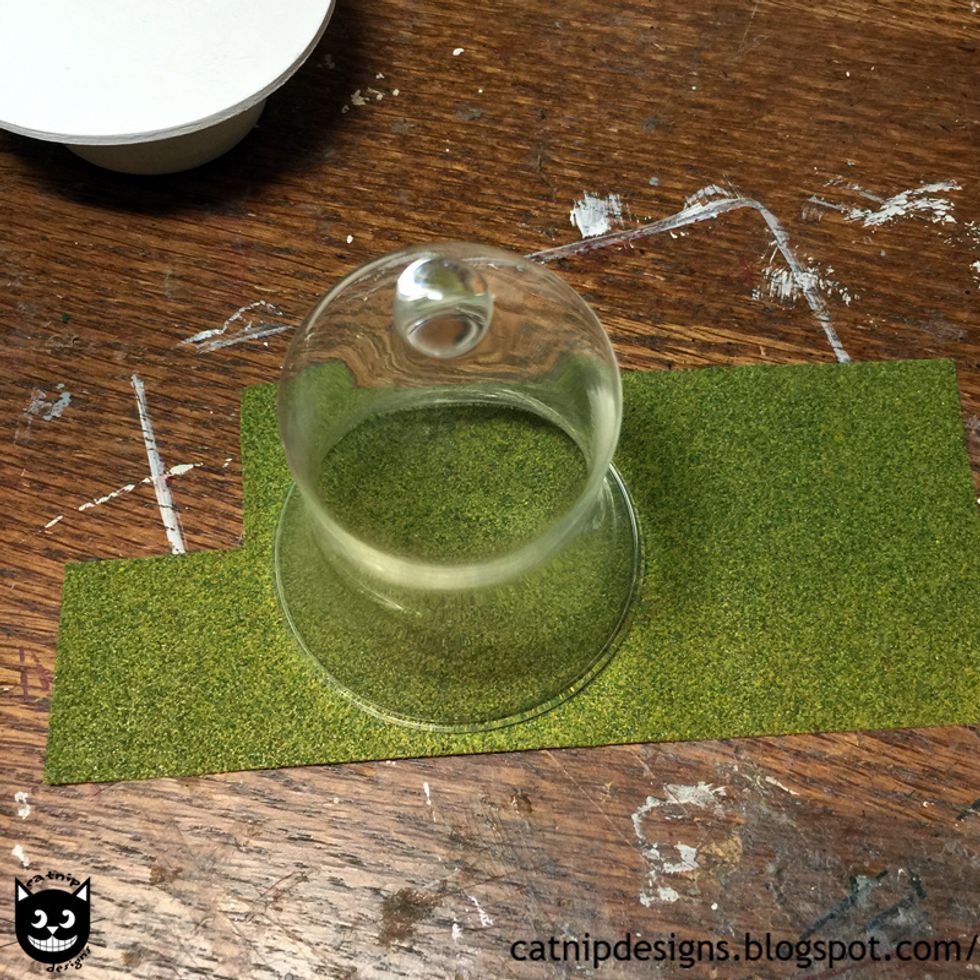
Place the dome on a piece of Diorama ReadyGrass - Green. Trace around it with a pen.
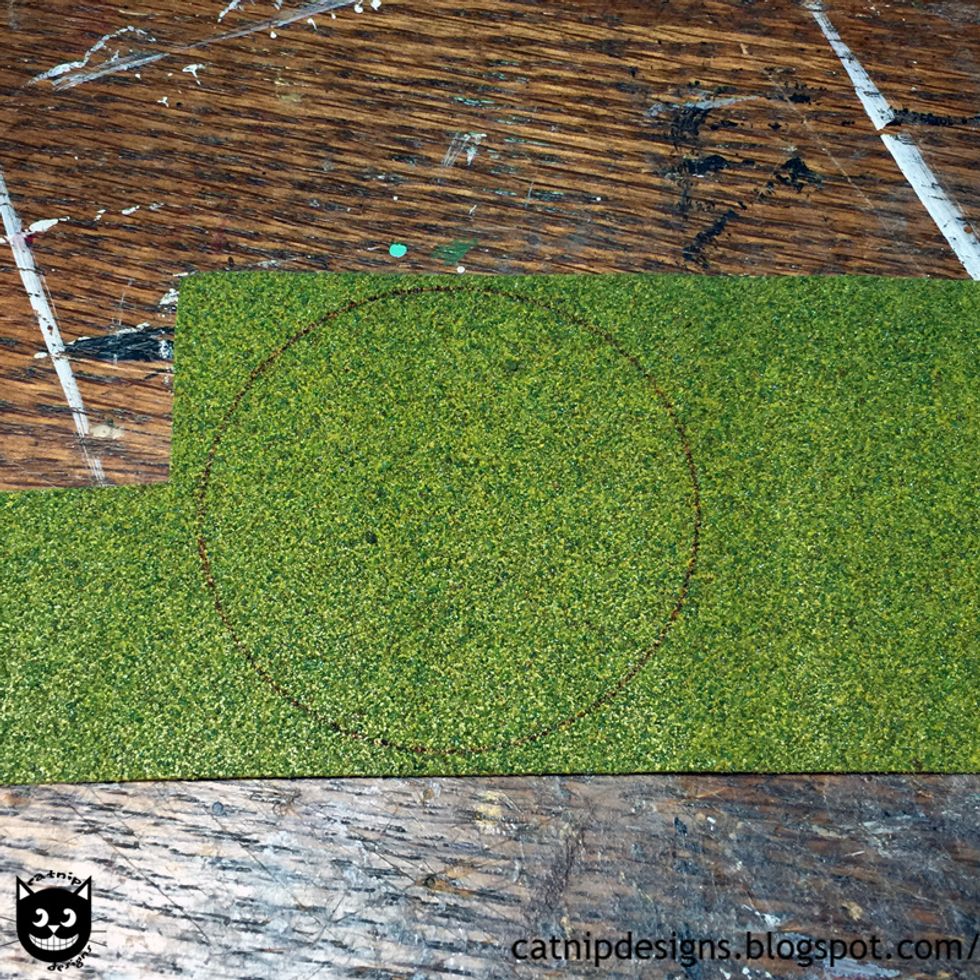
Cut around the inside of the circle to remove the pen line and create the right size grass patch.
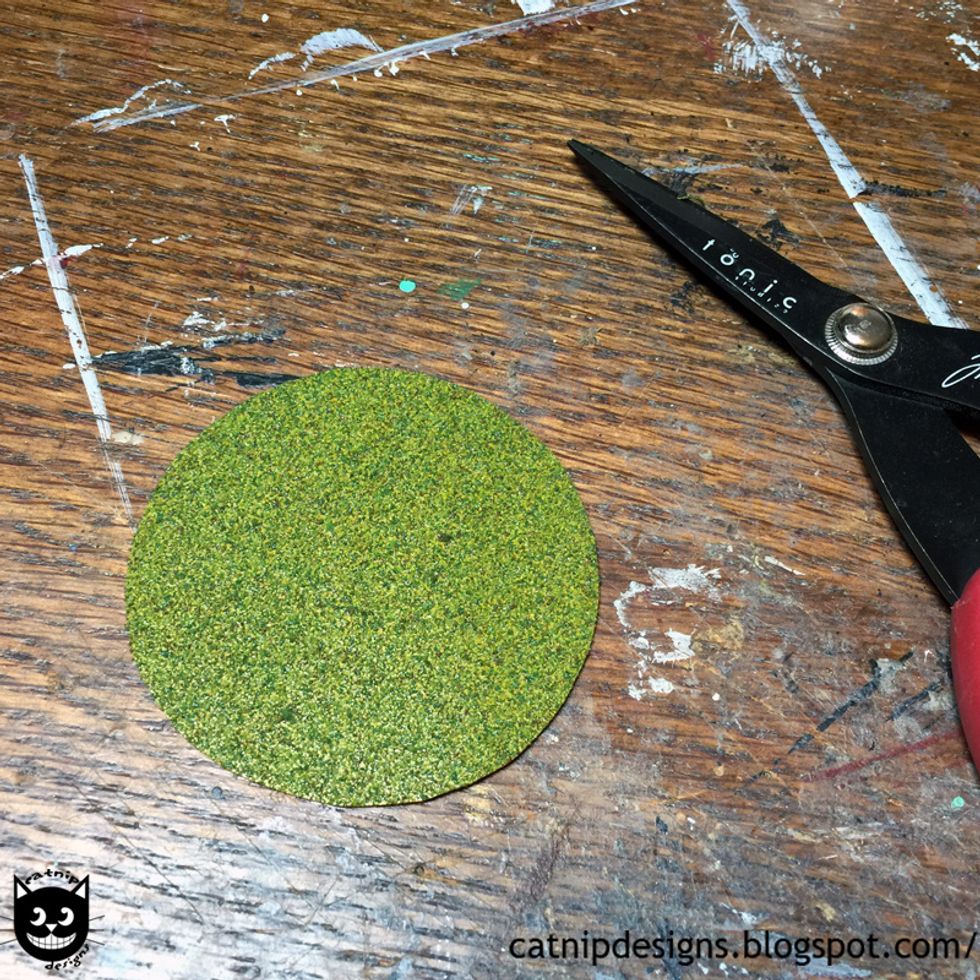
It should look like this.
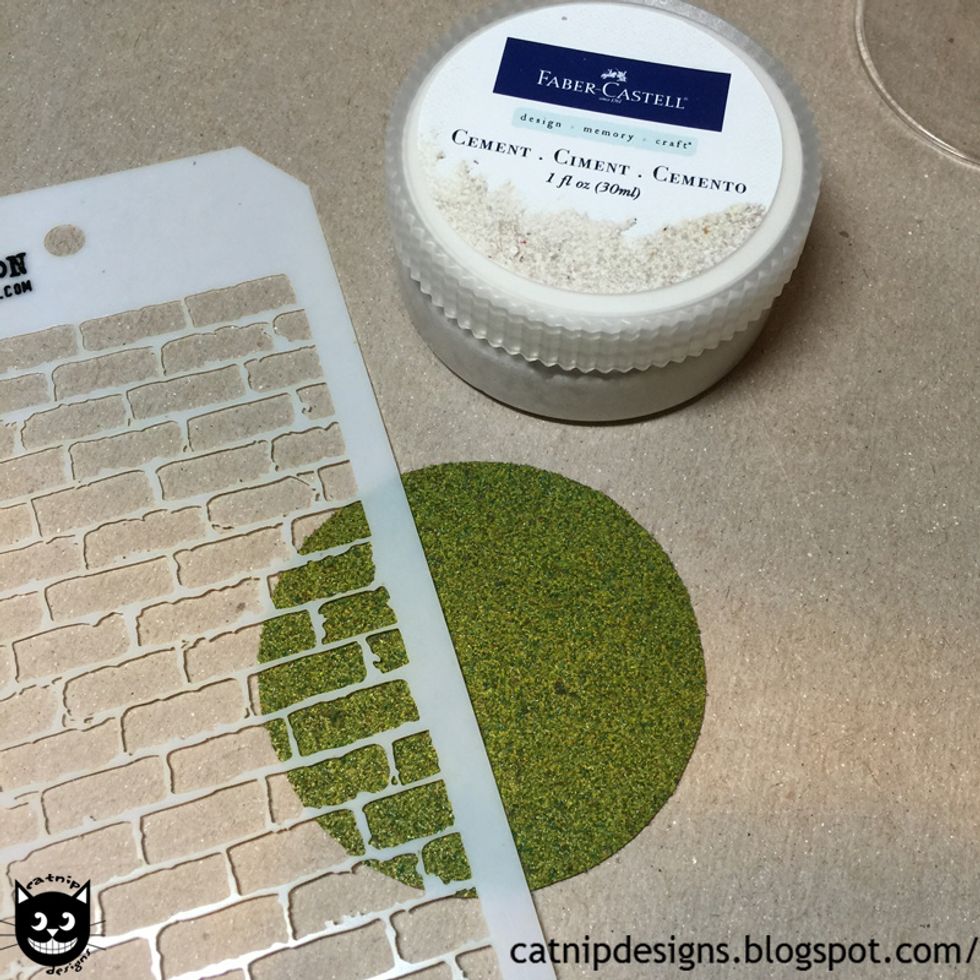
Grab your Tim Holtz Mini Stencil - Bricked and your Texture Paste-Cement...
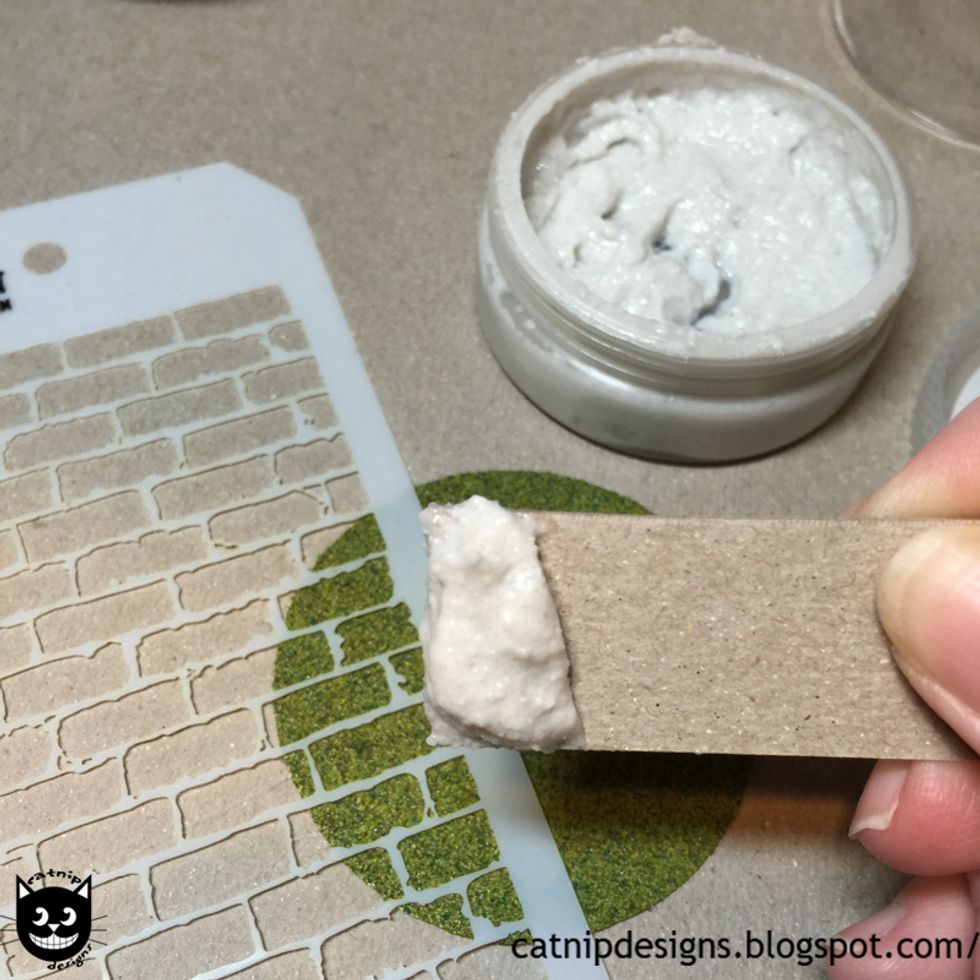
Using a piece of chipboard scoop up some Texture Paste.
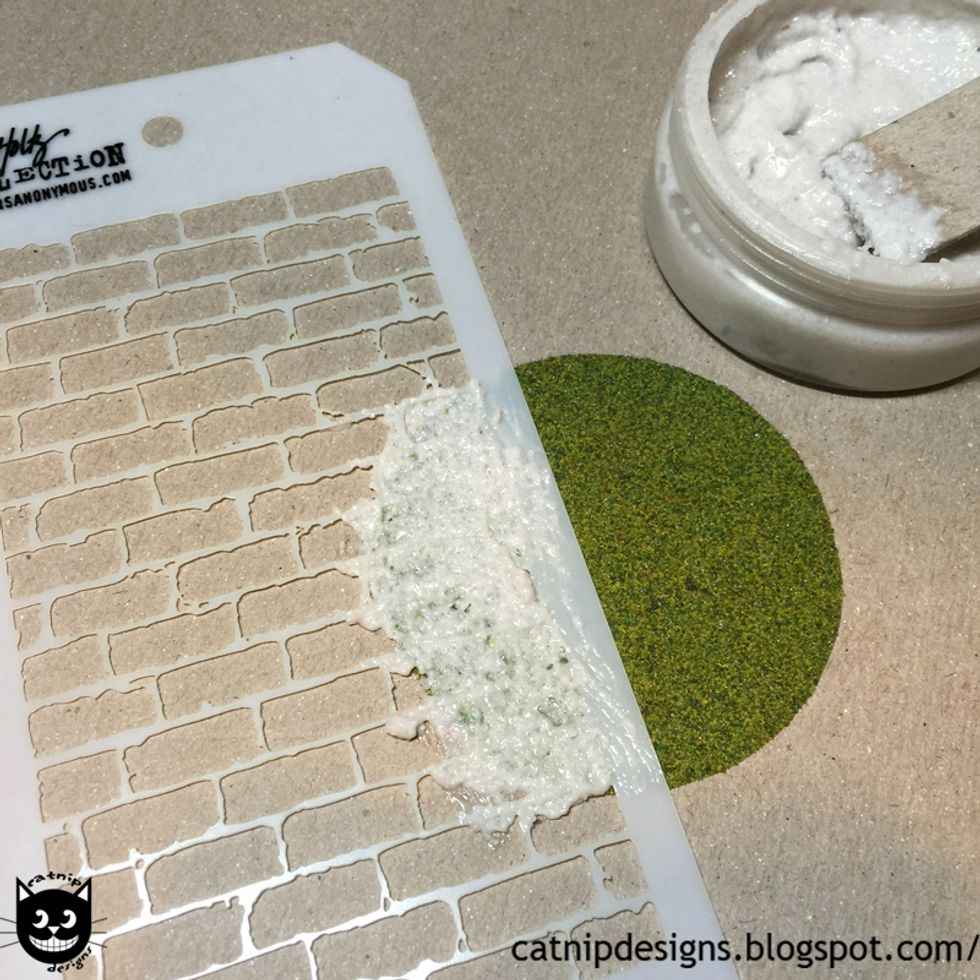
Smear it over the stencil...
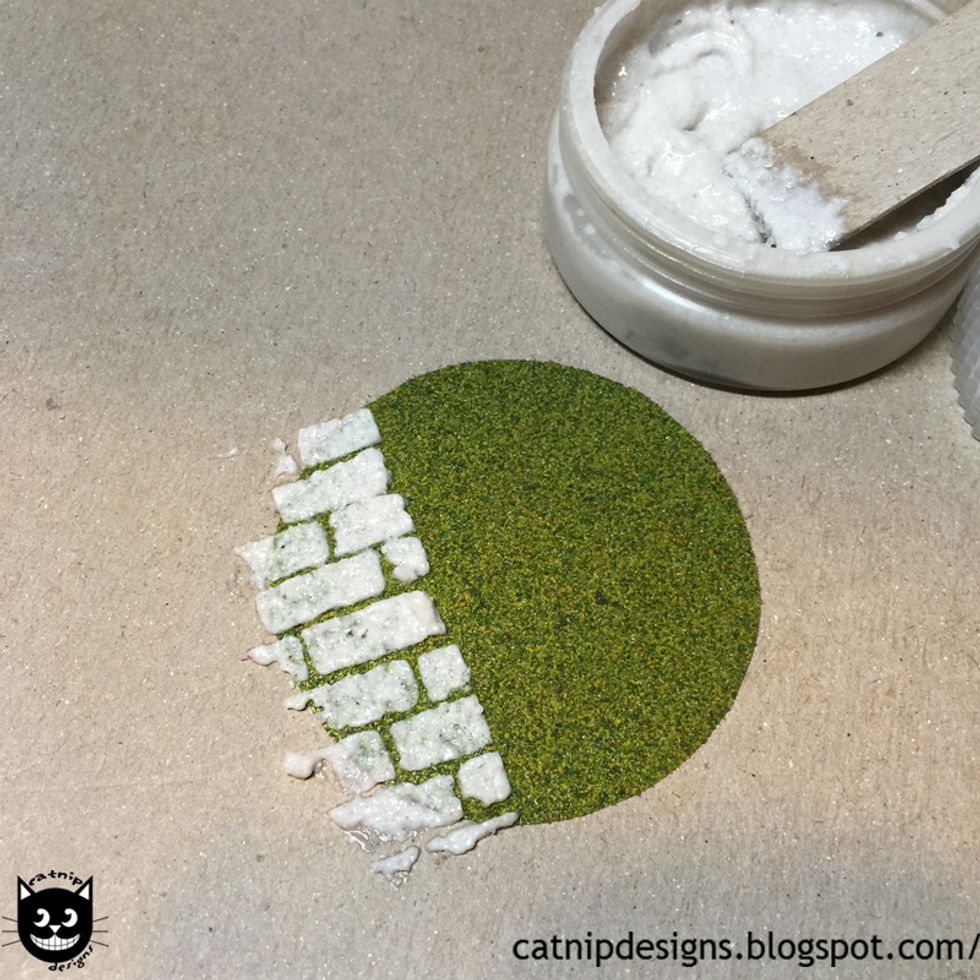
Gently lift the stencil and clean it. Allow the Texture Paste to dry.

Choose a piece of dresden trim from the pack of White Dresden Border Sampler Set...
Glue along the edge of the 3" Round Wooden Base with white glue.
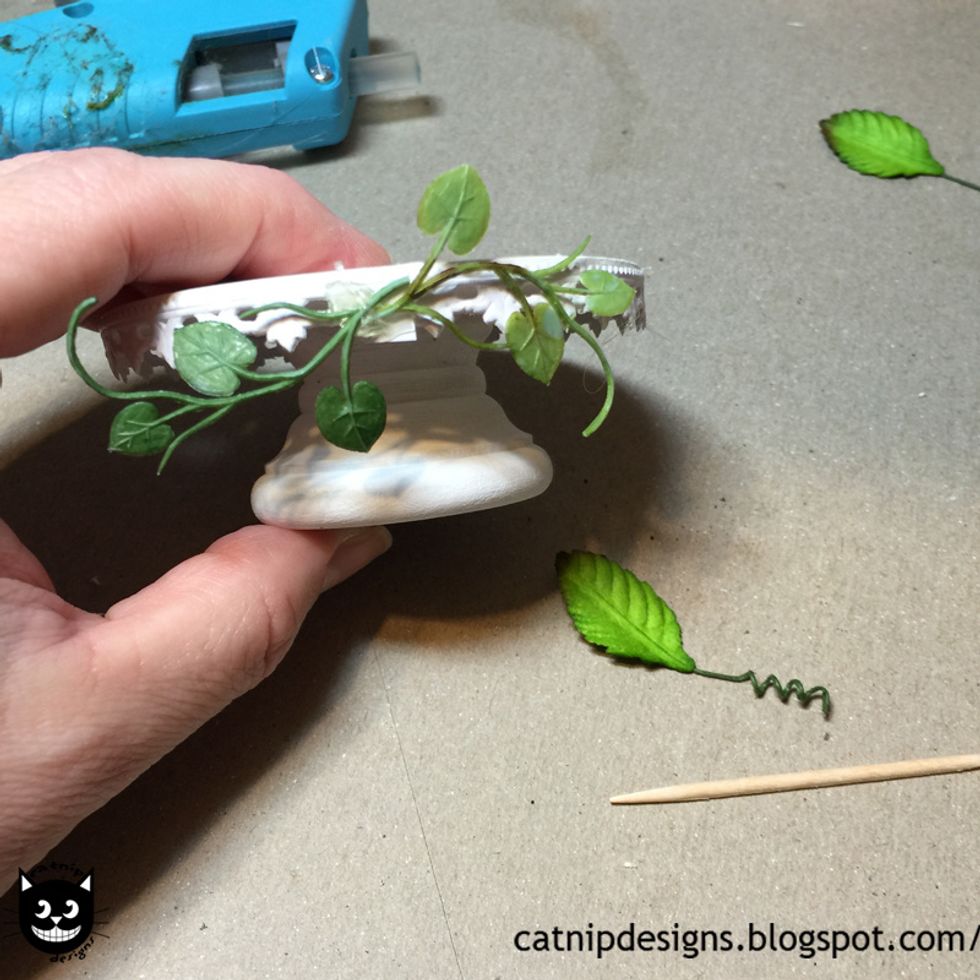
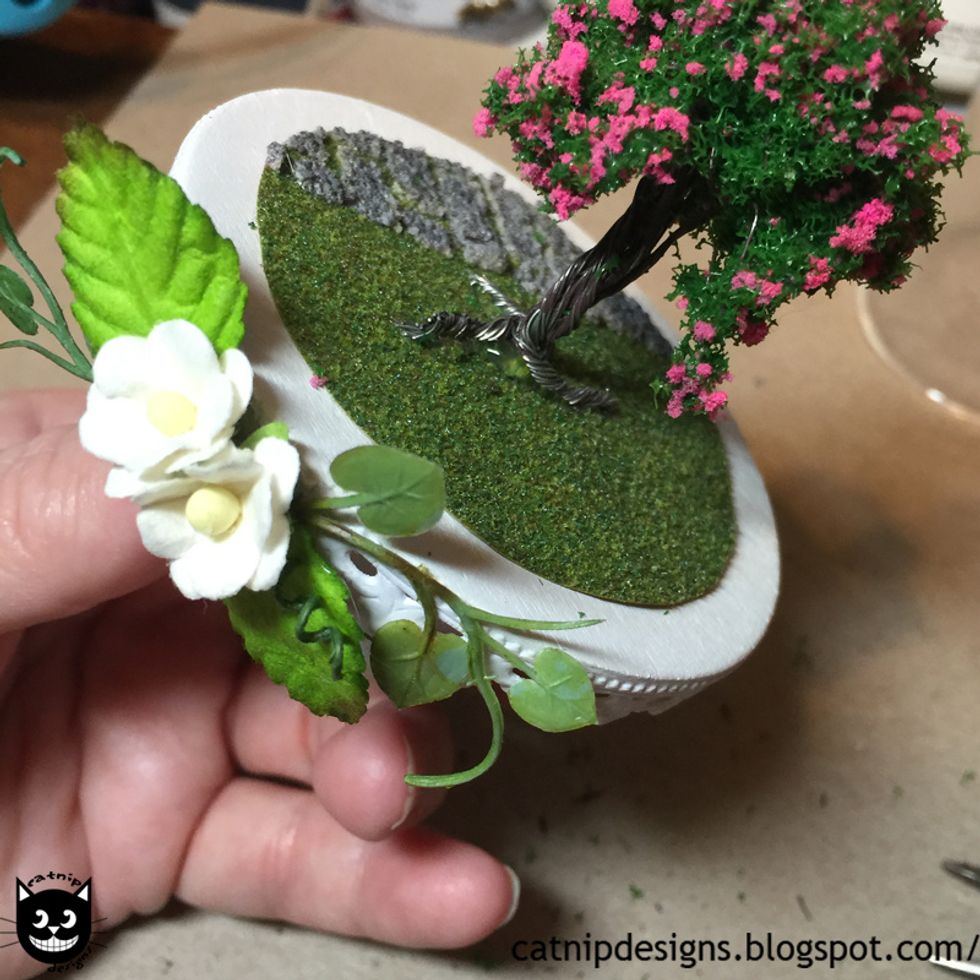
Cut a piece of Fern Garland about 2 inches long. Hot glue it to your base.
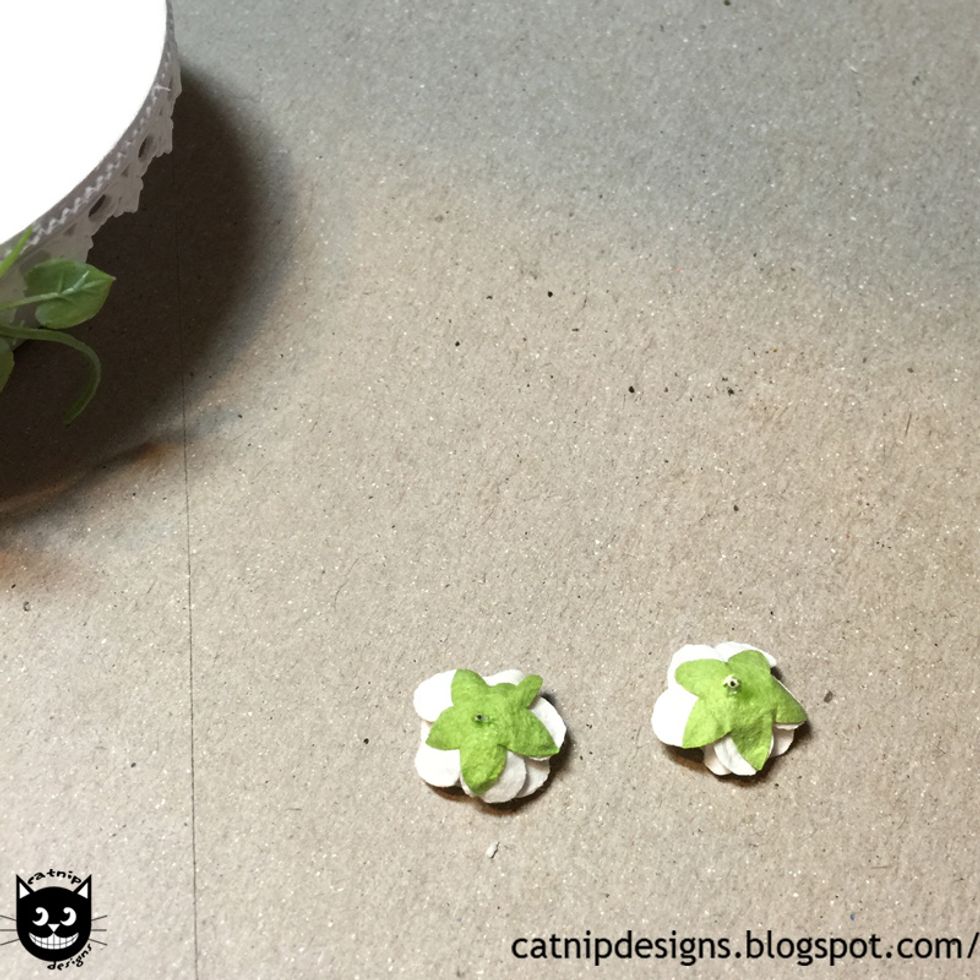
Cut the wire from 2 Small White Mulberry Blossoms...
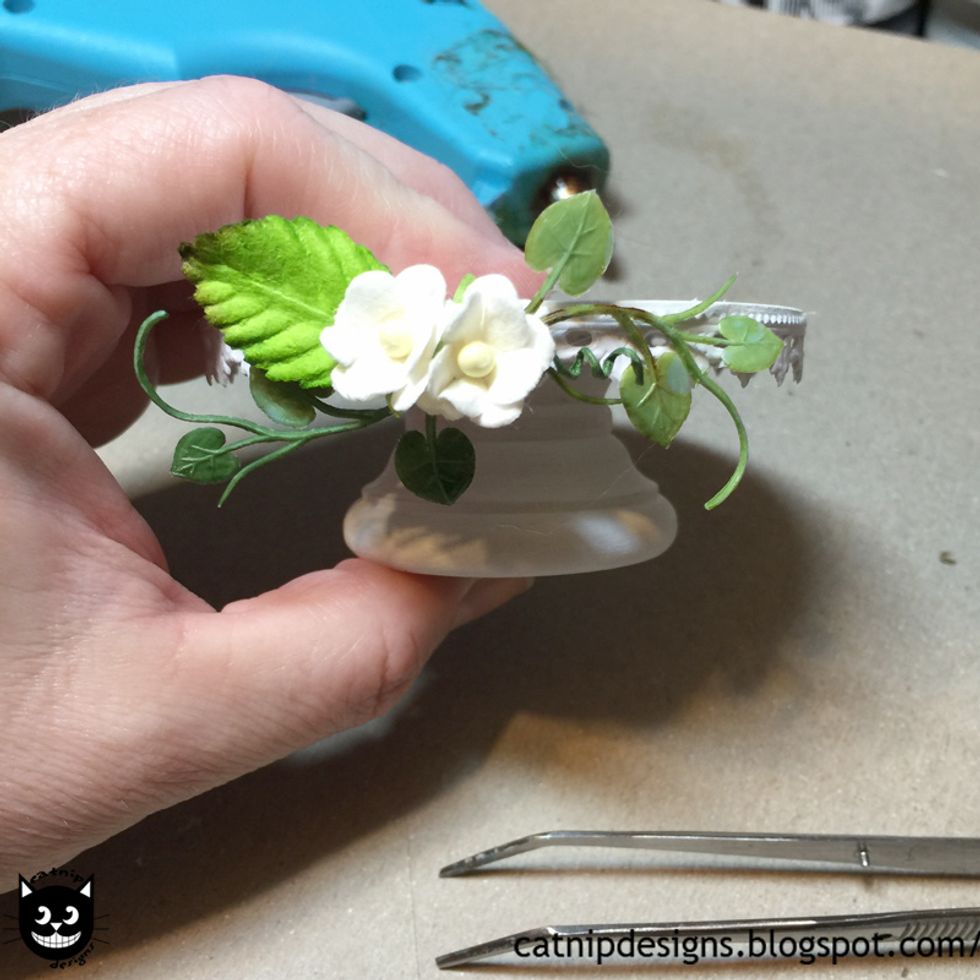
Hot glue them and one of the 1 Inch Mulberry Paper Rose Leaves on top of the Fern Garland.
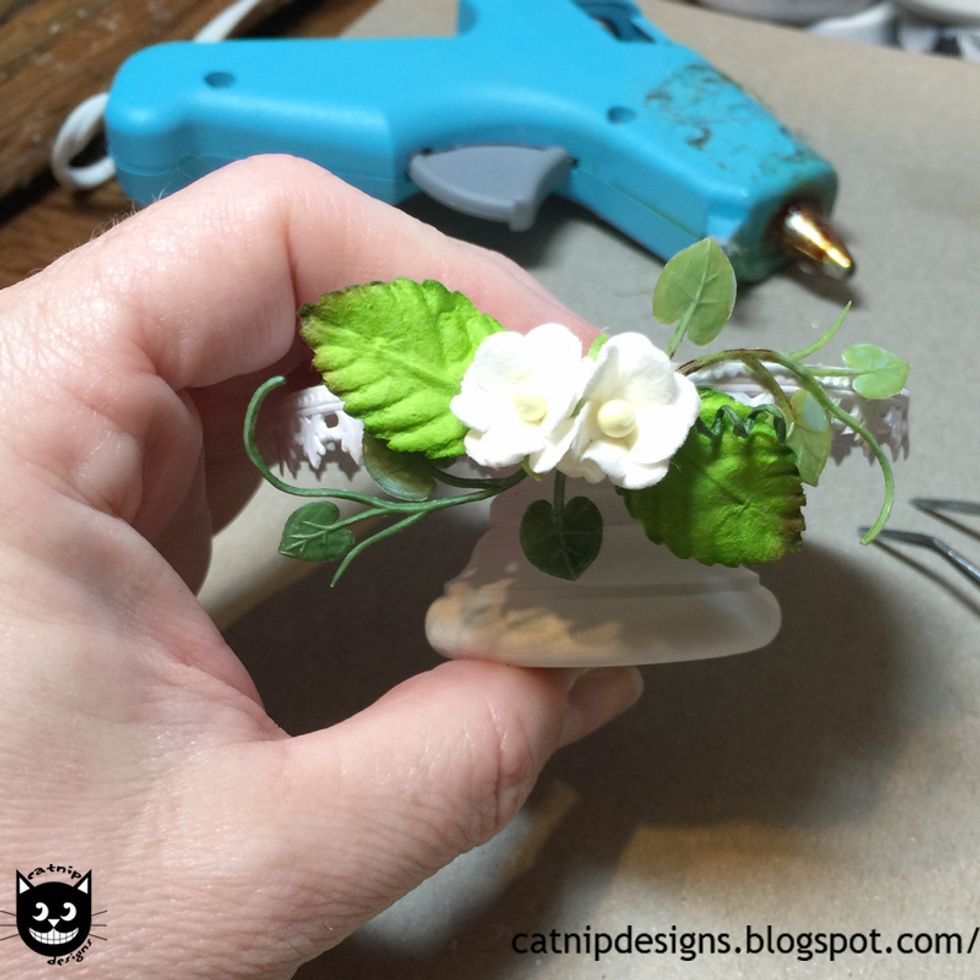
Hot glue one more 1 Inch Mulberry Paper Rose Leaves to the other side as shown.
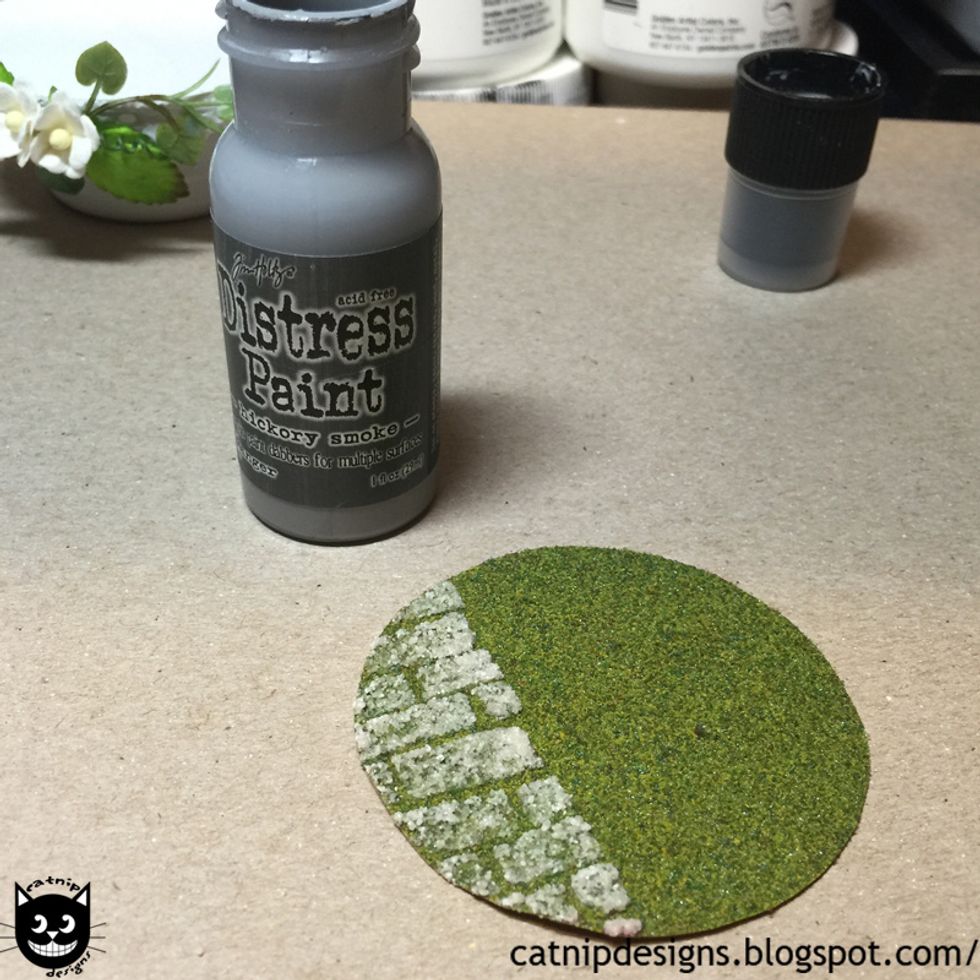
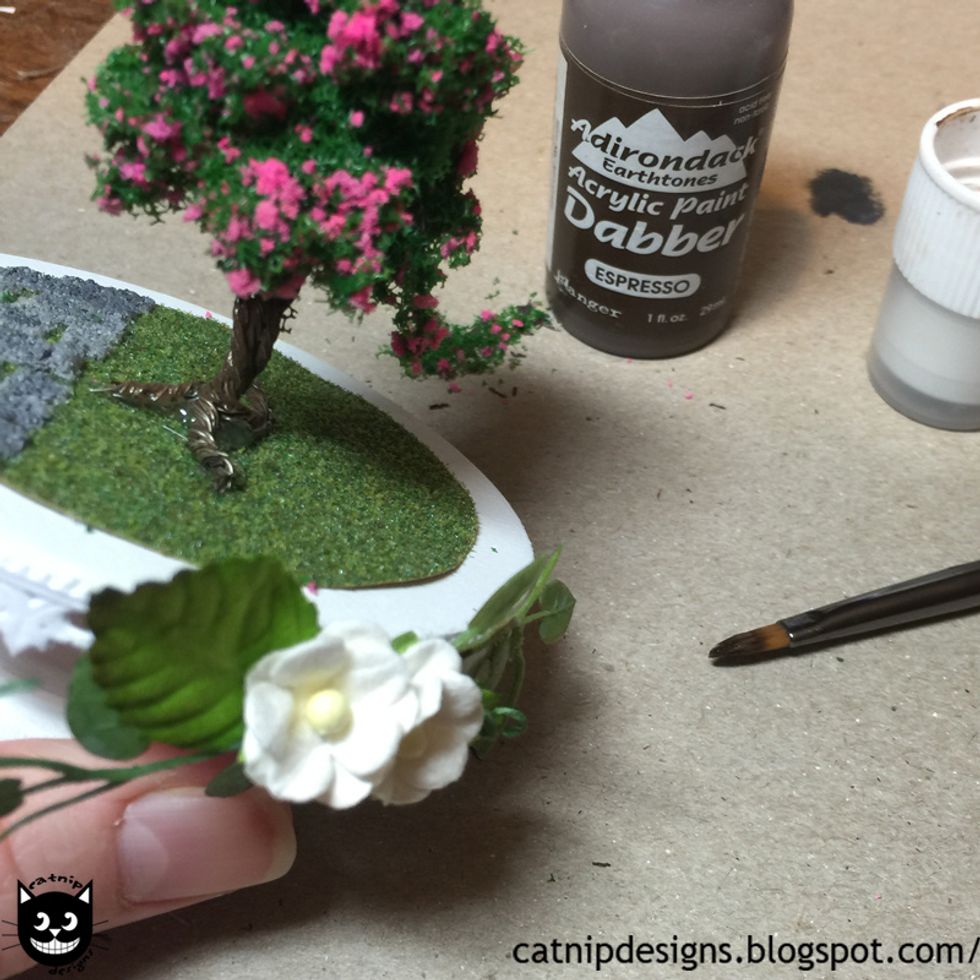
Paint over the now dry Texture Paste with a coat of Distress Paints - Hickory Smoke.
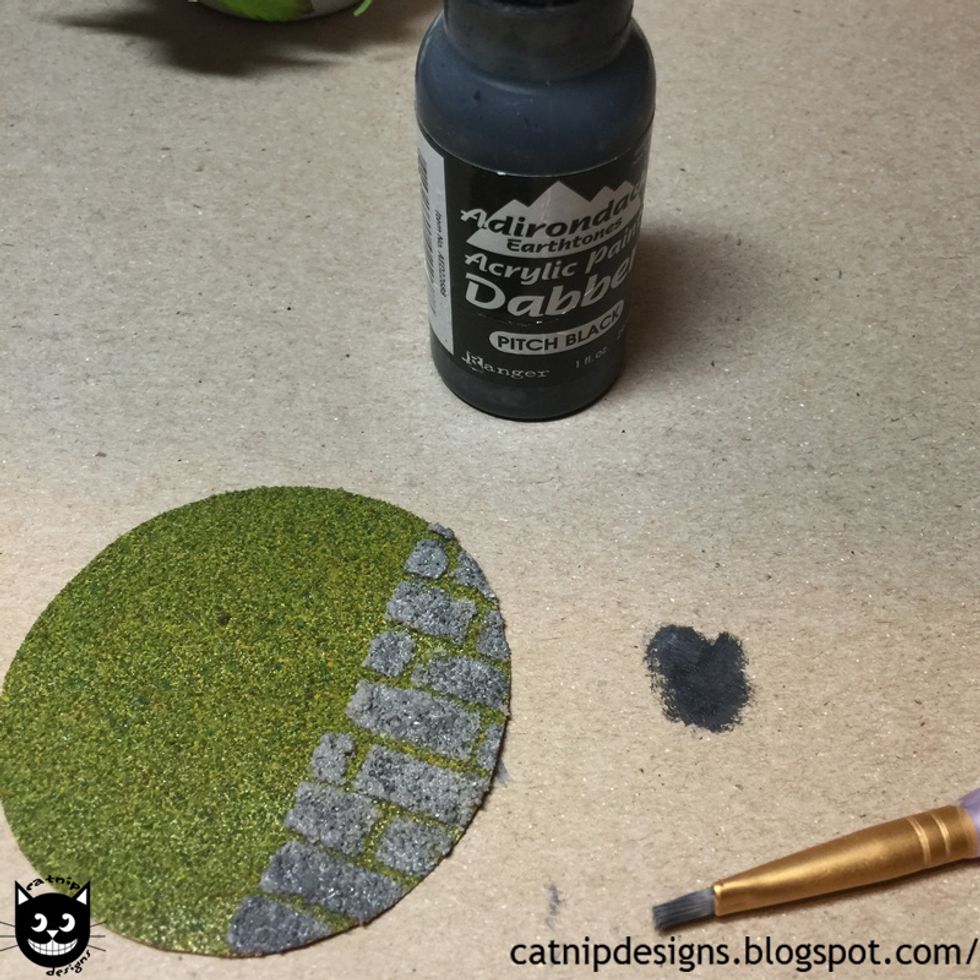
Add a bit of black acrylic paint randomly as shown. This will add dimension to the bricks.
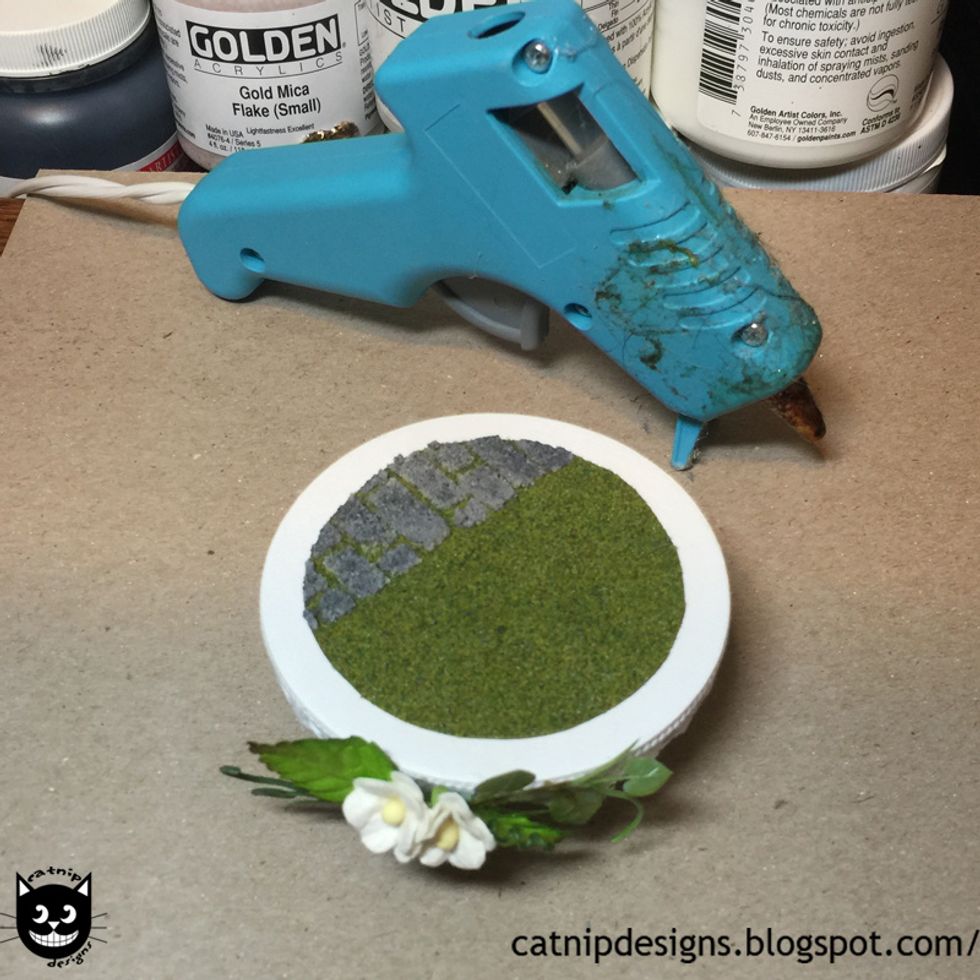
Hot glue the grass and brick circle to the center of the base.
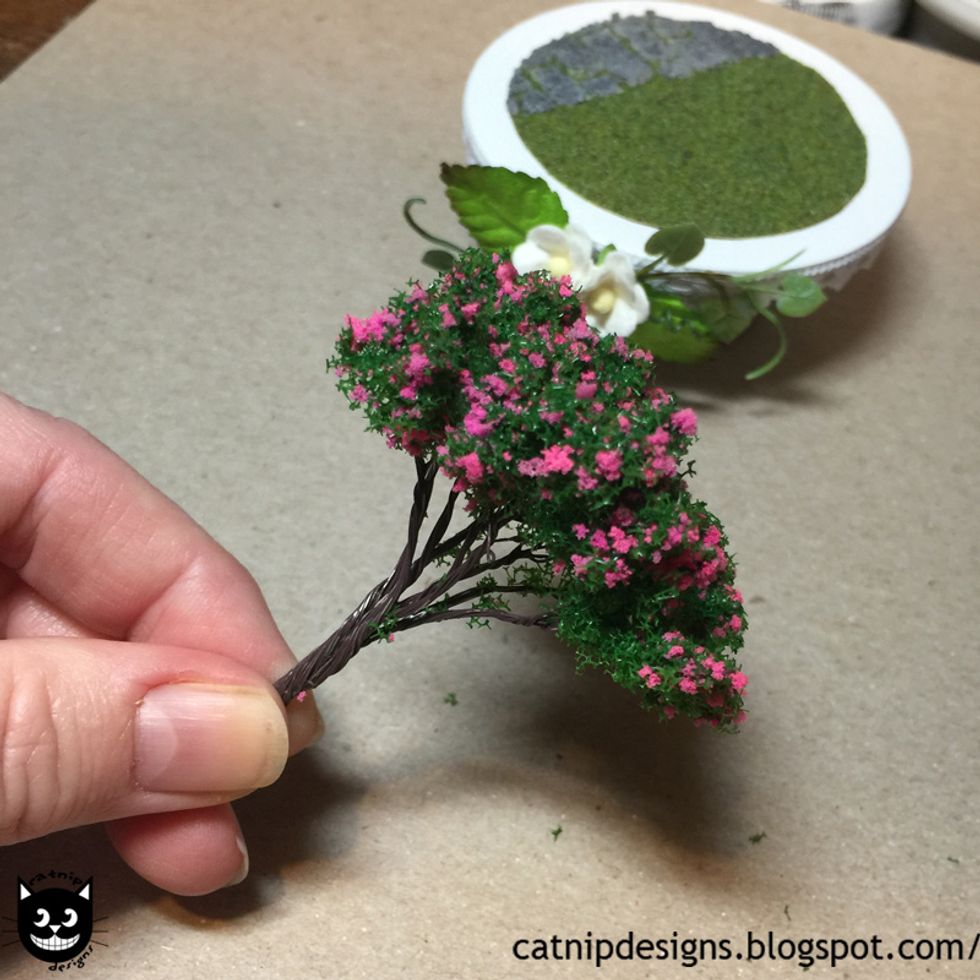
Grab a Tiny Tree with Pink Blossoms...
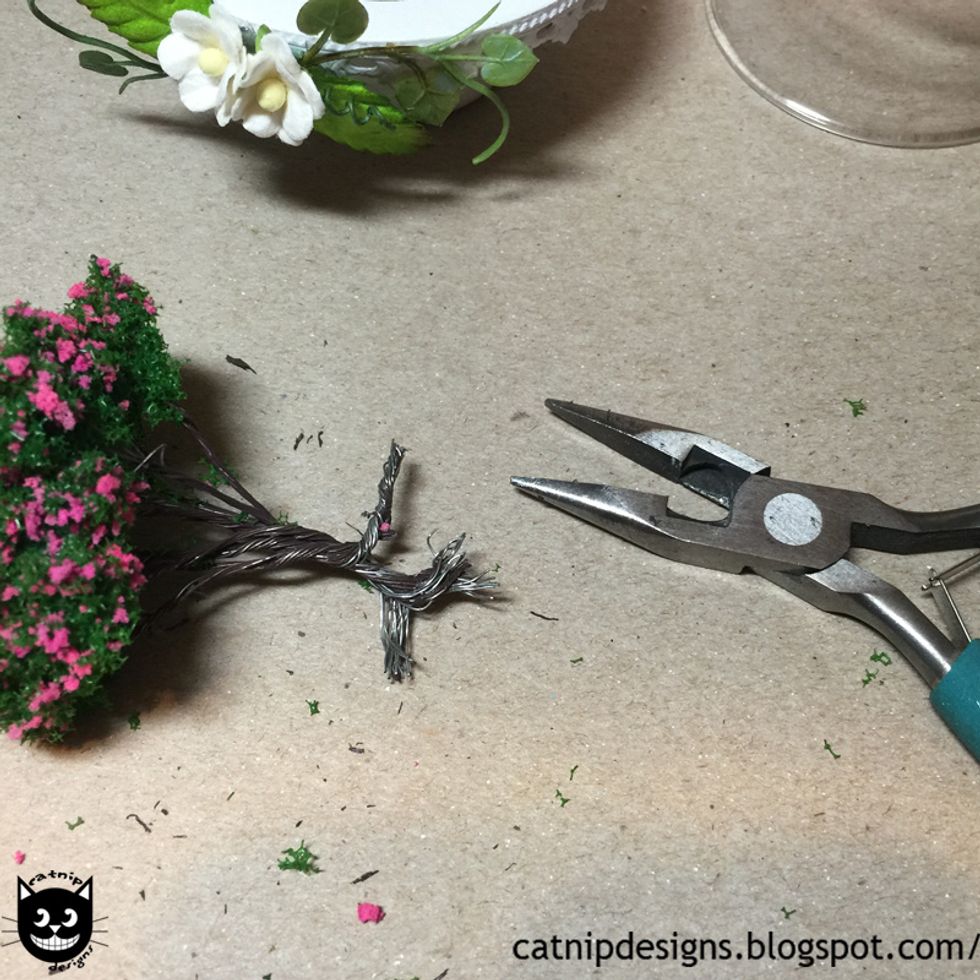
Separate the wires into 4 even bundles, about a 1/2" long, and twist them into "roots".
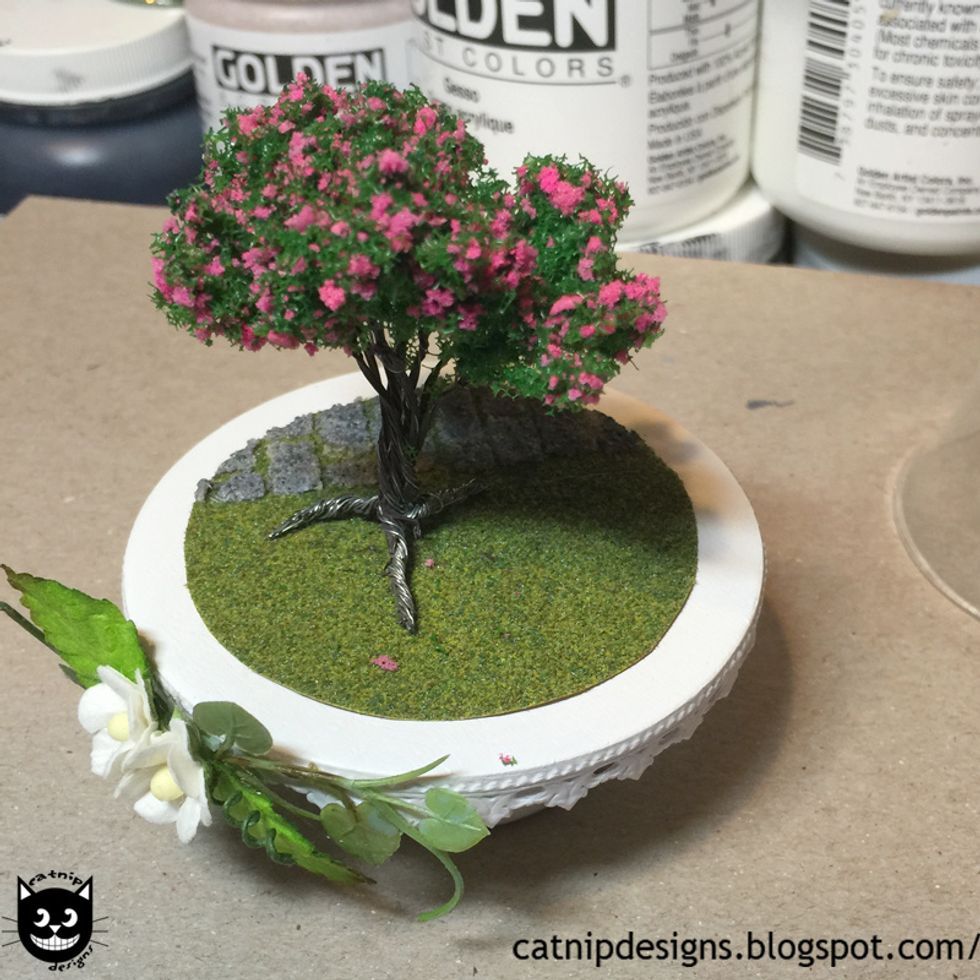
Decide where you will glue your tree to the grass.
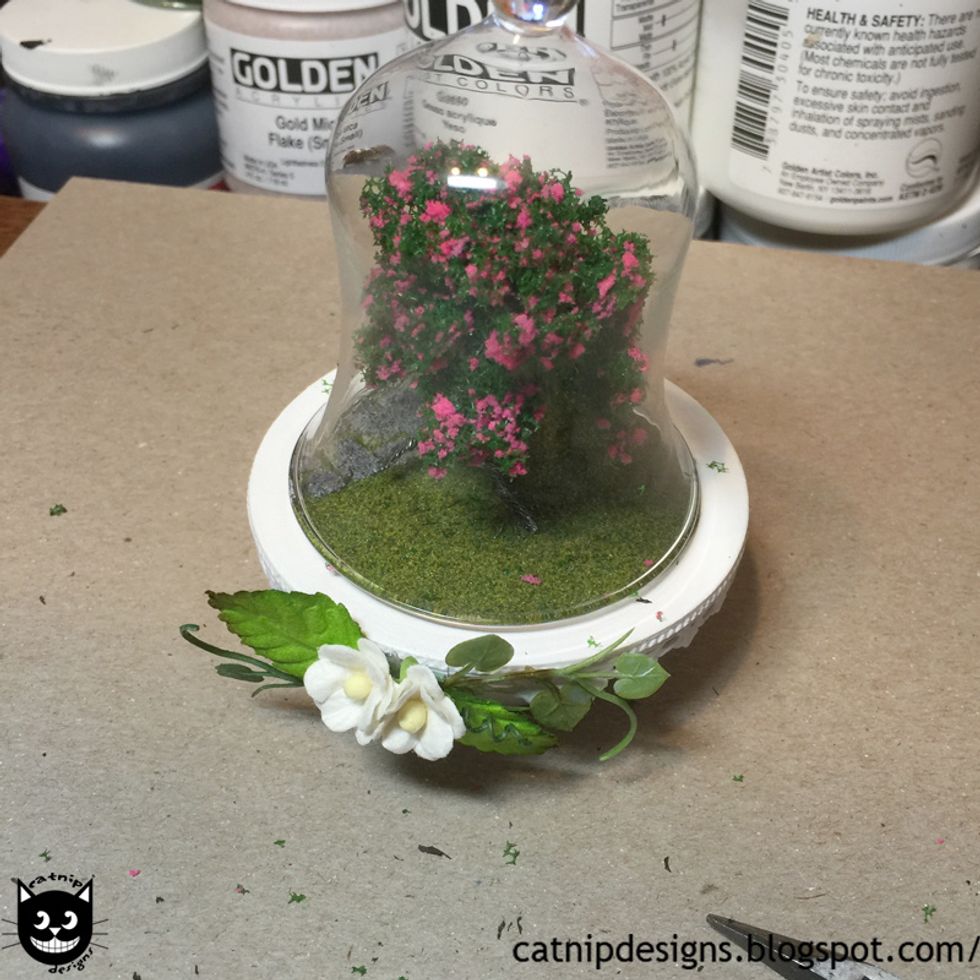
Squish and shape the top of the Tiny Tree with Pink Blossoms until it fits under the Large Glass Bell Dome.
Hot glue the roots to the grass.
Paint over the roots on your Tiny Tree with Pink Blossoms where the paint has chipped off from twisting the wire into roots.
Cut a small piece of the leafy area from the Fern Garland...
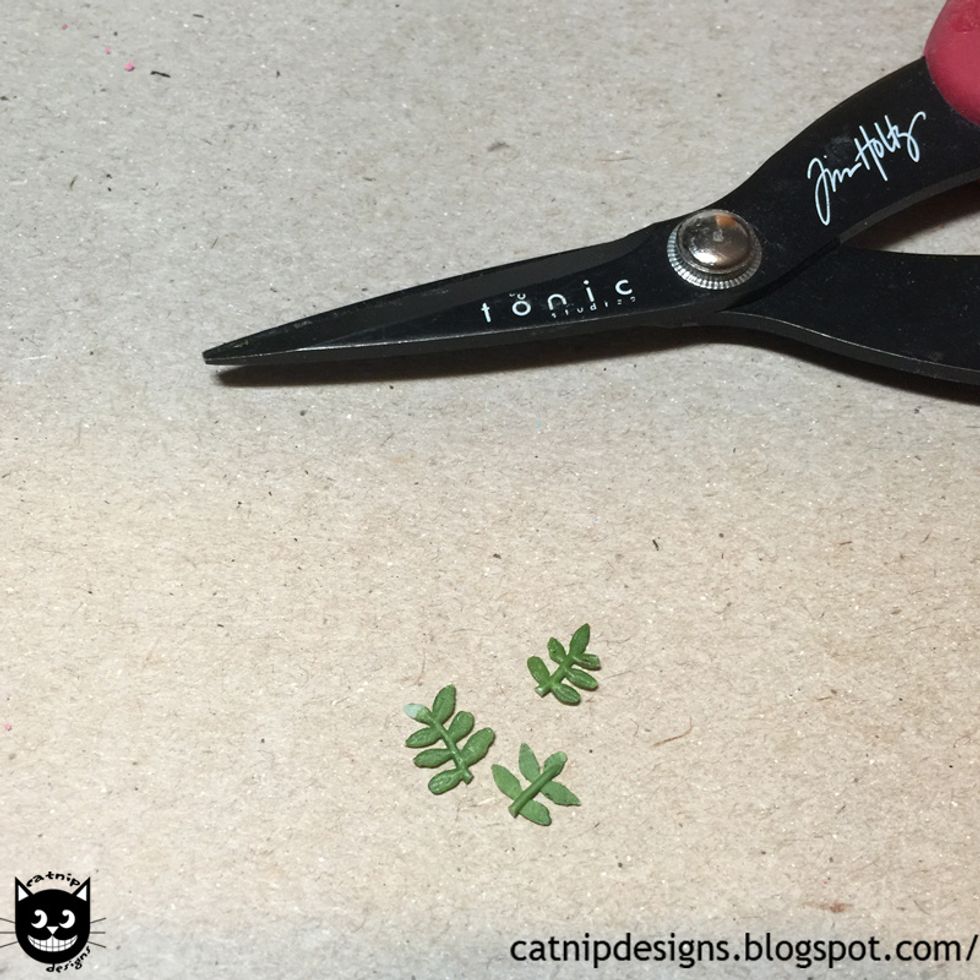
Cut the tips off of it...
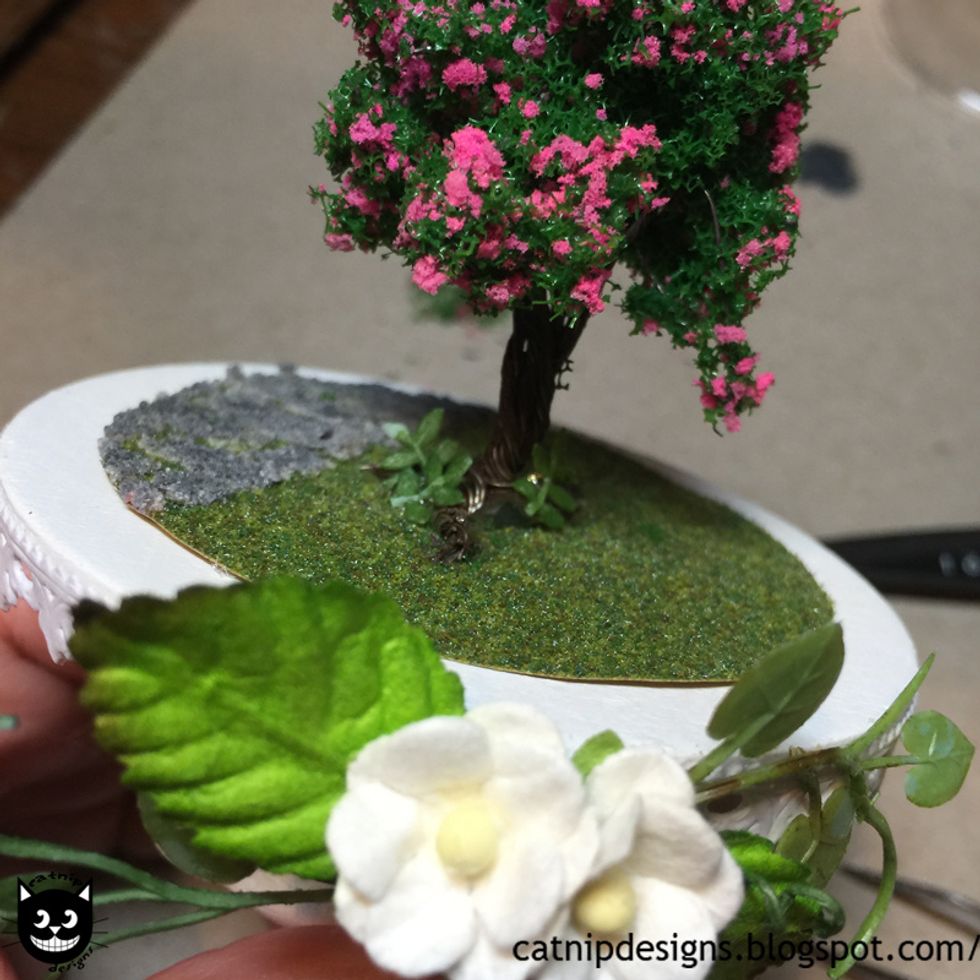
Hot glue them around the tree roots to look like plants.
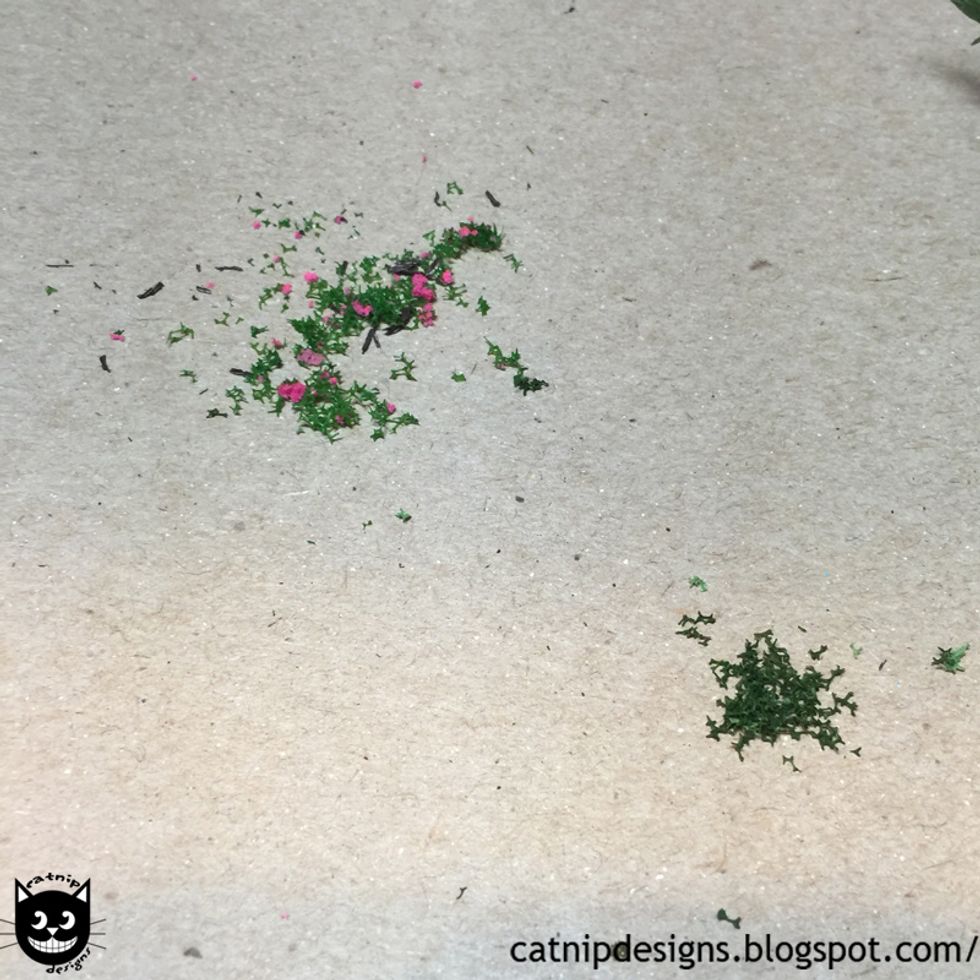
While shaping the Tiny Tree with Pink Blossoms you will have had a small pile of "foam" fall off, gather it together...

Mix it with a tiny bit of Flower Soft - Christmas Green...
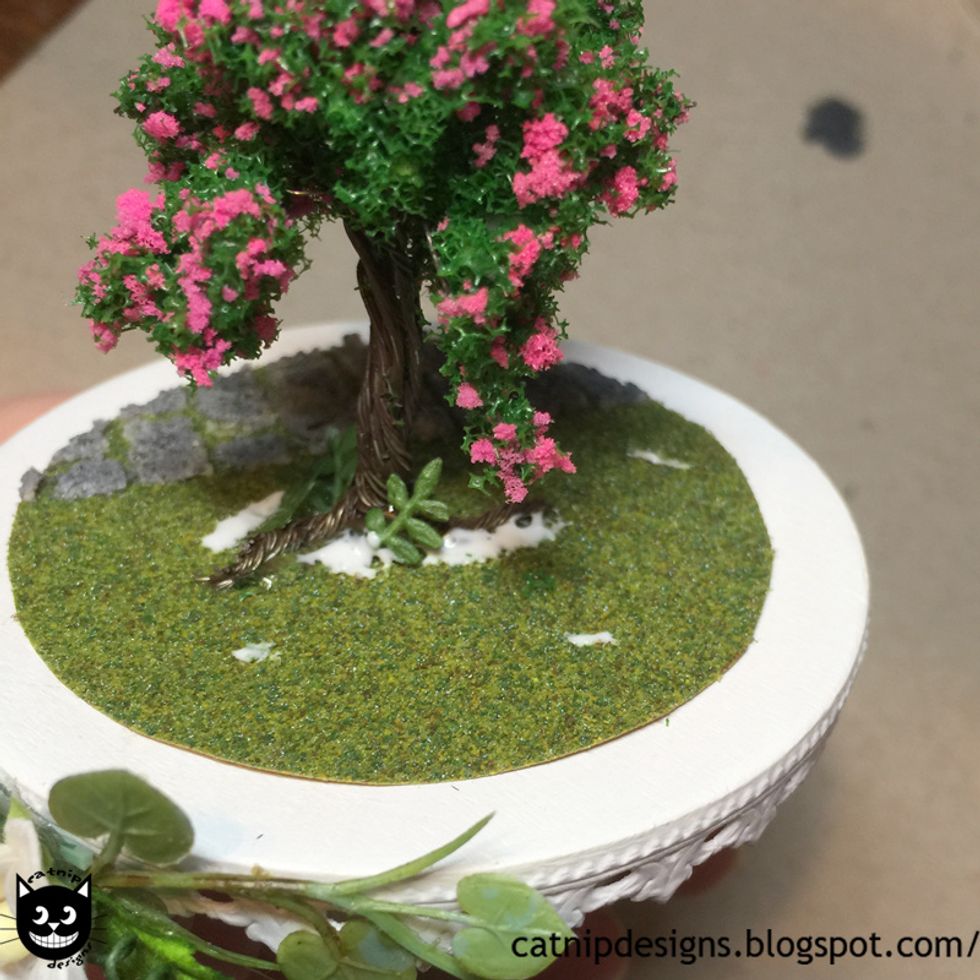
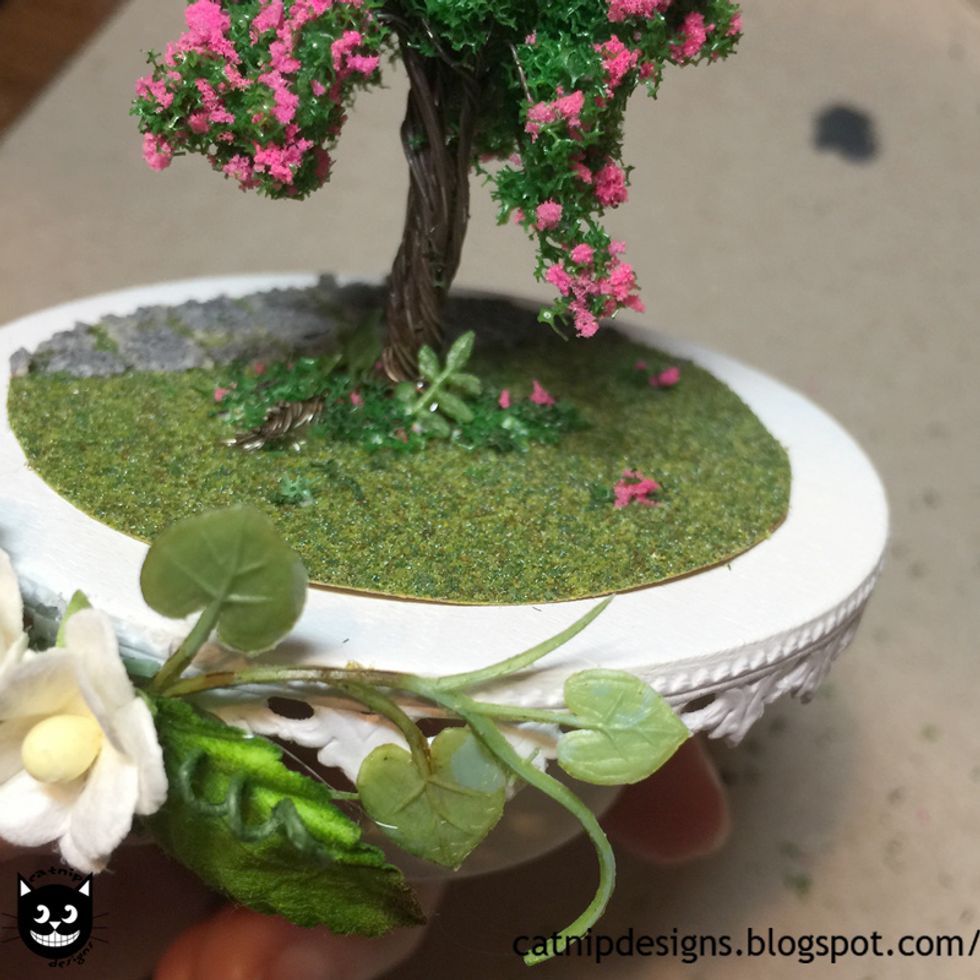
Apply some random spots of white glue to your fairy garden...
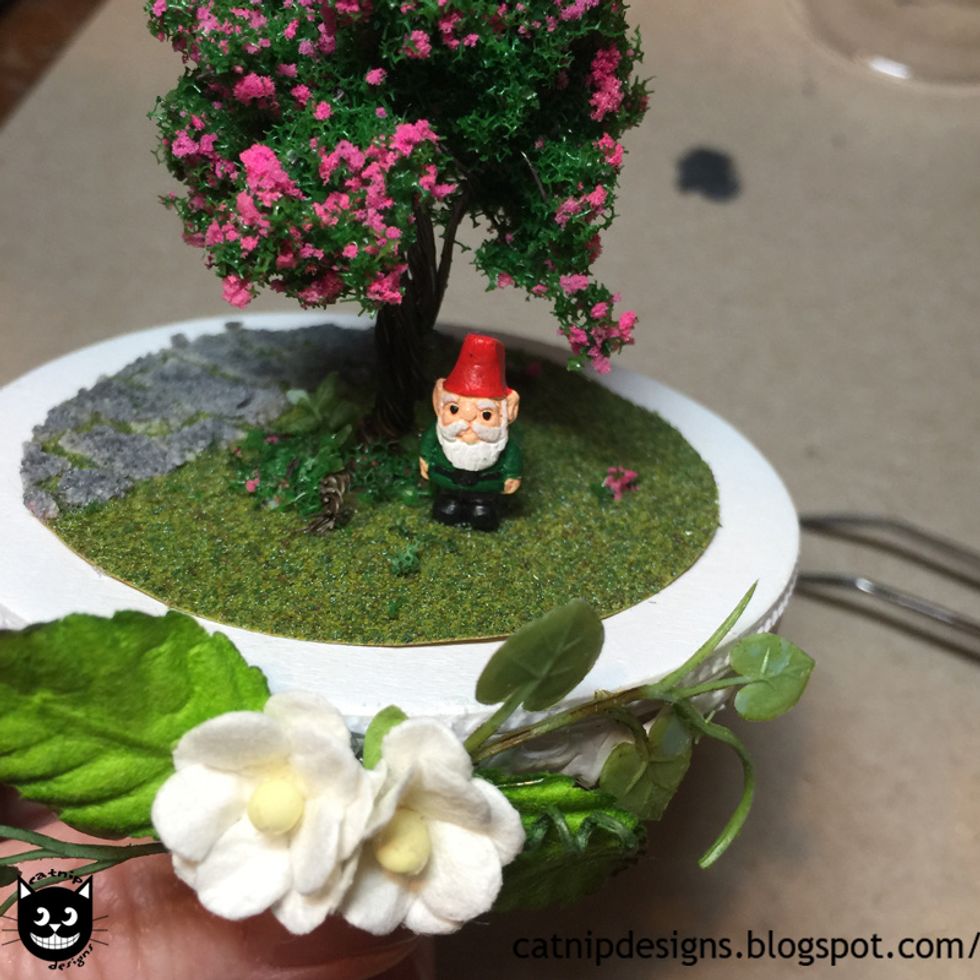
Hot glue the Mini Ceramic Garden Gnome Bead where you think it looks best.

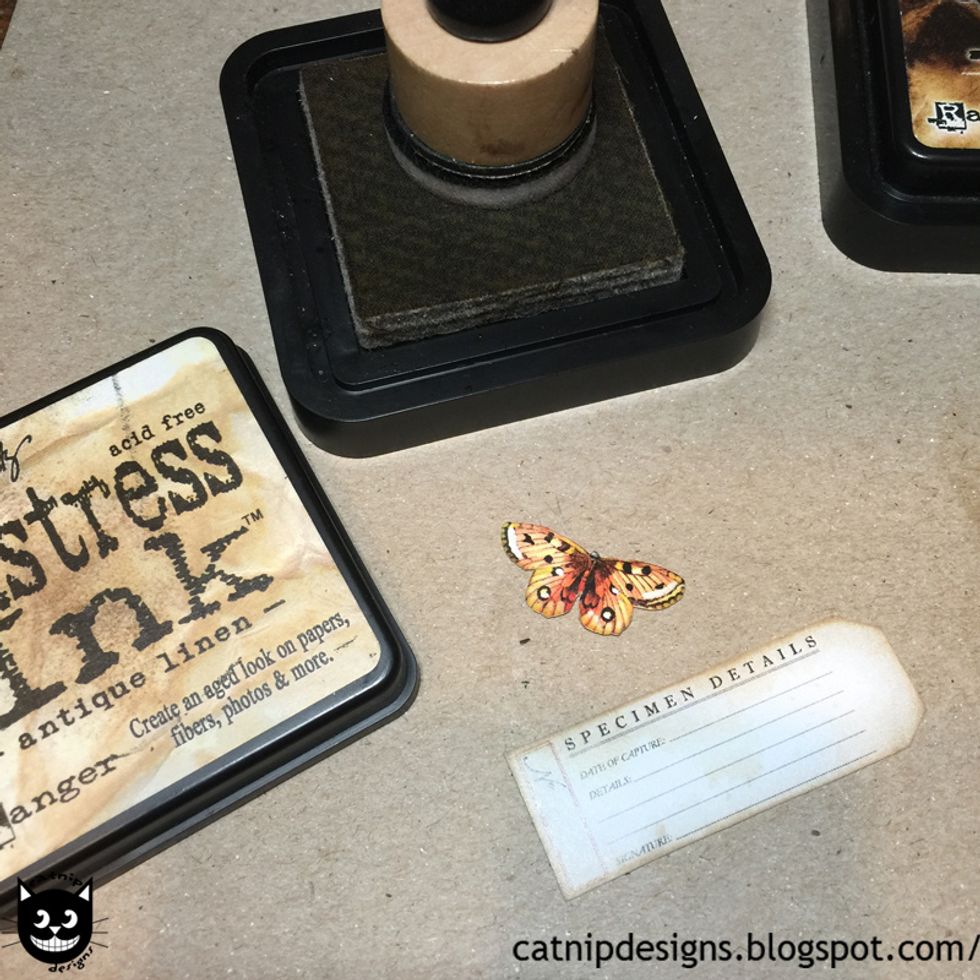
Cut out a specimen tag and butterfly from the Winged Things Collage Sheet...
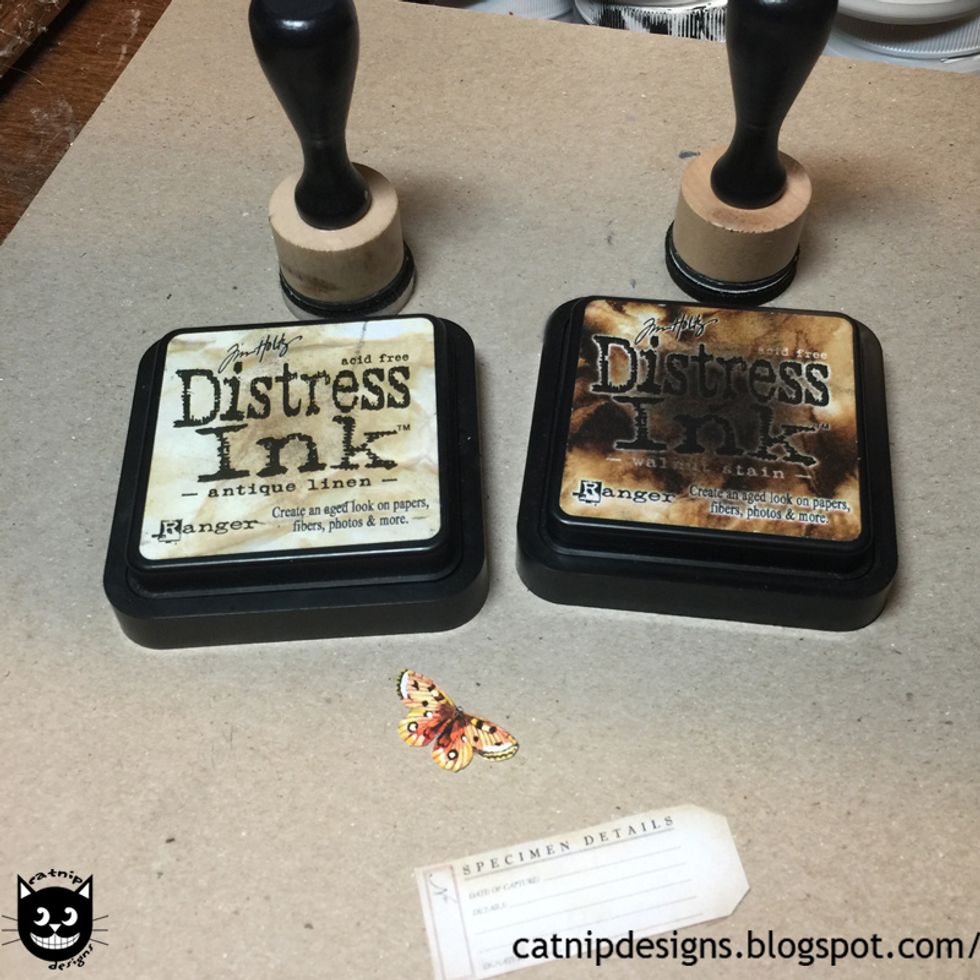
Grab your Tim Holtz - Mini Ink Blending Tools and Distress Mini Ink Kit - Kit 3 - Antiquing, in Antique Linen and Walnut Stain.
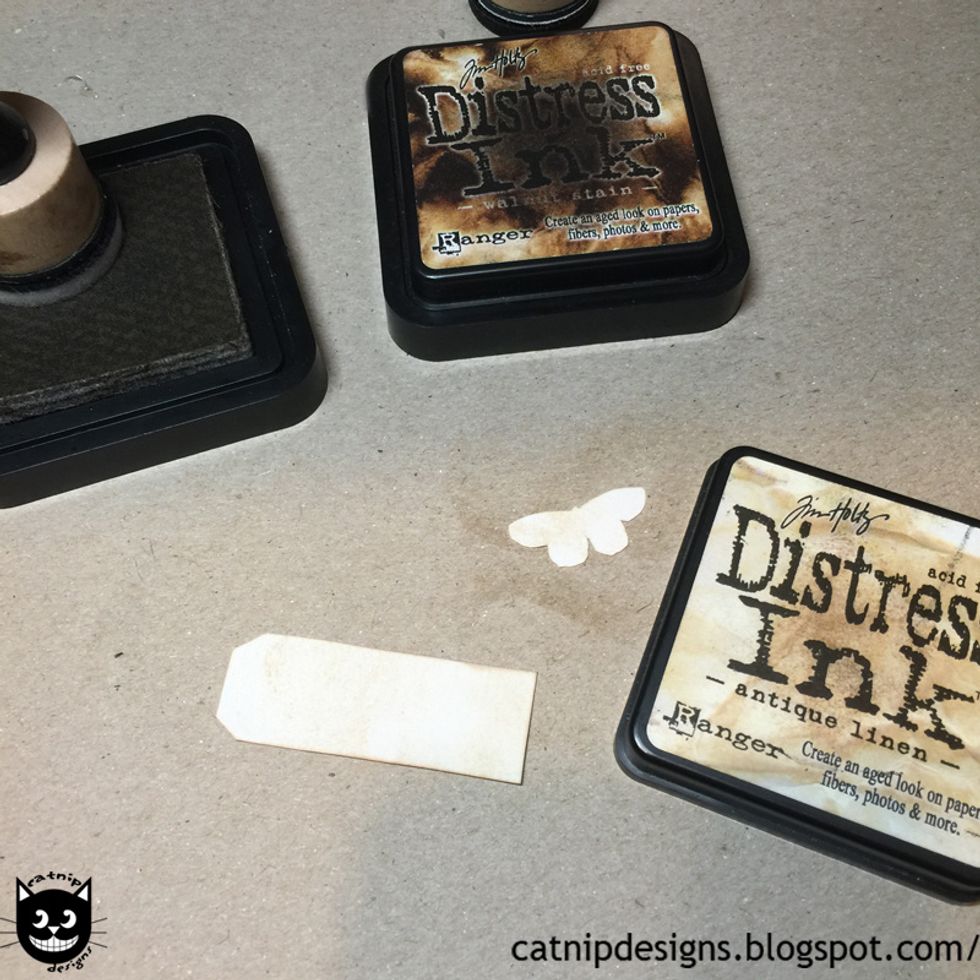
Apply Antique Linen to the back of the paper using the Tim Holtz - Mini Ink Blending Tool...
Apply to the edges of the fronts of your paper too...
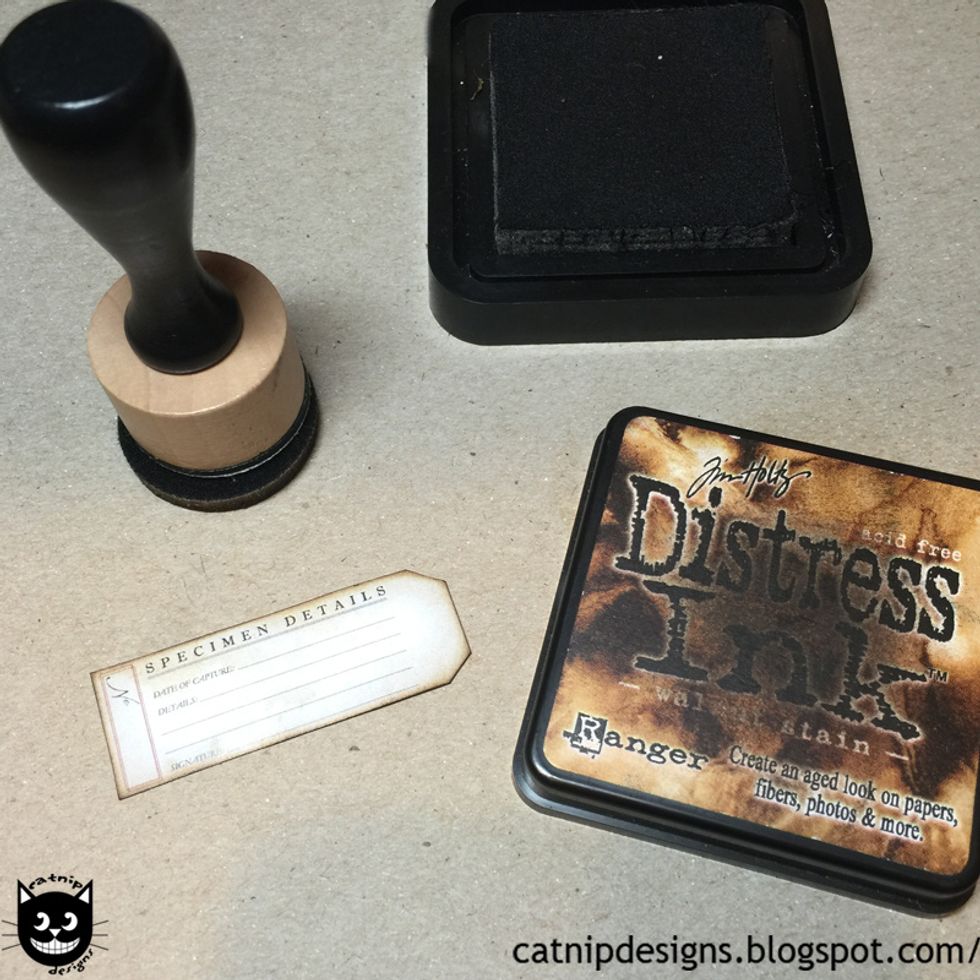
Apply a bit of Walnut Stain over the Antique Linen on the edges of both front...
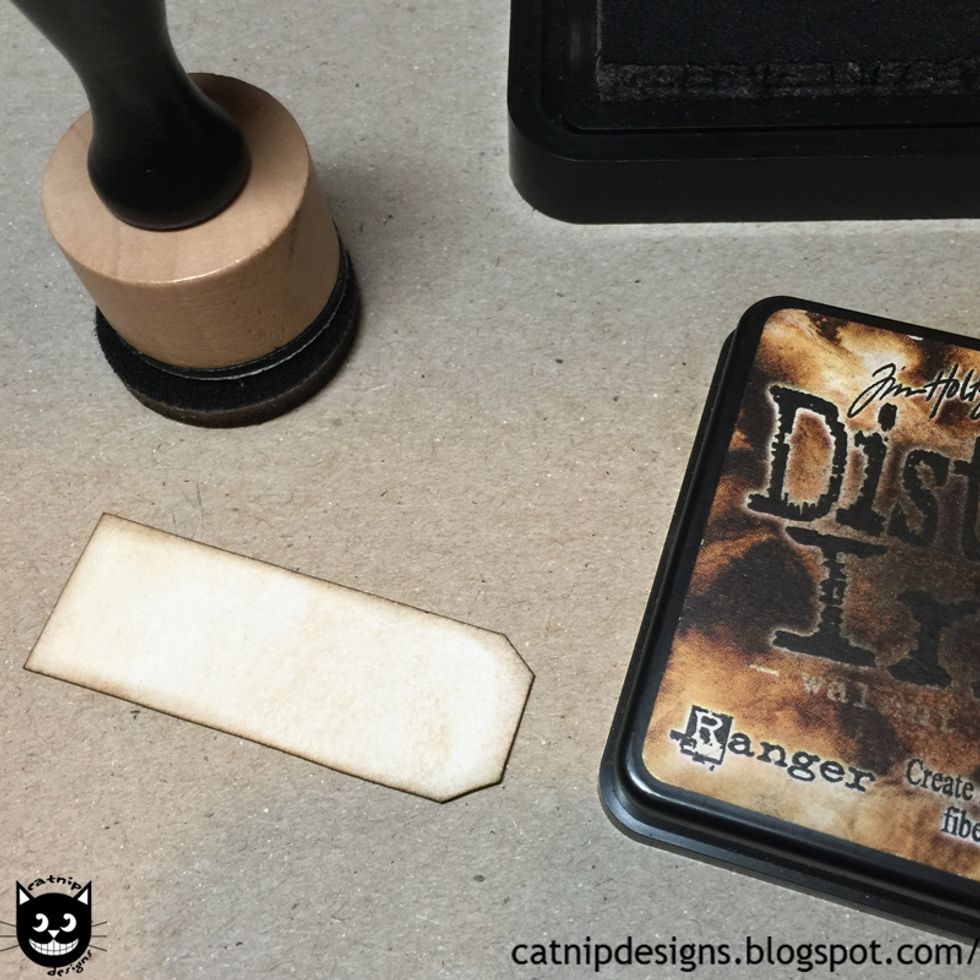
and back on your paper.

Using a fine tip pen, fill out the specimen tag...
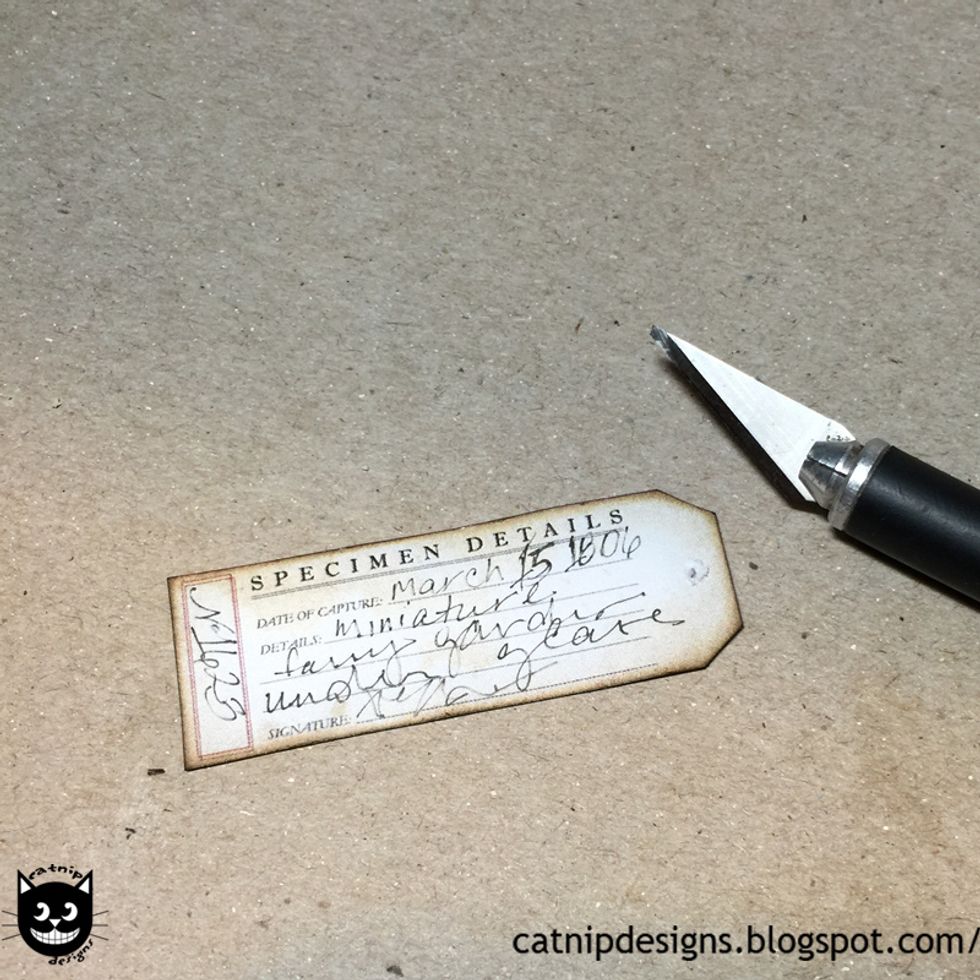
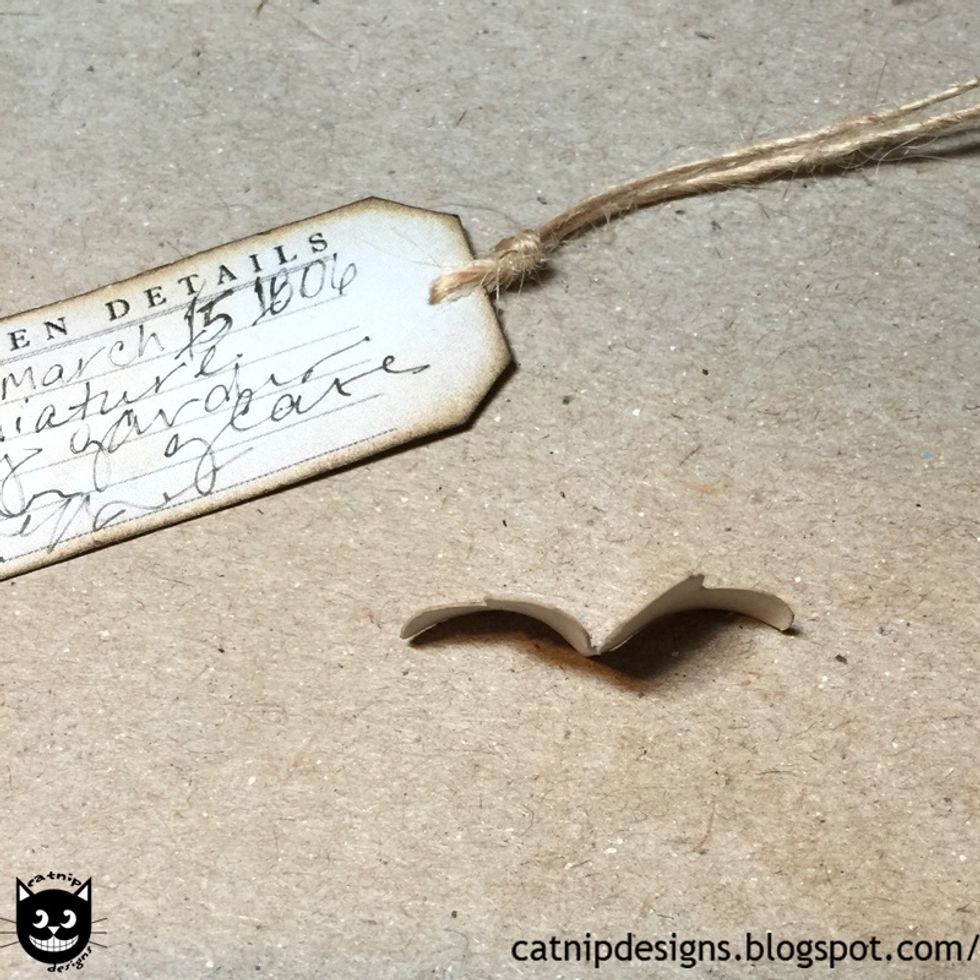
Poke a hole in the specimen tag with a craft knife or pick...

Add a bit of twine or ribbon through the hole...
Bend the butterfly's wings as shown...

This will make it look a bit more 3D.
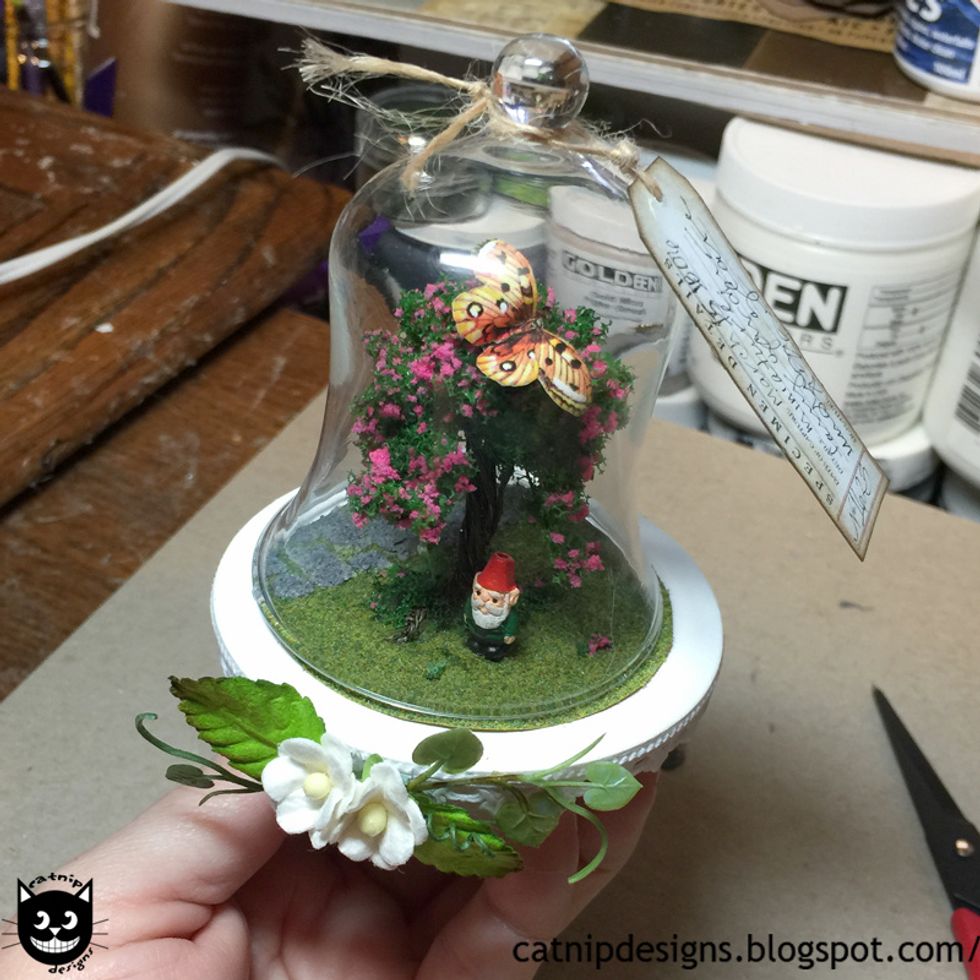
Glue the butterfly to the tree and tie the specimen tag to the knob on the top of the dome. Tah-Da! All done :)