The Conversation (0)
Sign Up
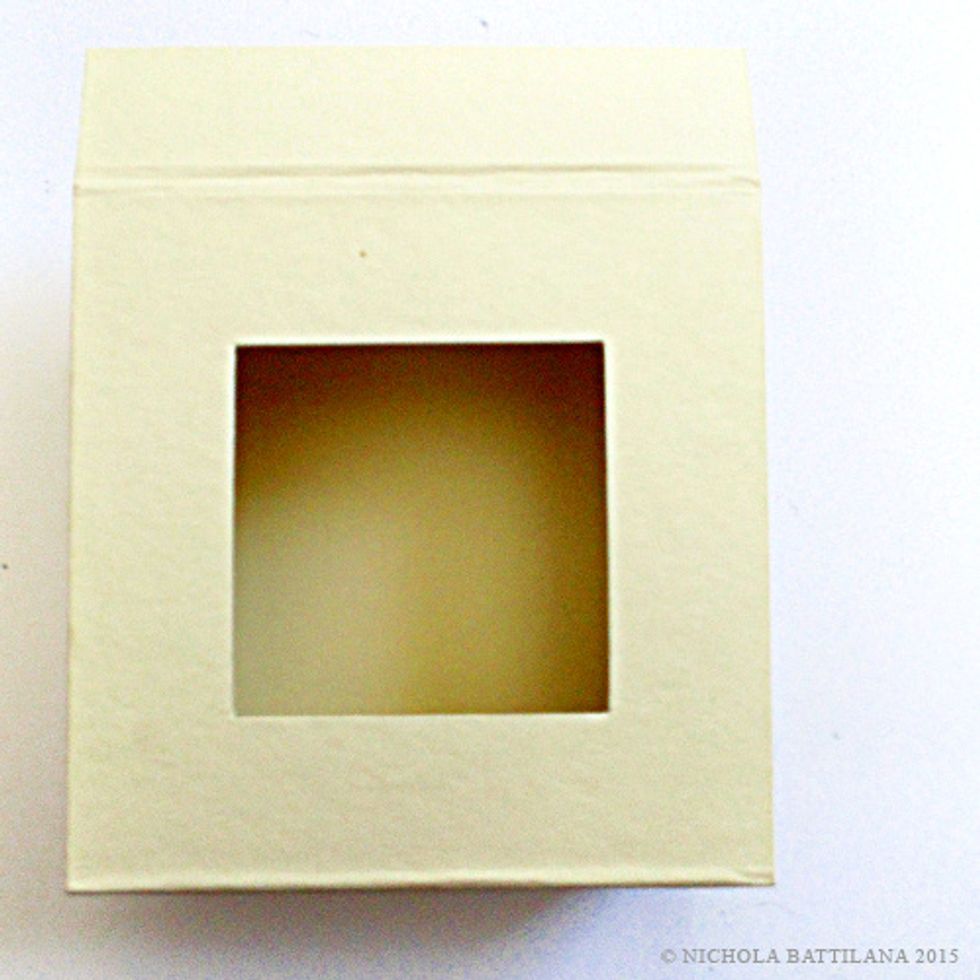
Using a Mixed Media 5x5 Box-Ivory straighten the closure flat as shown.
Cut a piece of Birds of a Feather for the front of the box. Apply a thin layer of good quality tacky glue and affix you the paper to the front.

You can see my paper is slightly smaller than the actual box, leaving a 1/8th" edge.
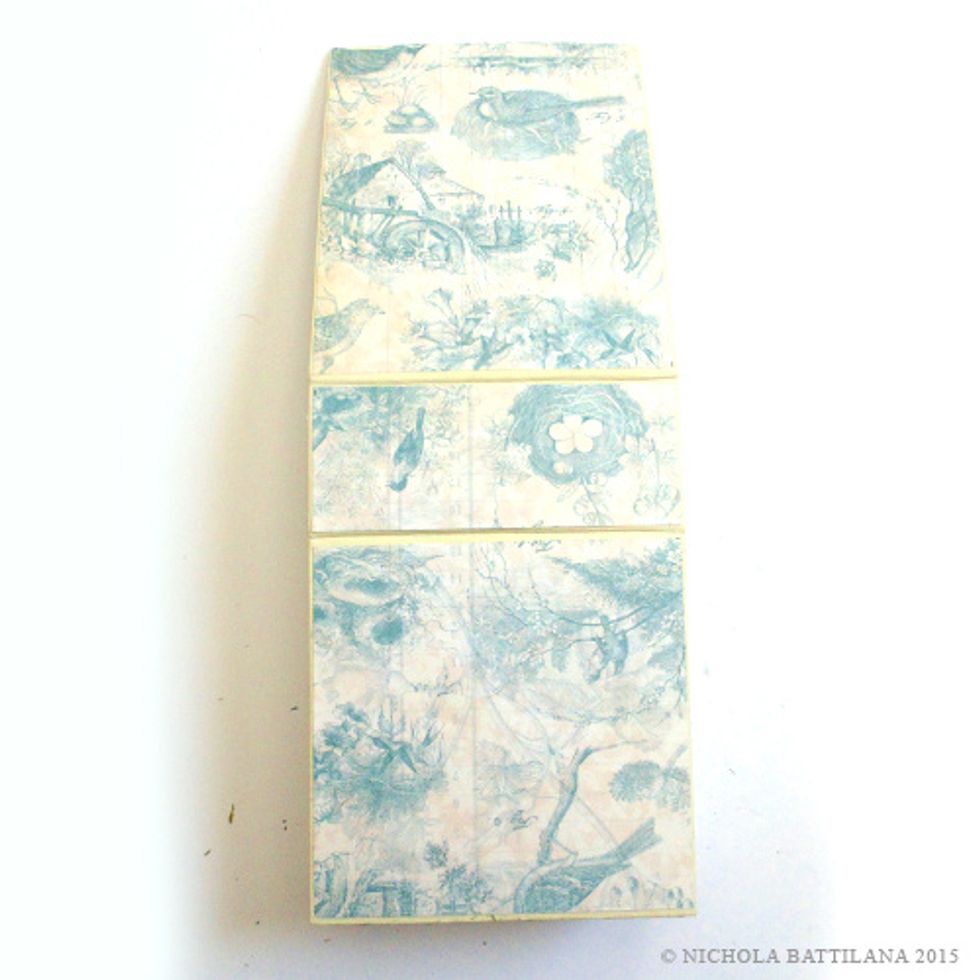
Add paper to the bottom and back of the box. Keep the folds free. Pay attention to the orientation of the paper design.
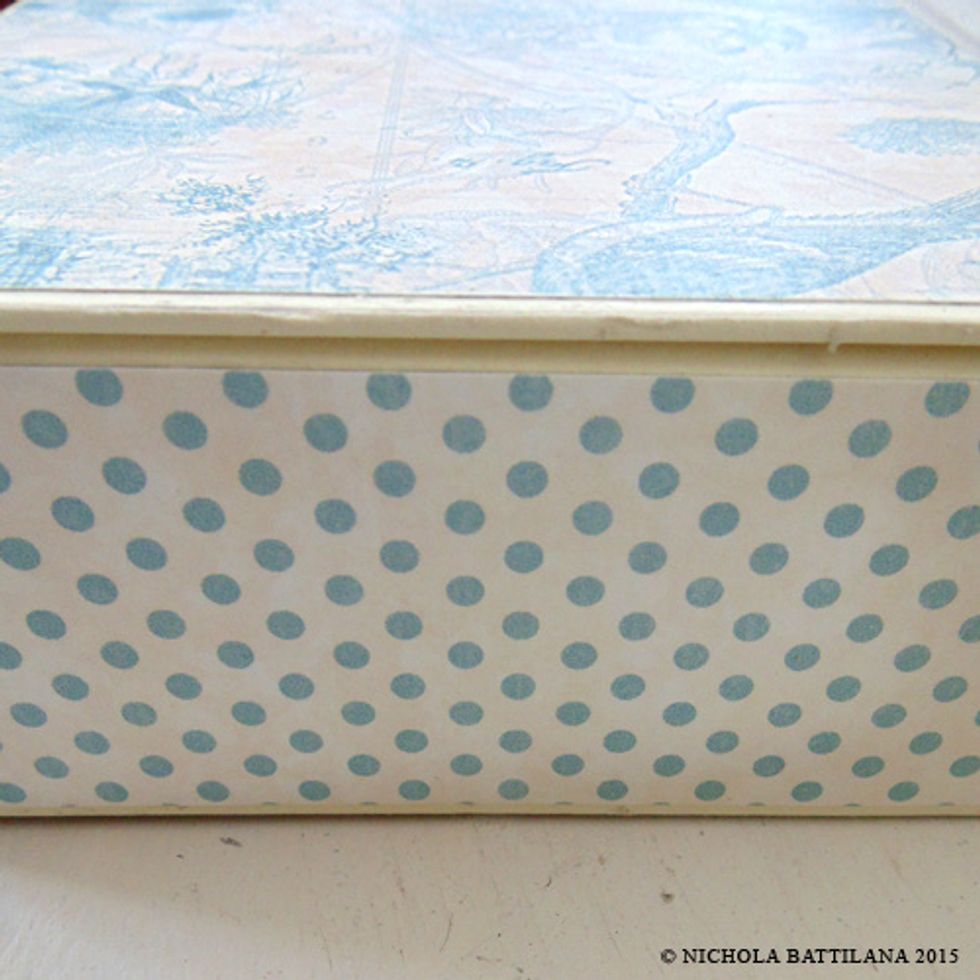
Apply Robin's Egg to the exterior sides. We don't have to worry about folding or creases so you can wrap the paper around the corners.
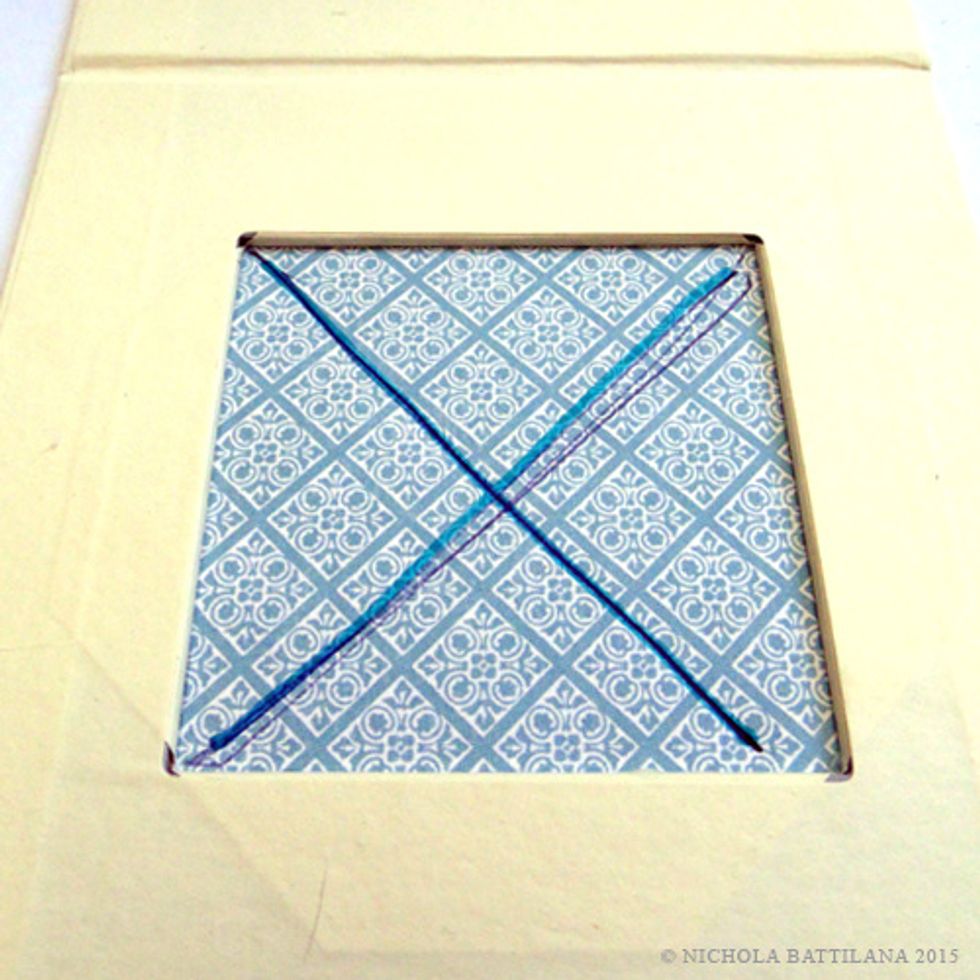
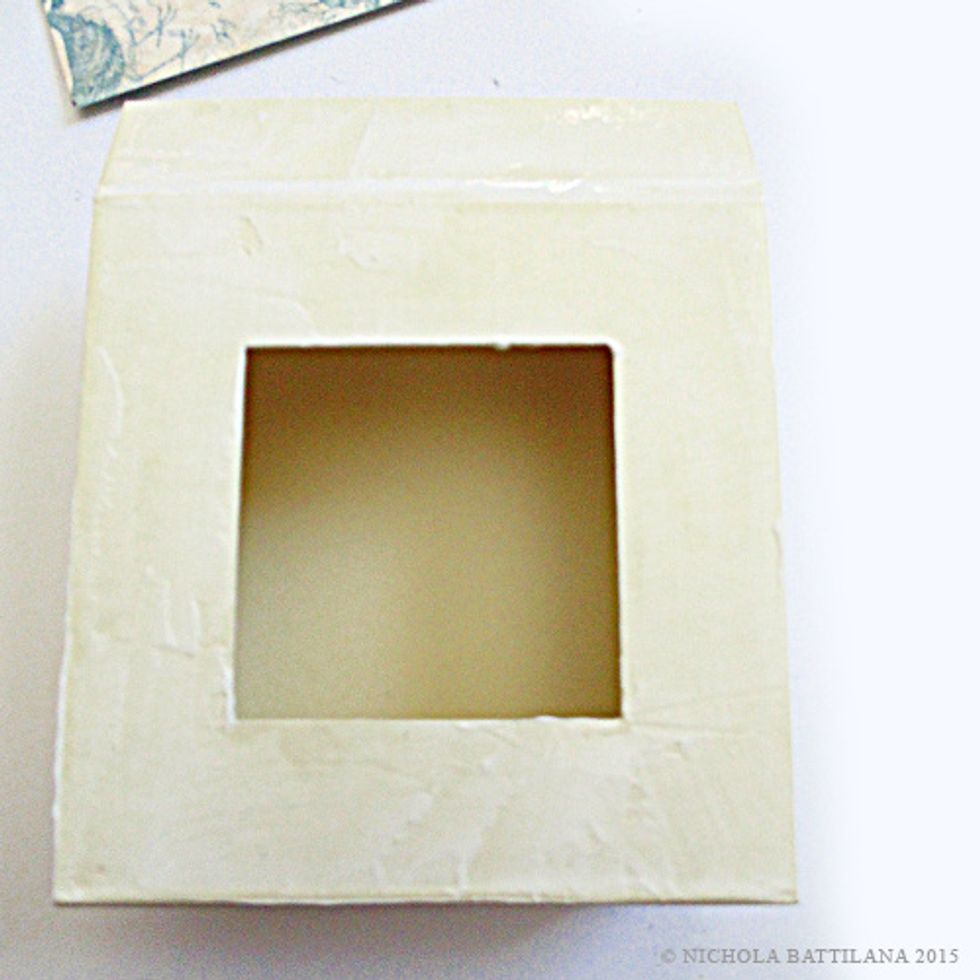
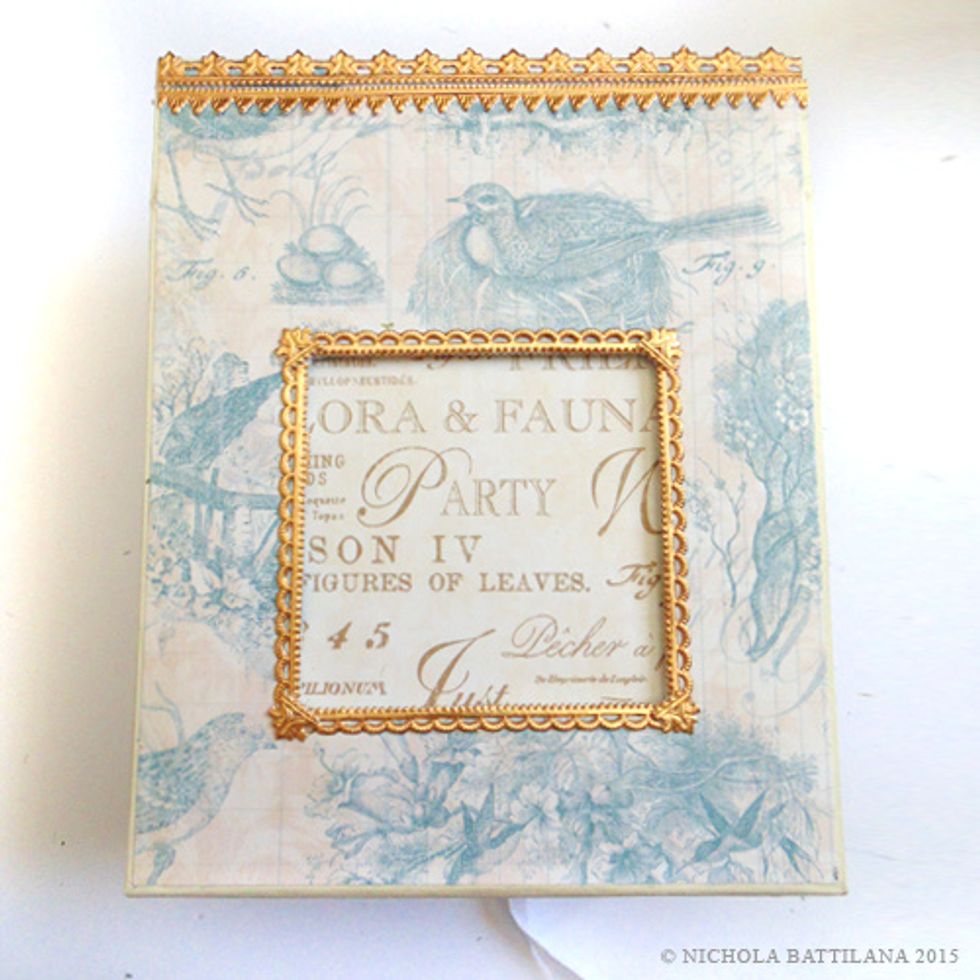
From the inside of the box, draw an X in the window and cut along the lines.

Snip the top corner off, then fold through the window and glue to the inside of the box.
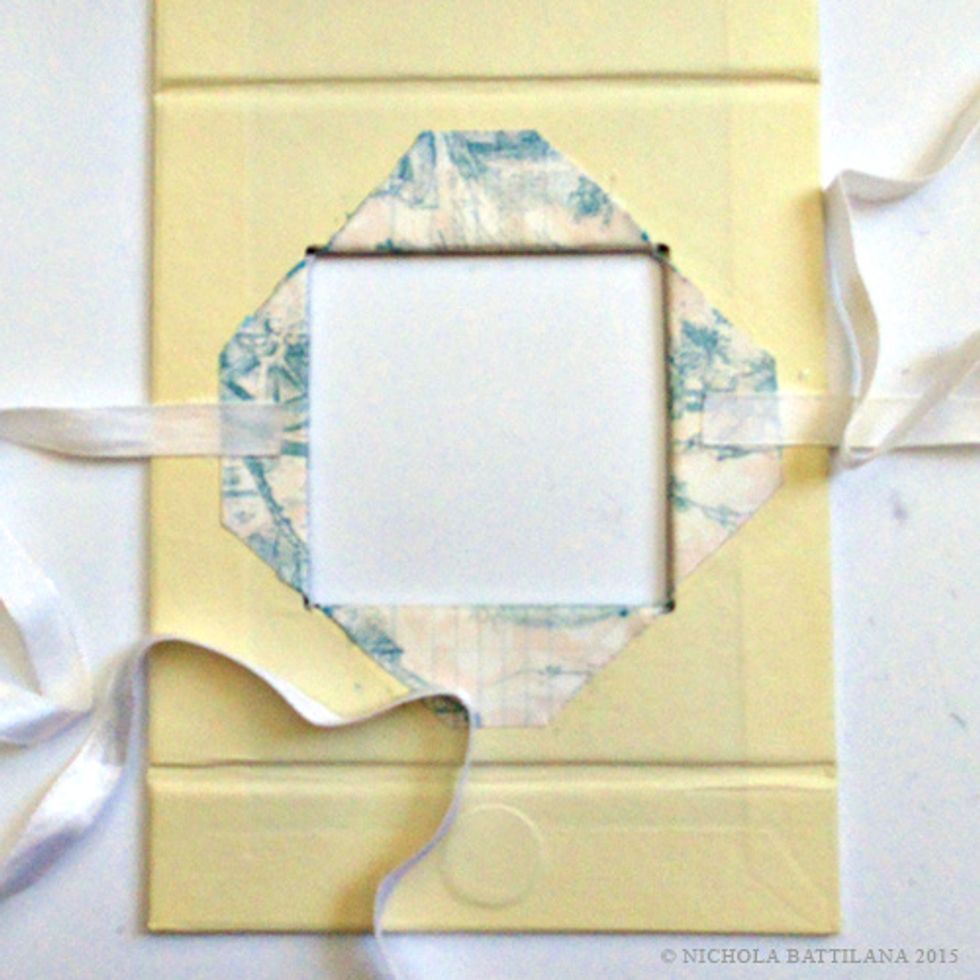
Adhere a 12" length of ribbon to both sides of the window as shown.
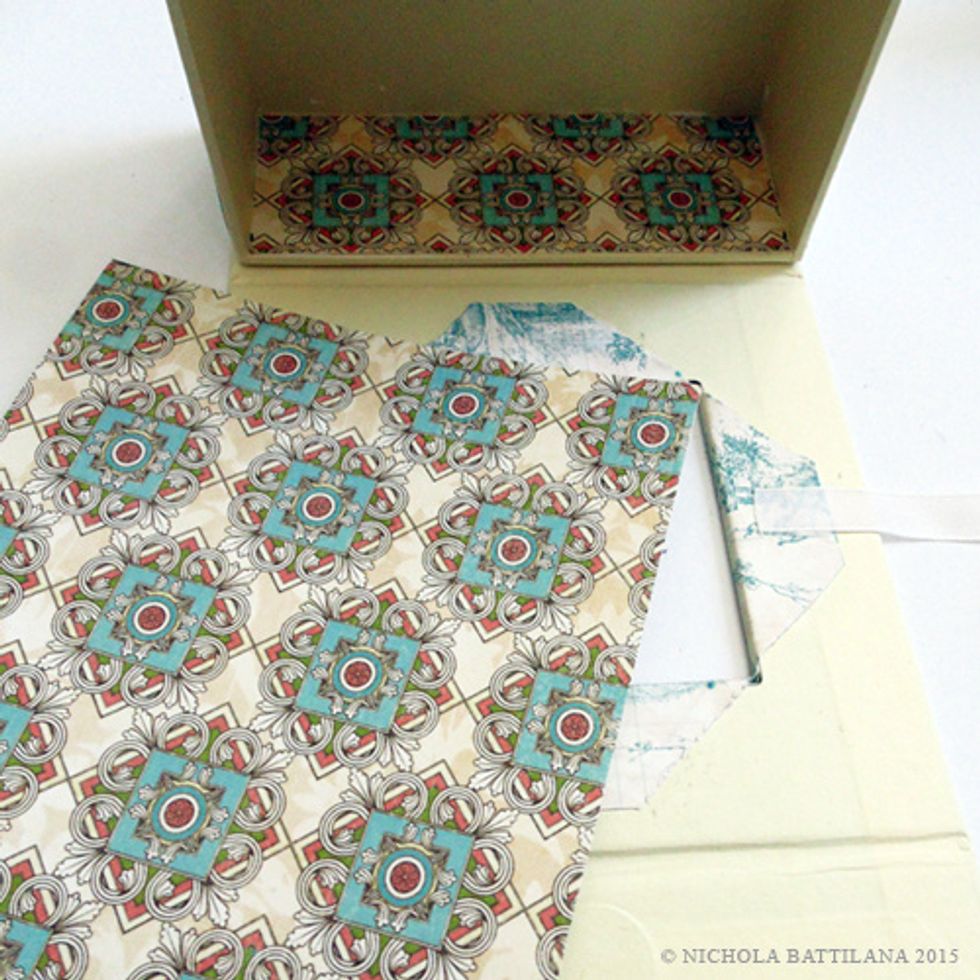
Cut two pieces of Herbal Infusion. One should fit the bottom of the box, the other the flap. Try to align the patterns. Pay attention to the orientation of the design showing through the window.
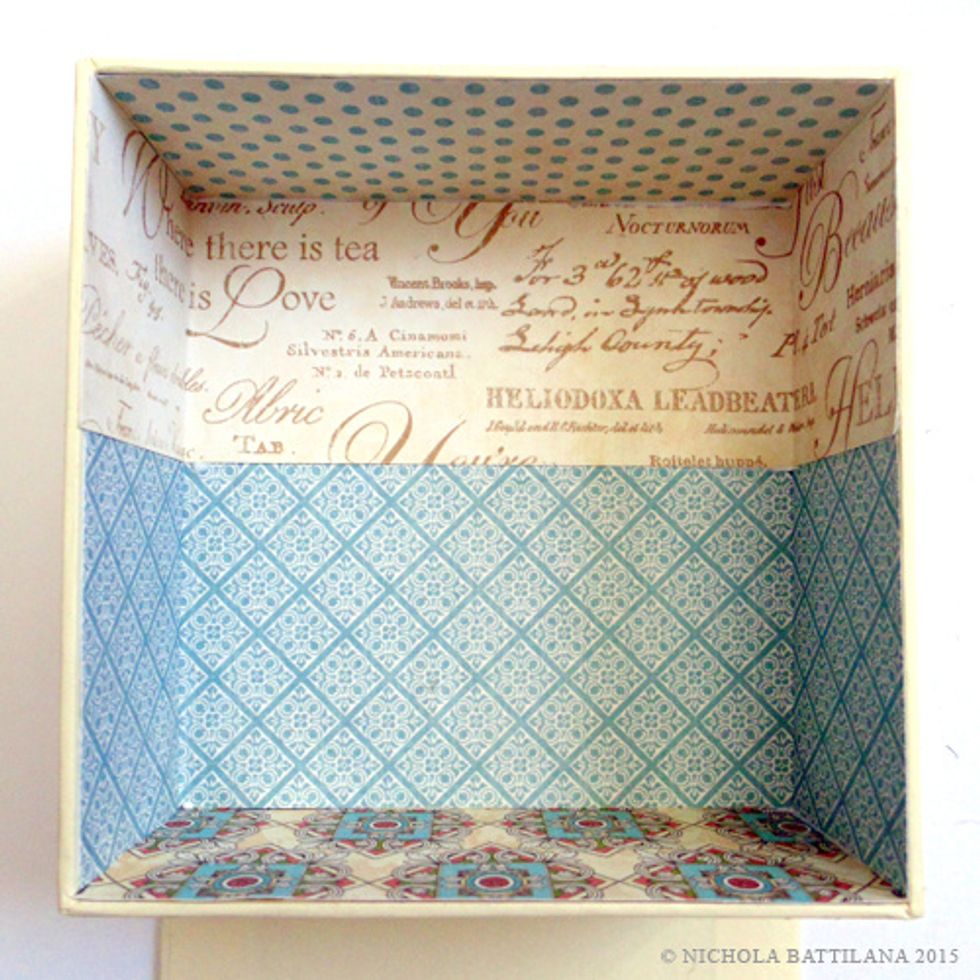
For the wallpaper I have used Birds of a Feather and Herbal Infusion. I've covered the ceiling with Robin's Egg.
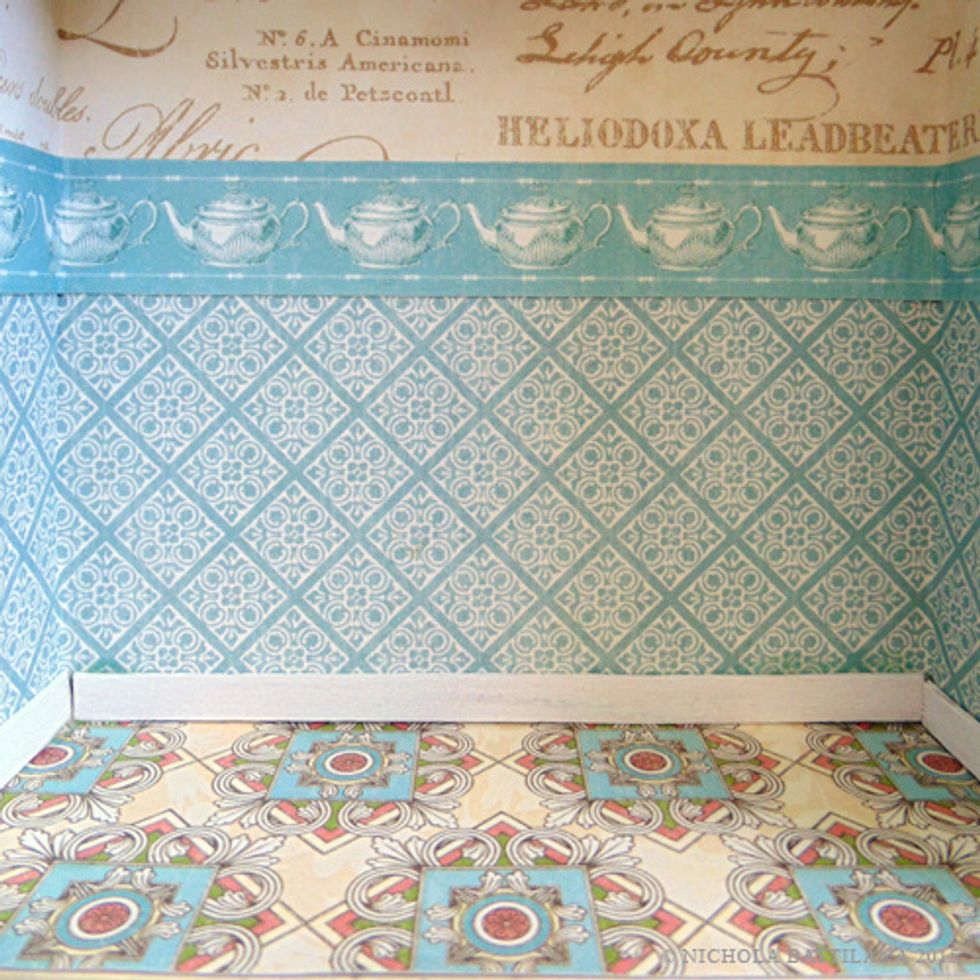
To create a more finished look I've added a border of teapots from Hello Friend. I've also added a baseboard made from coffee stir sticks which were painted white, cut to size, then glued into place.
Now I can embellish the exterior, adding golden dresden borders.
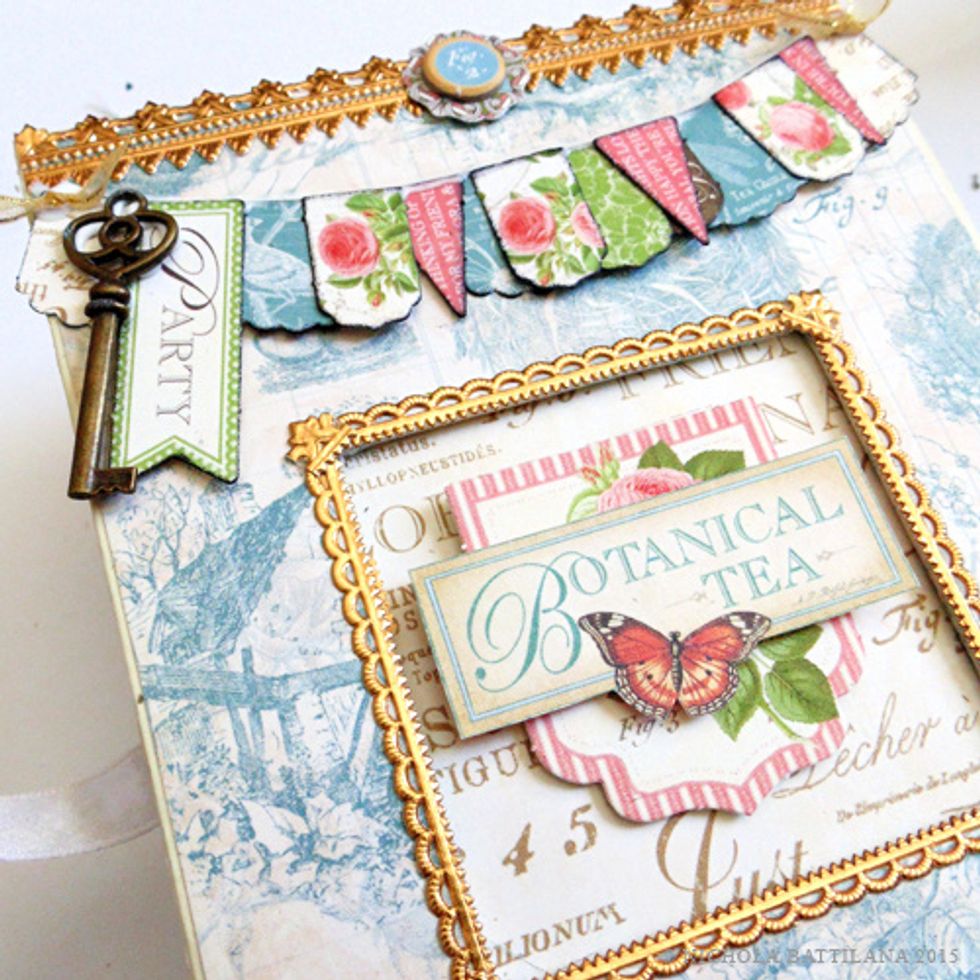
I layer tags, banners and chipboard to the front and sides of the box. Make sure to keep the front design quite flat. Remember, when open, this is the floor of your shop!
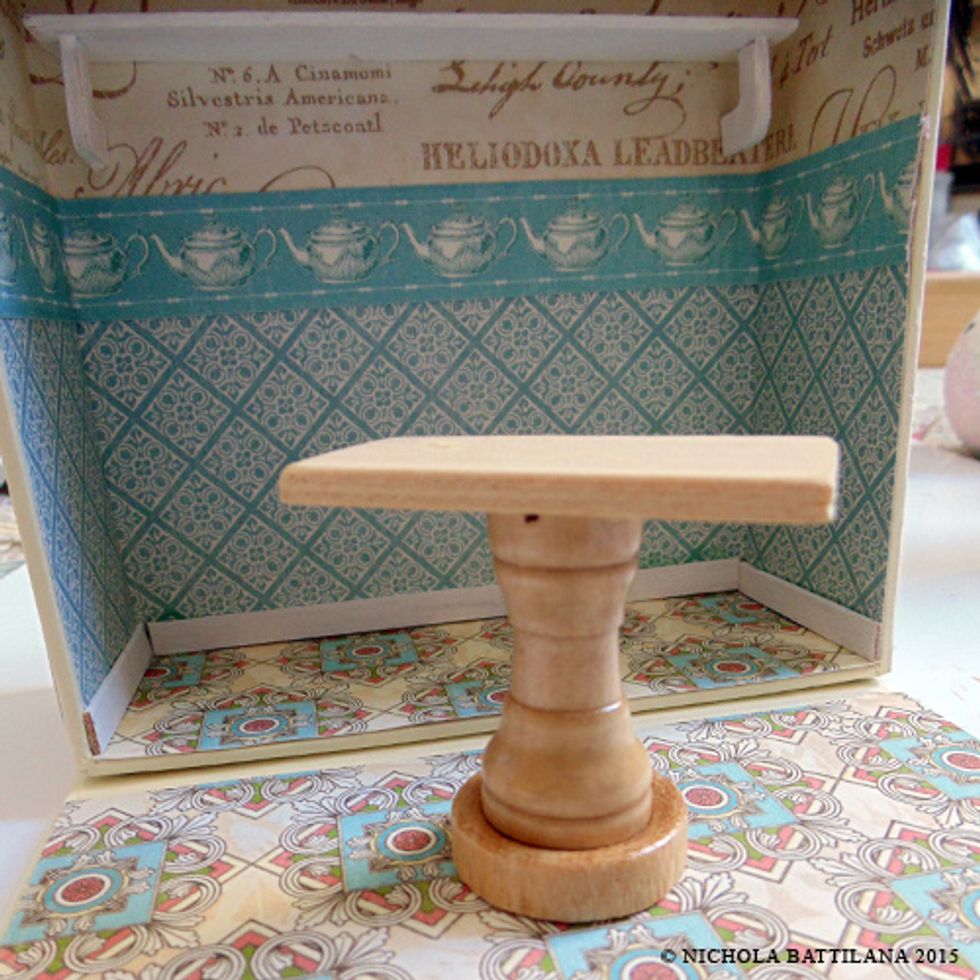
You can make tiny additions for your tea house. This shelf is a tongue depressor cut to size. The table is a checker, chess rook and domino stacked and glued together.
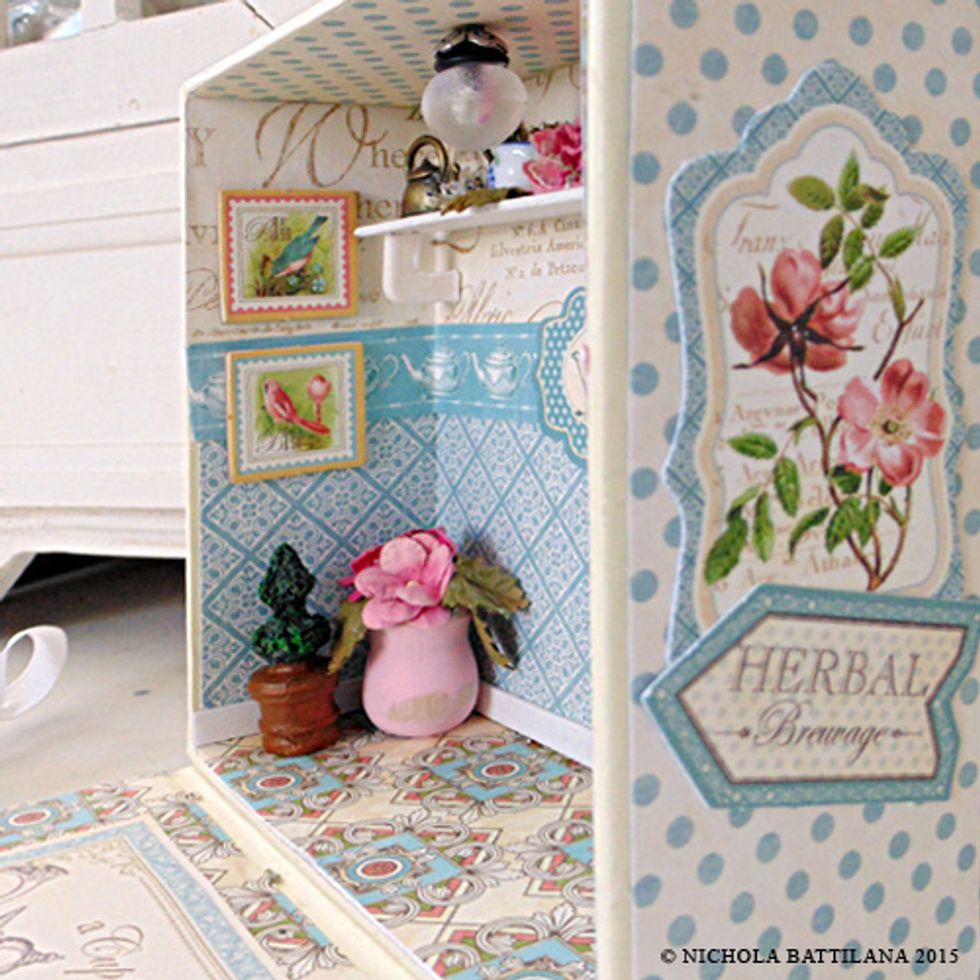
Start dressing the interior! Add little plants and flowers, chipboard tags as pictures for the wall, and teapot charms on your little shelf. You'd be surprised how much will fit in that little space.
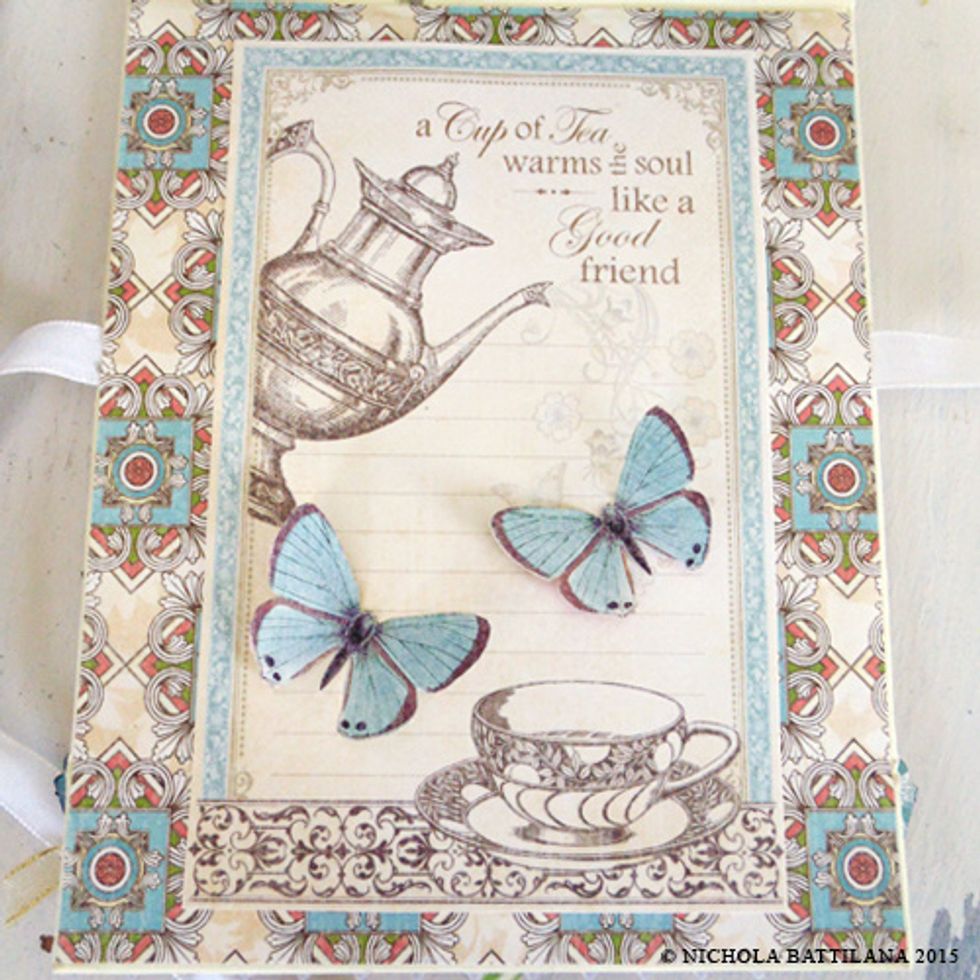
Keep the main floor area as is for playing, or add a sentiment and butterflies from Love Notes. Just ensure that your additions don't hinder the closing of the box.

I've added a wire chair, miniature slice of cake and teacups from alphastamps.com. (You could make your own chair from a champagne cage.) Glue these in place or leave loose for playing :)
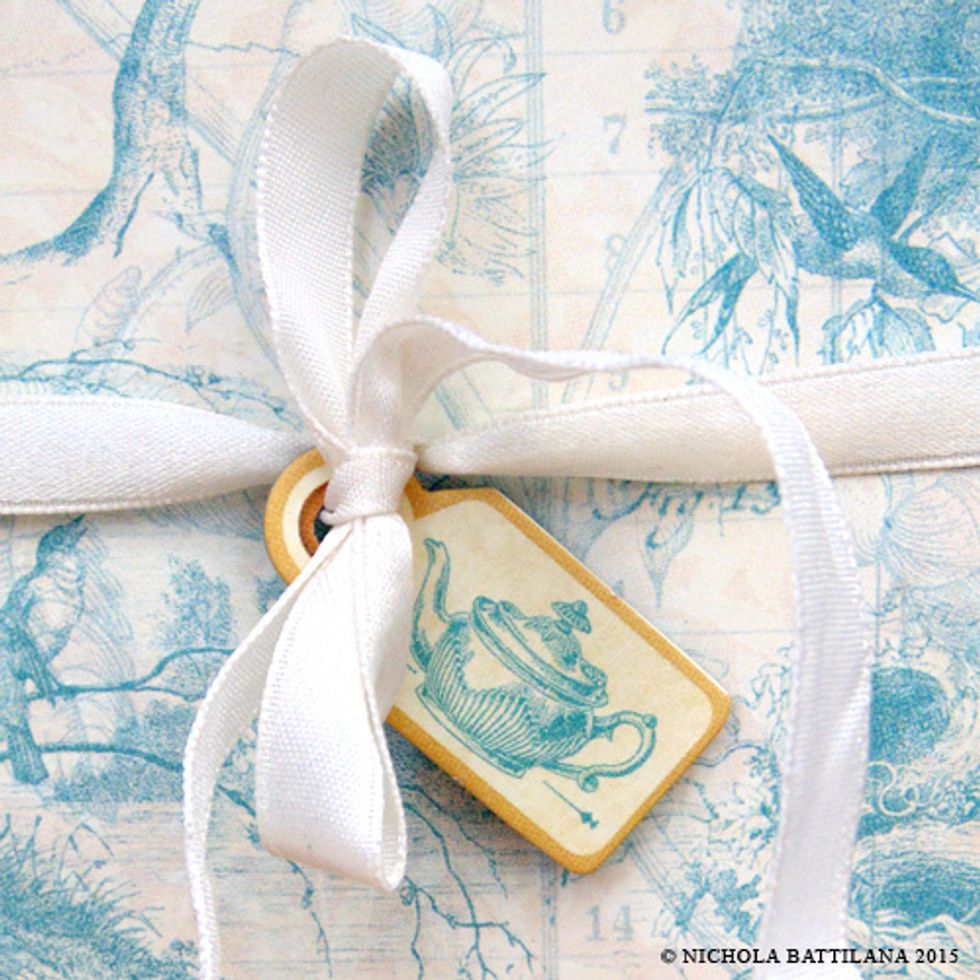
When your inside is complete, wrap the ribbon around the box, tie in a bow and add a pretty chipboard tag.

Finally, open your little tea house for business!