The Conversation (0)
Sign Up
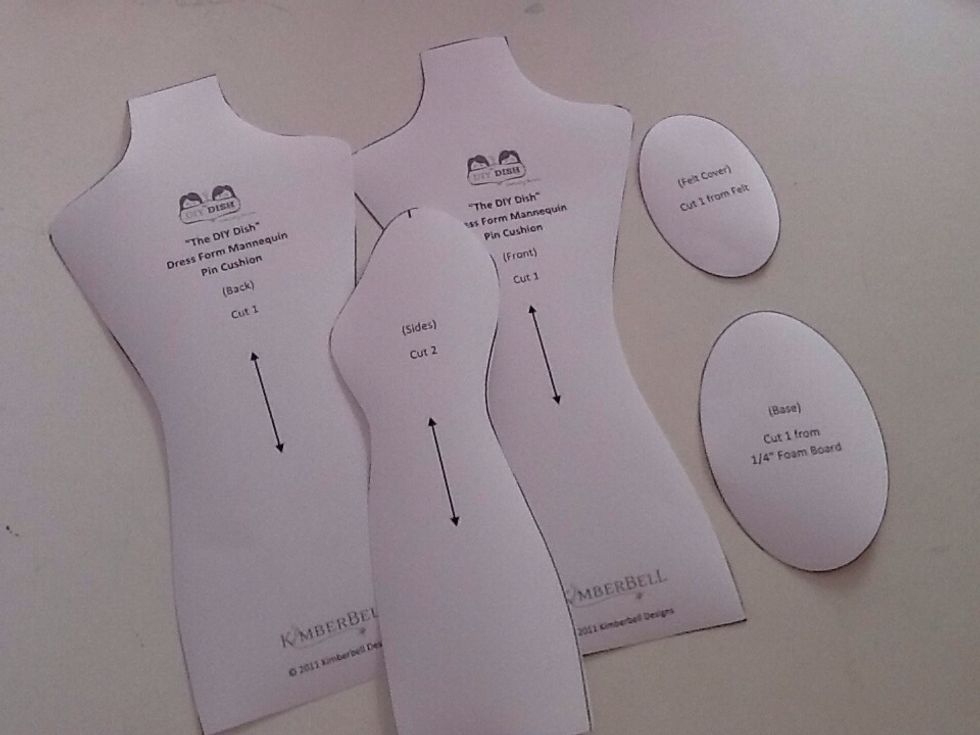
Print out template for your mannequin at www.thediydish.com/promo/theDIYdish_season4_Episode1_dressformpincushion.pdf Cut out all the pieces.
You may notice that on the website where I got the templates from, they have a video tutorial. You can follow that if you wish, but I'm doing it a little differently in this guide.
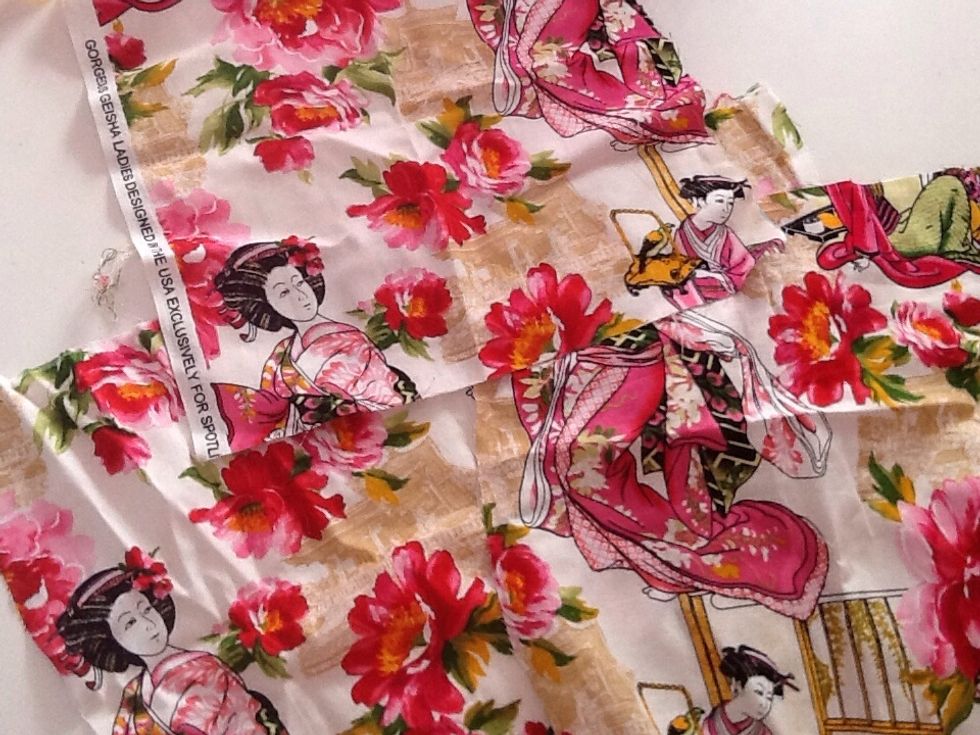
Gather up your fabric. You only need the smallest amount, so I'm just using some fabric I have left over from another project. Smaller patterns/designs on the fabric look the best.
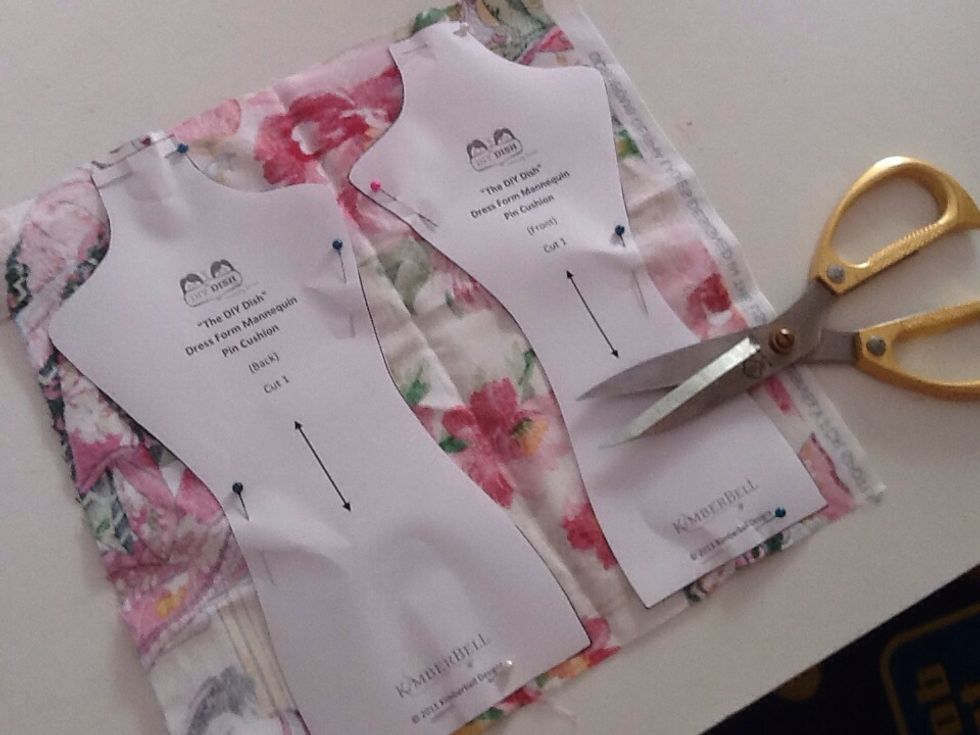
Pin, trace and cut out the front and back piece.
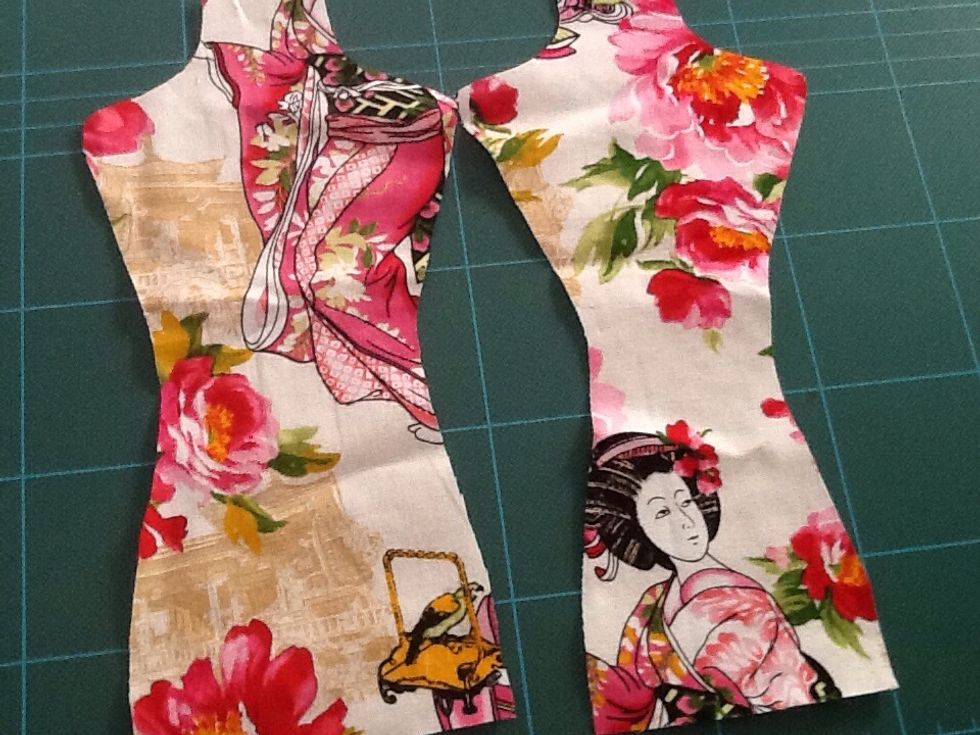
Here is what they should look like.
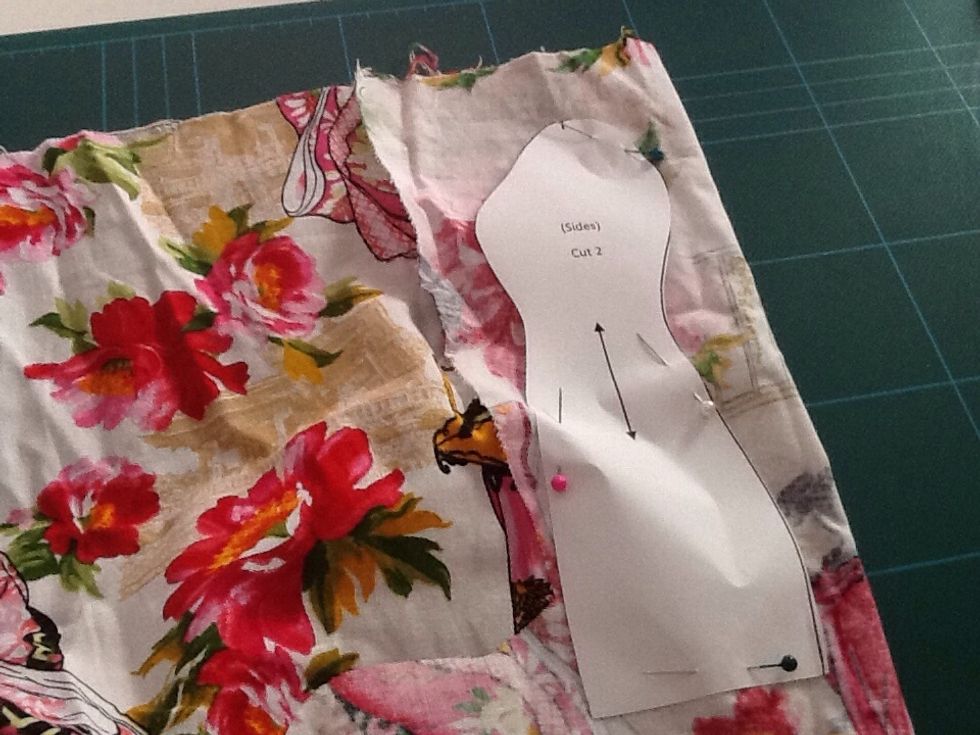
Then fold your fabric in half, pin, trace and cut the side piece.
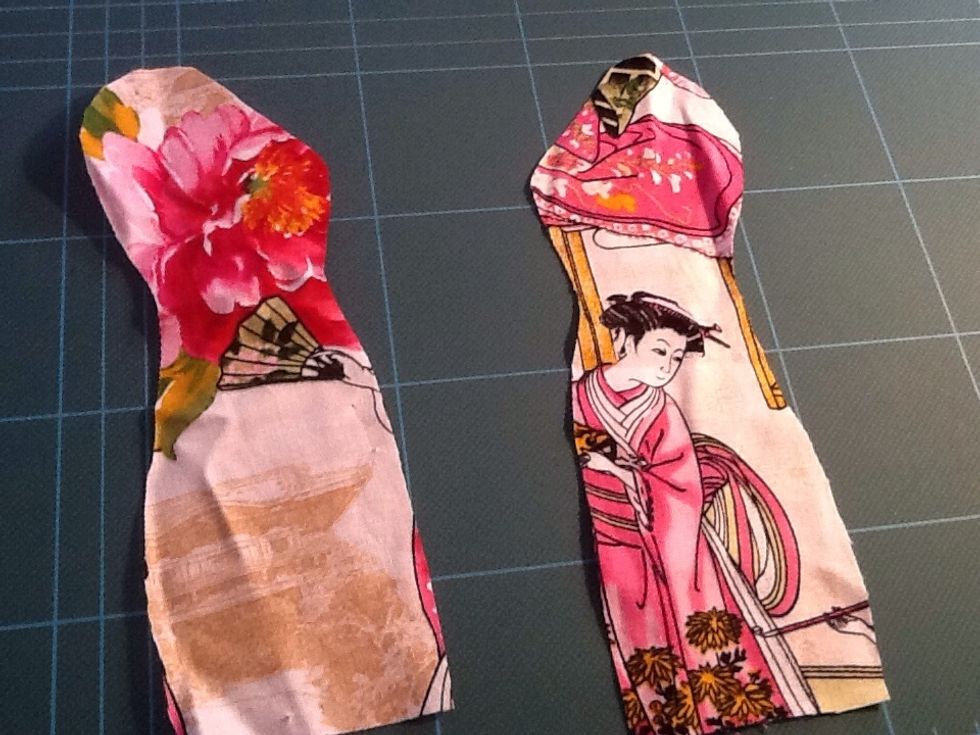
You should have two identical pieces after unfolding.
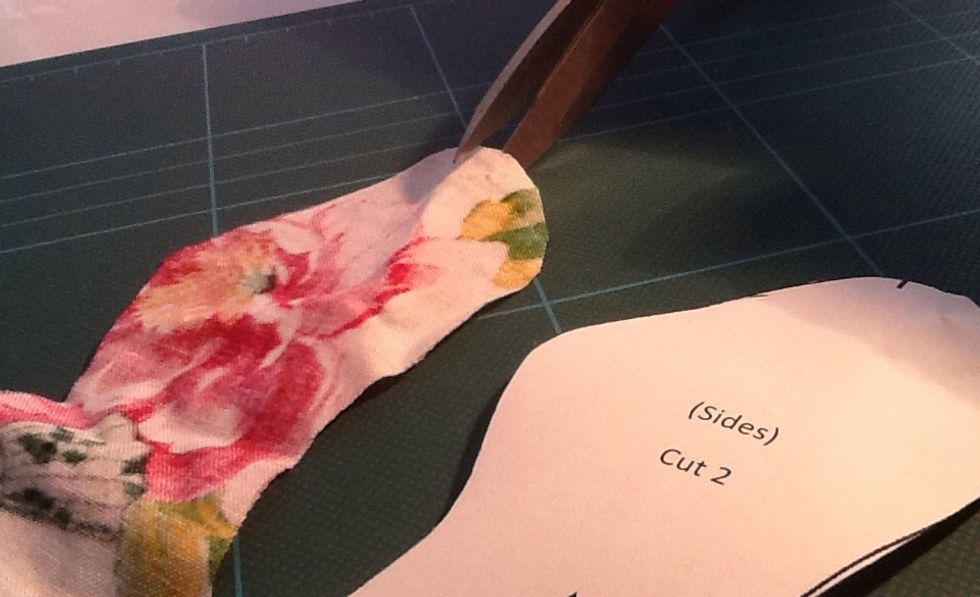
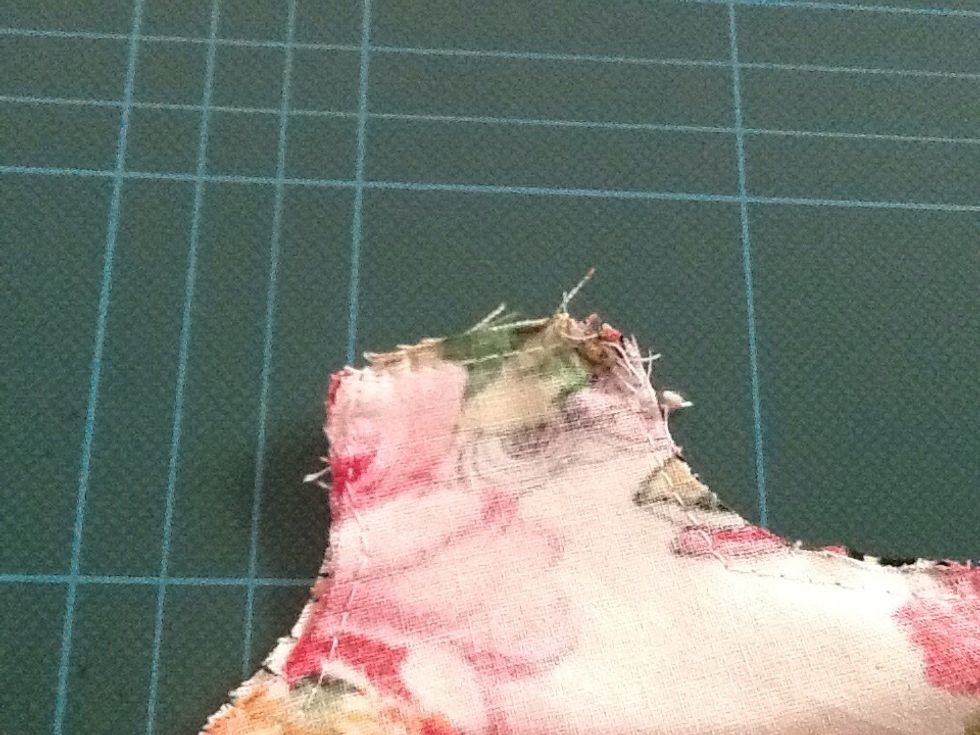
Remember to cut the notch on the top of the side piece, as indicated on the template. We need to use this as a guide later- when we stitch everything together.
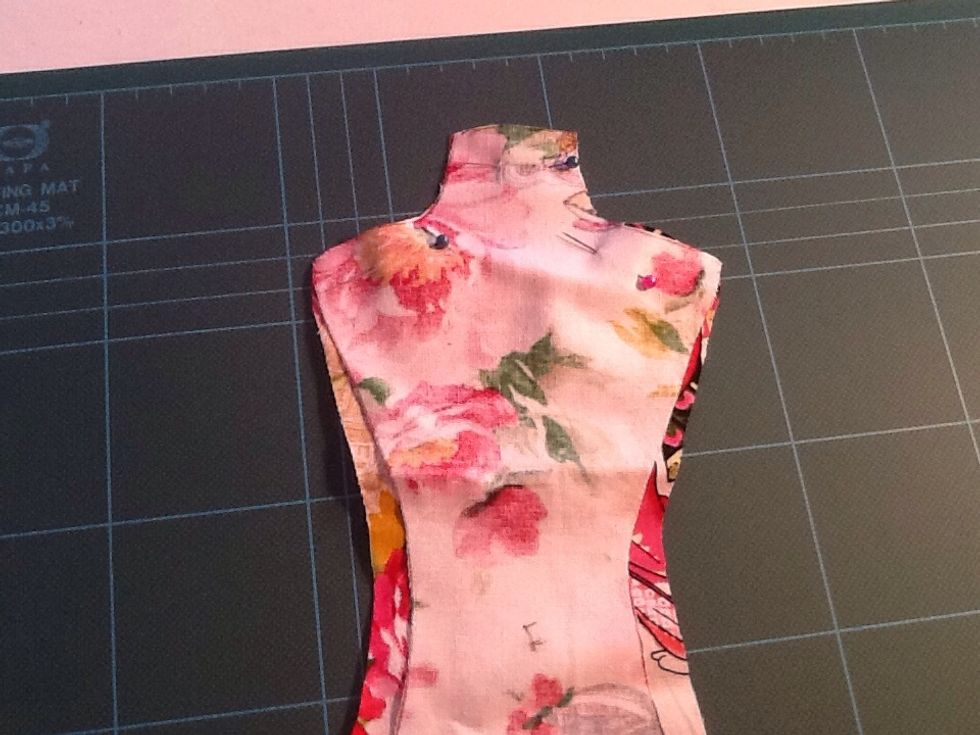
Pin the back to the front- good side to good side, aligning at the neck and shoulders. The sides shouod not match up- obviously, since we have a body shape.

Thread up your sewing machine- straight stitch setting
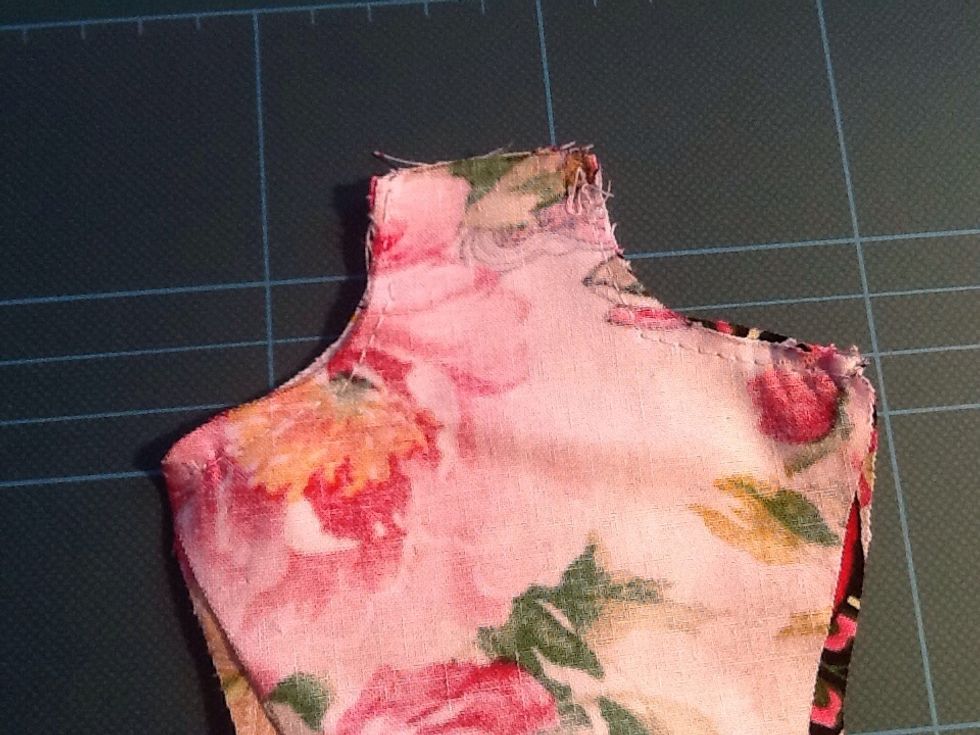
Stitch across the shoulders from the neck down, both sides, remembering to back stitch and cut off excess thread as you go along.
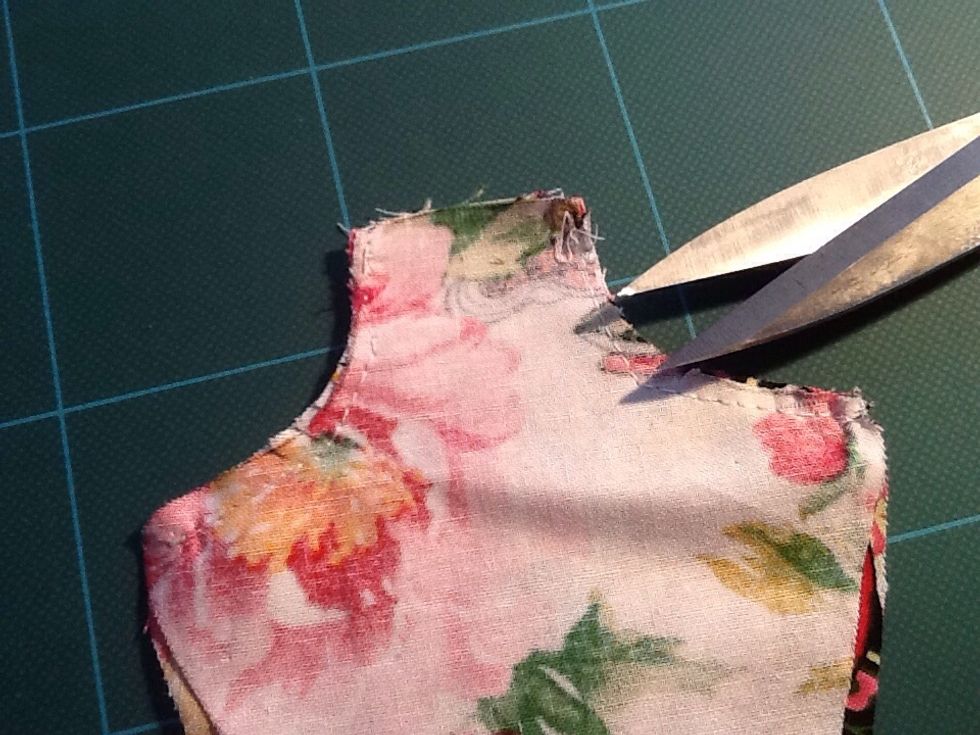
Cut a few notches in the curve of the neck, but do not cut the stitches. This will ensure a smooth finish, when we flip the fabric inside out.
Pin the side pieces to the front and back- like so in the picture. Just align it. This is probably the trickiest part in the whole process. There will be a more detailed pic in the next few steps.
Straight stitch down both sides of the pinned areas.
Oh nearly forgot... stitch close the opening of the neck.
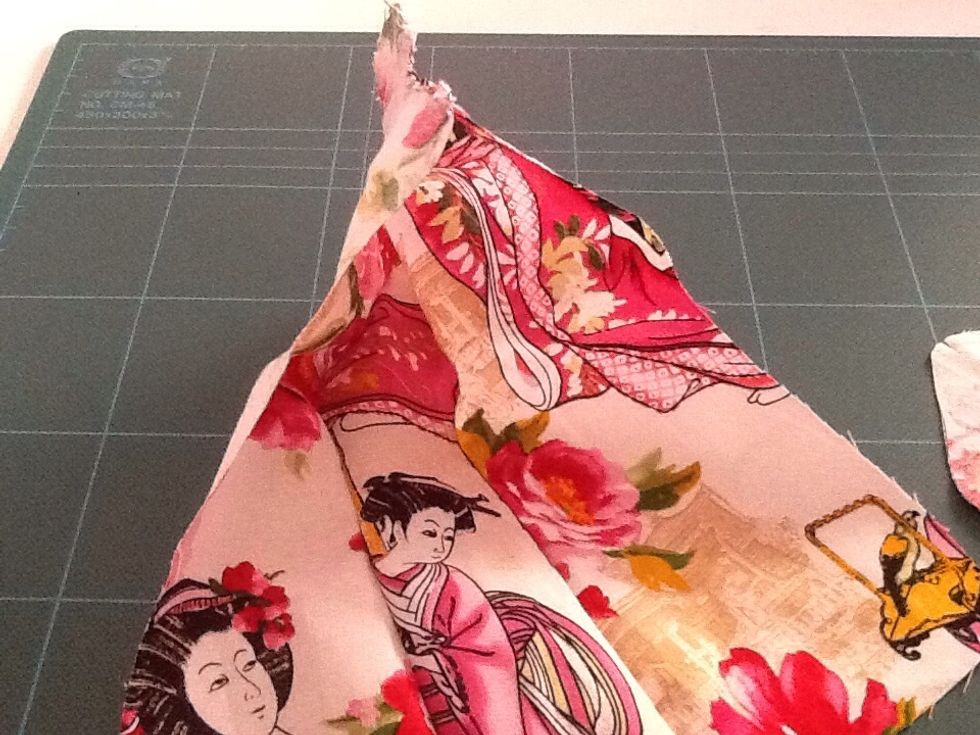
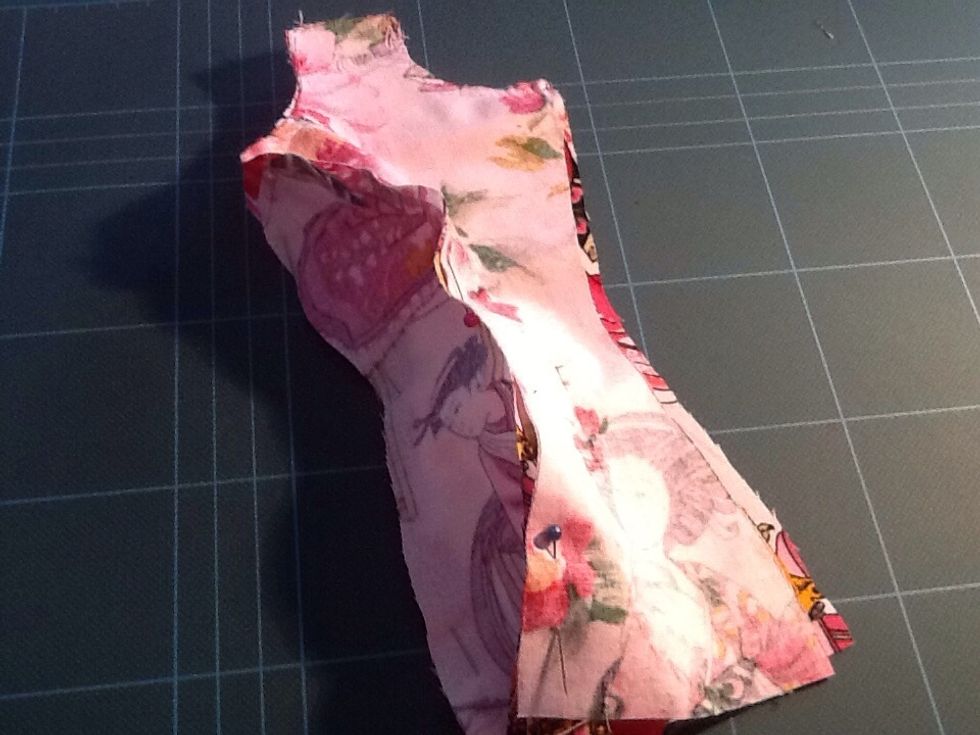
So far this is what you should have- I just opened up the inside to show you how the pieces have been connected.
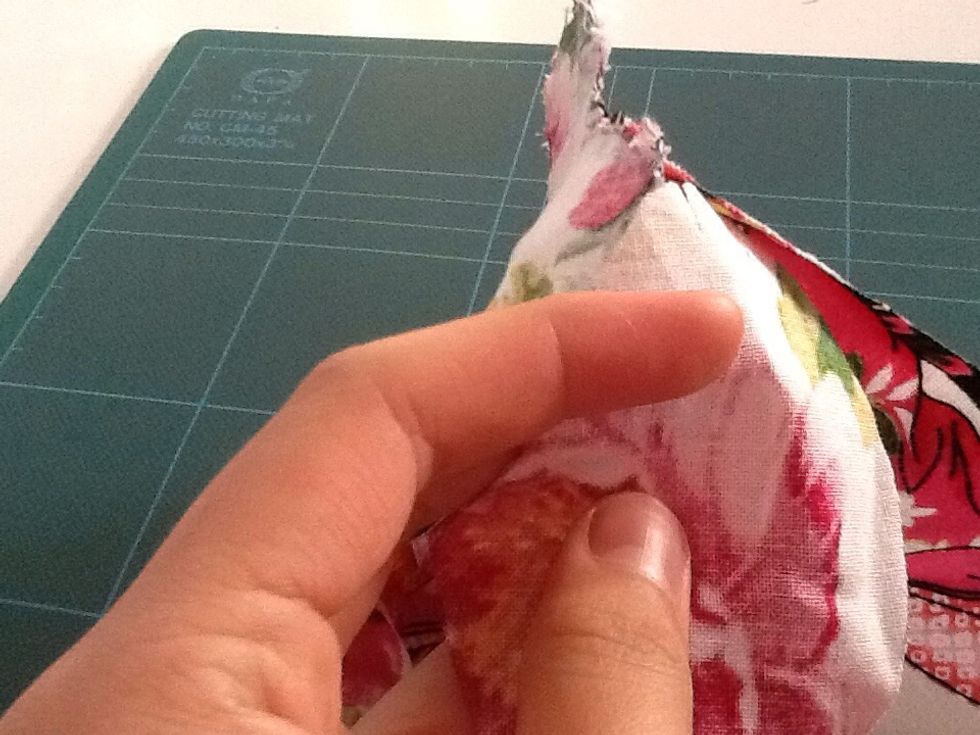
The little notch we cut earlier- as you can see, aligns up with the top of the shoulder. Sorry if you can't see it too well- it's hard to take a picture while holding this up.
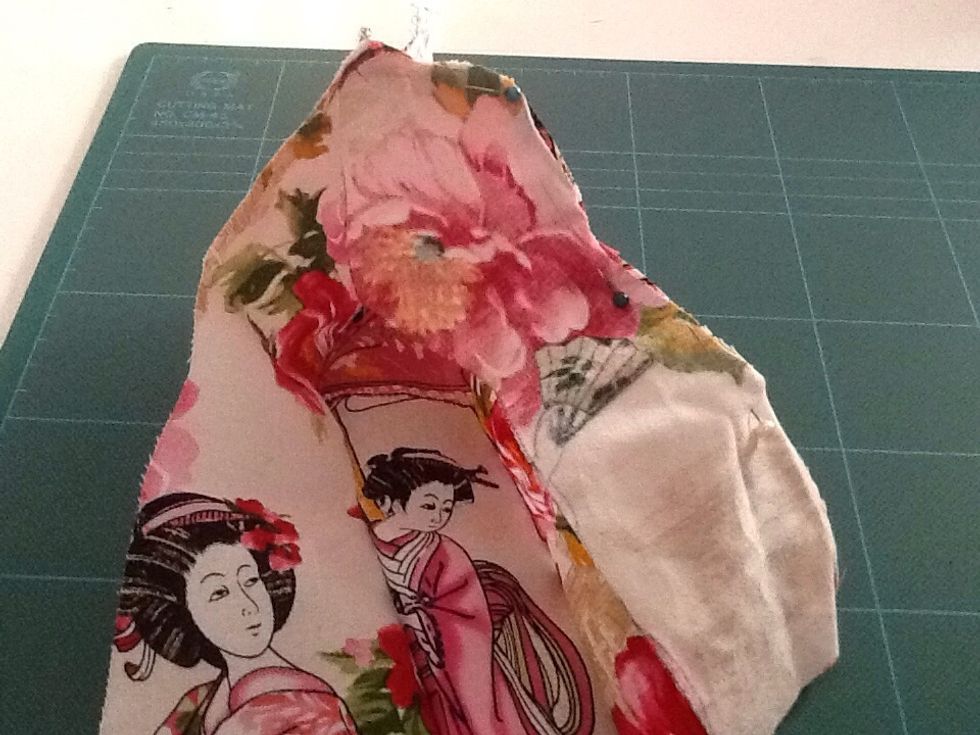
As you can see here is the close up of the pinning of the side pieces to the main body of the mannequin. (down the right side)
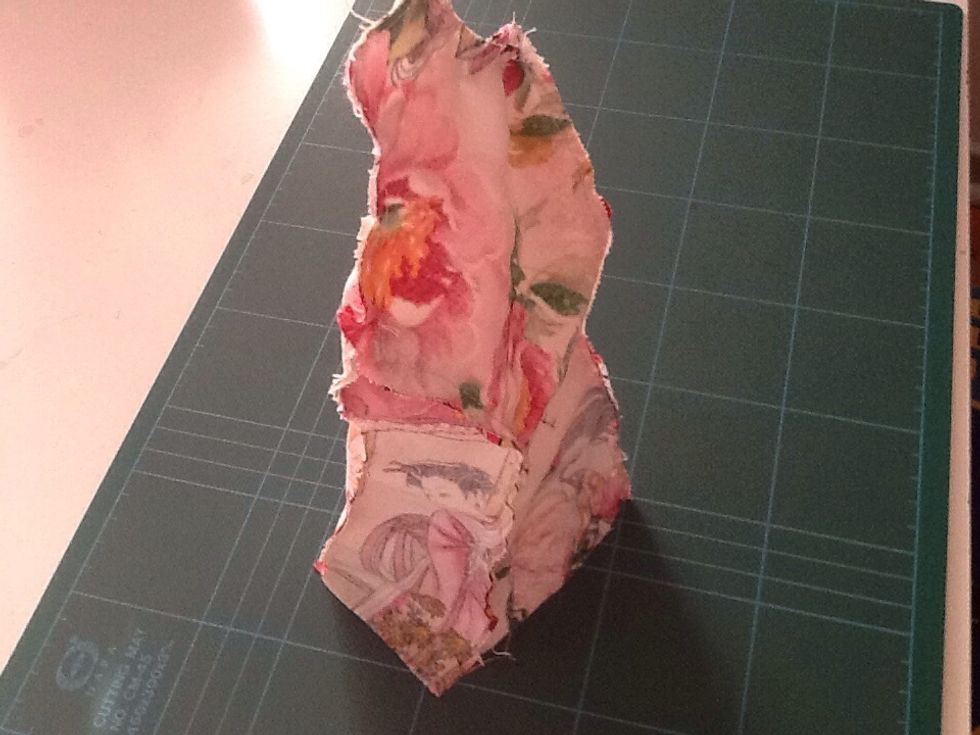
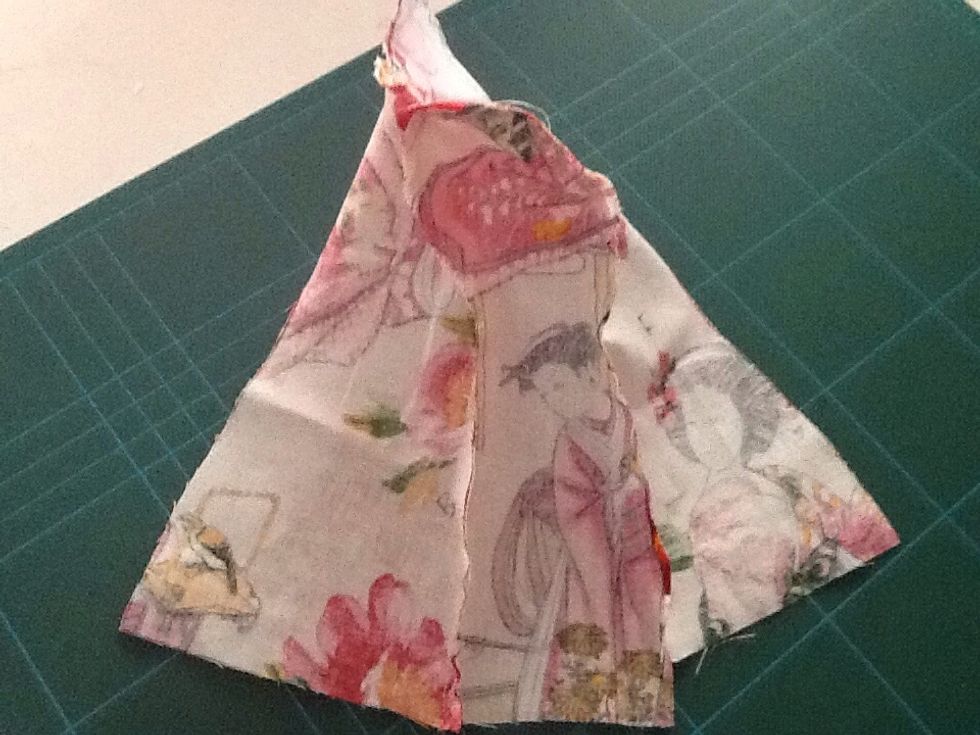
Repeat the straight stitch down the sides of the other side (if that makes sense) You should have something that is freestanding and looks like this.
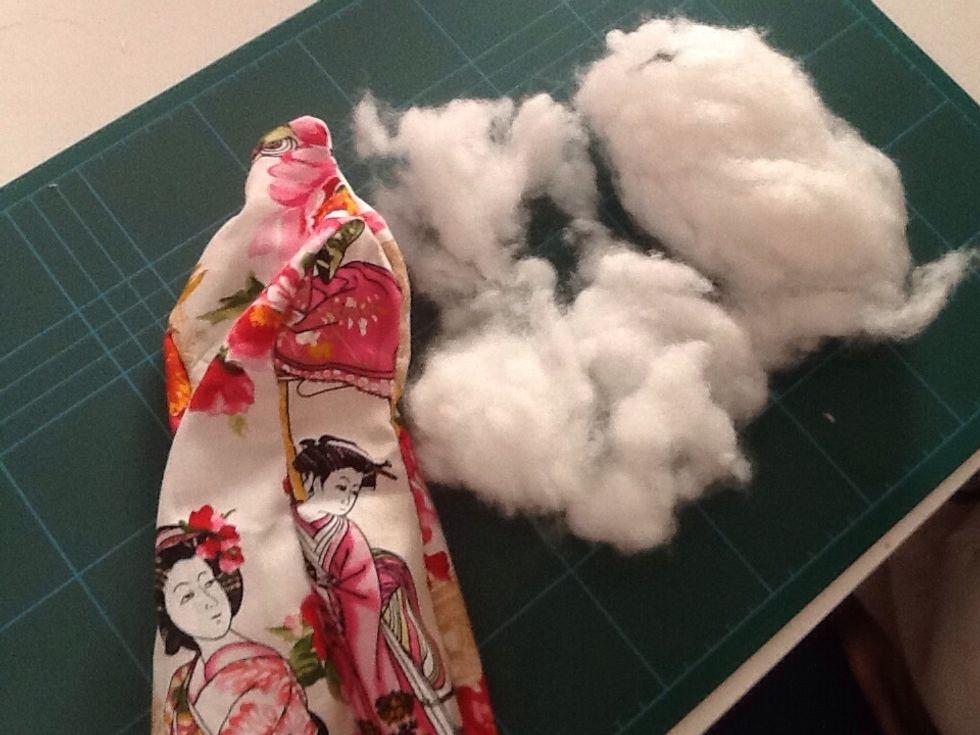
Flip the fabric to the outside and stuff with polyester filling. No details needed- just stuff it!
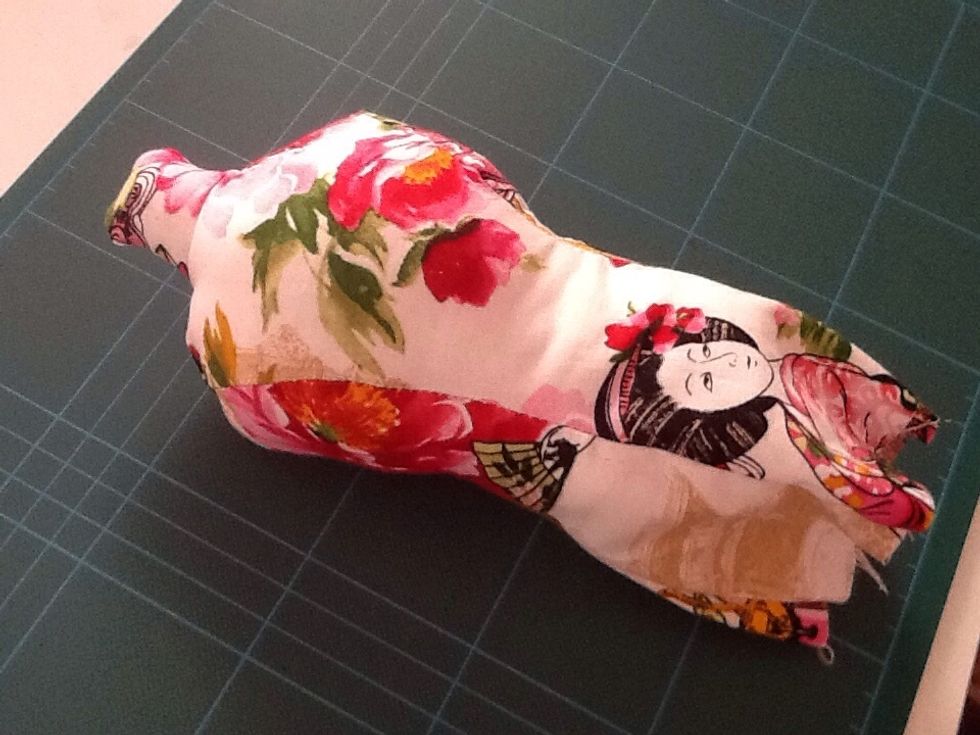
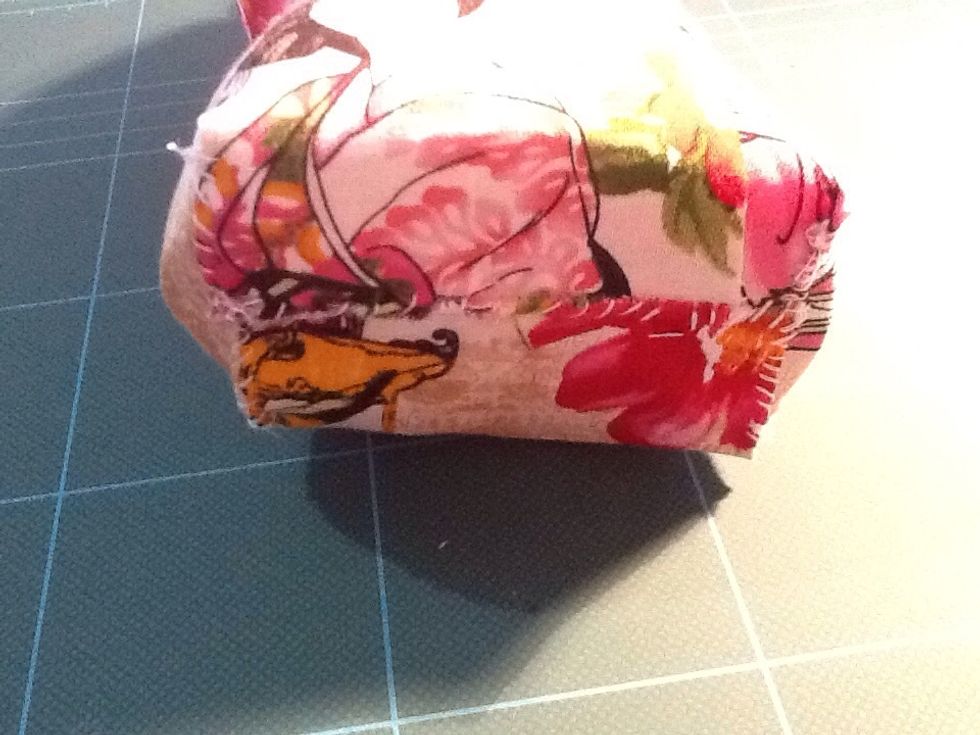
Here is mine stuffed. It is quite full, and you want to make sure that it isn't floppy, so get right into those nooks and crannies.
I filled it an inch from the top.
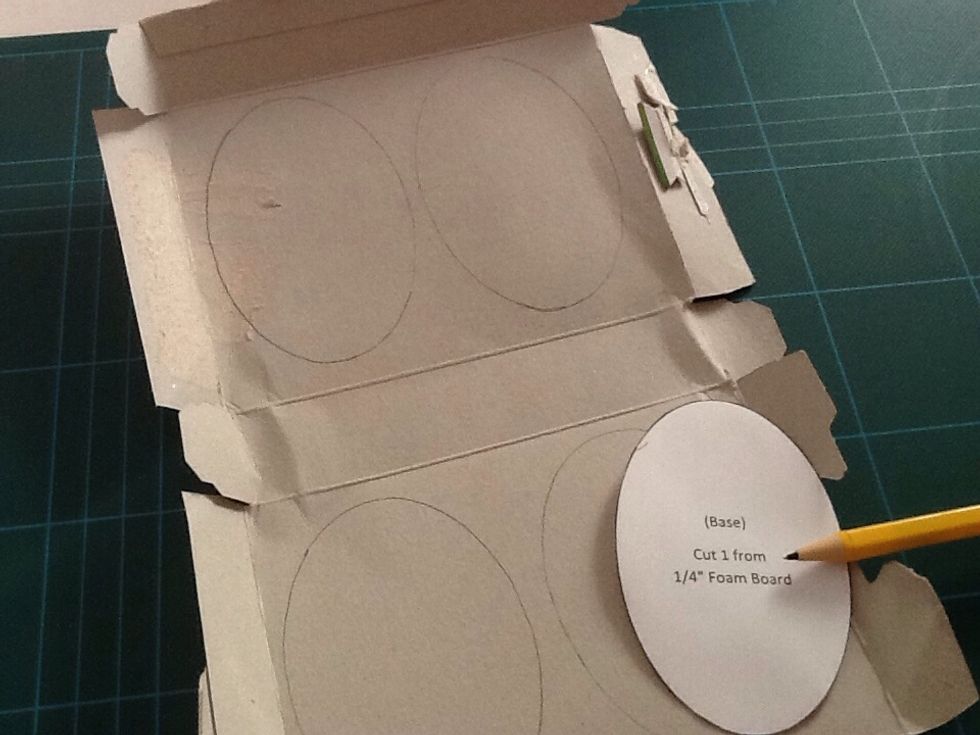
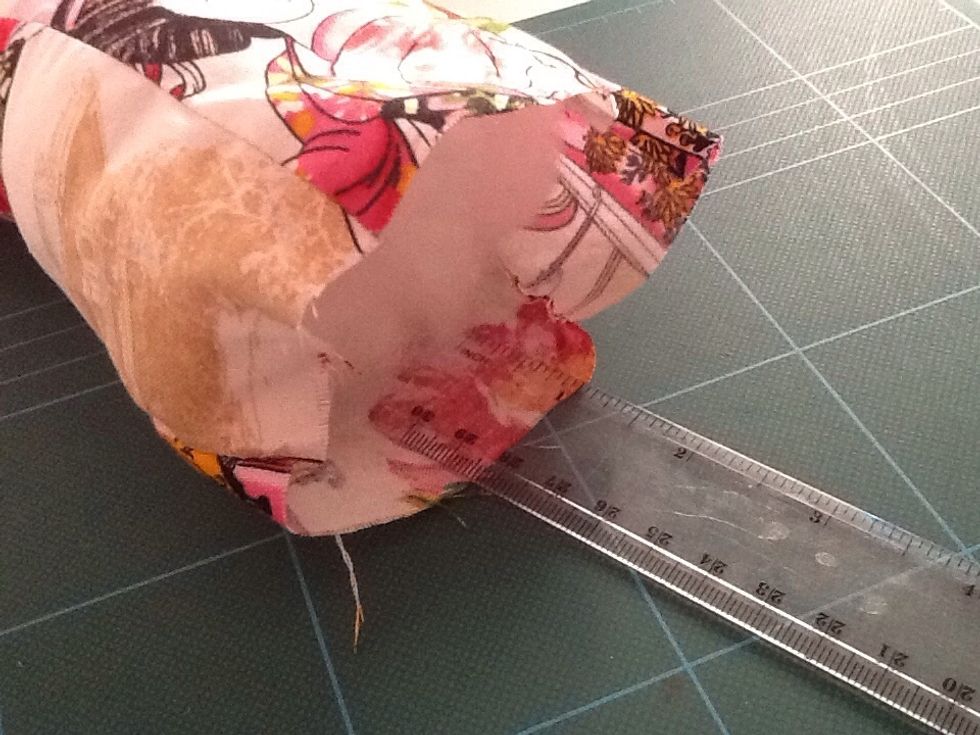
Using the base, trace it onto recycled cardboard (I just used an instant soup box) and cut the 4 pieces out.
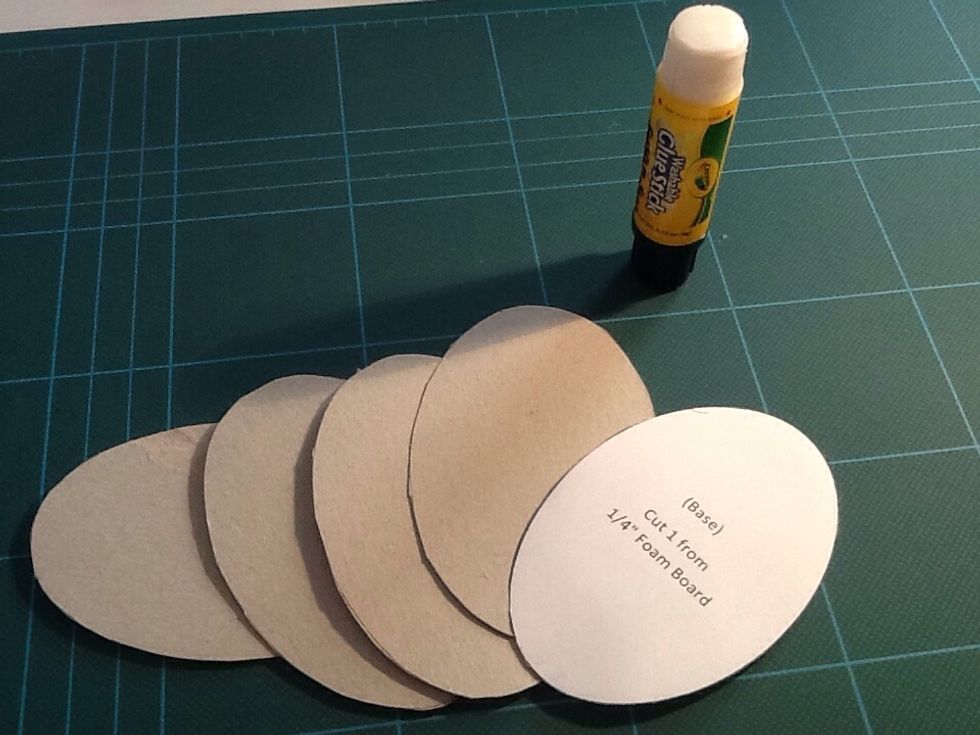
After cutting, stack and glue them all together.

Push the glued piece into the bottom of your mannequin. This will support it, and give it something to "sit" on.
I made a fatal mistake, by forgetting to put a hole in the cardboard to stick the tube/roll through, but just keep reading this guide to see how I fixed it back to normal.
Hand stitch the opening closed. I did mention that I forgot to leave a hole...so...

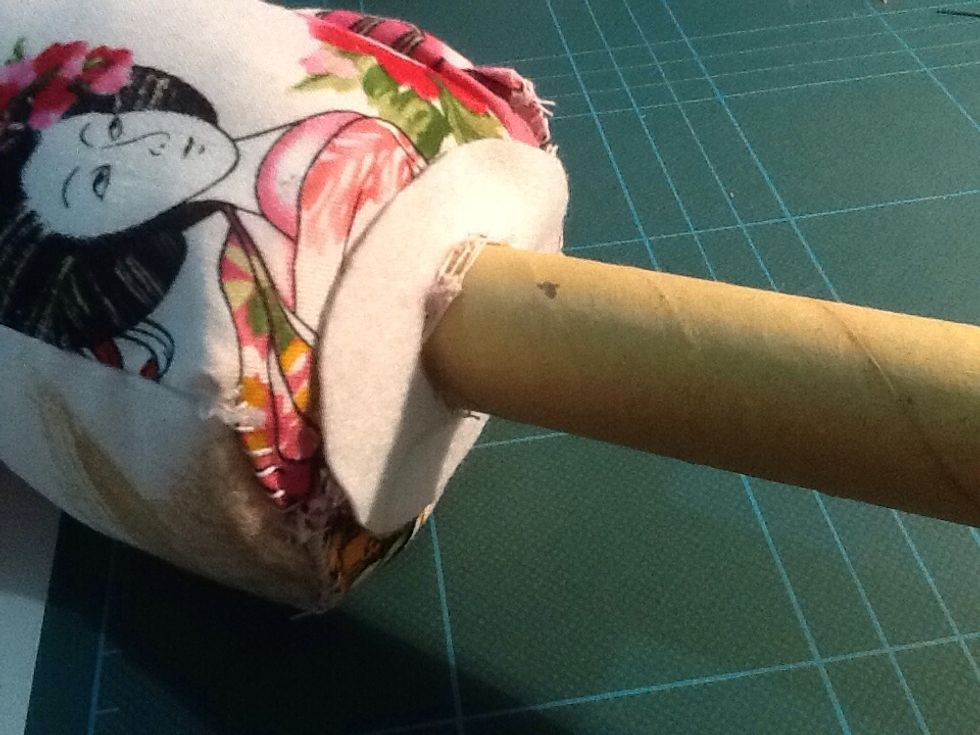
I just got my fabric scissors and chopped through the fabric and the cardboard, and pushed the cardboard roll up until it almost reached the neck of the "woman".
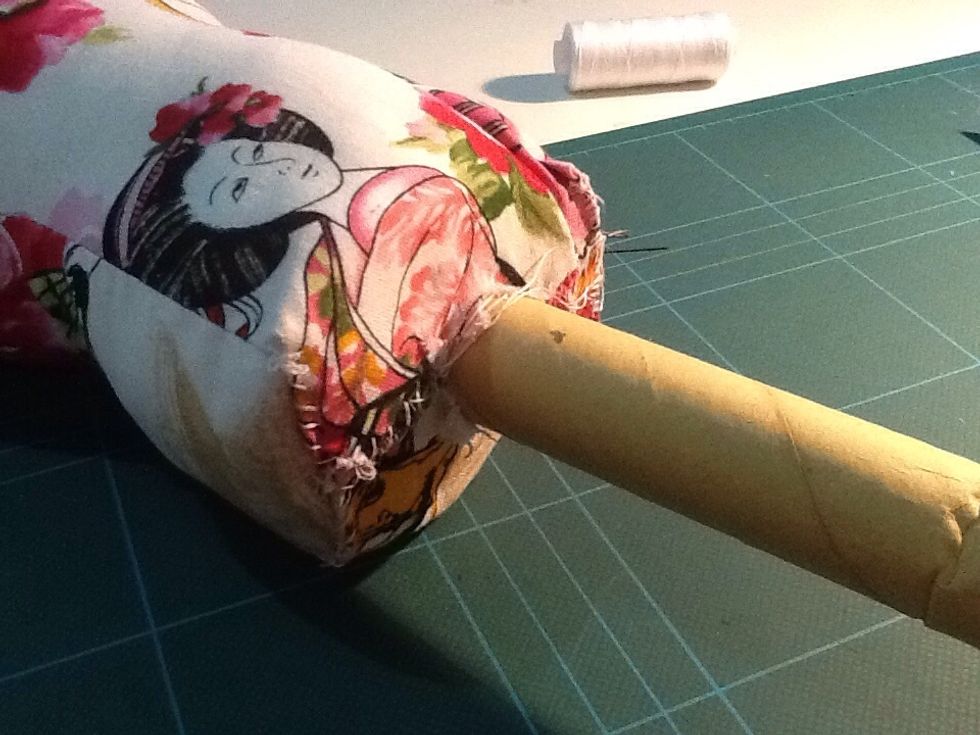
Stitch the sides of the fabric around the roll to secure it. The roll I used was an inch in diameter.
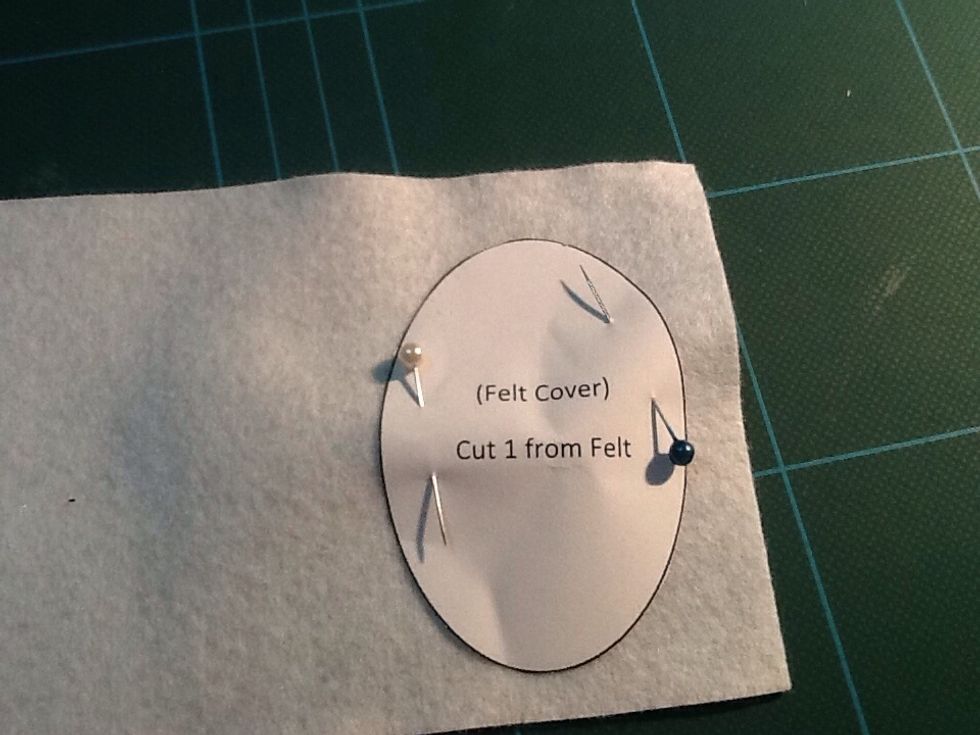
For the felt cover, pin trace and cut the piece out. I just used white felt. Then cut it out.
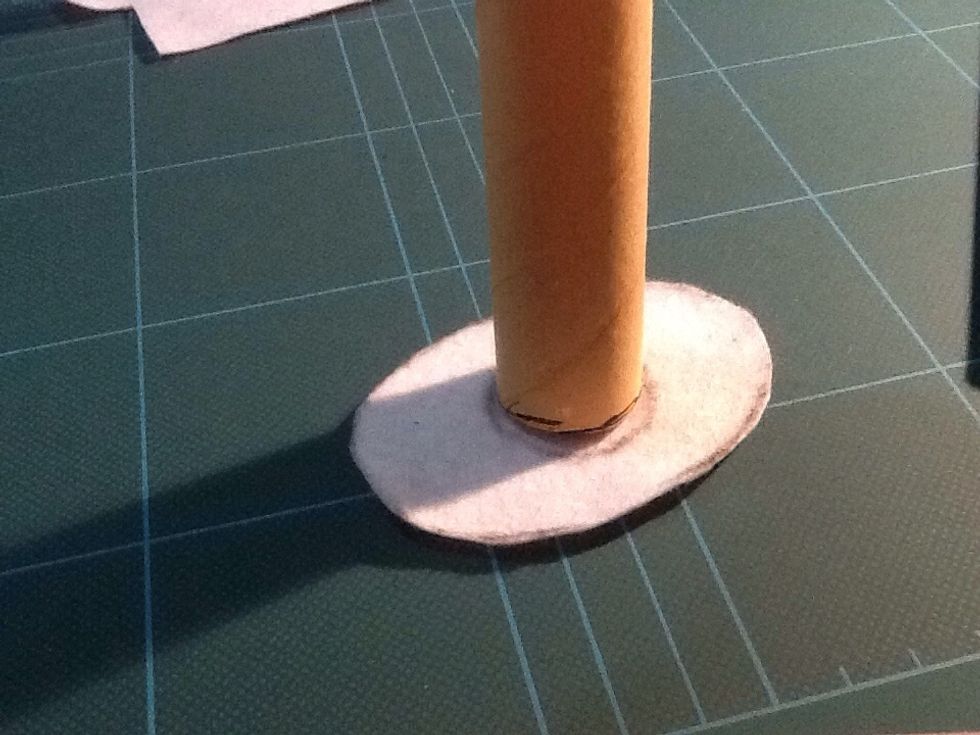
Trace the circle from the base of your cylinder tube onto the middle of your felt. Proceed to cut the little circle out.
push it through the end of the tube, until it reaches the mannequin. Position it where you want it, so that it covers the stitches underneath. You can trim the end of the tube if it's too long.

Hand stitch around to secure.
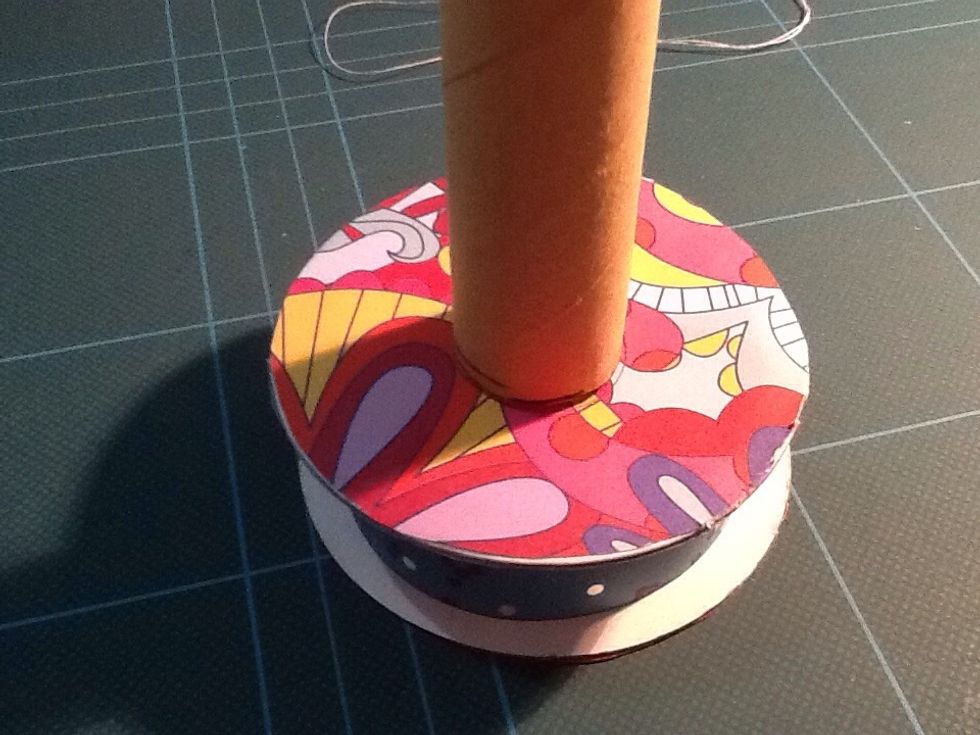
I used a decorated ribbon spool for the base of my mannequin. Trace the circular base of the tube onto the middle of the spool.

Cut all the way through the top, until it fits. I was a bit messy with mine, but I'm sure you can do a better job.
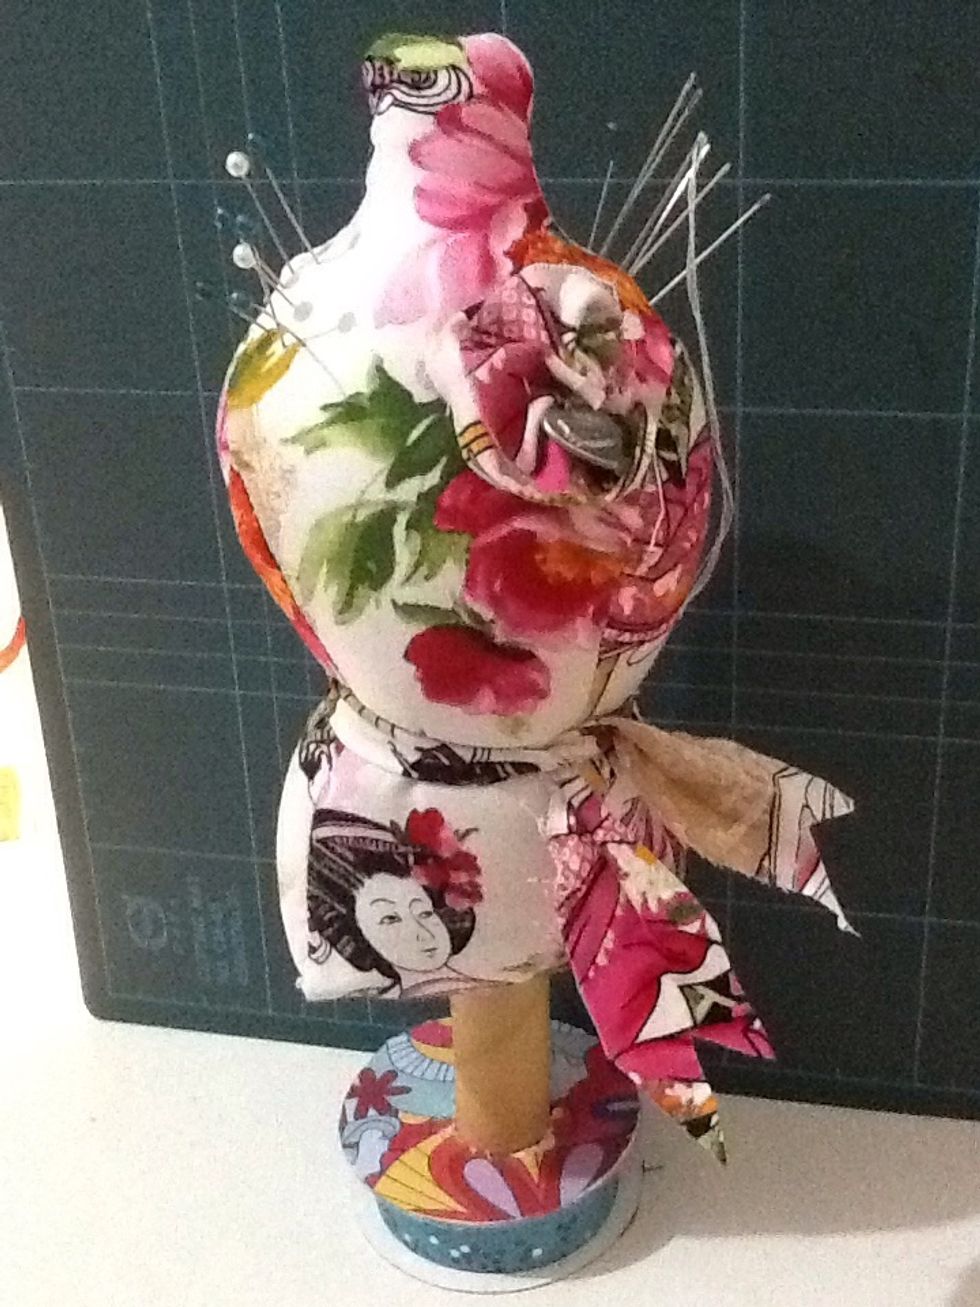
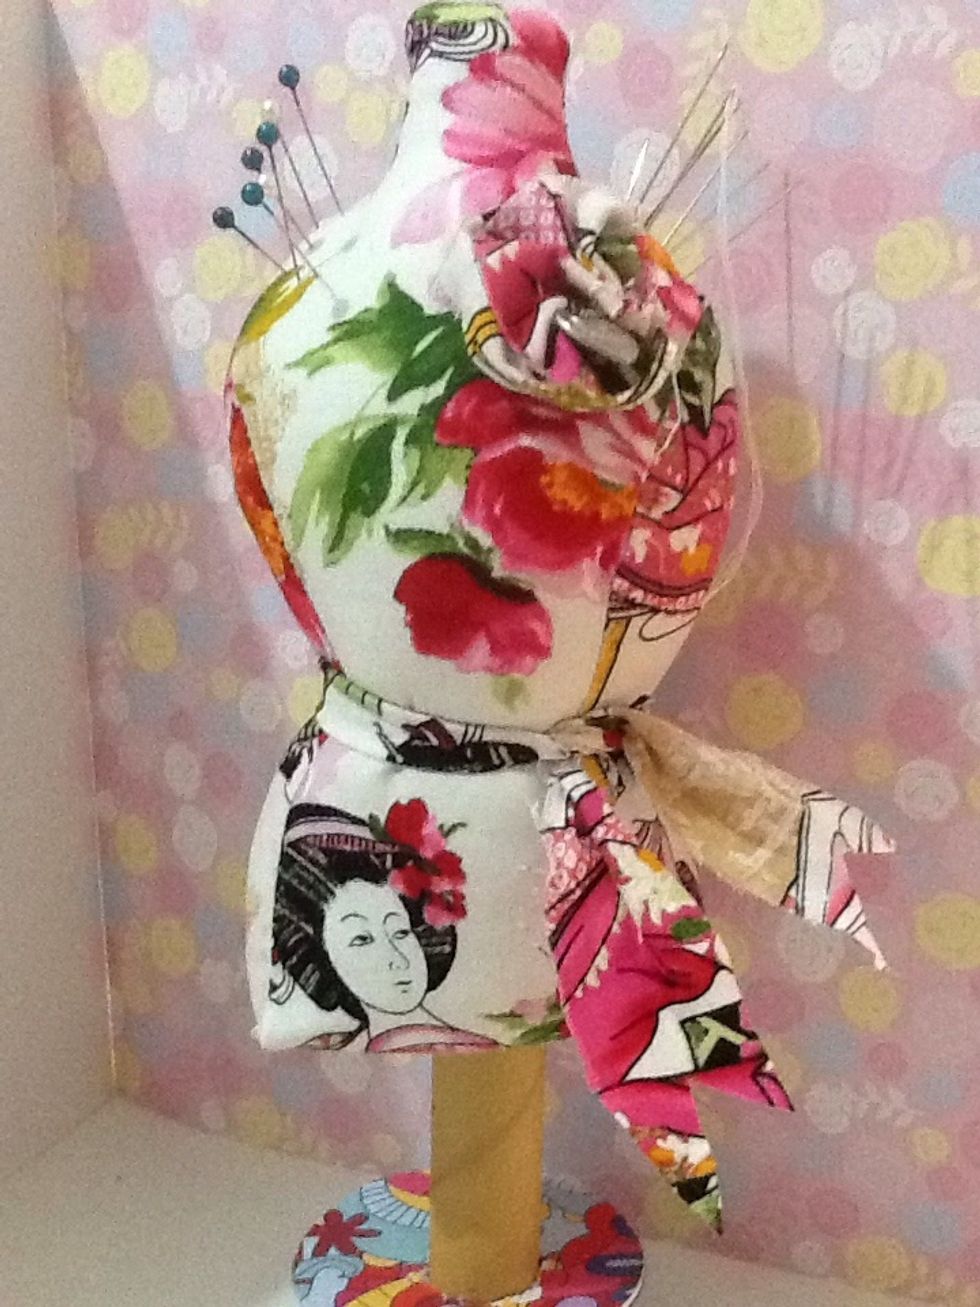
And now you're done! A super cute gift idea that is easy to make! You can decorate it any way you like now! I love this part! I added a scrap fabric flower to the chest, and a scrap fabric belt.
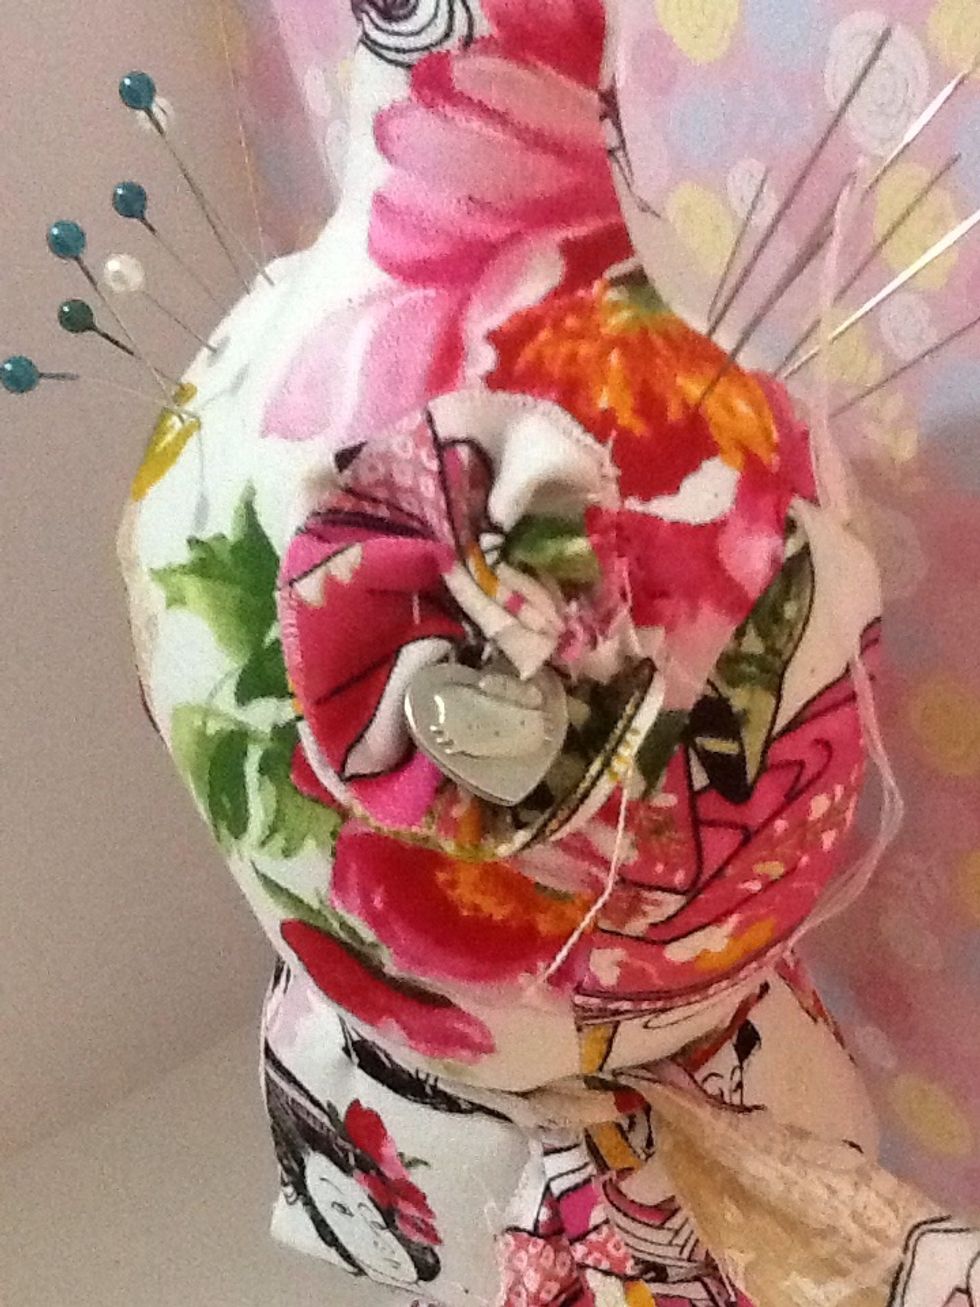
The flower is just fabric stitched in an accordion way, and I added a little metal charm to the middle.
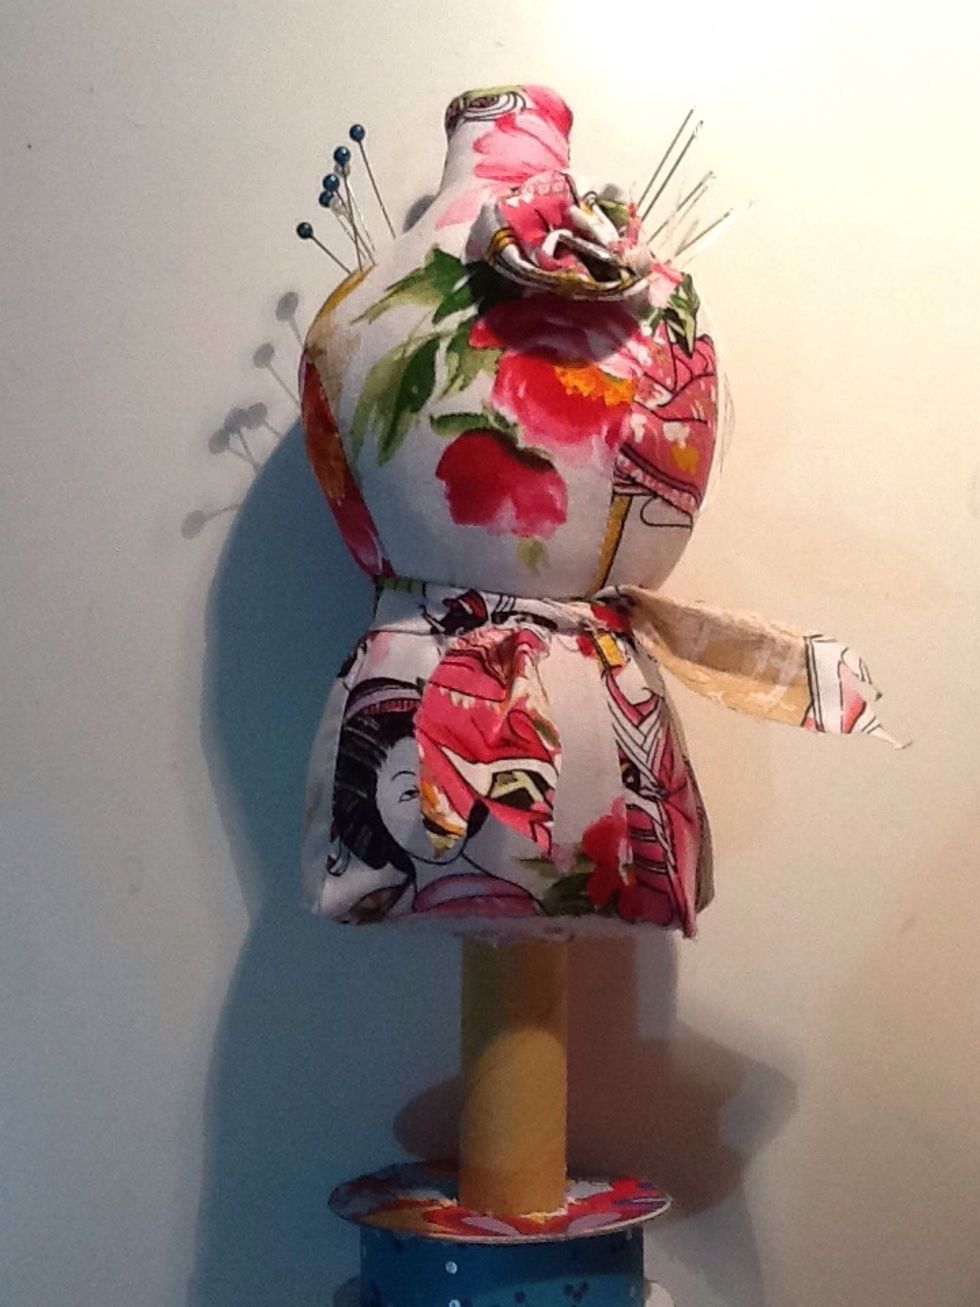
I love how mine turned out, though she's a bit of a chubby mannequin, she does the job, and the pins stay in really nicely. I'm considering adding beading around her neckline to jazz it up a bit.
(Zoom out to see finished product)
Have fun with yours, and let that imagination flow, because you can add anything you want!