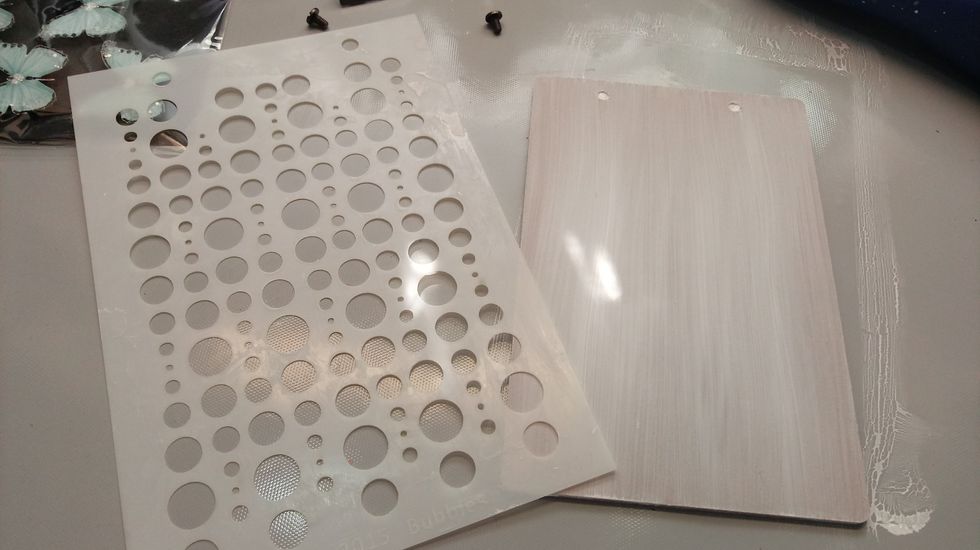
I started with a bare mini calendar andtook the hardware off.
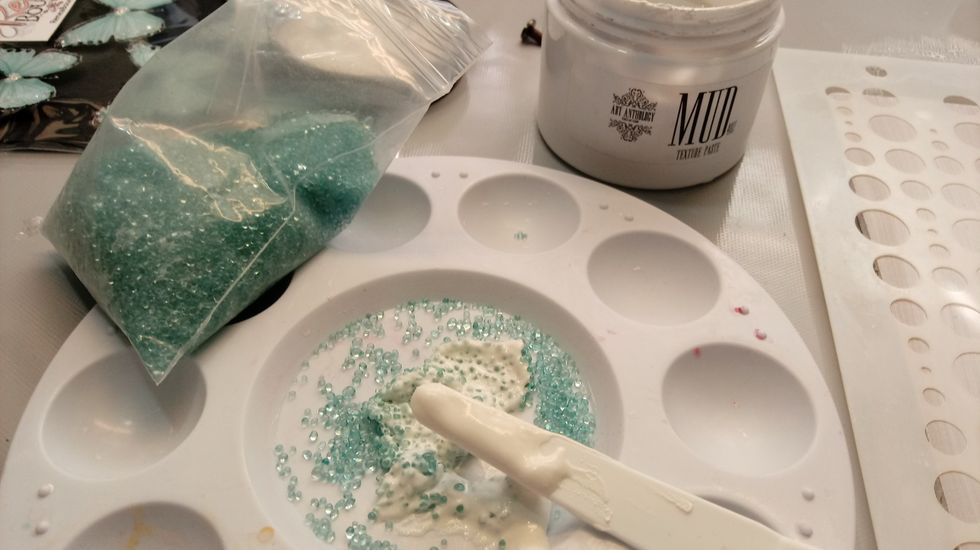
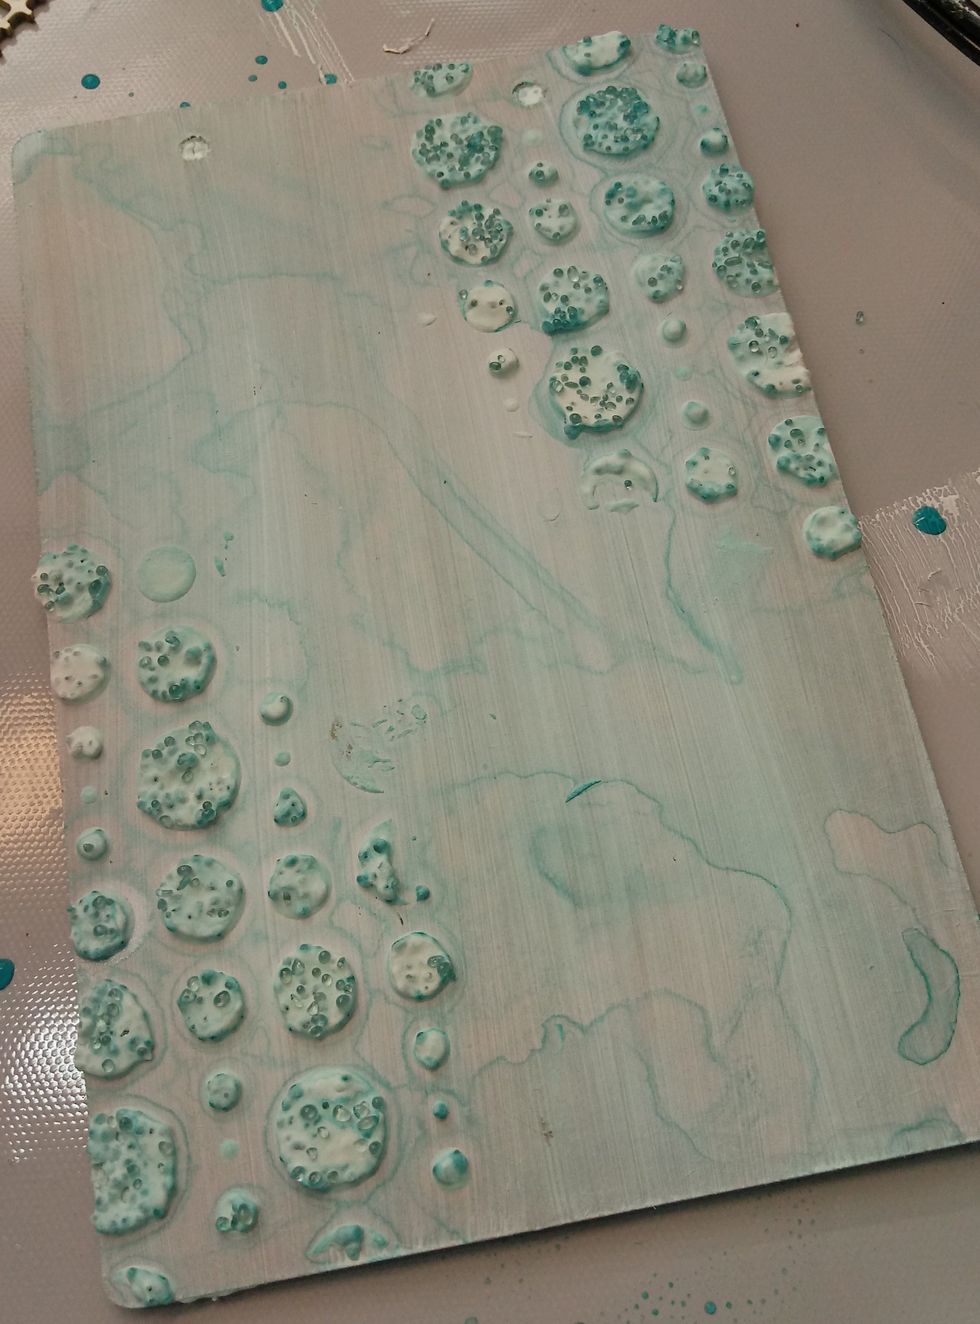
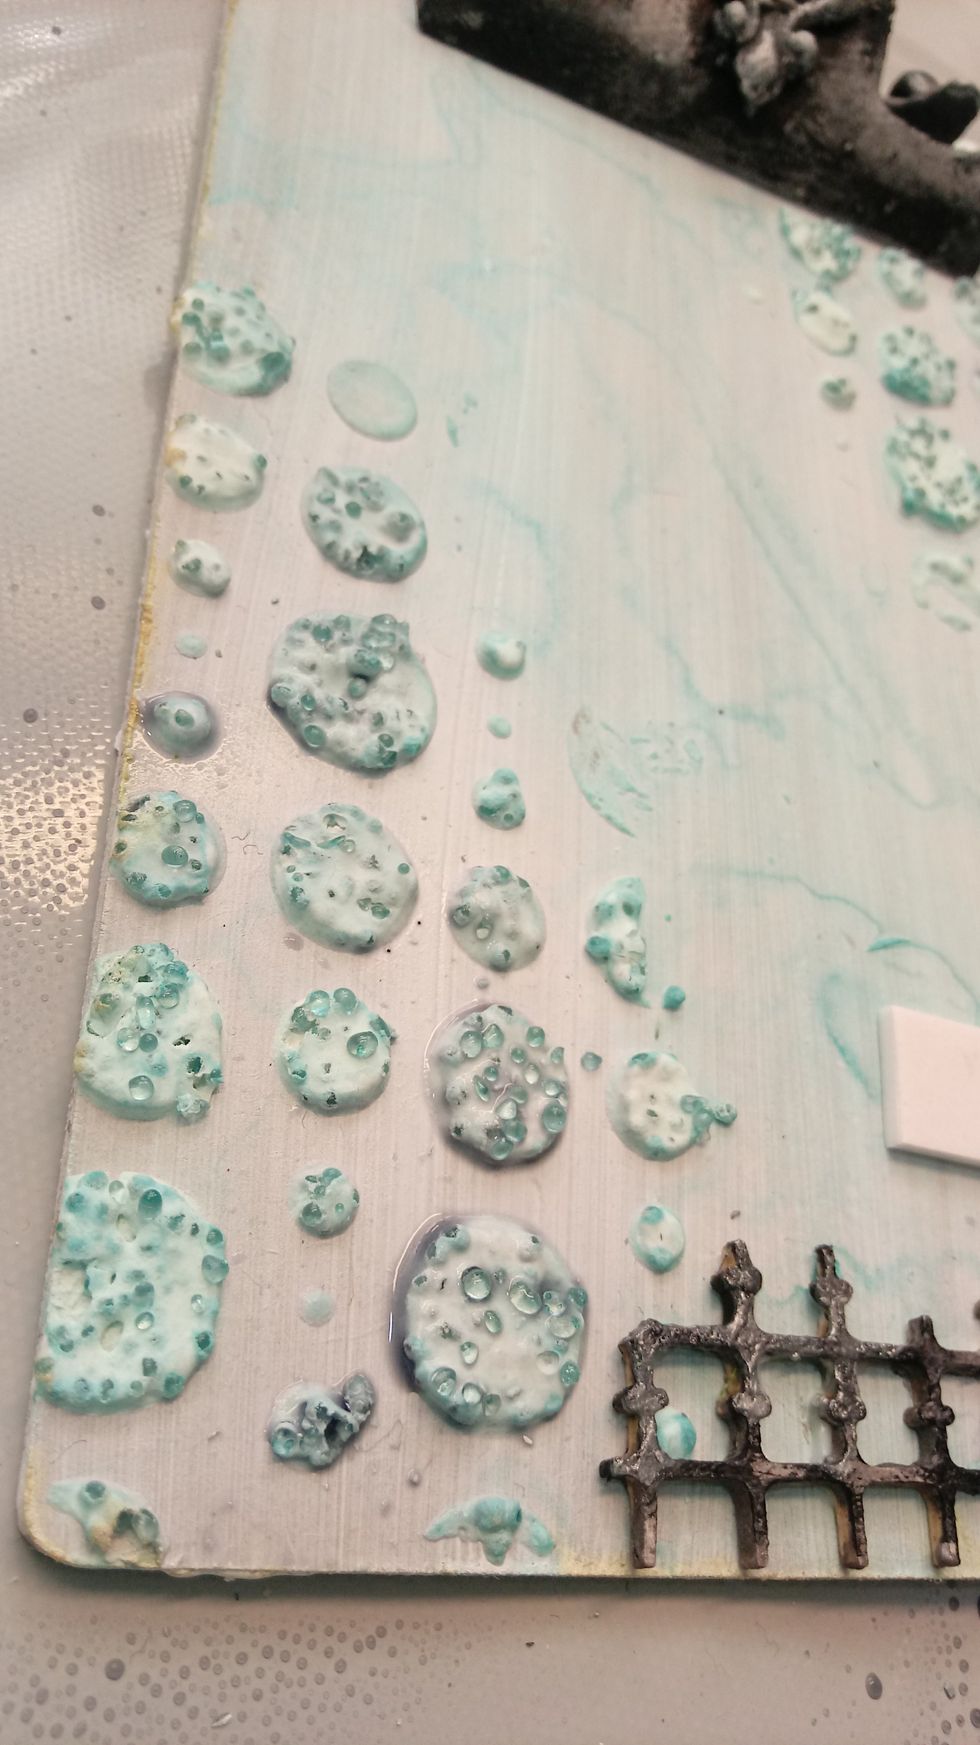
After a coat of gesso for texture I have decided on the Bubbles Stencil and my Mud Paste.
Fur added fun, I'm putting some tiny aqua colored glass bits in my mud!
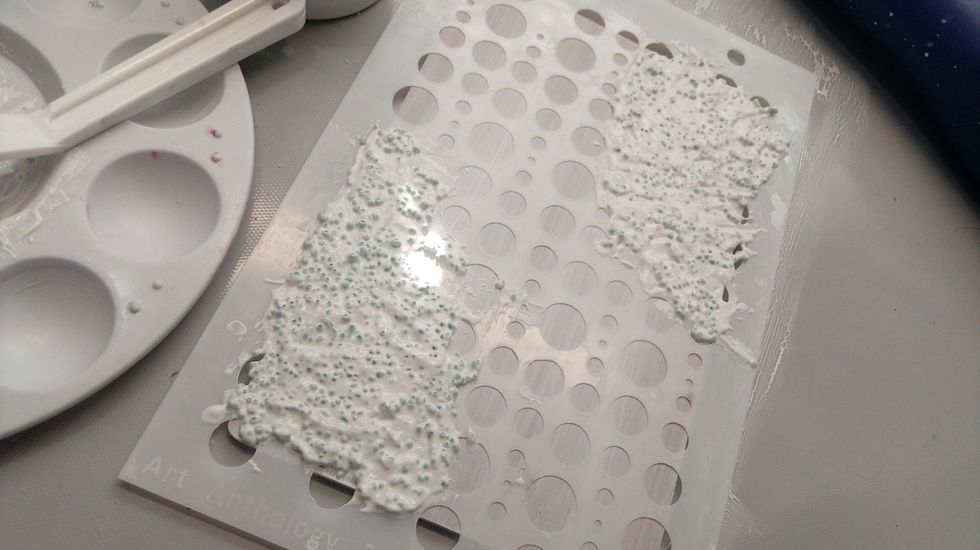
Pack it in there good :)
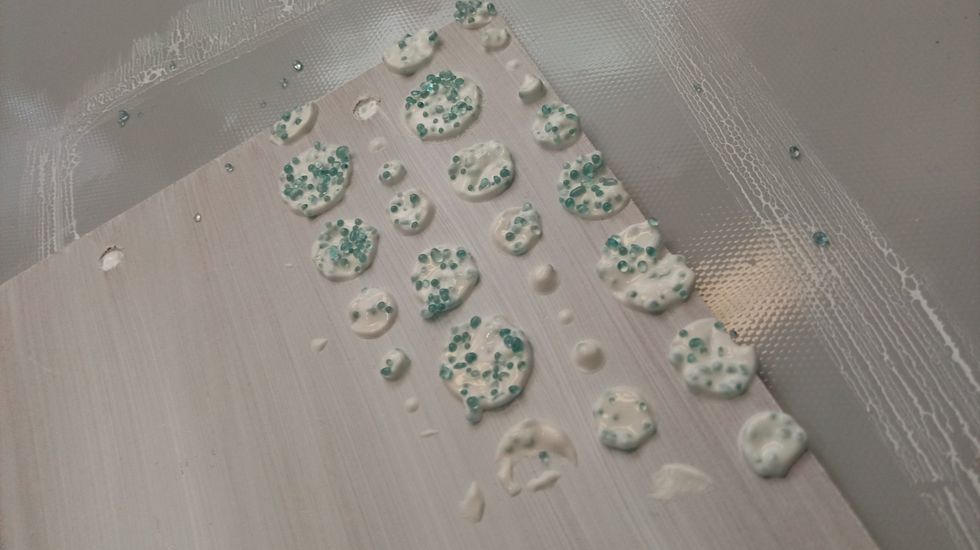
And then a sprinkle of extra bits on top....
I love it!! Let's give it a drying with my heat tool.
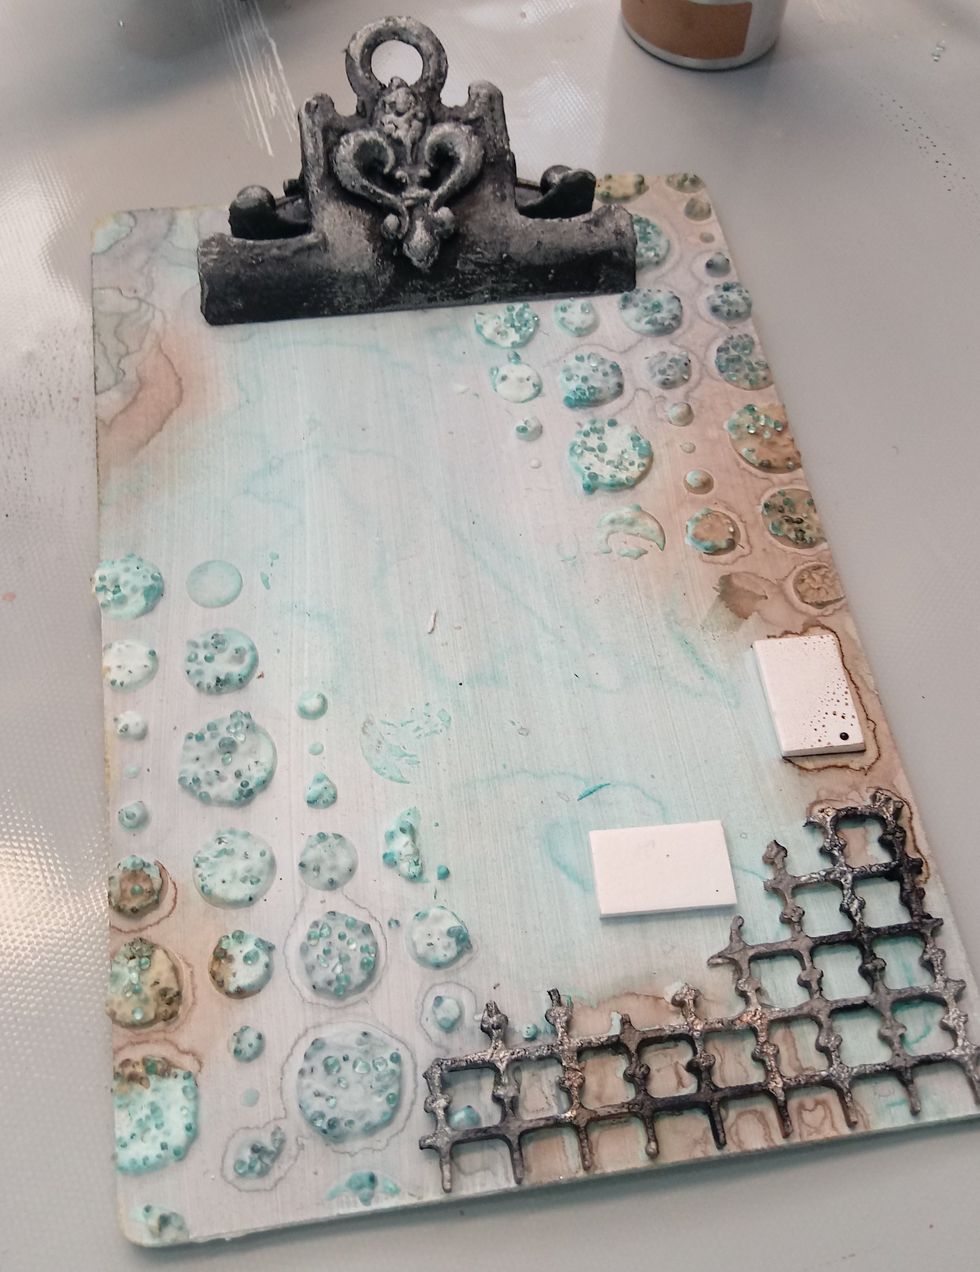
Now I'm adding several sprays of Sky Colorations Spray and dry it.
I'm going to go a little darker...so I add several more sprays. I love the pattern the drying spray leaves!
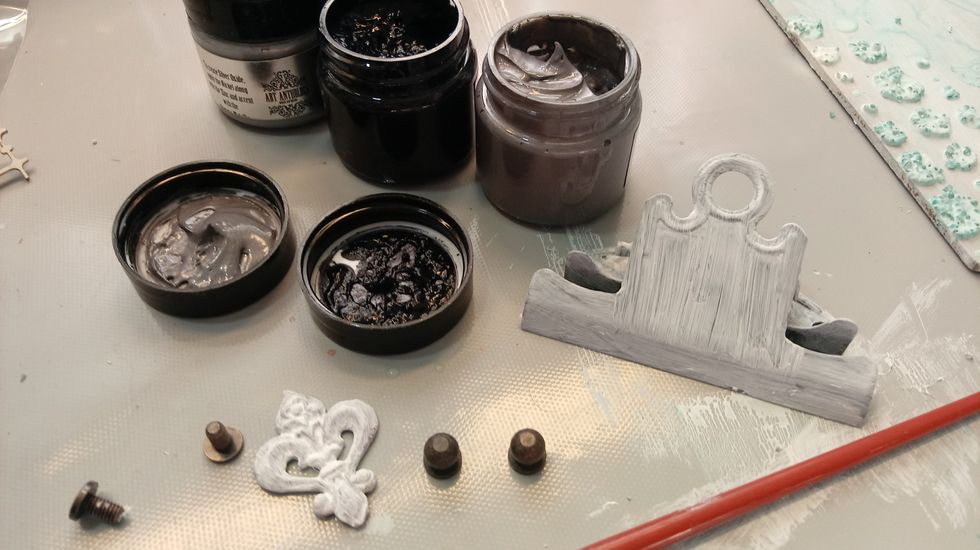
Now I'm going to move on to my clipboard hardware. Give it a nice coat of gesso, so your paint sticks.
First I painted it with the black Zinc Medium in the set.
I did a grid shaped chipboard too. Then began to randomly add the Nickle Medium in areas.
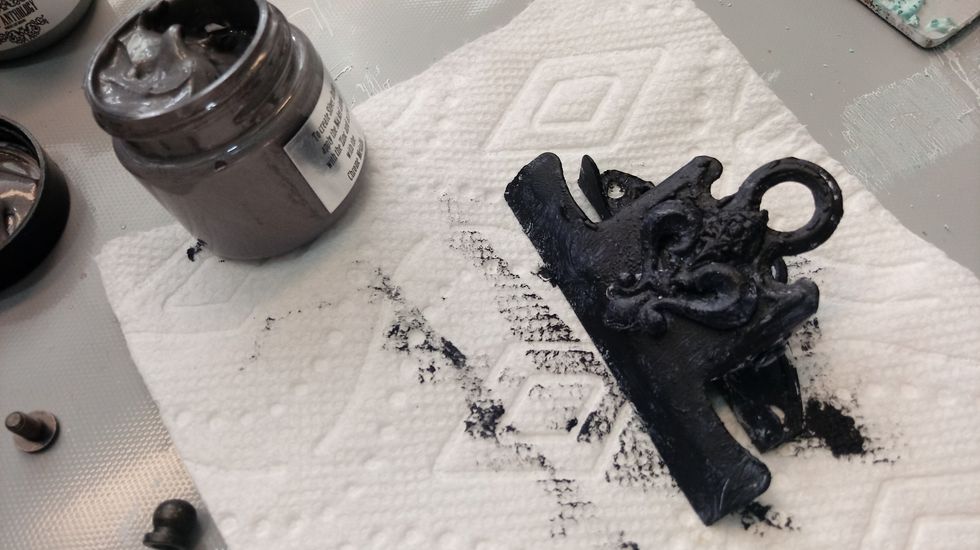
Now's when it really comes to life! I used my finger to dab just a tiny at a time to every raised area textrue on the clip and randomly on the chipboard with Chrome Medium.
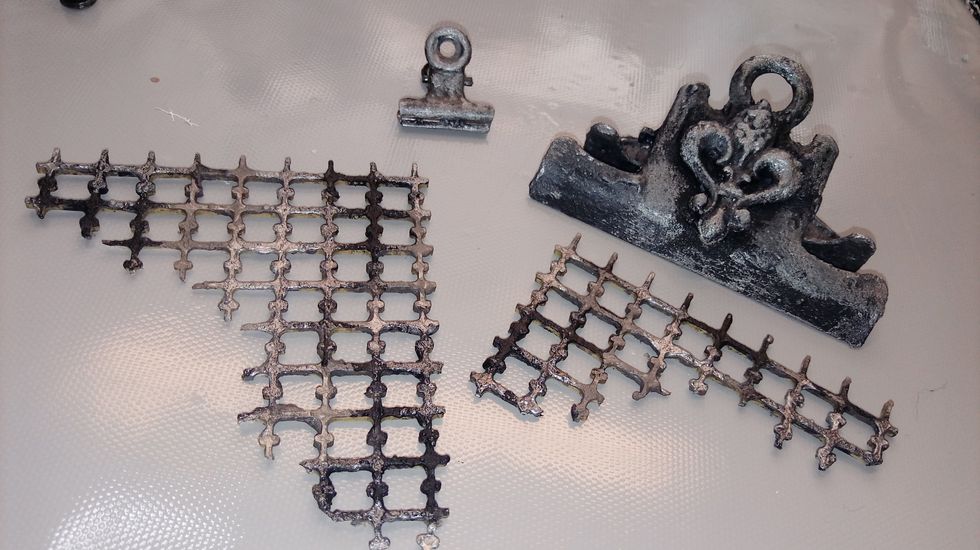
I glued the smaller portion of chipboard to the bottom of the board, & put the hardware back on. I've decided to go a little deeper colored , so I'm adding a couple sprays of Steel Colorations Spray.
Dry it completely.
Now to give it an aged look I like to add Warm Colorations Spray in just a few spots. (I'll be putting my calendar over the foam tape spots. :)
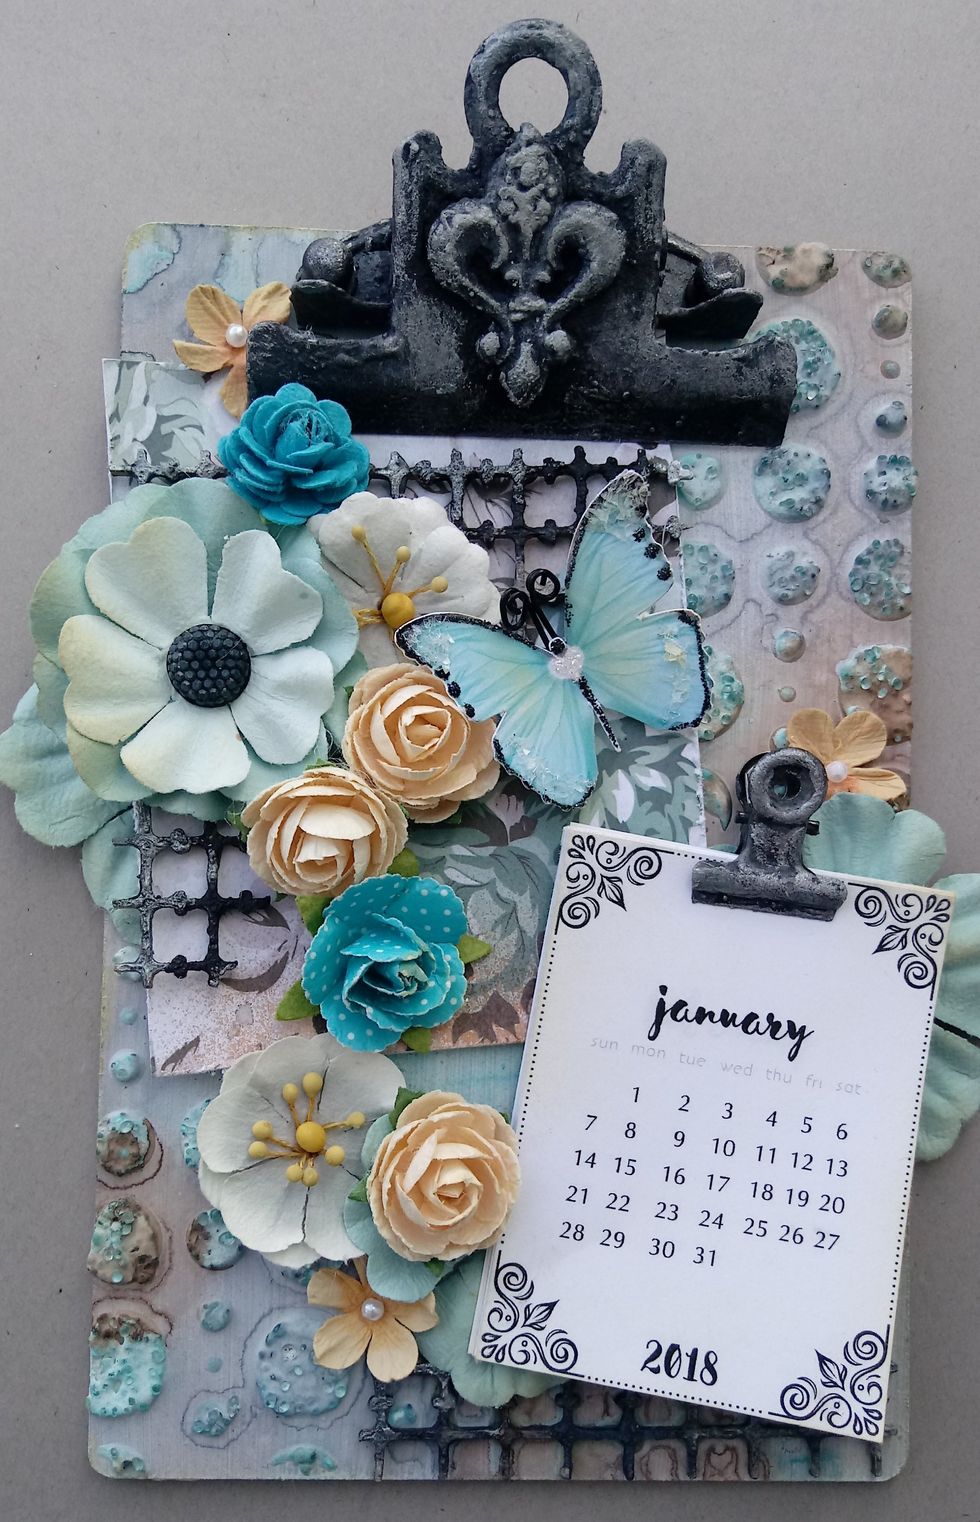
A scrap of paper, some coordinating flowers and a buttefly later, I have completed my Clipboard!
Great details.
Thanks for stopping by today! I enjoyed sharing my project w/ you. Please stop by our Facebook Group Page & be inspired & even share your work w/ us!! https://www.facebook.com/groups/741057632686564/