STEPS
TOOLS

Take a sharpie and mark where you want to cut the top off.
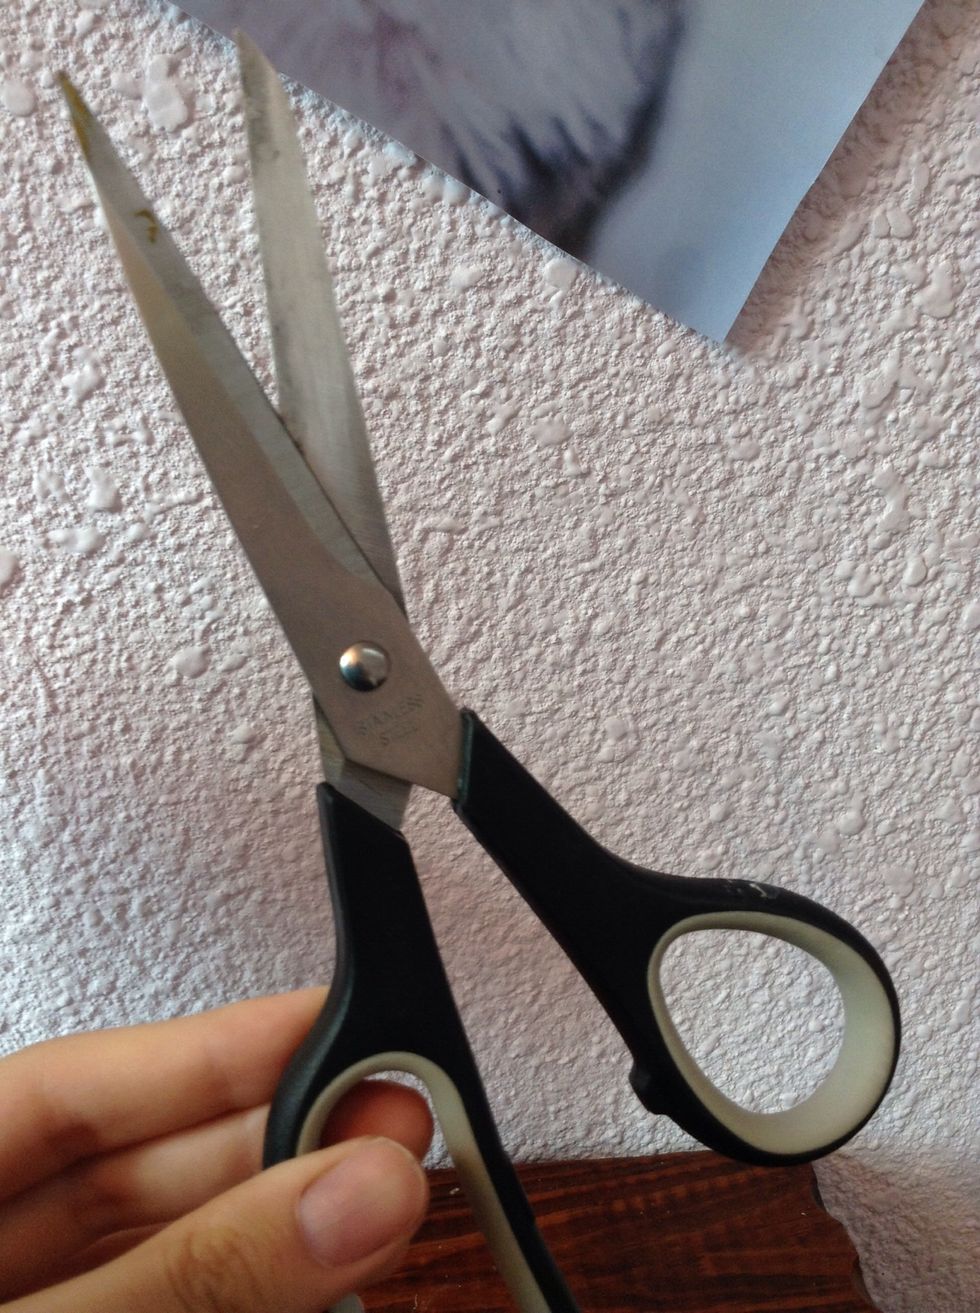
Use some sharp, strong scissors to cut it. The plastic on the top of the bottle is very hard!
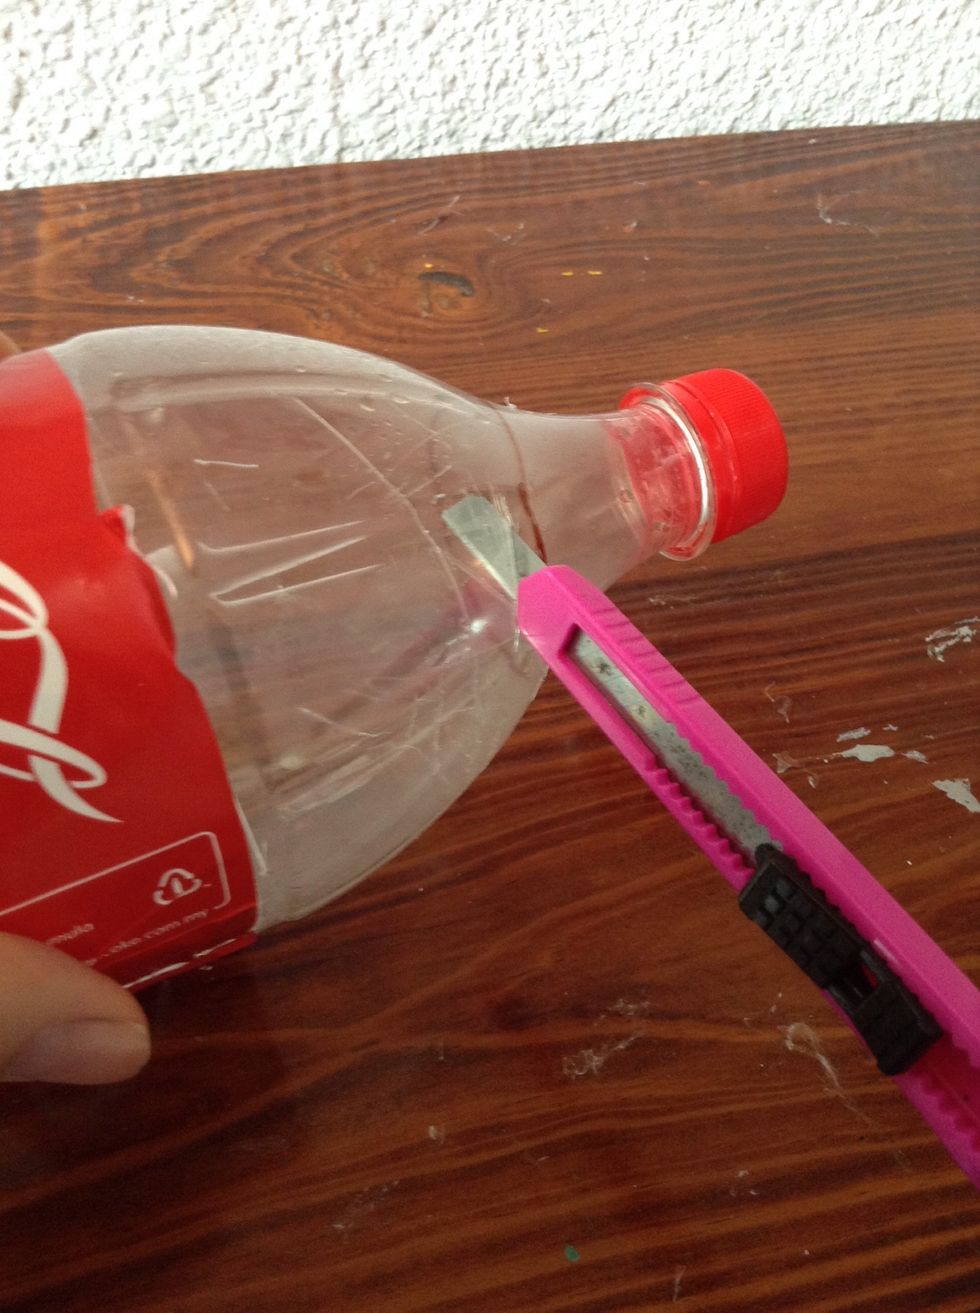
I used a blade to cut a slit for the scissors( ps: this makes everything much easier:)
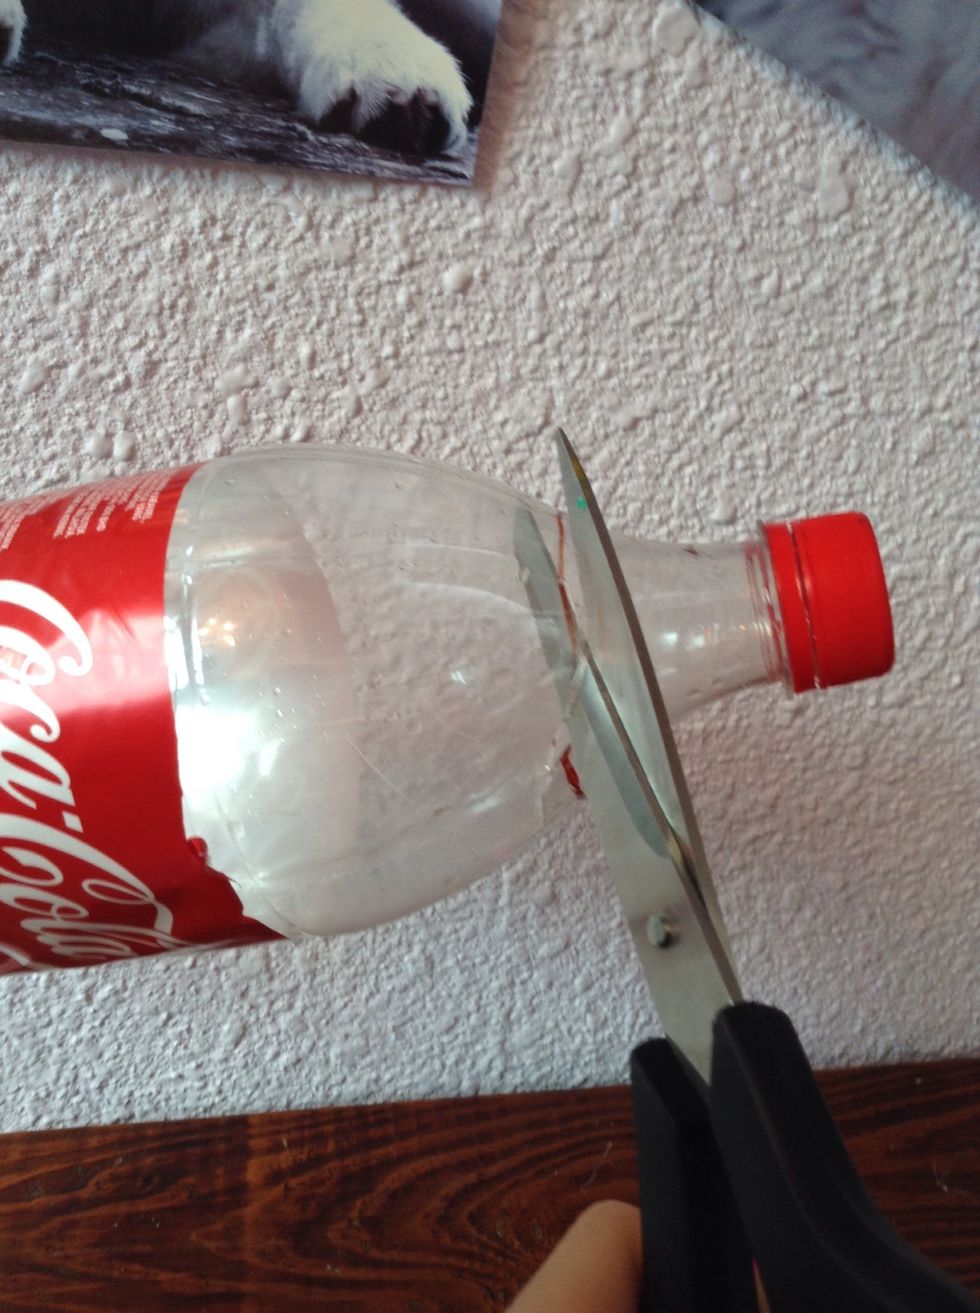
Now cut around it with the scissors.
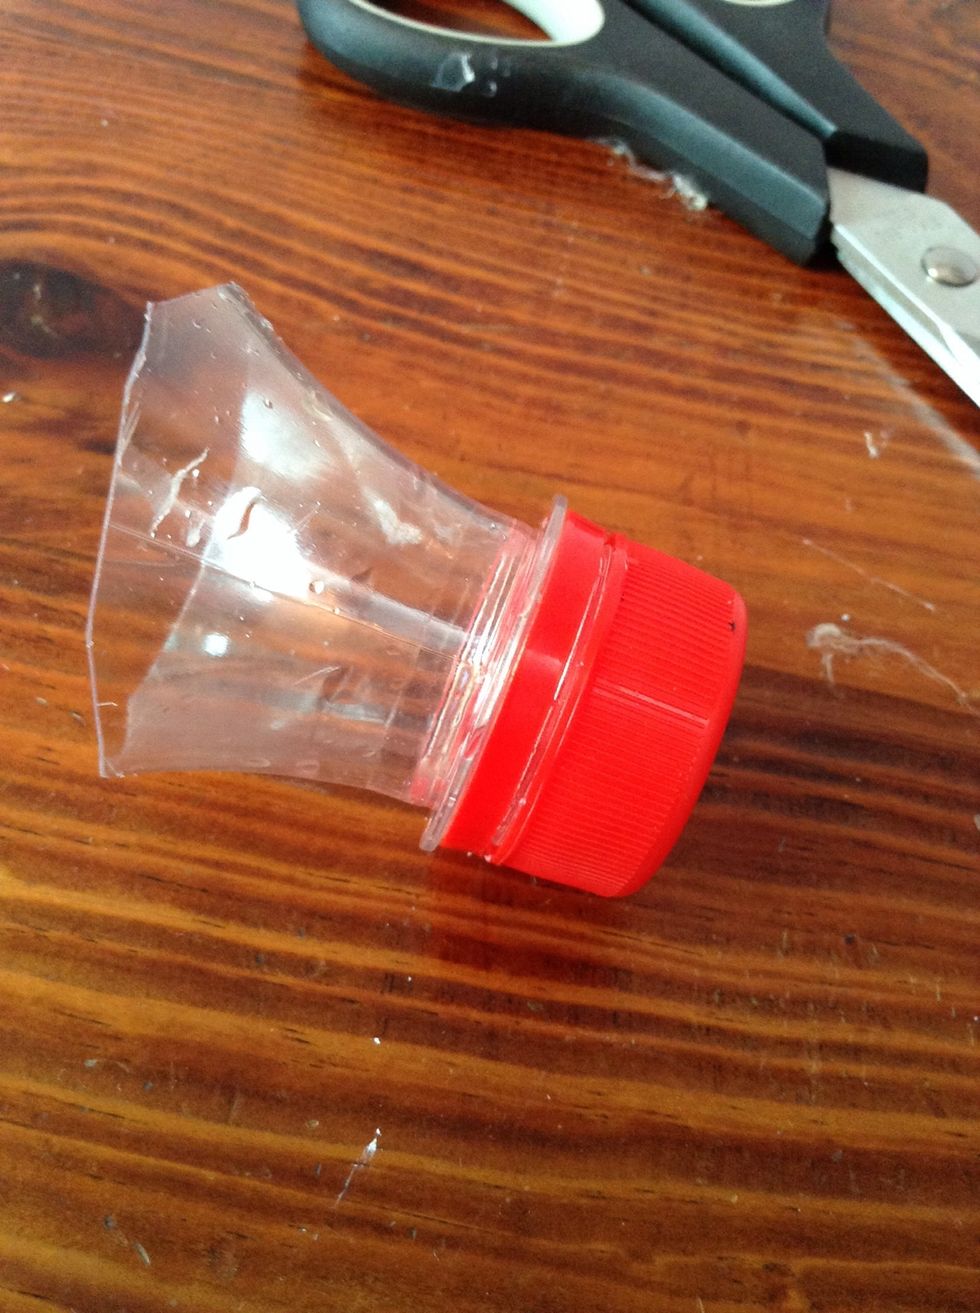
You should be left with this.
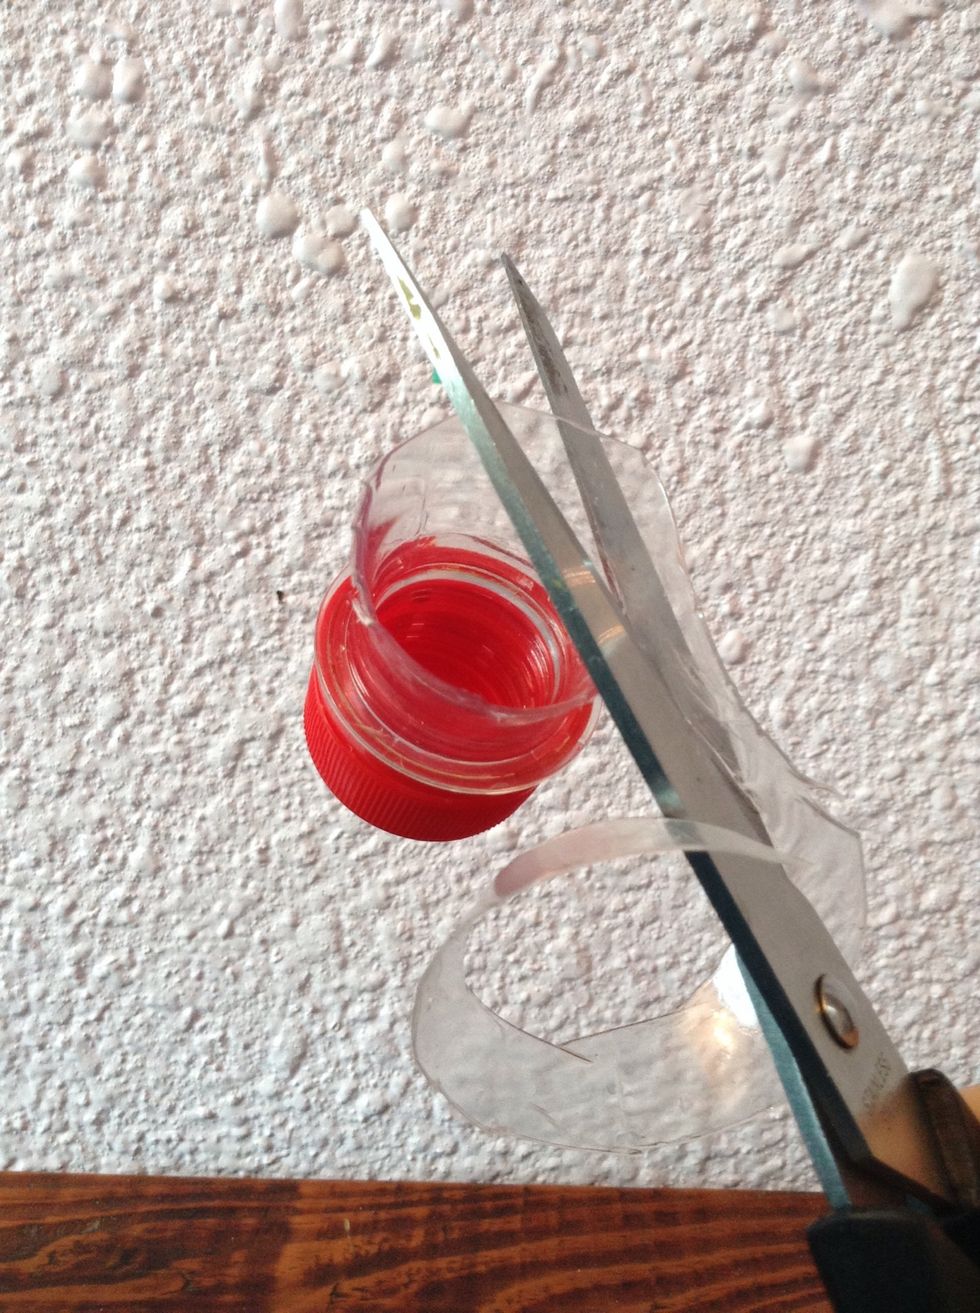
Now start to cut the hard plastic. (Yeah... Now you know why you need strong scissors...☺)

TADA!!! That was the closest I could get to the cap:) more pictures coming right up------->>>
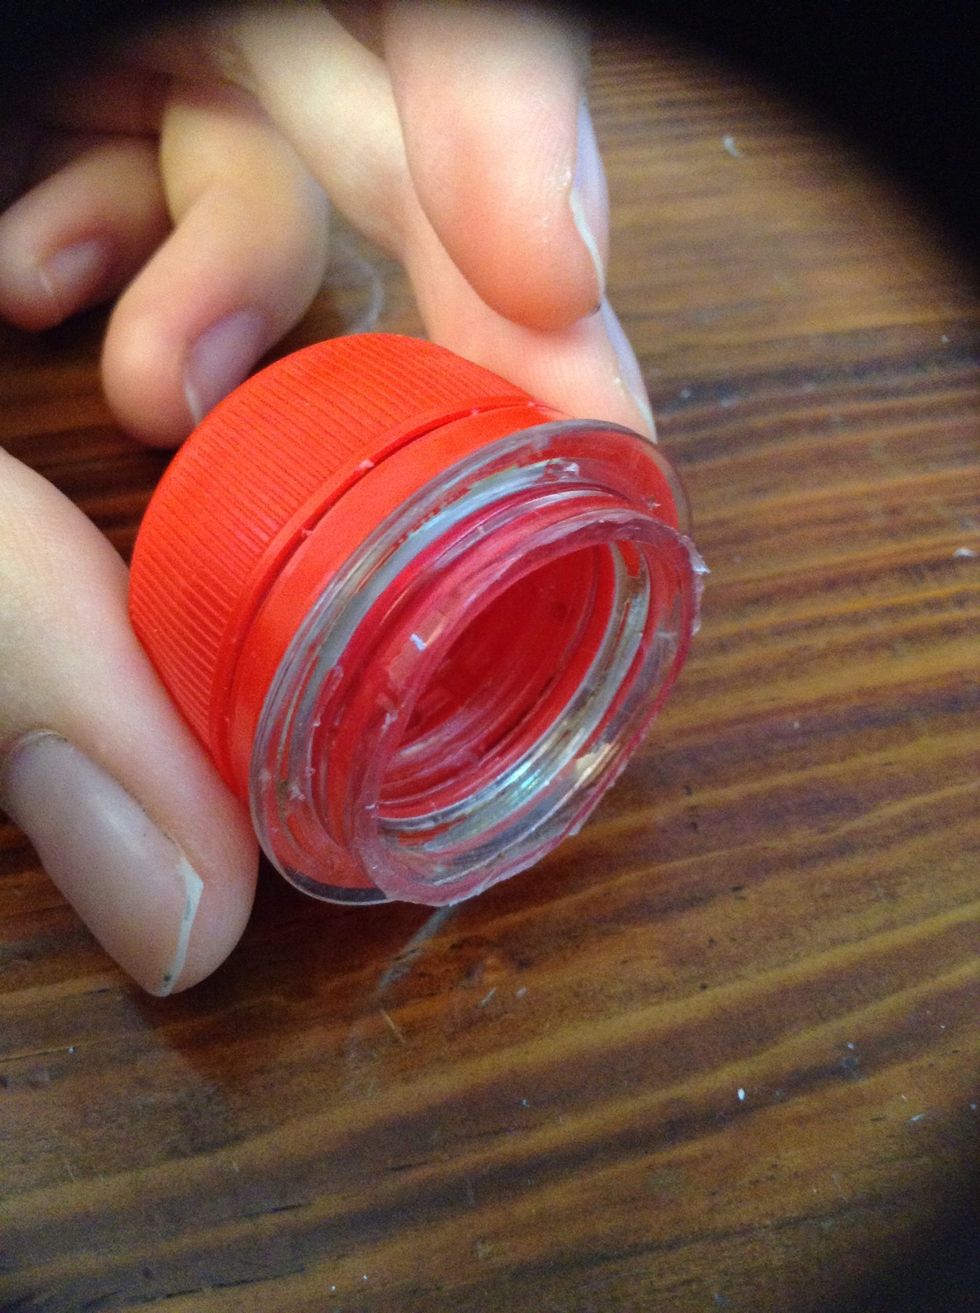
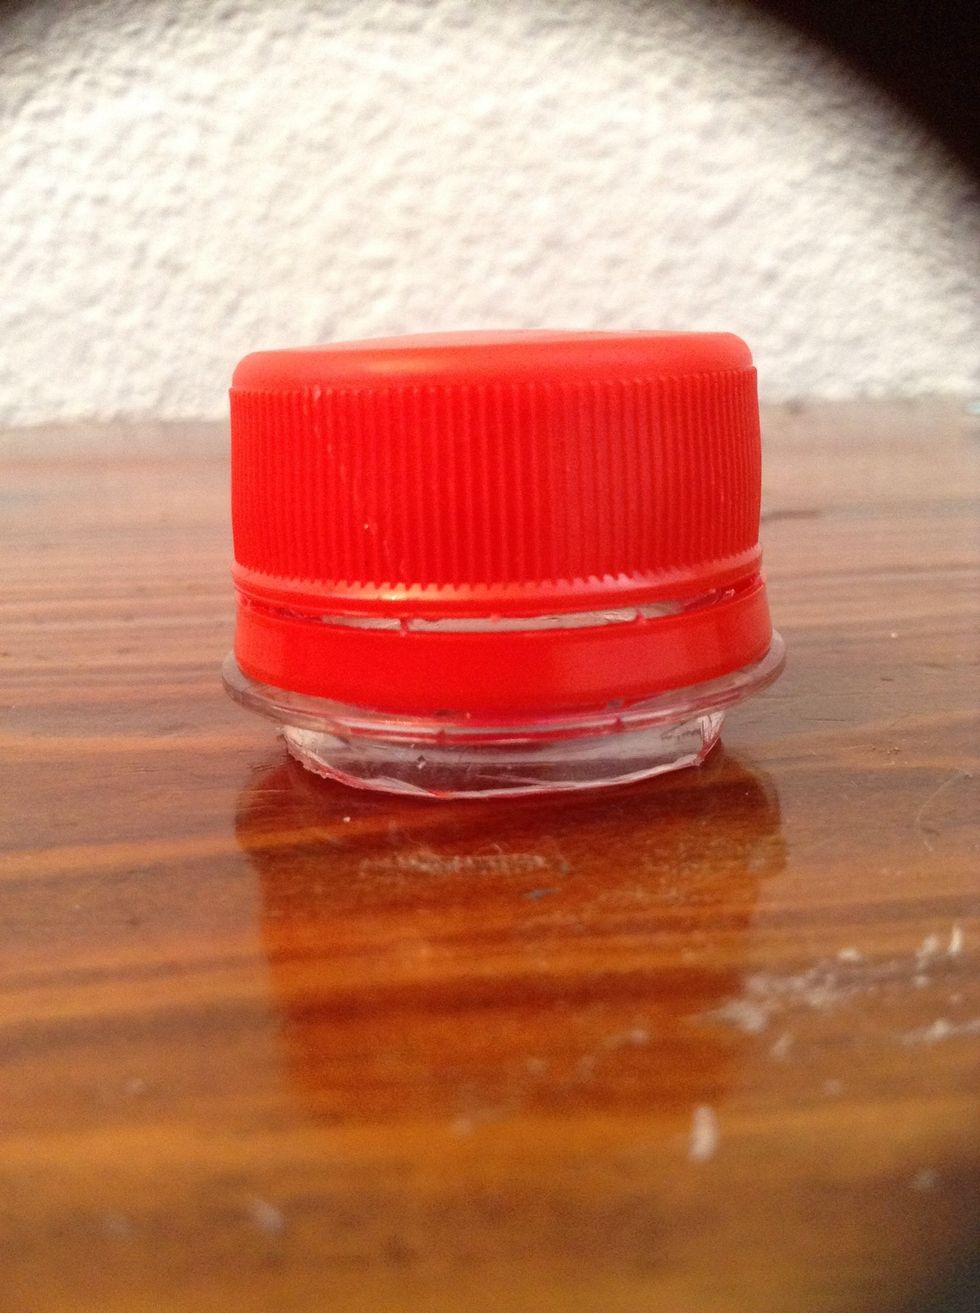
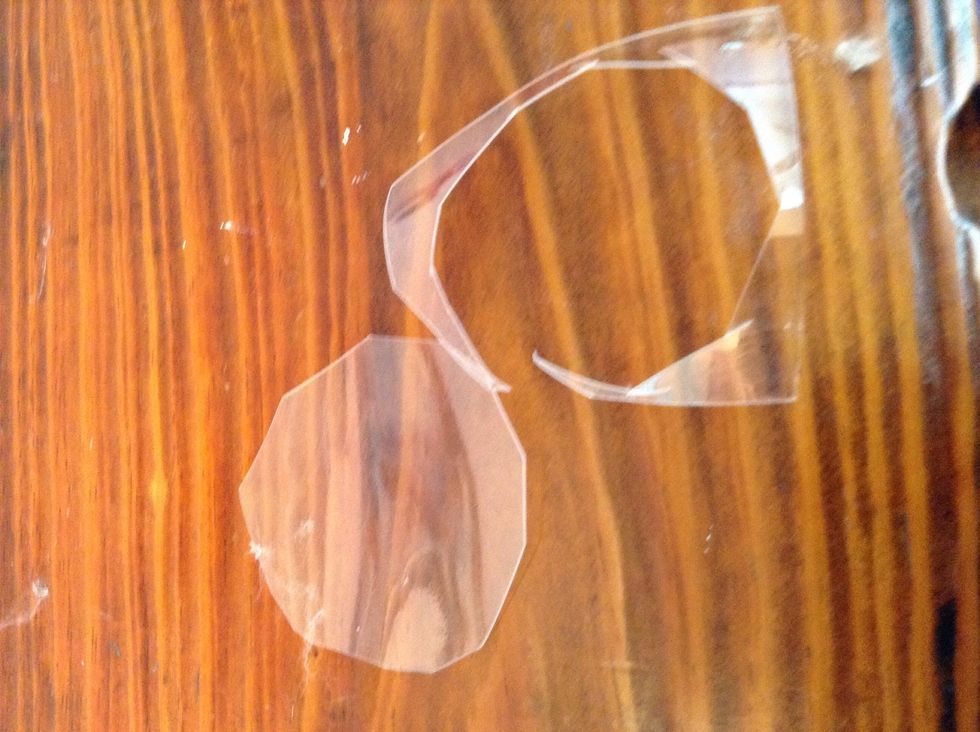
Now cut out a piece of plastic from the bottle( I used the part where the logo was sticked at) and roughy cut it in a circle
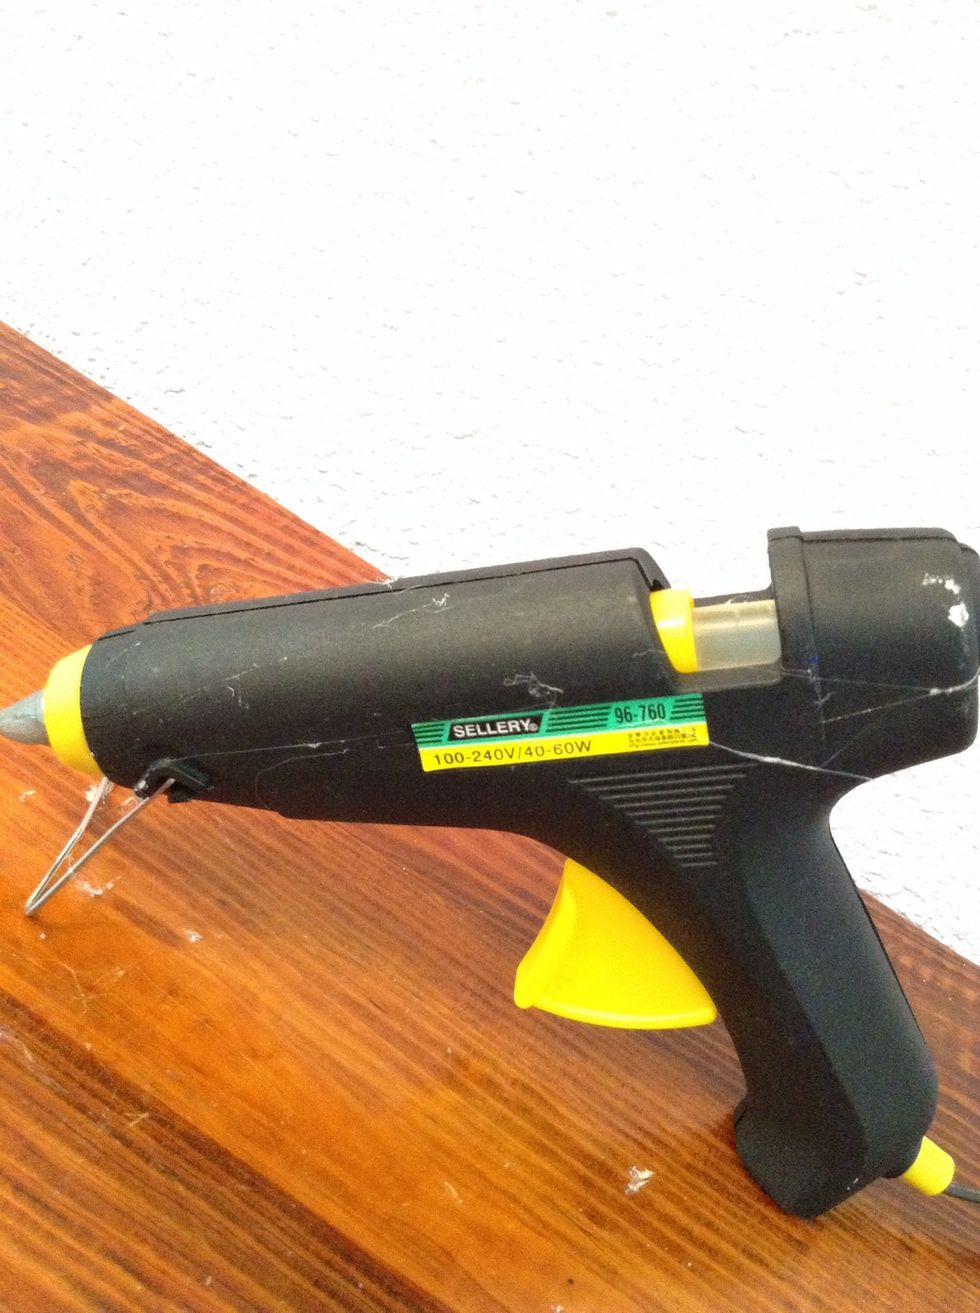
Now fire up your glue gun! If you don't have a glue gun, you can use superglue for this step.
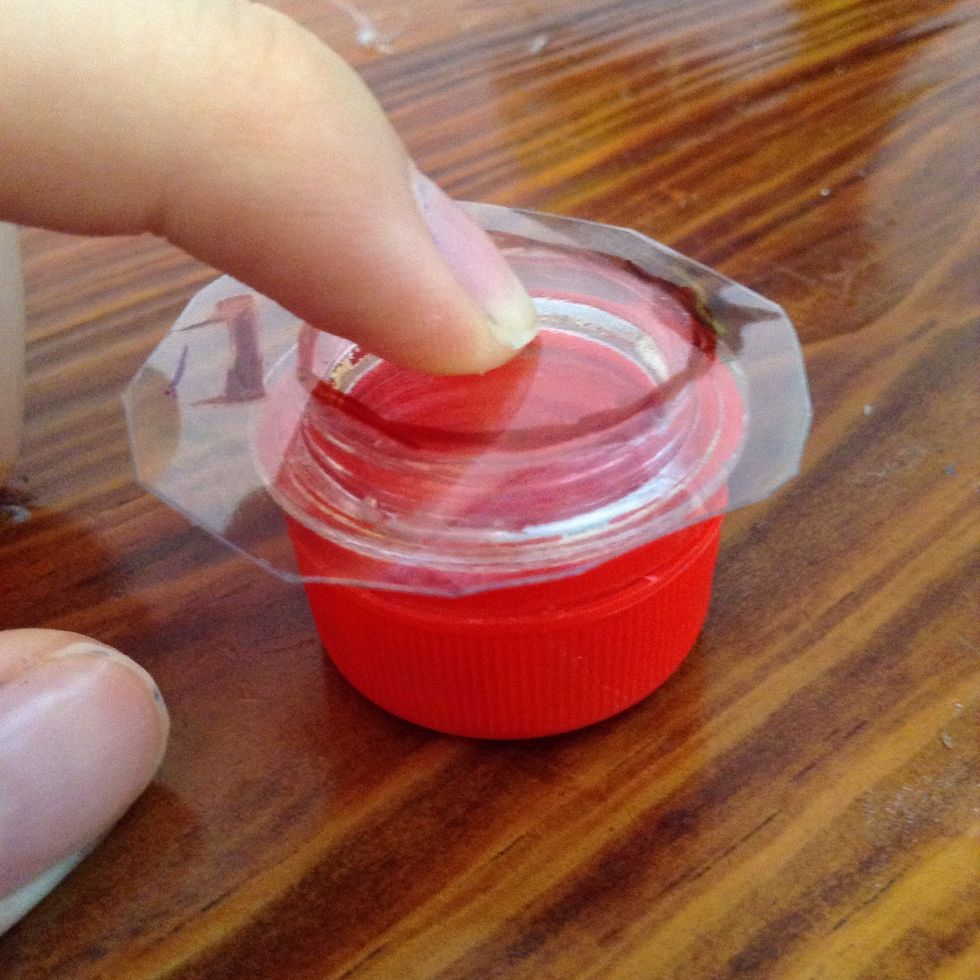
While waiting for your glue gun, trace a circle with the bottom of the cap. Then glue around the circle and place you cap on the glue.
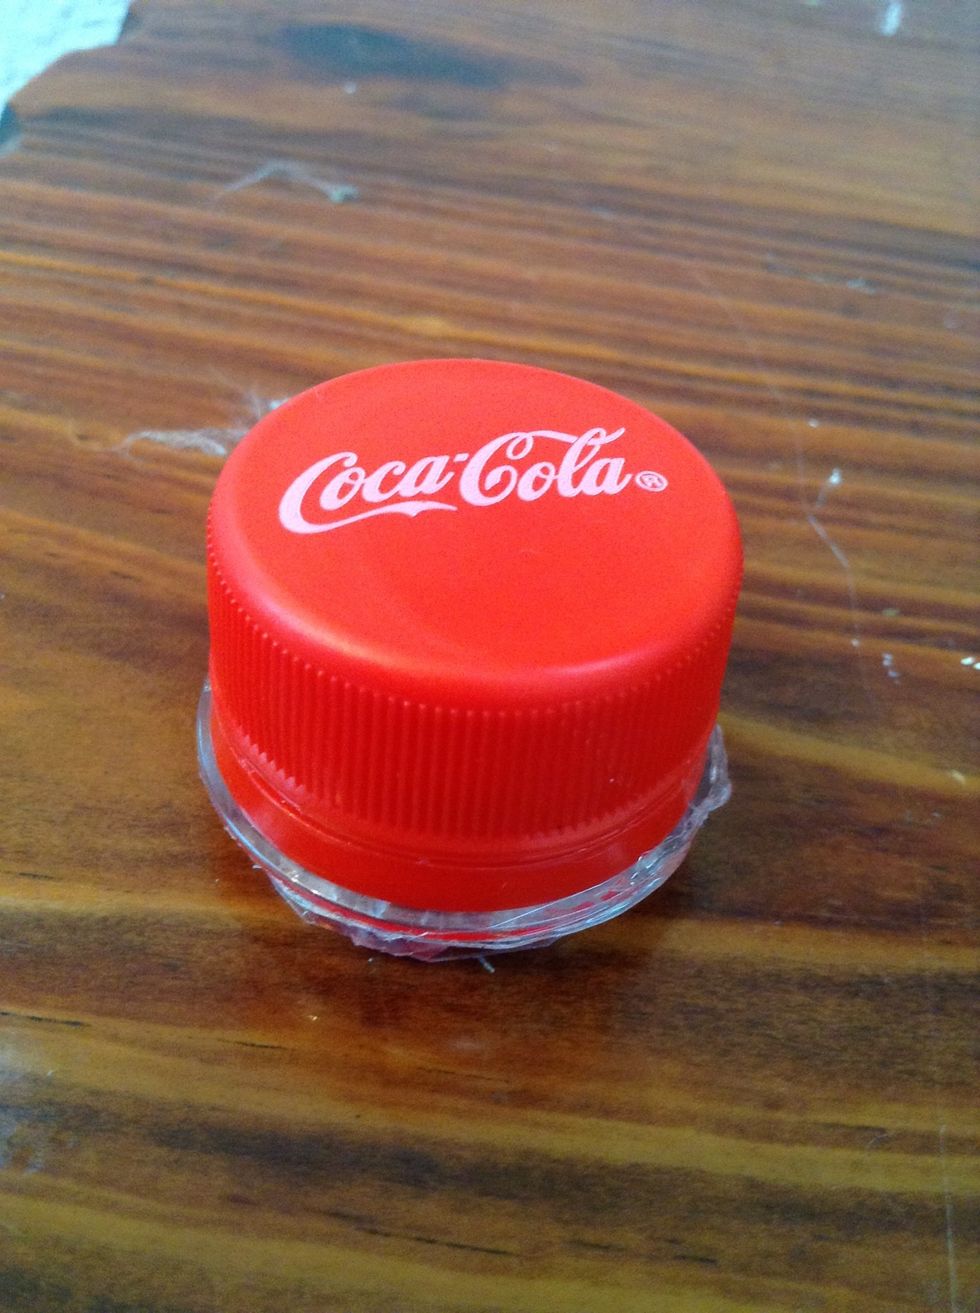
TADA! All done:)
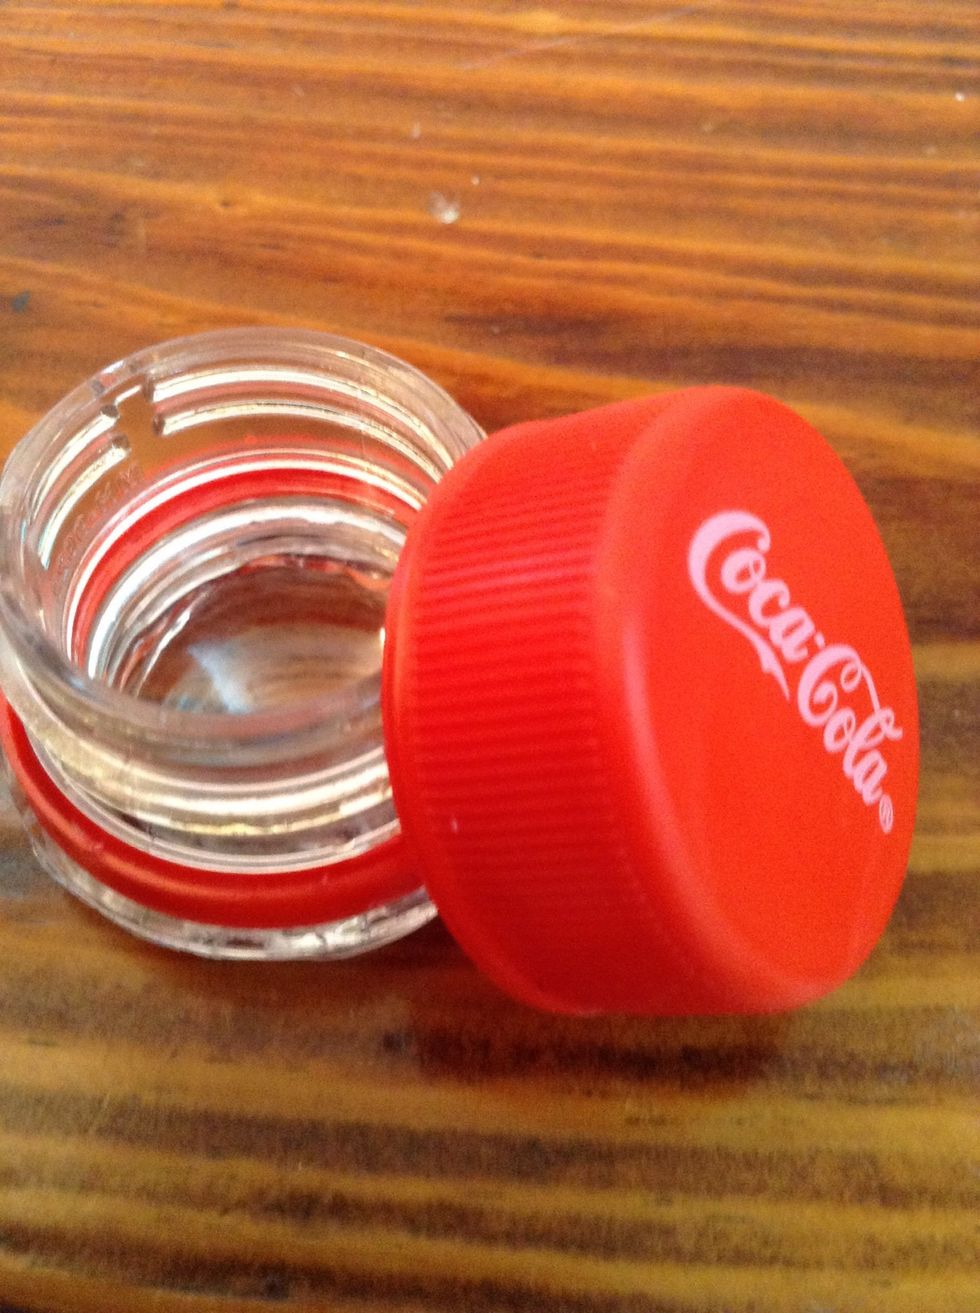
You can store anything in these cap containers
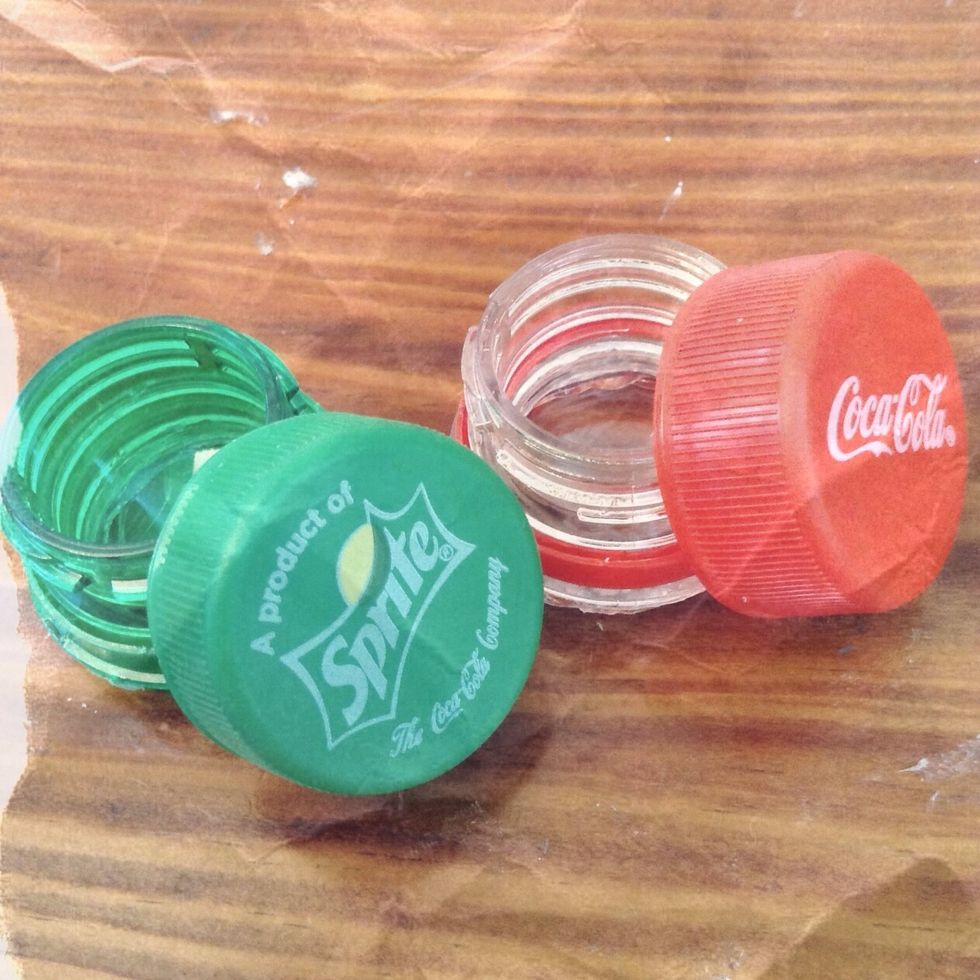
I also made some with sprite caps :)
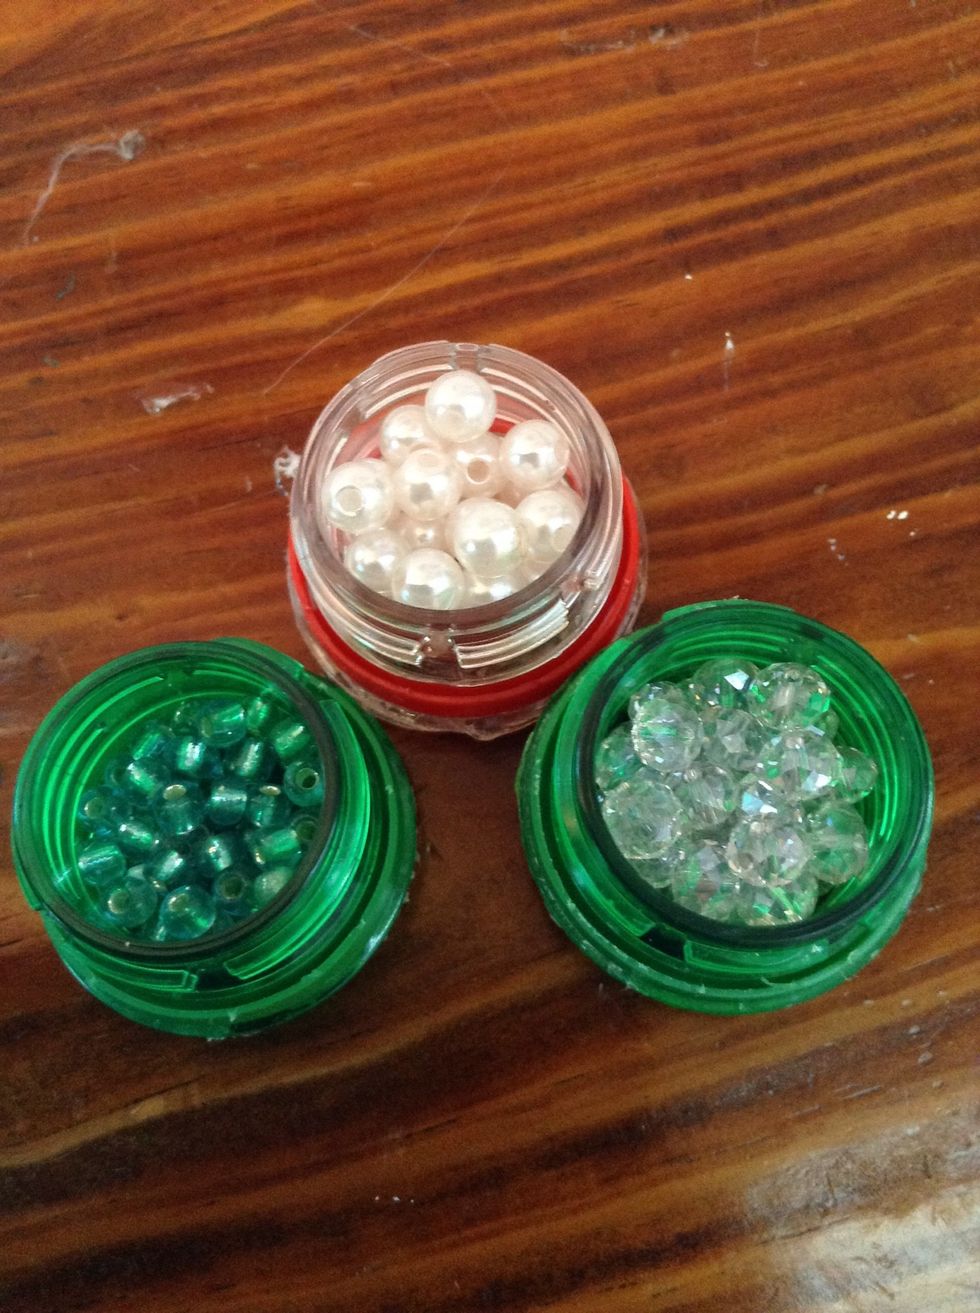
I stored some craft beads in mine!
This one is glued together with super glue:) I also glued the sprite logo on because I couldn't cut to the edge.
Have fun making these! Comment bellow if you have any questions:) Byee!!! 💕
What might you store in your new mini cap container? Try this and share DIY guides of your own by creating a B+C Guides account!
- A bottle
- A cap
- Scissors
- Superglue or glue gun