The Conversation (0)
Sign Up

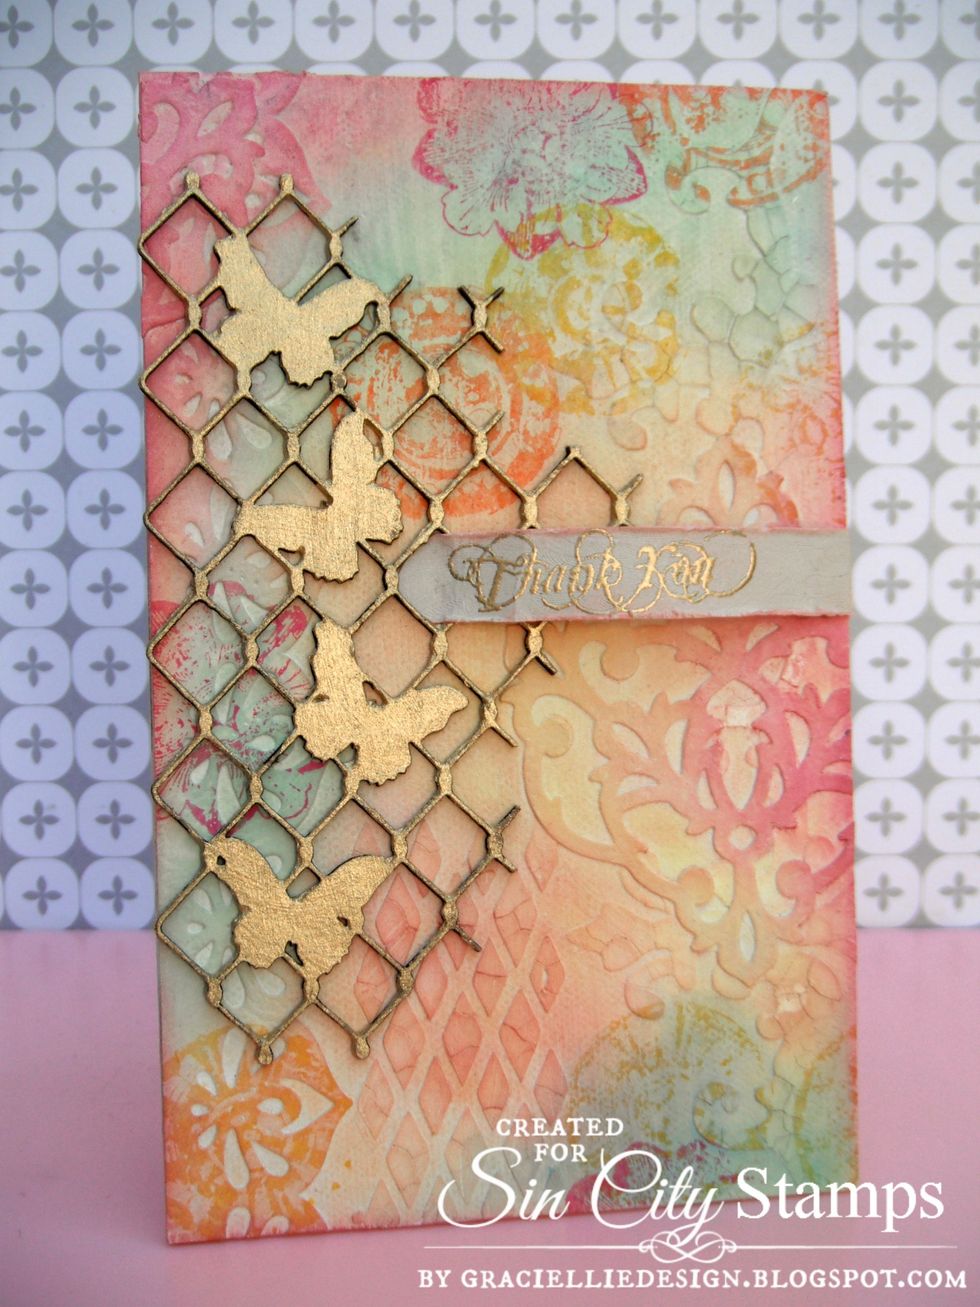
I started out covering my 6 1/2" x 4" Cottonwood Arts canvas with 2 coats of homemade gesso.
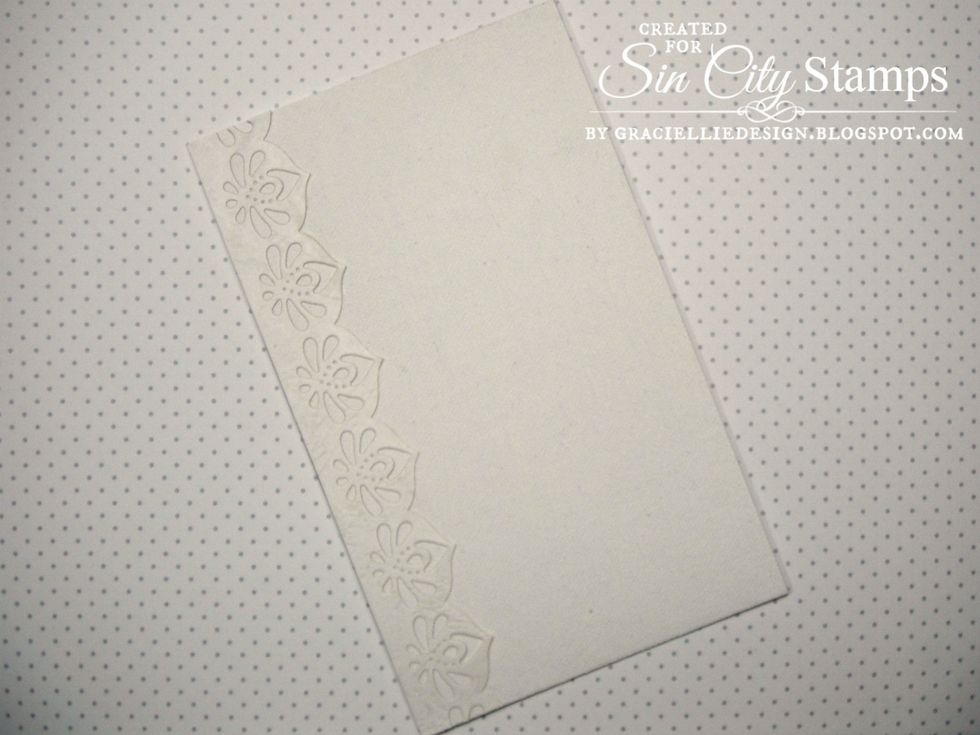
Next I adhered a leather textured cardstock die cut border.
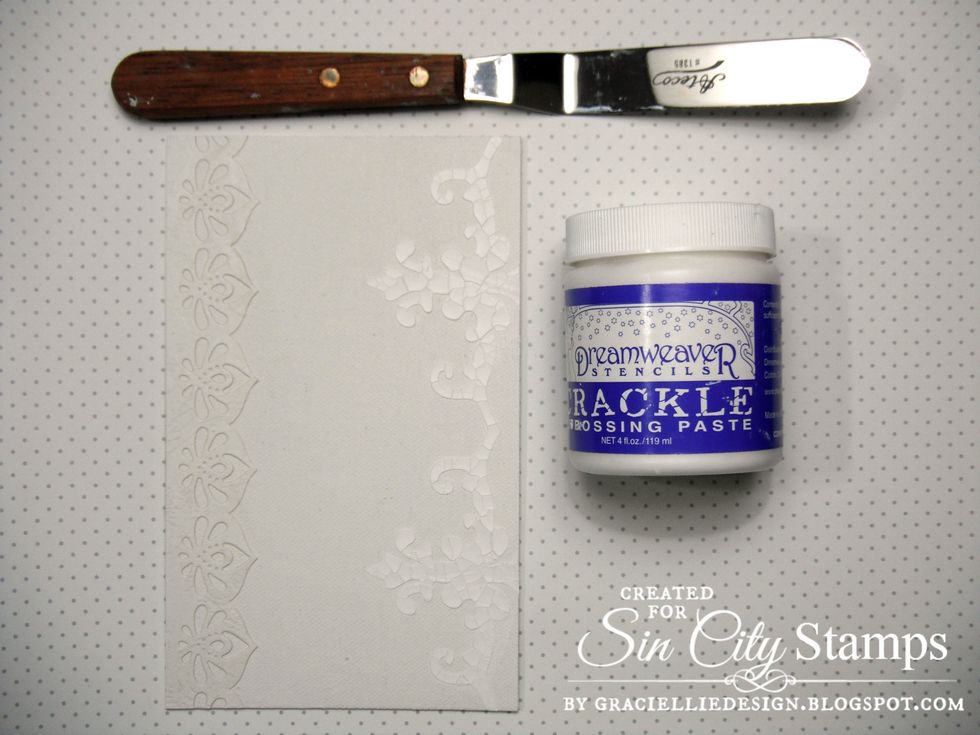
I used a homemade stencil to apply crackle embossing paste.
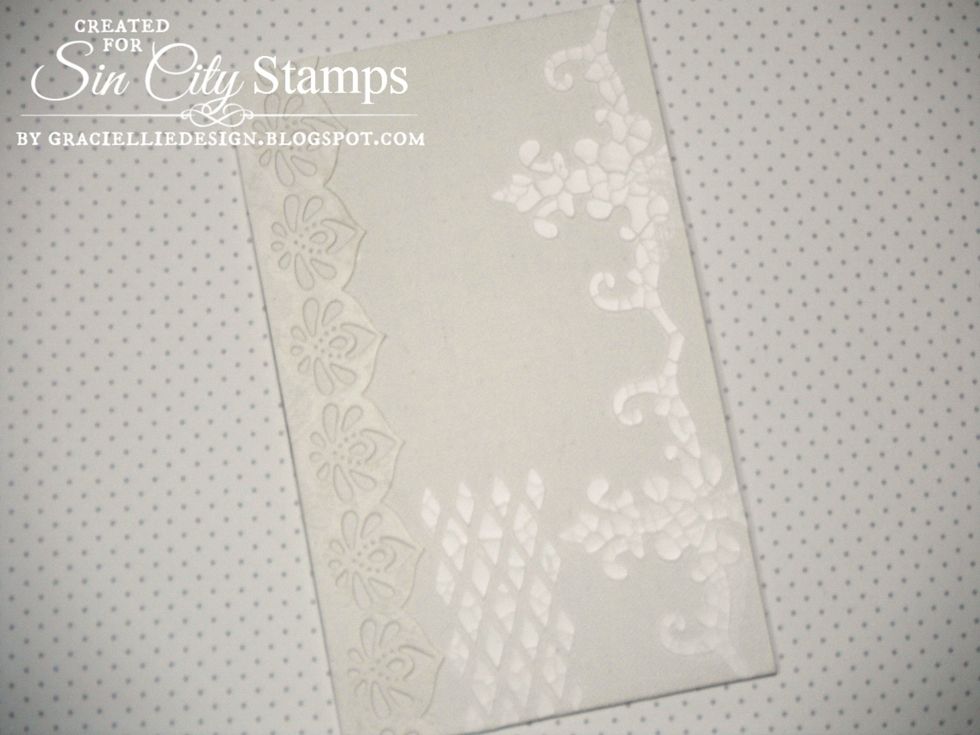
I applied more crackle embossing paste on the bottom with another homemade stencil.

I applied one more coat of gesso to the canvas.
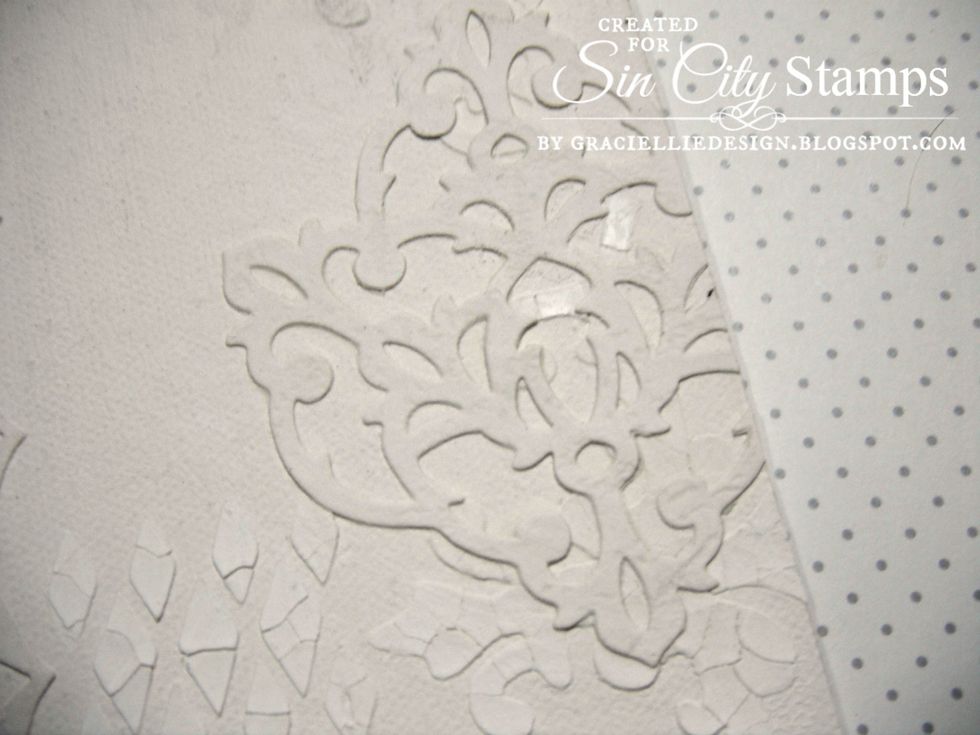
I added one more die cut on top of the embossed border.
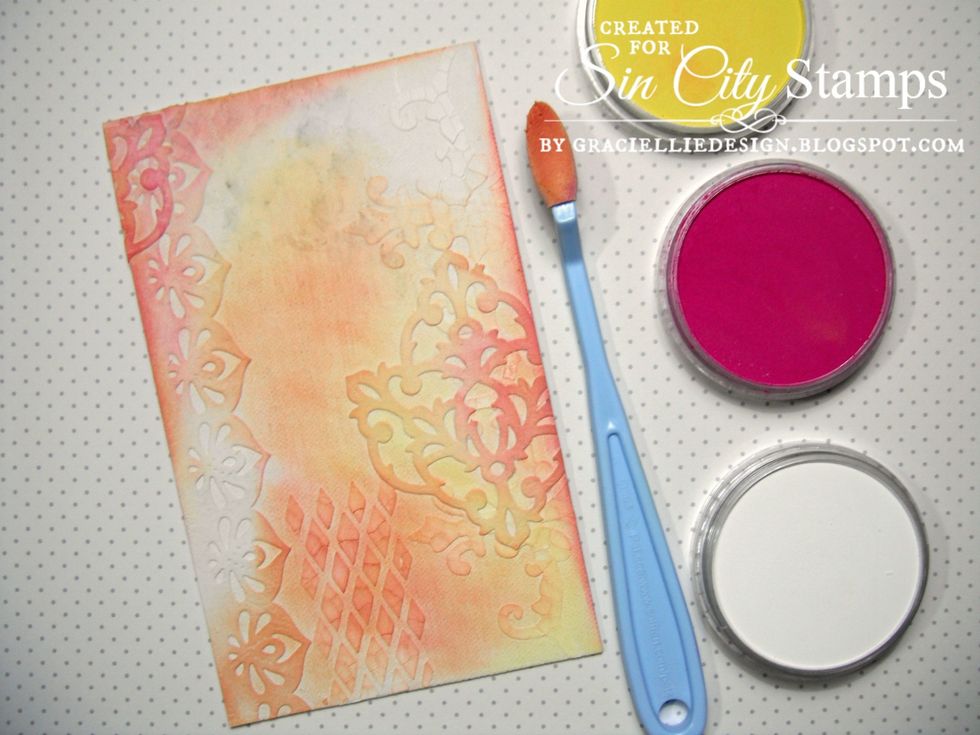
I started coloring the canvas with Pan Pastels in Magenta, Hansa Yellow and Titanium White. I blended them well using a Sofft Knife applicator.
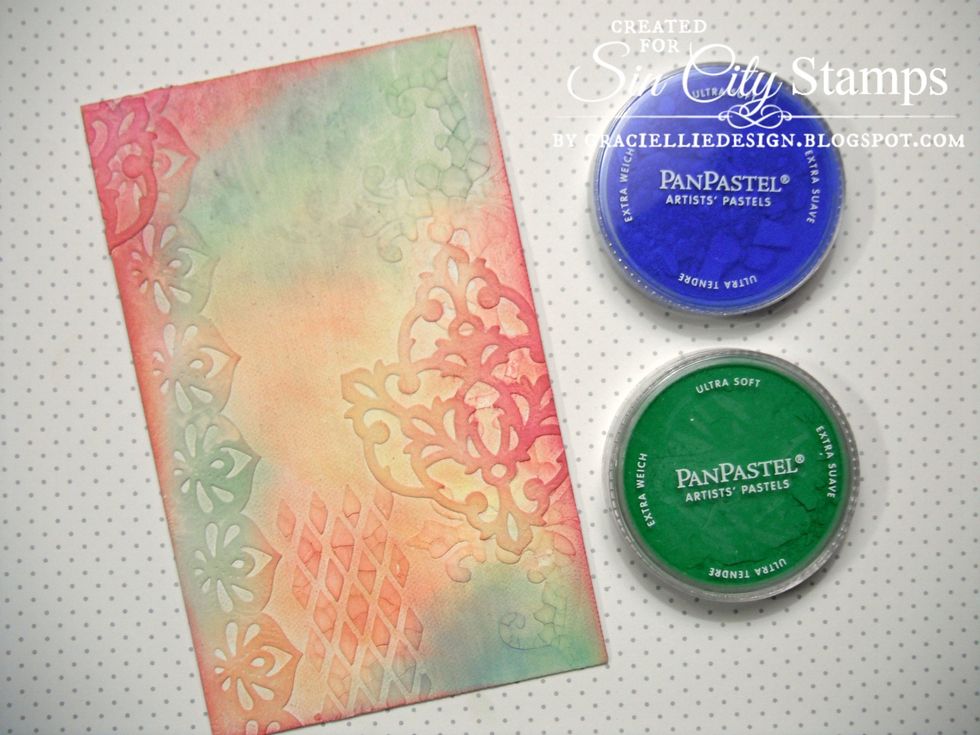
I also colored the canvas with a bit of Permanent Green and Ultramarine Blue Pan Pastels.
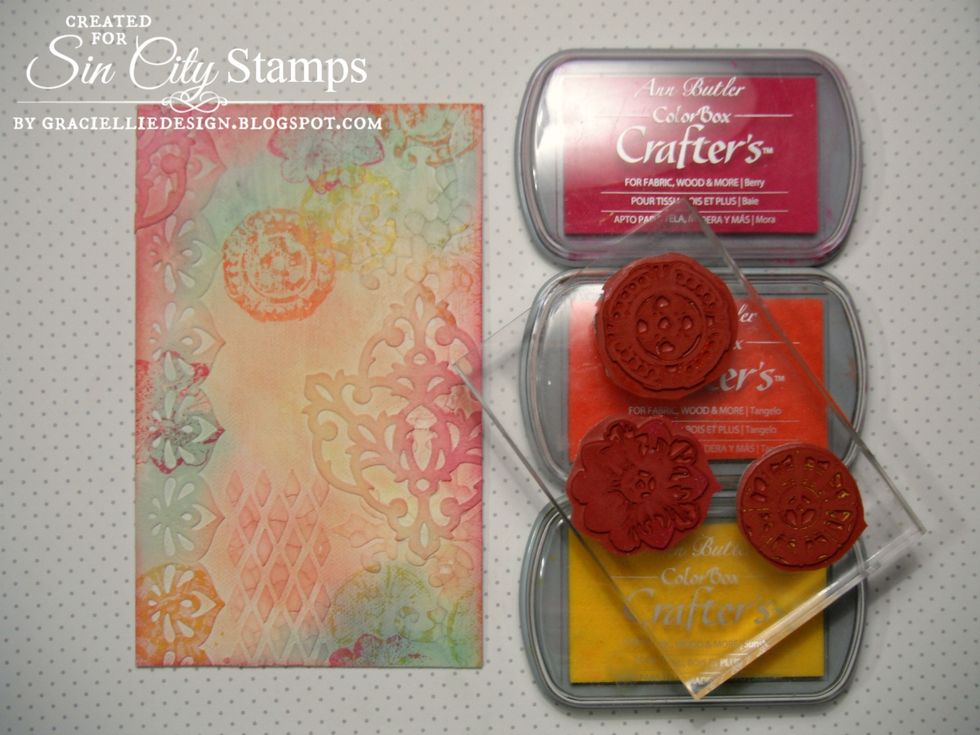
Using multisurface inks in Berry, Tangelo and Sunshine I stamped some rossette images from Sin City Stamps on the colored canvas.
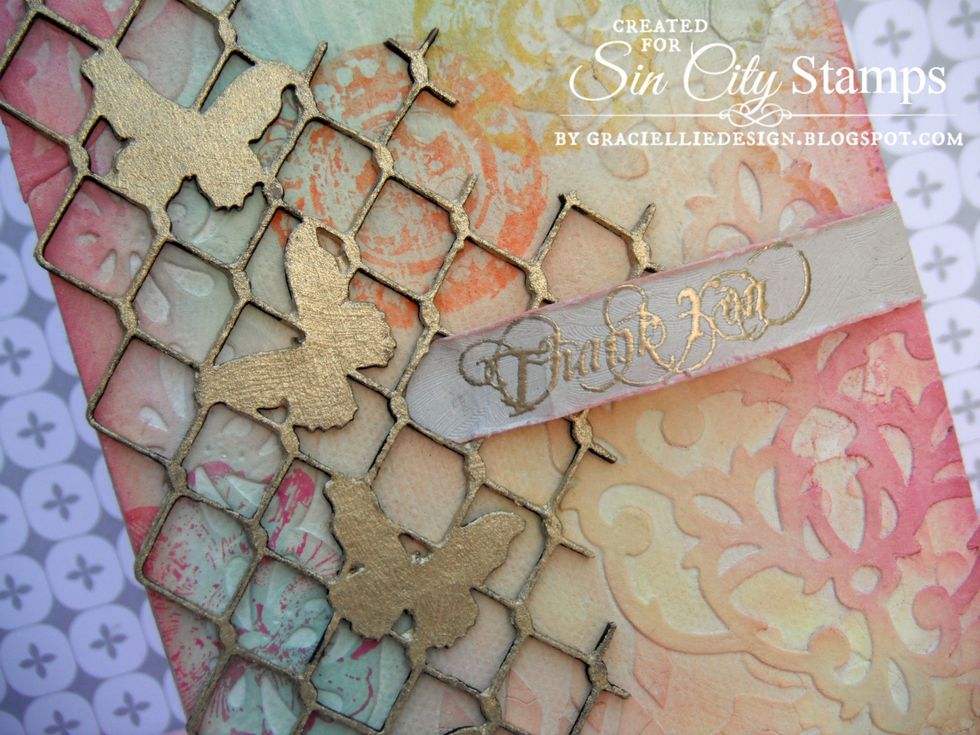
I colored a chipboard piece from Sin City Stamps with acrylic gold paint, adhered it with Tacky Glue and added a banner with a heat embossed sentiment, also from Sin City Stamps.
I hope you enjoyed seeing my tutorial and project. For more about my work please visit http://gracielliedesign.blogspot.com/ For more about the products I used please visit http://sincitystamps.com/