The Conversation (0)
Sign Up


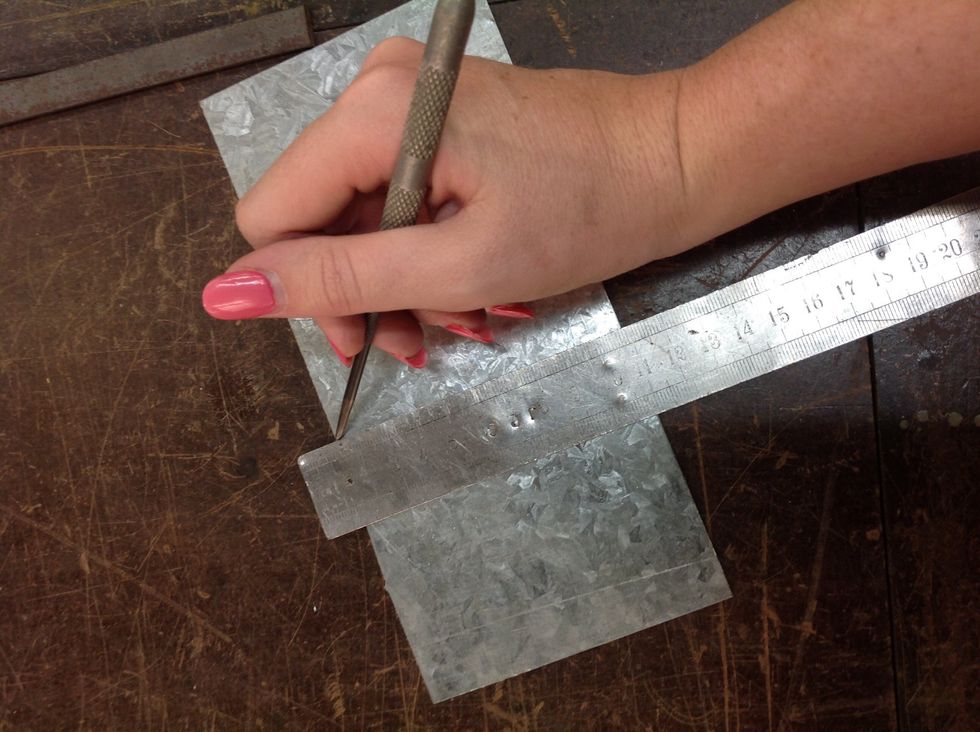
Measure out your square 7cm x 7cm and make a small mark on both sides rule a line using down the marker with a scribe.
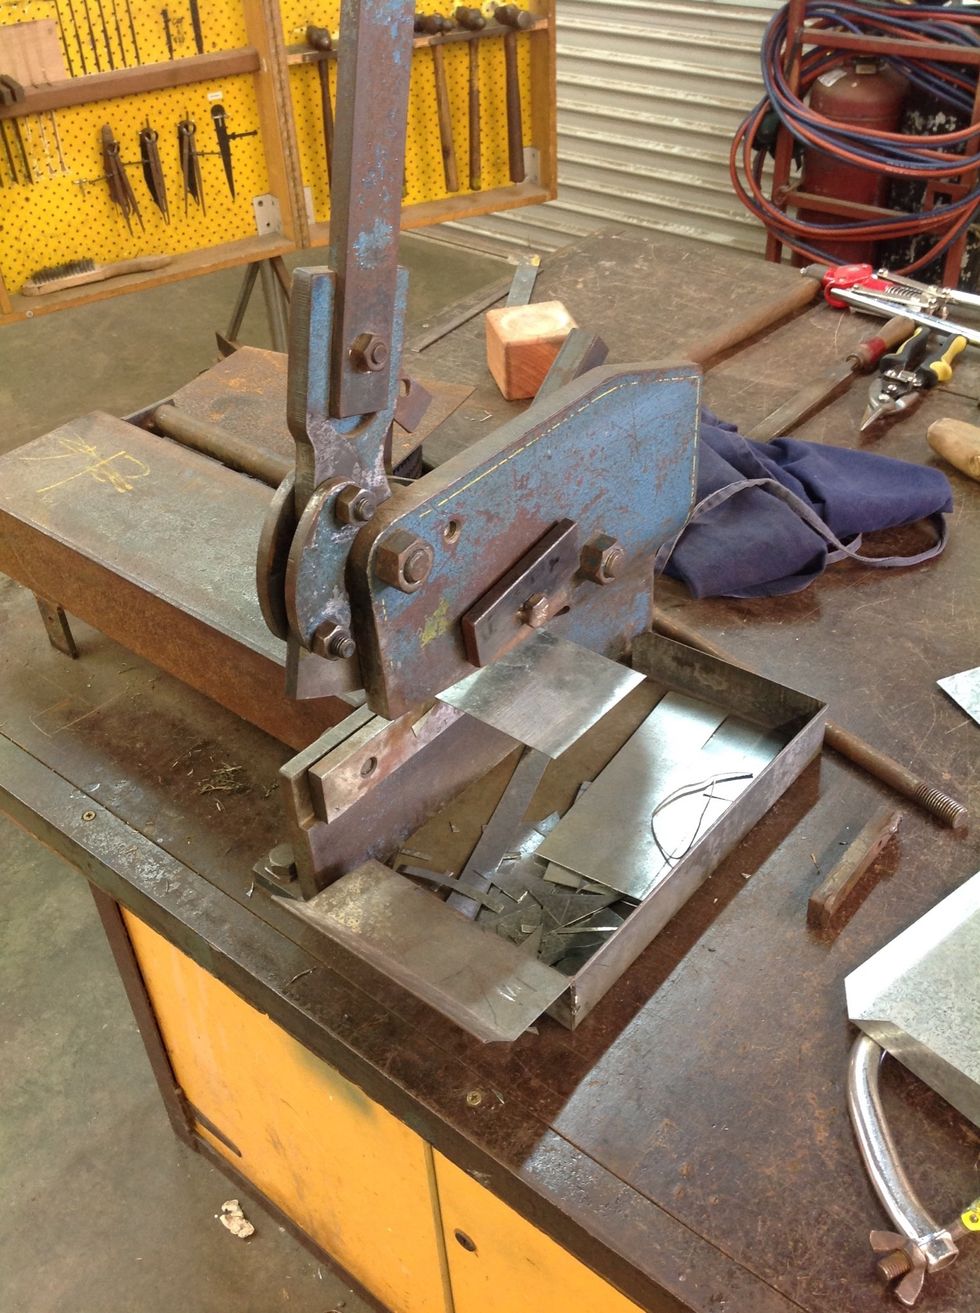
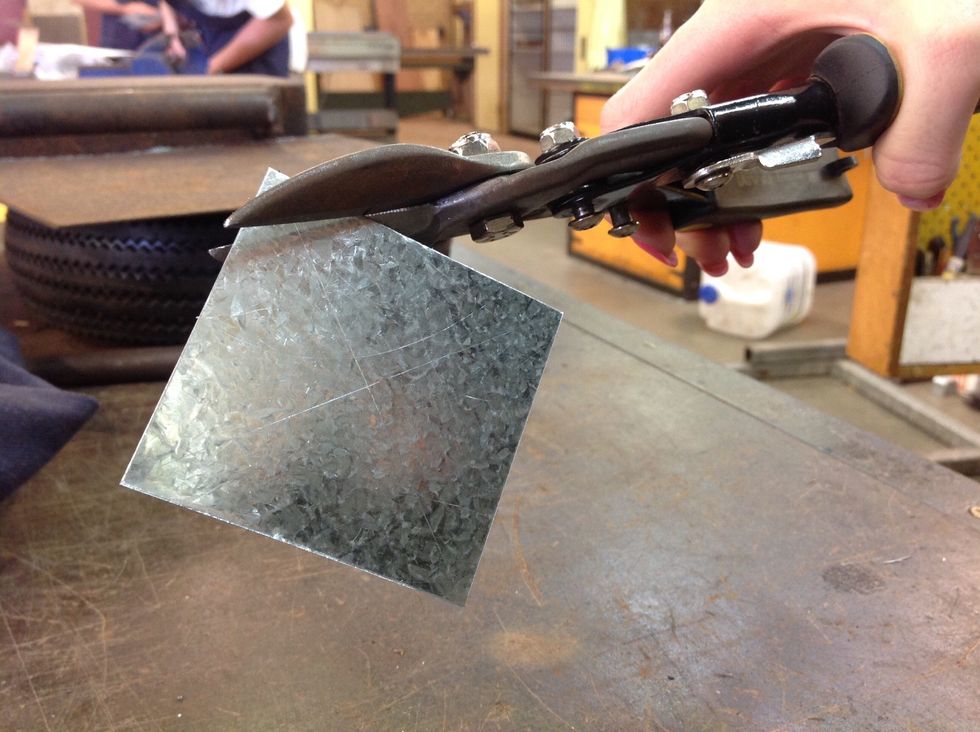
Cut the metal sheet along the line you made earlier
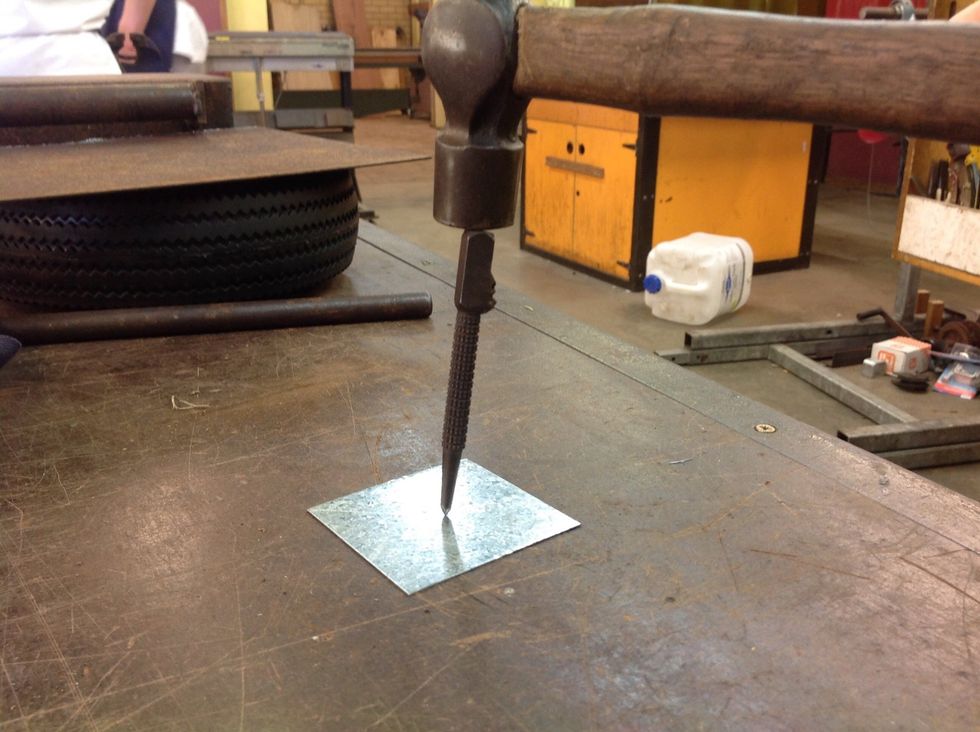
Draw a diagonal line to one side of the metal to the other and repeat on the other corners. Then get the centre punch where the lines meet and hammer it with the tinmans hammer.
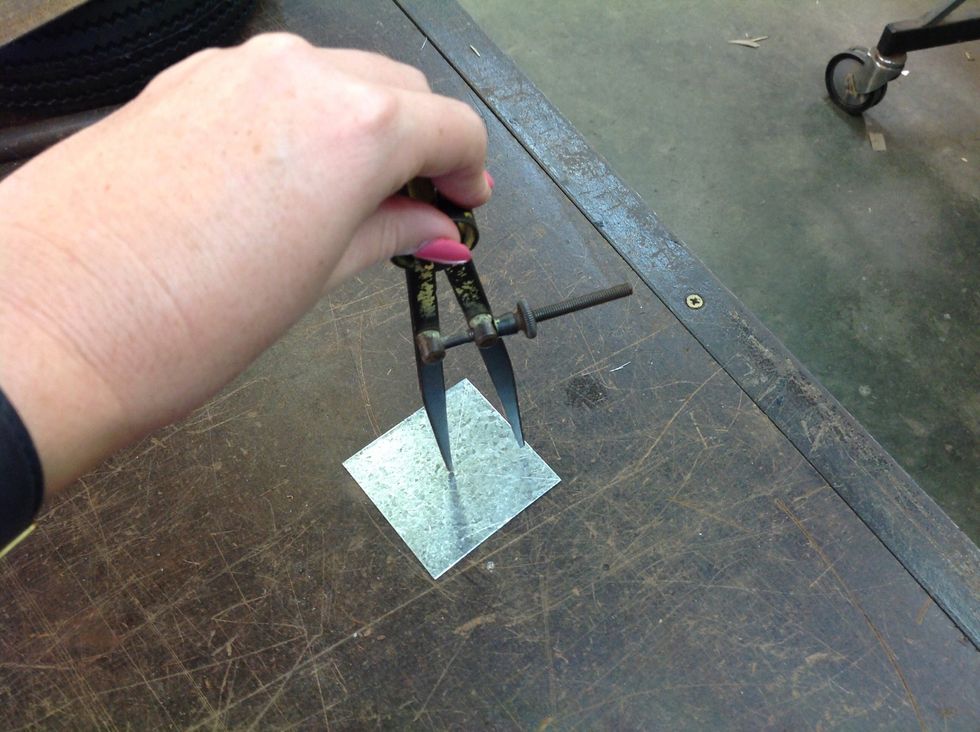
Place the divider in the centre where you centre punched it and draw a circle.
Cut along the circle with the tin snips. Note it doesn't have to be perfect.

Now place your circle into the vice and with your file, file your circle until it is smooth. Make sure it stays circular.
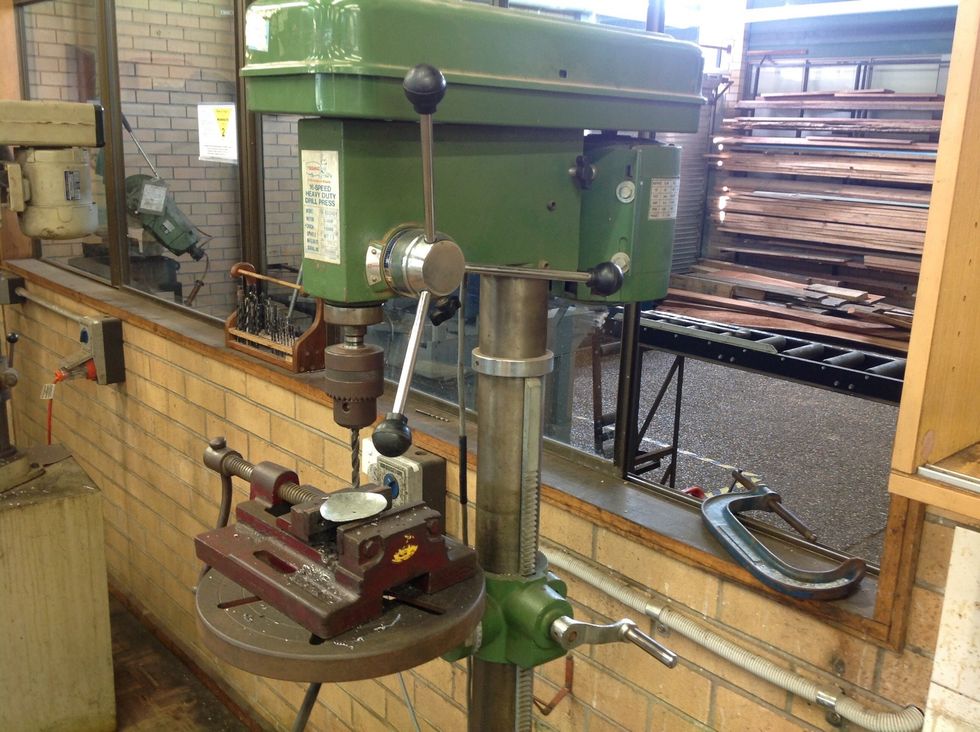
Go over to the drill press and where you marked the hole with the centre punch line that up with the drill bit. Slowly drill a hole through your circle.
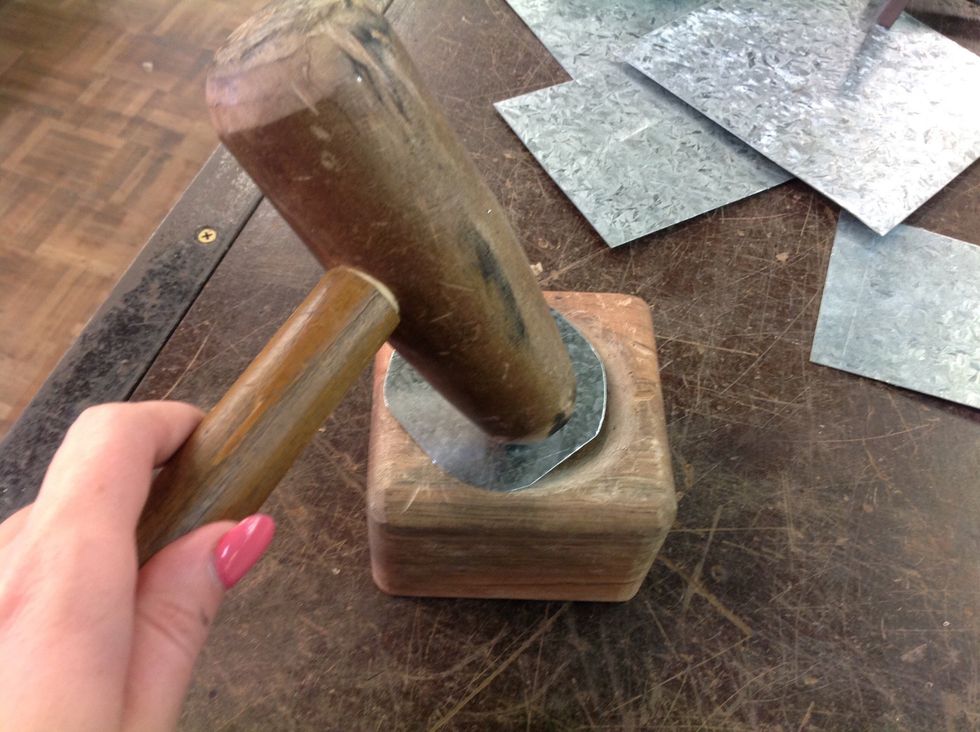
Now you need you wooden mould and a ballpein hammer. Place your circle into the mould and carefully start hammering it from the outside in to the middle of the circle. Note it should be fully curved.
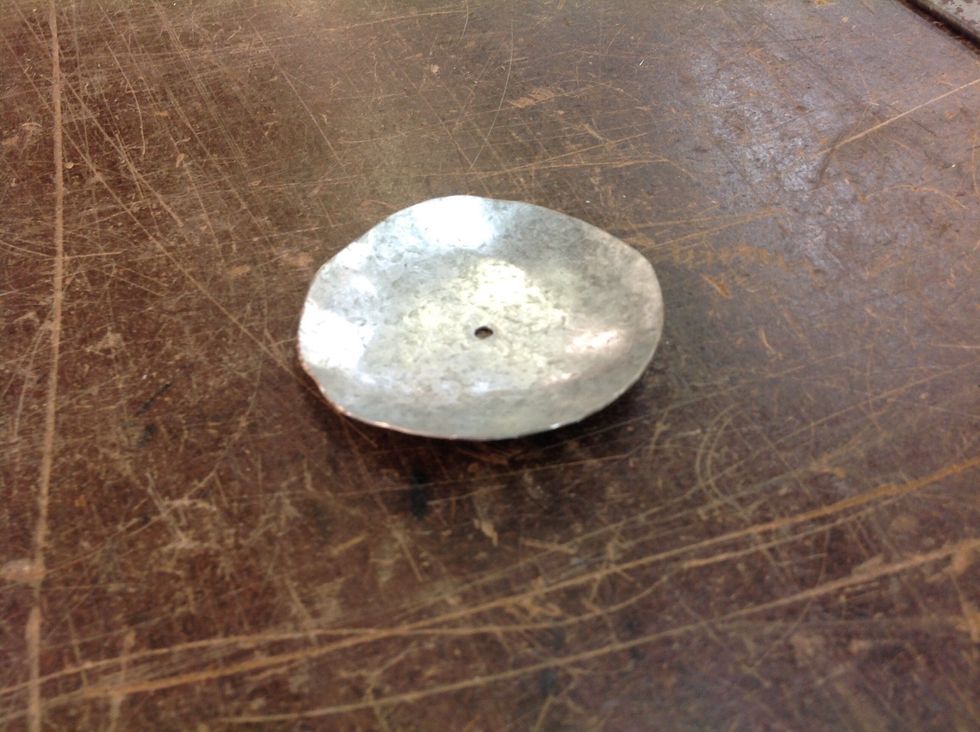
This should be what it looks like when you have finished hammering.
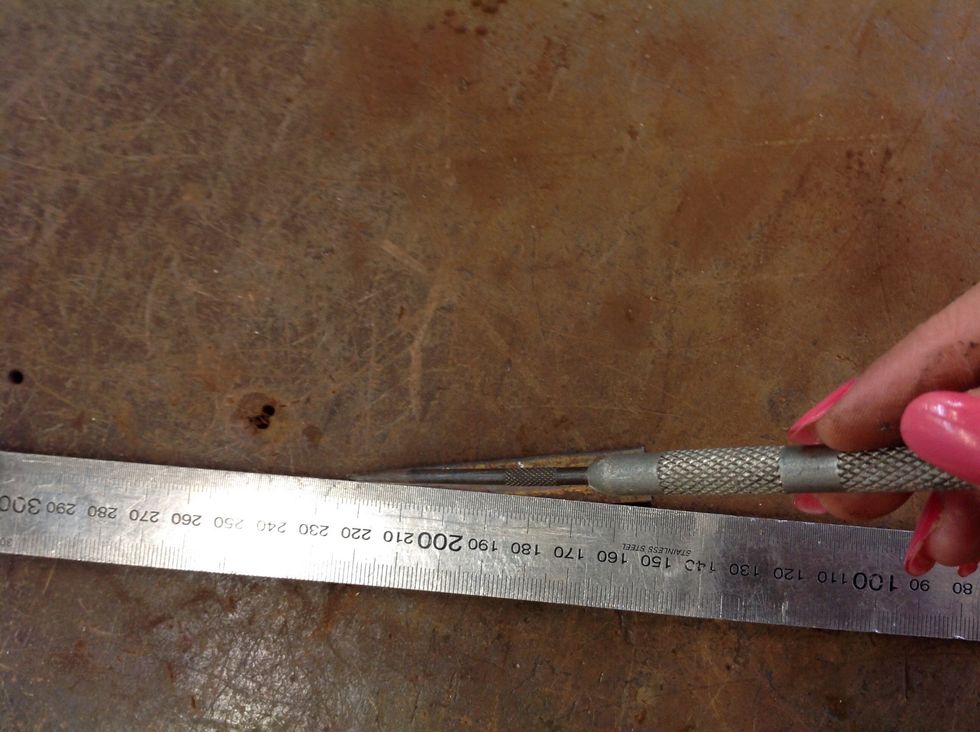
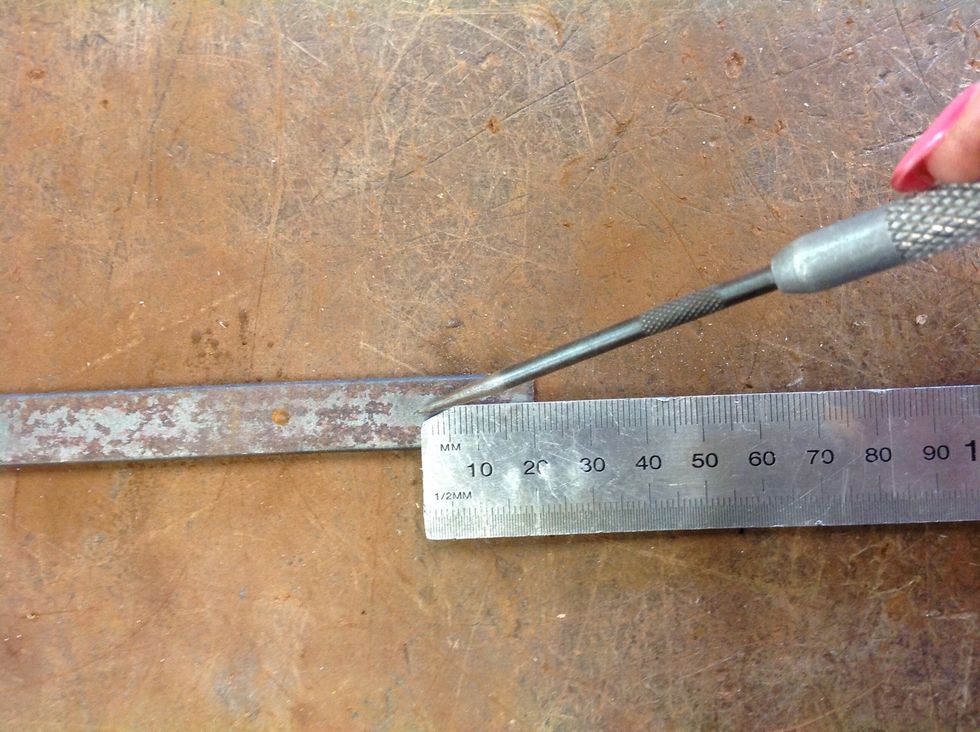
Now measure 8cm on one end and make a marker with the scribe, then rule a line along the marker with the scribe. Place into the vice and get the hack saw, cut it off but don't throw the piece out.

Once you have cut off the 8cm you need to file all of the edges down until they are smooth.

Now hold the end of your flat bar and curve it around the scroll template, don't over curve your flat bar.
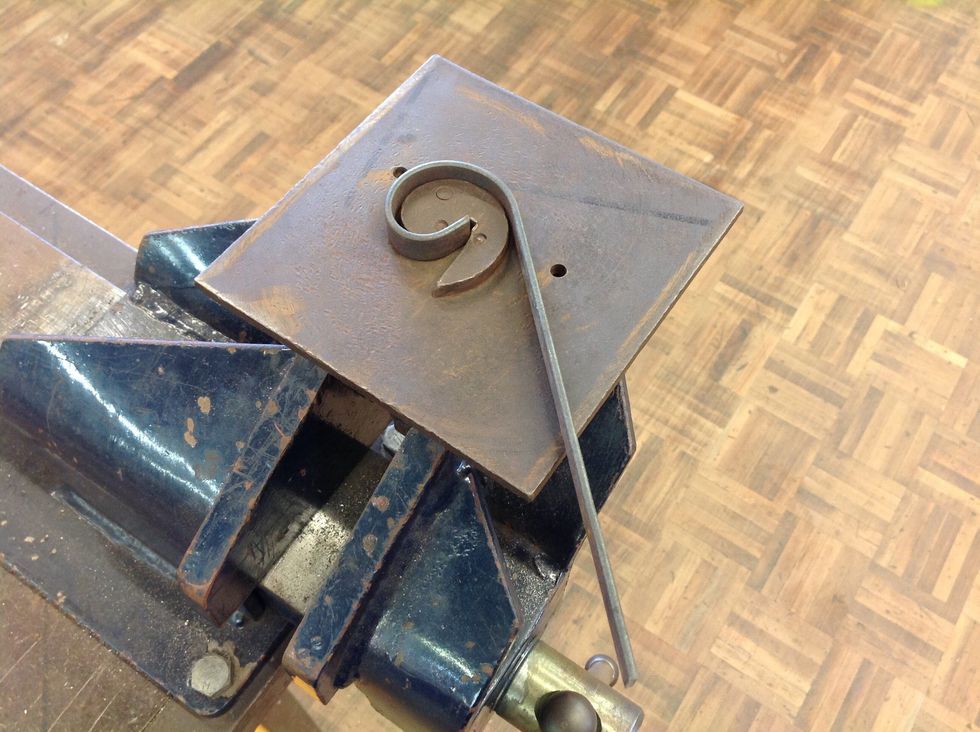
Only curve it half way around the template.
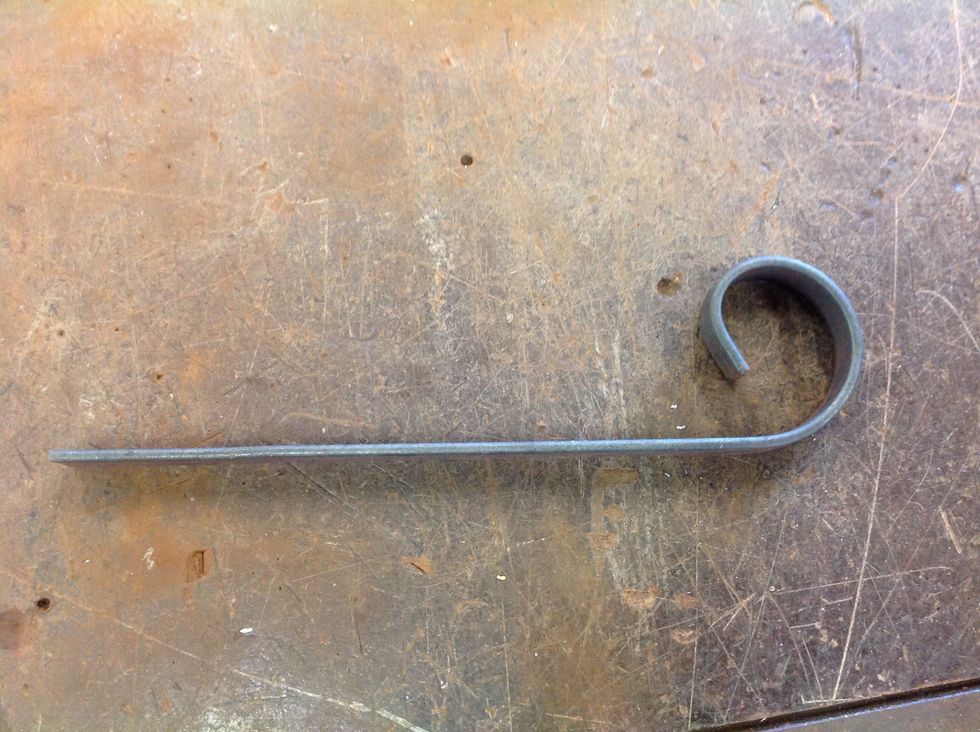
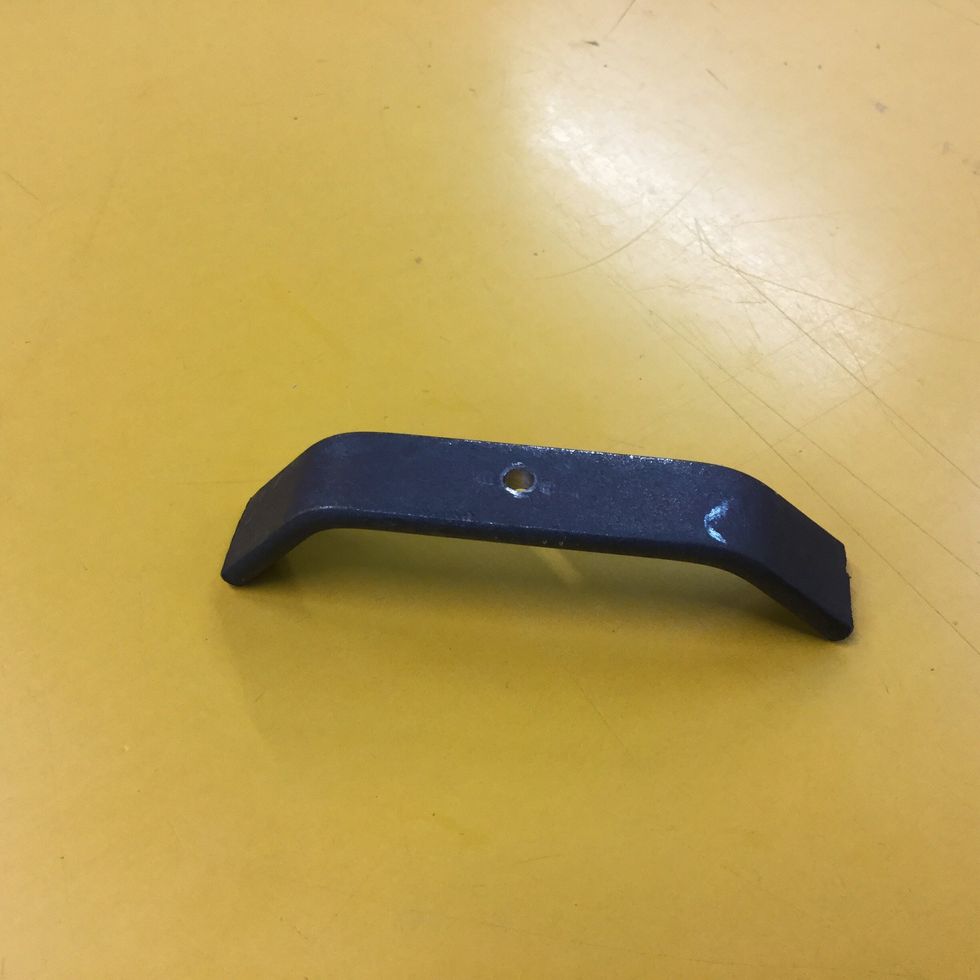
It should look like this.
Measure 1.5 cm into the end of your scroll and make a mark into the middle of the bar. Get your centre punch and with your ballpein hammer make a mark.
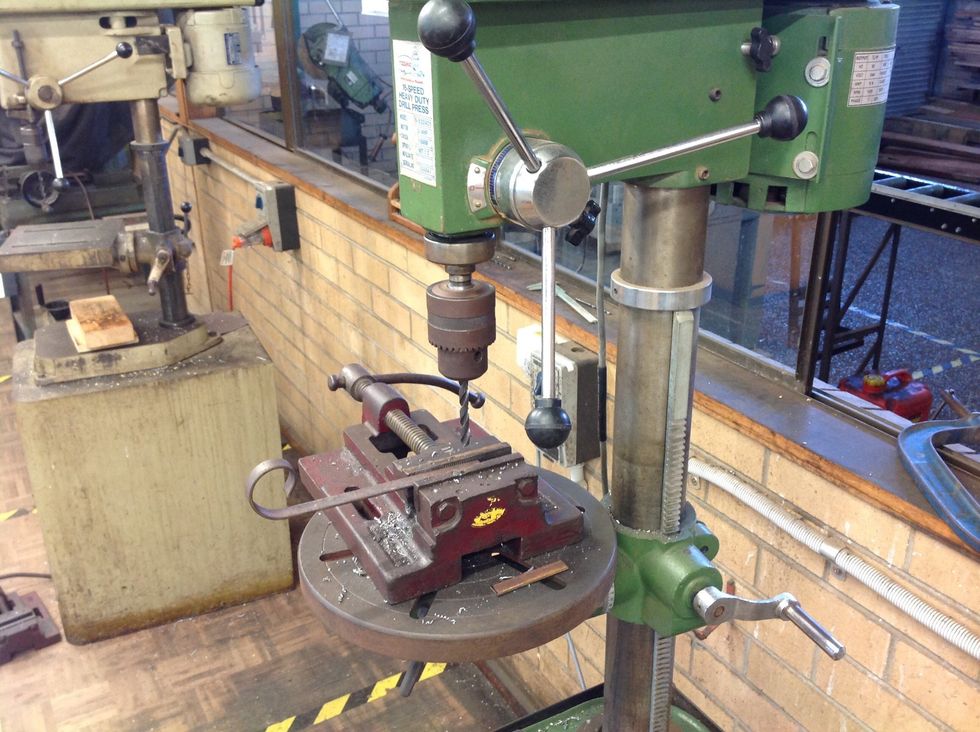
Then go over to the drill and line up the drill bit with your mark. Slowly drill through the bar.

Now get your 8cm and with your vice mark 1.5 cm on each side using a scribe. Place into a vice and line up your marking with the edge of your vice.
Slowly bead your flat bar slightly and repeat on the other side making them equal. It should end up like this.
Line up the holes of all the 3 pieces and place a pop rivet through all of them.
Place the pop rivet gun on top of the pop rivet and pull it down, then up again repeat that twice and the top should brake of.

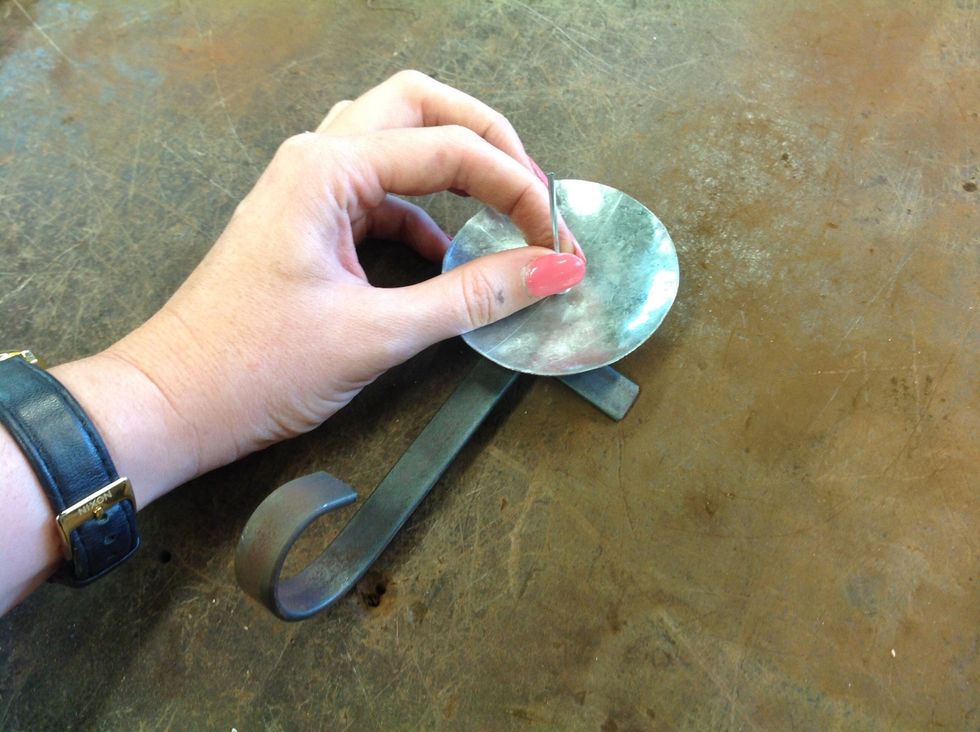
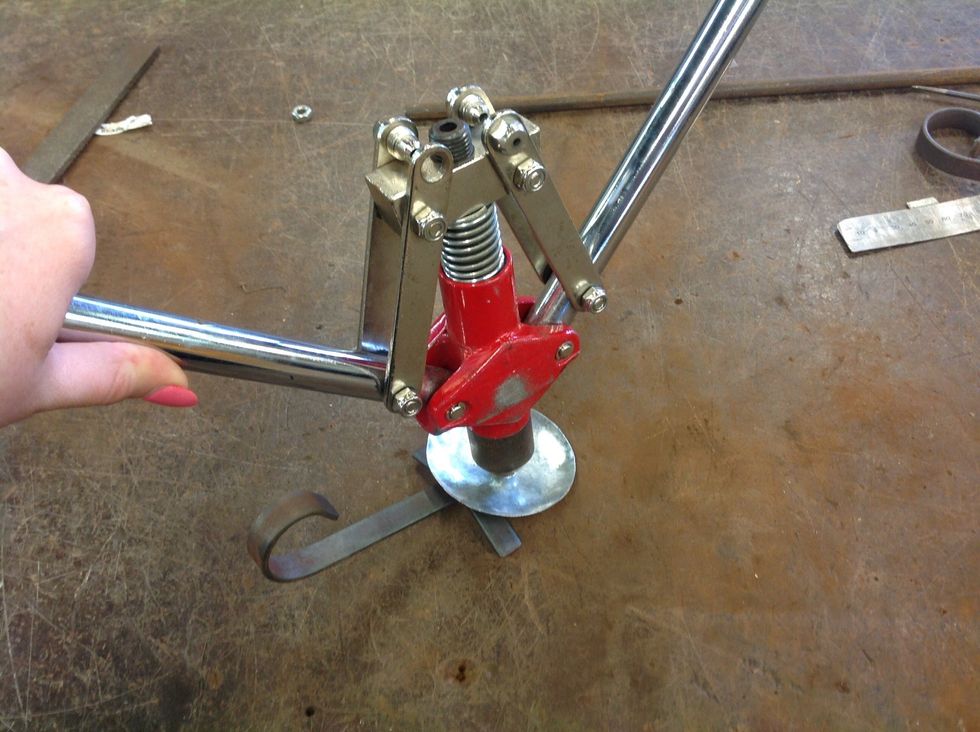
This is what your final product should look like.