The Conversation (0)
Sign Up
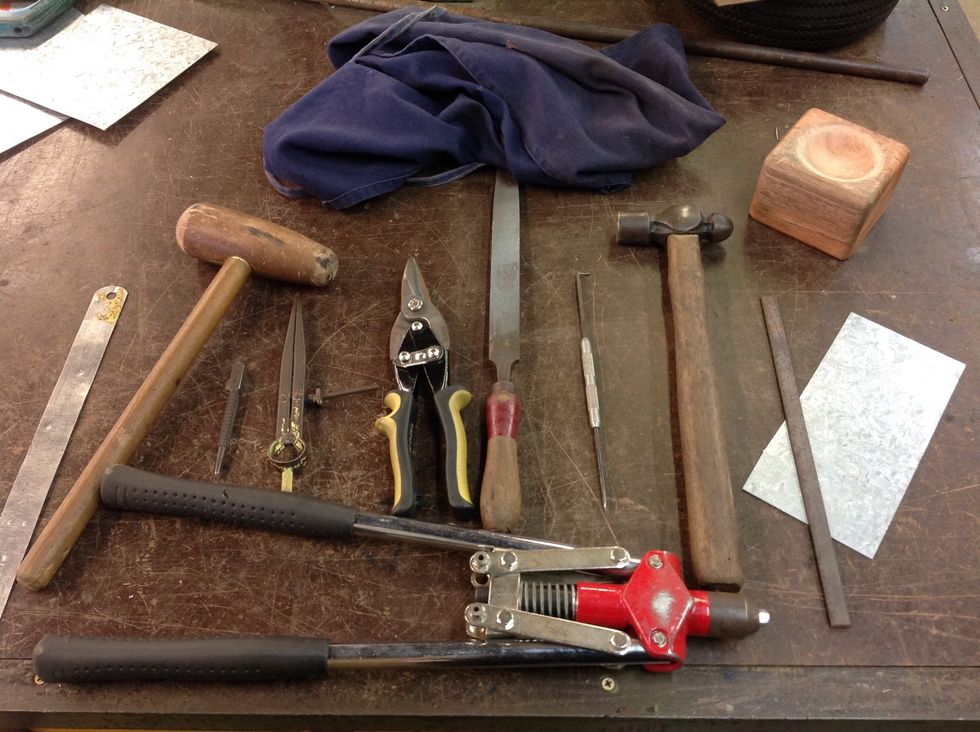
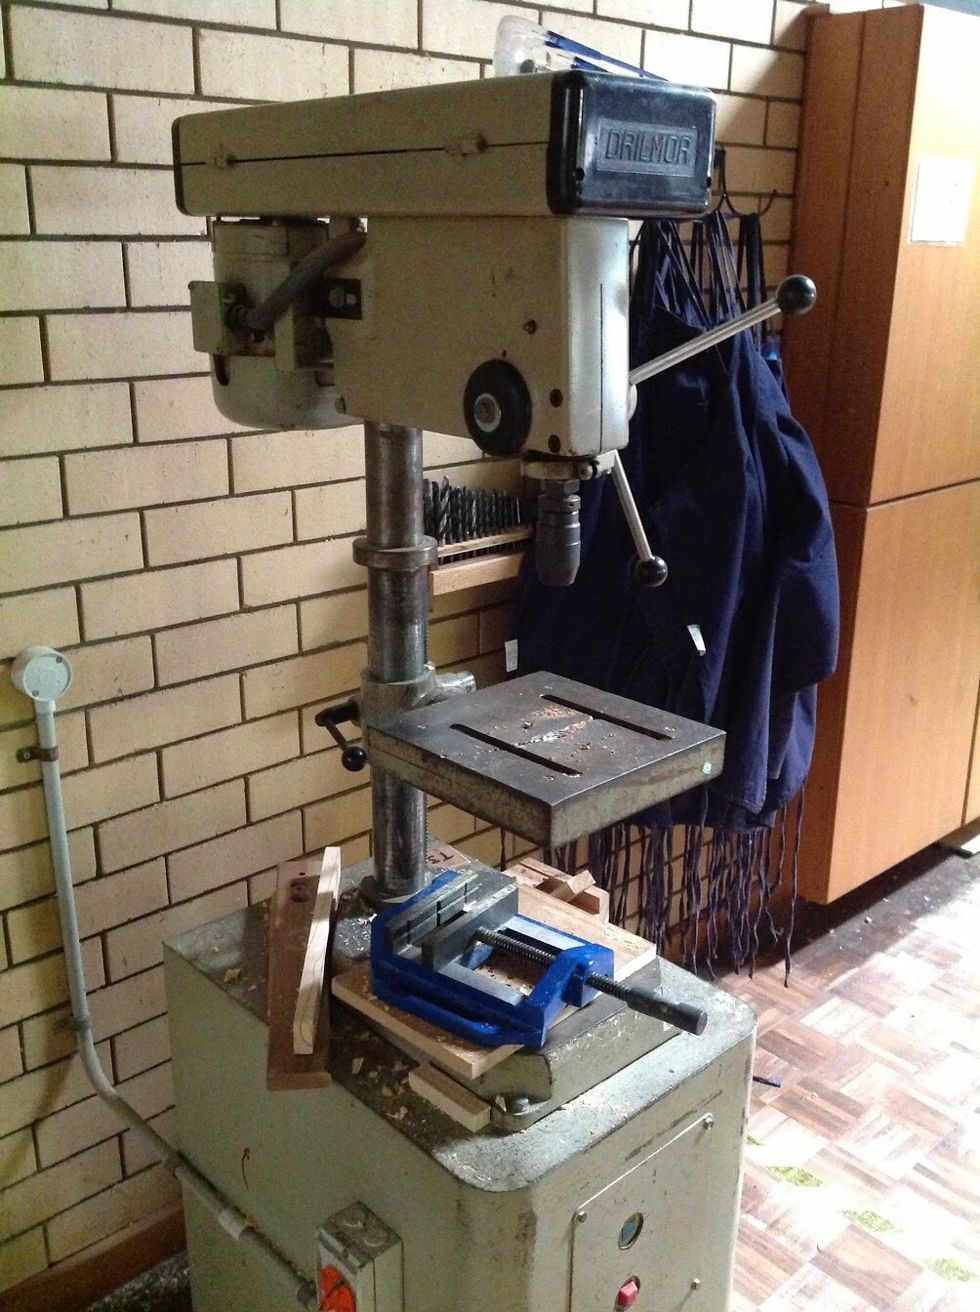
These are all the materials you will need to create your mini candleholder. The names of the materials are already listed in the page before.
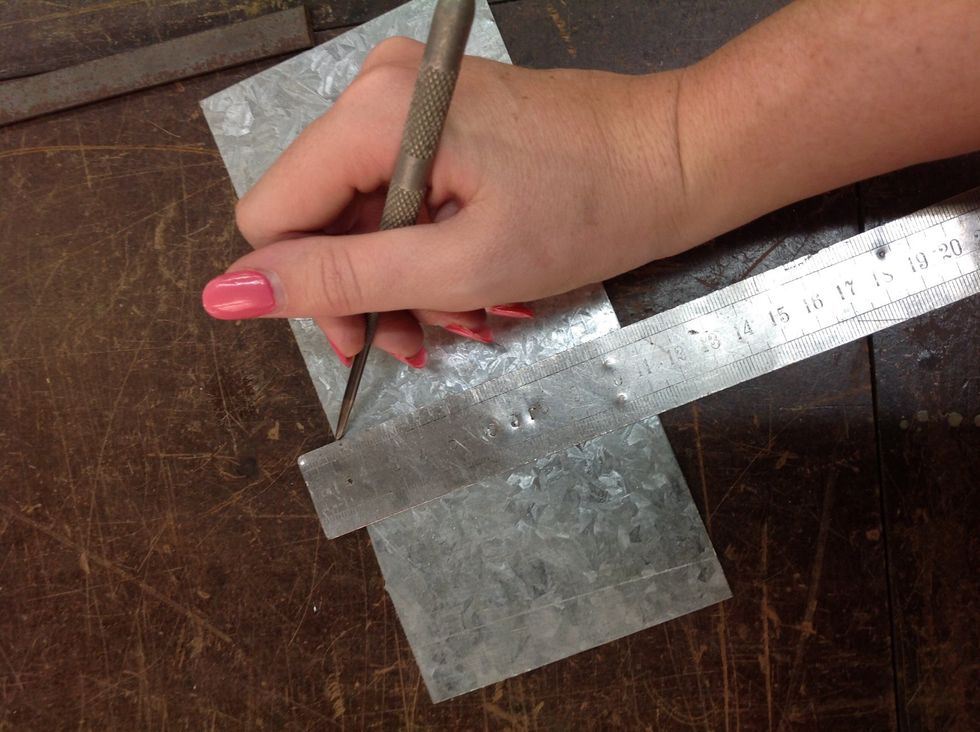
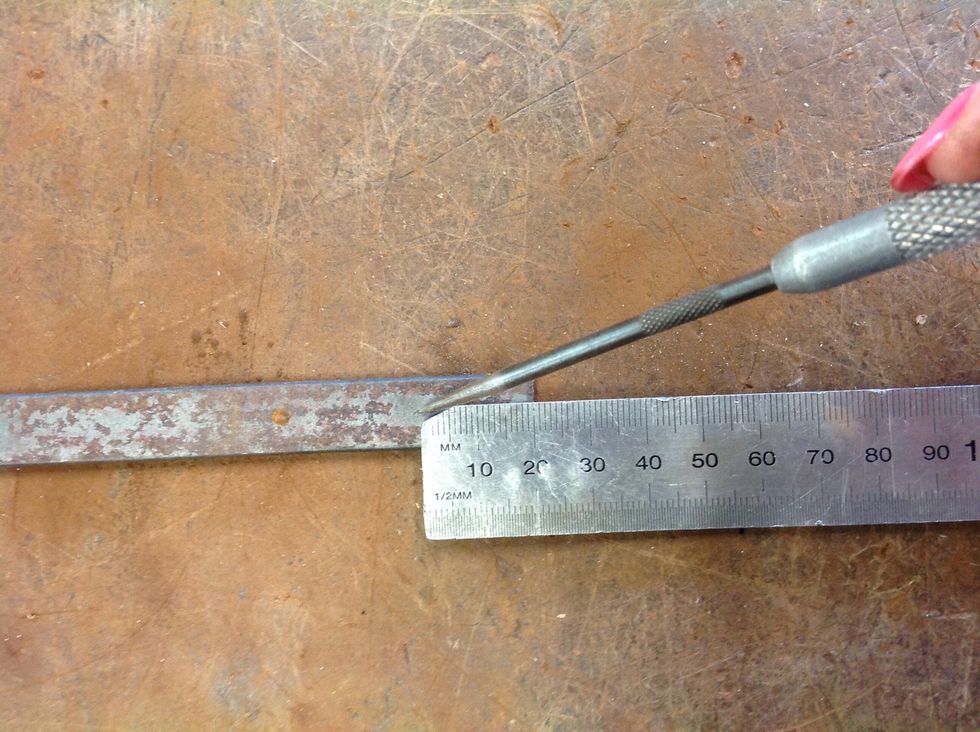
First, you will need to measure out a square in your sheet of metal. Use a ruler and a scriber.
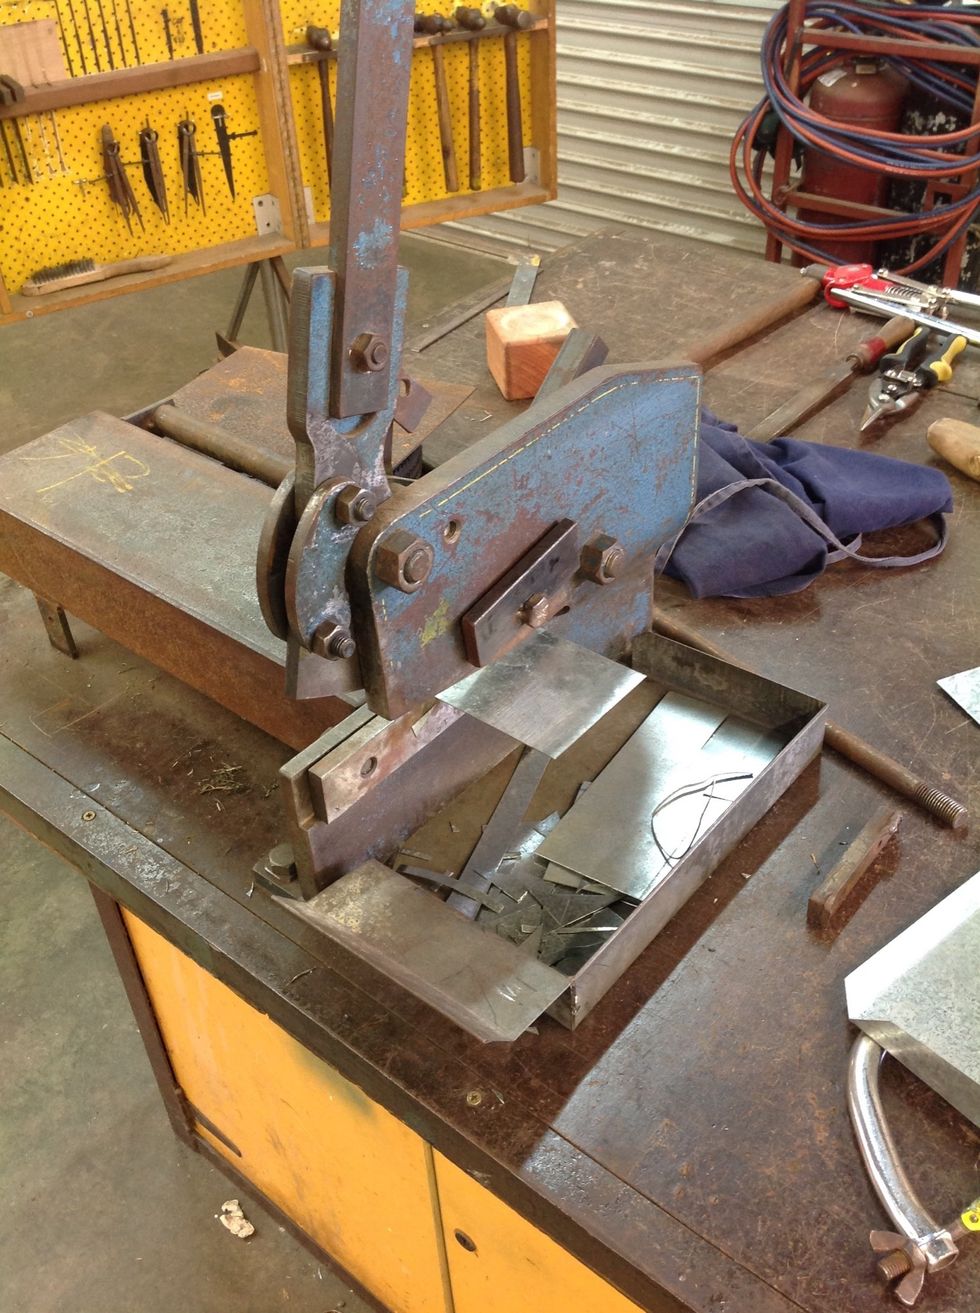
Then, you will need to cut your sheet of metal in a guillotine.
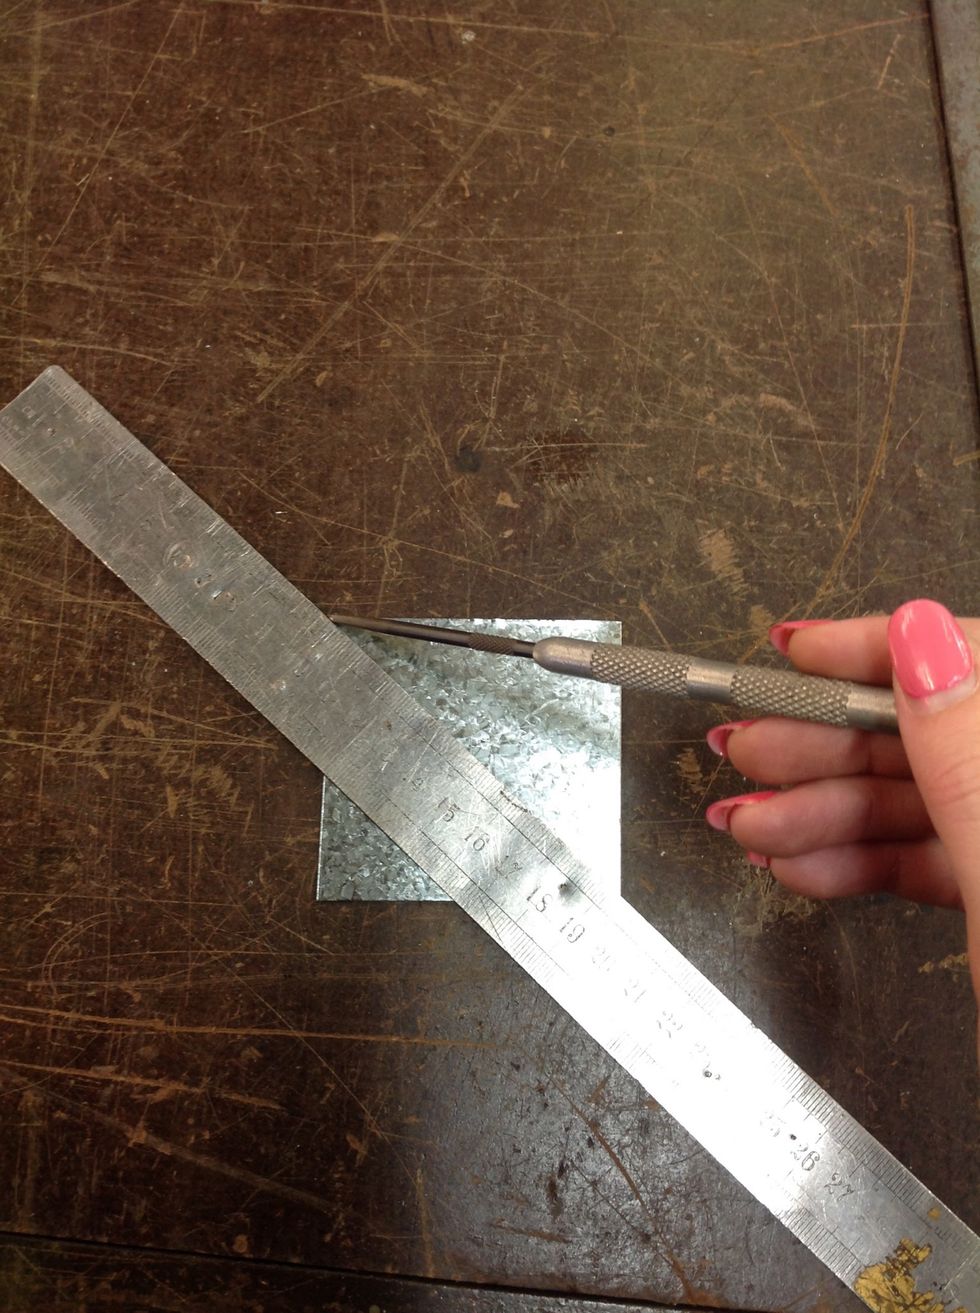
Now, you will have to find where the middle of your square of metal is. You can do this by making an "X" that goes from each corner of the square and marking it with your scriber.
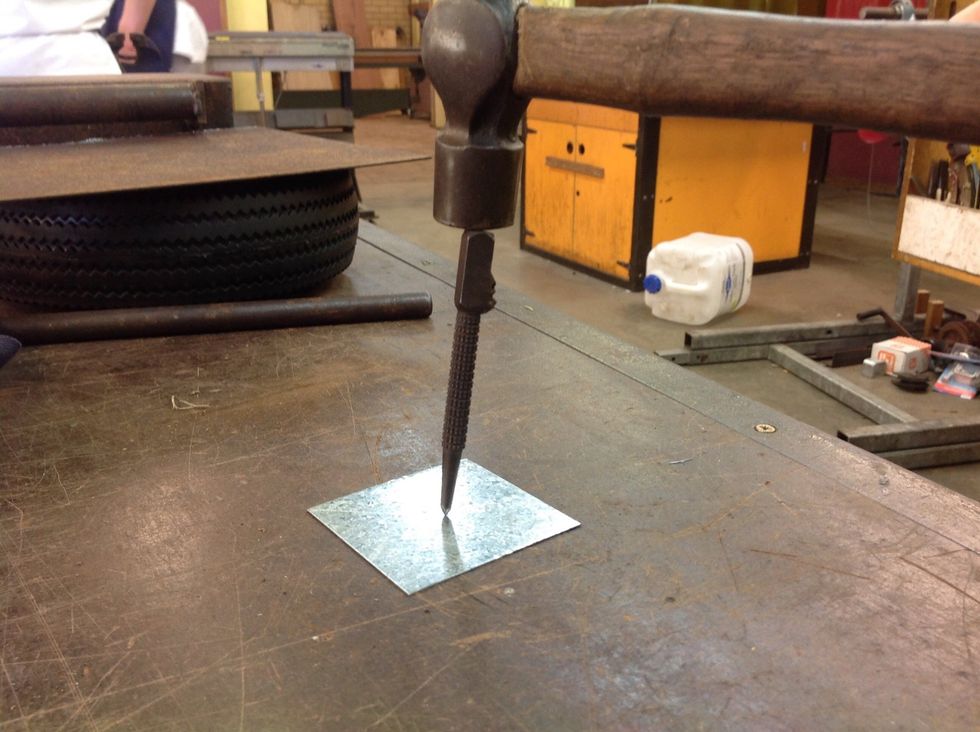
After you have found the middle, you will have centre punch the middle. This will help you when you are drilling into your sheet of metal.
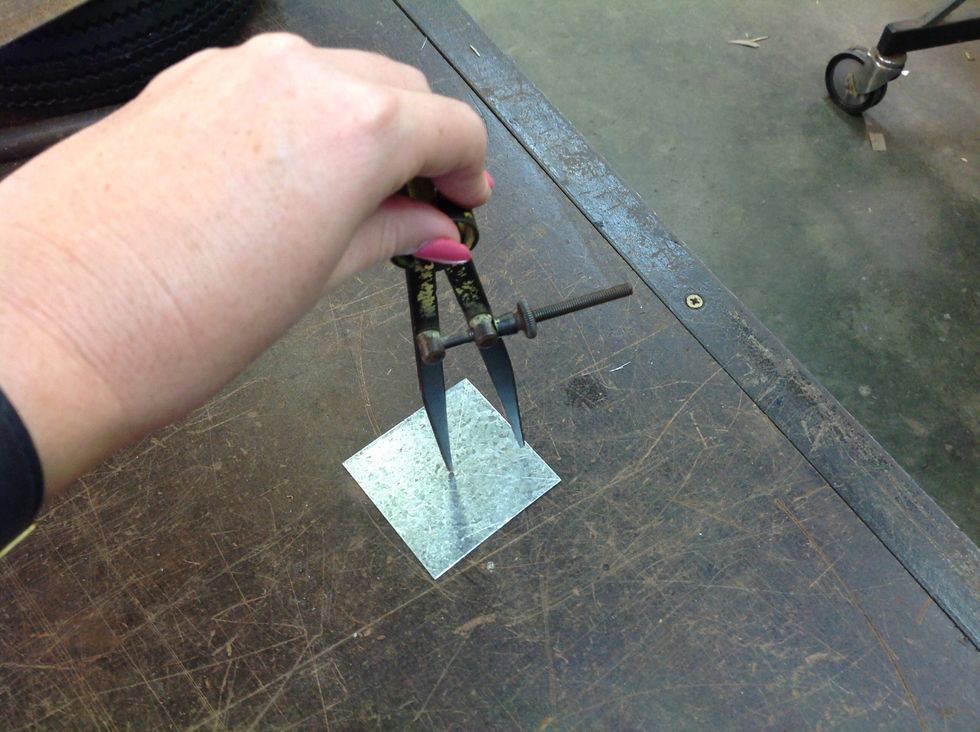
Now, with your compass, you will have to make a circle shape. Make sure you make your mark noticeable enough to cut out.
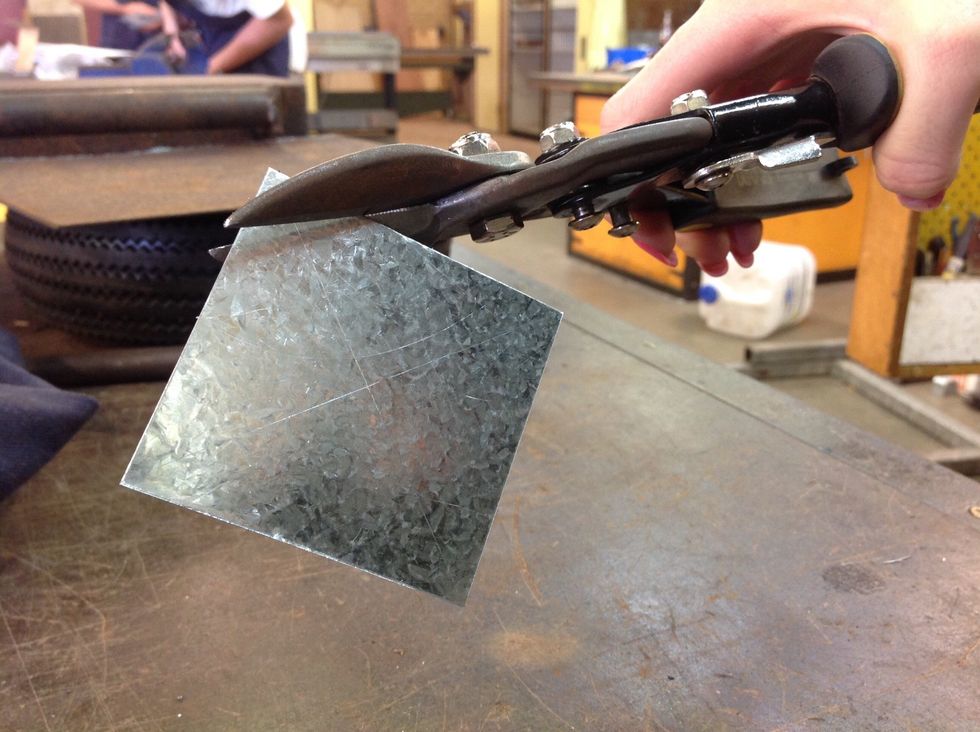
Then, you will have to cut your sheet of metal into a square with tin snips. Make sure you cut it as close to a perfect circle as you can.

Now, once you have cut your sheet of metal, you will have to file your circle so you don't have any sharp edges. You can also make it even more circle-like by doing this.
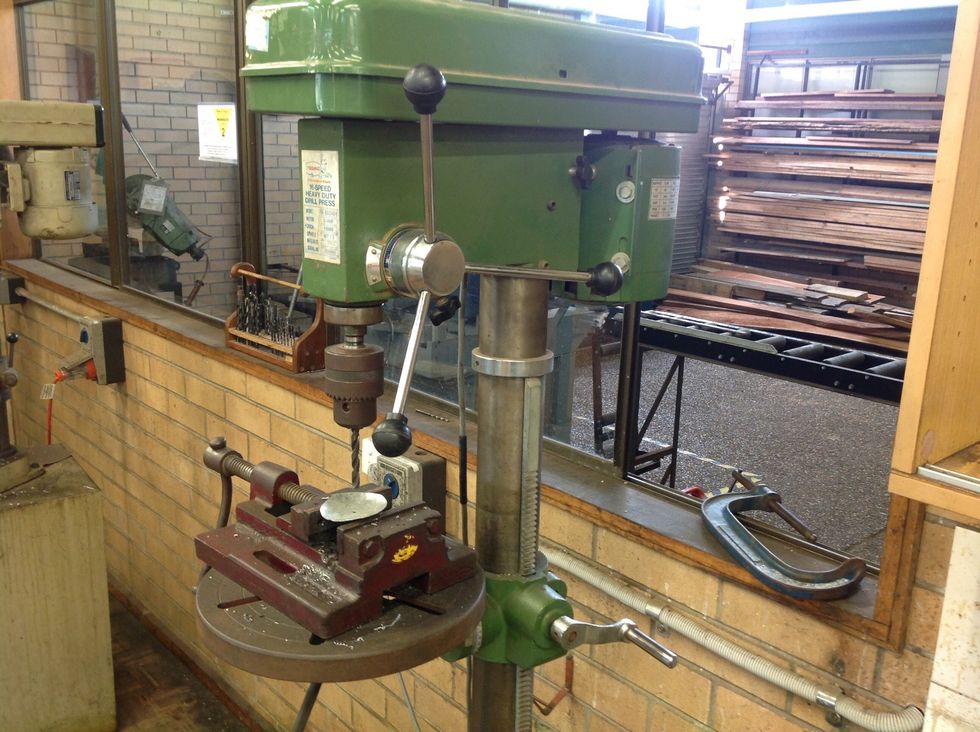
Next, you will have to put a hole straight into the middle of your circle. Do this by using your drill.
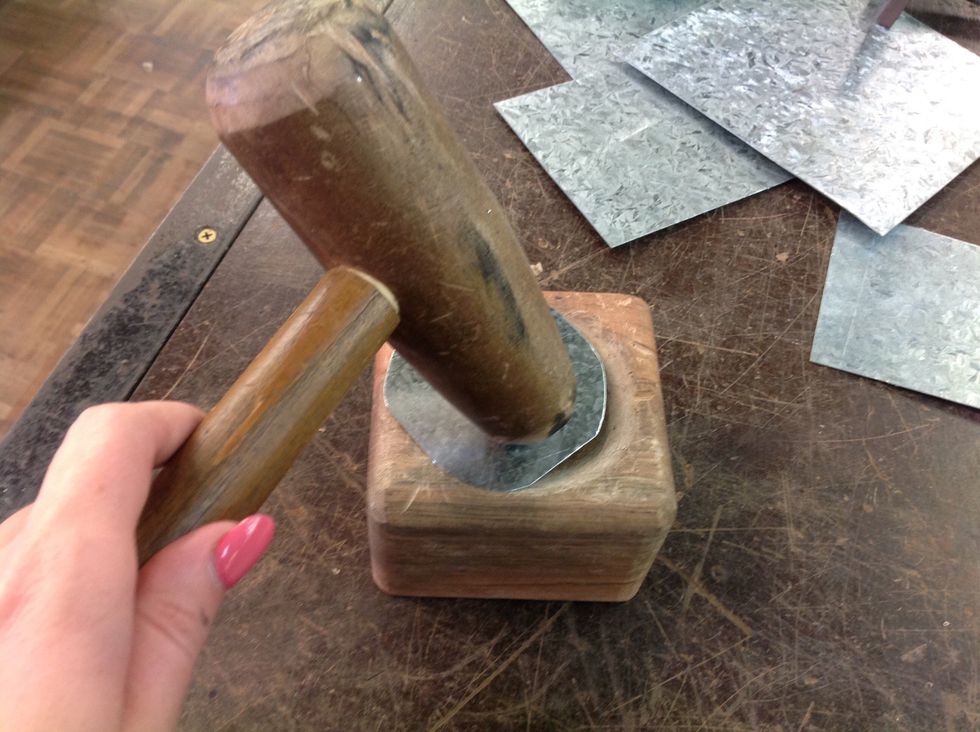
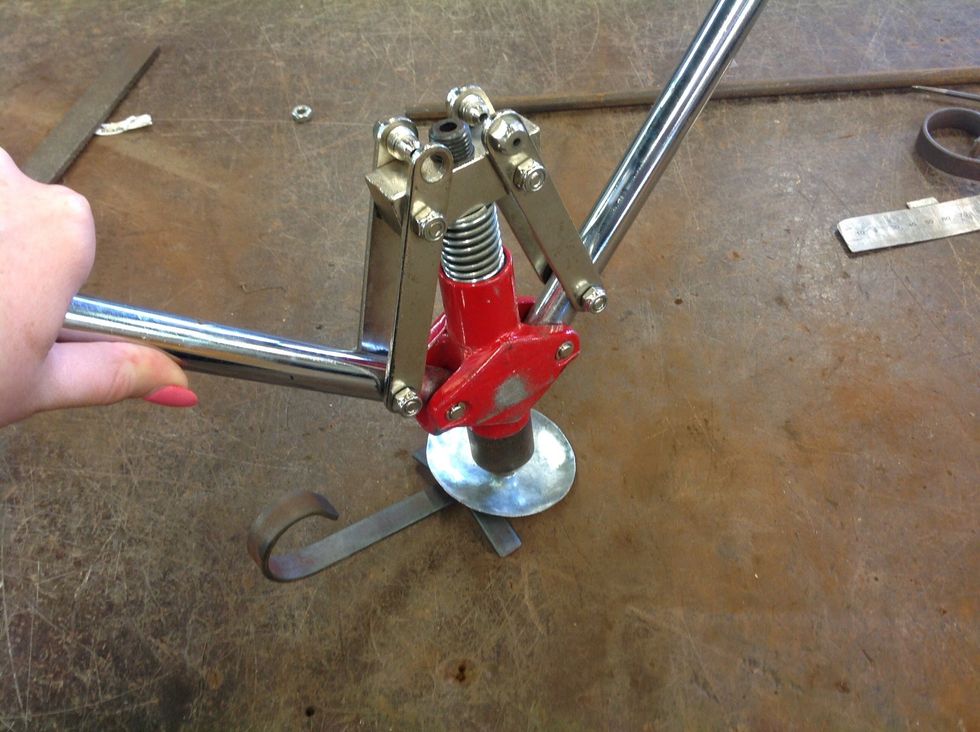
Now, you have to make your wax catcher circular by using a tin man's mallet. Put your wax catcher in a wooden mould and use the tin man's mallet to create the circular shape we are looking for.
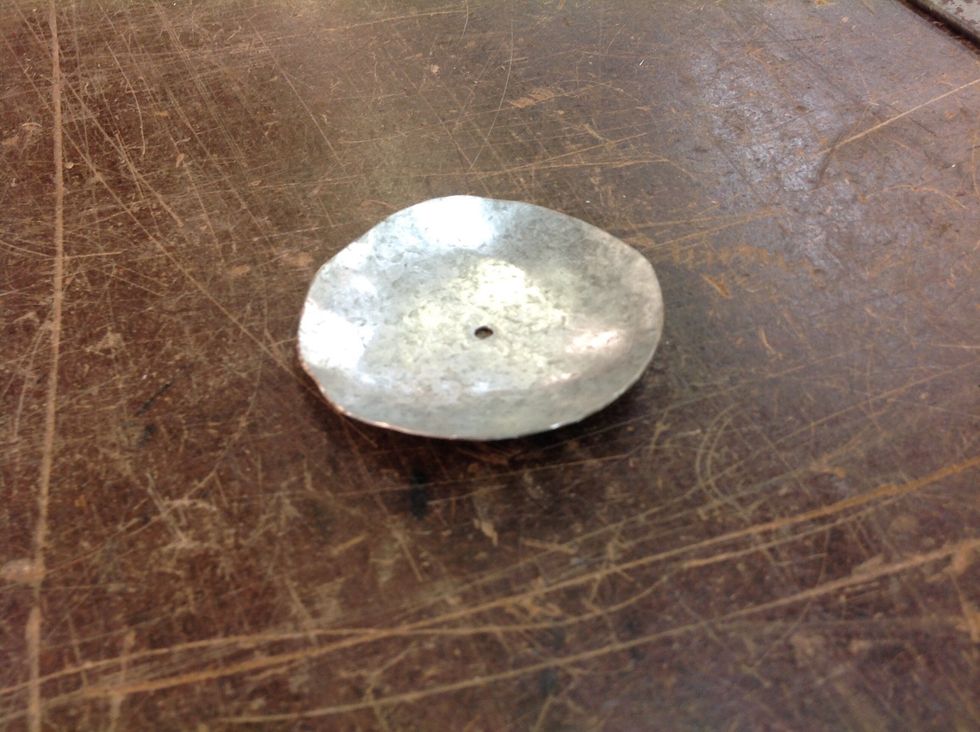
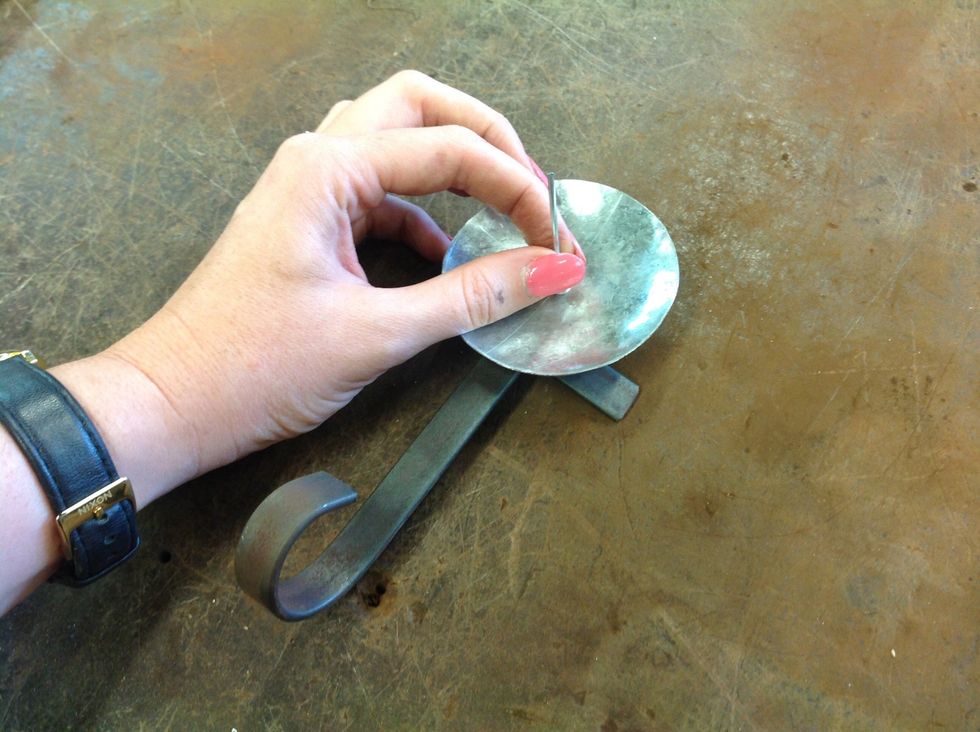
Now your wax catcher should looks something like this (it could be a little better in terms of filing, but that's okay)
Now you need to get your flat bar and find the middle of it. Use the "X" technique for this. Once you have found the hole, you will need to centre punch the middle for the drilling.
Make sure that the flat bar is filed around the edges enough so that it had no risk of cutting you!
After you have finished filing, you will have to drill a hole in the centre (where you have already centre punched)
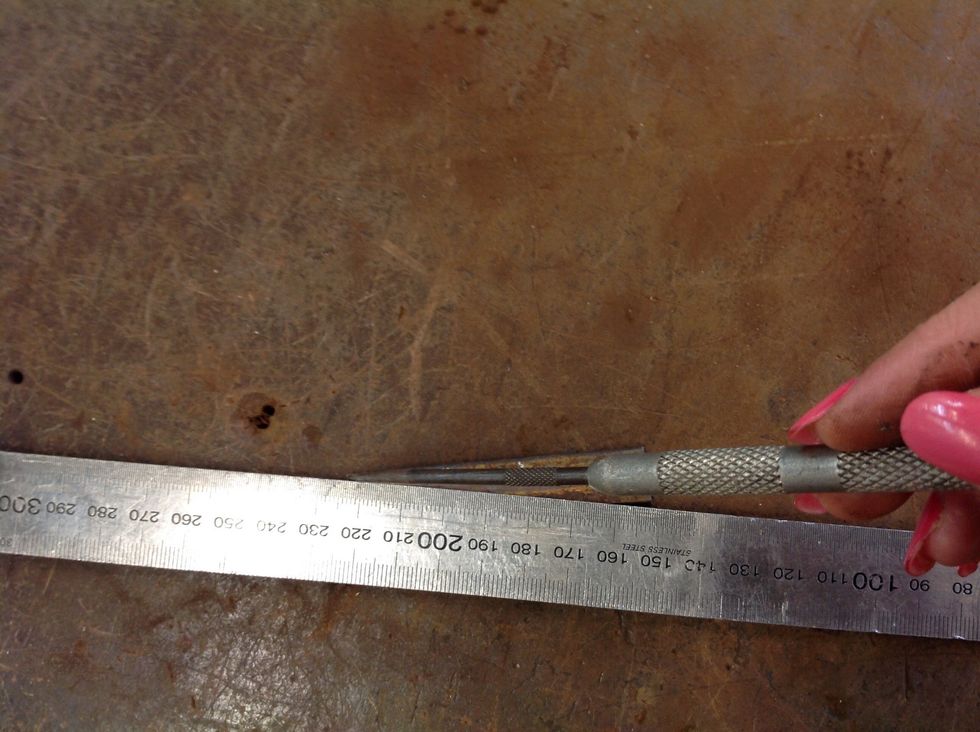
Now, you will have to measure. Find 1/2 of a centimetre from the top, and then you will have to centre punch that too.
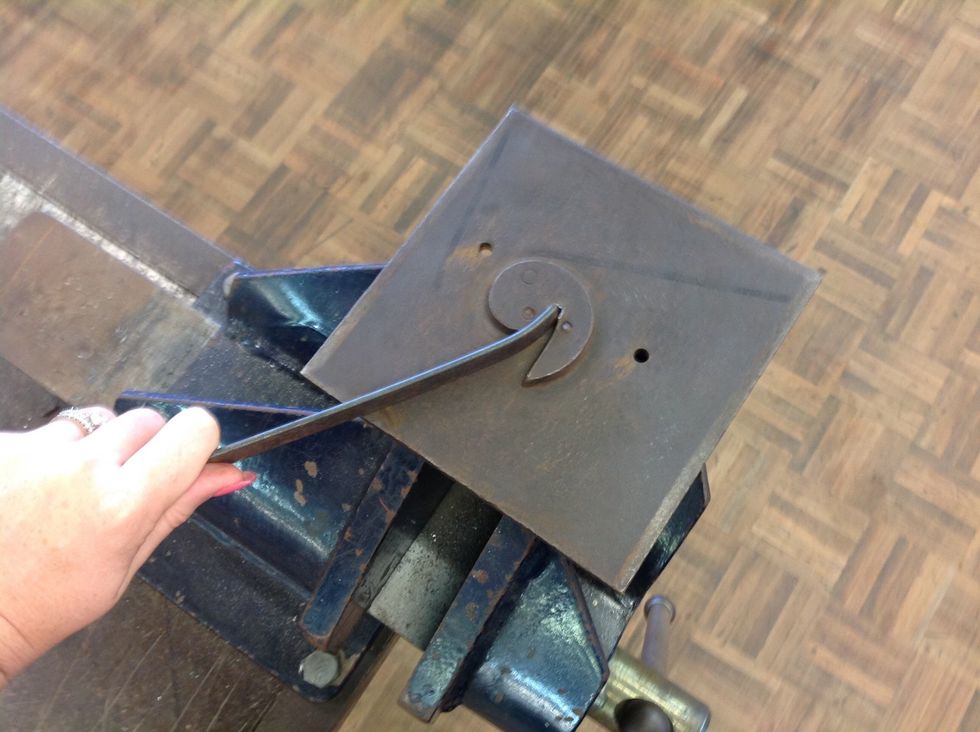
After centre punching once more, you will have to start giving the shape for your finger holder. You do this by using your scroll plate.
This is how much you should approximately turn to. DO NOT USE THE WHOLE SCROLL TO SHAPE YOUR FLAT BAR!
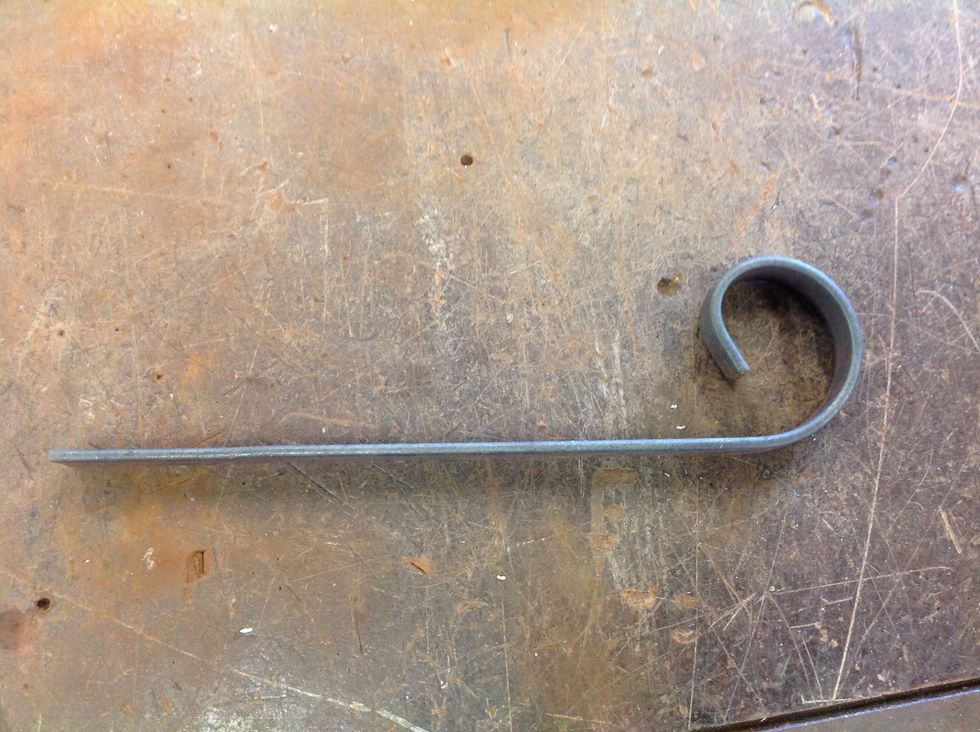
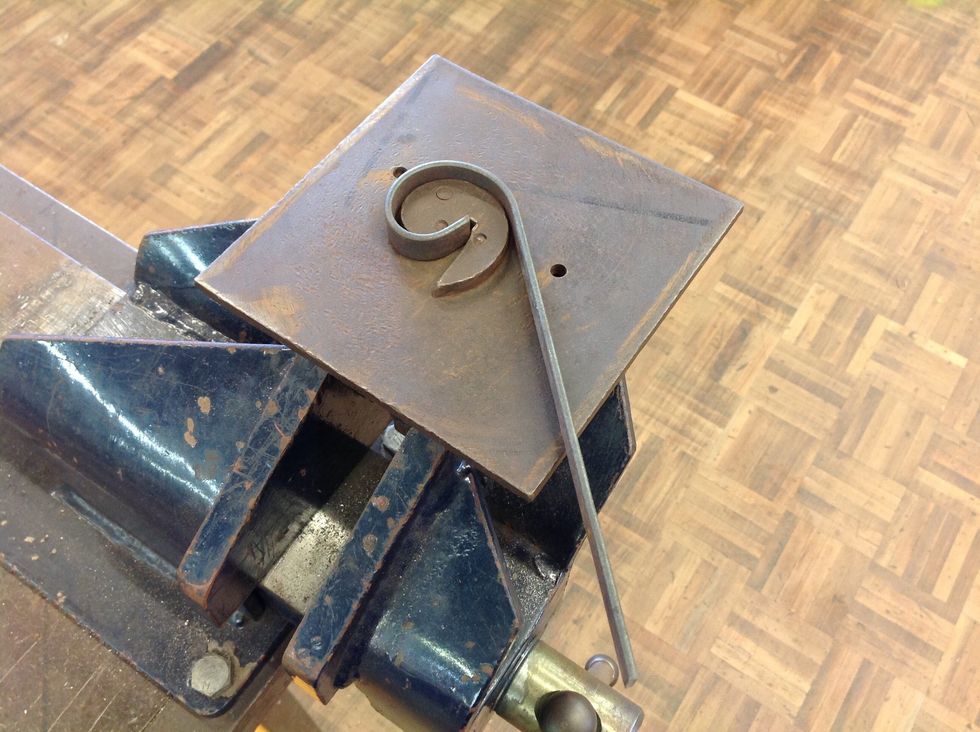
This is how your flat bar should look somewhat like.
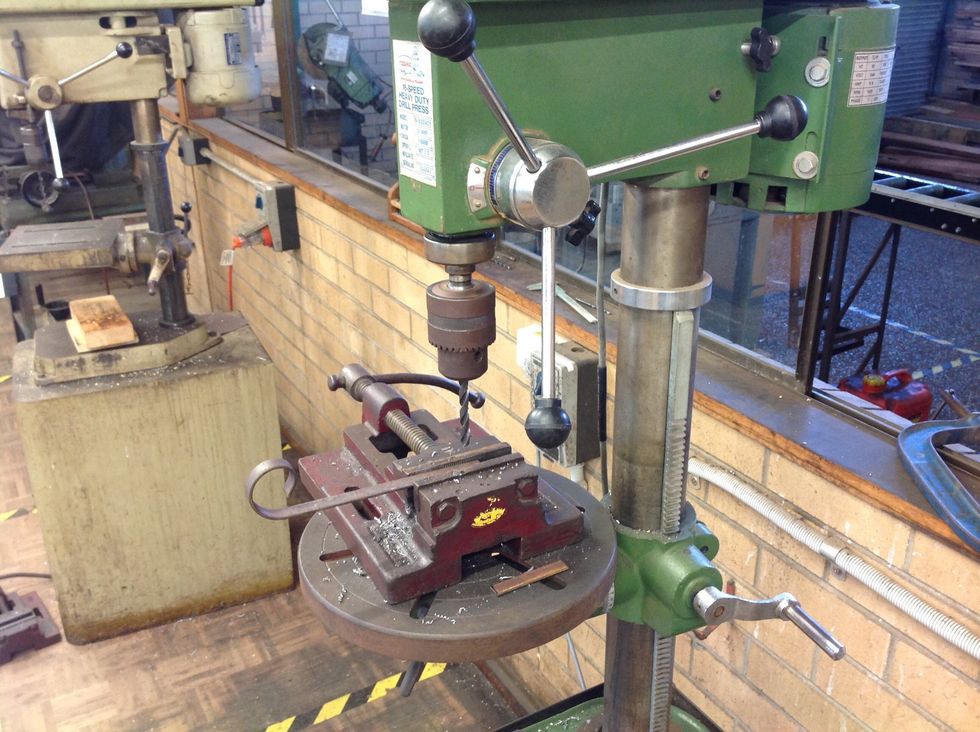
Now, you will have to find where you have centre punched near the end of the flat bar. Use this centre punched part to drill.

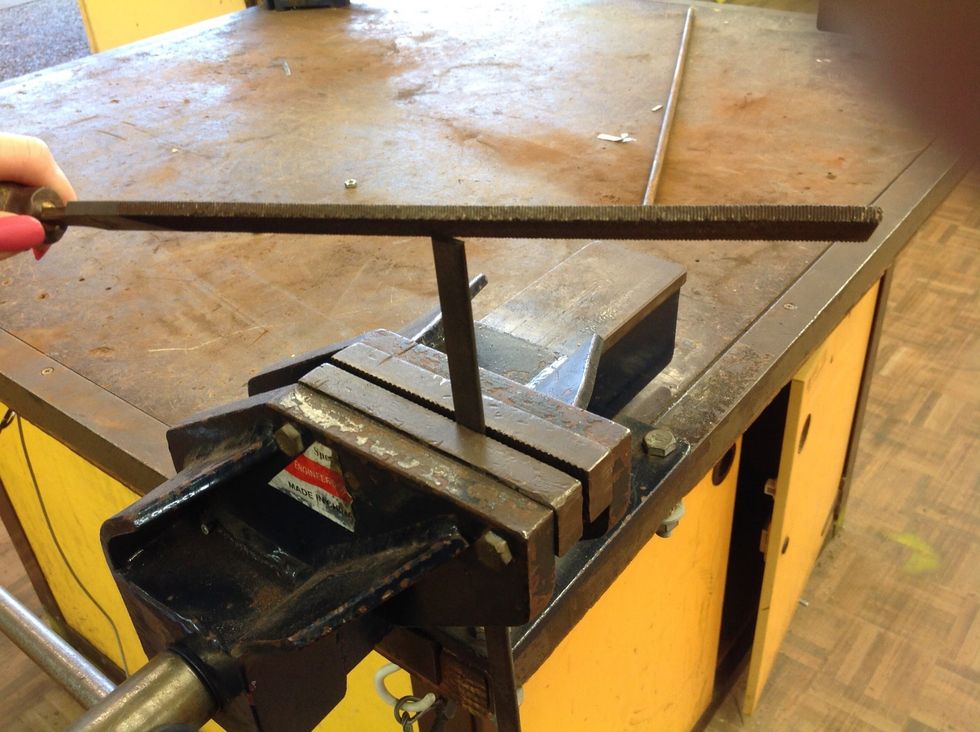
Now, you will have to put your flat bar into the vice and start hammering your flat bar. You will need to hammer it until it is on a good 40 degree angle (approximately)
We are almost done now. You will now have to put your pop rivet into all of your holes that you have drilled in the order as shown.
Finally, use your pop rivet gun to secure the pop rivet into all of your holes.
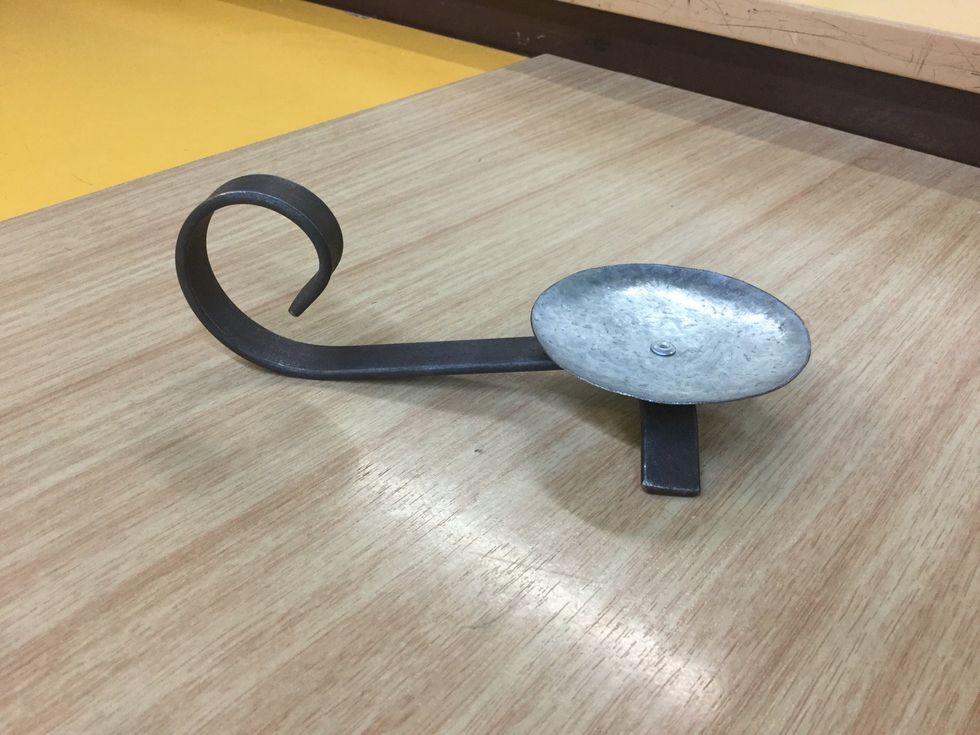
Here is a picture of the final product. Good luck making your own mini candle holder :)