The Conversation (0)
Sign Up
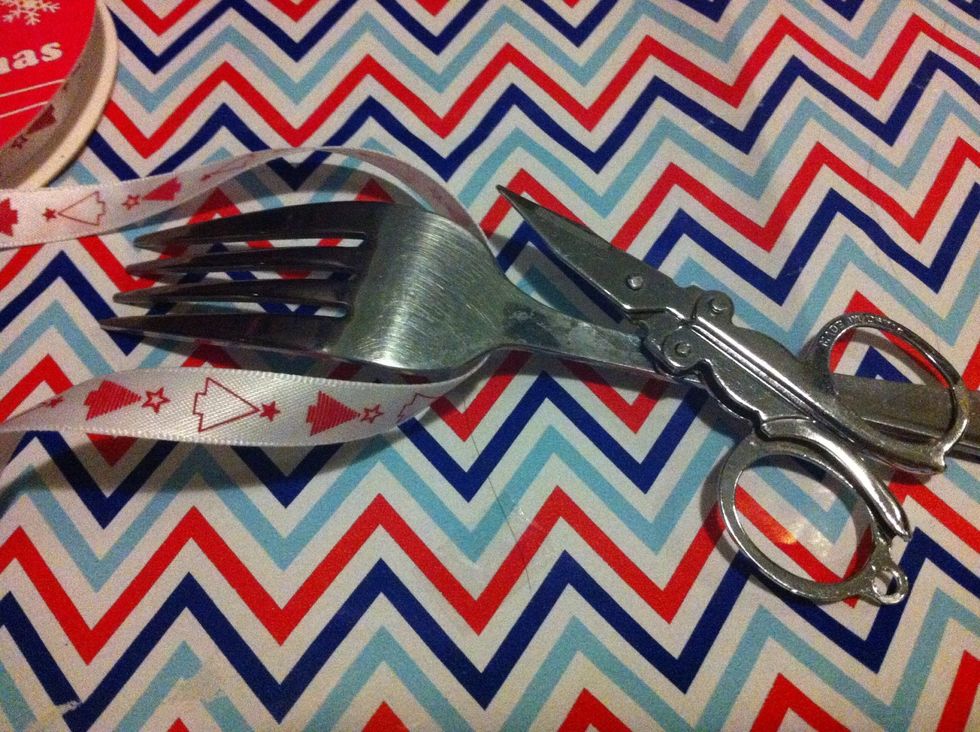
Supplies (Yup, wrapping paper as the background)
You'd rather your ribbon to be longer (rather than too short) because than you can trim it off. I found that I could make a bow with 15cm, but to start with you may need 20cm.
Make sure your ribbon isn't too wide; if it's too thin you can put two thin ribbons together to make something like...
...this! But enough of ribbons, let's get into it
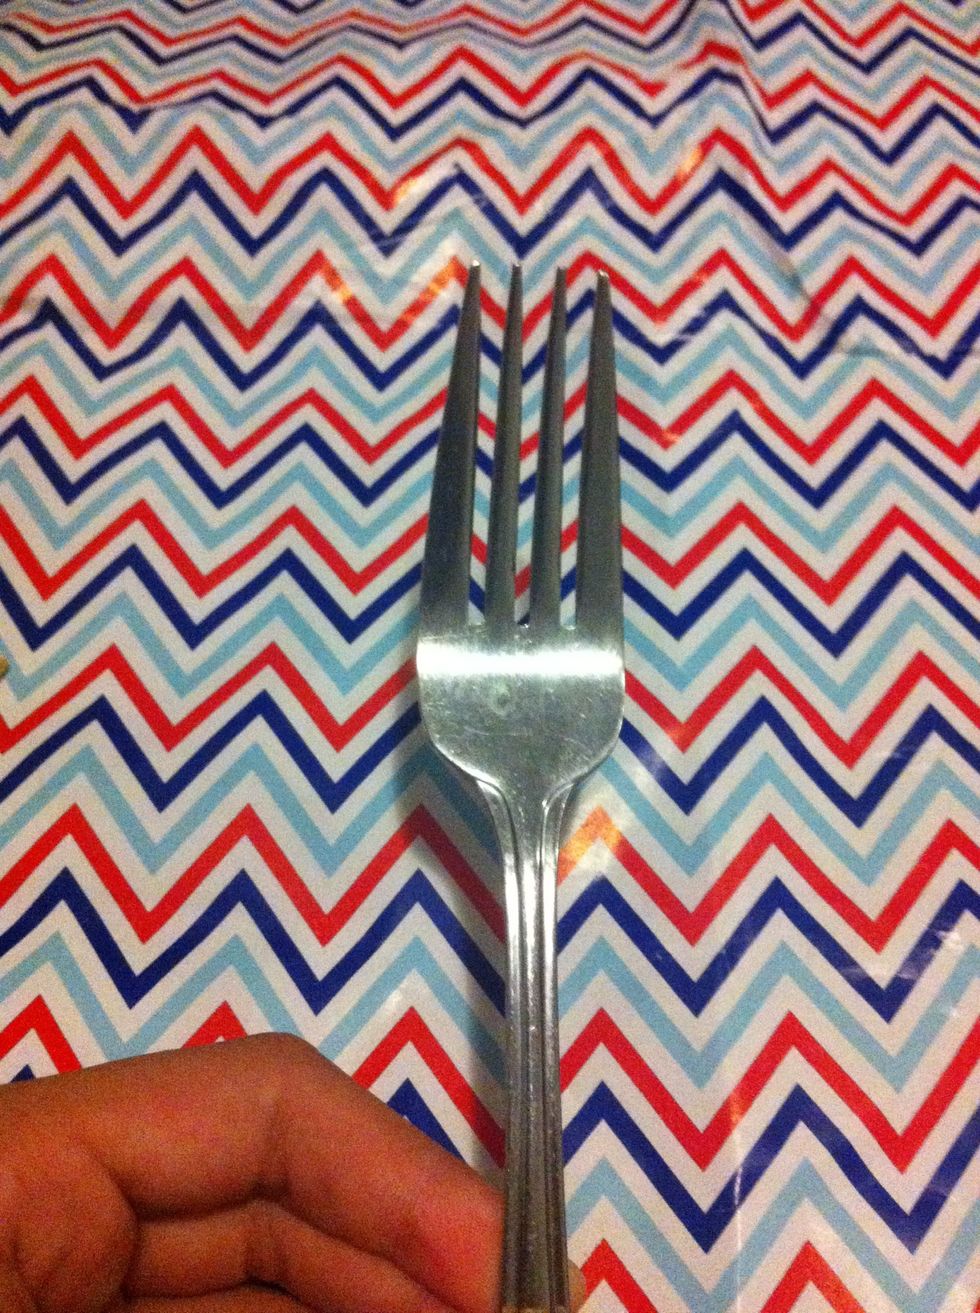
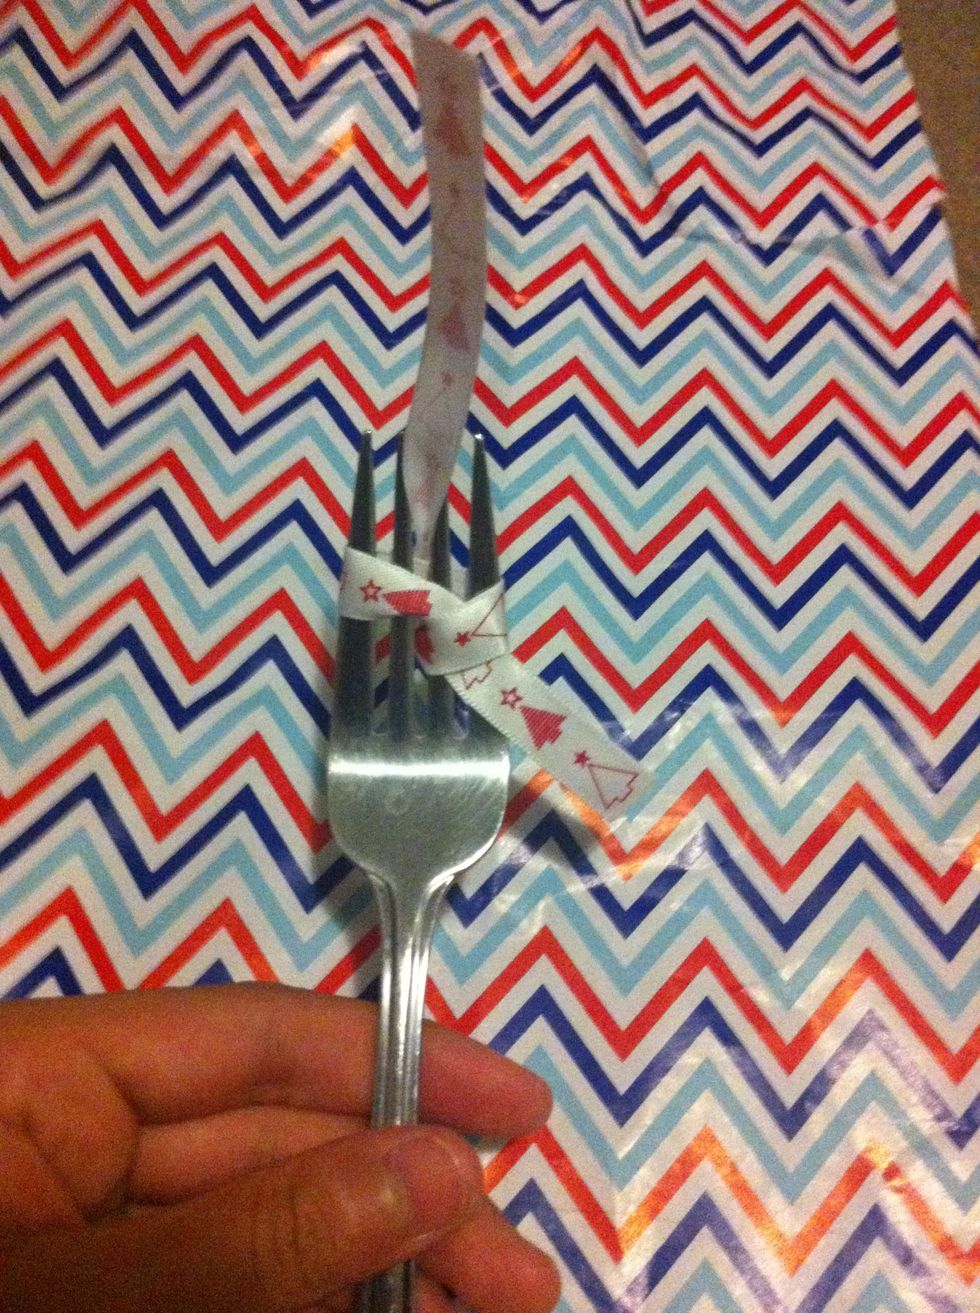
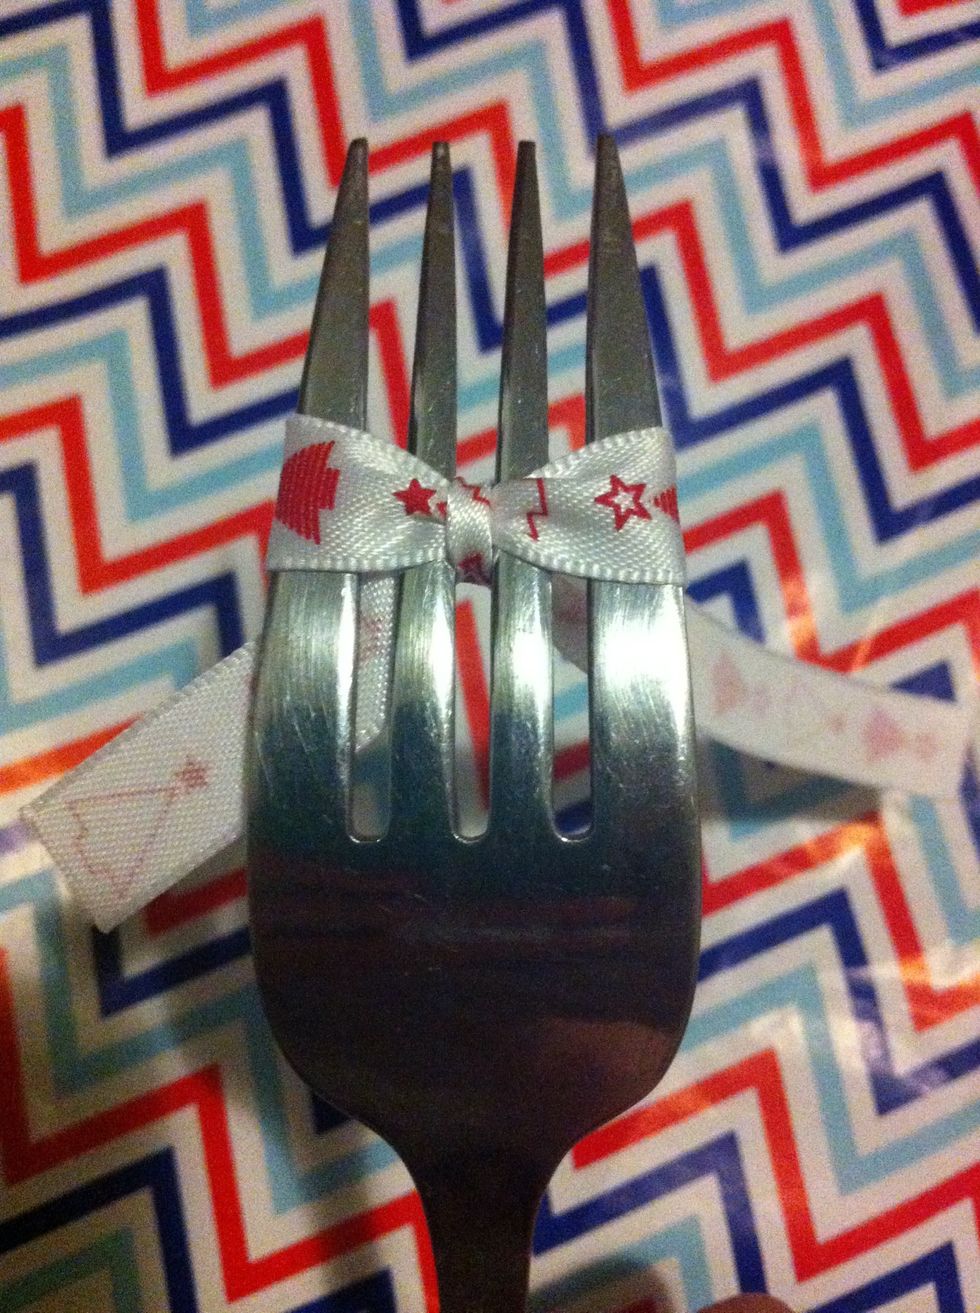
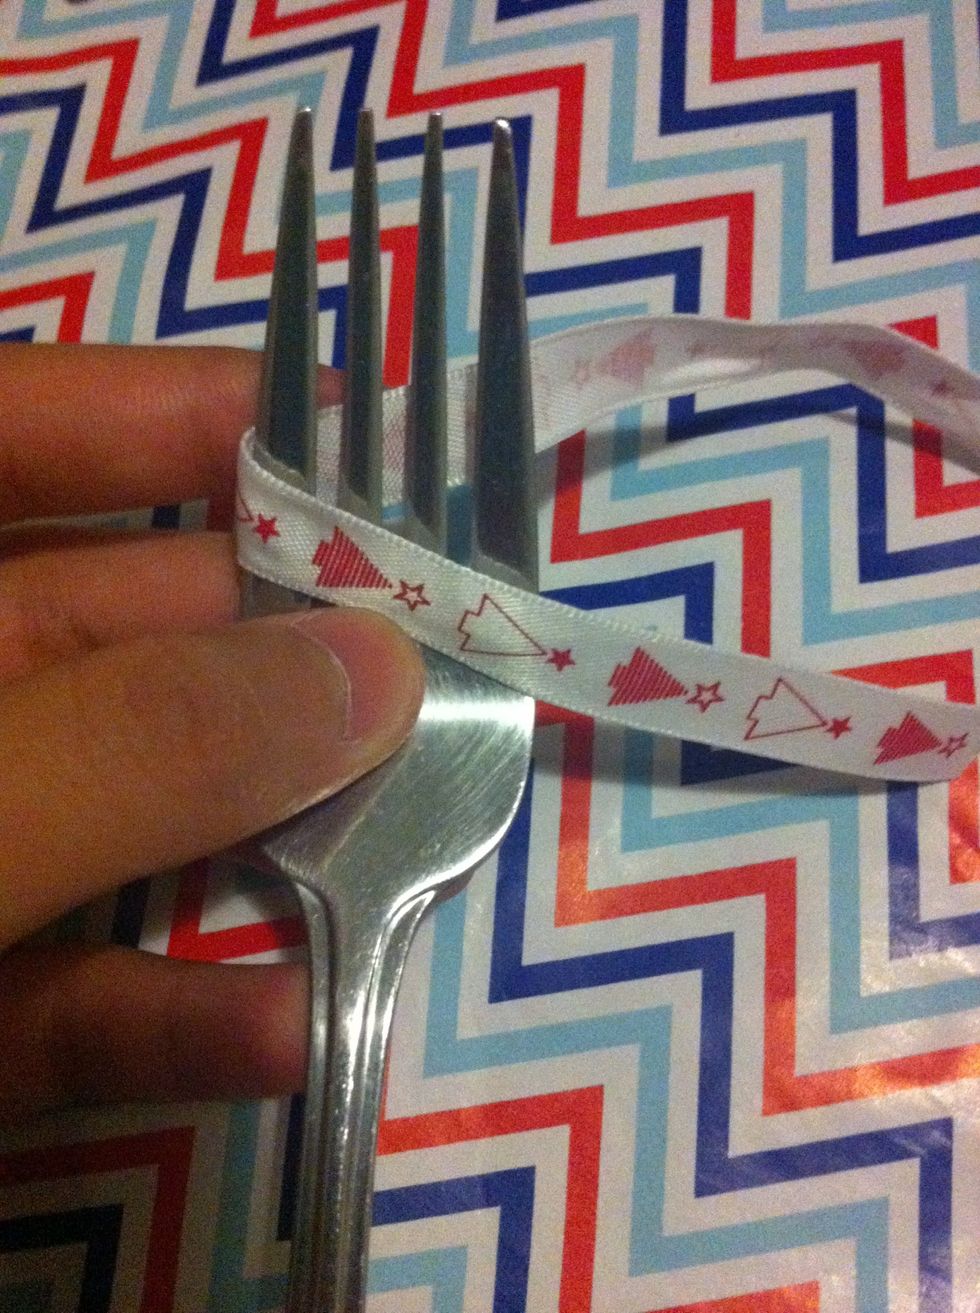
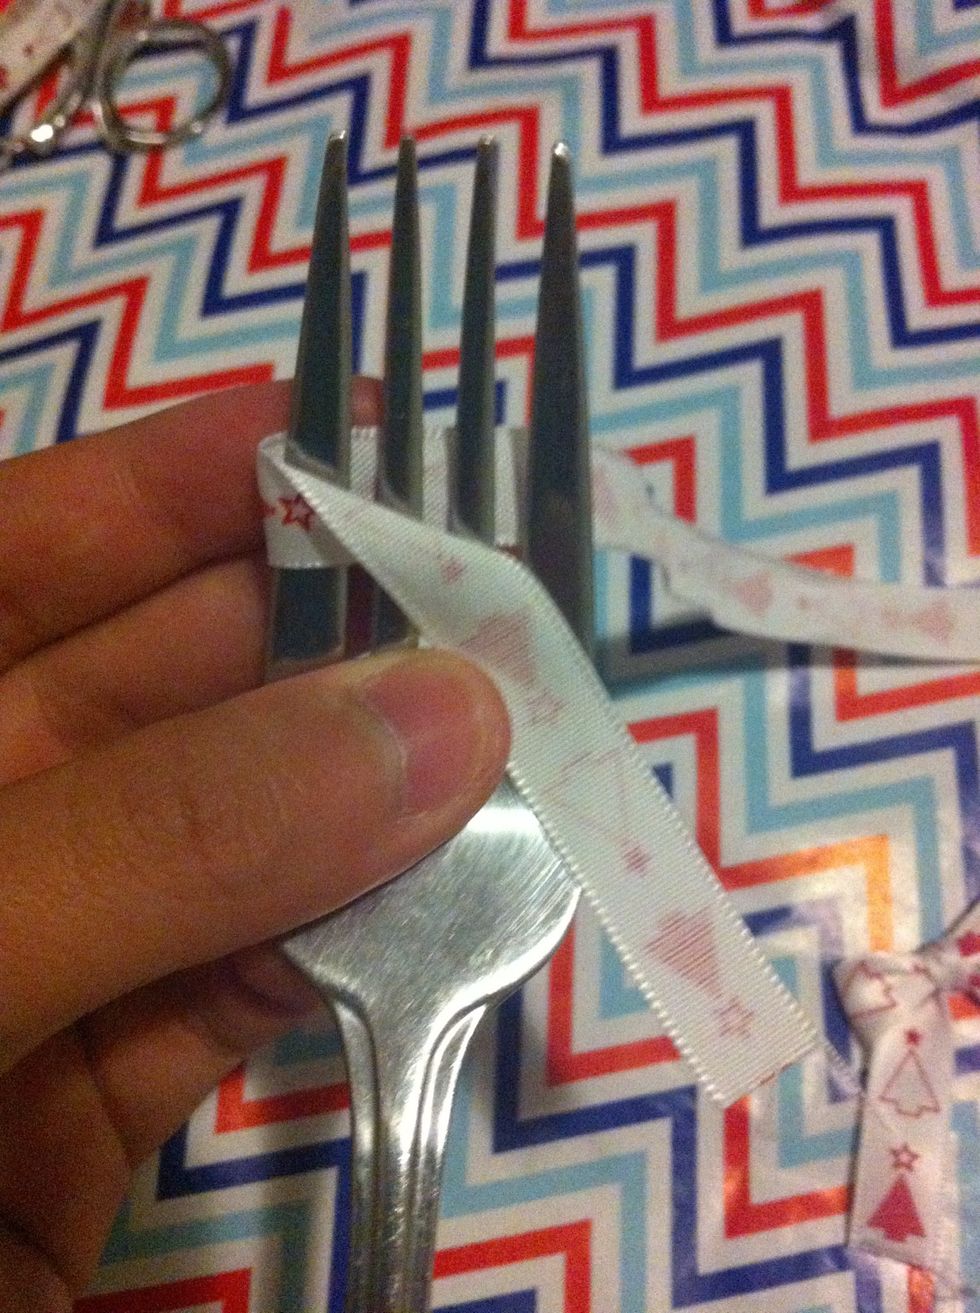
Fork this way up

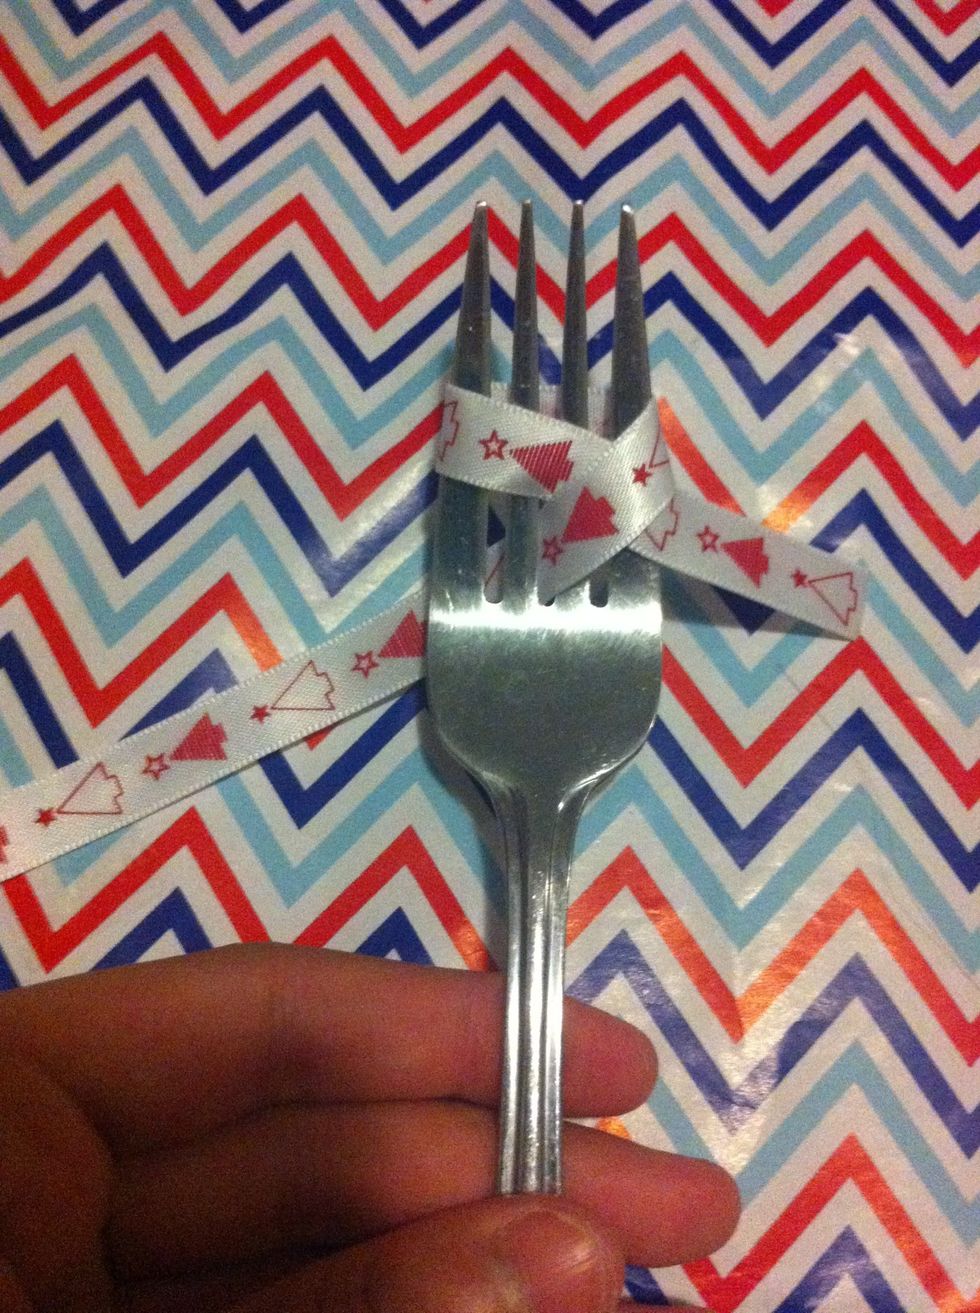
Place ribbon as shown

Tuck the other end through the middle space
Bring it behind and up
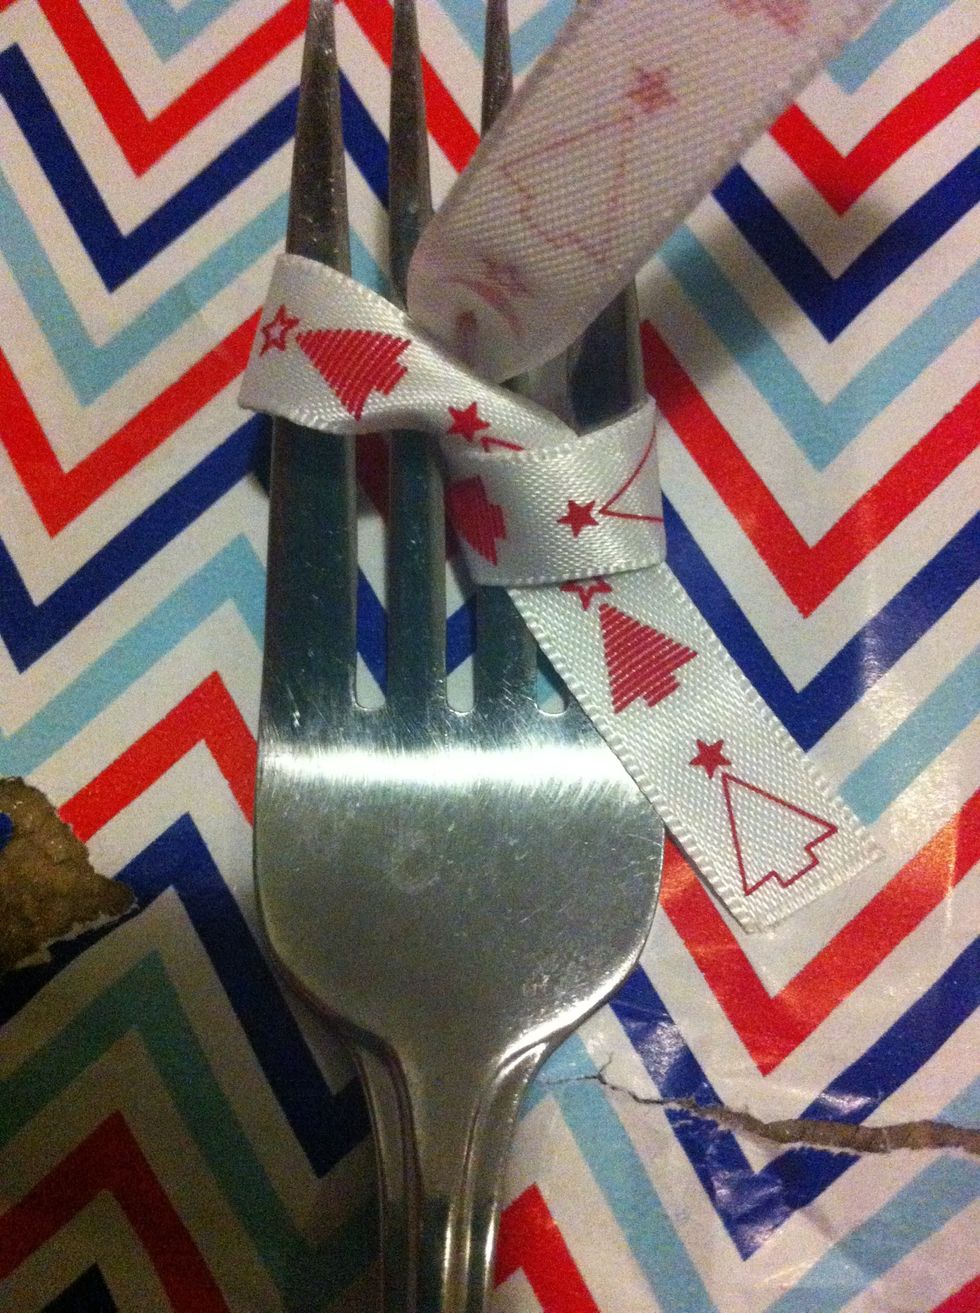
Through the middle space
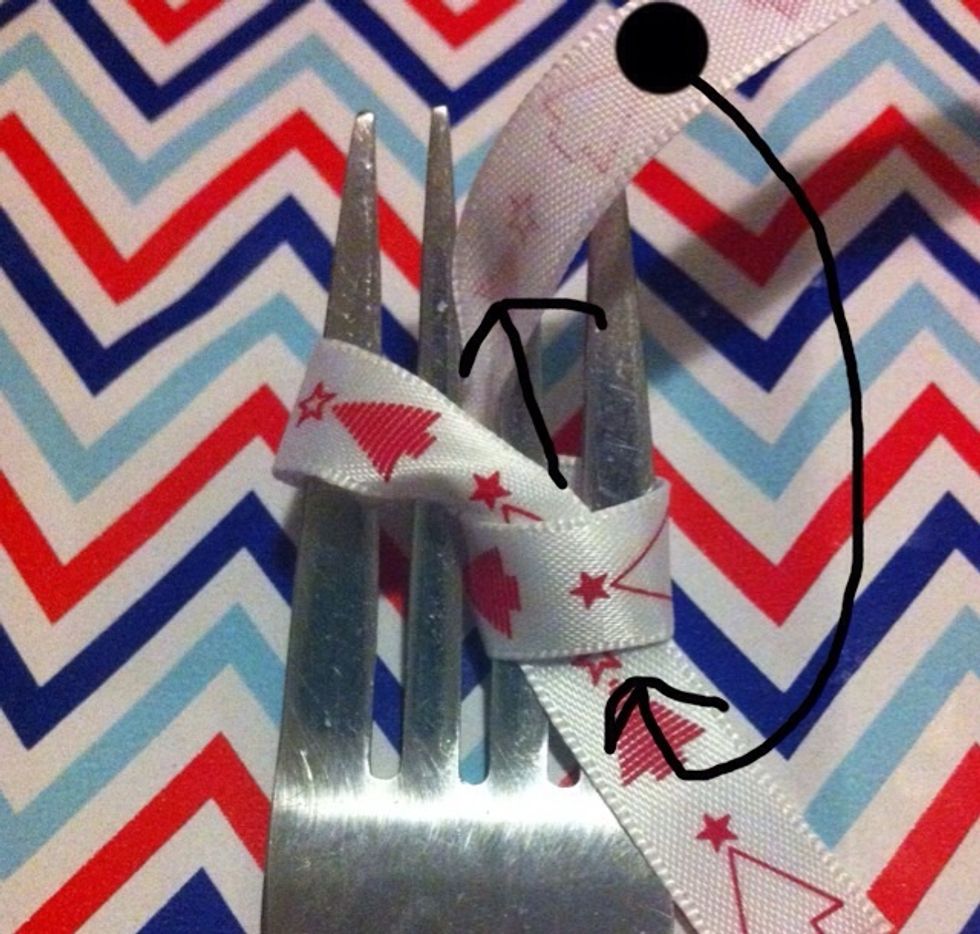
Now it's kinda hard to explain... Bring the longer end under the loop (as shown)...

...like this... no? Don't get it? Haha...video then
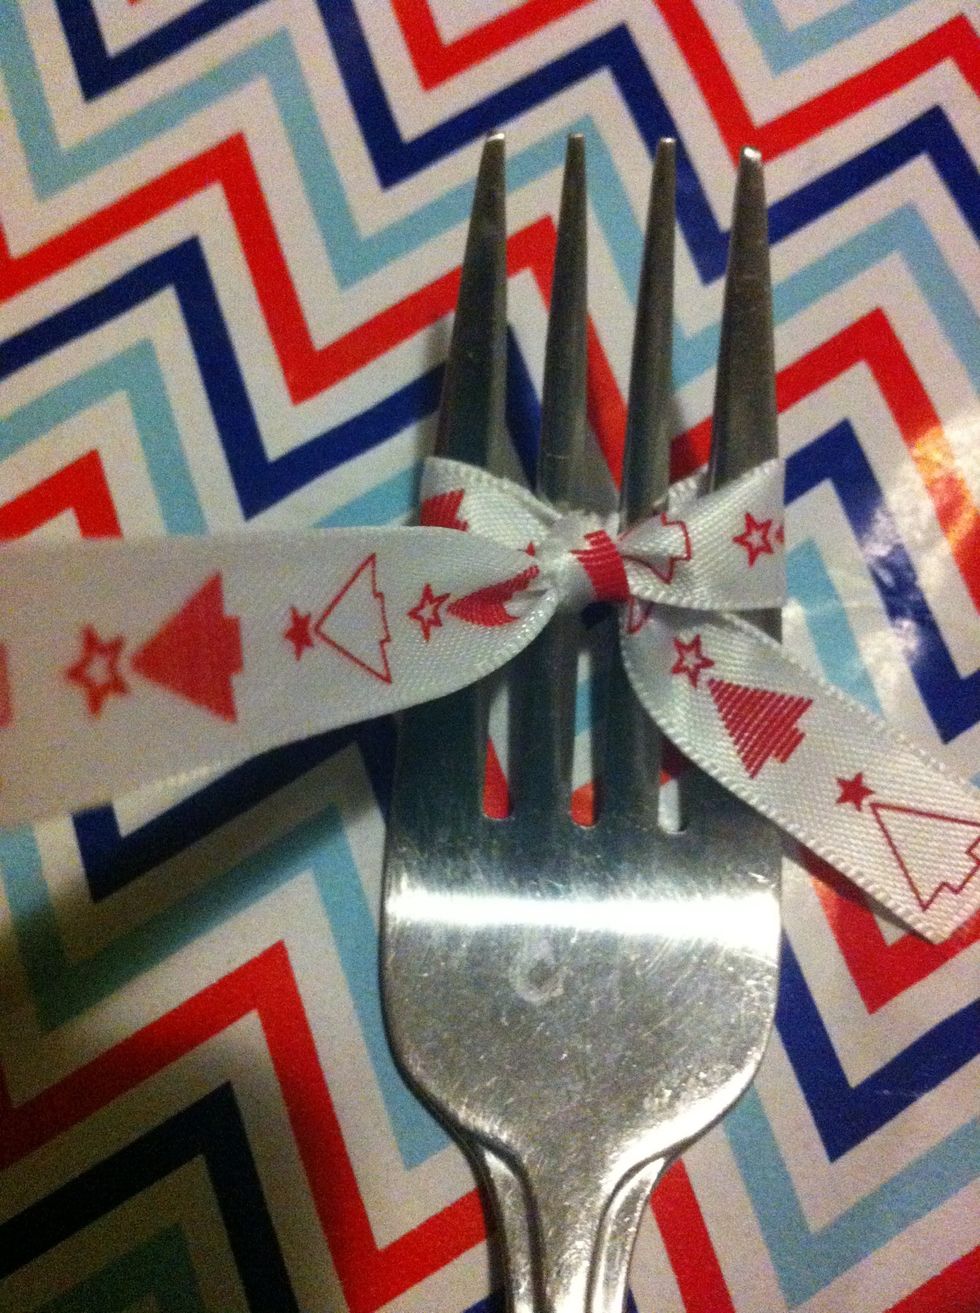
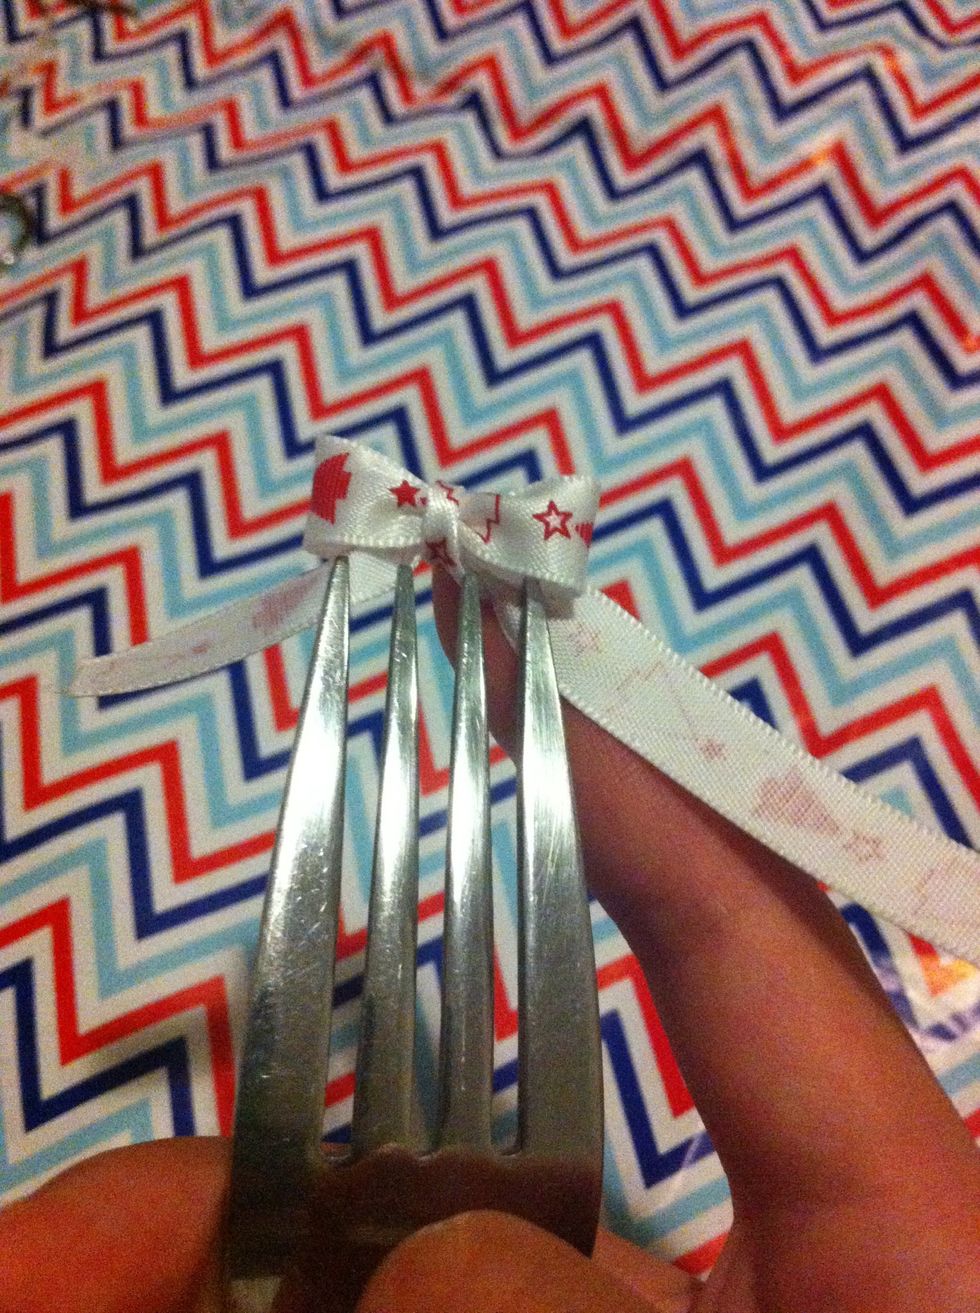
PUUUULLLL as tightly as you can (without breaking the ribbon ;) ) cause you do NOT want it to fall out.
Flip over aaaand...ta-daaaaa a pretty little bow is already taking shape
Gently pull the bow off the fork
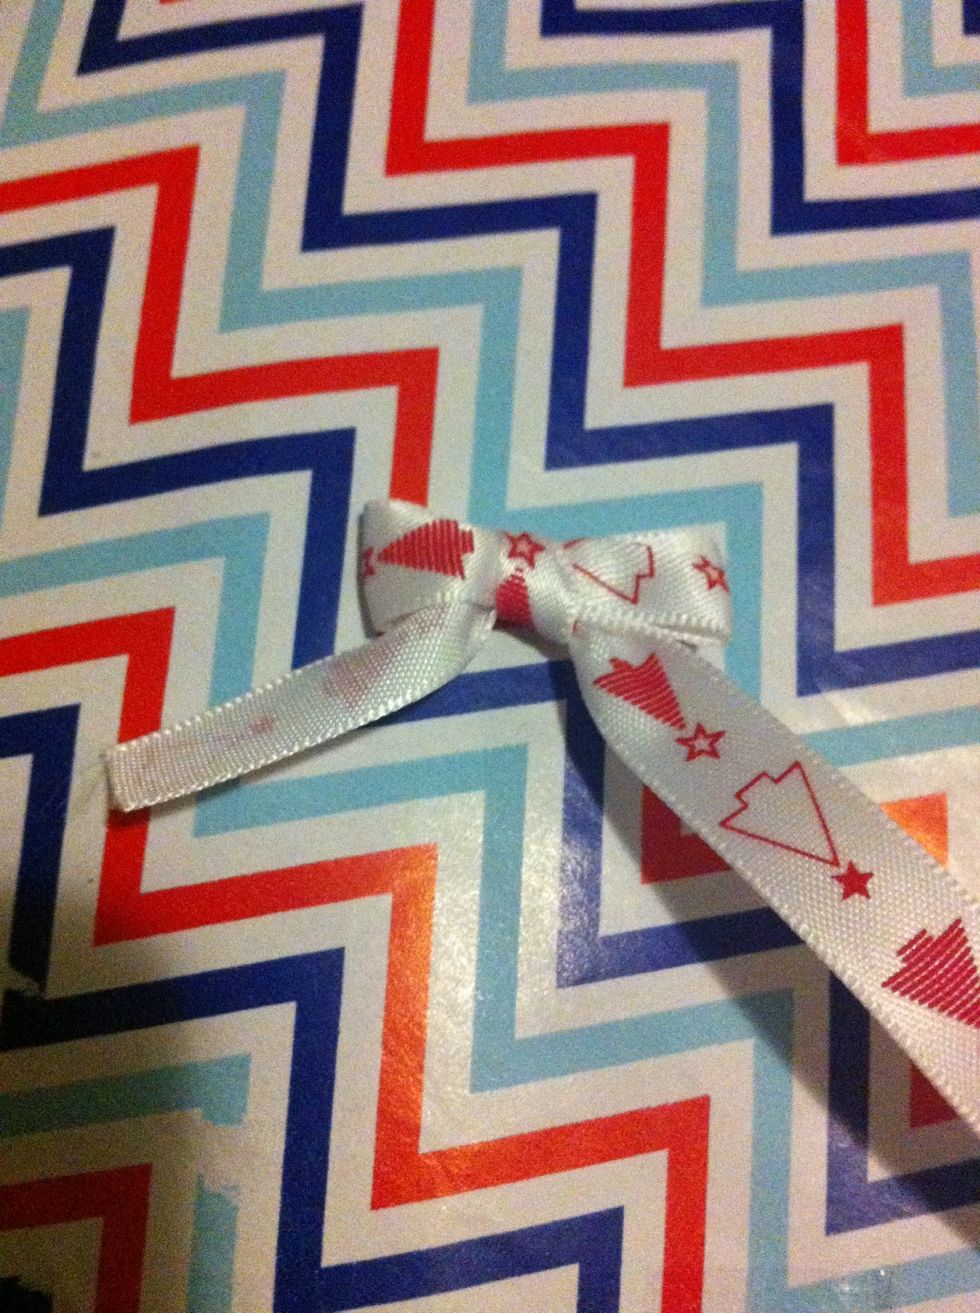
Then realise...uh oh, a 'leg' is backwards! Easily fixed...
In the beginning, do...
...this here (okay, I know you're wondering why I didn't put this in the beginning; the answer: you wouldn't have known why I did this...so I showed you it now 😊)

Yay! Same sided legs (now that I think about it, you can use double sided ribbon, usually a solid colour )

Snip snip! A little trim here, a trim there...
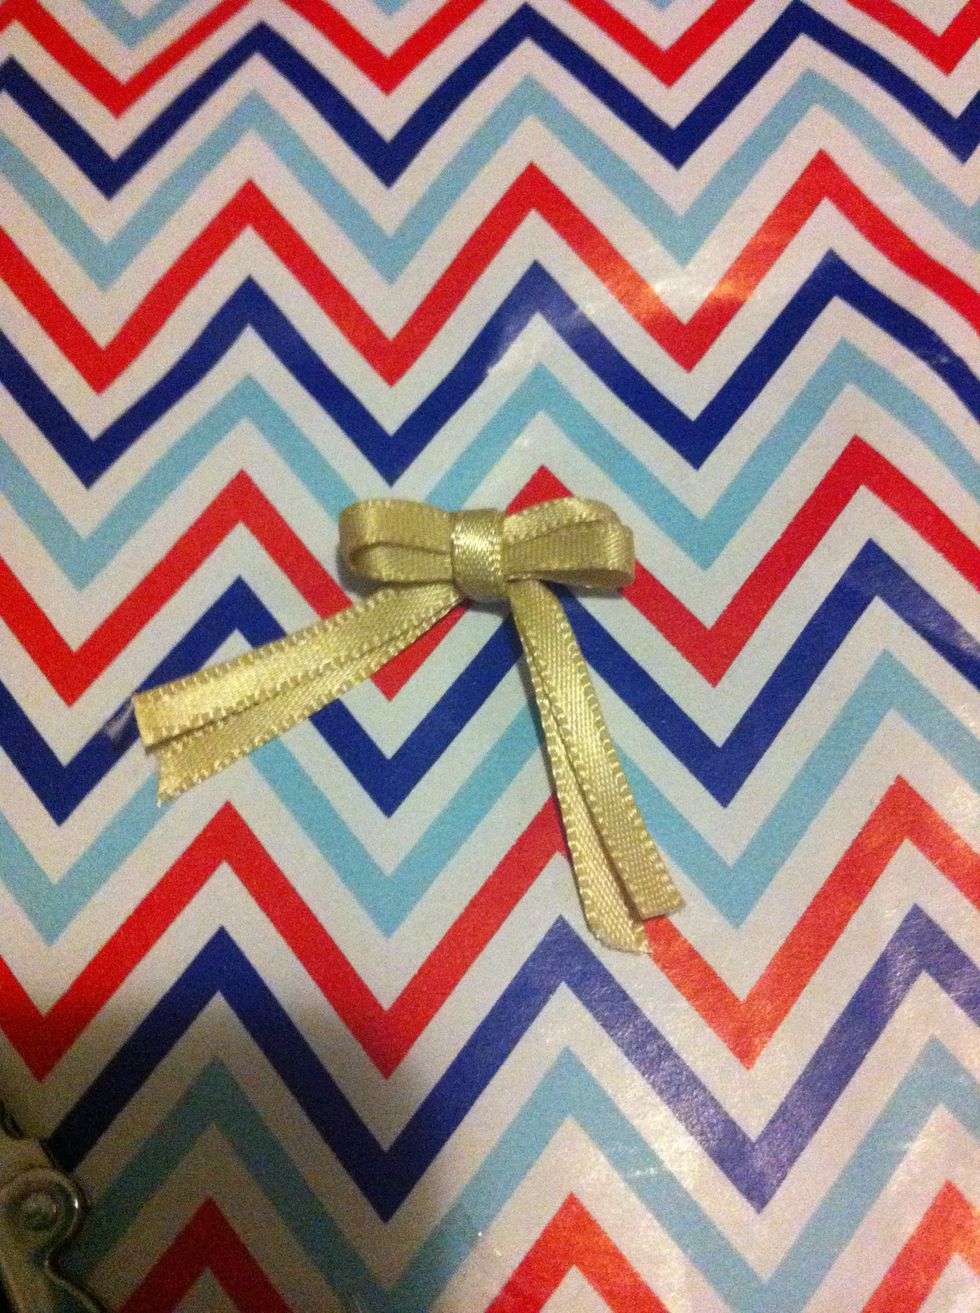
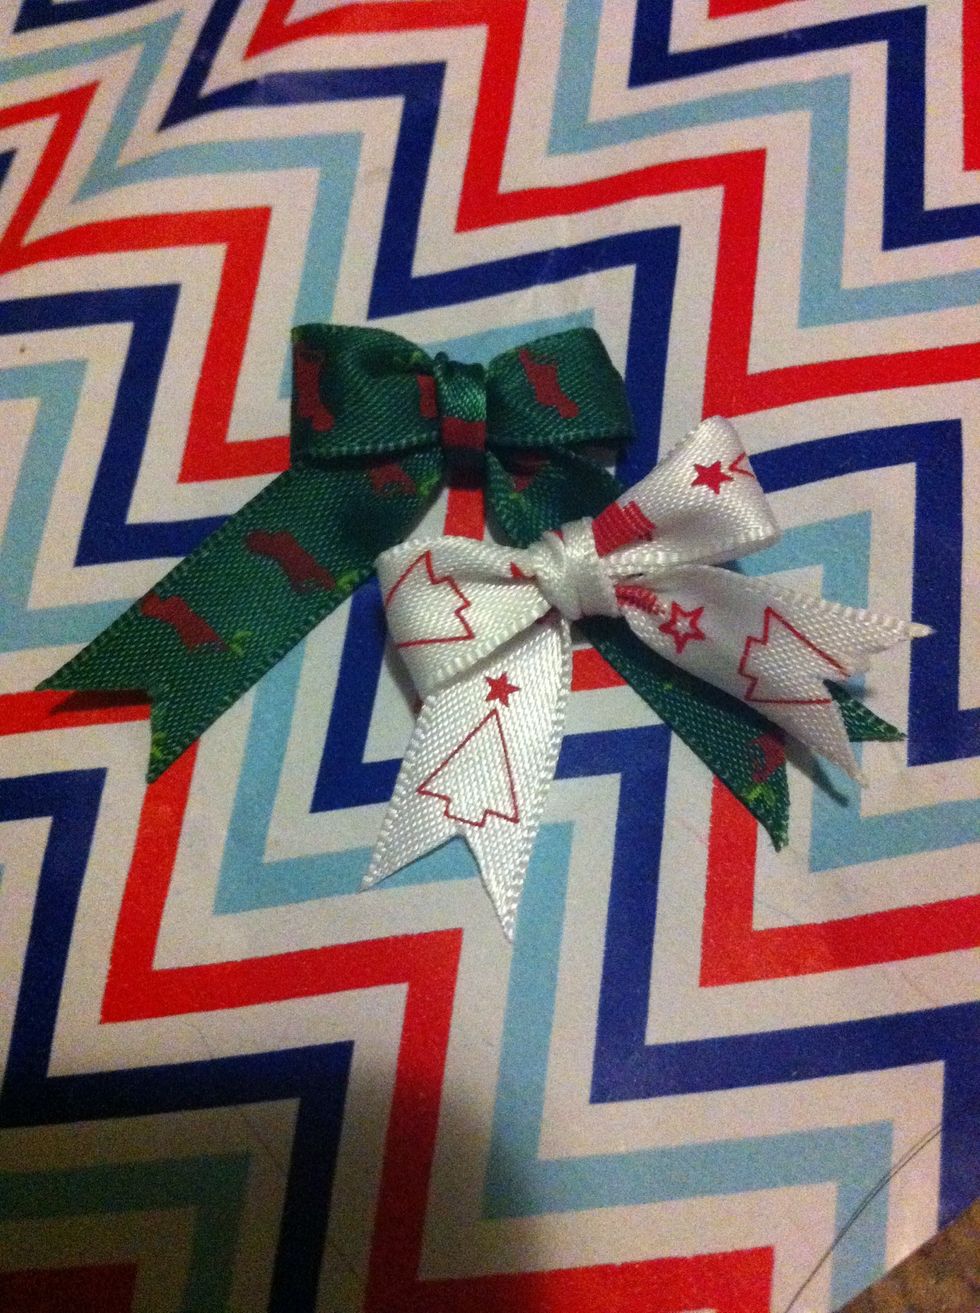
![And a neat little bow! Perfect for little gifts or on cards! (If you have a small flame [lighter, match etc] you can lightly melt the edges to prevent fraying)](https://guides.brit.co/media-library/and-a-neat-little-bow-perfect-for-little-gifts-or-on-cards-if-you-have-a-small-flame-lighter-match-etc-you-can-lightly-mel.jpg?id=23668396&width=980)
And a neat little bow! Perfect for little gifts or on cards! (If you have a small flame [lighter, match etc] you can lightly melt the edges to prevent fraying)
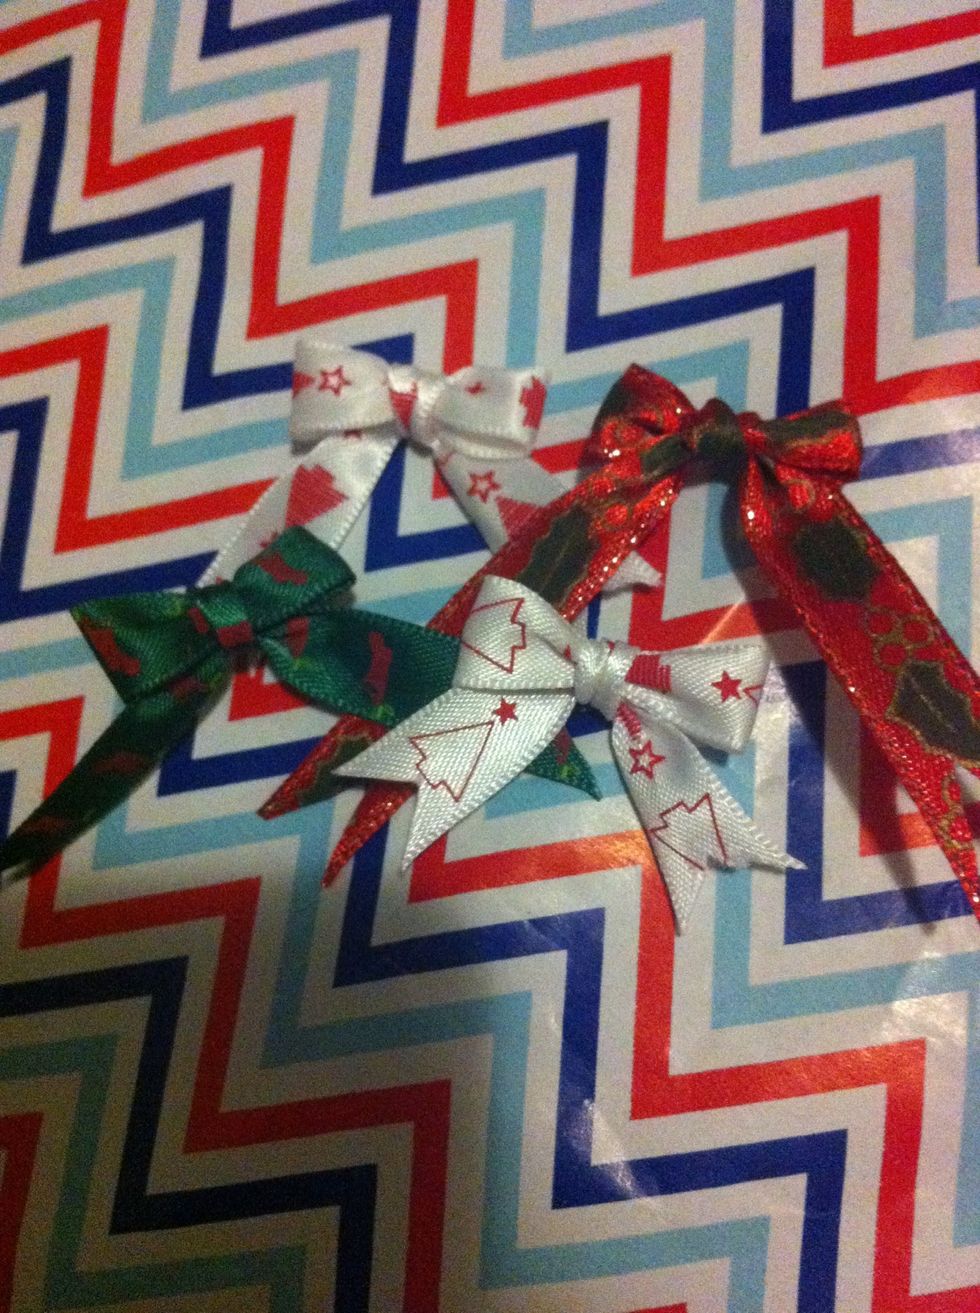
I know it's only October, but I HAD to make little Christmassy ones!
Enjoy! 😉 Don't forget to like, follow and comment if you have any questions!😘 Love y'all!