The Conversation (0)
Sign Up
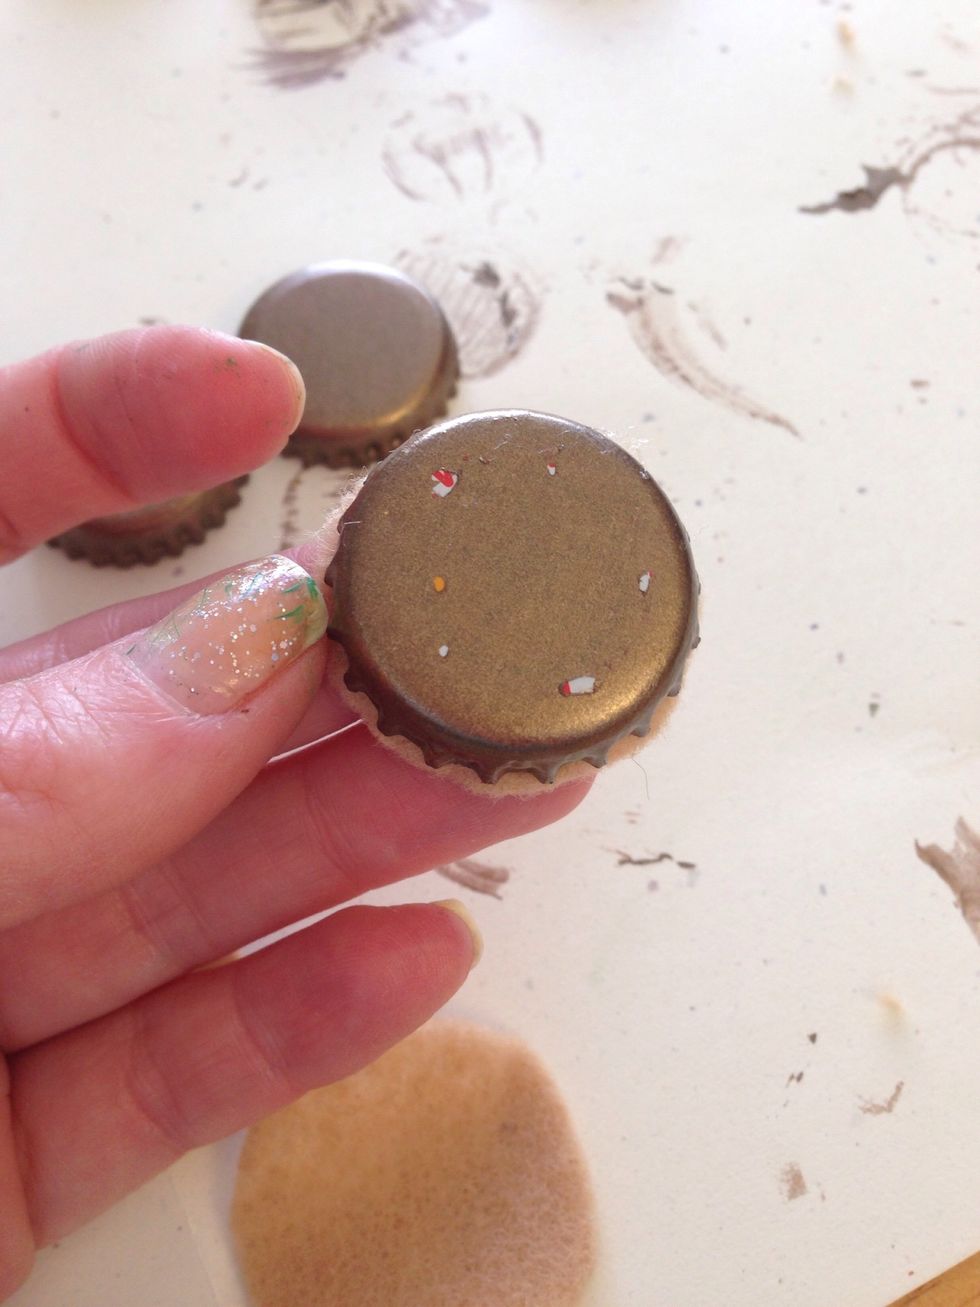
Wipe down all caps with rubbing alcohol. Paint the outside of the bottle caps with the paint color you choose for a pie pan. No need to do the inside. (Ignore the spots that need touched up. 😉)
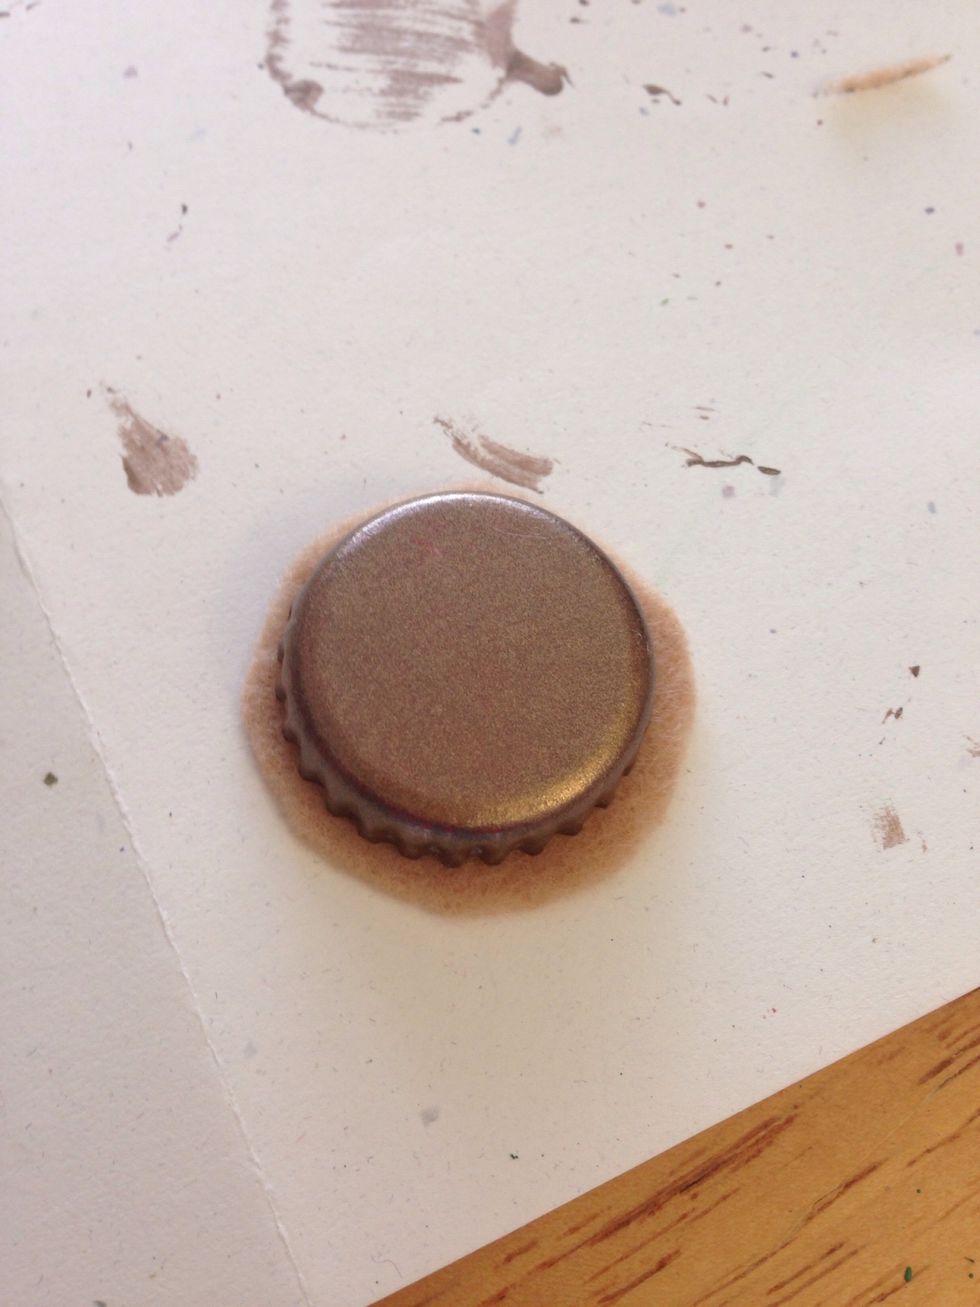
Once they are dry, trace around the bottle cap on the tan felt. I cut mine slightly larger, it can be trimmed later.
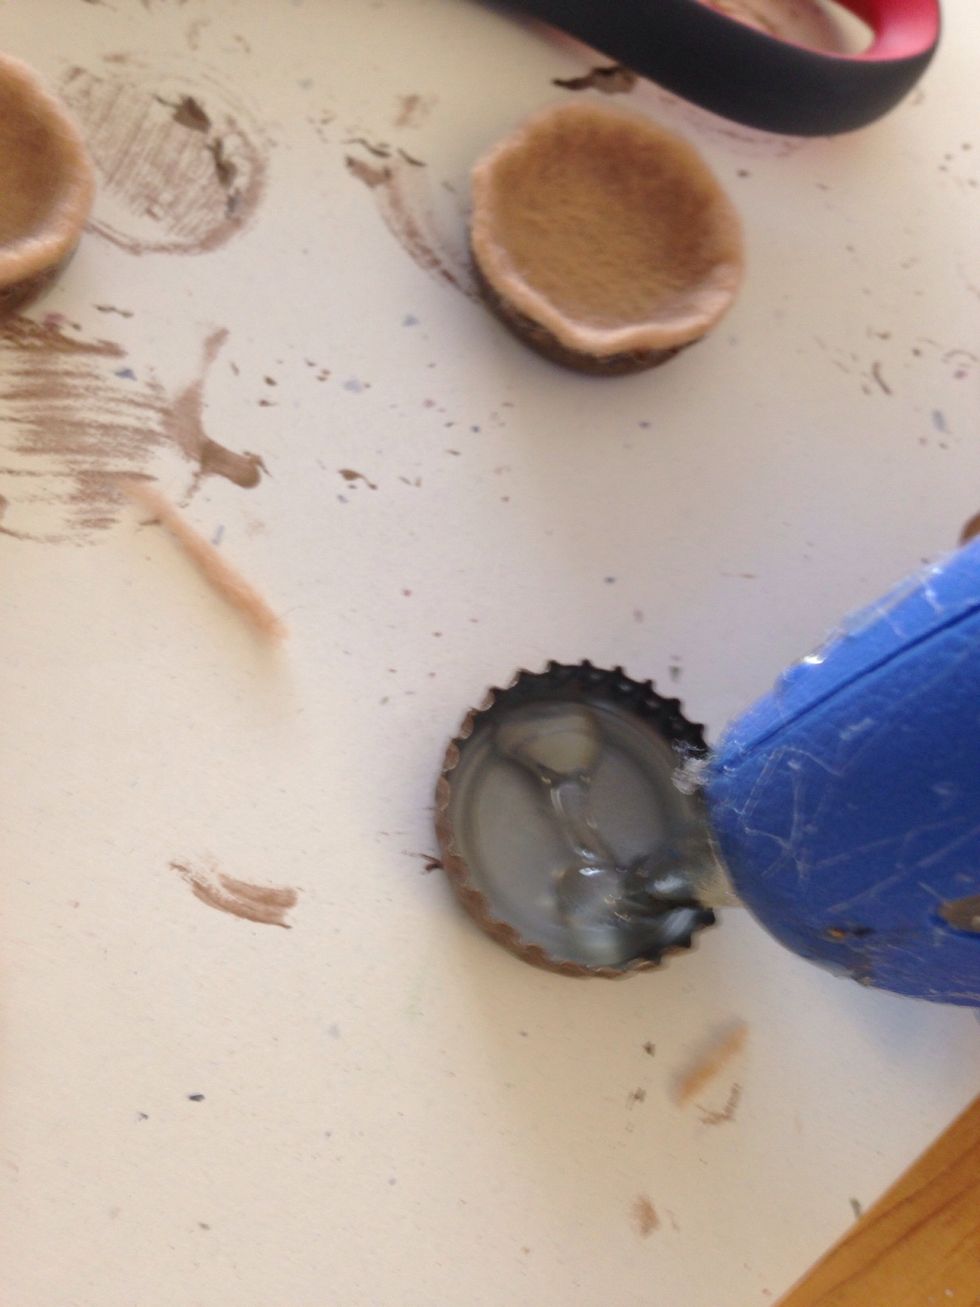
Fill the inside of the cap with glue put a good amount in to raise the surface up.

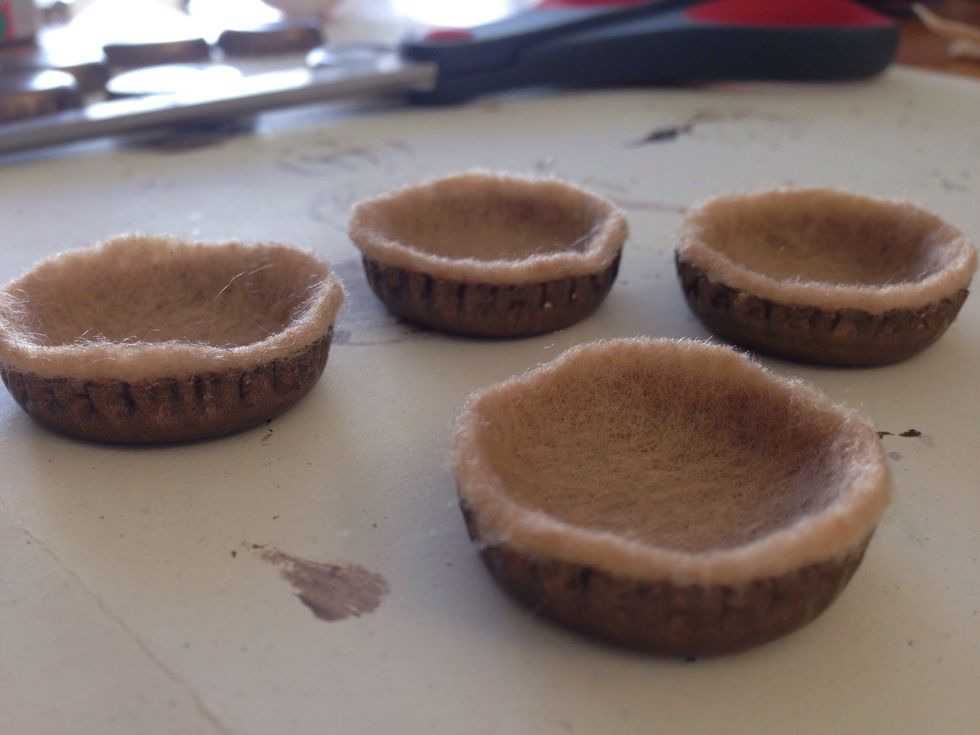
Working fairly quickly press the little circle in the cap. Don't press too hard just enough to get it to the glue.
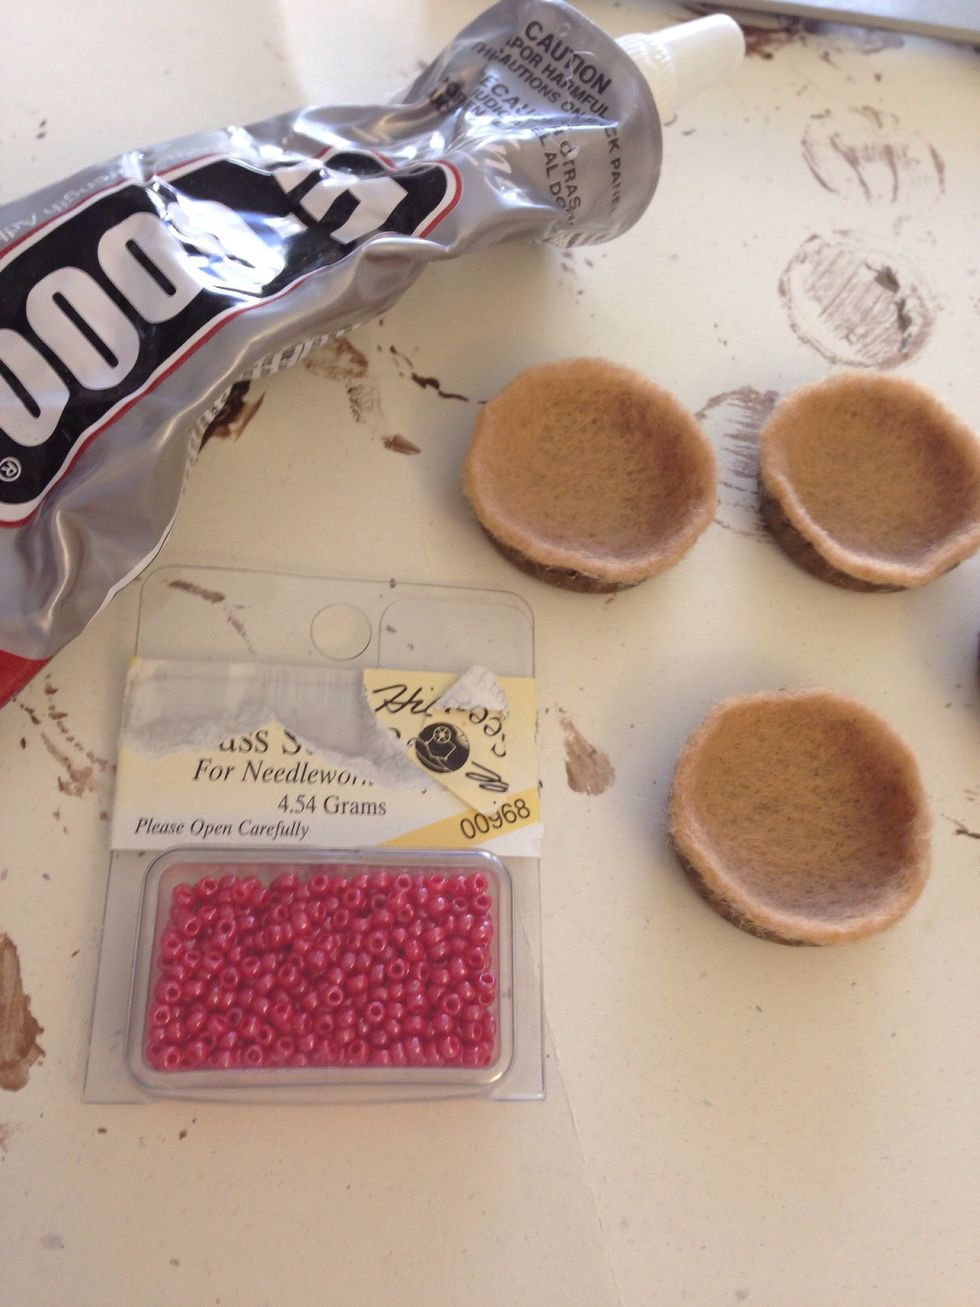
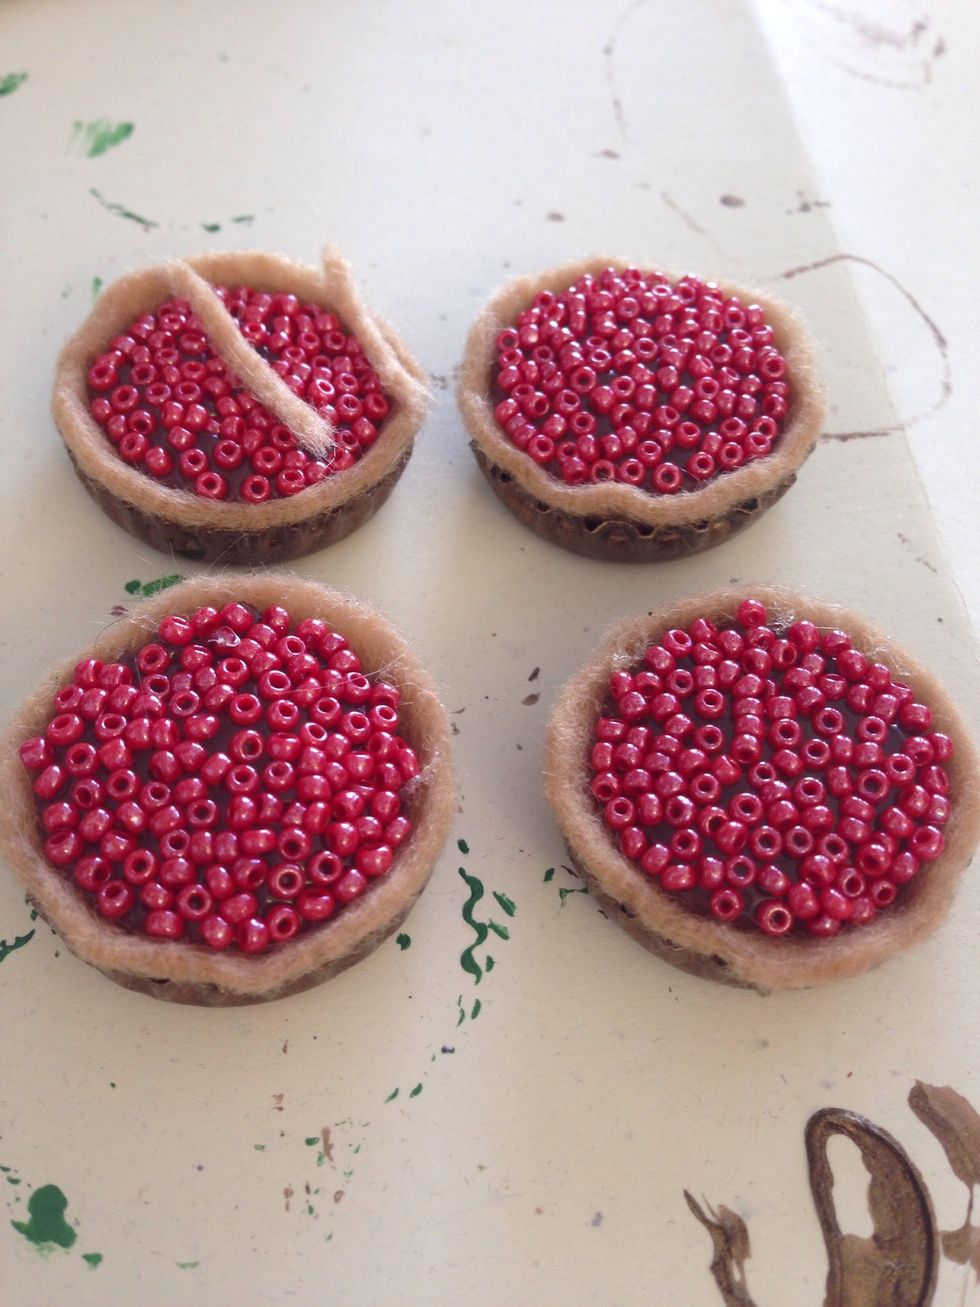
This amount of seed beads did four little pies. I could have probably got one more but I'm a craft horder and hate using up the last of my supplies. 😜 I choose to use the hot glue because I'm...
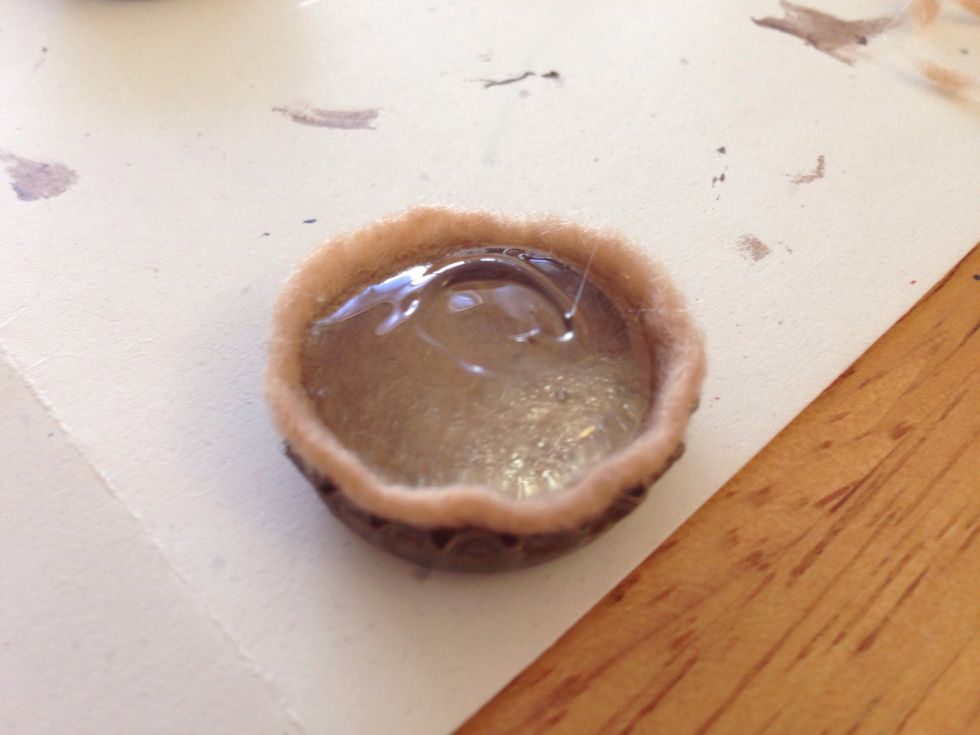
being frugal, I didn't have clear tacky glue and because it costs more then the hot glue. Fill your little pie shell with the hot glue. I was just careful at the end to swirl it a bit to avoid...
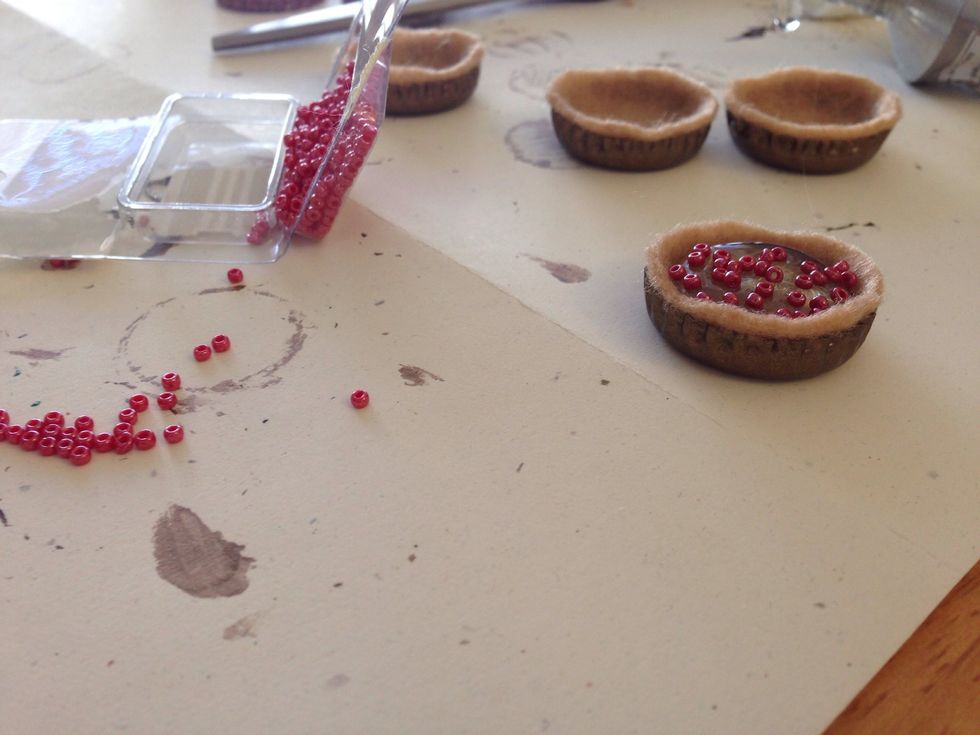
the hot glue strings. Working fairly quickly I treated the beads like glitter. I pinched them on and focused on the areas that needed them. Once covered I pressed them in lightly. Shaking off the...
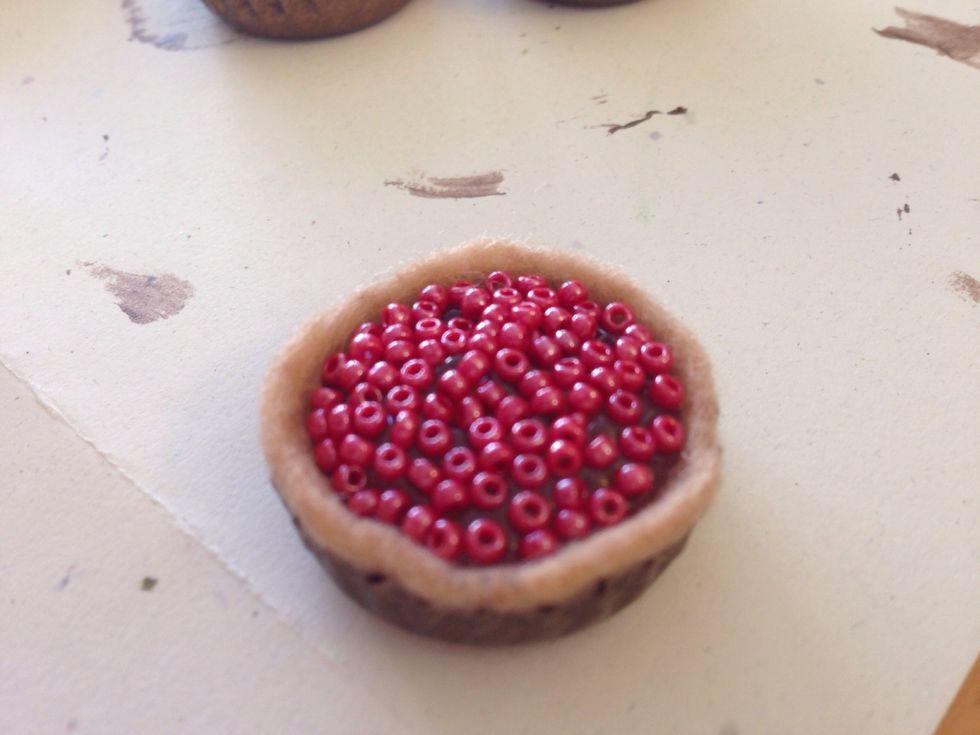
the access beads. Here it looks like I could have used more but I figured once I put the lattice on you wouldn't be able to tell.
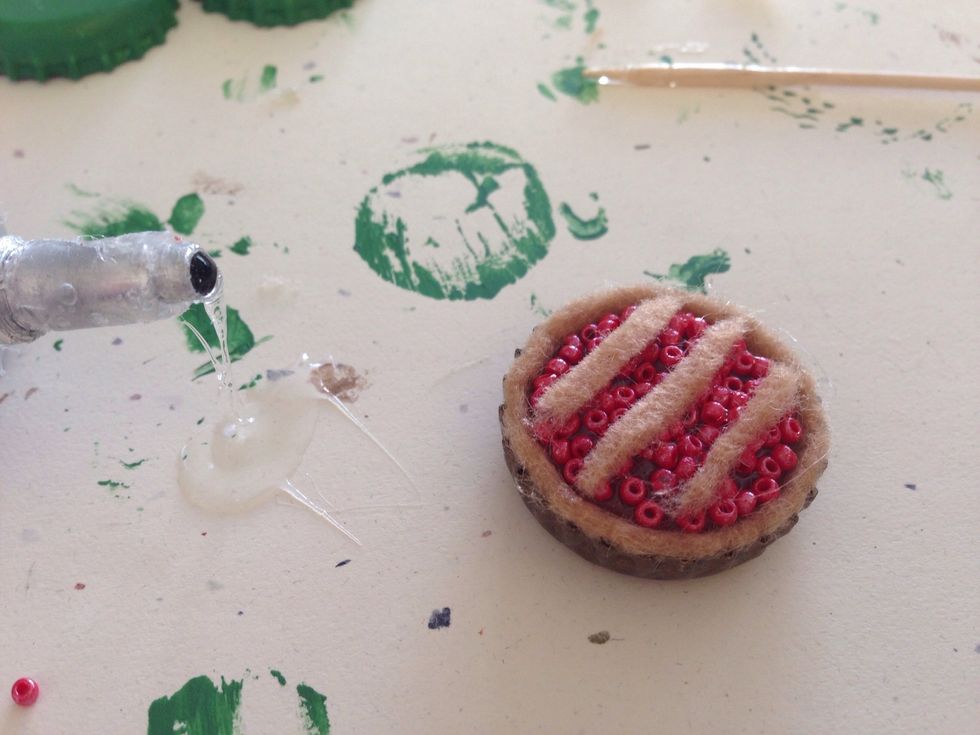
I cut very thin strips of the felt and used a toothpick to apply the E-600 in lines then placed the felt strips. This is the tedious part but you can get through it.
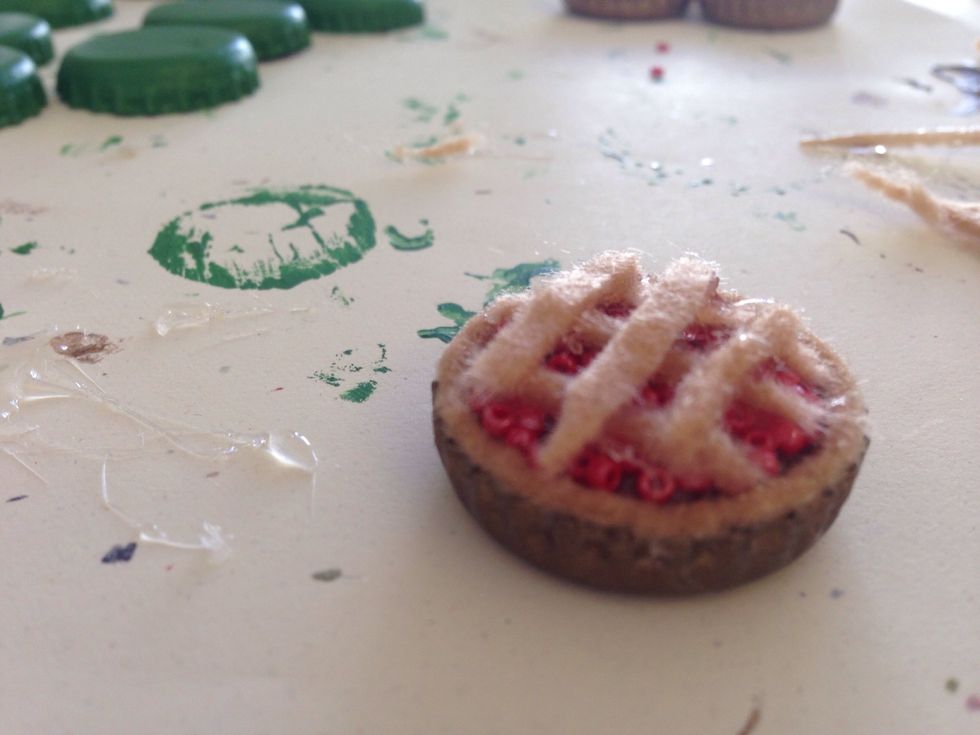
At this point I trimmed the crust and any little hot glue strings I couldn't avoid.
Tada!!! I'm going to put magnets on mine but you could glue a piece of ribbon to hang it. Remember, don't use hot glue to attach the ribbon to the paint.
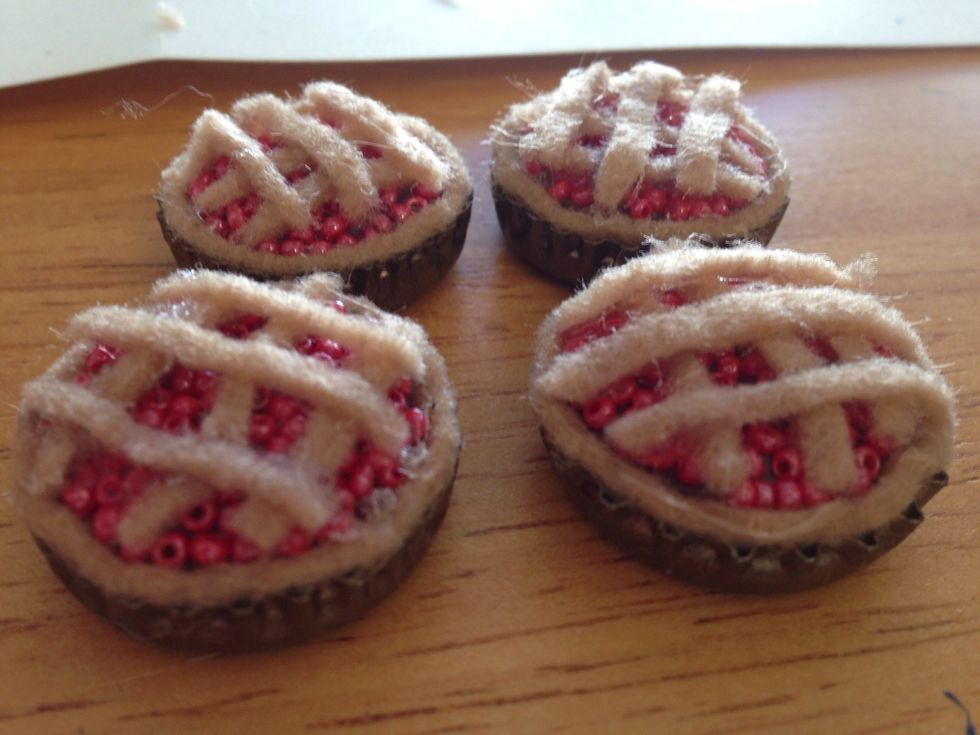
Little tiny pies! You could use any color of seed bead you want to get the type if pie you'd like. Like brown for chocolate, I wouldn't put a lattice on this one.