The Conversation (0)
Sign Up
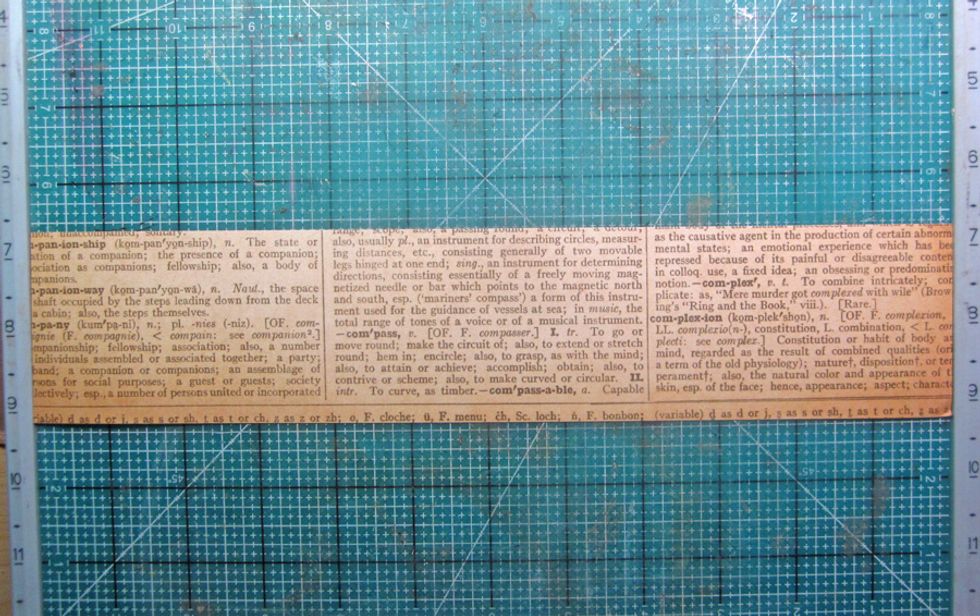
Cut strip of paper 2 1/2 by 12 inches. I'm using the ultra cool paper collection Typography from Graphic 45.
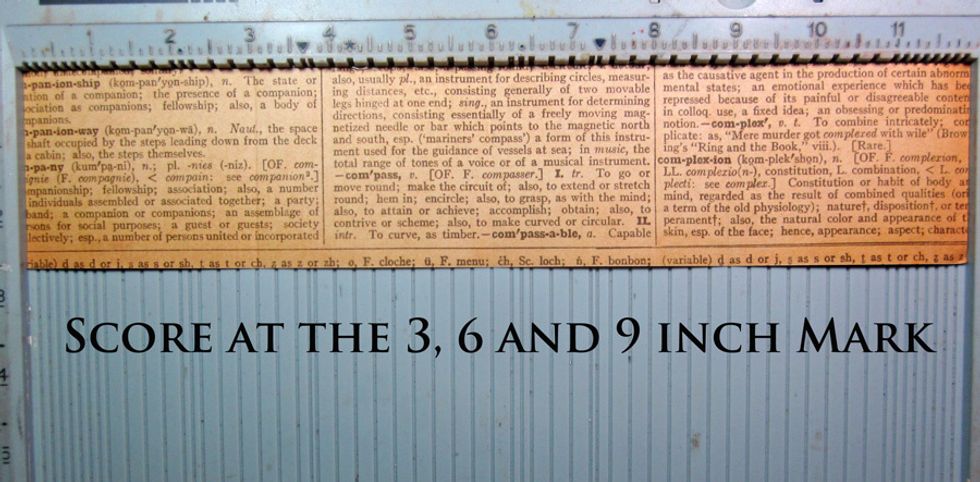
Using a score board, score your paper at 3, 6 and 9 inches.
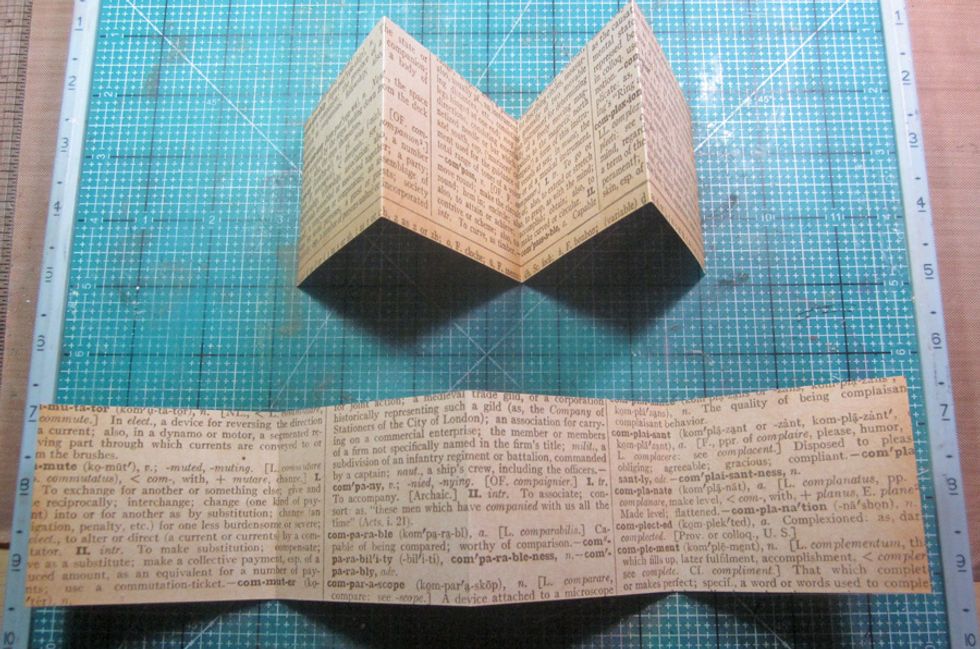
Repeat steps one and two with another piece of paper and then fold them both to have peaks and valleys as shown above.
Line the two folded pieces together to make one long folded strip by gluing together.
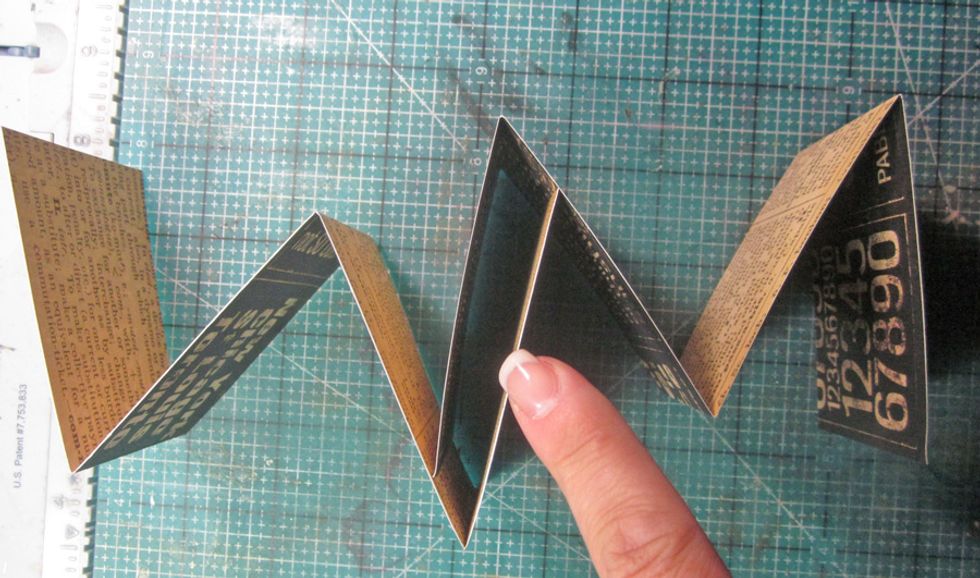
Apply glue in the valleys and glue the valleys together. I used Beacon Zip Dries Glue which works really great with paper. This is going to make a mini book with pages.
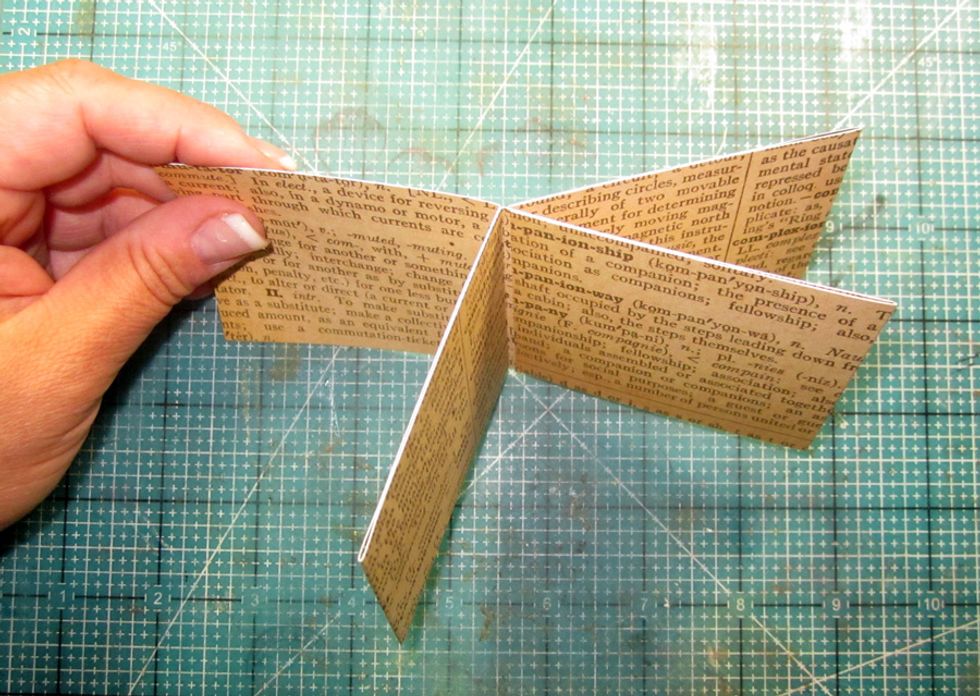
See how your mini book will look after all the valleys are glued together.
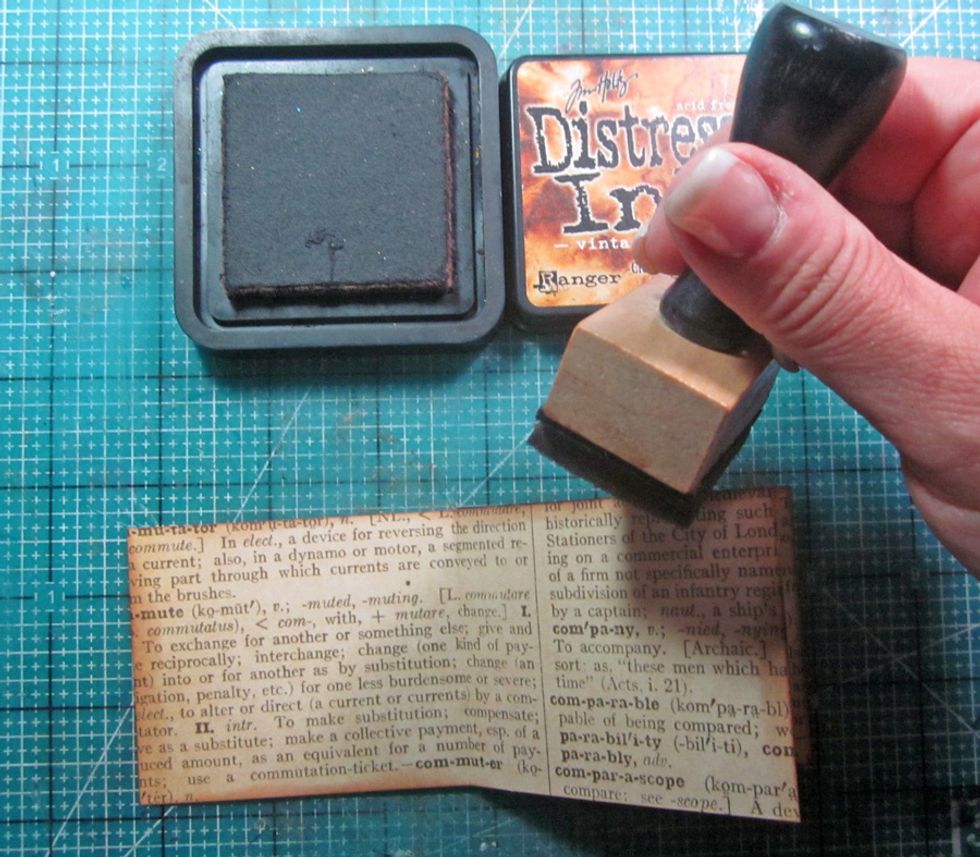
Ink the edges of all your sheets.
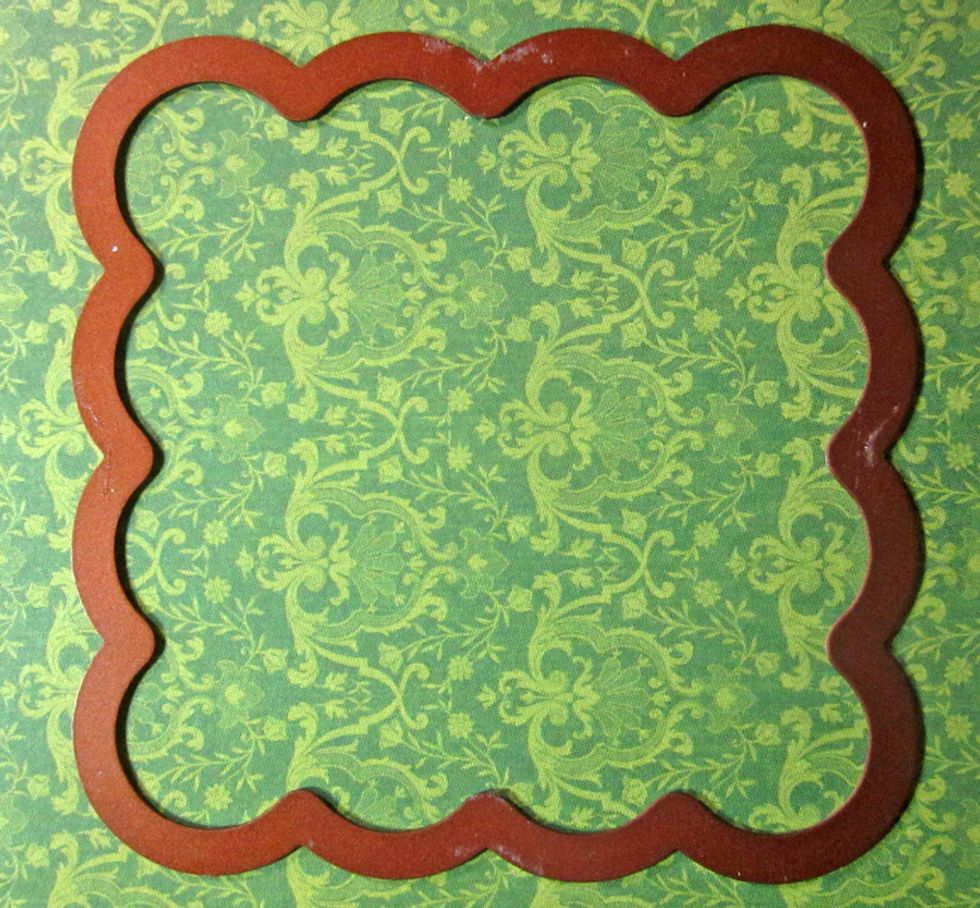
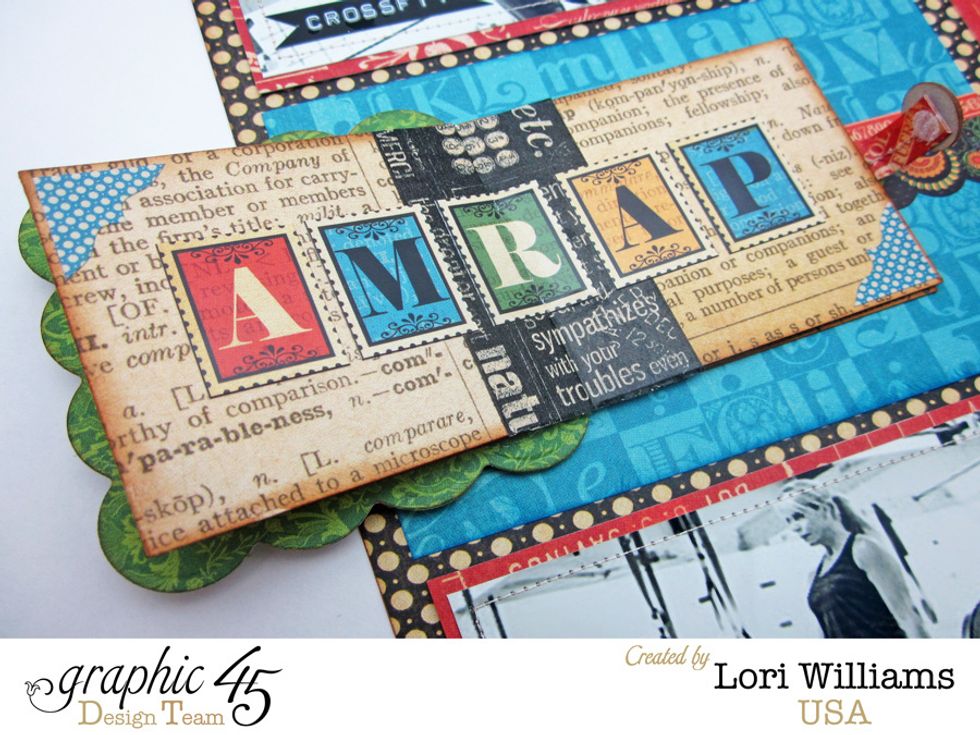
Next use a die to cut out a front. You'll want to use one that is about 3 1/2 x 3 1/2 inches in sizes. I'm using the scalloped square from Spellbinders Dies.
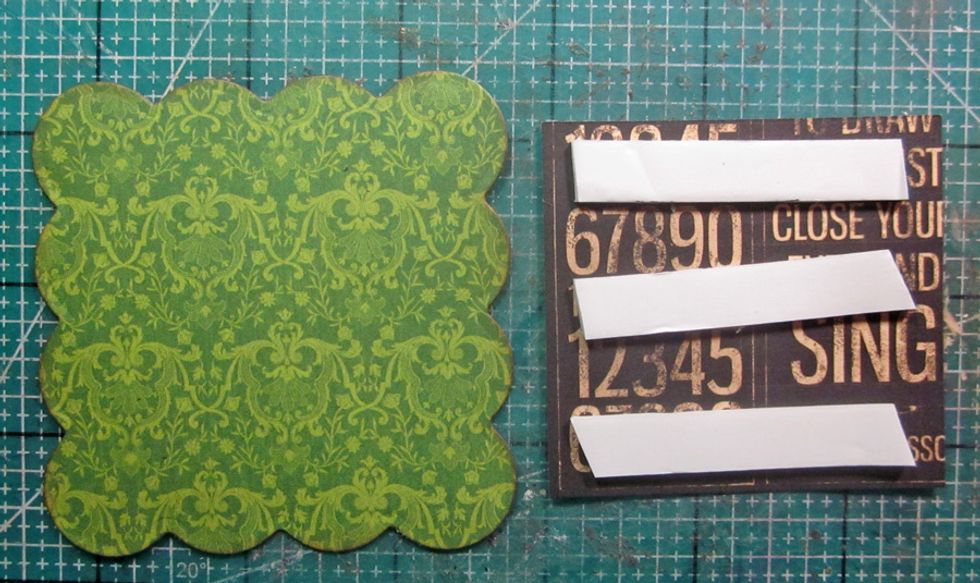
Add foam tape to the front of your mini book and then attach the top you just cut out from the die cut.
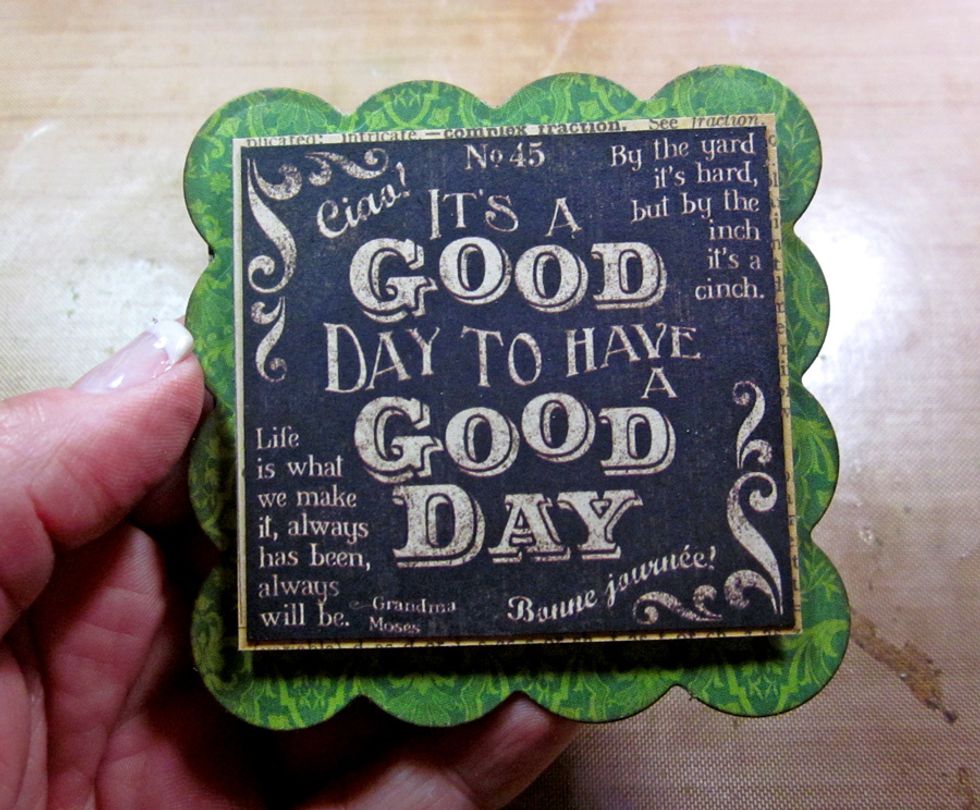
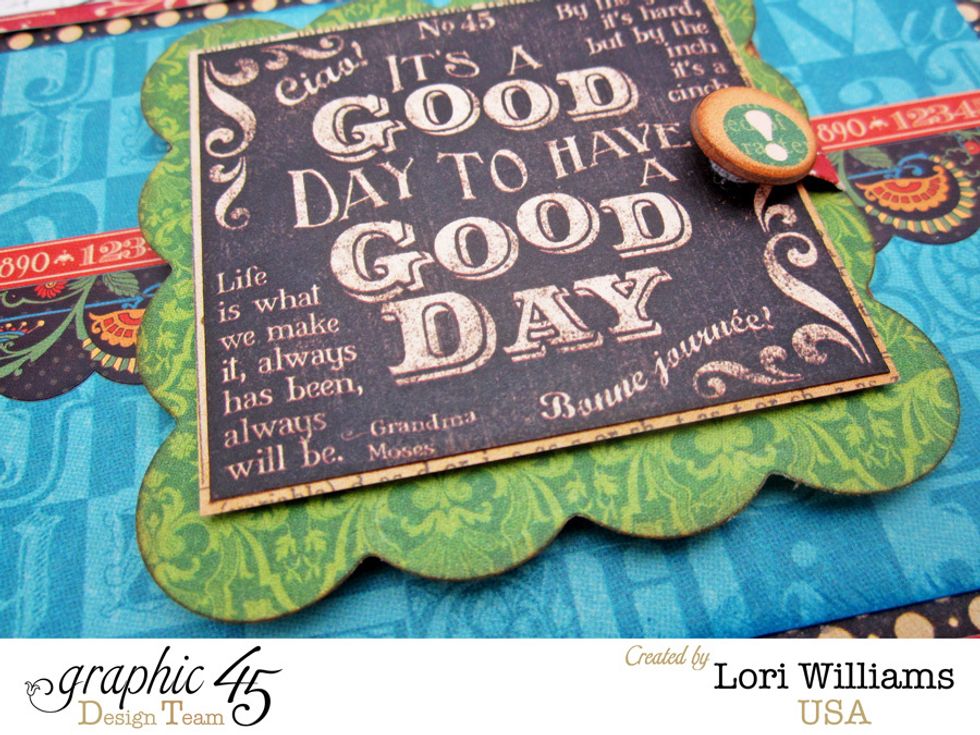
Here is the front of my book. I added a great sentiment from the Typography line to the front....adorable.
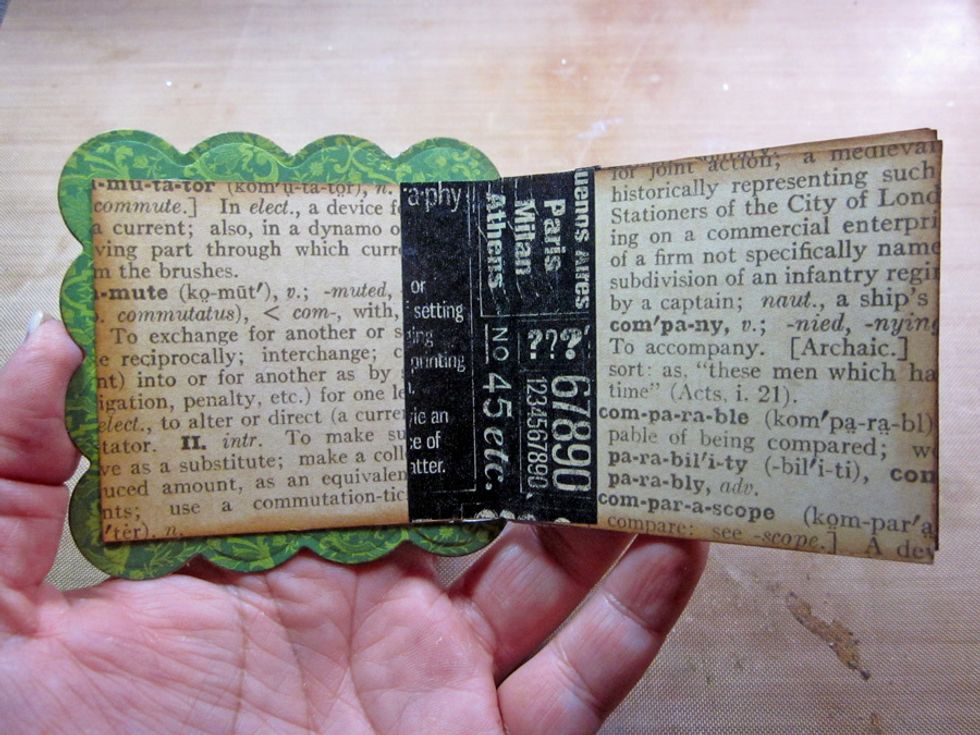
I added some of Washi Graphic 45 to the inside fold of each page for interest. Now the fun part decorating the mini book.
I added a little Velcro tape to the side of my book so it would stay shut on the layout until you were ready to open.
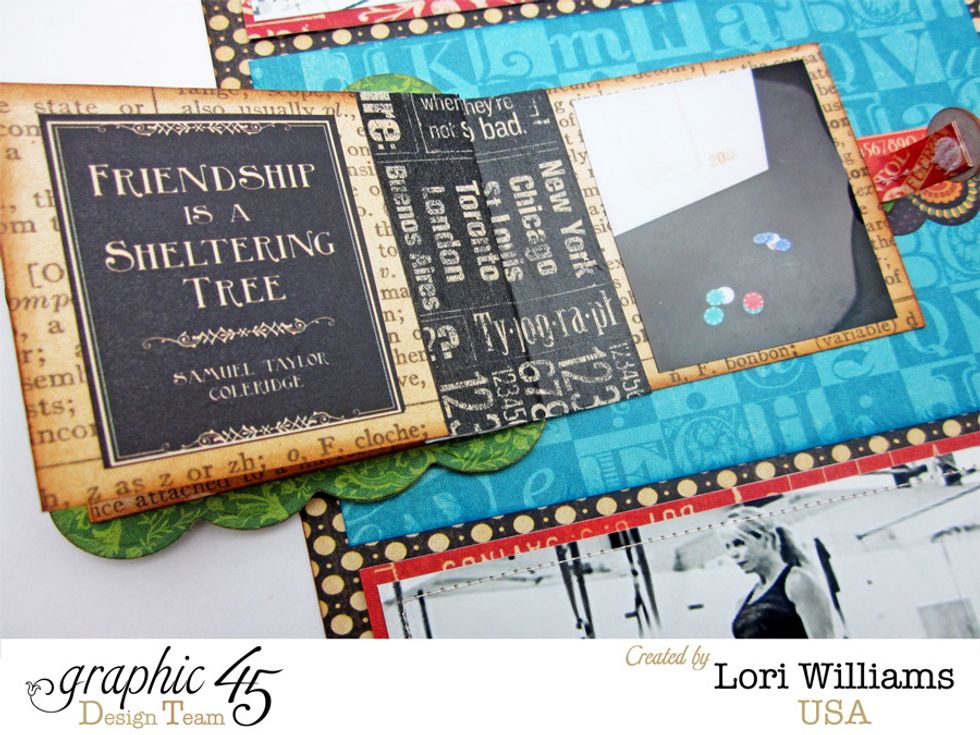
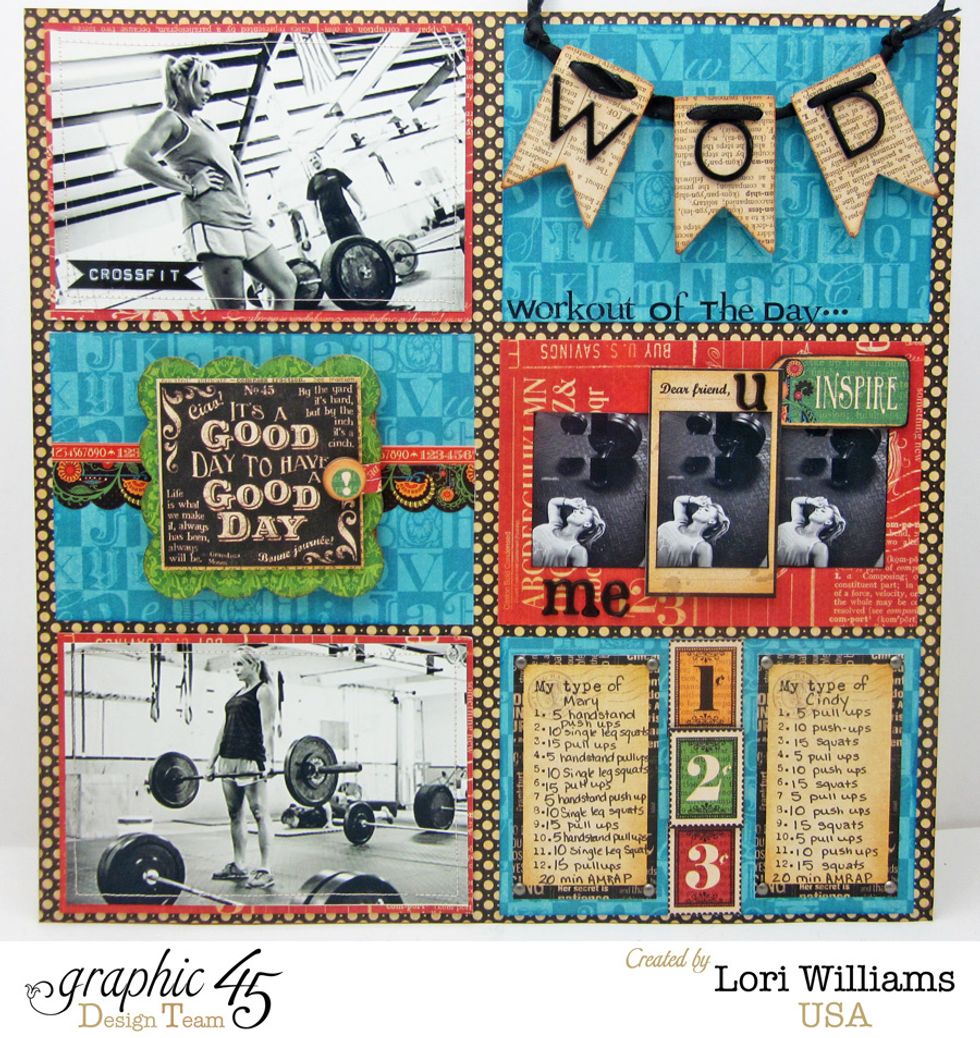
Here are pictures of the finished booklet.

Please be sure to head over to Graphic 45's Blog ( http://g45papers.typepad.com ) to see the layout in detail and also find lots of other tutorials and inspiration.

My name is Lori Williams and I'm a design team member with Graphic 45. You can see more of my work on my blog www.pinkcloudscrappers.blogsp… or on Graphic 45's Blog www.g45papers.typepade.com