The Conversation (0)
Sign Up

Using a scoring board or paper trimmer, score the 12"x9" Mixed Media Paper in half. You will have 2~ 4.5"x12" sides. Do this to 2 pieces of Mixed Media paper.
Score 1 piece at 2", 5 1/4" (score 1/8" on either side of this), 8 1/4"(score 1/8" on either side of this) and 9 1/4". This will be the cover of the journal. The 5 1/4" & 8 1/4" marks are the spines.
The additional score marks are so the book cover expands better when you close it. Take the other 3 paper halves and score them at 3", 6", and 9". Tear in half at the 6" mark. These are the pages.
You will have six~6"x4 1/2" pages, scored in the center. Every 2 pages is a "Signature" which is a book binding term. You will have 3 signatures in this journal.
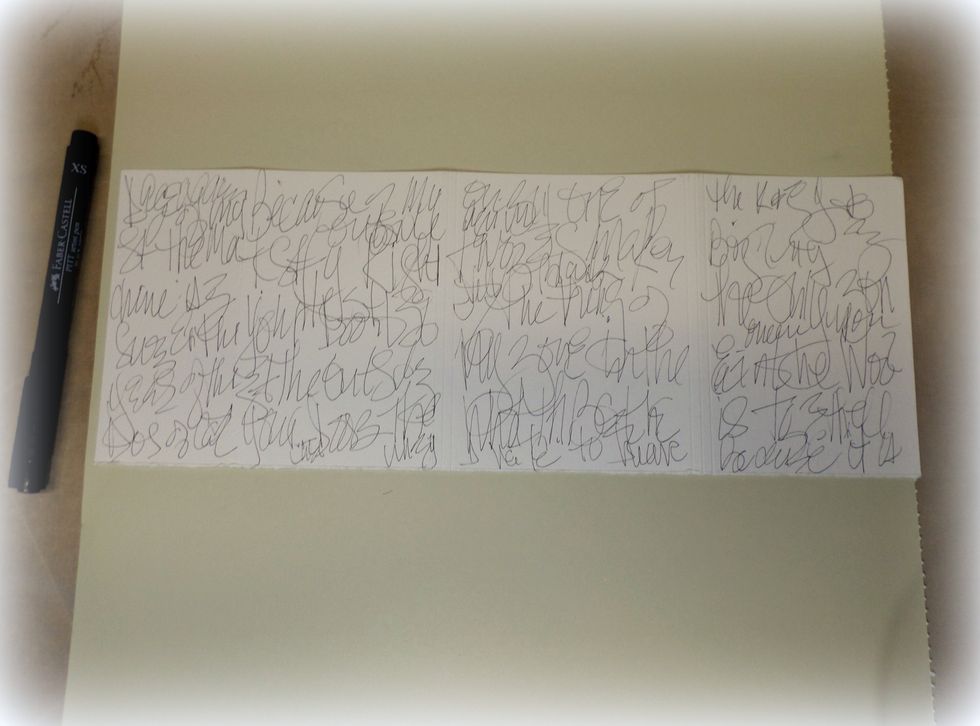
Now, back to the cover. Use a thin tipped marker to write some words on the front of the cover.
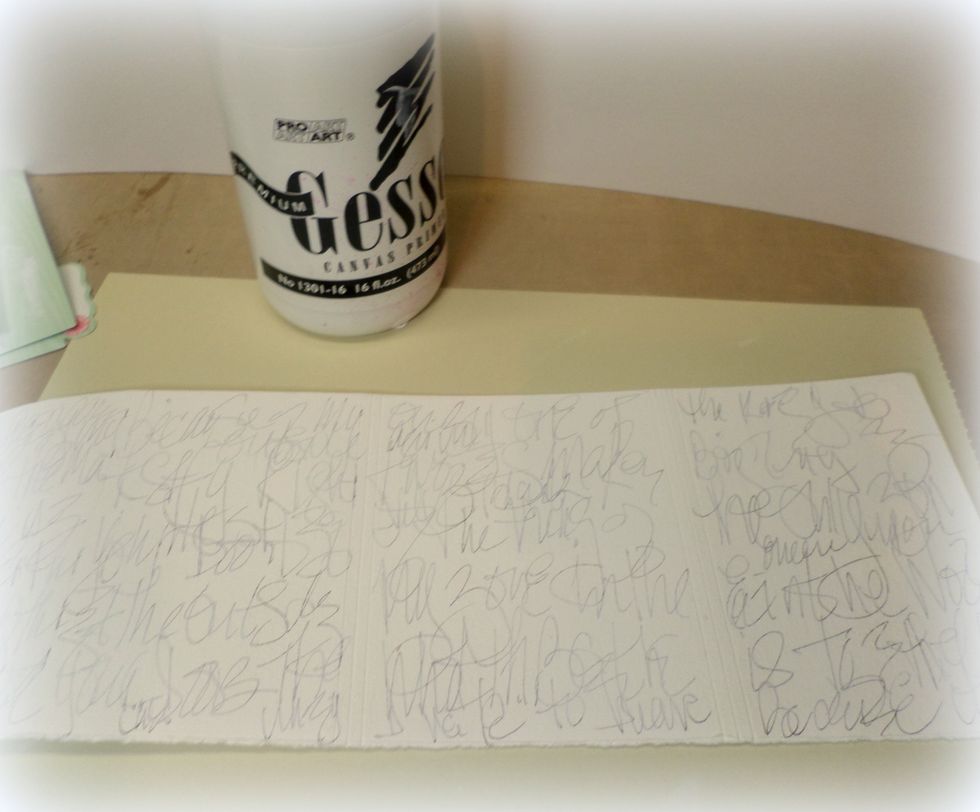
Cover the words with gesso. Set aside to dry.
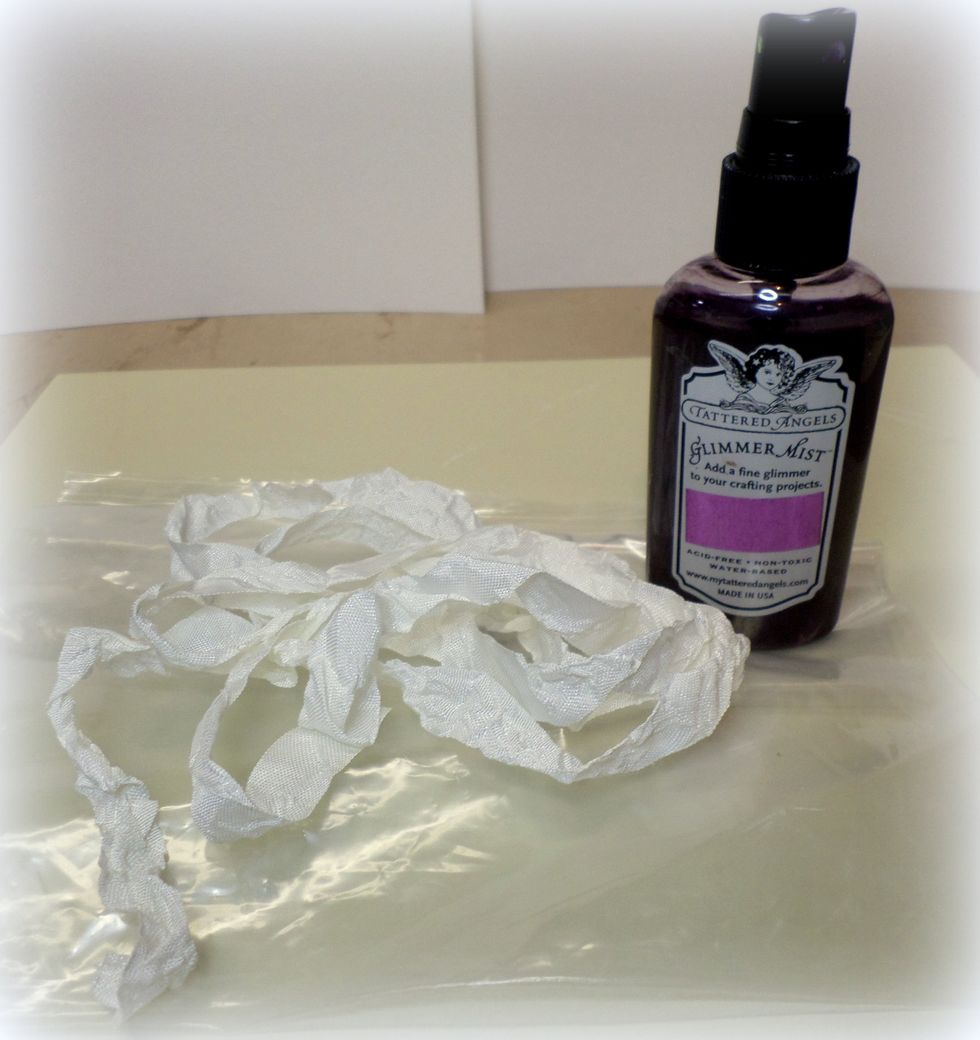
Place approx. 3 yards of seam binding in a plastic zip closure bag. Spray ink into the bag. Leave air in the bag and close it.
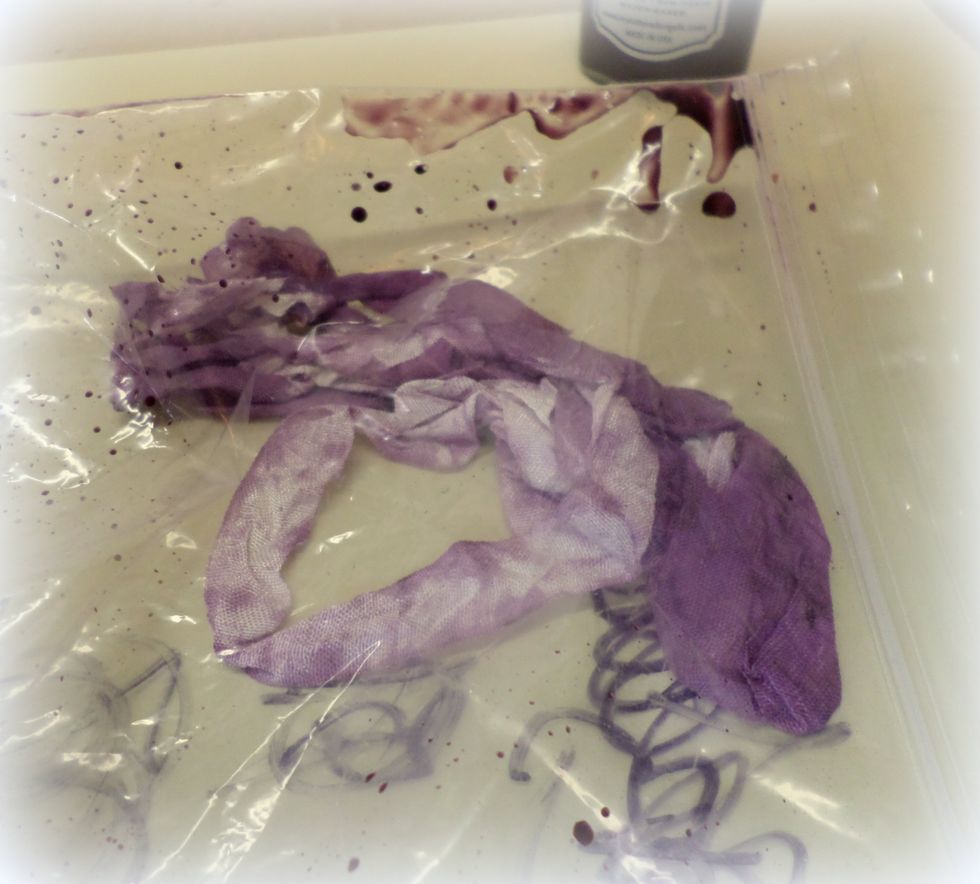
Move the seambinding around in the bag so it picks up all the ink. Take it out and let it dry.
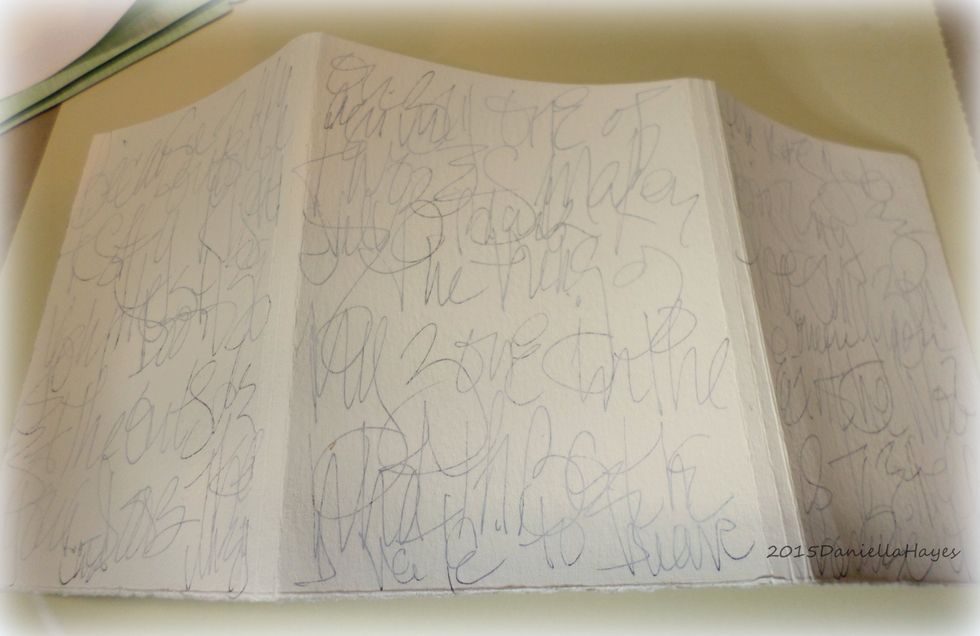
Go back to your cover. Bend the scored lines to form the shape of the cover.
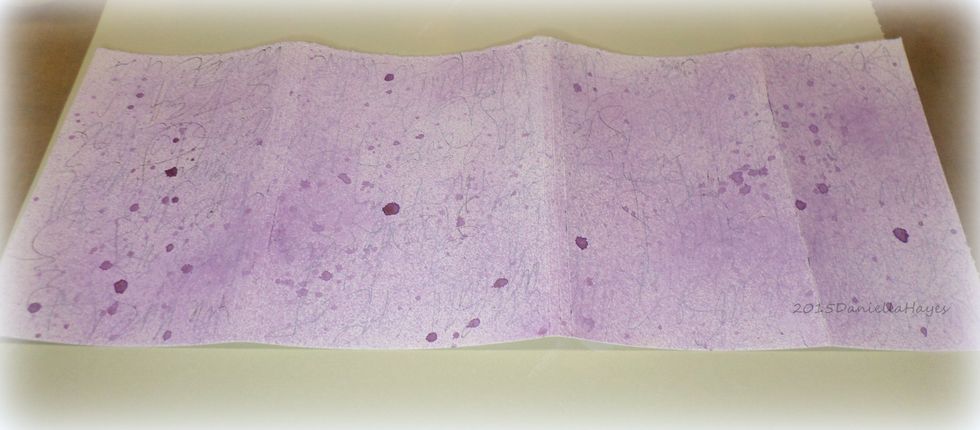
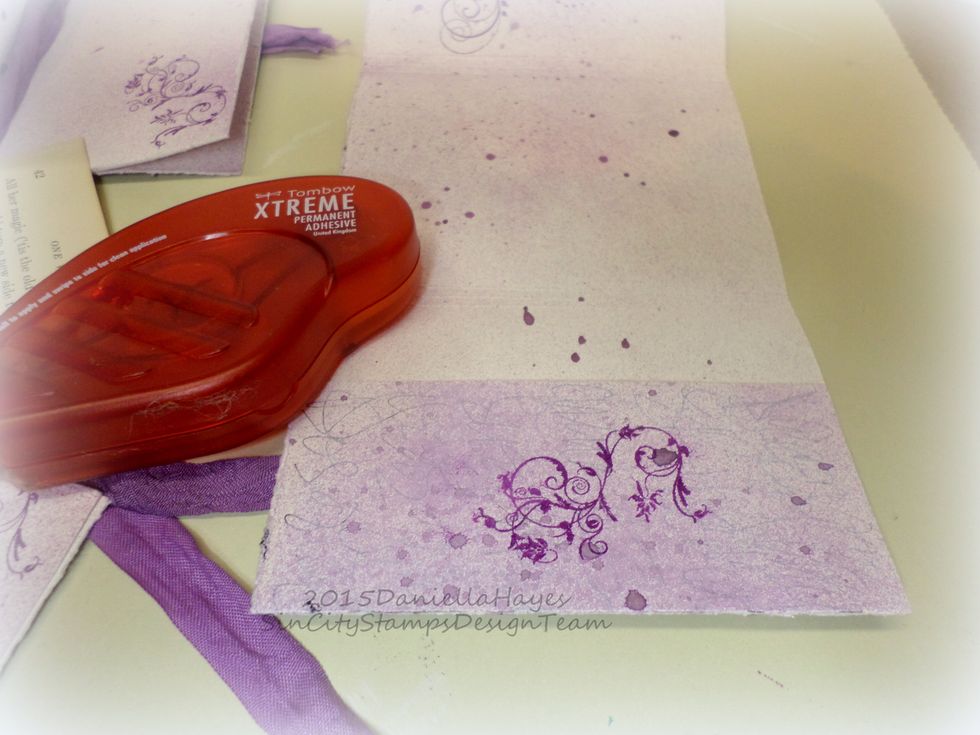
Spray ink on the front and the back sides of the cover and on the front and back sides of the pages. Let dry.
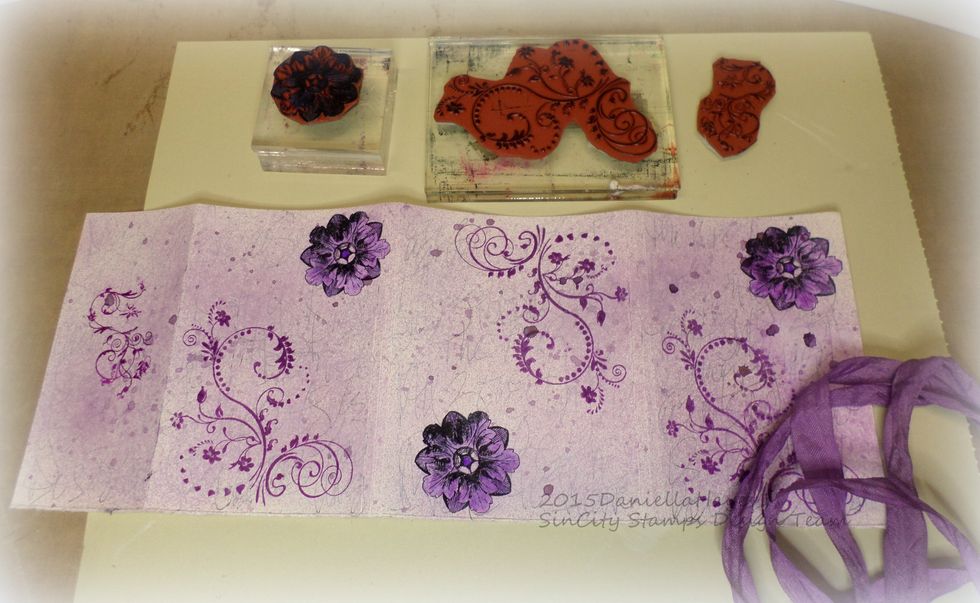
Stamp the swirls and flowers on to the cover. Stamp the swirls in purple and the flowers in black. Color the flowers in with a purple marker.
Stamp a small swirl or a flower on each page of the book. You should have 3 sets of 2 pages that are scored in the center. These are called "Signatures". You should have 3 "Signatures".
The 2" score line is for a pocket. Just fold the pocket to the inside of the cover and adhere the sides to the cover. Now you have a place to put little things you want to add to your journal.

Punch holes in the signatures and the cover. Be sure to mark where you put the holes so they will all be the same. I marked mine at 1/4" from the bottom. Ink all edges before you start threading.
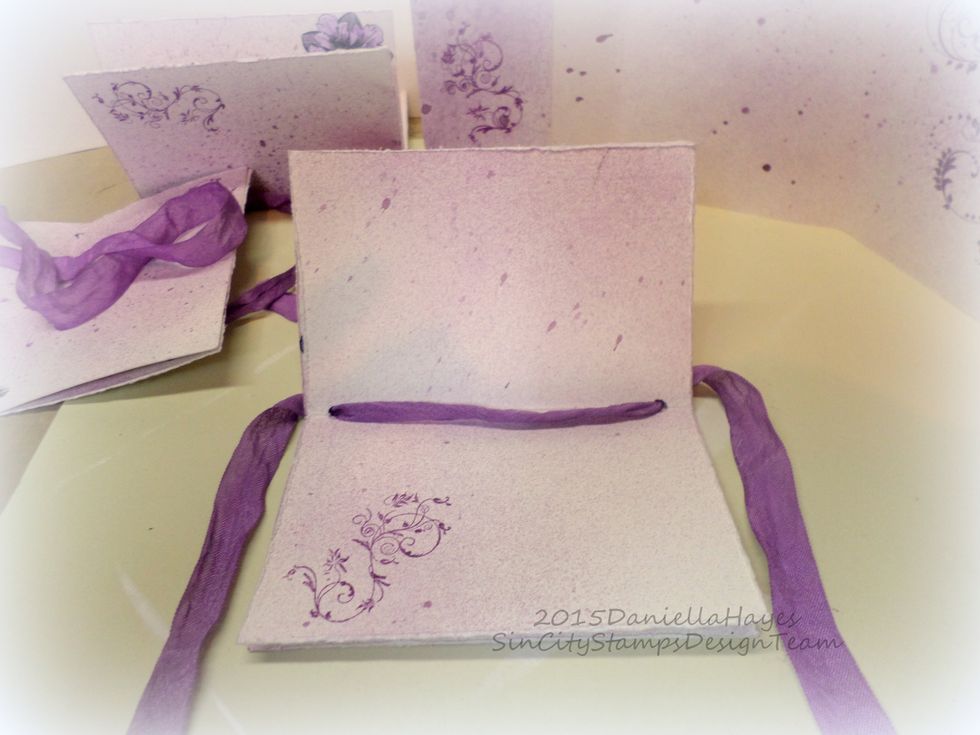
Use 1 yard of seam binding for each signature. Go in the bottom hole in the center of the signature and out through the top. Make sure the tails of the seam binding are even.
See how the seambinding comes out of the back of the signature? Put the seambinding in all 3 signatures. You are doing a great job!!
The holes in the cover are in the spine closest to the pocket. And all 3 signatures have seambinding. You are ready to make your art journal!!
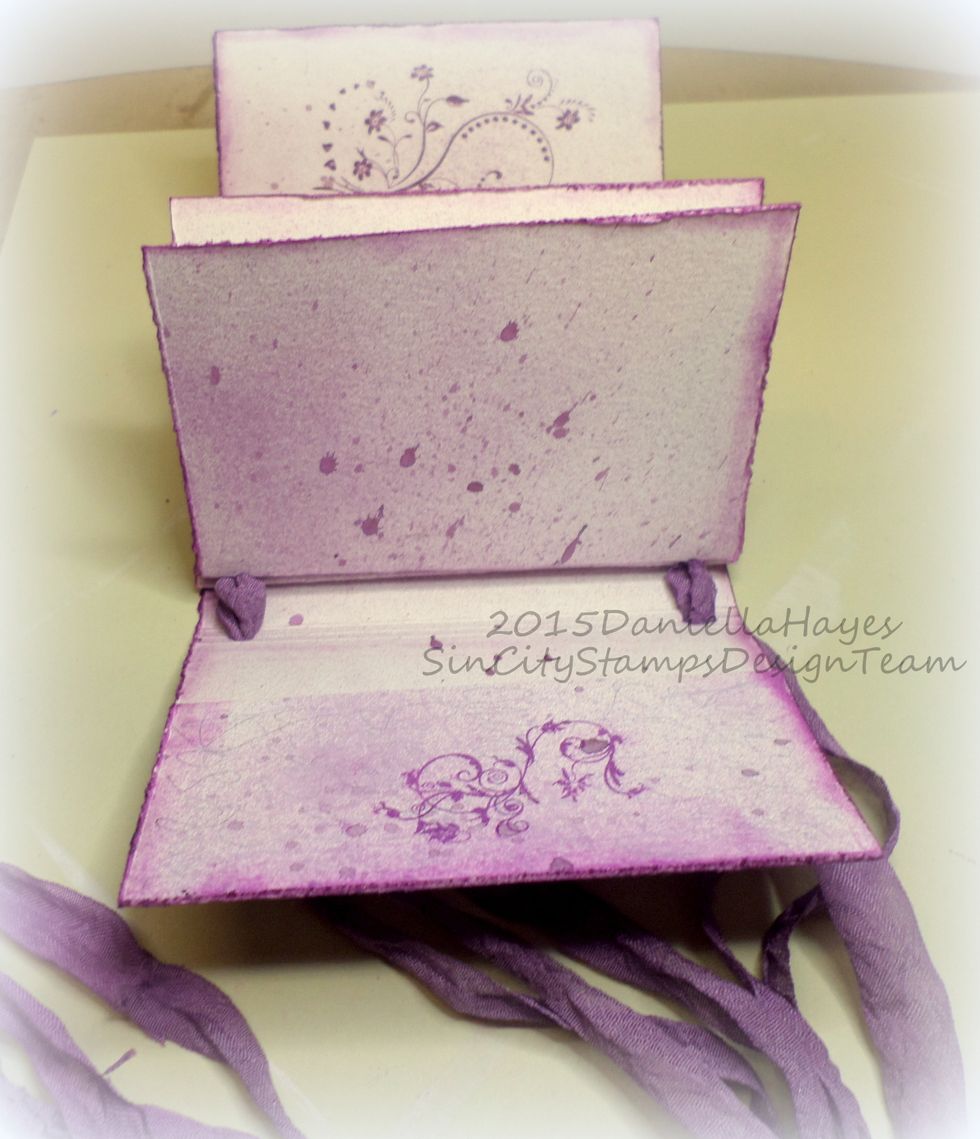
Take the seambinding from all 3 signatures and thread it through the holes in the cover. Thread from the inside out, like in the picture.

Tie a double knot on the outside spine of the cover. Be sure to pull the seambinding of all 3 signatures all the way through but be careful not to rip the cover!! Tie the knot tight!

Inside your signatures should be really close together with no seambinding sticking out. See how tight my signatures are? Awesome!
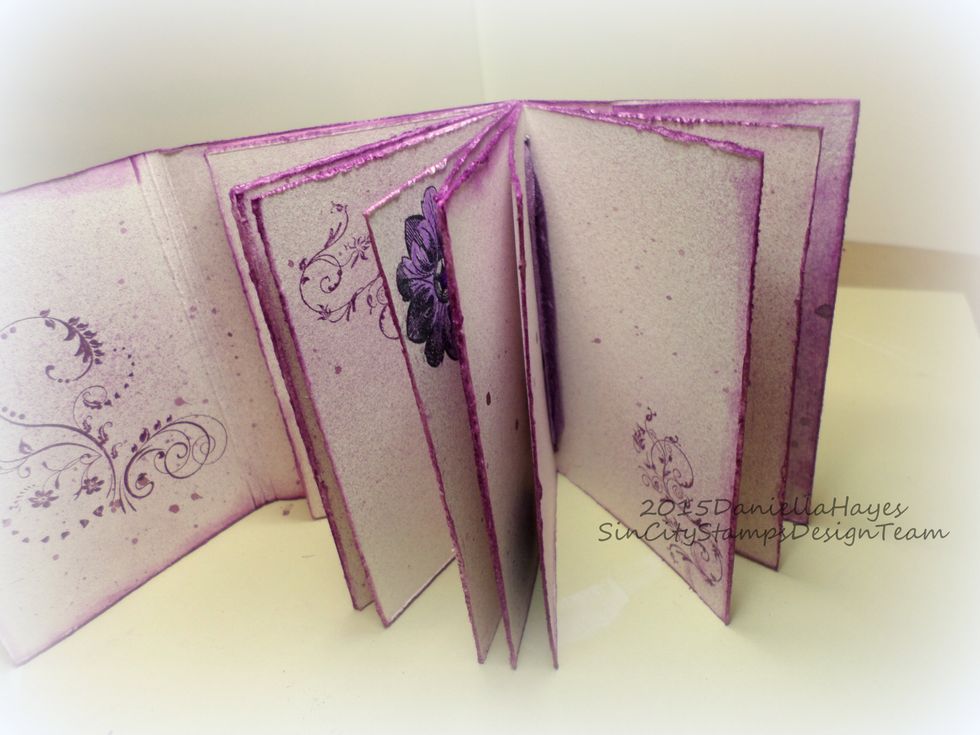
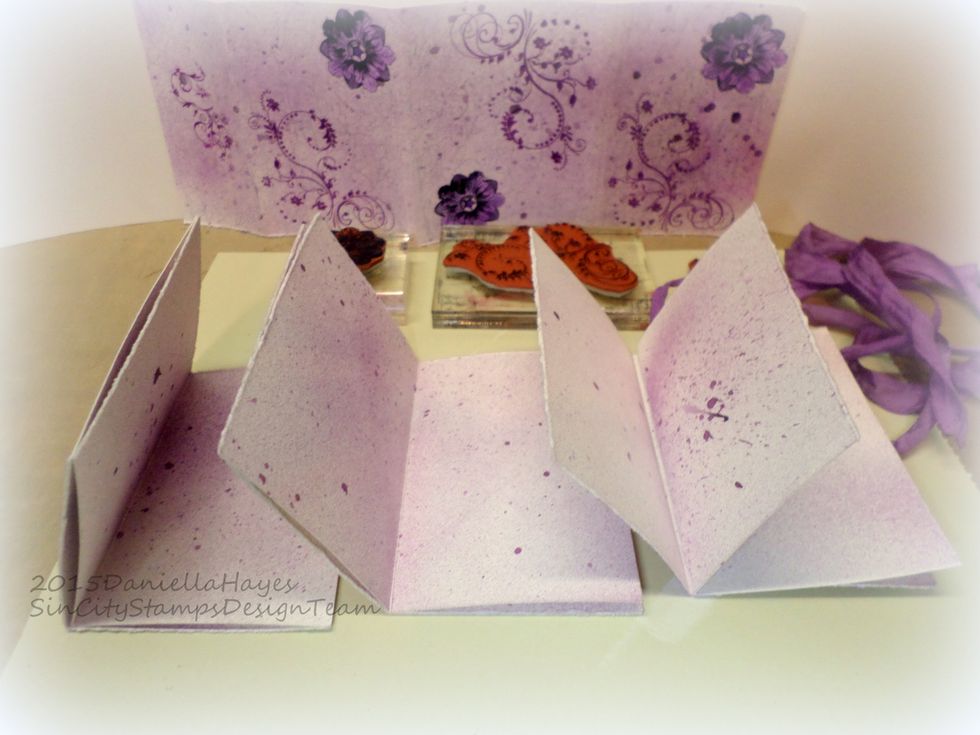
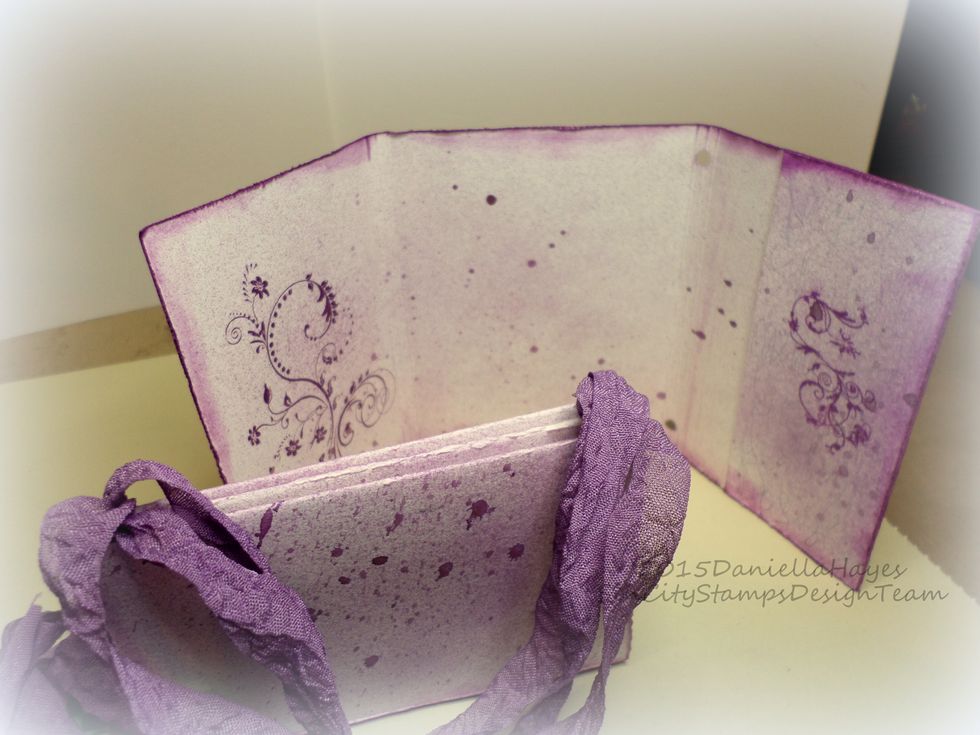
The inside of my book. You can see some of the inside stamping and the seambinding in the center of one of the signatures.
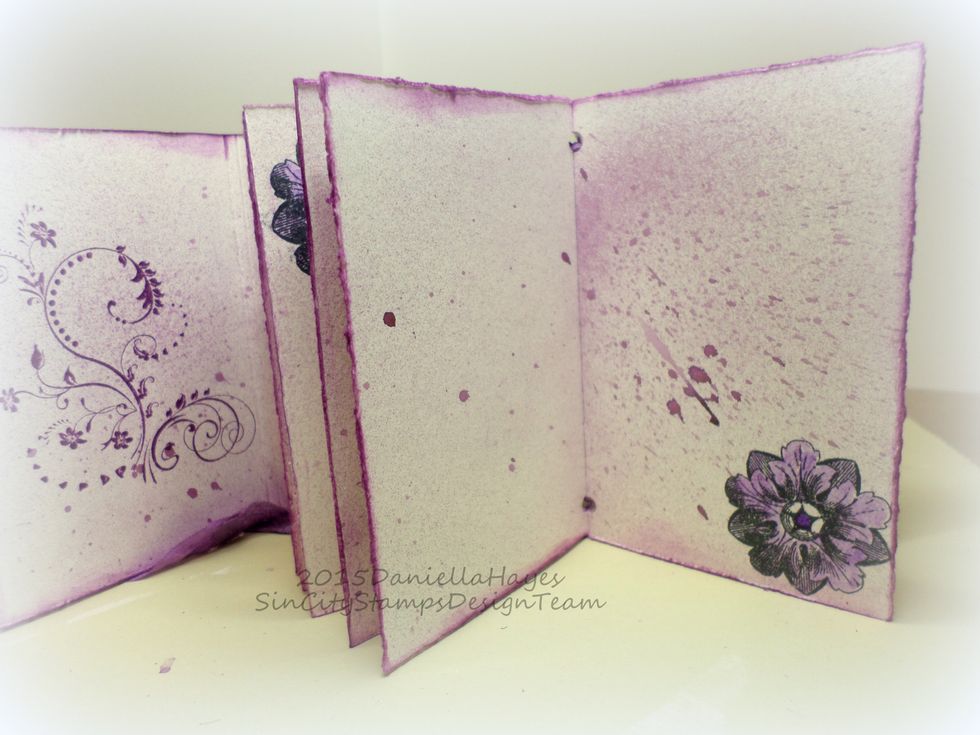
Another view inside the journal to show how nice and tight the signatures are. There are no gaps between signatures. The spray ink and stamping look fabulous *i think*!!
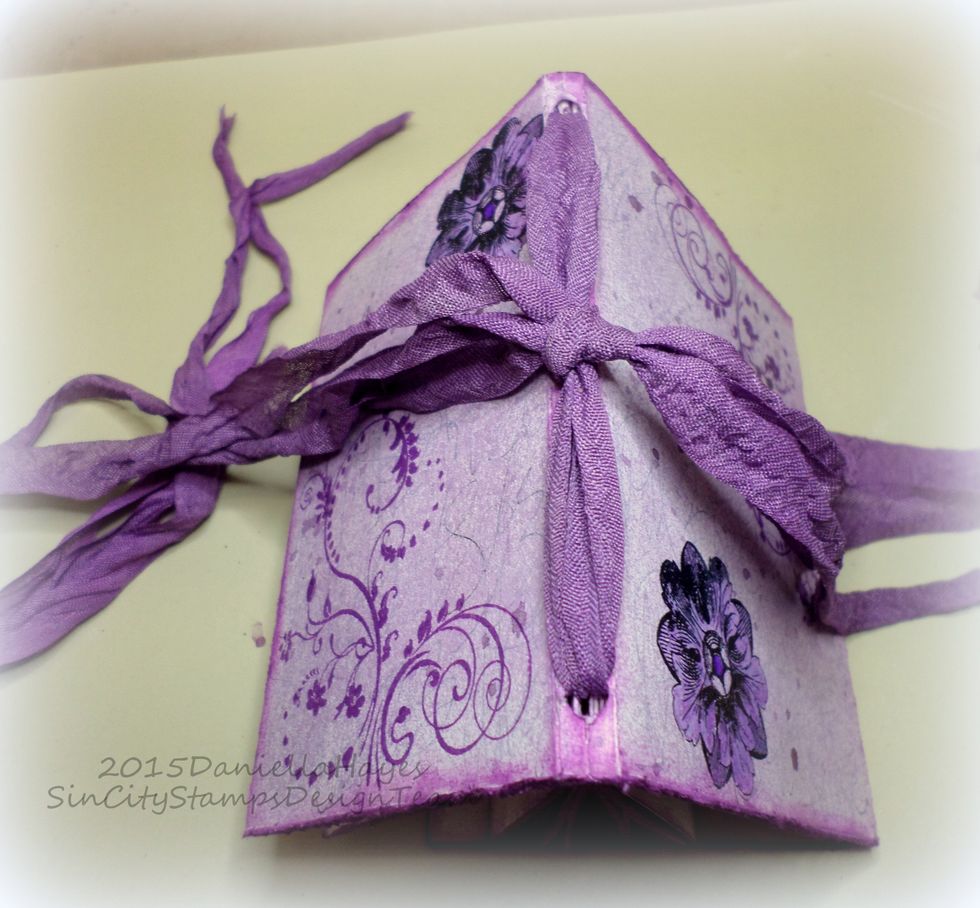
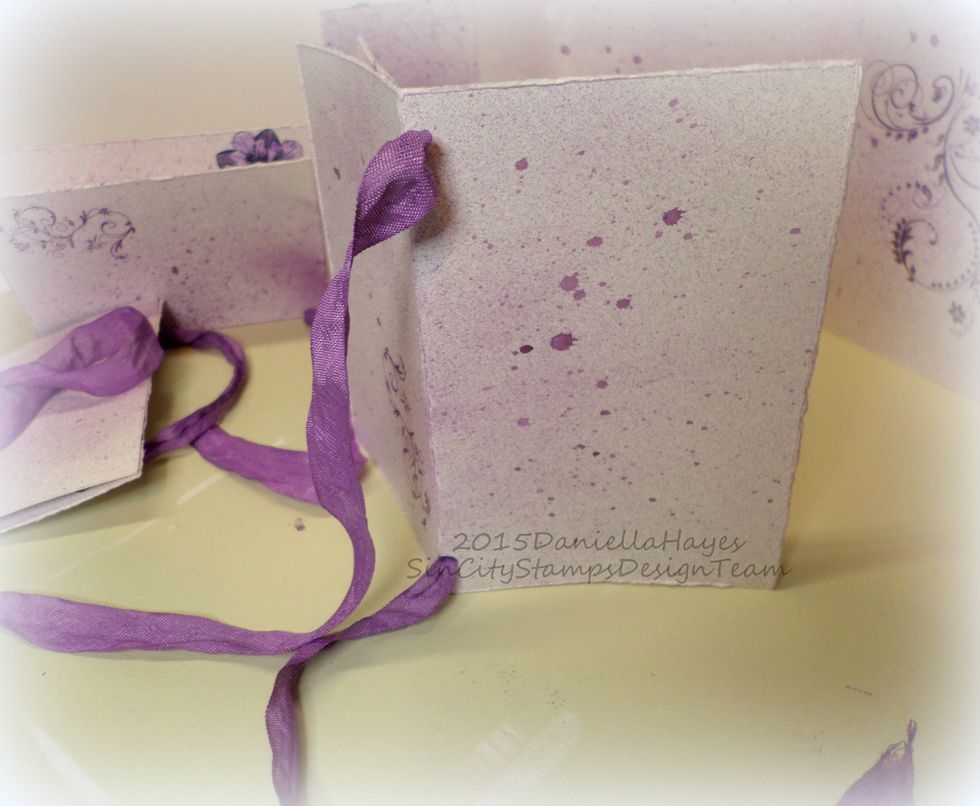
Fold your journal into itself to cover the pages and tie a bow on the side opposite the spine. See the ribbon on the right and left? Tie them together to close the journal.
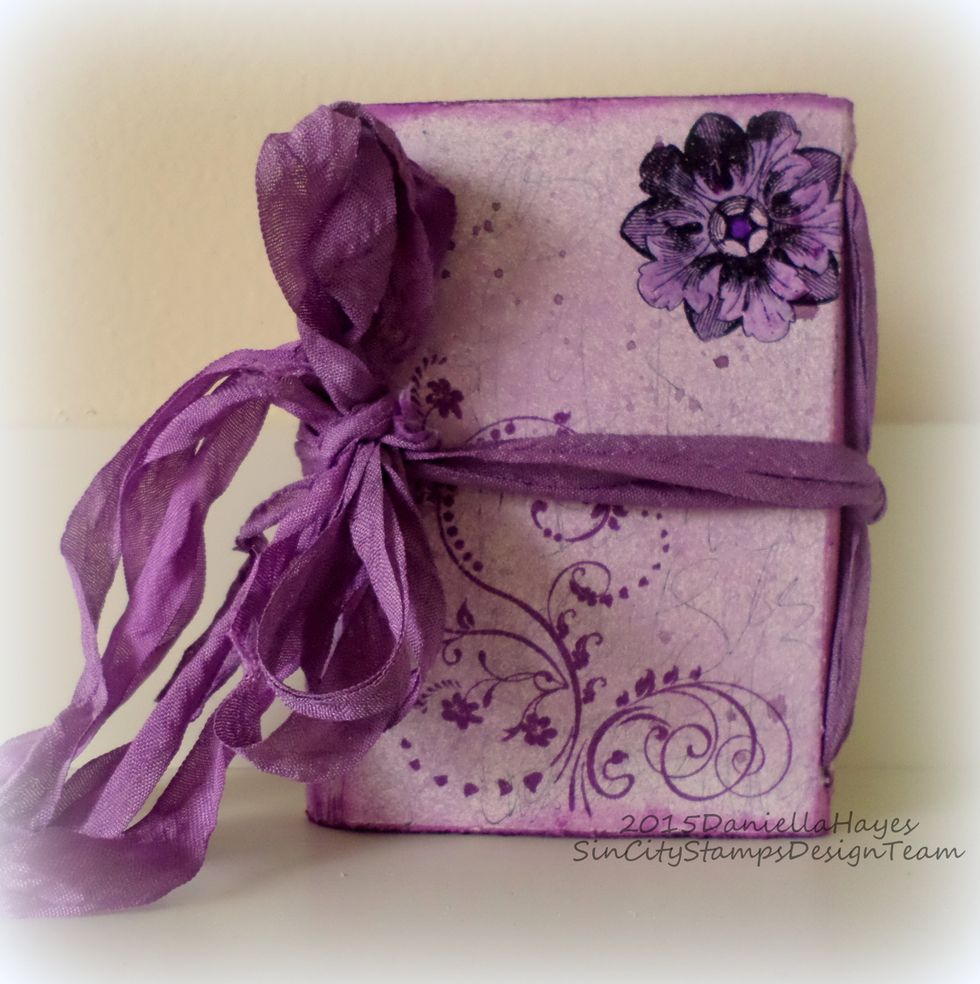
You are done! A super pretty little 4 1/2" x 3" Art Journal that you can take with you! These make awesome gifts too!
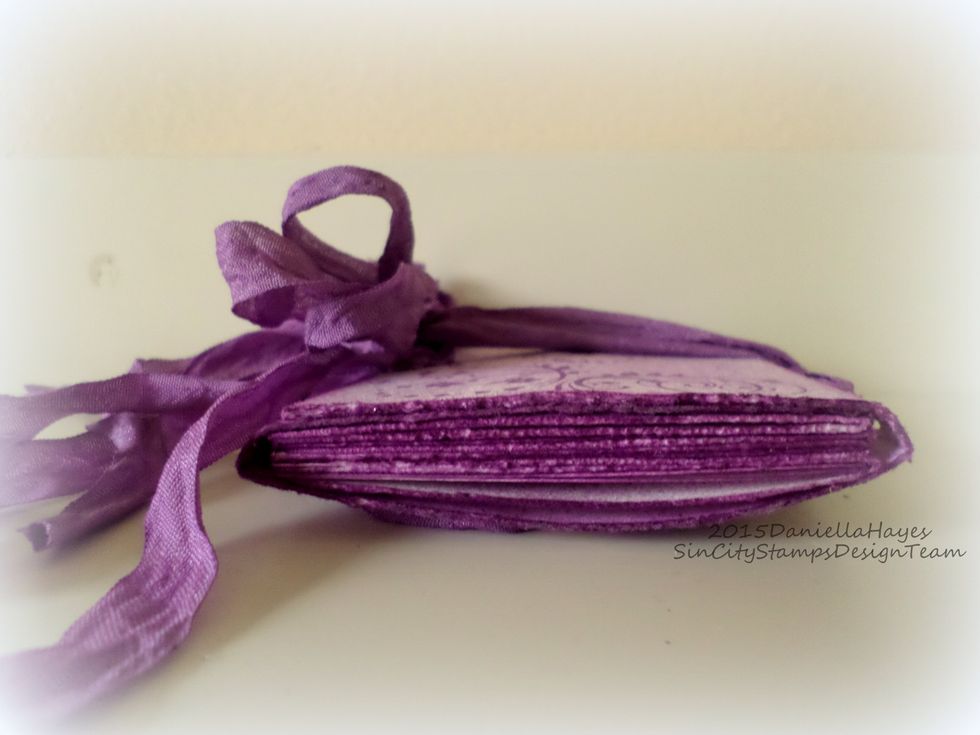
View from the side. There is tons of room inside this book! The additional score lines on the spines make the book easy to fold up tight, or fill up!
Thank you so much for watching! I hope you enjoy making your own journal! If you have any questions leave them in the comments or message me. Please visit the blogs on the cover! YOU are awesome!!