The Conversation (0)
Sign Up
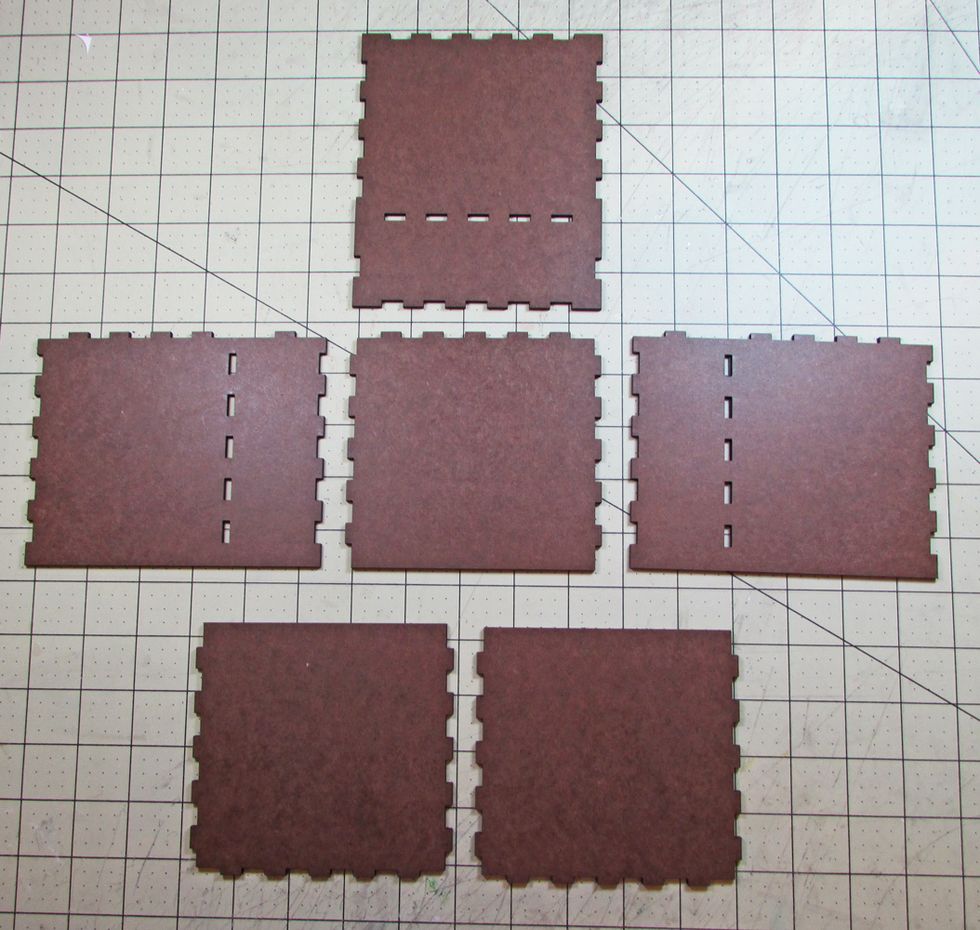
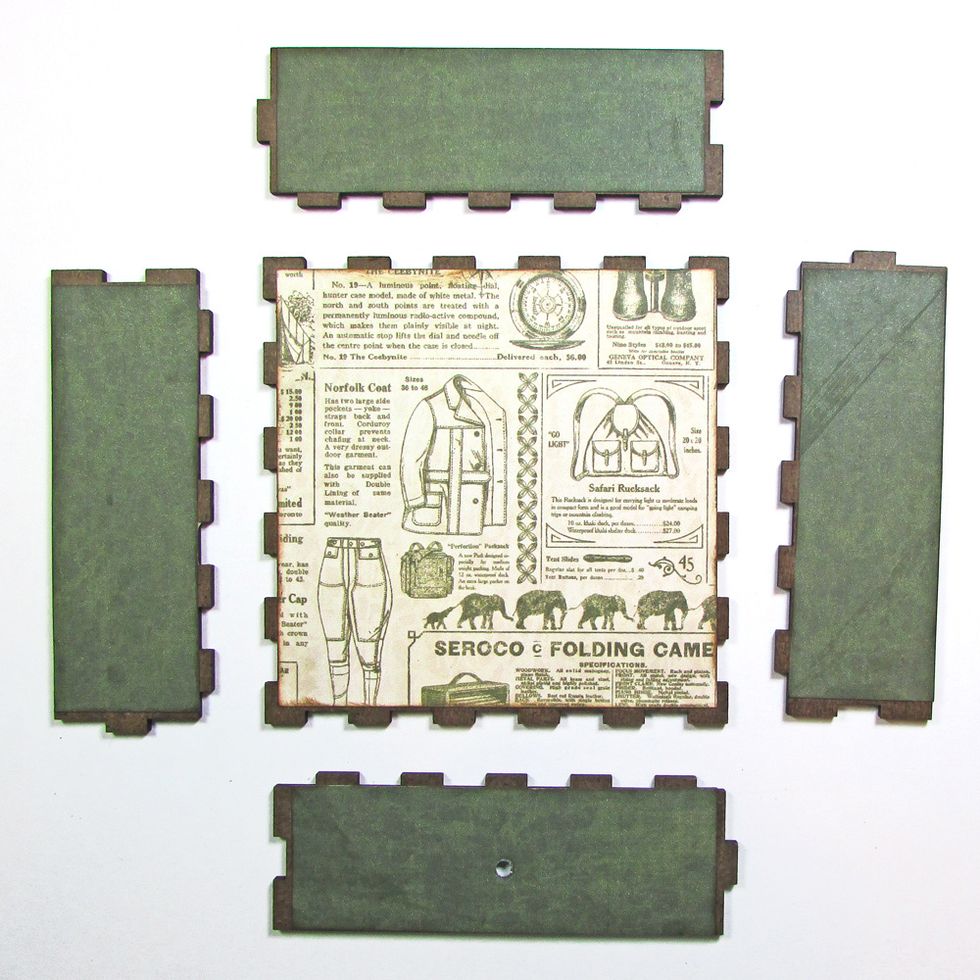
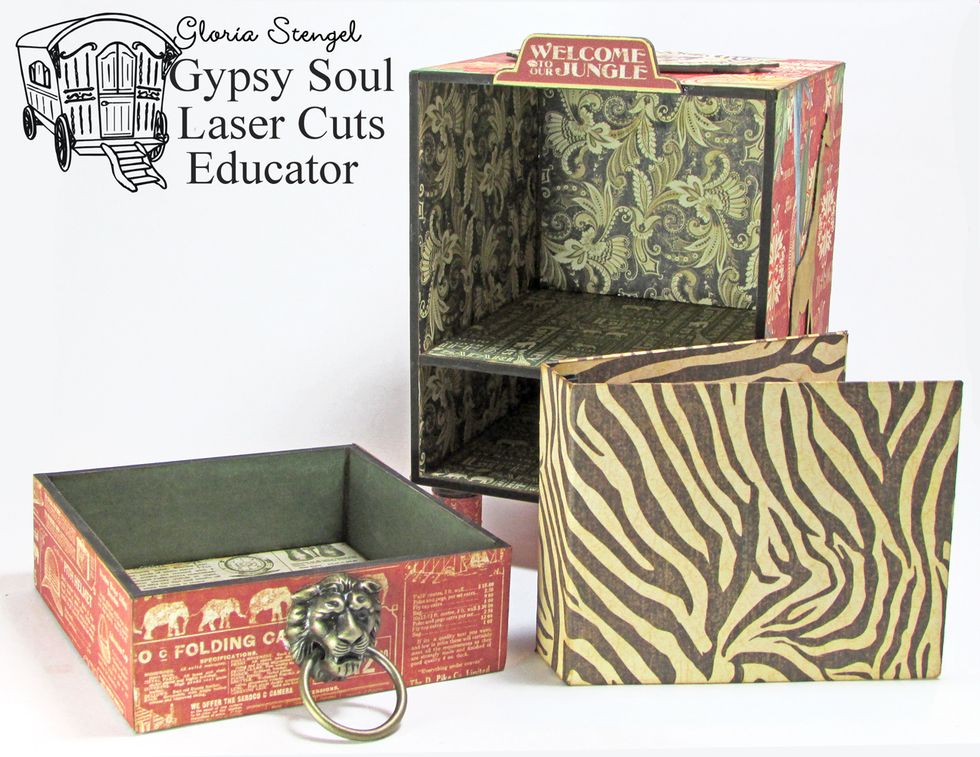
Prepare the pieces of the display case.
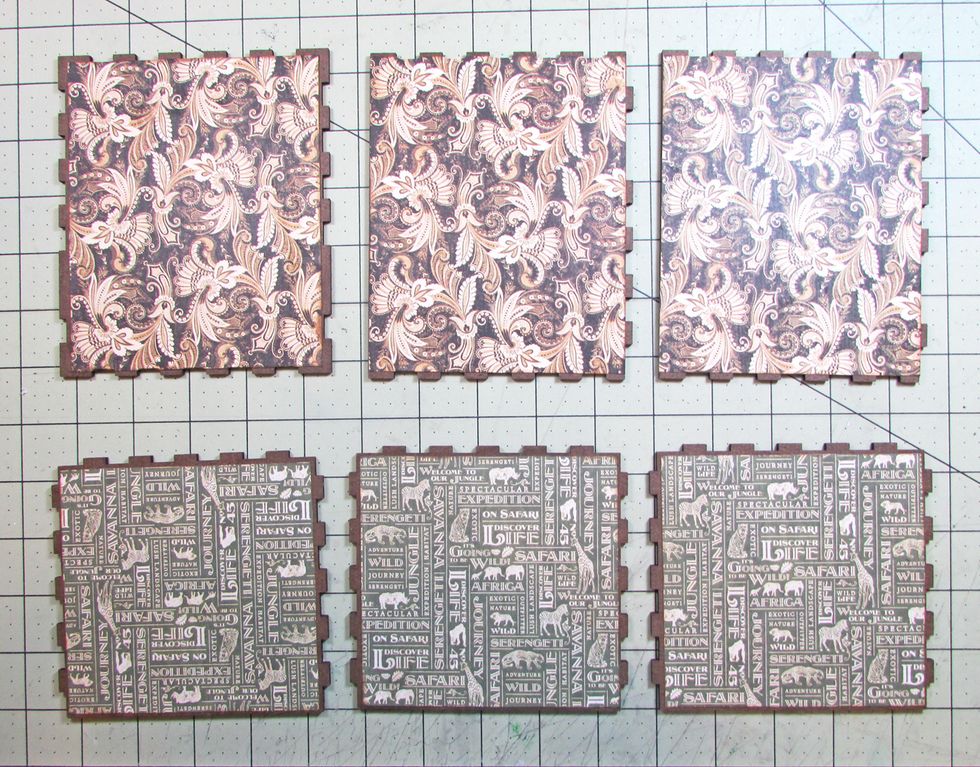
Cover the inside of all pieces with paper. Sponge the edges of the paper with brown ink.
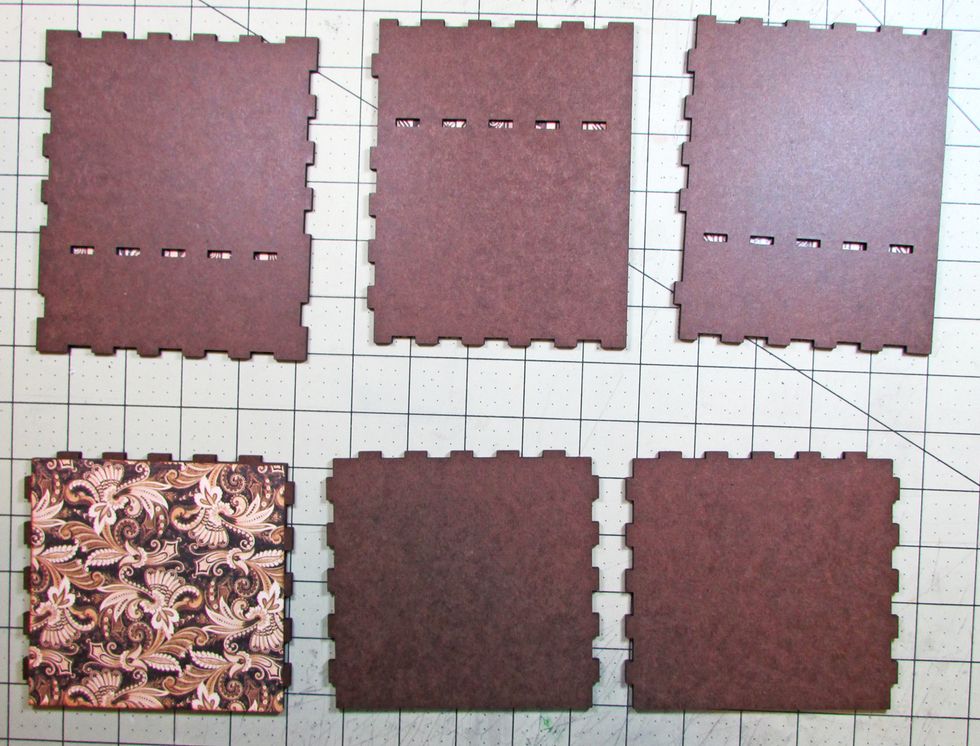
Flip the pieces over so the right sides are showing. Use a craft knife to cut out the tab openings in the side pieces. Attach paper to the shelf piece.
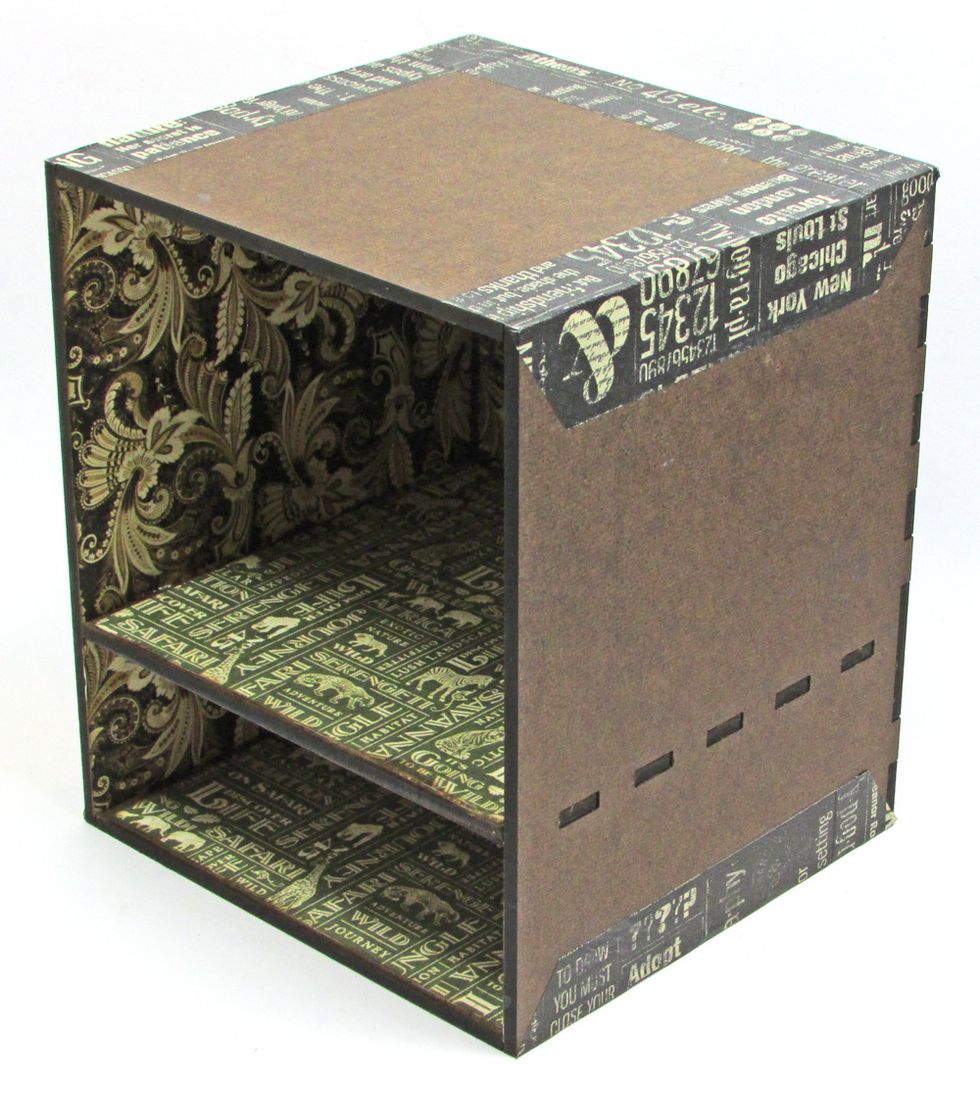
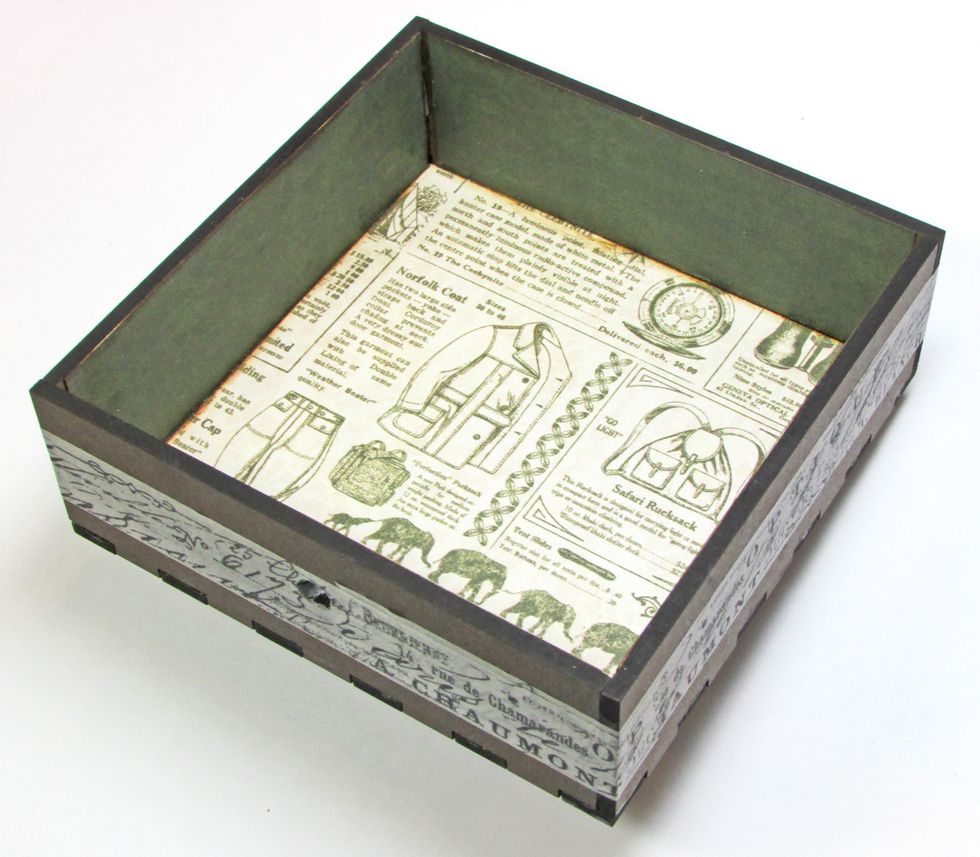
Assemble the display case. Reinforce with washi tape.
Prepare the drawer pieces and attach paper to the inside surface of each piece.
Assemble the drawer. Wrap with washi tape for more stability. Punch the hole for the handle.
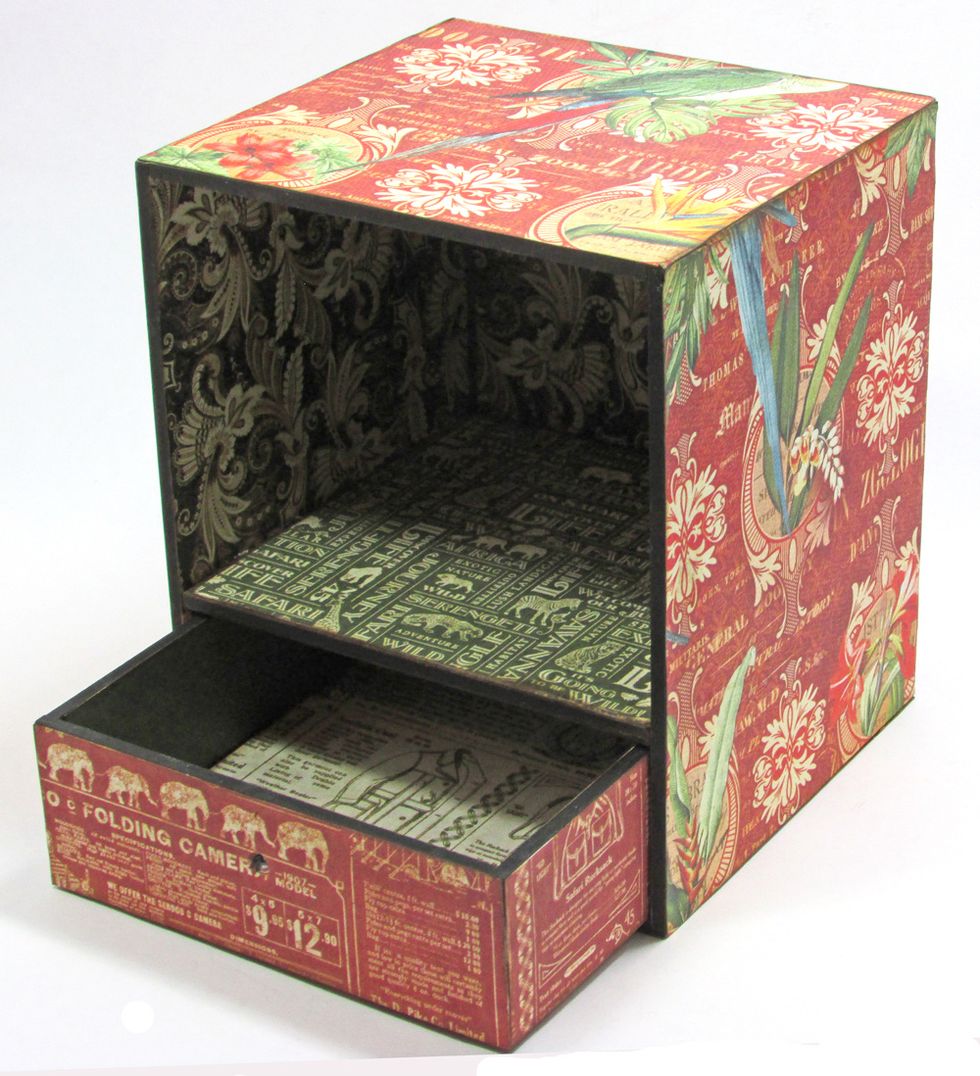
Cover the outside of the drawer and the case with paper. Sponge edges with brown ink.
Punch the hole in the drawer for the handle.
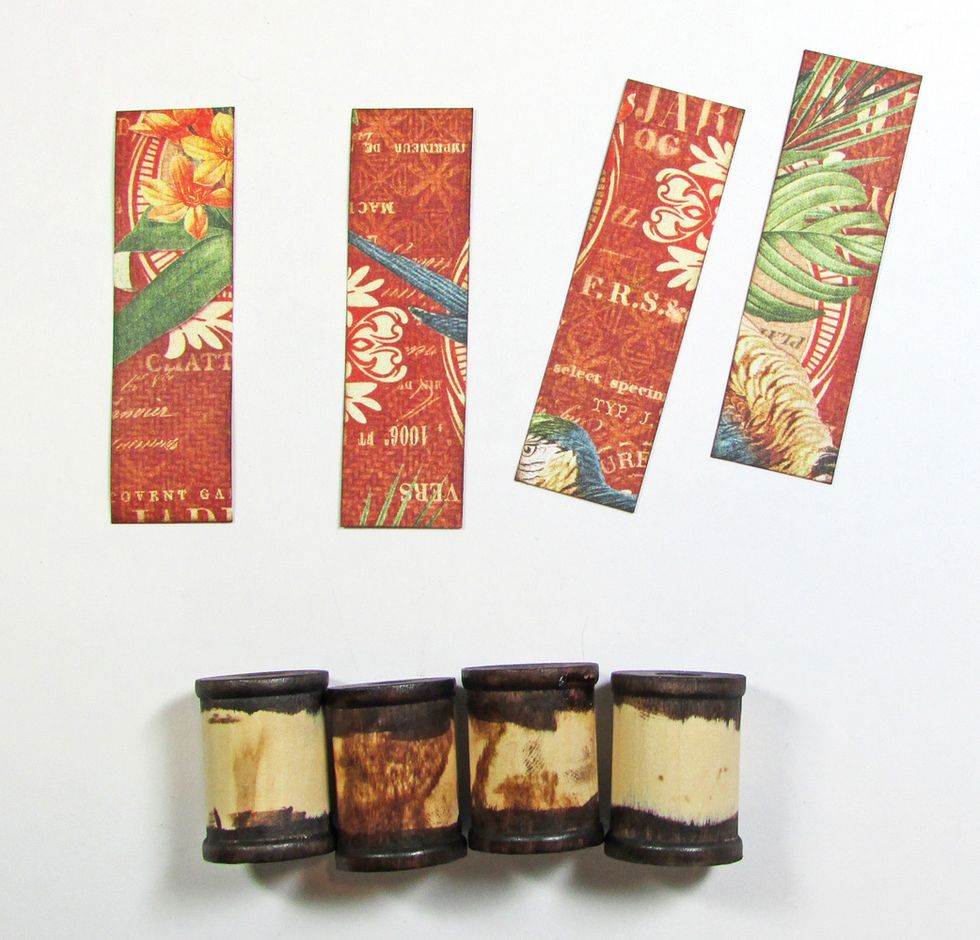
Paint or ink four wood spools. Trim four pieces of paper to wrap around the spools. Ink the edges of the paper with brown ink.
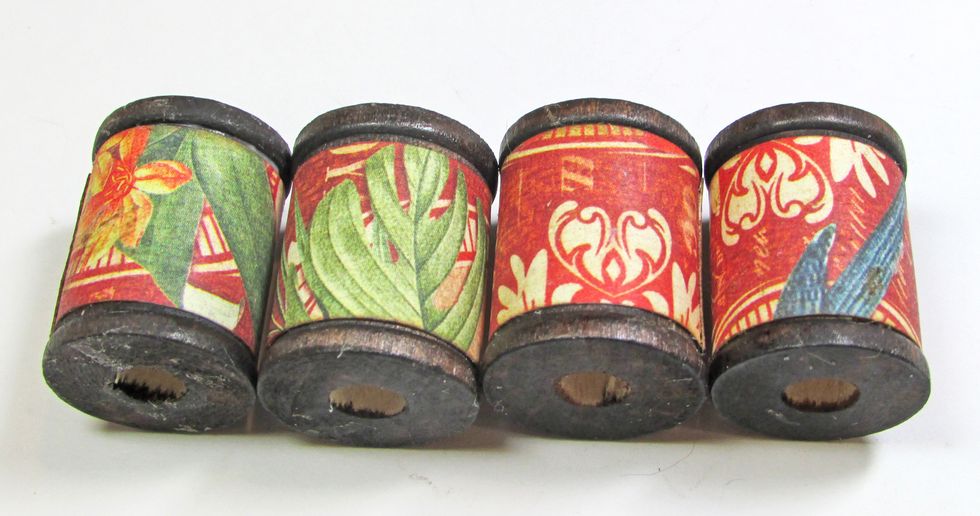
Wrap the paper around the spools and glue in place.
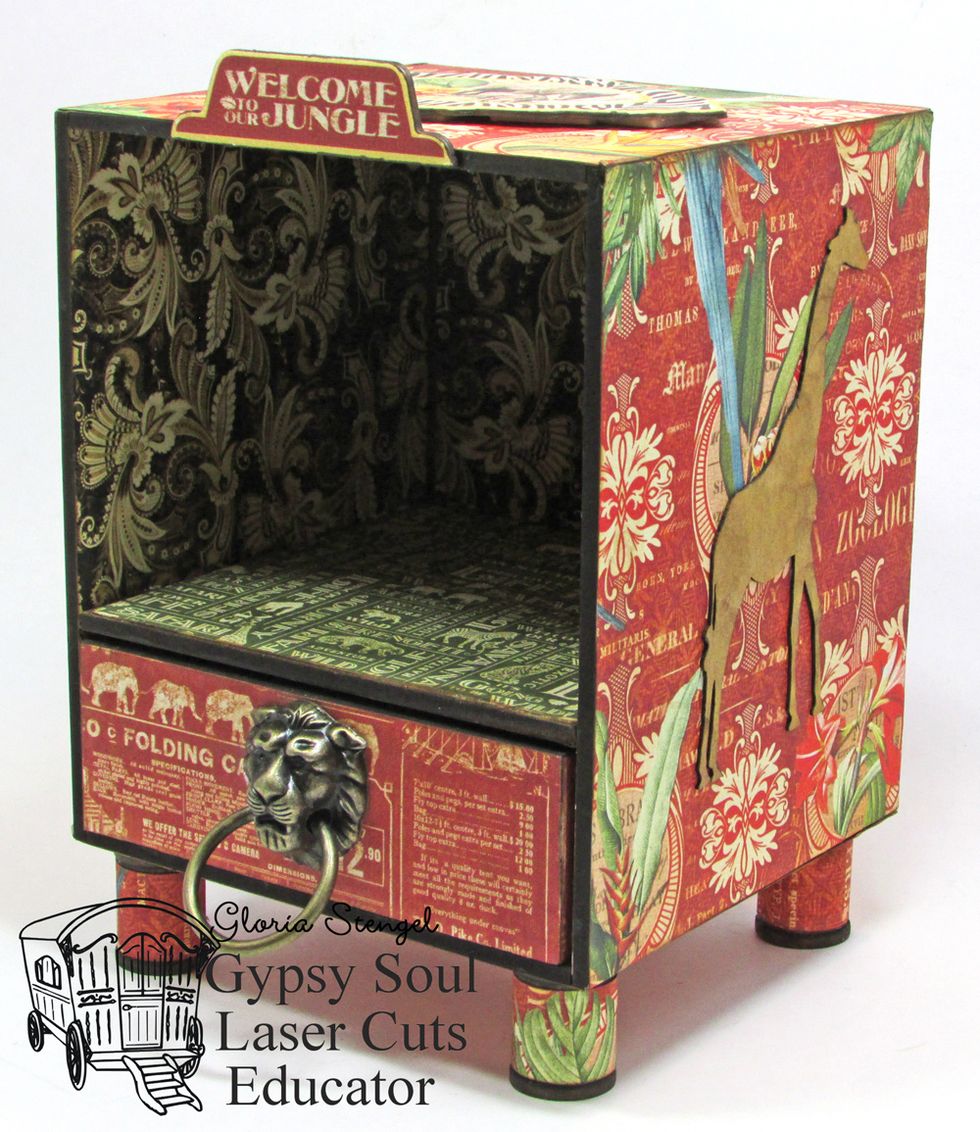
Attach the handle to the drawer. Glue the spools to the bottom of the display case.
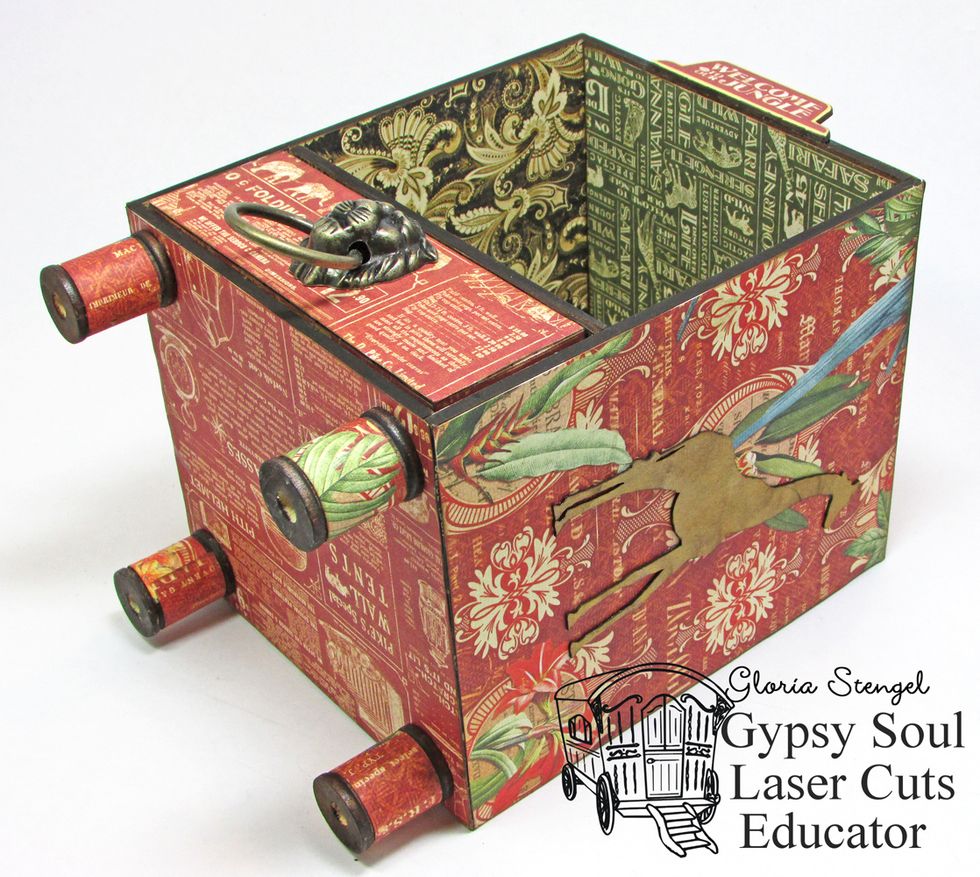
Glue one spool to each corner of the bottom of the case.
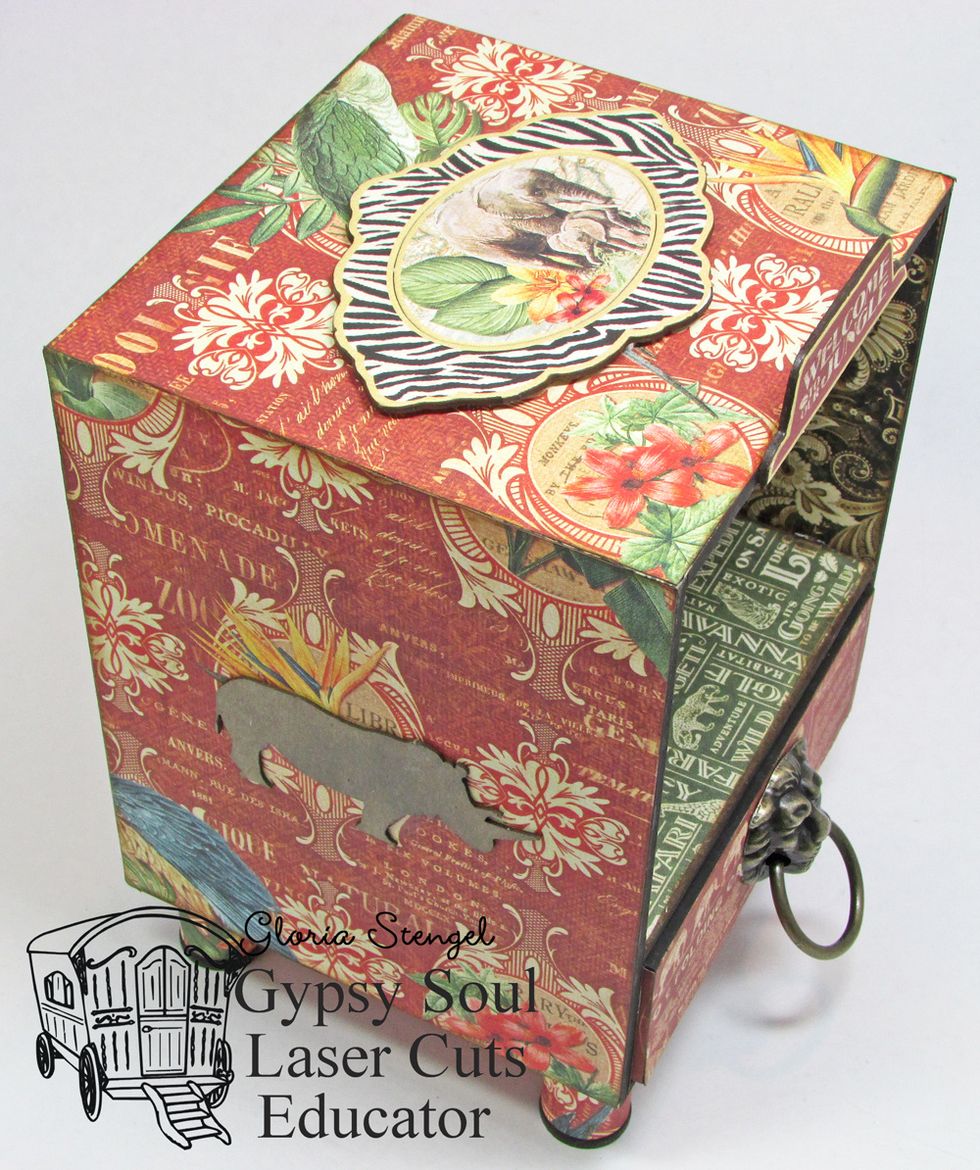
Glue GSLCuts Safari chipboard shapes to the box. Add Graphic 45 decorative chipboard as desired.
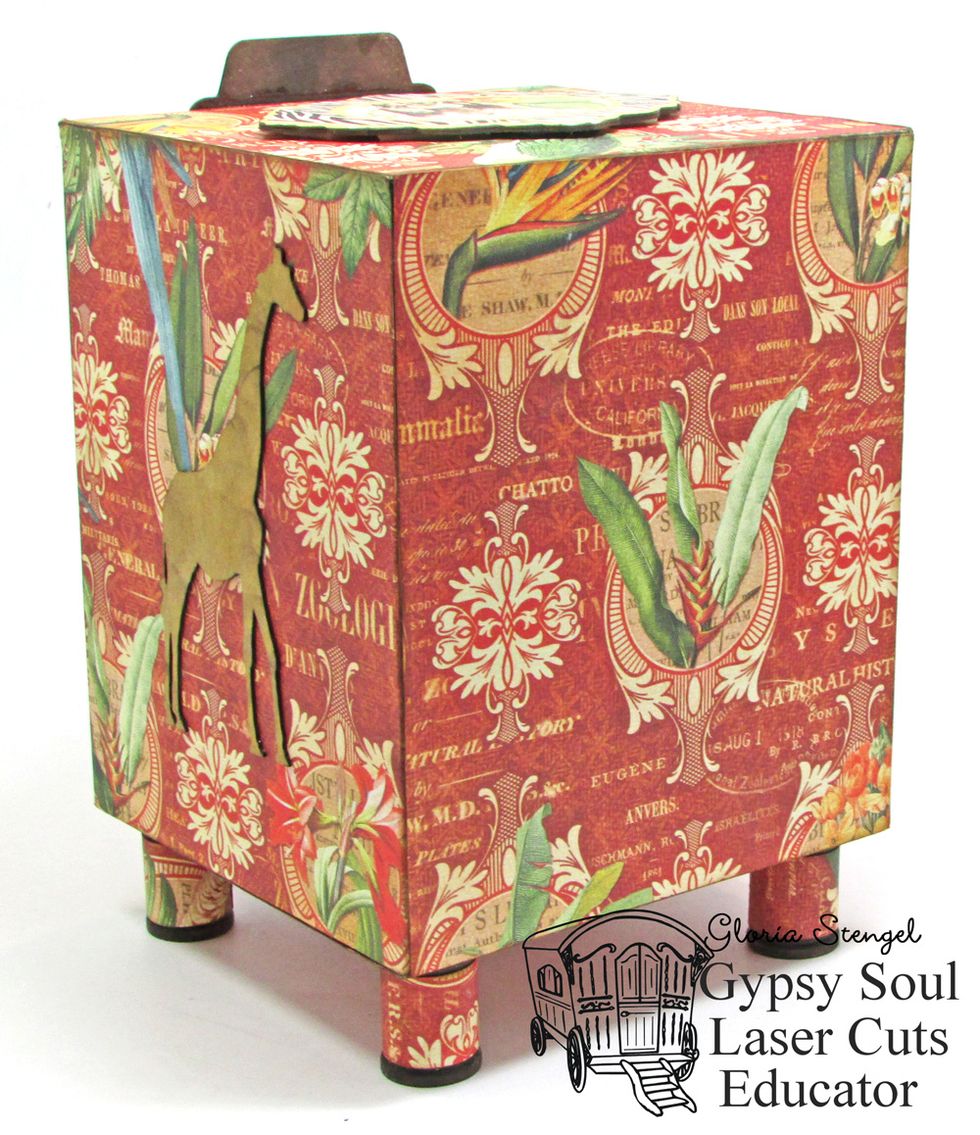
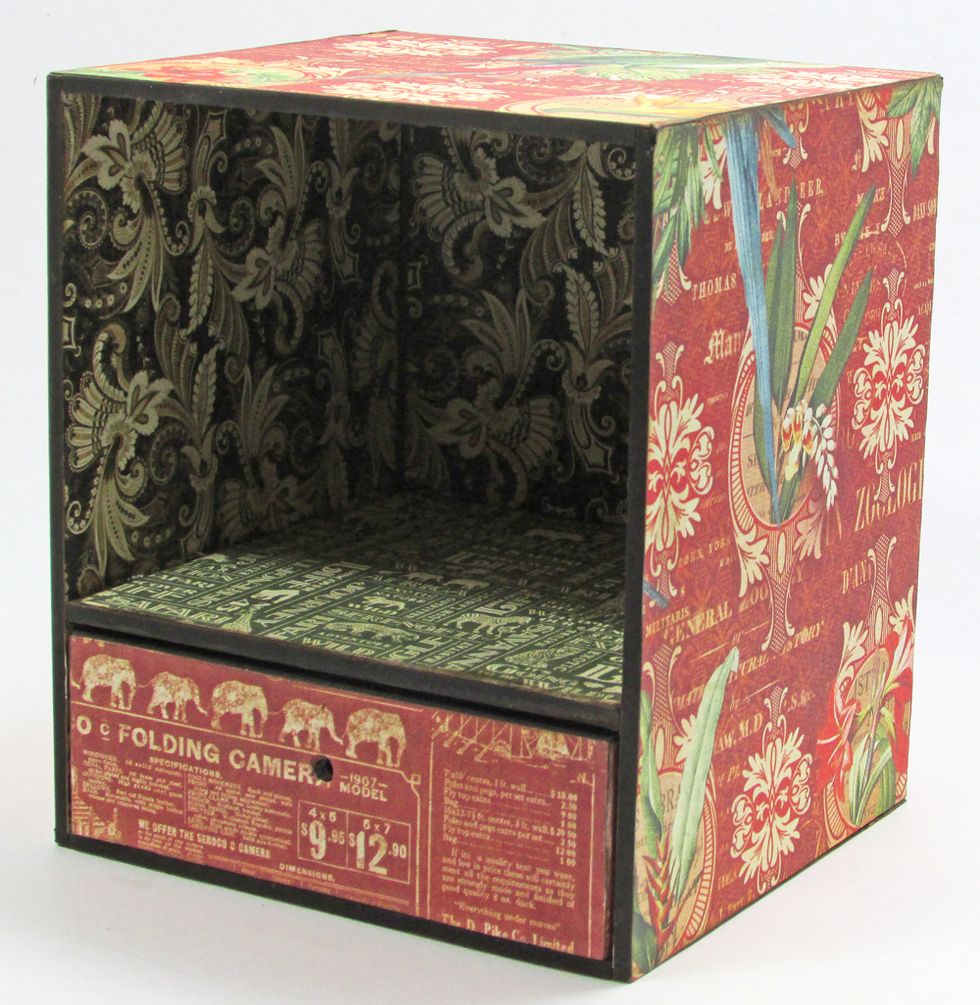
The back of the display case.
Create mini albums to sit into the case and the drawer. (Mini albums will be posted 8/9/16.)