The Conversation (0)
Sign Up
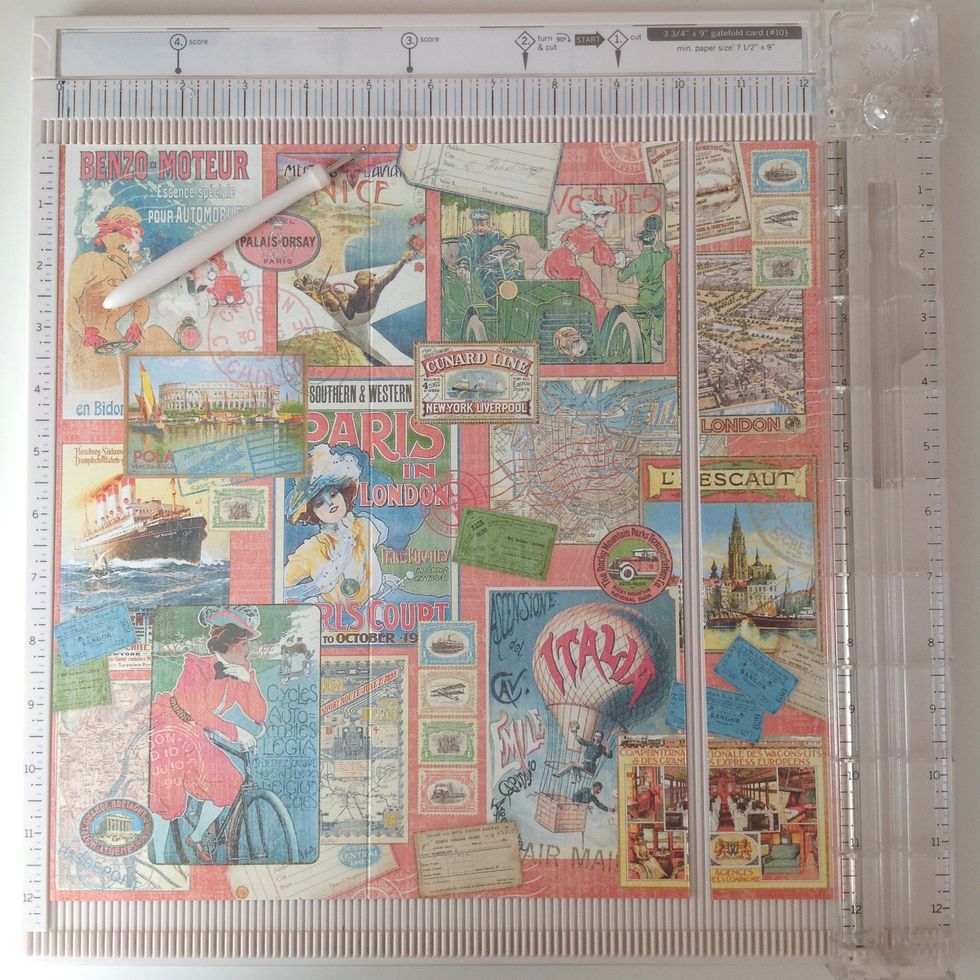
Cut at 10" and score at 5" one 12x12" sheet
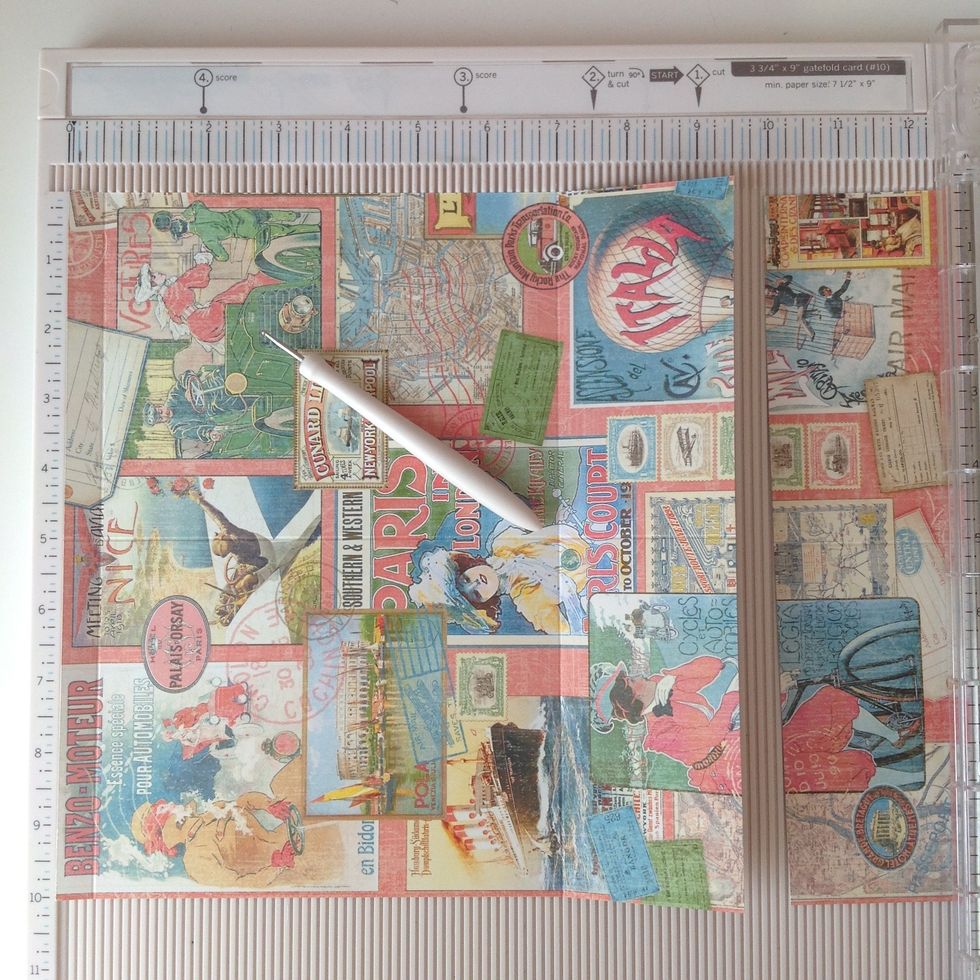
Turn the paper and cut at 9,5", then score at 1/2" on the left and 2,5" on the right side.
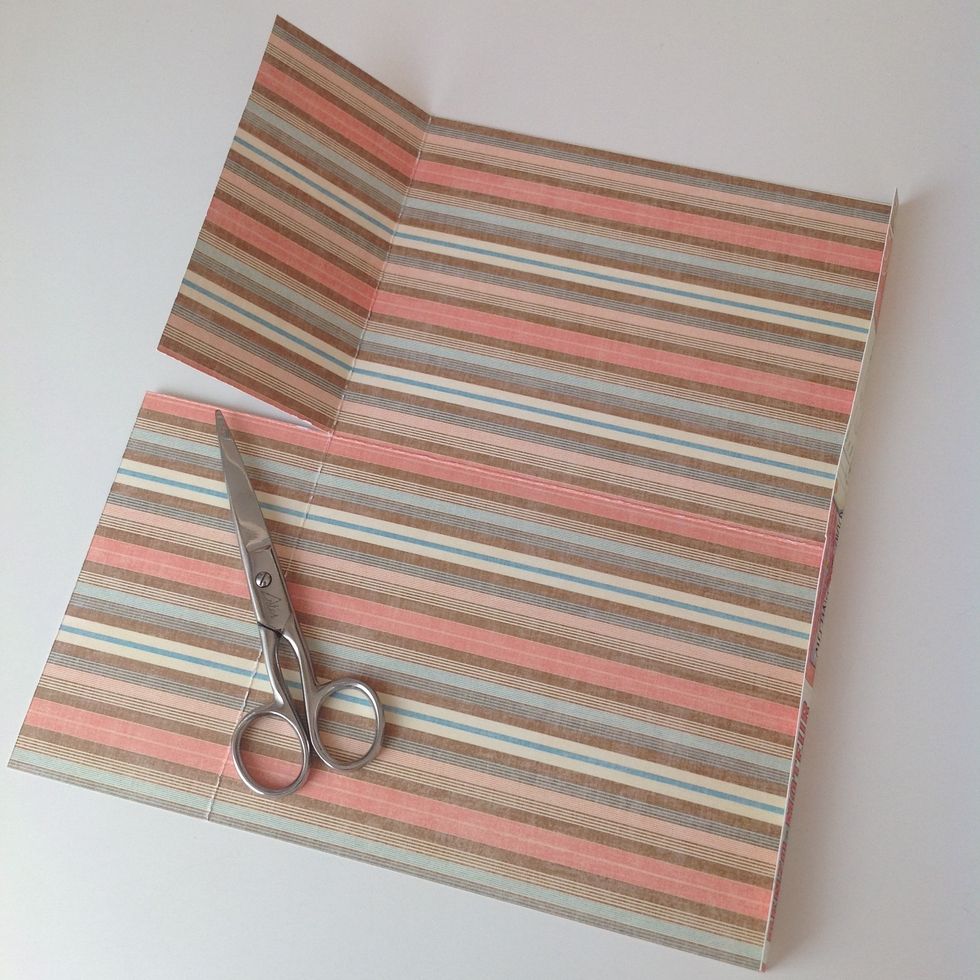
Cut as shown and fold the other side.
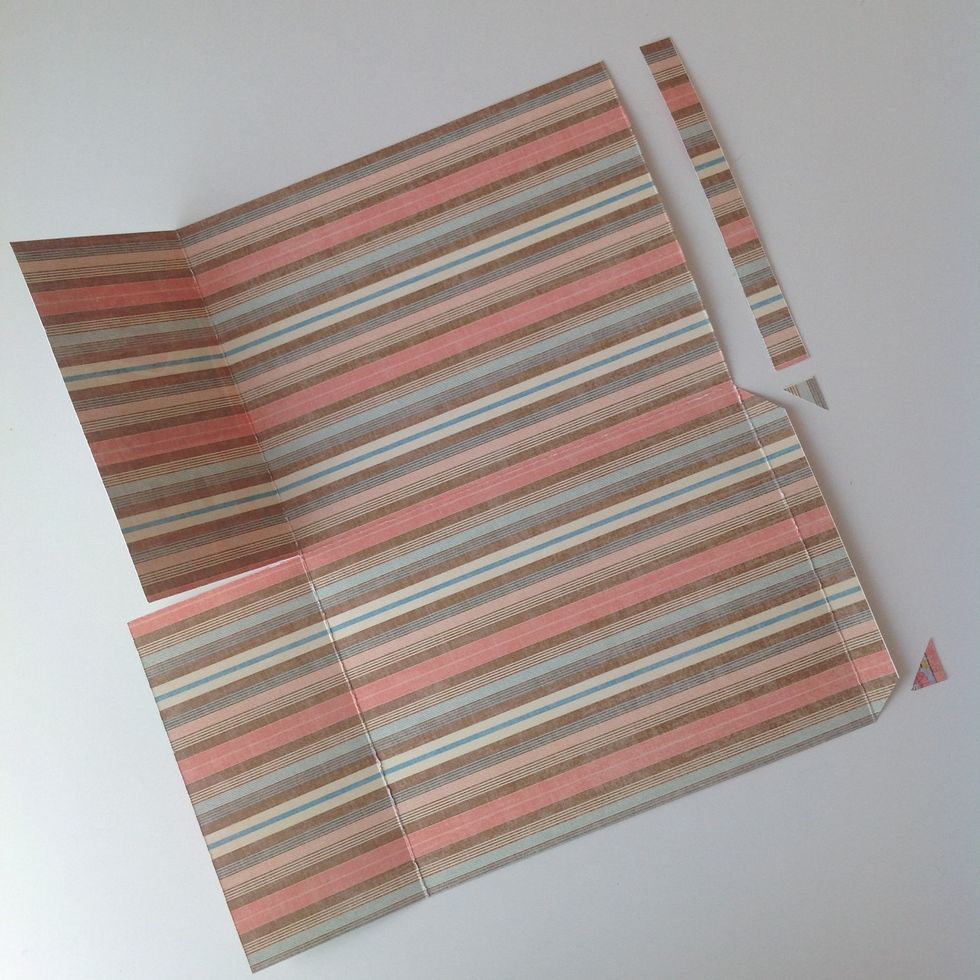
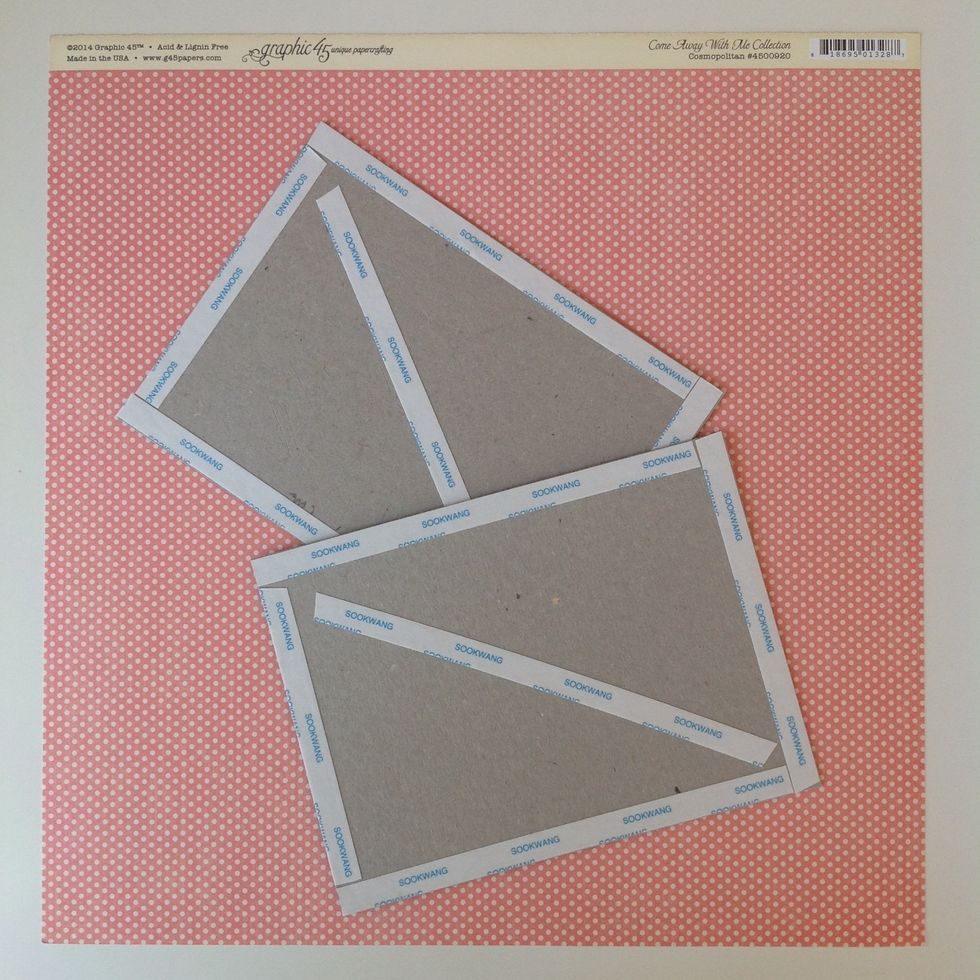
Cut this piece of paper and corners as shown.

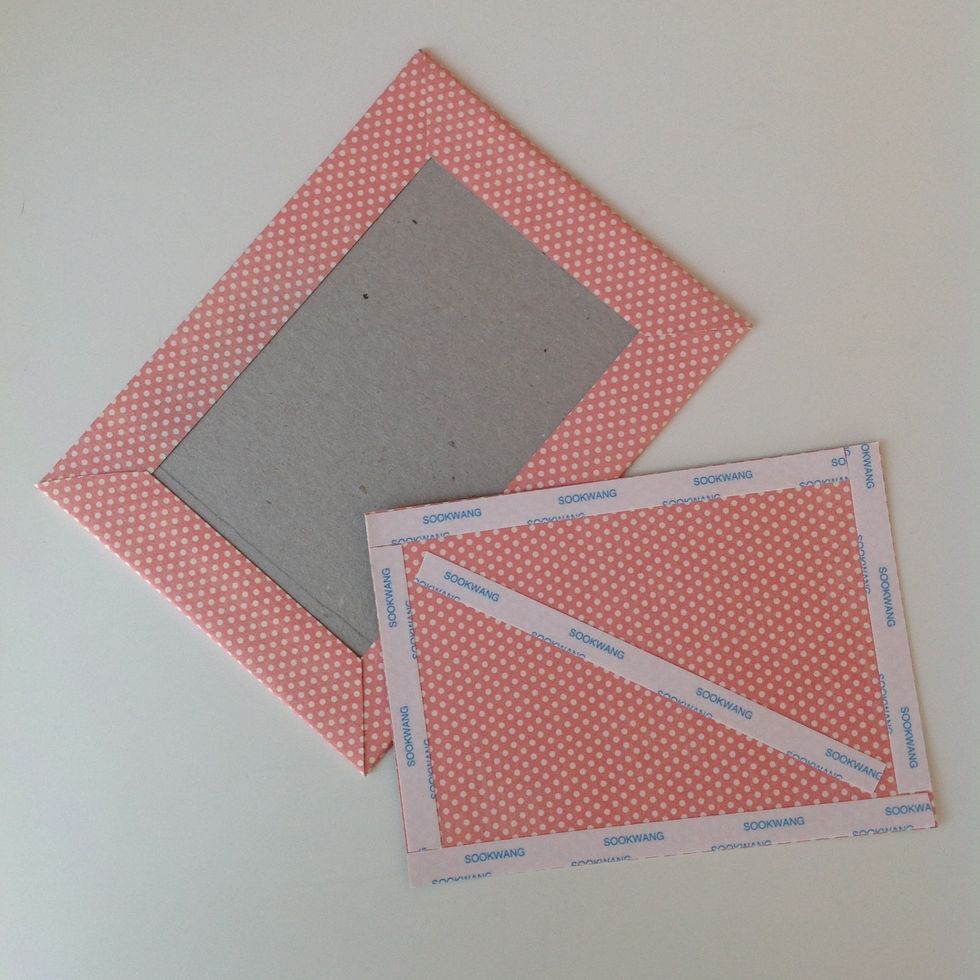
Use double sided tape to stick the pocket and the flap

Fold and stick.
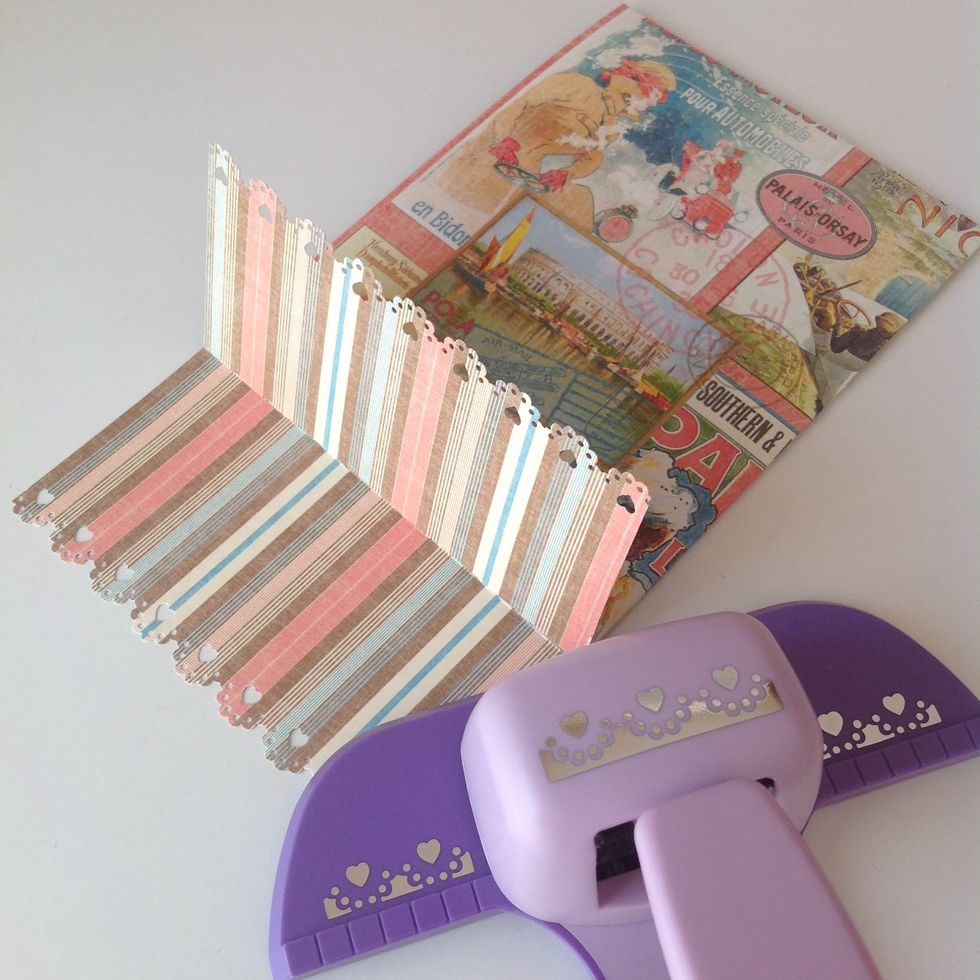
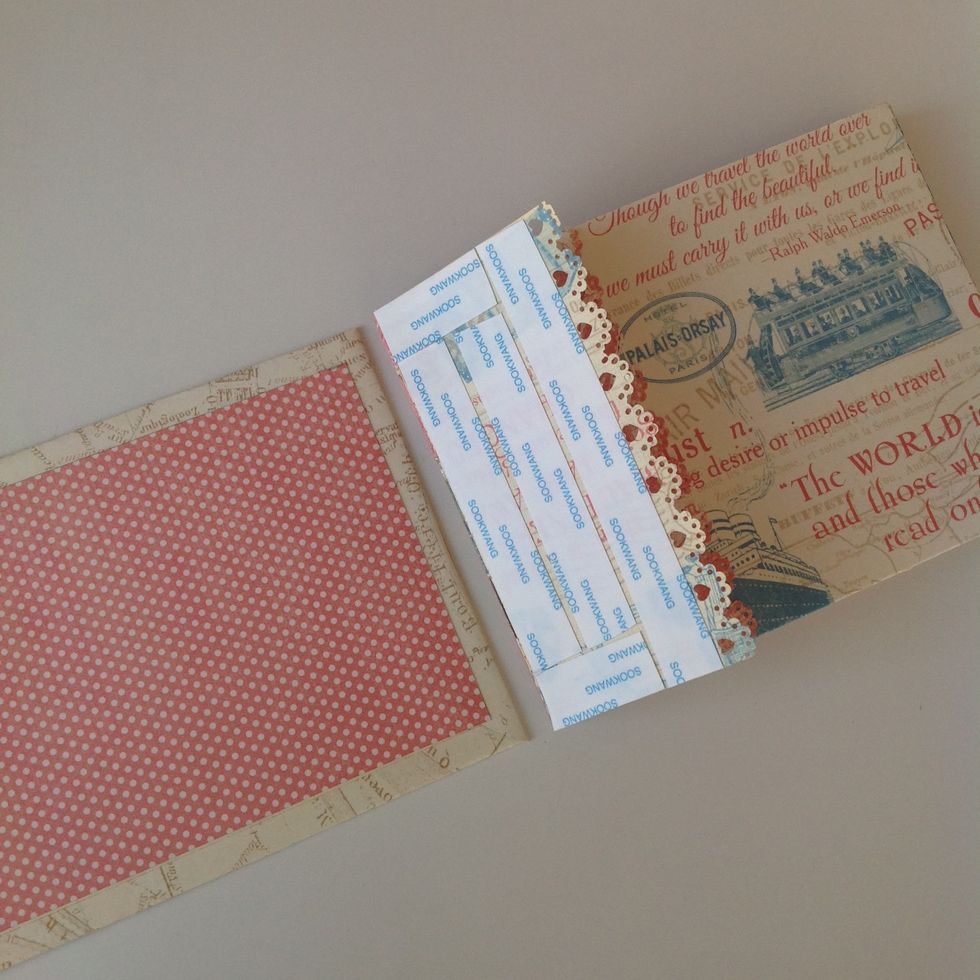
Use a border punch in both flaps.

Repeat steps in the rest of the pages you want for your album.
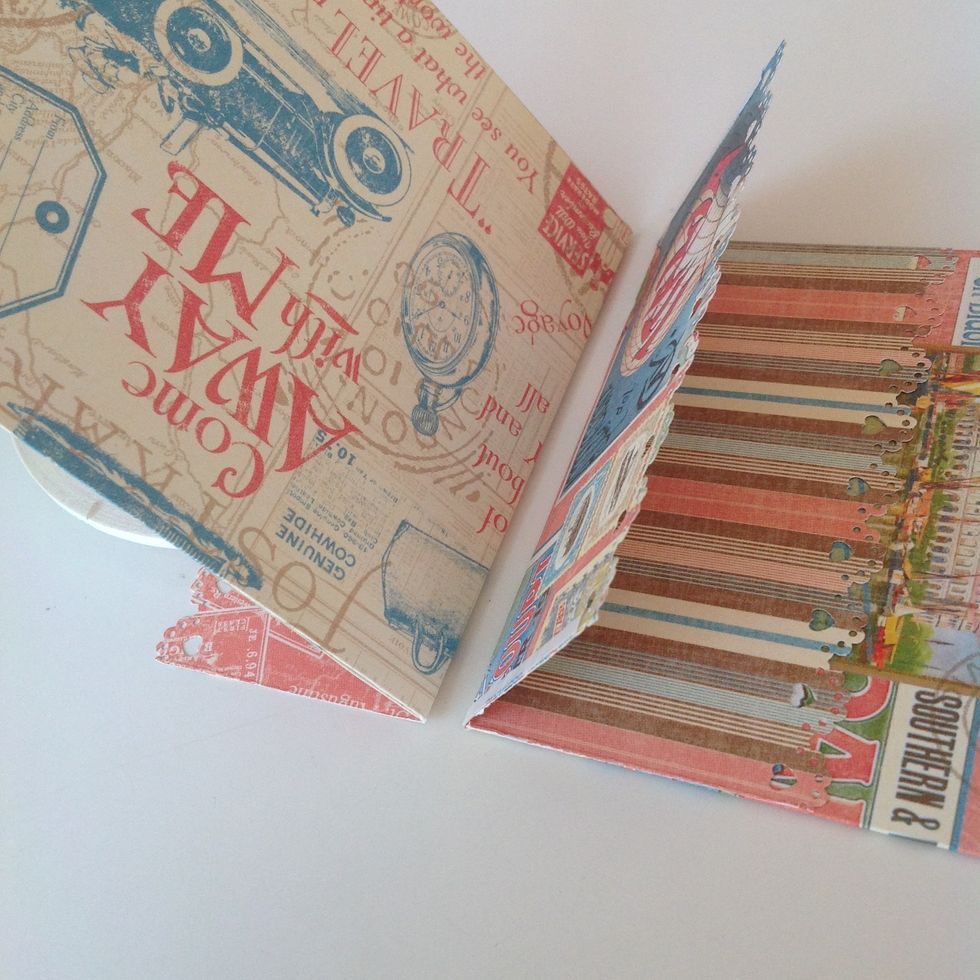
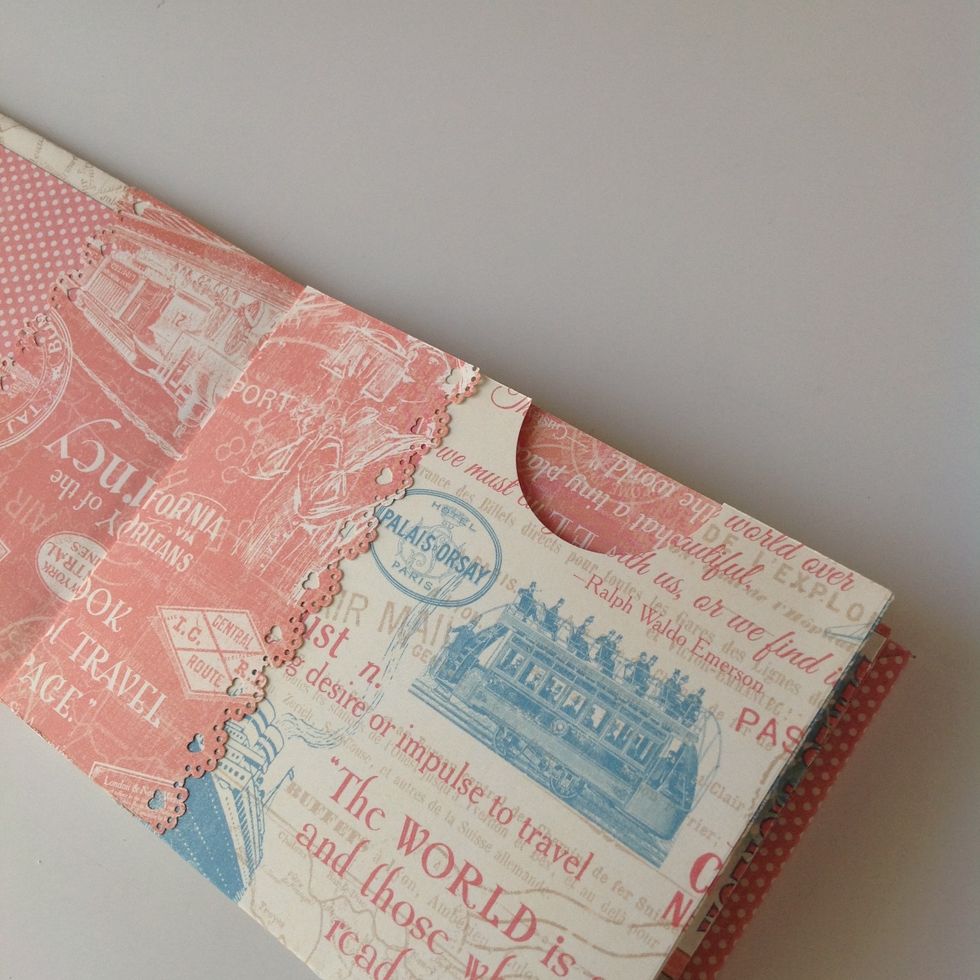
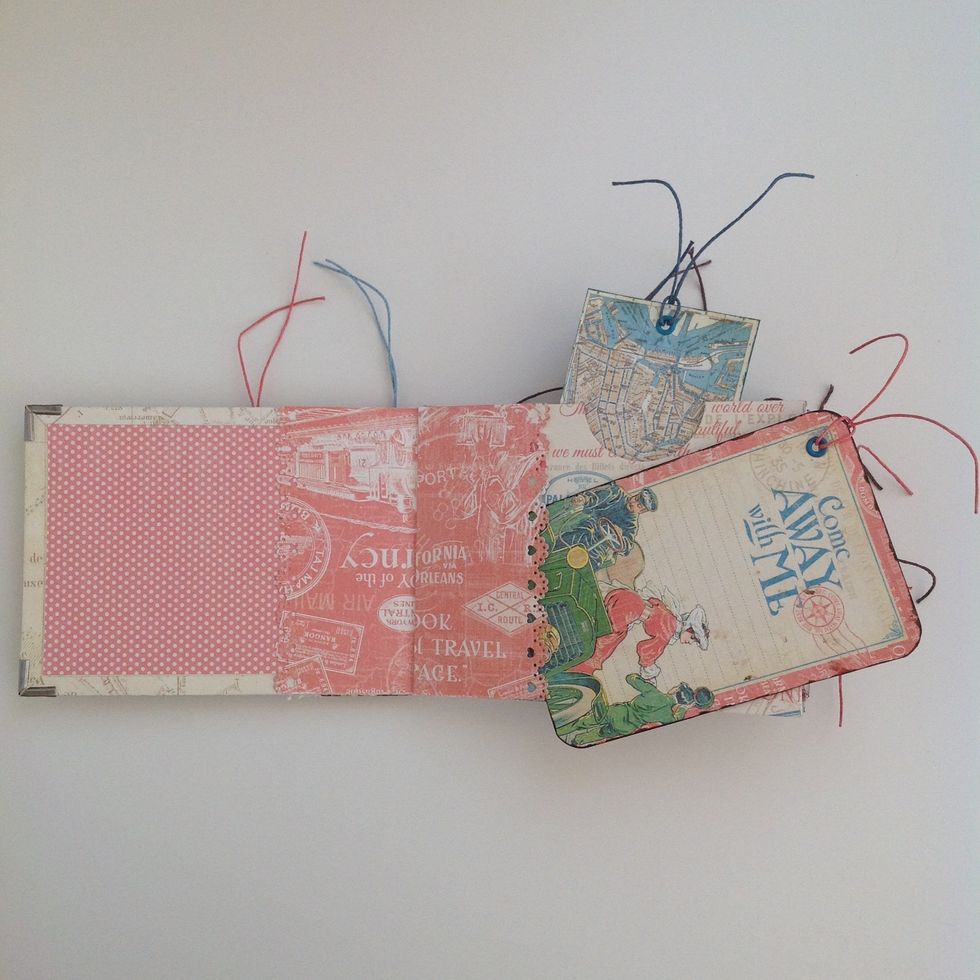
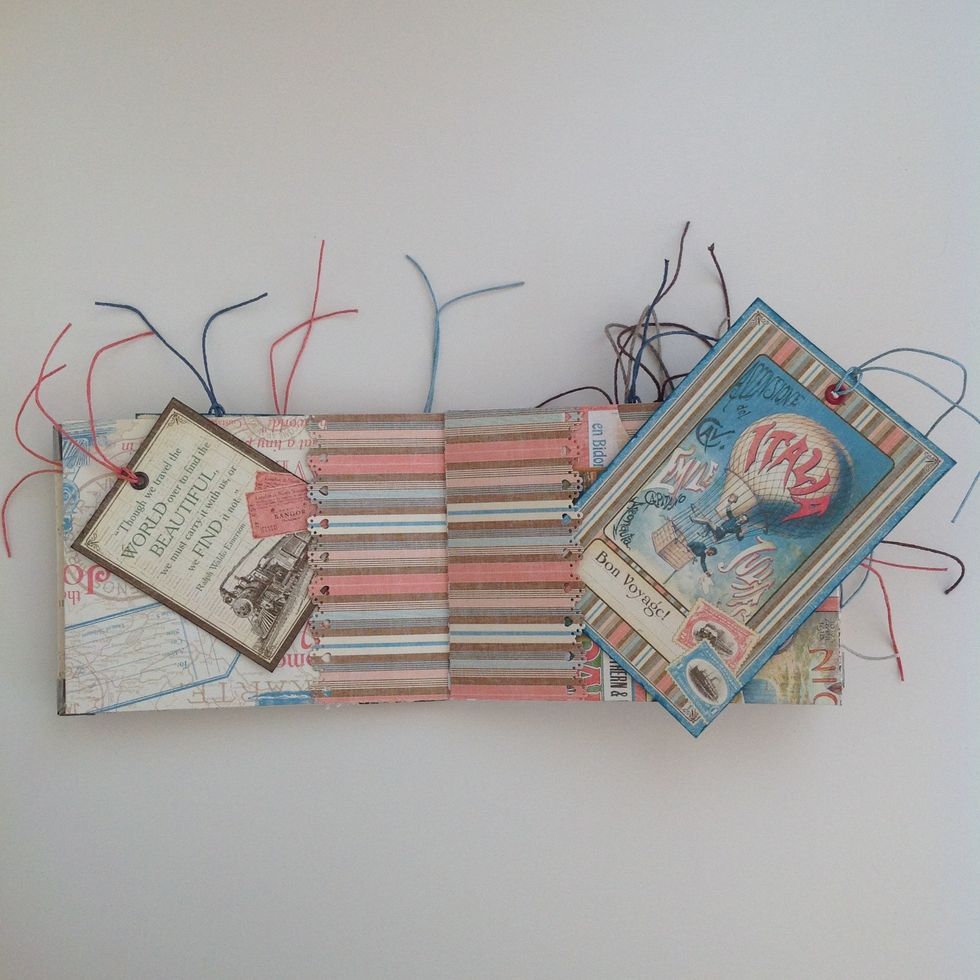
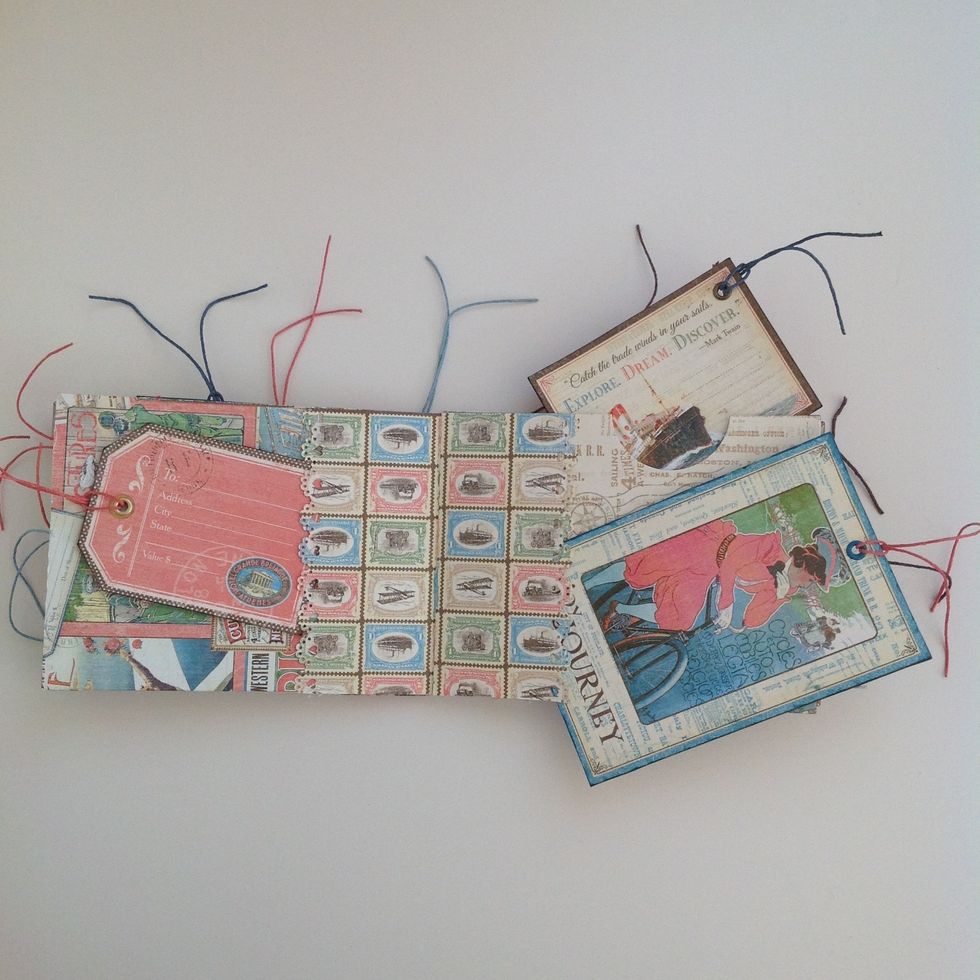
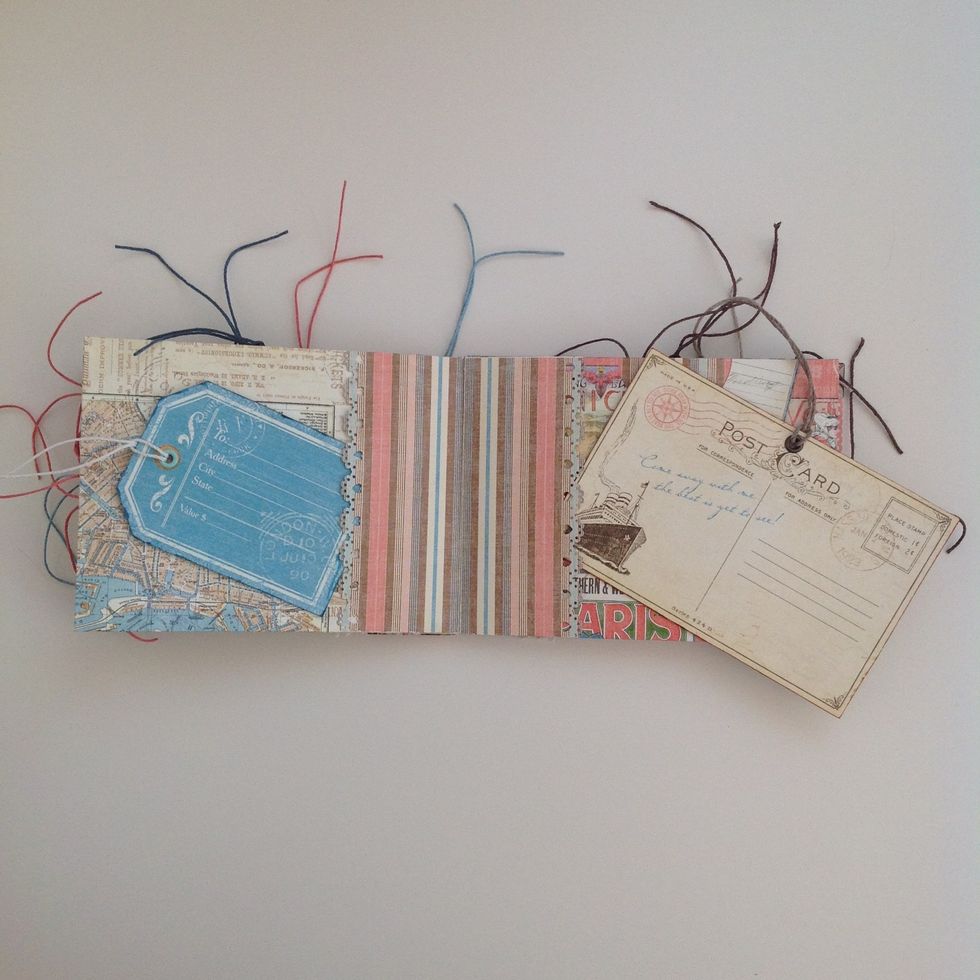
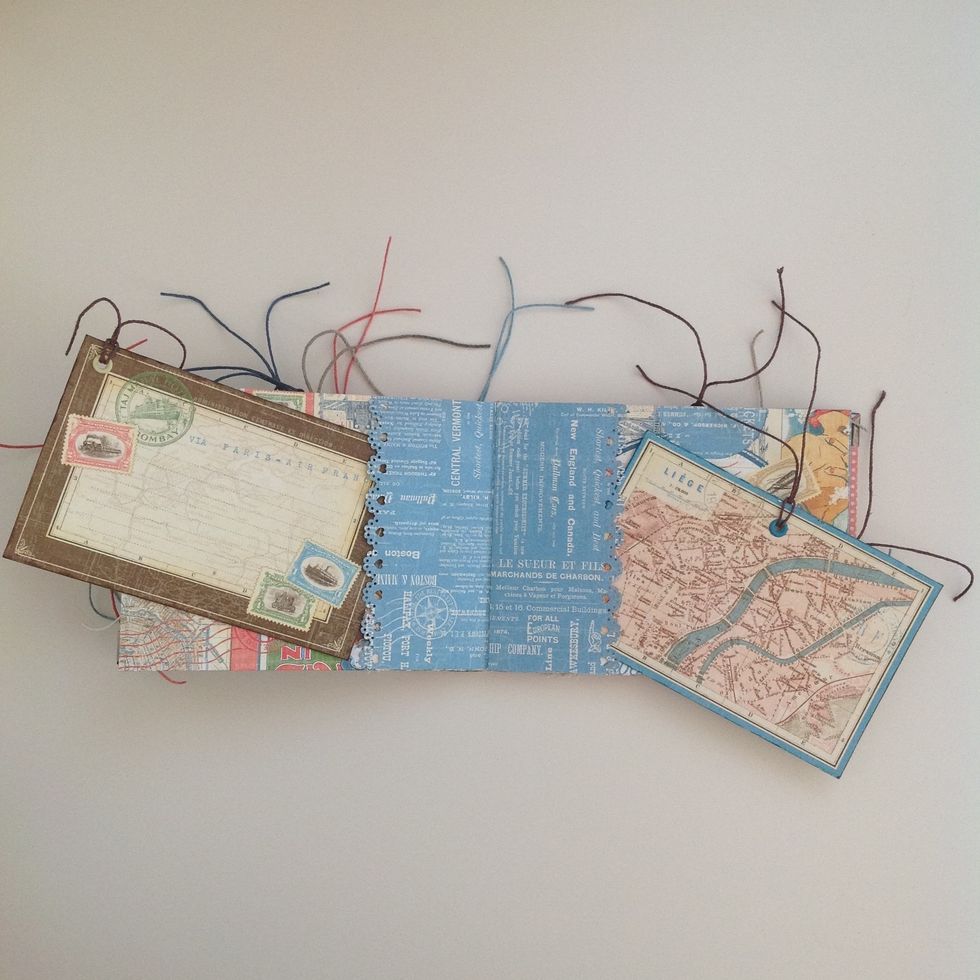
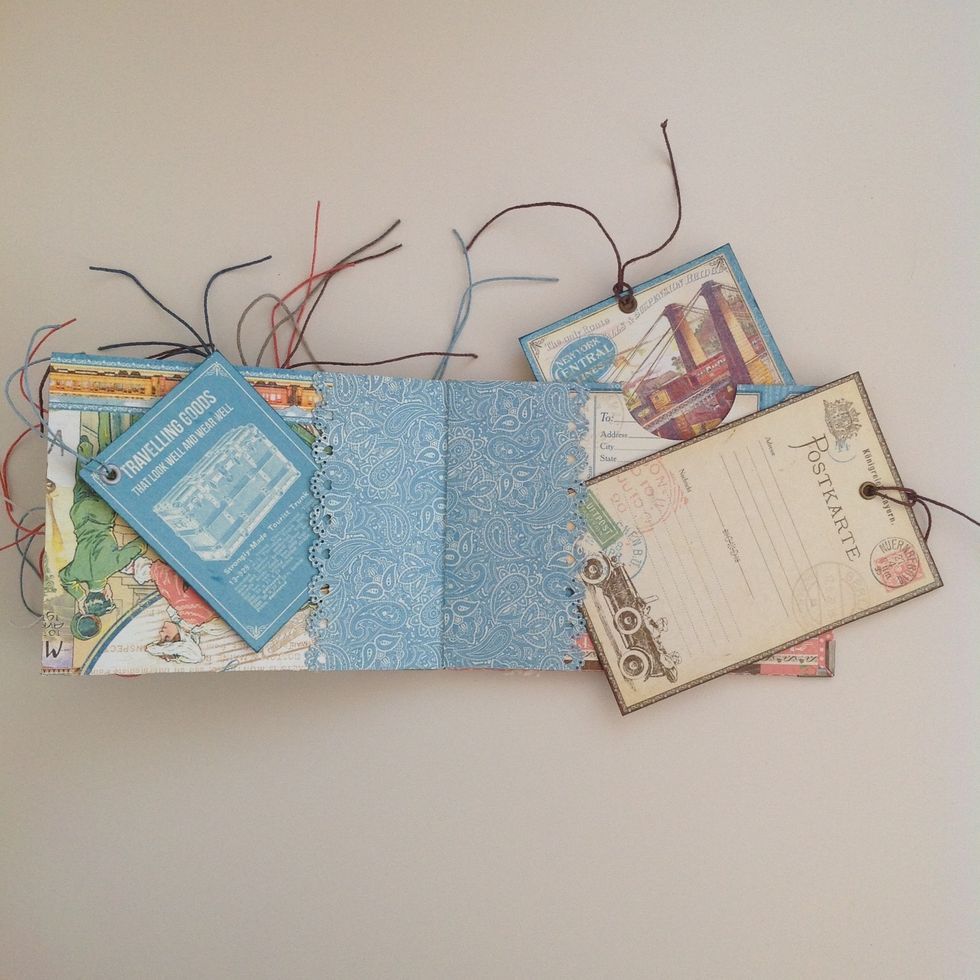
Stick the pages and form the pockets. Each page has three pockets one in each side and another one on the top.
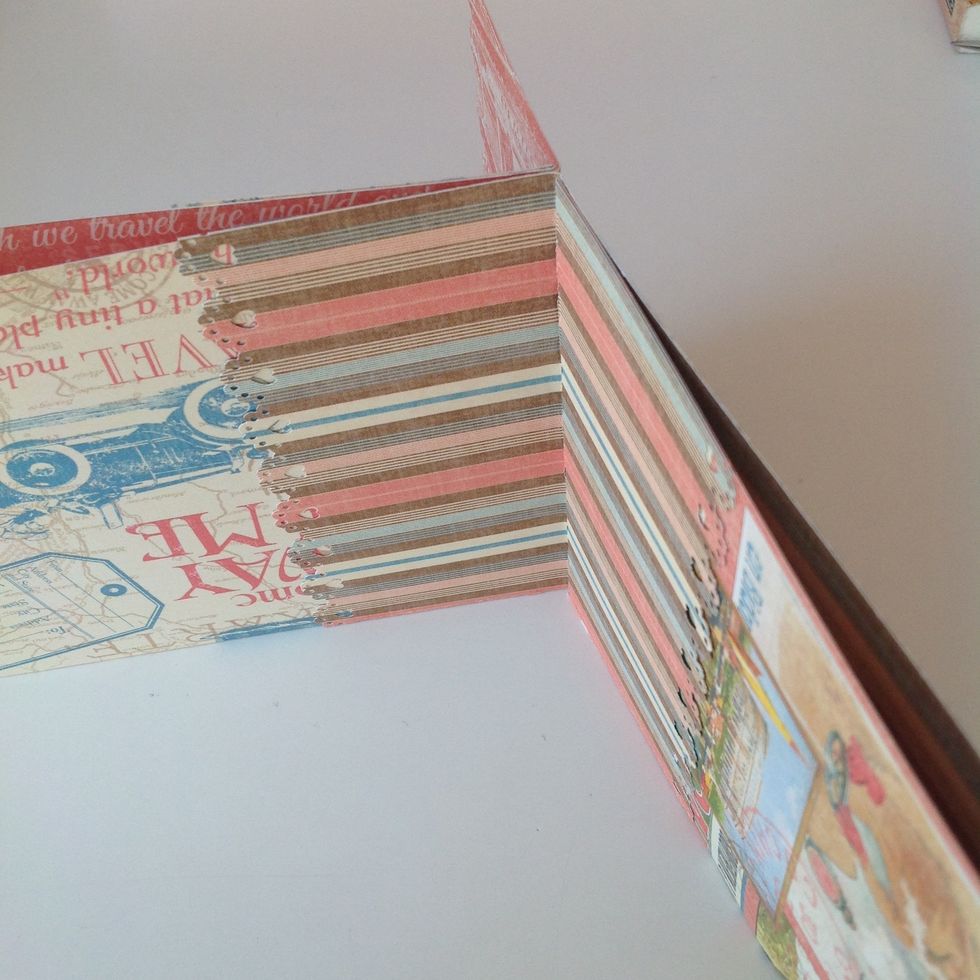
This is the result of sticking two pages.
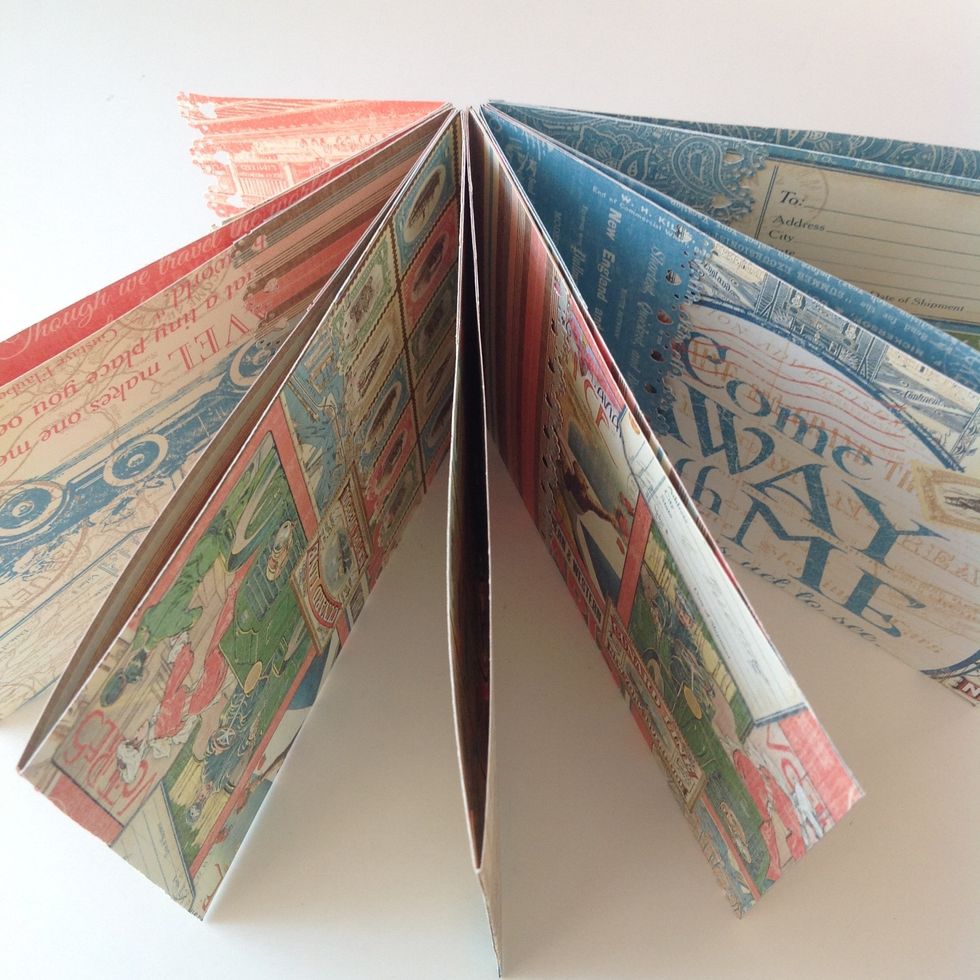
These are the six pages of the album.
To make the cover cut two peaces of cardboard a little bigger than the pages. Use double side tape to stick the paper.
Stick the flap of the first page to the cover. To add the other cover make a piece of 5x5" and stick to the page and to the cover.
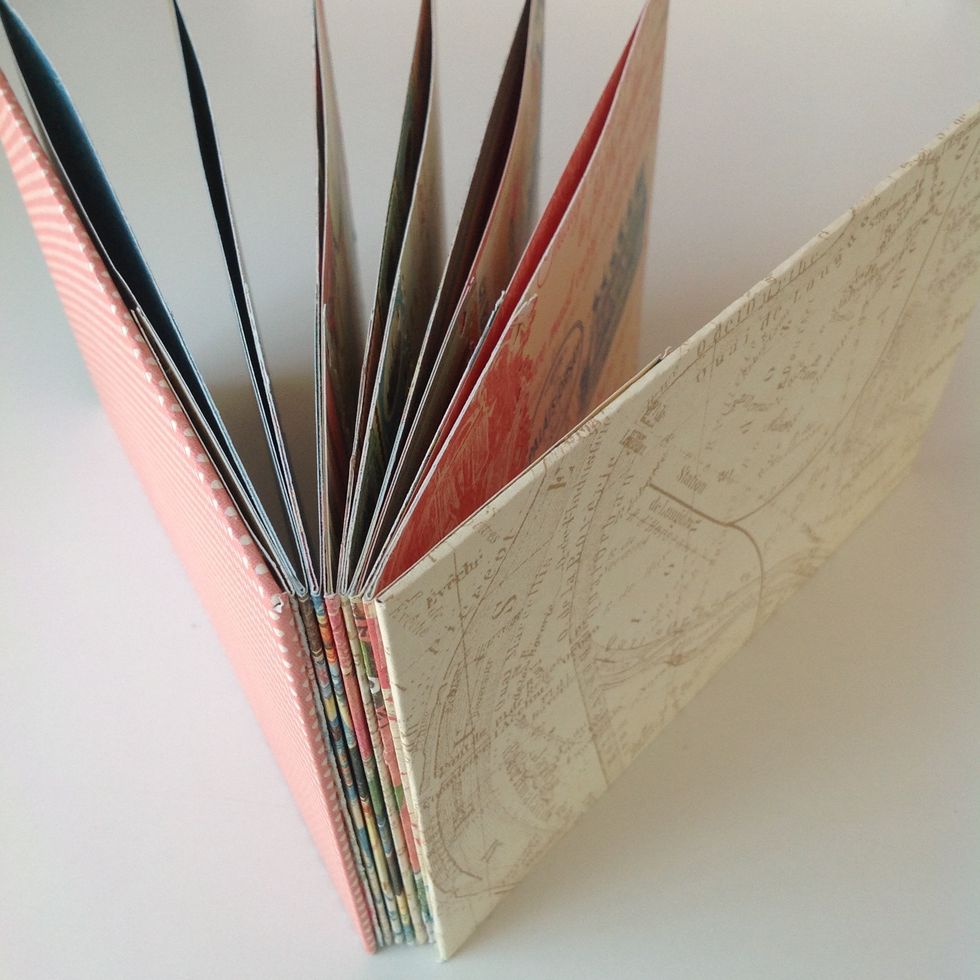
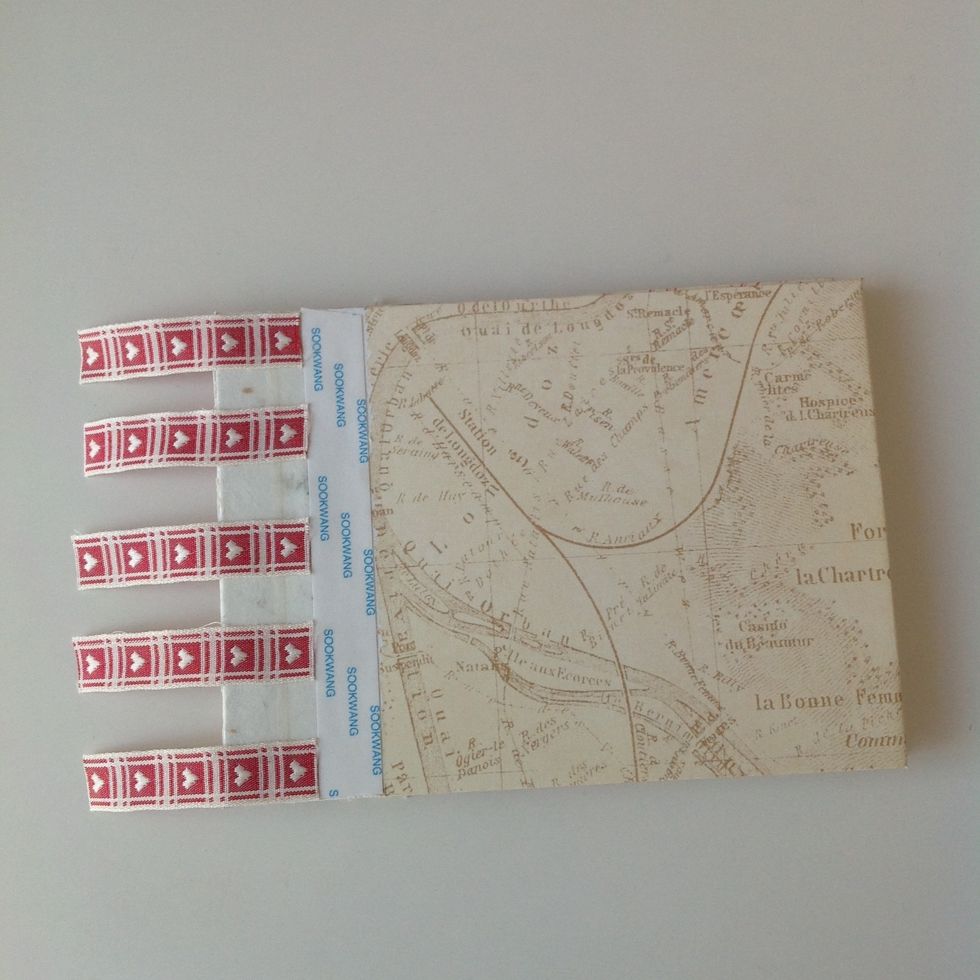
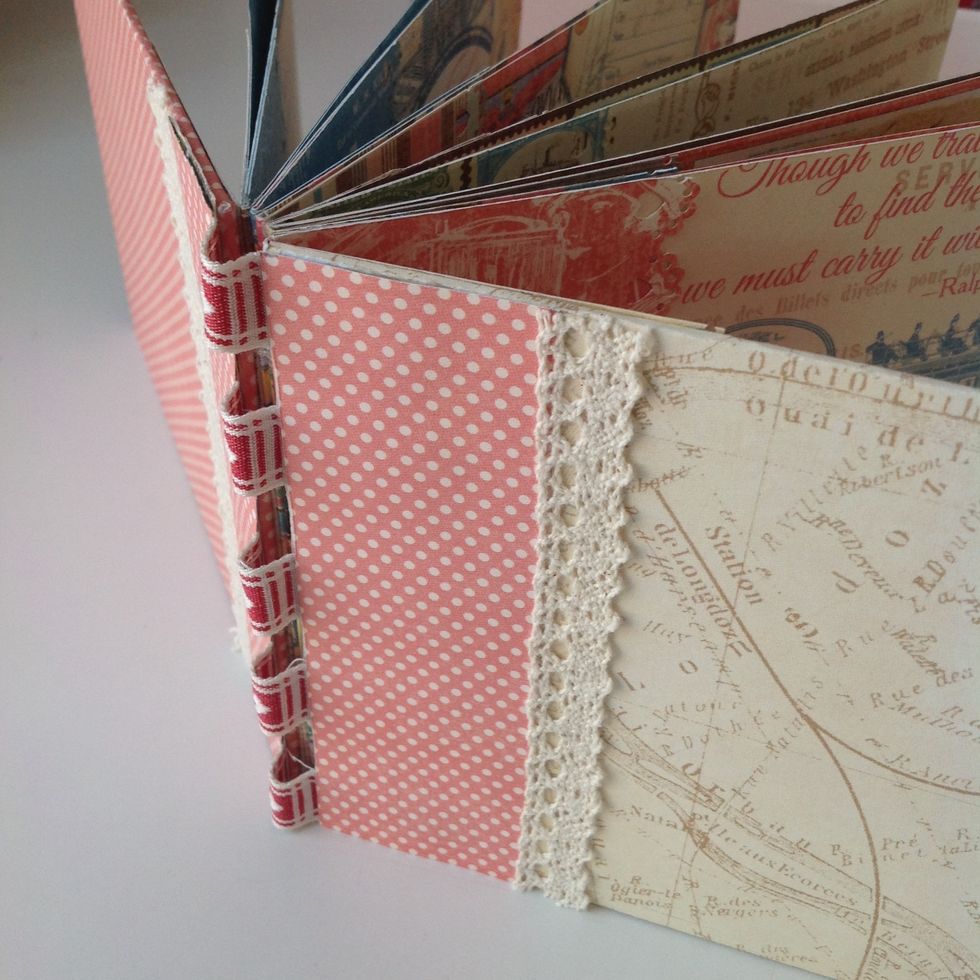
To make de final binding cut five pieces of ribbon and stick them as shown.

Do the same on the other side and glue a piece of lace.
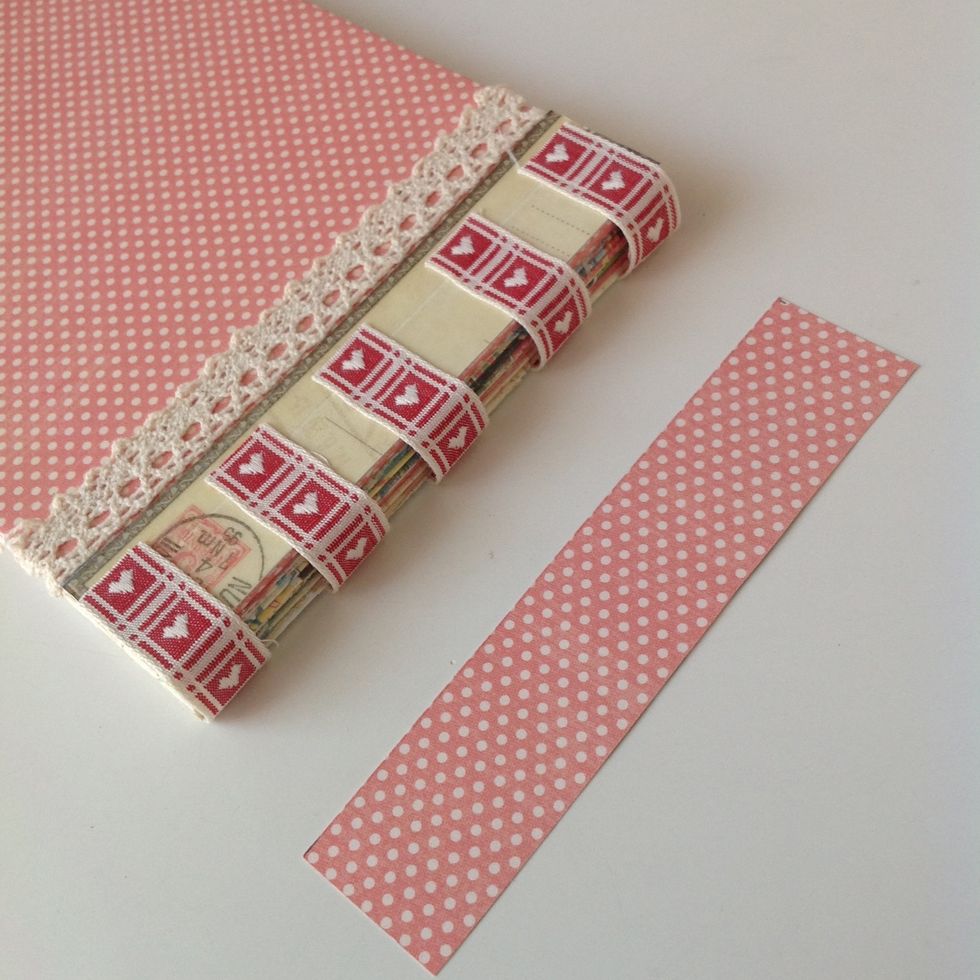
Glue a strip of paper to hide this part of the cover.
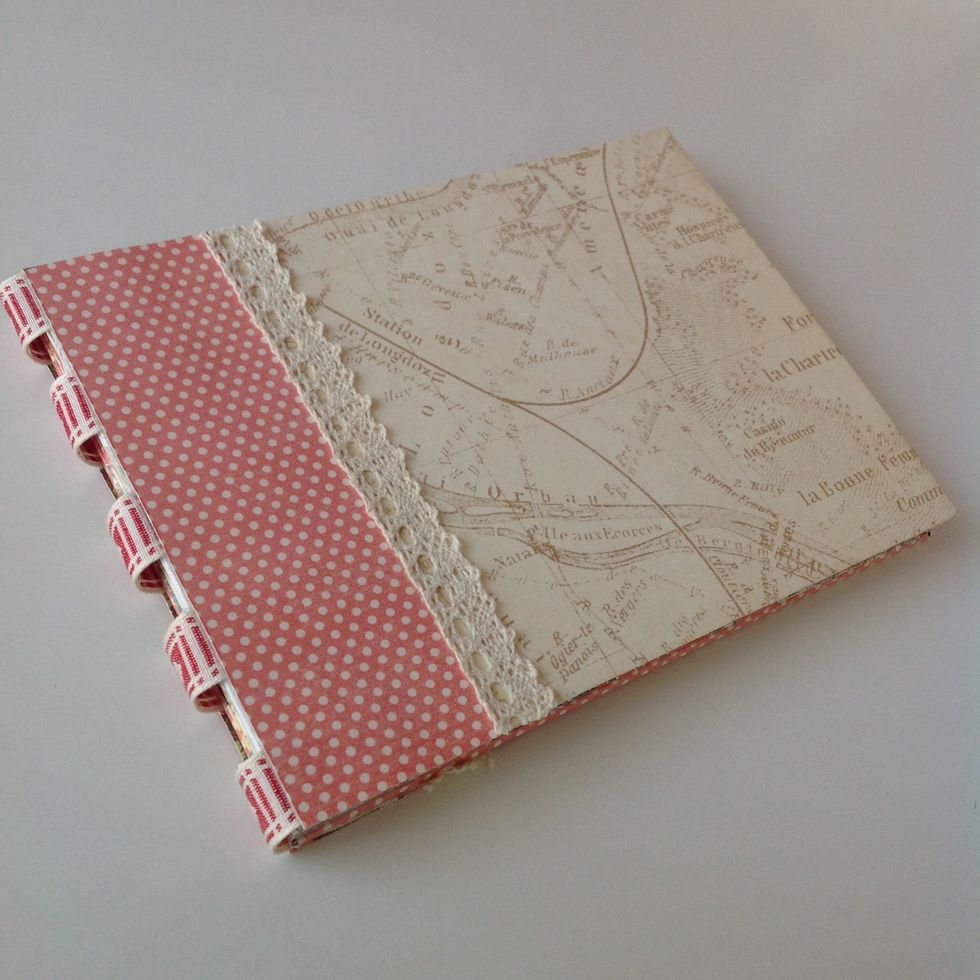
And do the same on the other side.
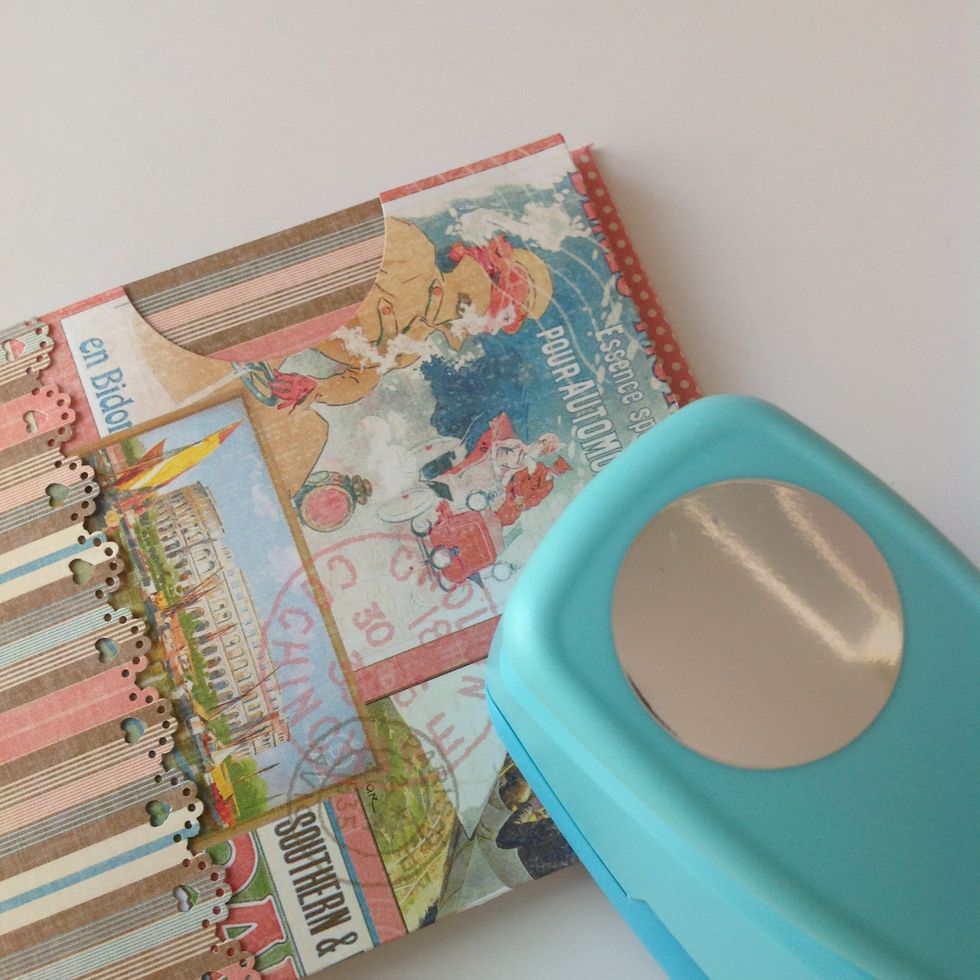
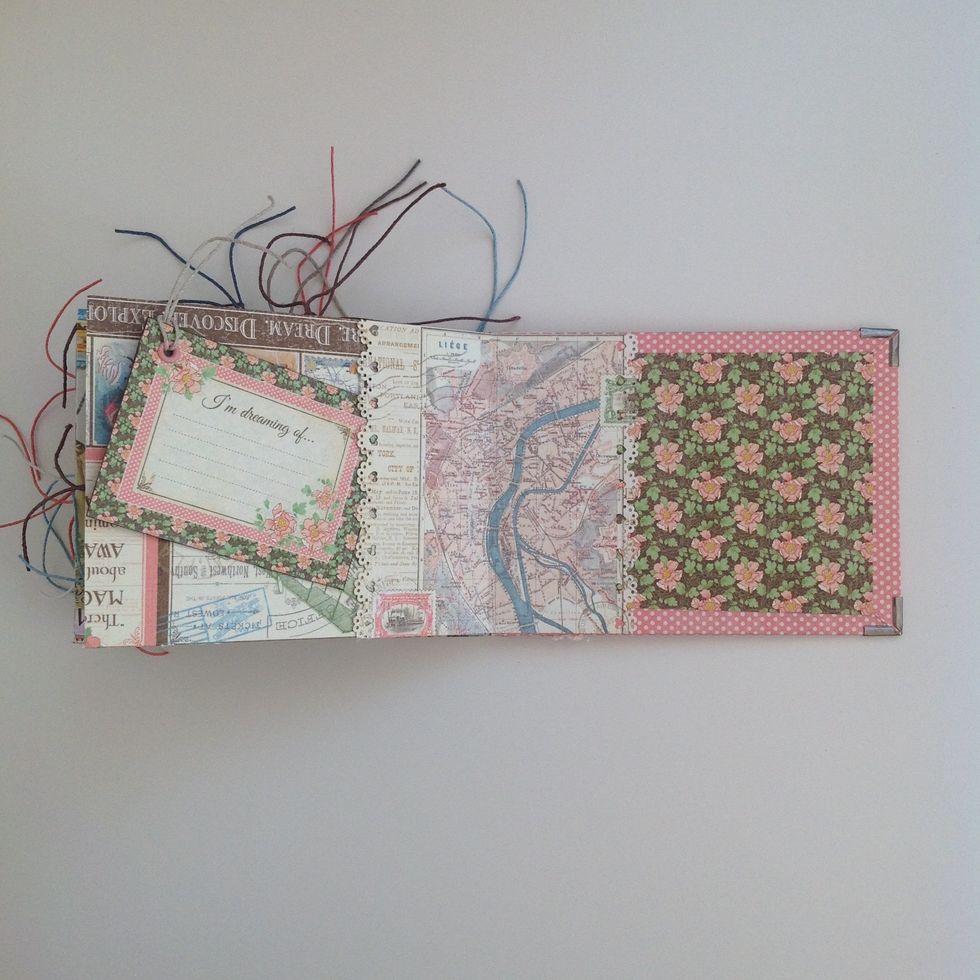
Punch the top pockets of the pages so you will see the tags you put into.
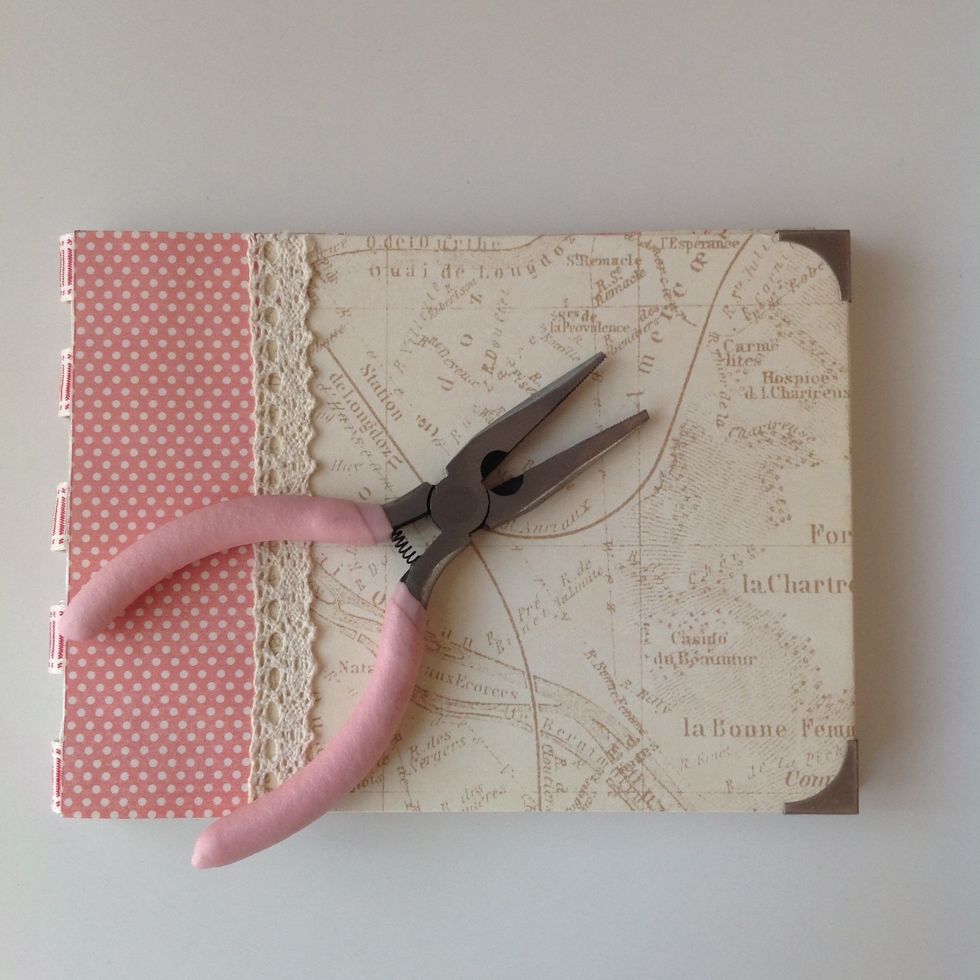
Put some metal corners.
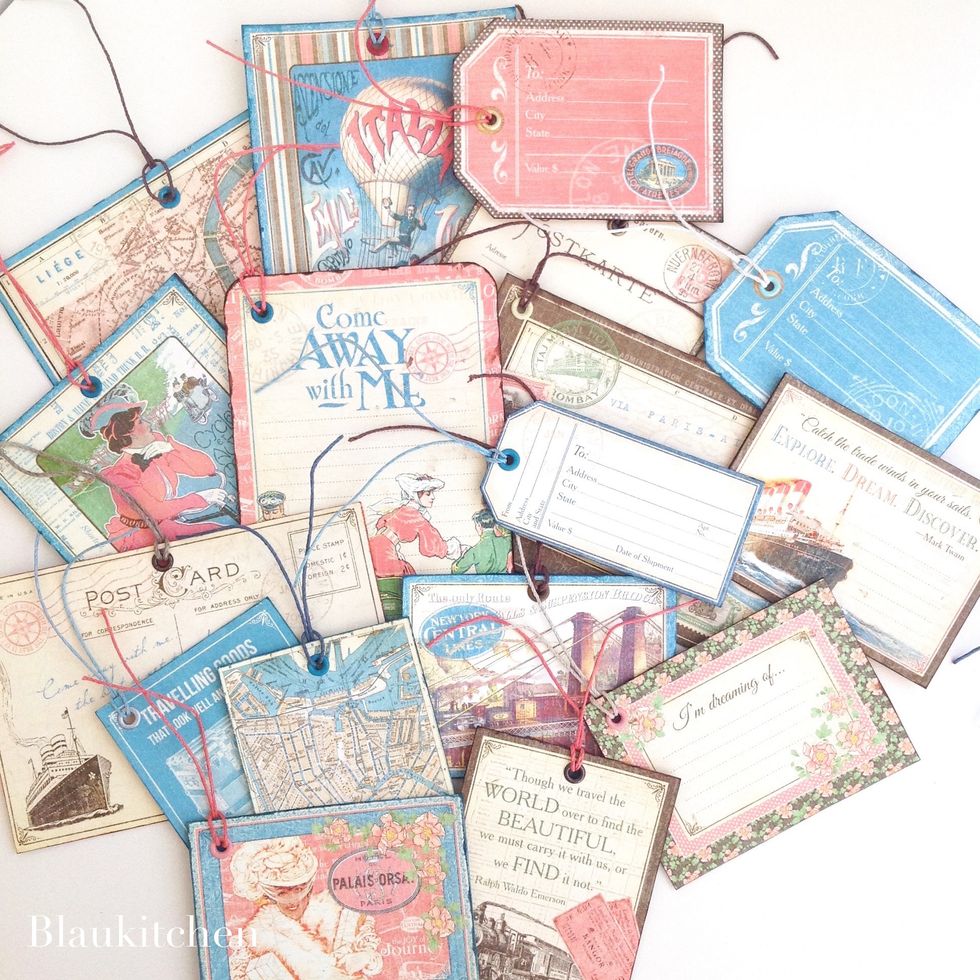
Make lots of lovely tags!

And decorate the cover as you like.
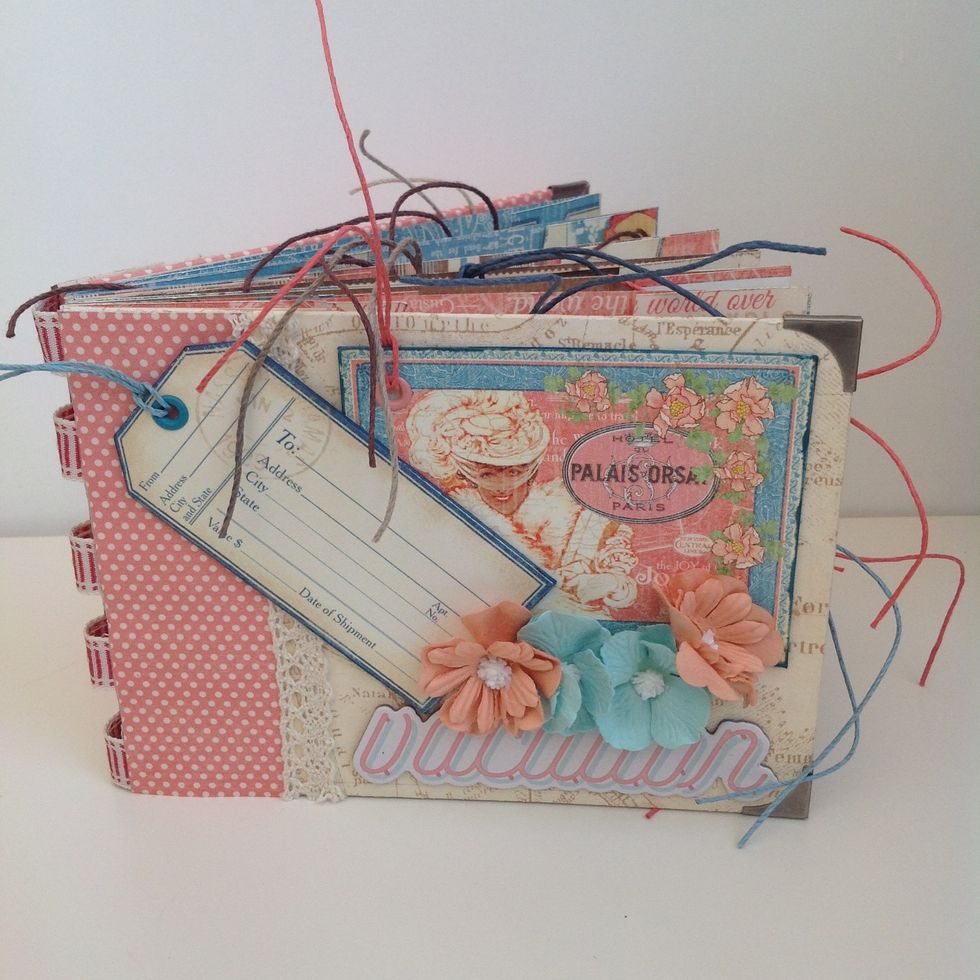
Hope you like it!