The Conversation (0)
Sign Up

Rinse out empty milk carton and allow to dry. Draw a rectangle on each side of the carton with the permanent marker.
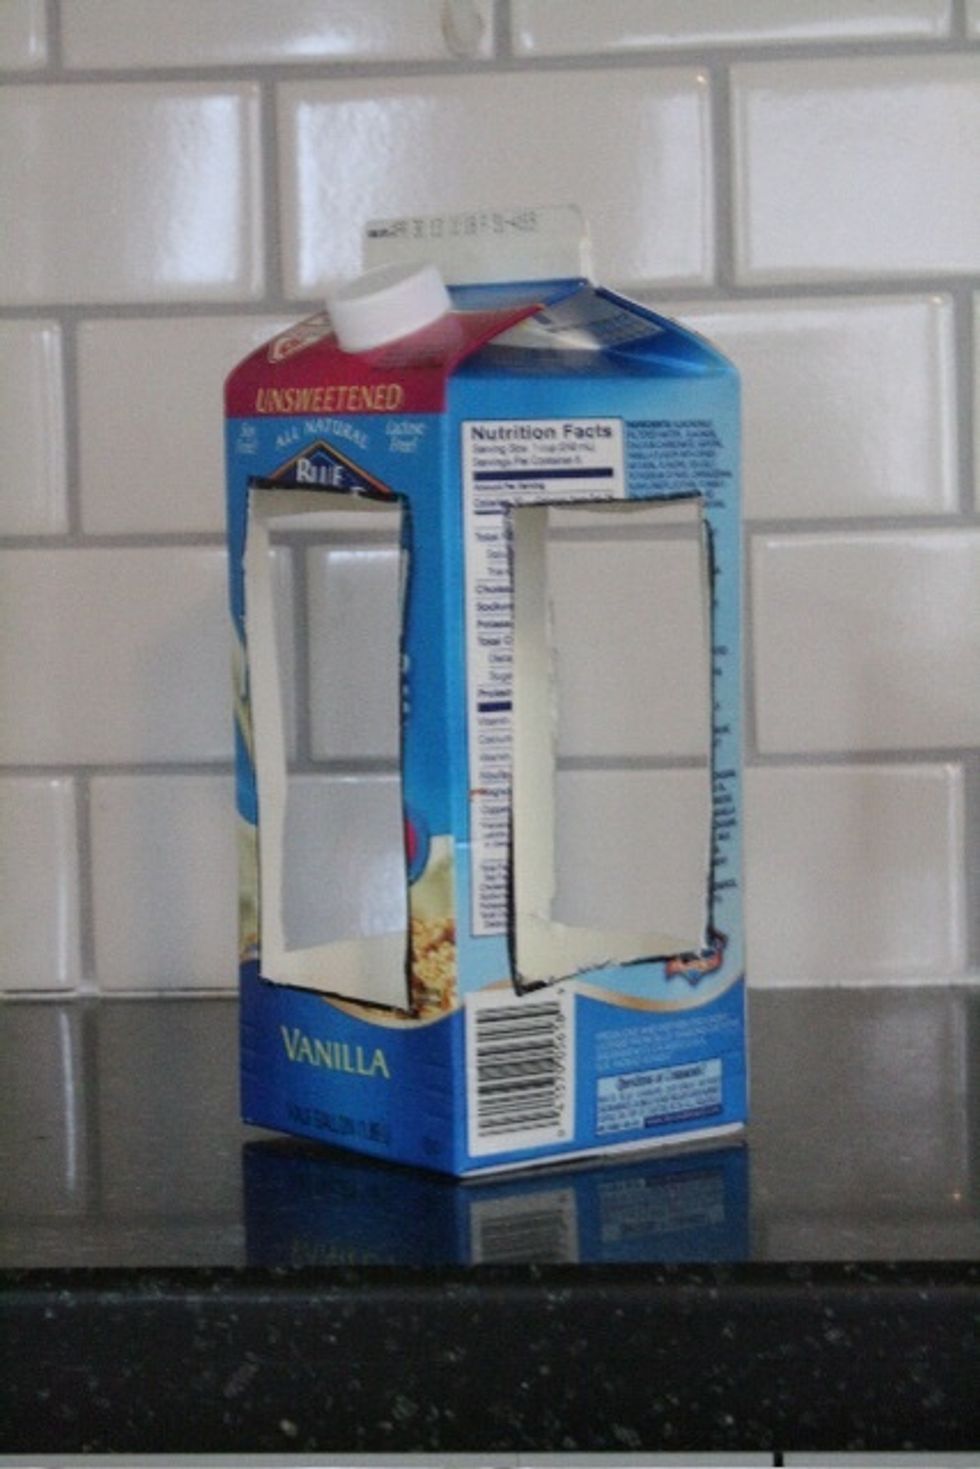
Using sharp scissors, carefully cut out each rectangle.

On 2 opposite sides, cut slits the width of the paint stirrer beneath the rectangle about 1 inch from the bottom. On other 2 sides, cut the slits about 1/2 inch from the bottom. Insert stirrers.

Paint as desired! Allow to dry for several hours or overnight.
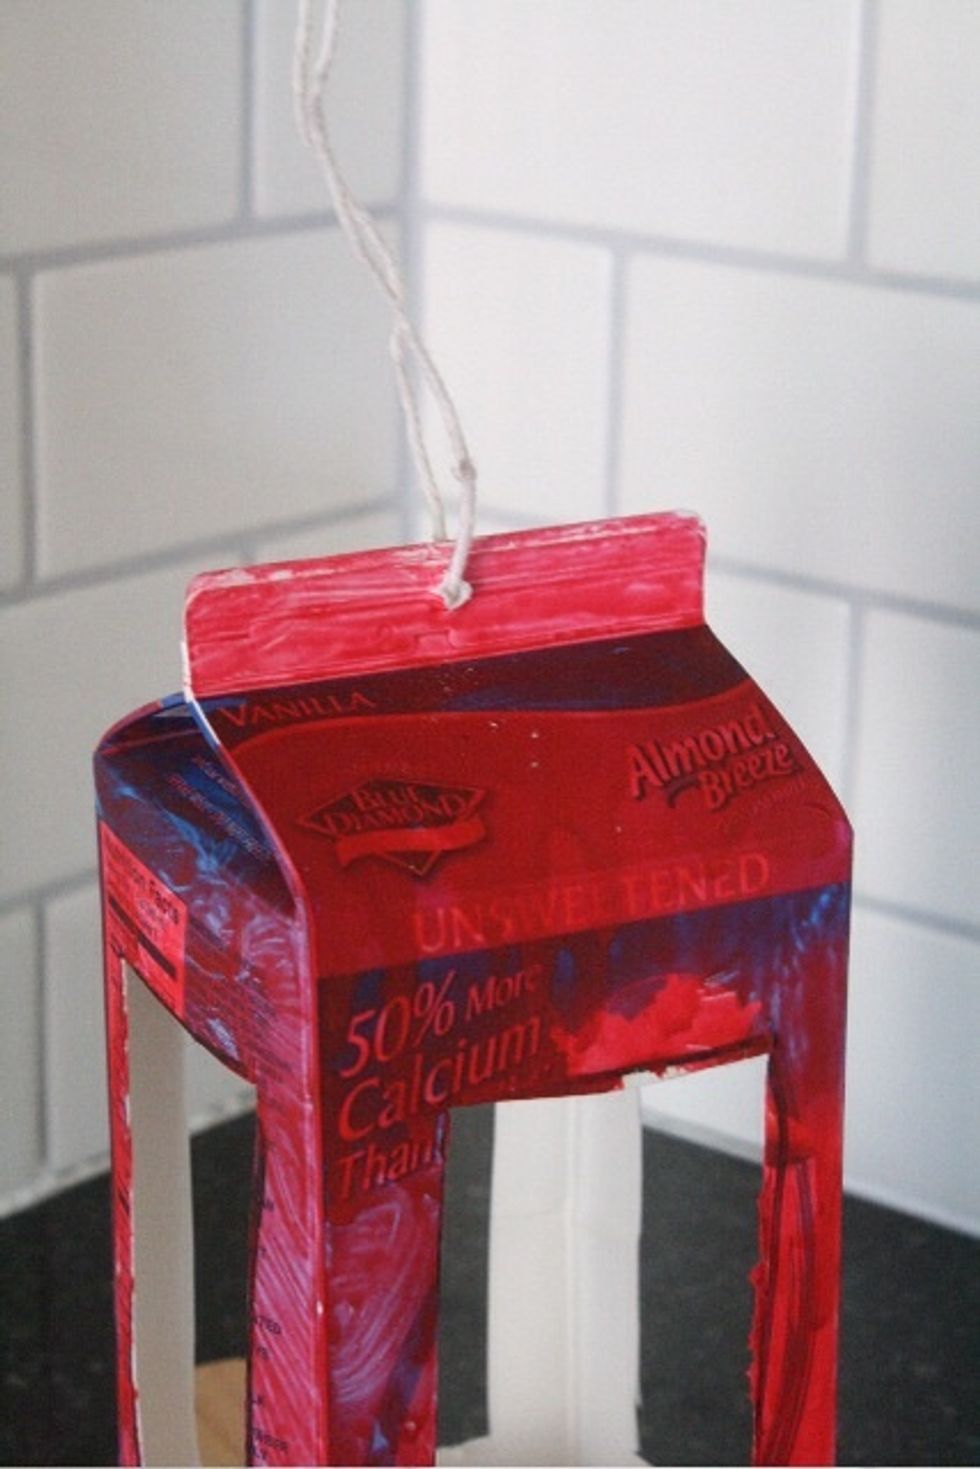
Use scissors to make a hole in top seam of carton. Tie a loop of string through hole for hanging.

Fill bottom with birdseed and hang!