How to make a mickey & minnie mouse headbands
These make fun party 'hats' for a Disney themed party.
106
STEPS
TOOLS

I purchased these at the dollar store. (Six for $1.00) I will use the black, purple, and pink. I'll save the other three for another project.
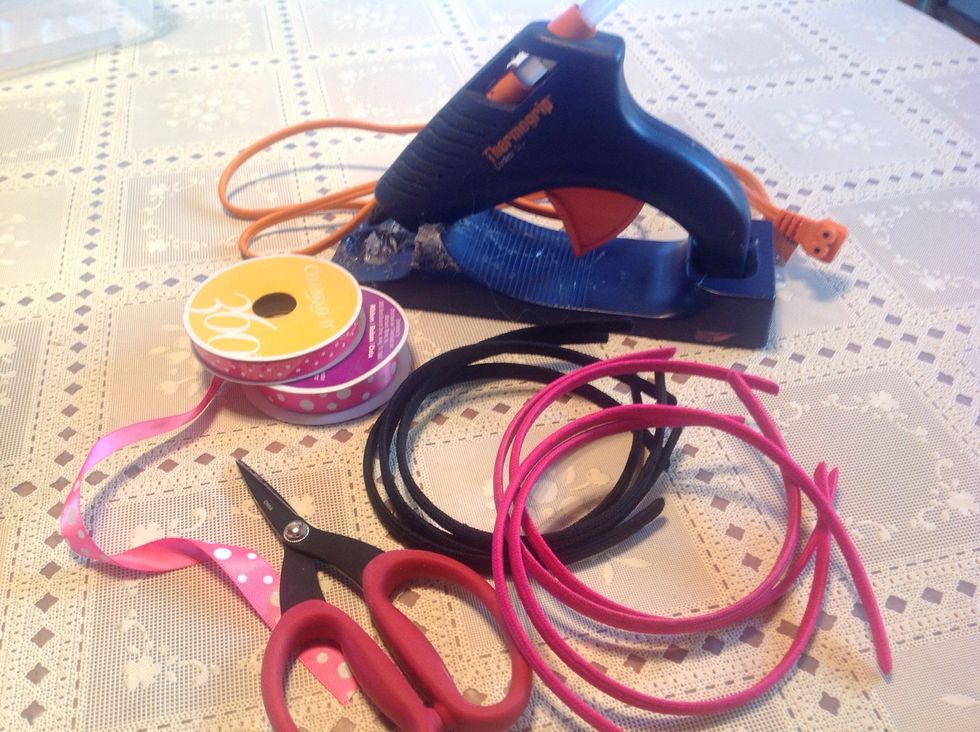
Gather your supplies.
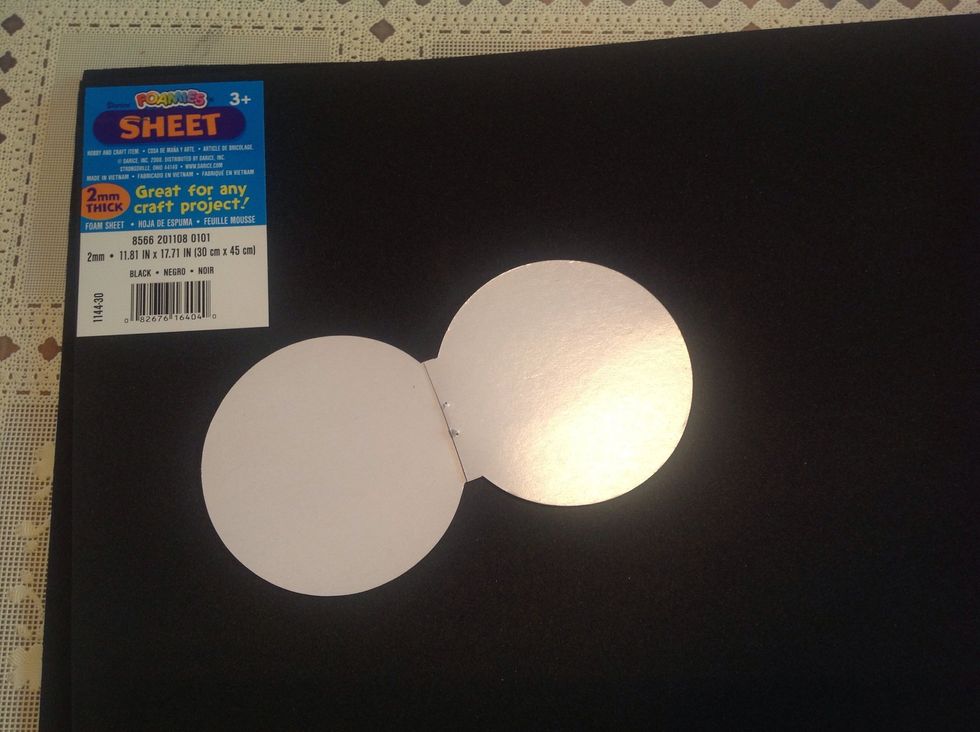
I bought the 11x17 pieces of fun foam. These were .99 at Joann's. Use a pen to trace your ear template. You will need two ears per headband.
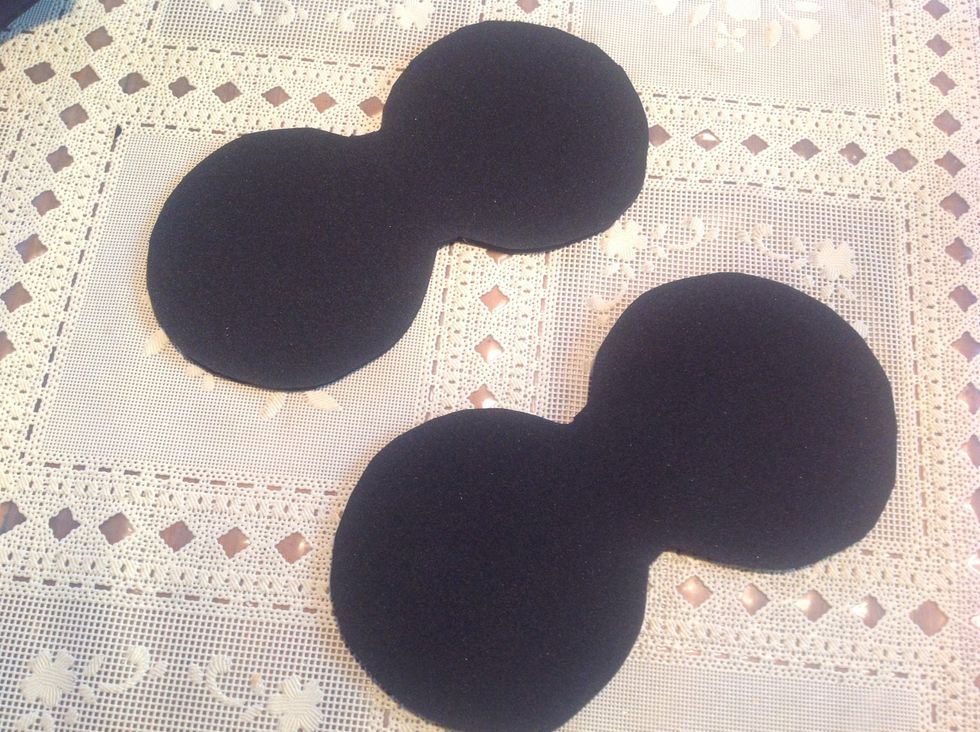
Cut out.
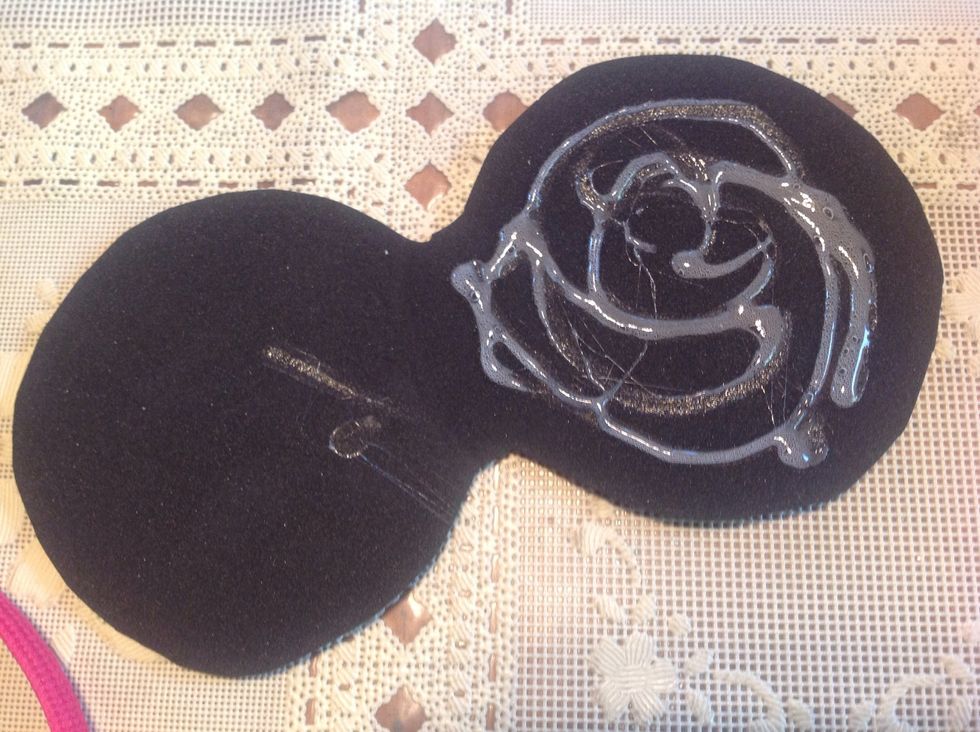
Squirt the hot glue on one side of the ear. Don't get too close to the edge or it will seep out once you seal it. Attach to headband. Press both sides of ear together to get a good seal.
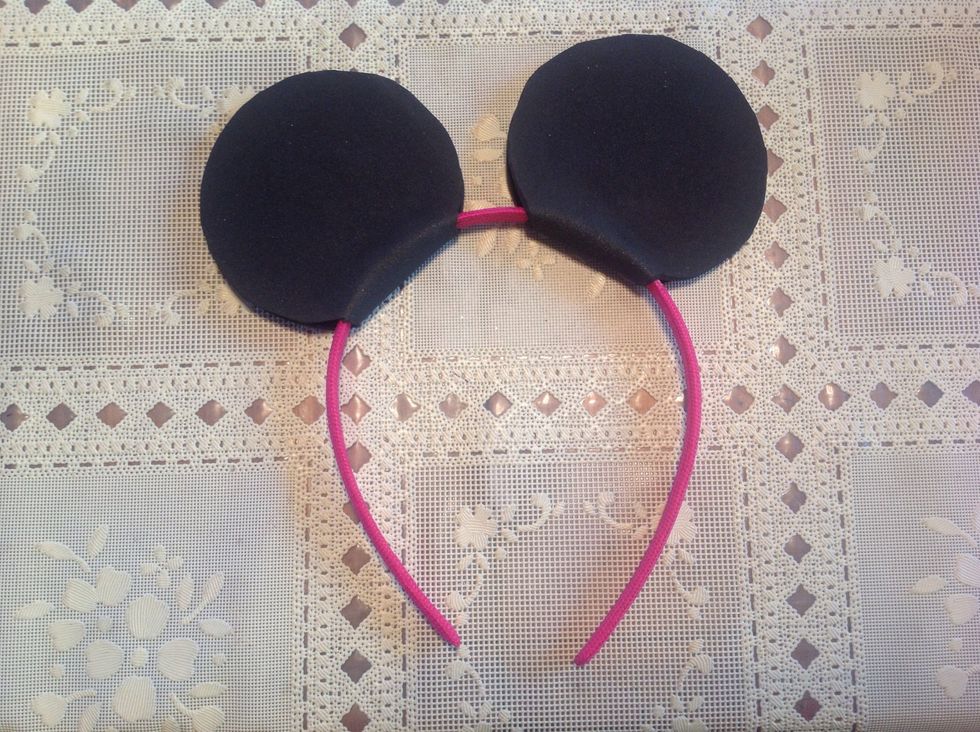
Attach second ear, leaving about 1 1/2 inches between the ears. These headbands are for toddlers. If you are making for older kids or adults, space the ears farther apart. Trim ears as needed.
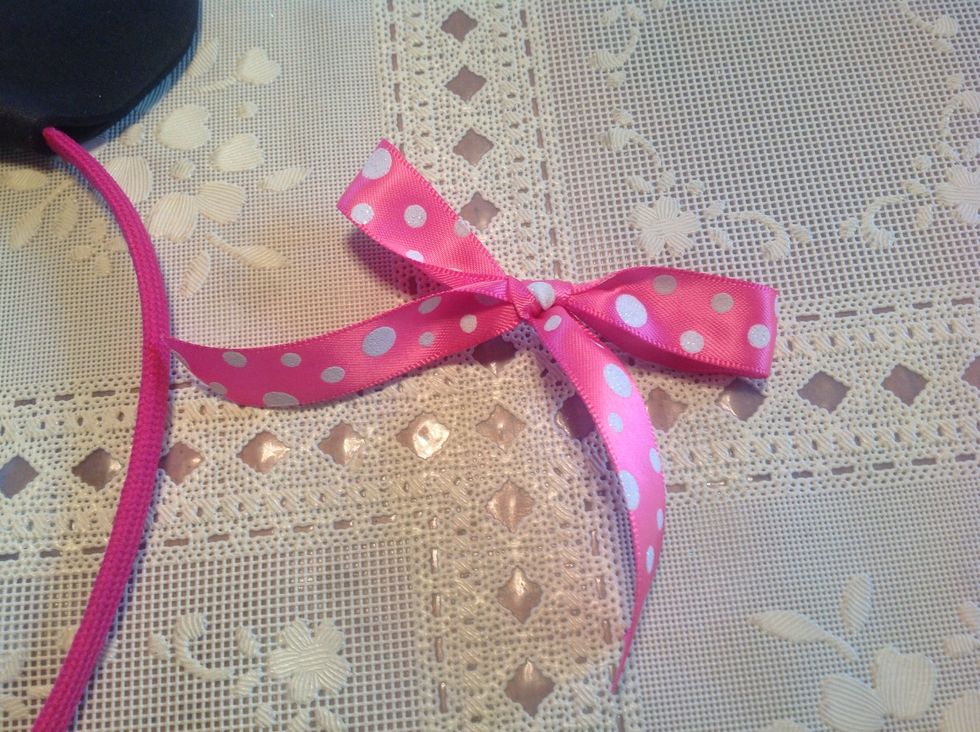
Tie a bow and trim edges. I chose to use pink & purple headbands with matching ribbon for the Minnie headbands.

Using hot glue, squirt a bit between the two ears, directly on the headband. Quickly adhere the bow into the glue.
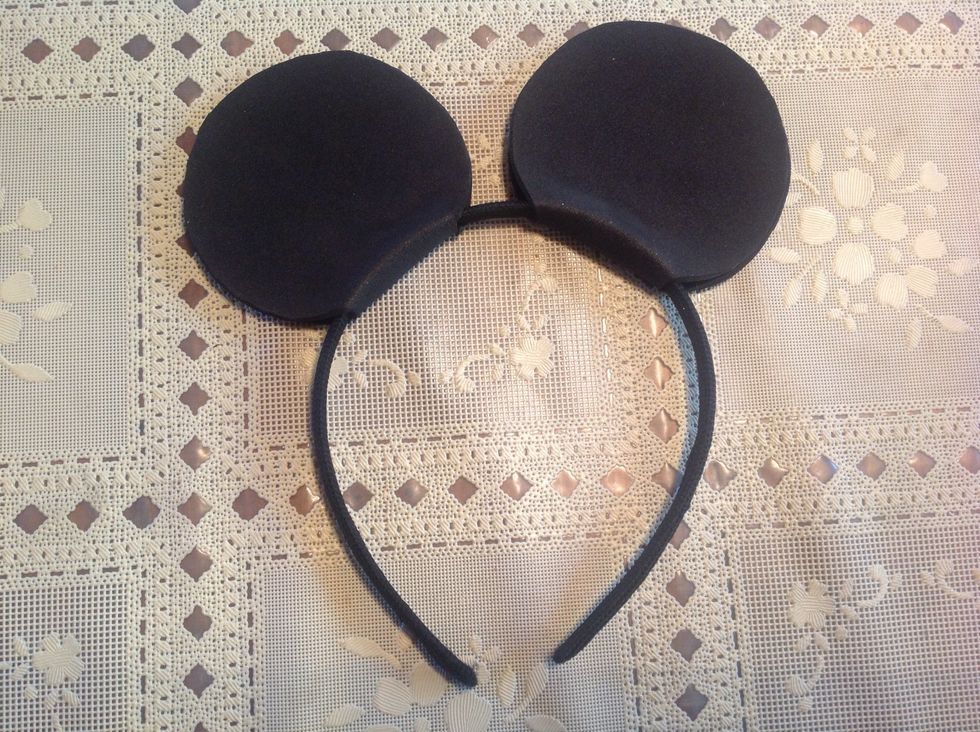
For Mickey, use black headbands and no bow.

Ready to party!
- Black, pink, purple headbands
- Black fun foam
- Pink, purple polka dot ribbon
- Hot glue gun
- Scissors
- Cardboard for ear template
The Conversation (0)
Sign Up