The Conversation (0)
Sign Up

This illuminated sign is just the thing to bring some additional merriment and seasonal greetings to your home this holiday season.

First, get your goods together. It’s so much easier to have everything you need all in one place before you start.

Cover the canvas with silver paint. Be sure to paint the edges as well, and let dry.

Time to make the wreath! Create stencils out of the printable leaf template. Make sure you leave plenty of room around each leaf to prevent additional, unwanted paint on your canvas.

Using a different shade of green for each leaf stencil, create a loose circle on your canvas.

DIY Pro Tip: Let one layer dry before moving to the next AND have a moist paper towel on hand to wipe off any excess paint that may have gotten on the bottom of the stencil.

Using your red paint pen, add little holly berries throughout your wreath.

Write out your holiday message in the center of your wreath. You can always start with pencil if you don’t want to commit right away.

Make the type really pop by thickening your letters.

Lastly, install your lights. There are 48 lights on the KILOMETER light chain, so use your utility knife to make small holes where you want your lights to go. http://bit.ly/2gLPqJB
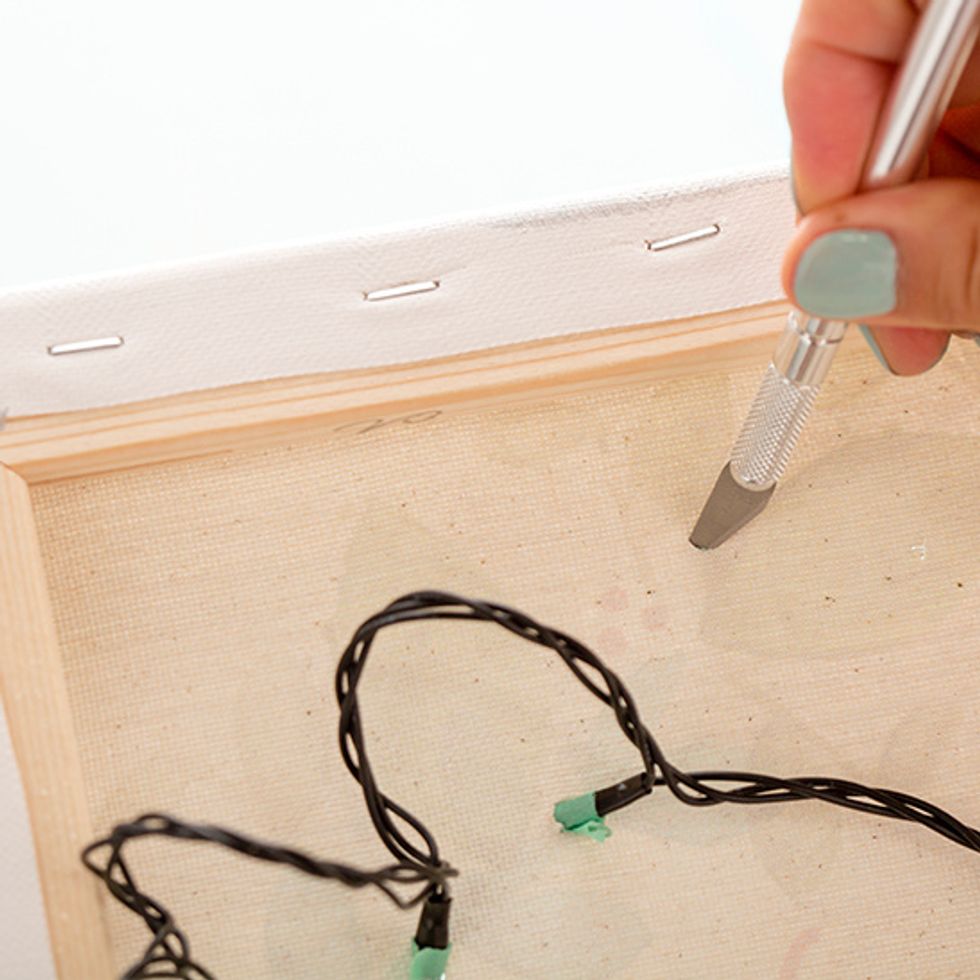
Then, turn your canvas over and make an X with the knife, using the small holes as a guide.

Punch the tip of your light through the X. On the backside of the canvas, wrap each bulb with a small piece of painter’s tape. This will help keep the lights in place.

Turn it over and take a look at what you made! This holiday sign is most definitely merry and bright.

Plug it in and hang it in your fort for some seasonal cheer.
You could win a $100 IKEA gift card if you take a photo of your most creative holiday LED creation and share it tagging @ikeausa + using #MyHoliDIY. Get the full contest details at www.myholidiy.com.