The Conversation (0)
Sign Up

I used an old cutlery box.
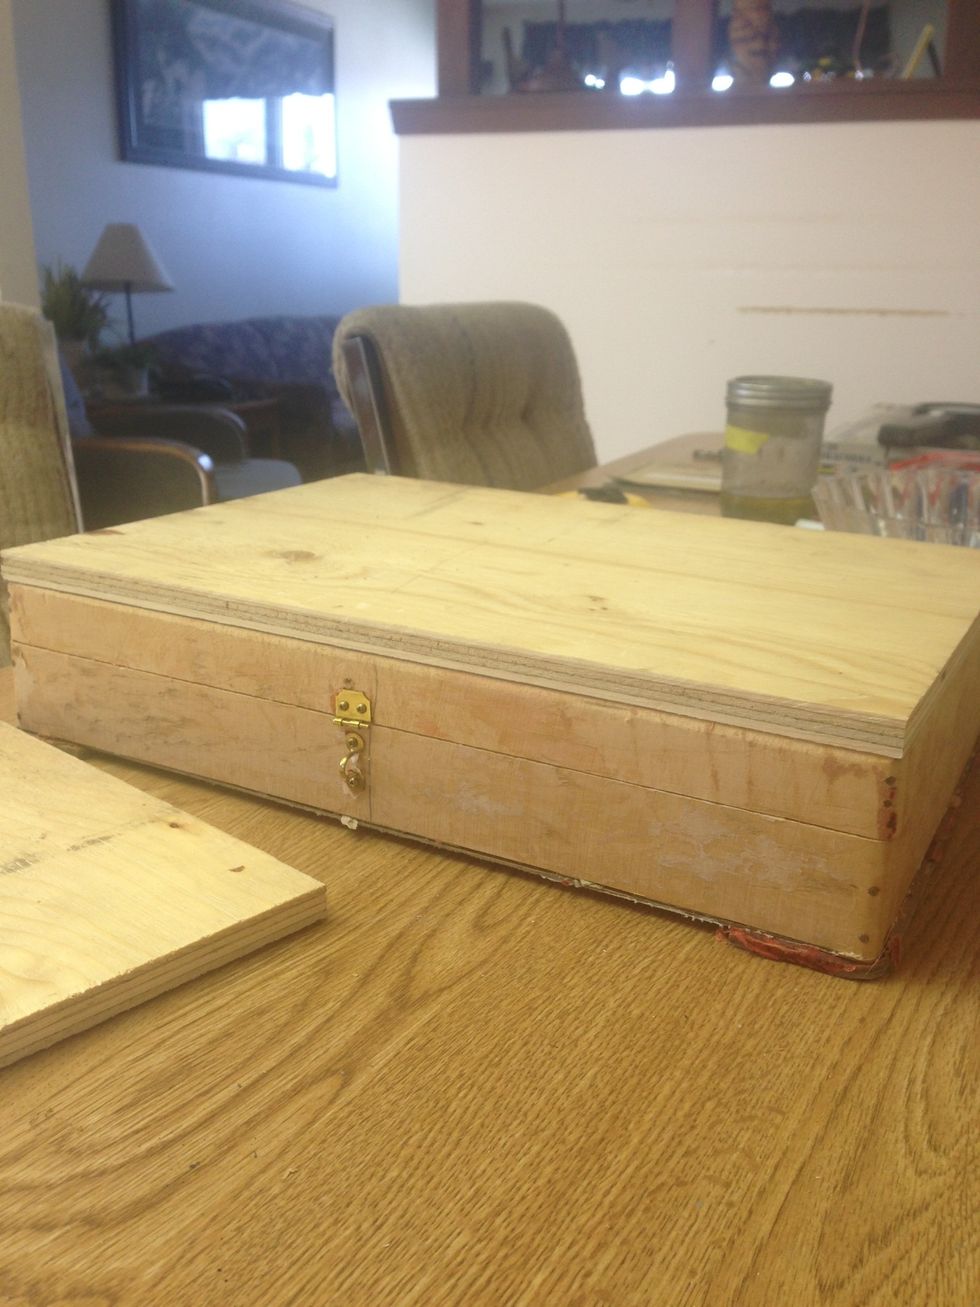
The top and bottom of this box was cardboard. I replaced it with plywood. For those who don't have the tools to cut the wood. Your local lumber store will cut it.

Once the new top and bottom are attached. Nailed and glued. Remove all hardware.
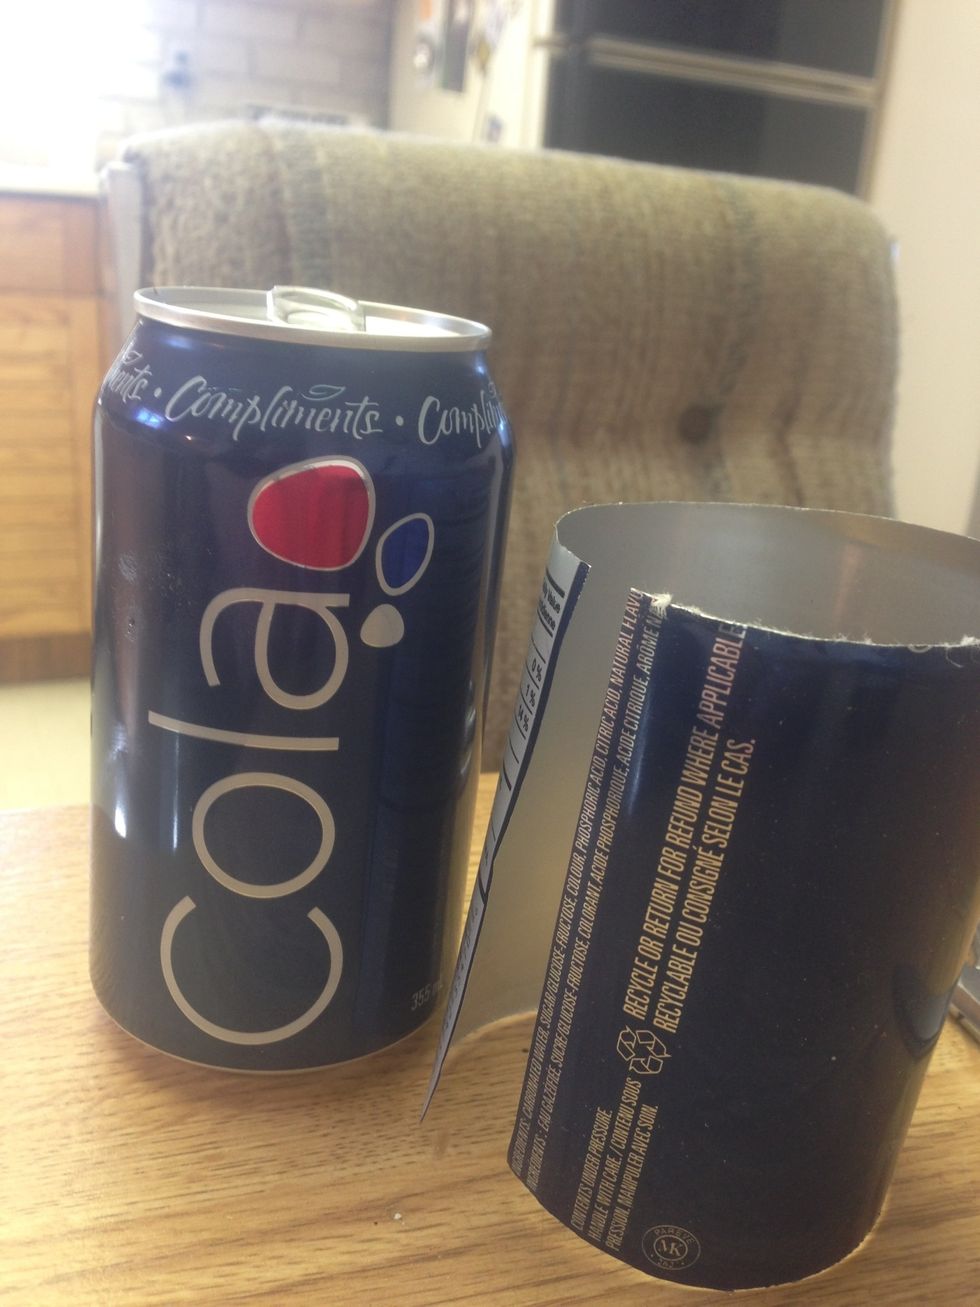
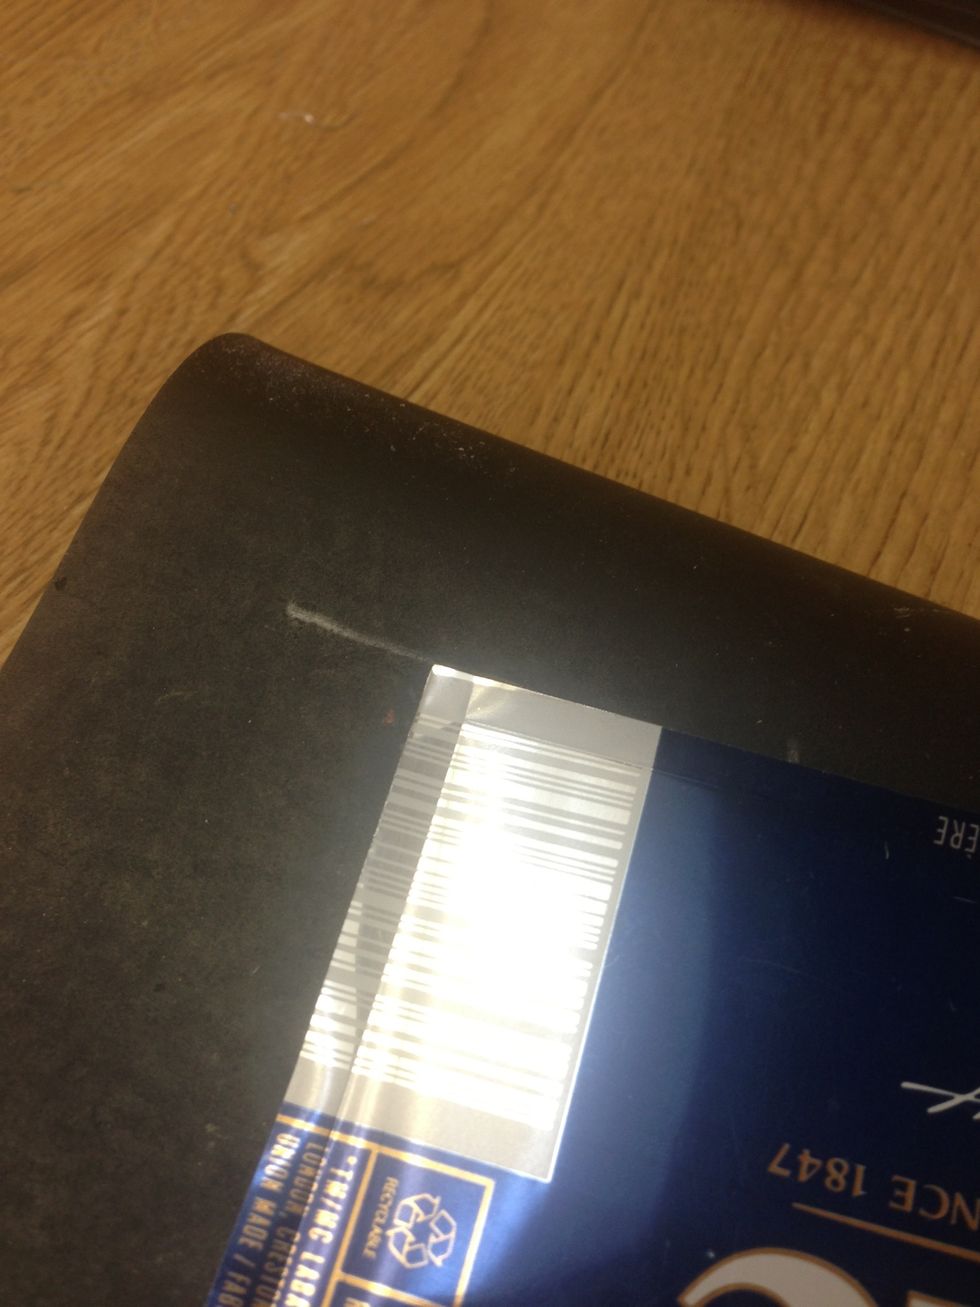
Cut top and bottoms off of cans and slice open.
Pre cut the pop can into squares 3 1/4 inches. I am using 12 squares. Also I cut 10 cans 3 1/4 inches and the length of the can.
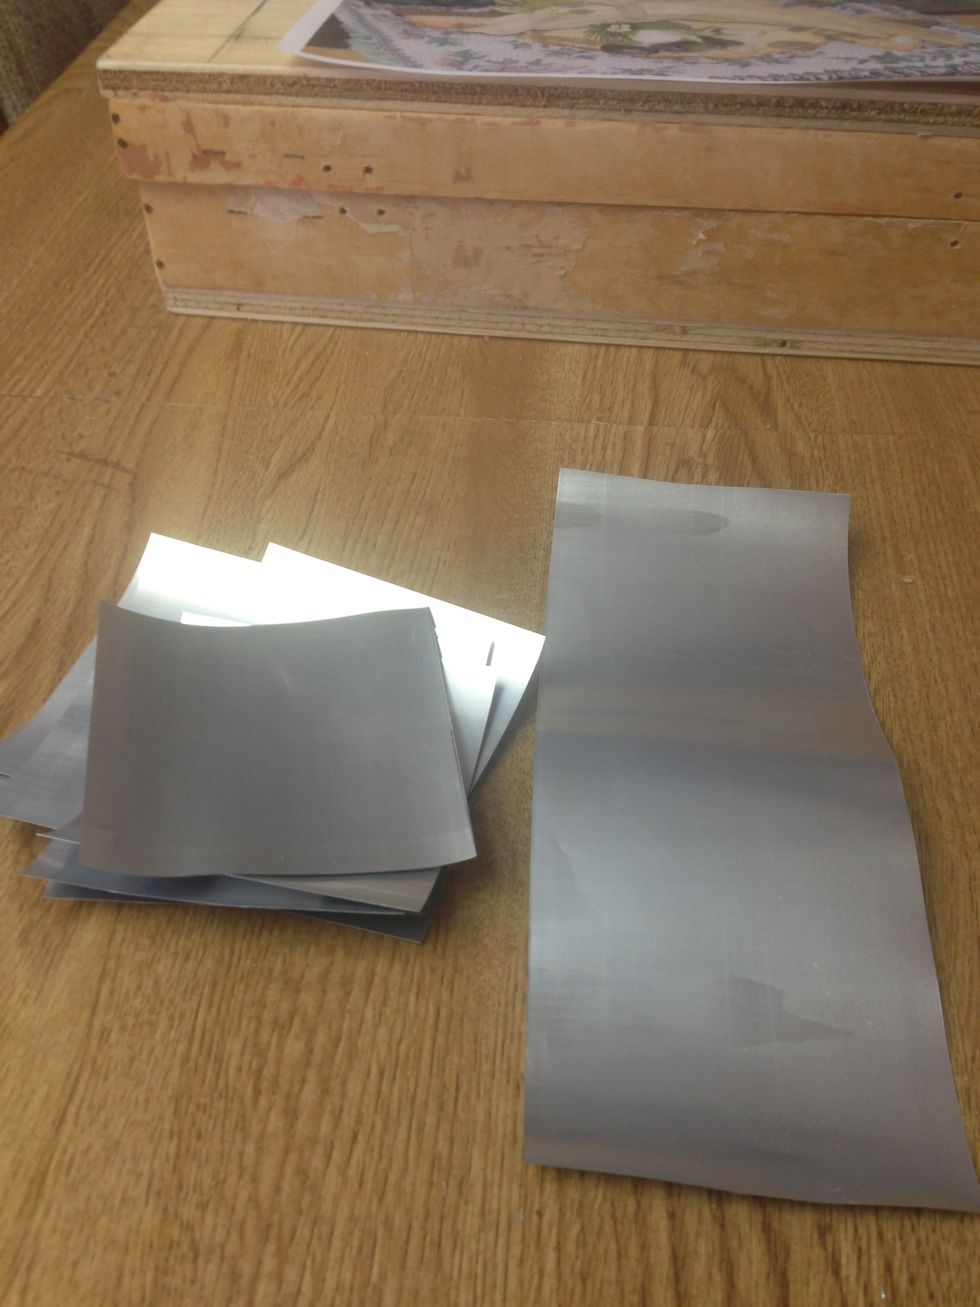
Score with a pen and ruler along all sides on back side

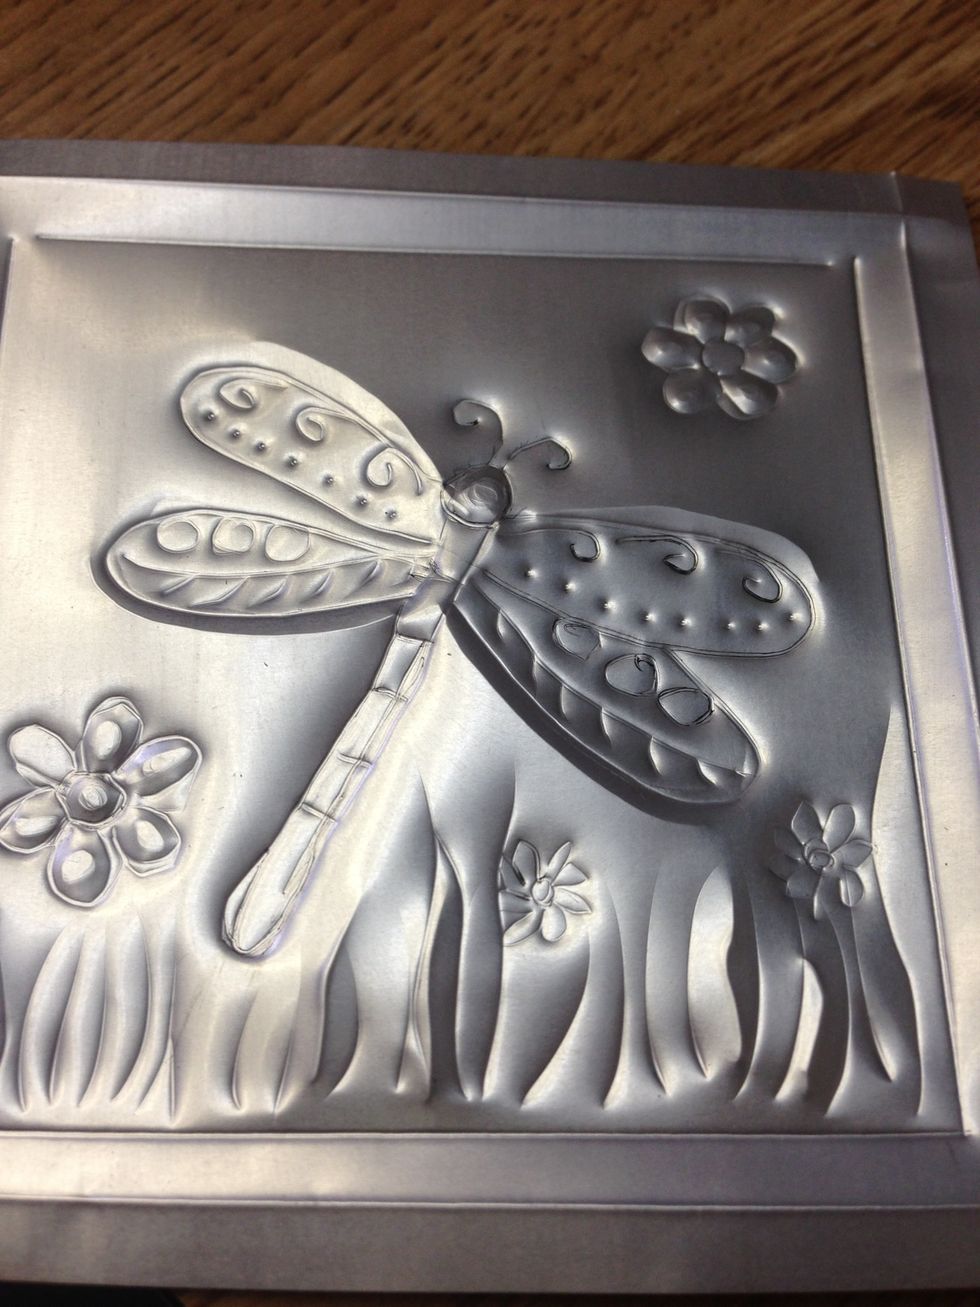
It will look like this on the front side. Do this to all your squares
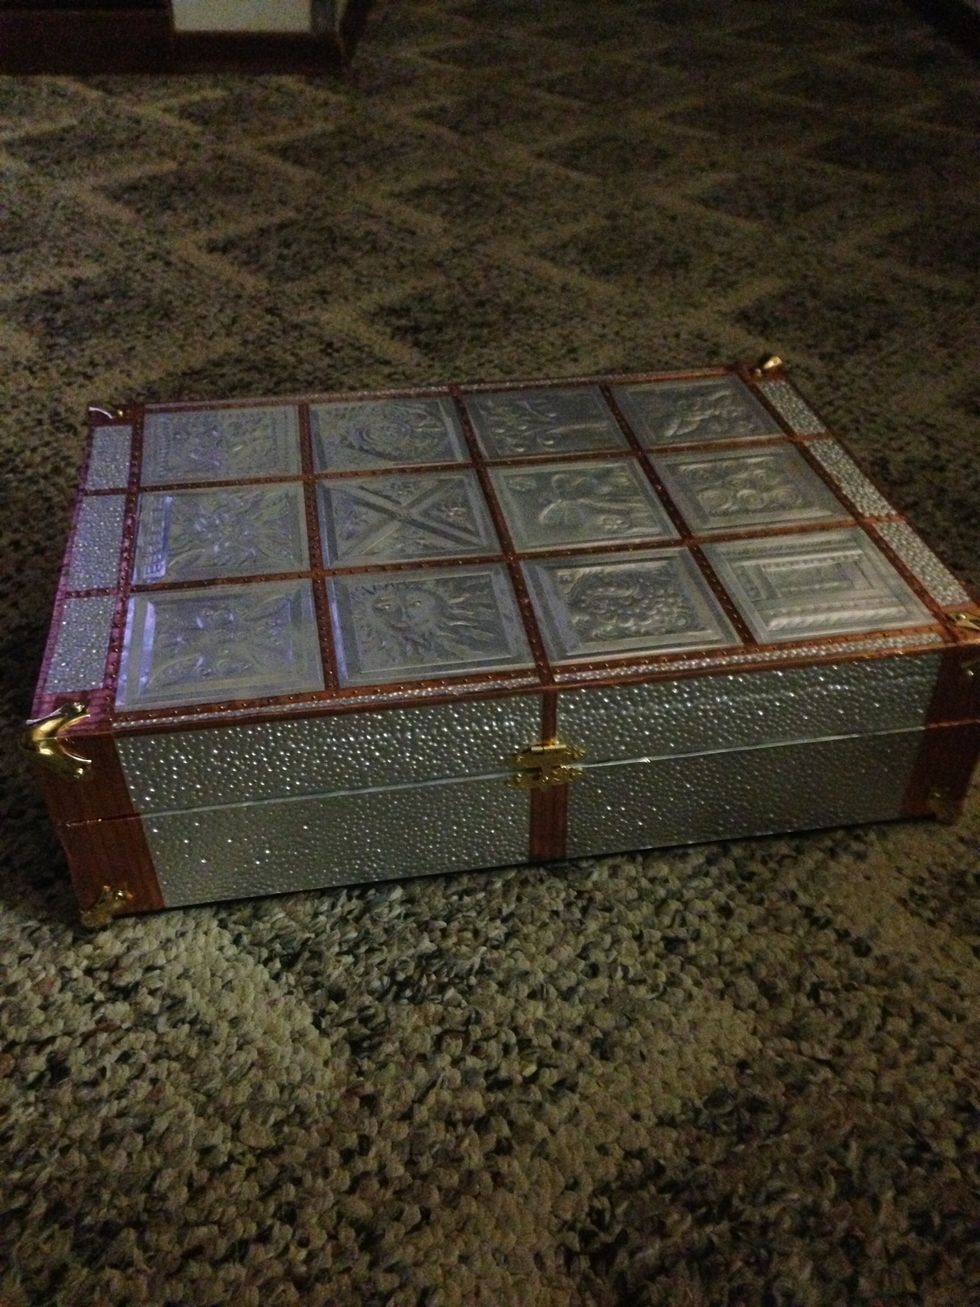
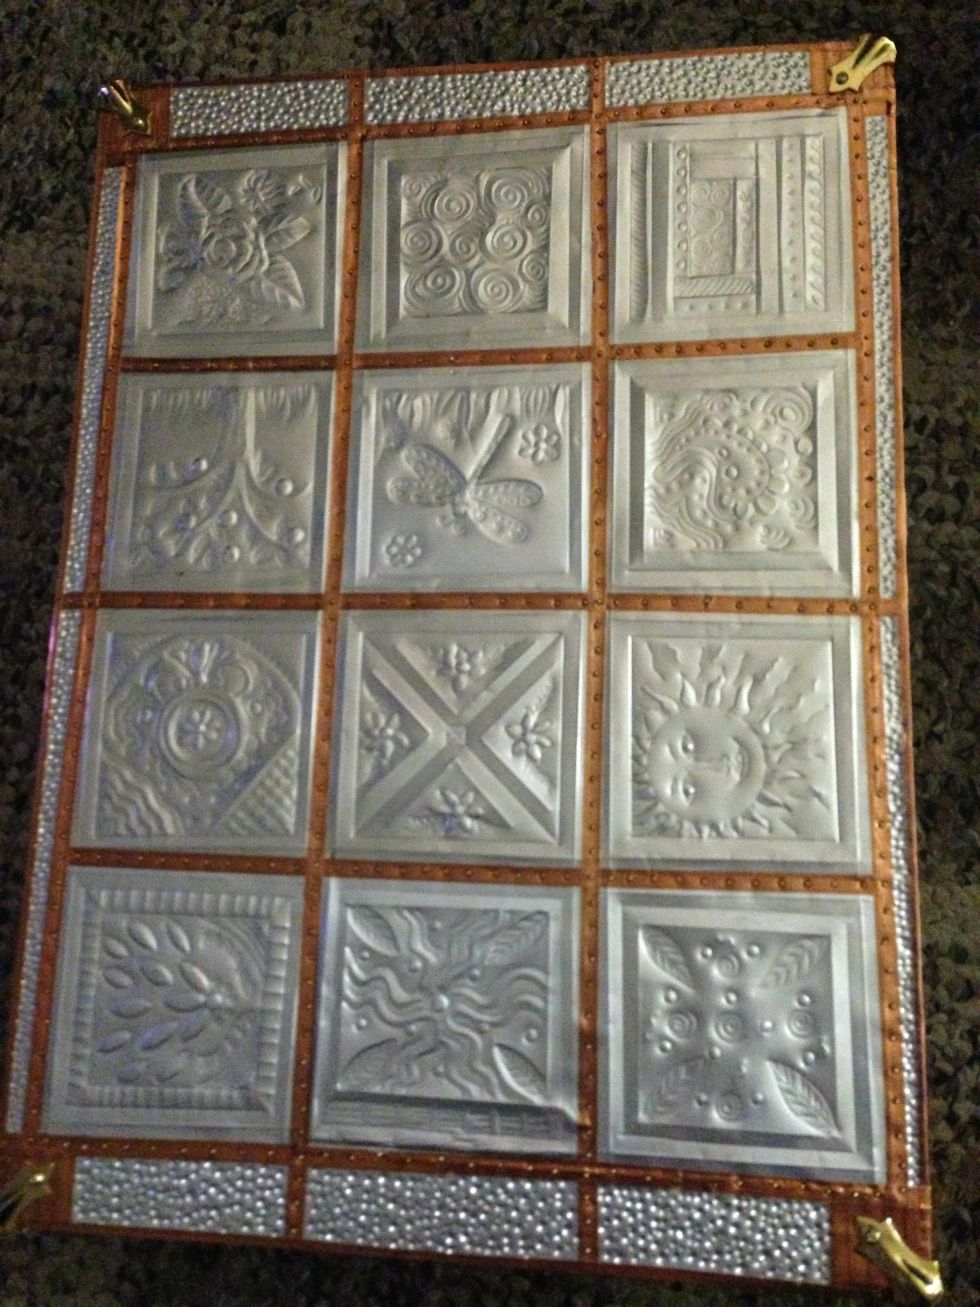
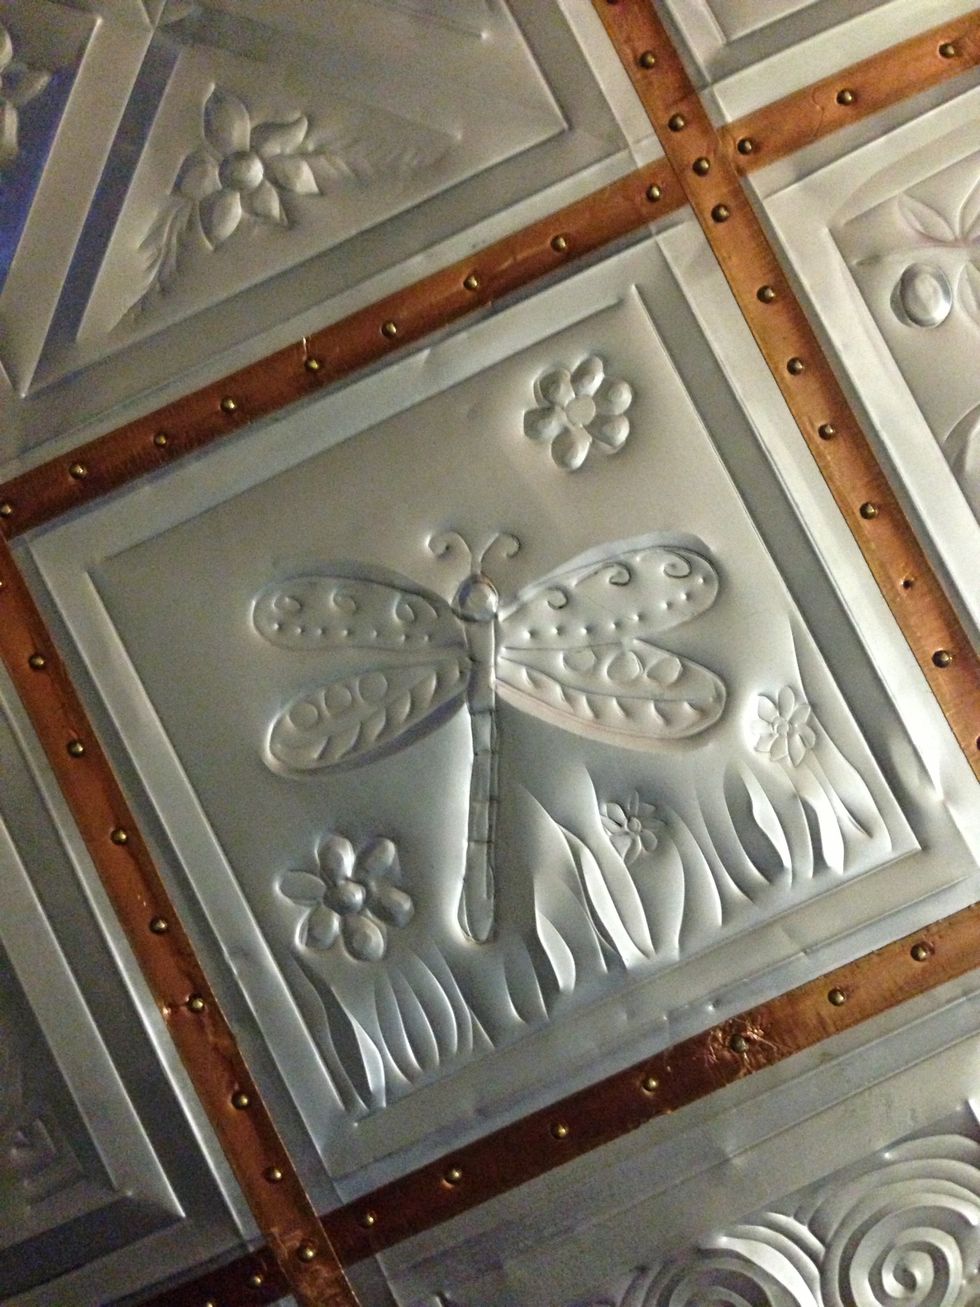
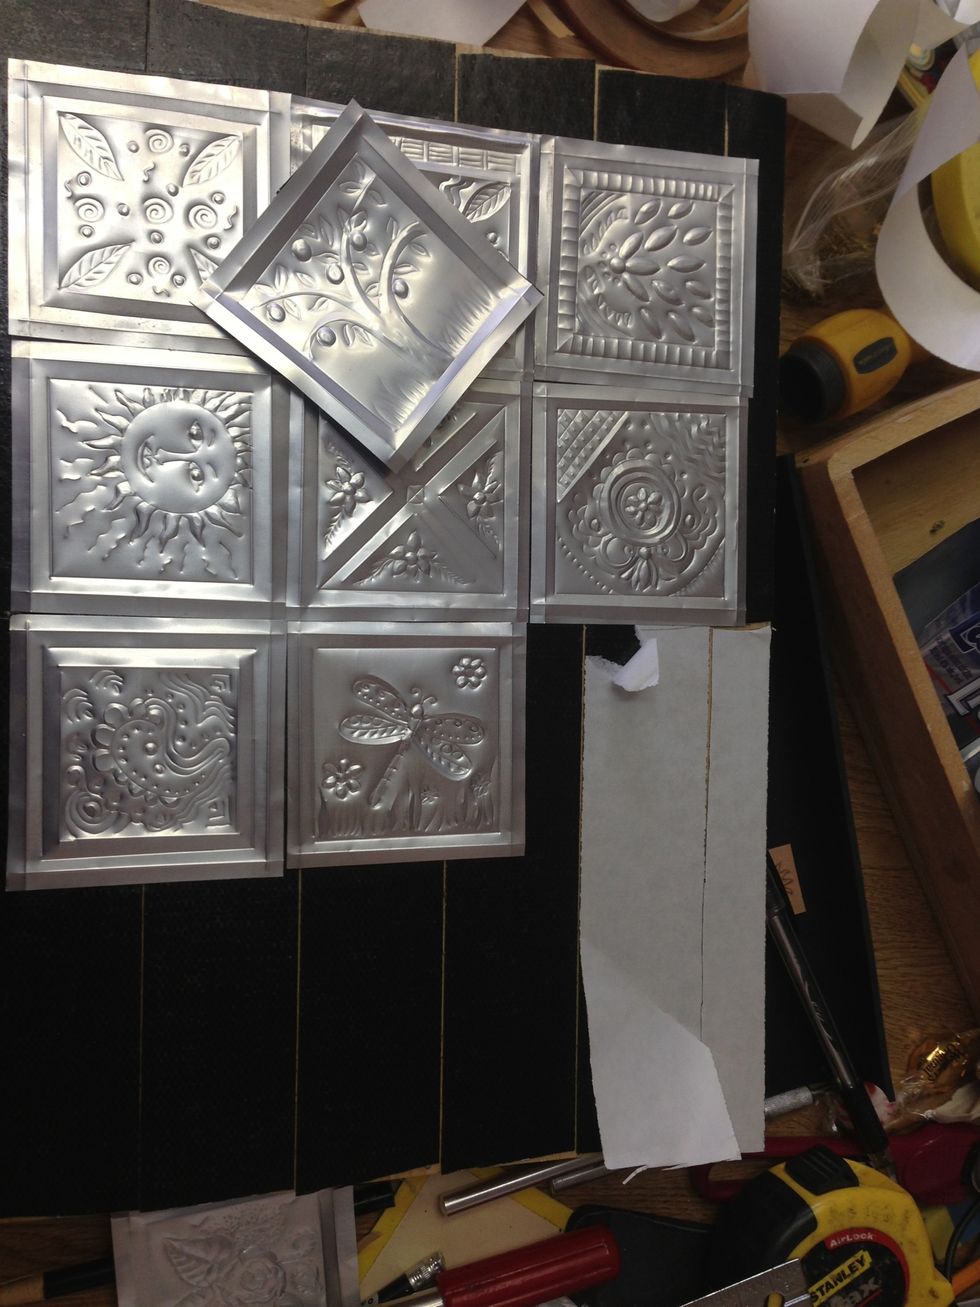
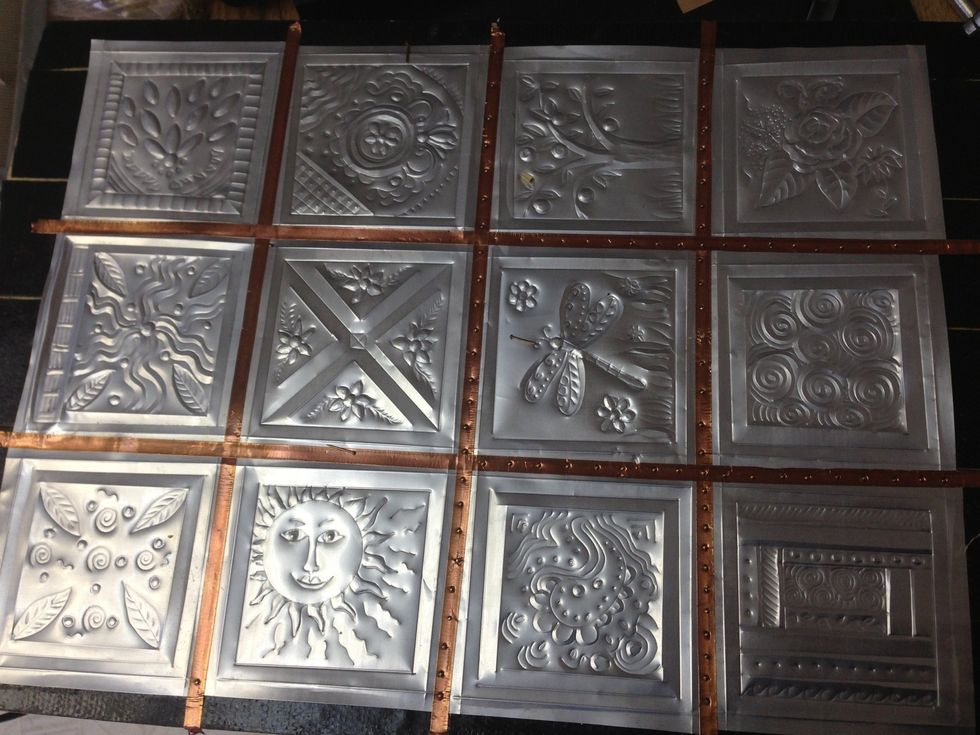
This box needs 12 square tiles. You may choose to do one theme or a variety.

A few designs to show you.
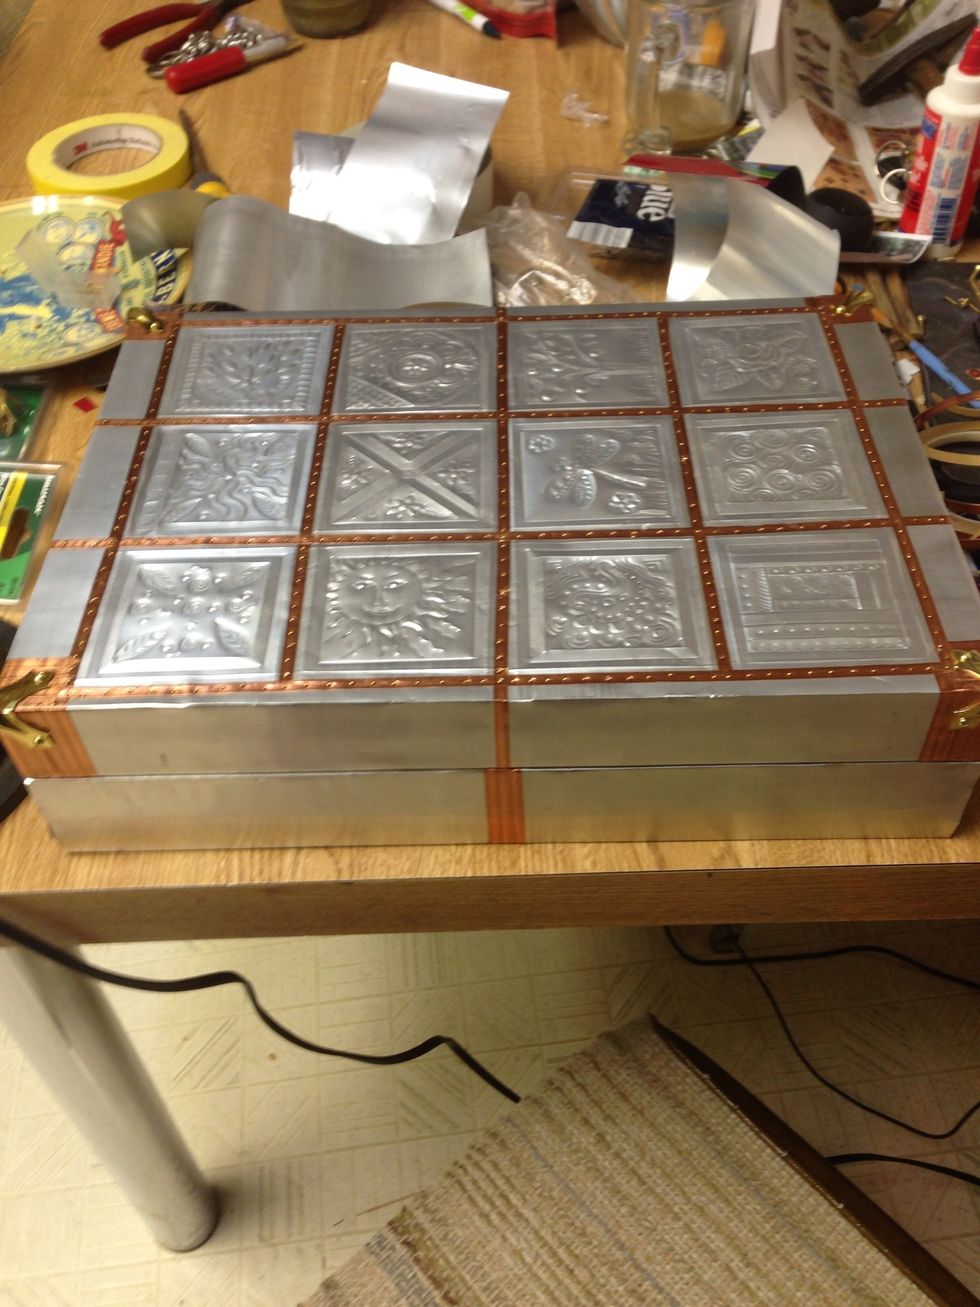
Place each tile on the carpet tape on an order that appeals to you eye.
This carpet tape is super sticky. Push tiles into tape and continue till all is secure
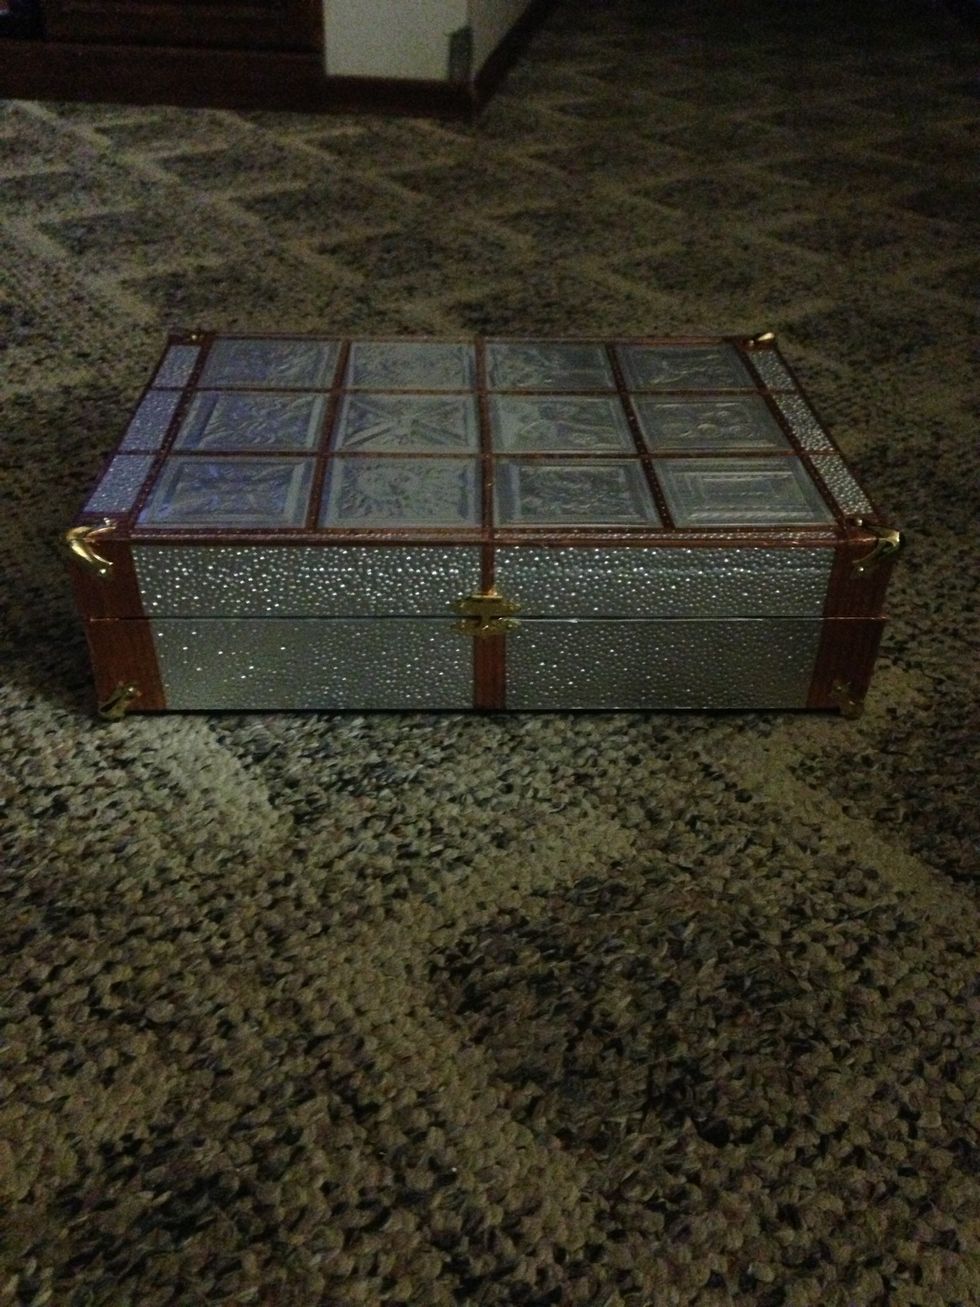
I have added copper tape and small brass nails for permanent placement

I did not measure my mail placement. In fact I want this piece to have a rustic quality and a homemade look.
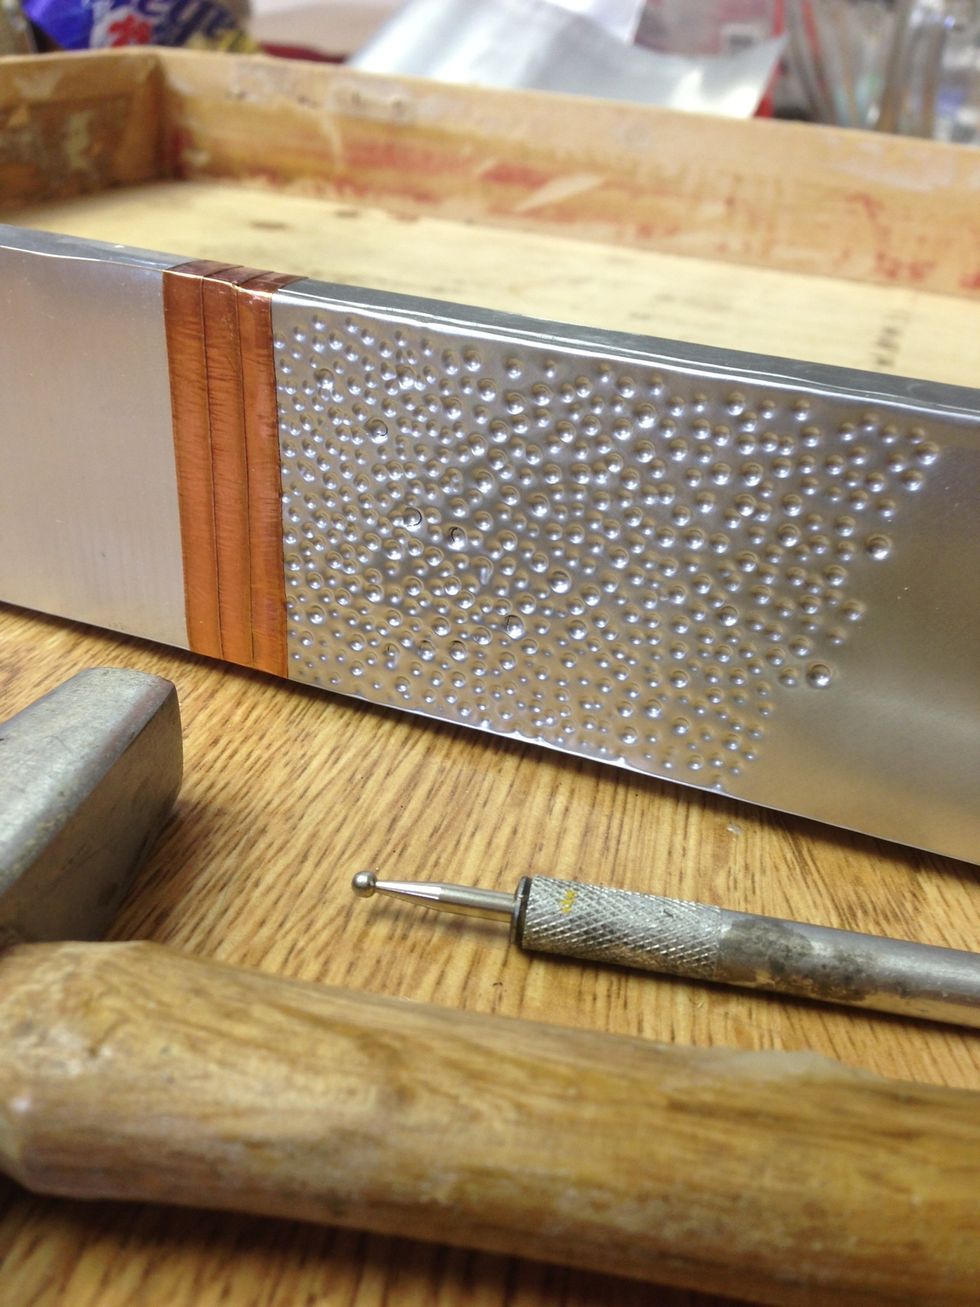
I decided to hammer the plain areas on the box. This is an option as it looks great with our hammering.
Before hammering
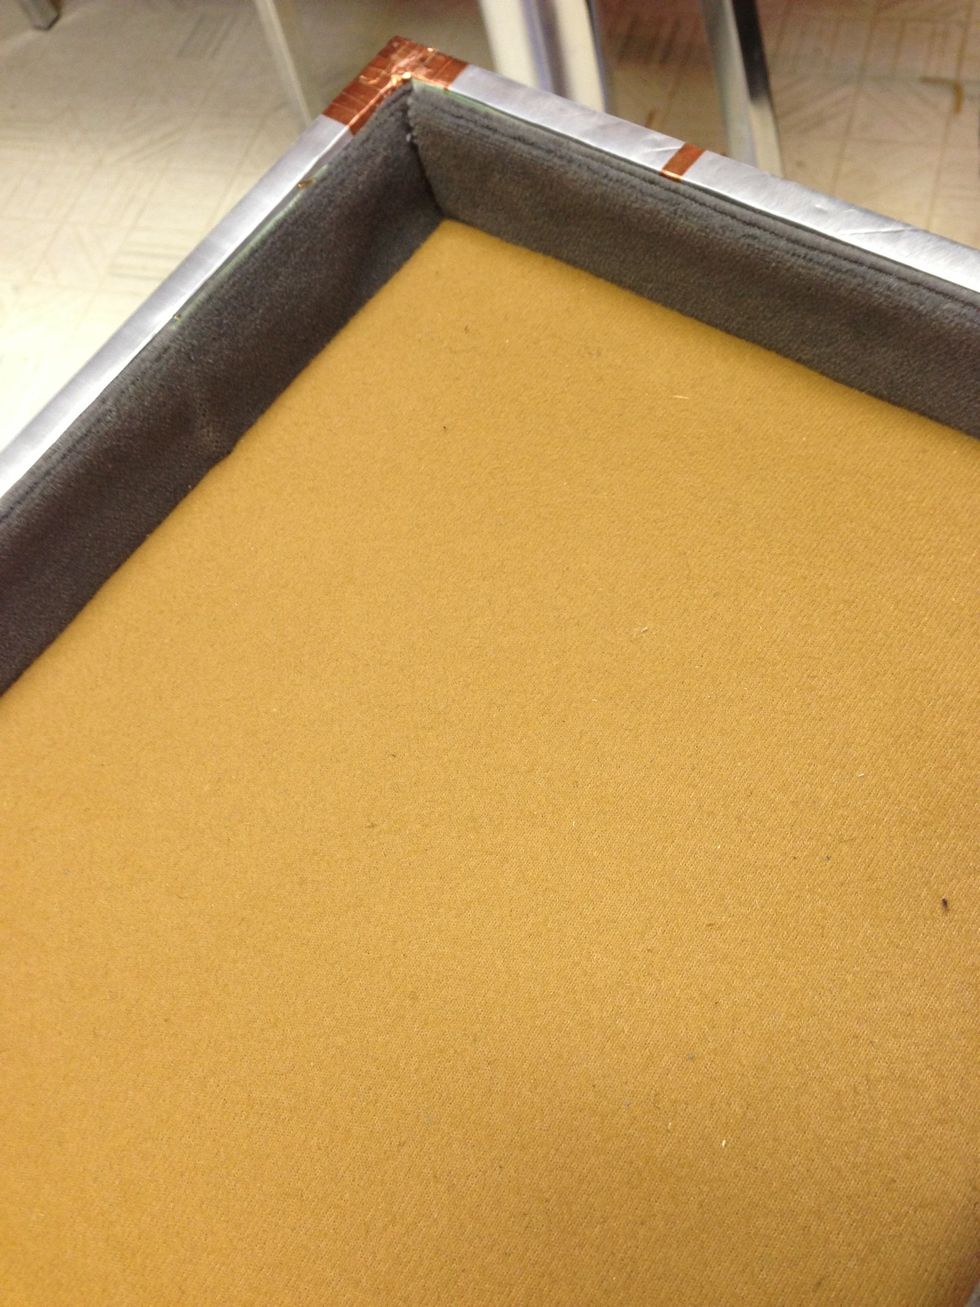
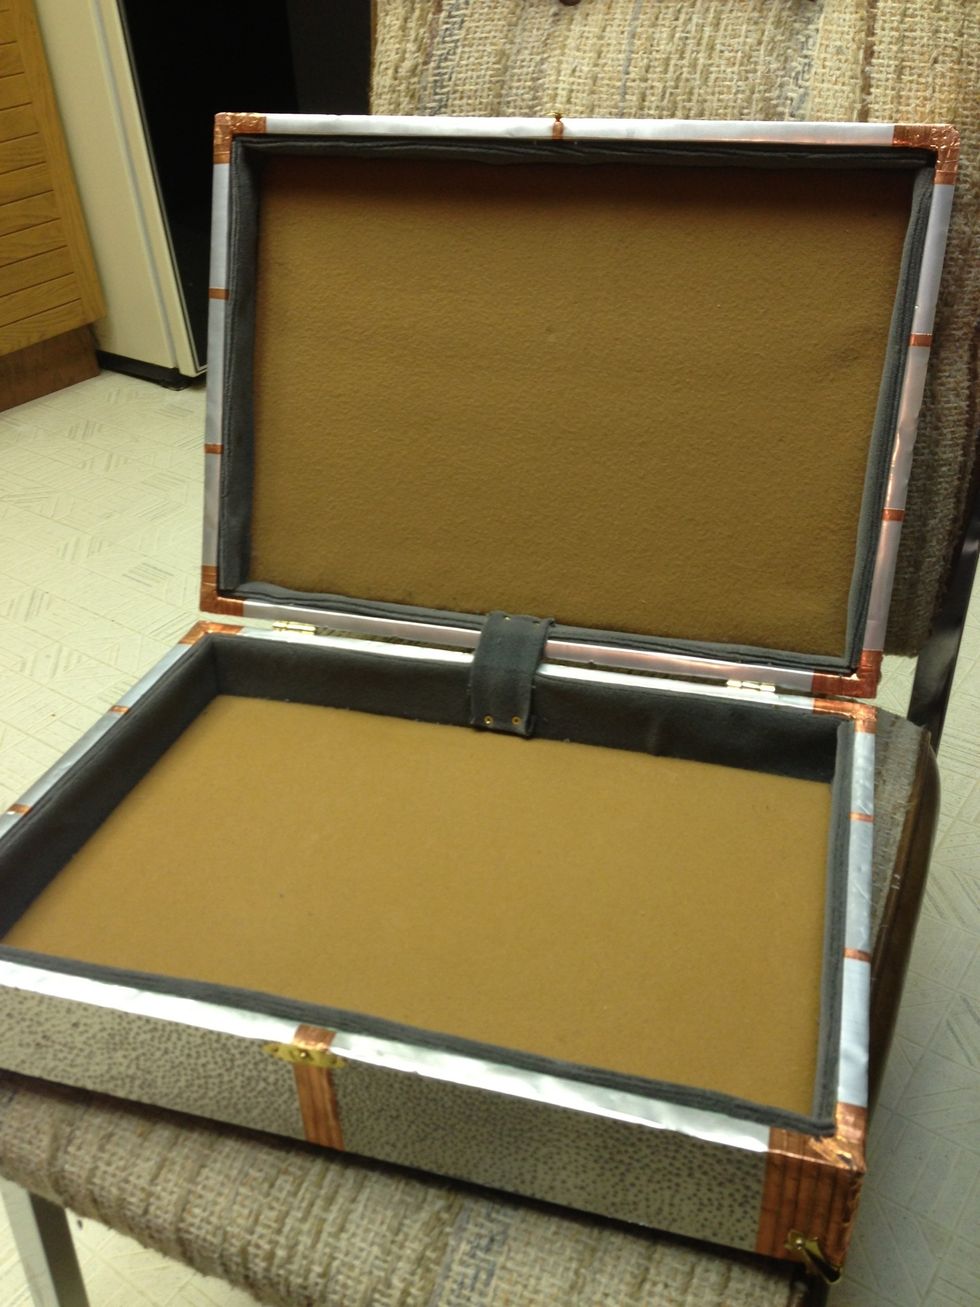
Line the box with felt.