The Conversation (0)
Sign Up
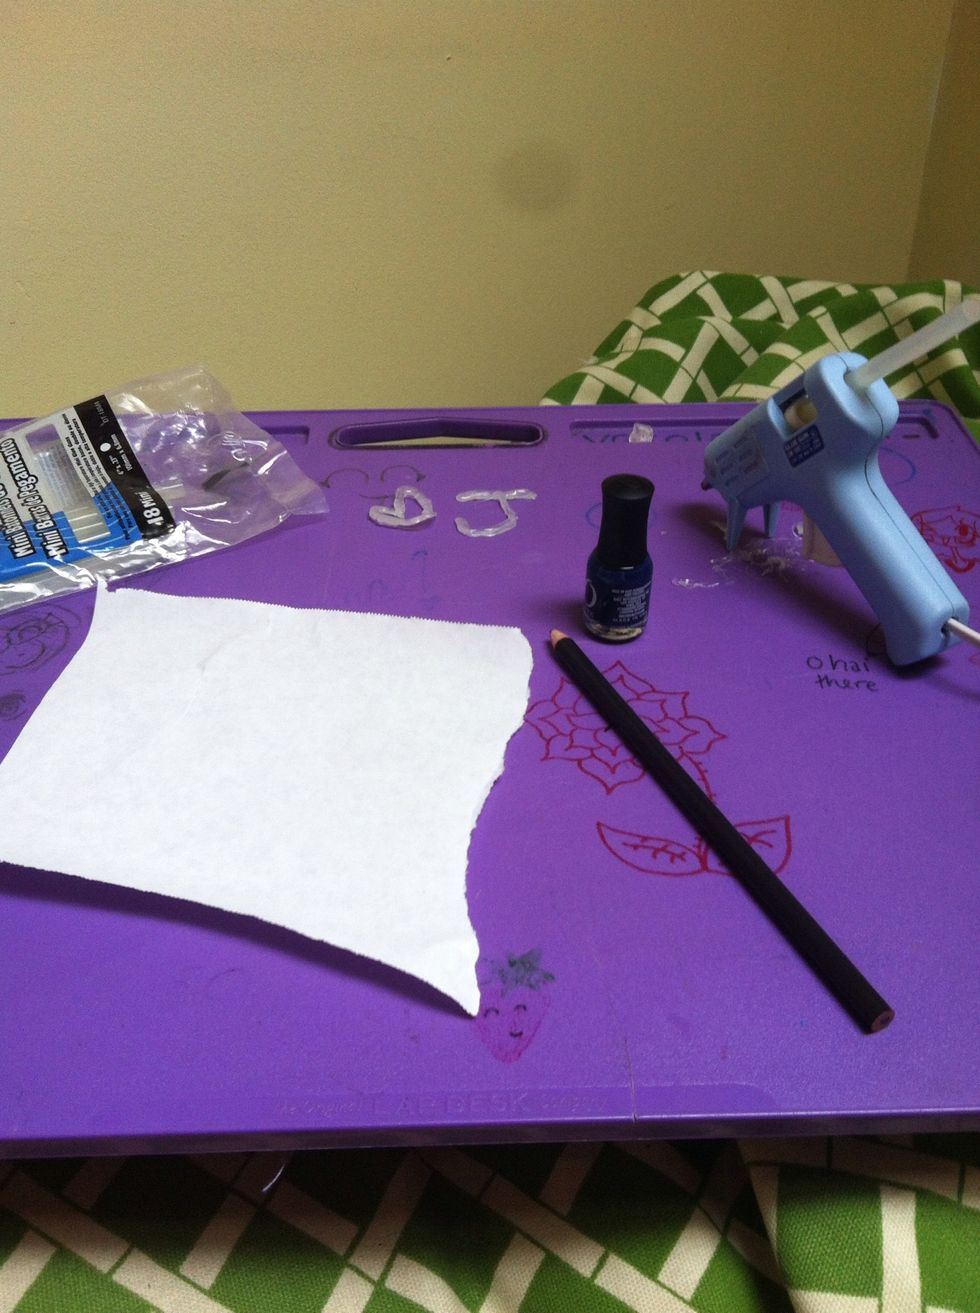
Here is a visual of the supplies. This medium-difficulty craft will make your pencil look like it is melting into the table!!
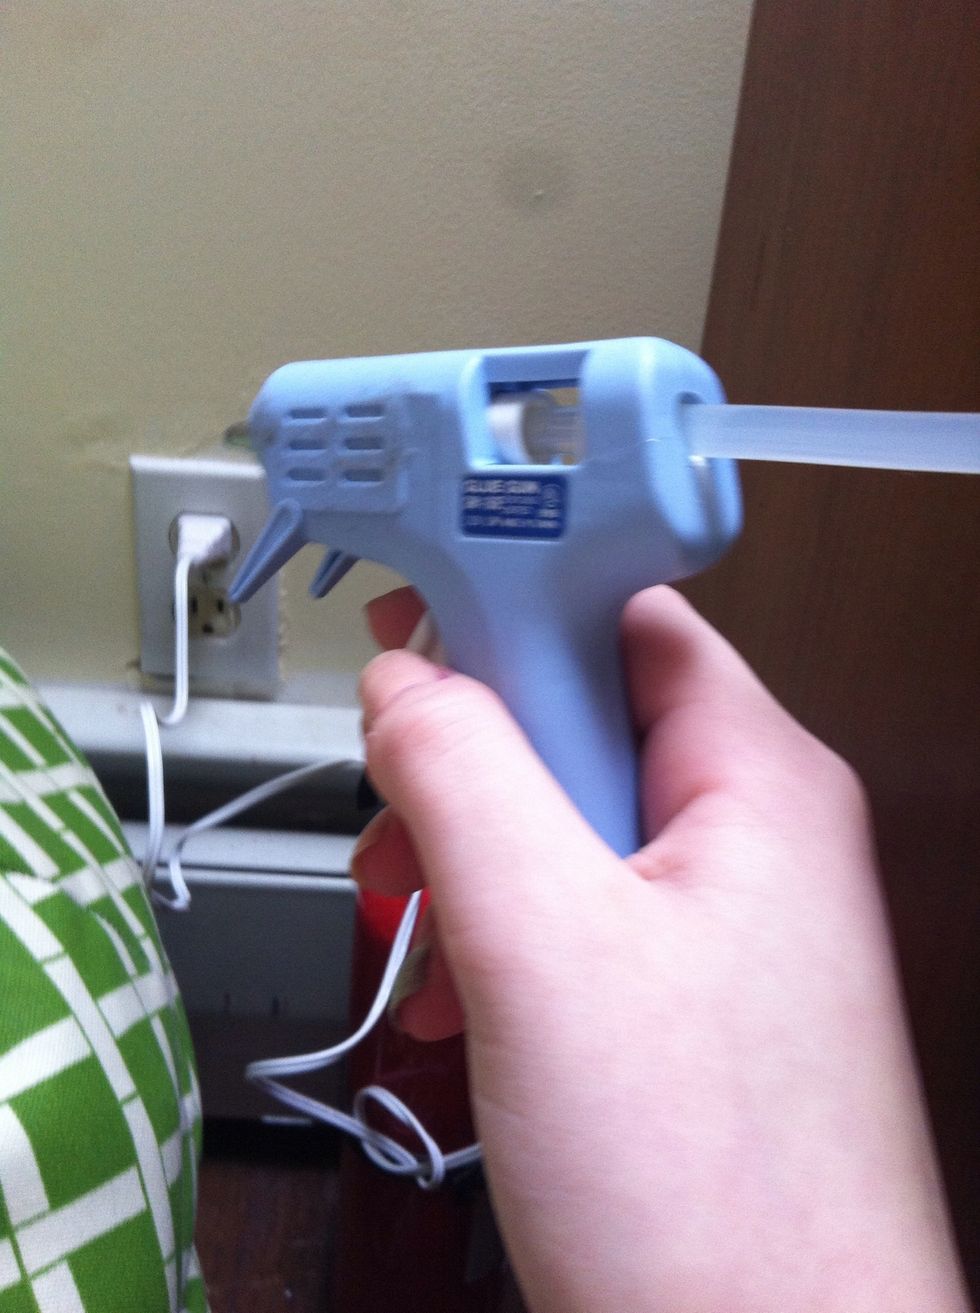
Heat up your glue gun to be nice and hot. *WARNING!! This craft is NOT for small children because they may get burned. If you are doing this craft for smaller kids, do this part and let them paint it.
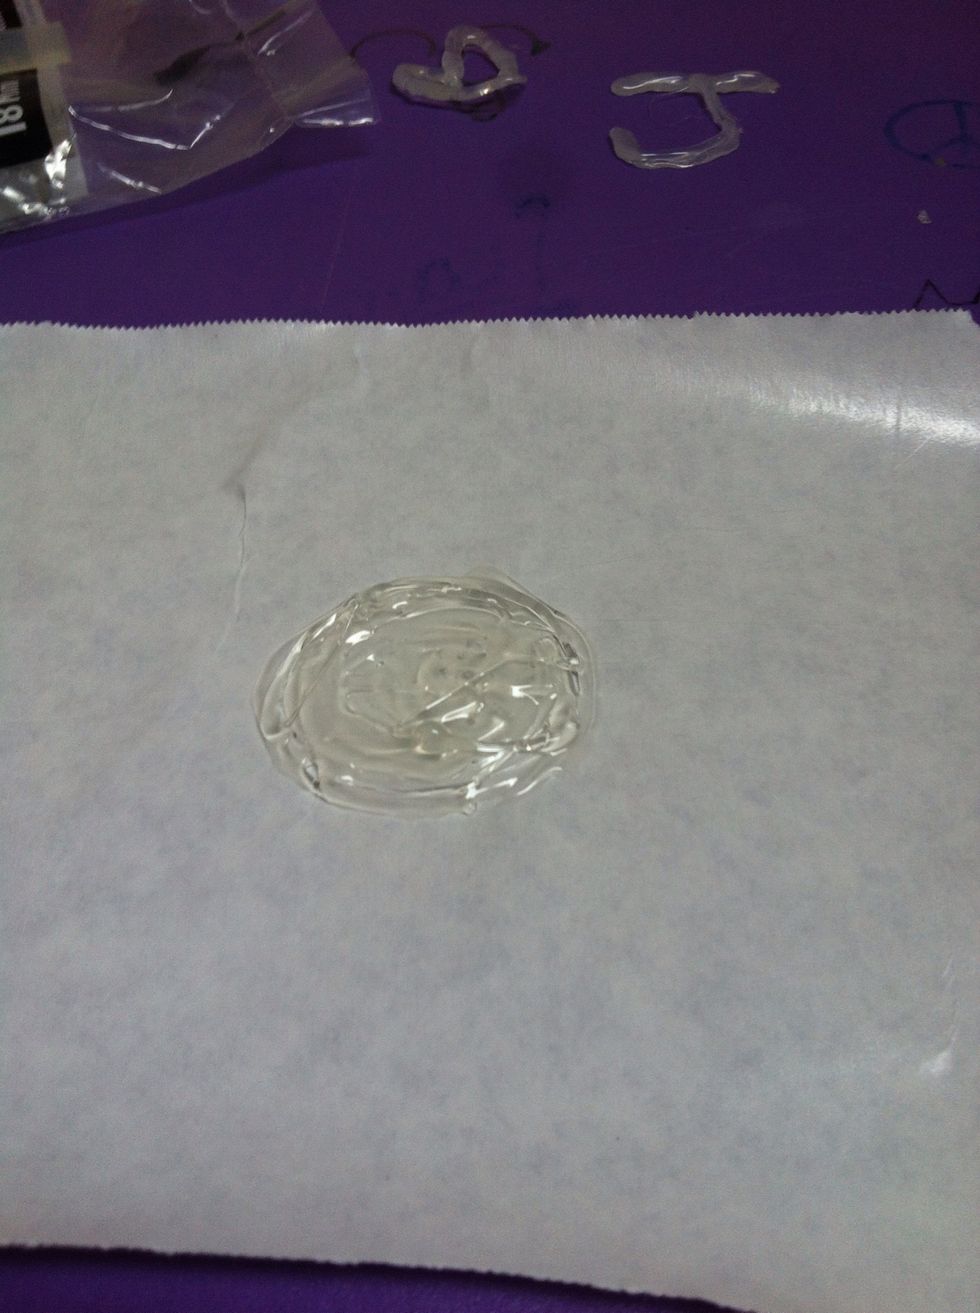
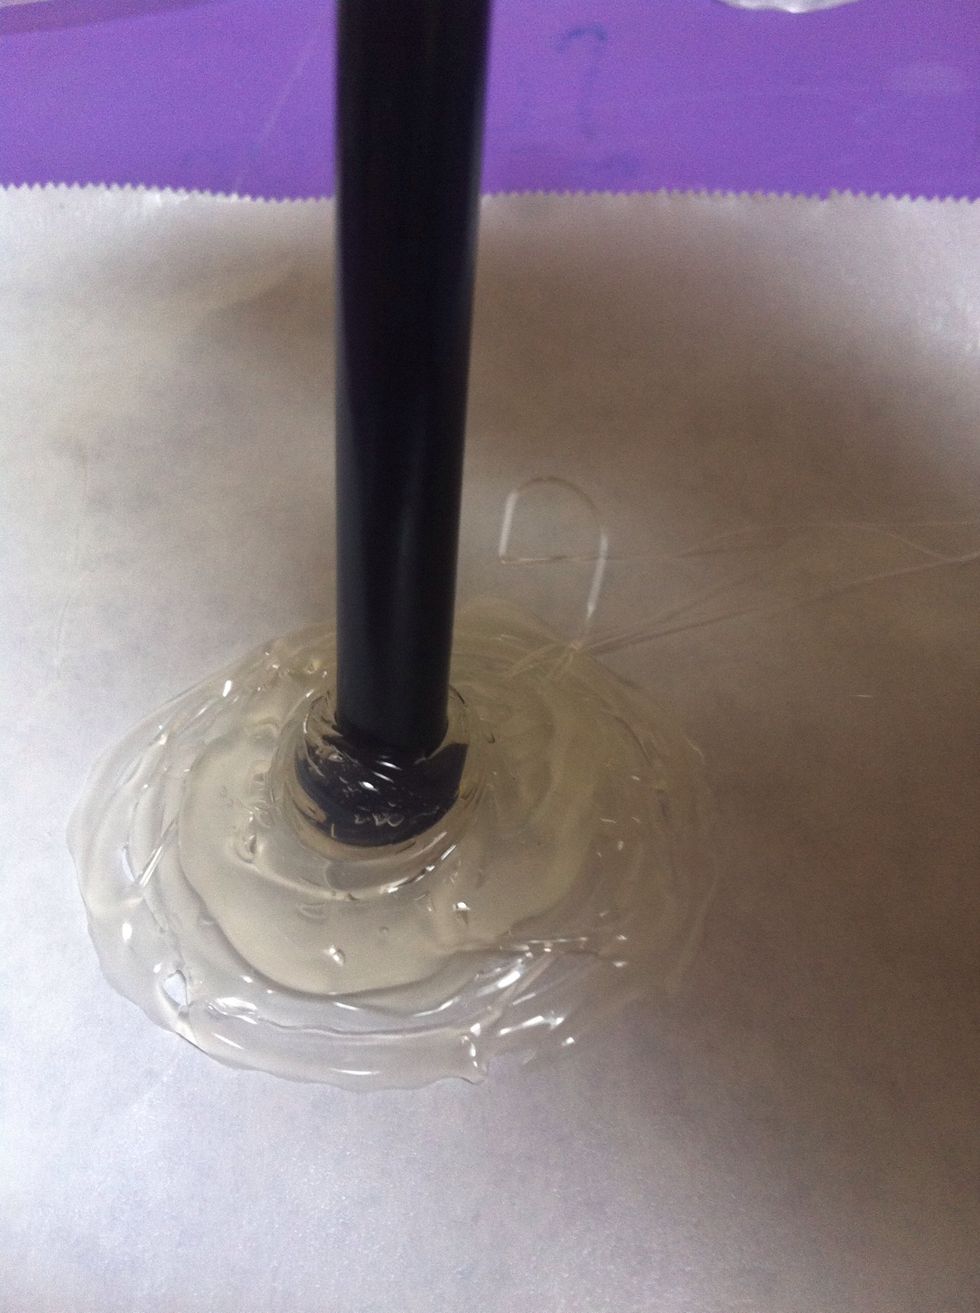
Make a circleish shape made of glue. Keep it loose and messy, since it will give a more realistic melting appearance. Make sure this is on the waxy side of the freezer paper.

Once that circle is dry, add more glue on top, but don't let it dry. These next steps go fast!!
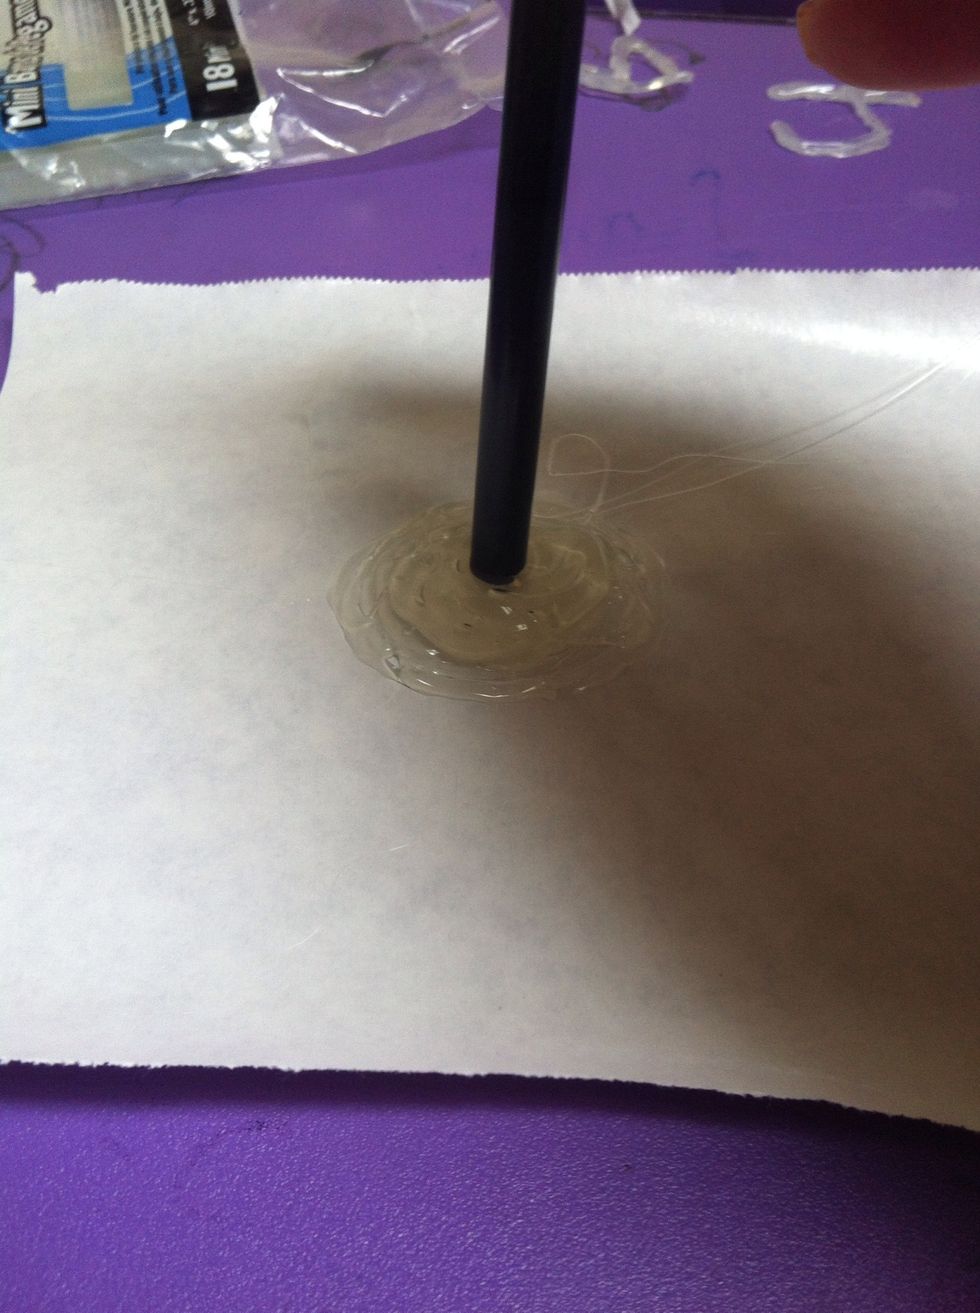
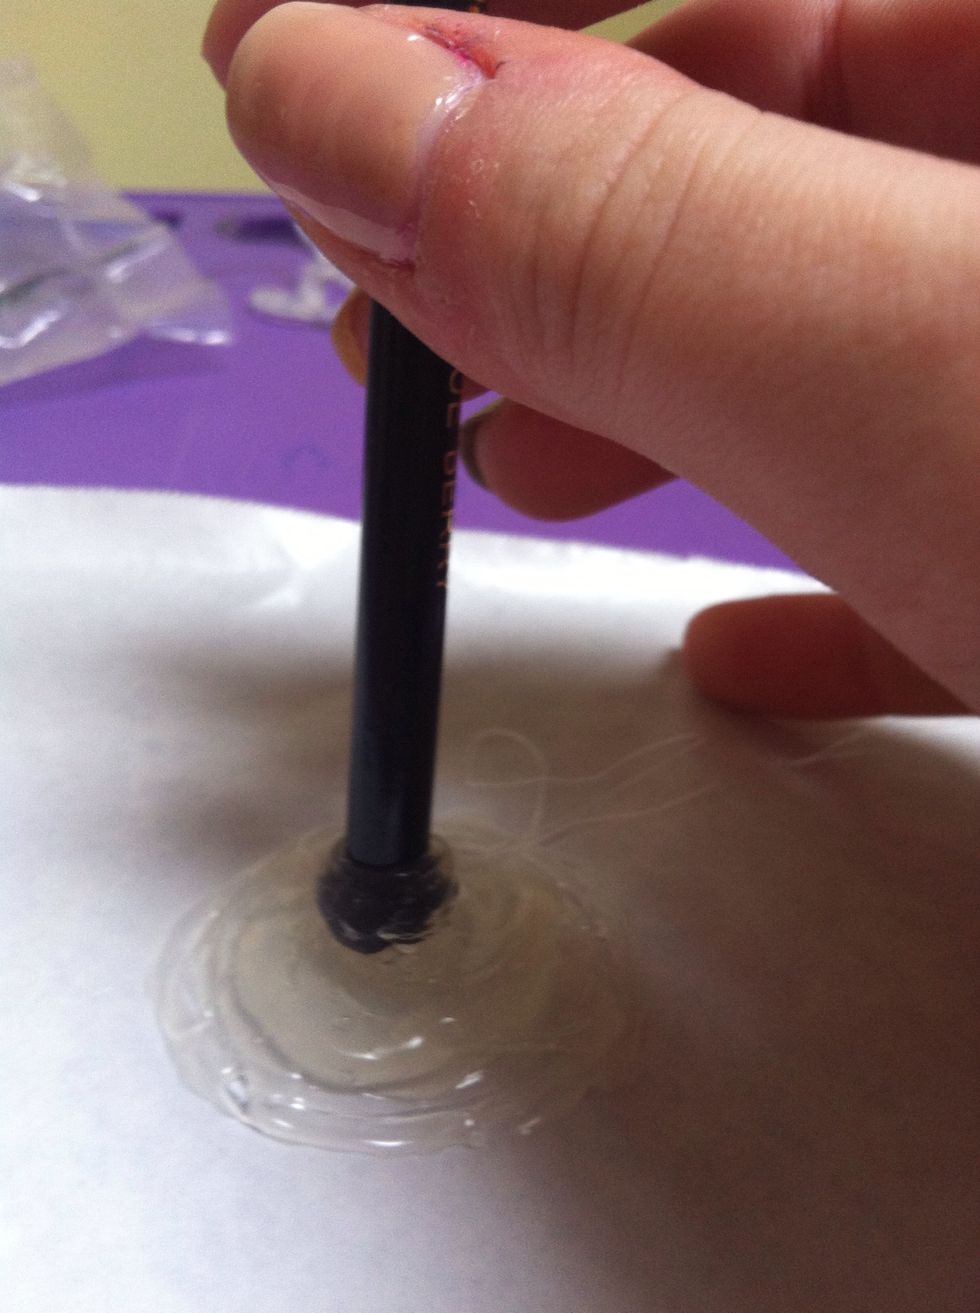
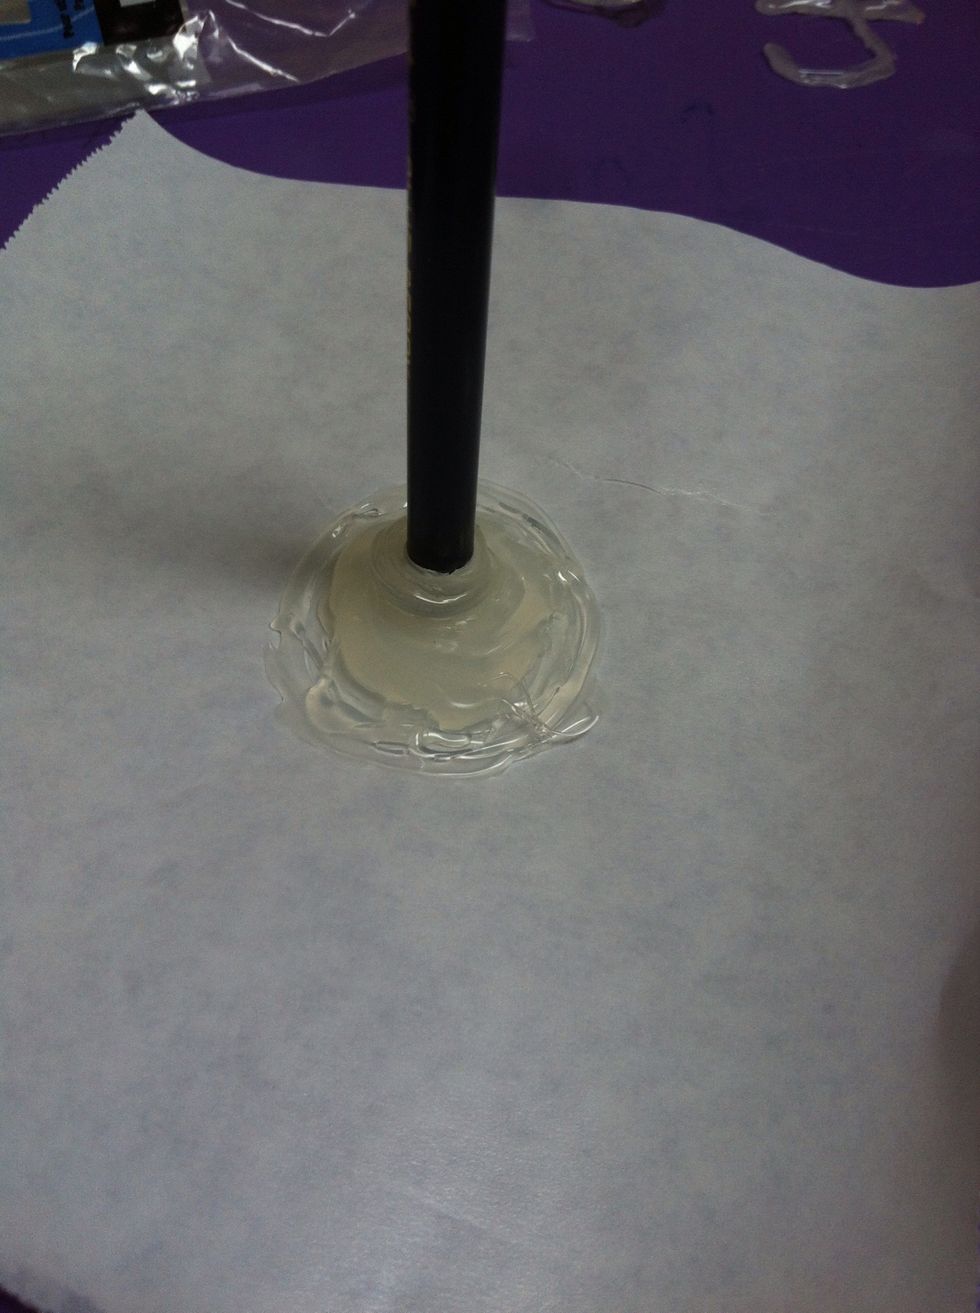
Put the end of your pencil into the glue. If you are using a normal non-colored pencil, take off the eraser and metal thingy that holds the eraser on so you just have the wooden part.
Here is a close up of what this stage should look like.
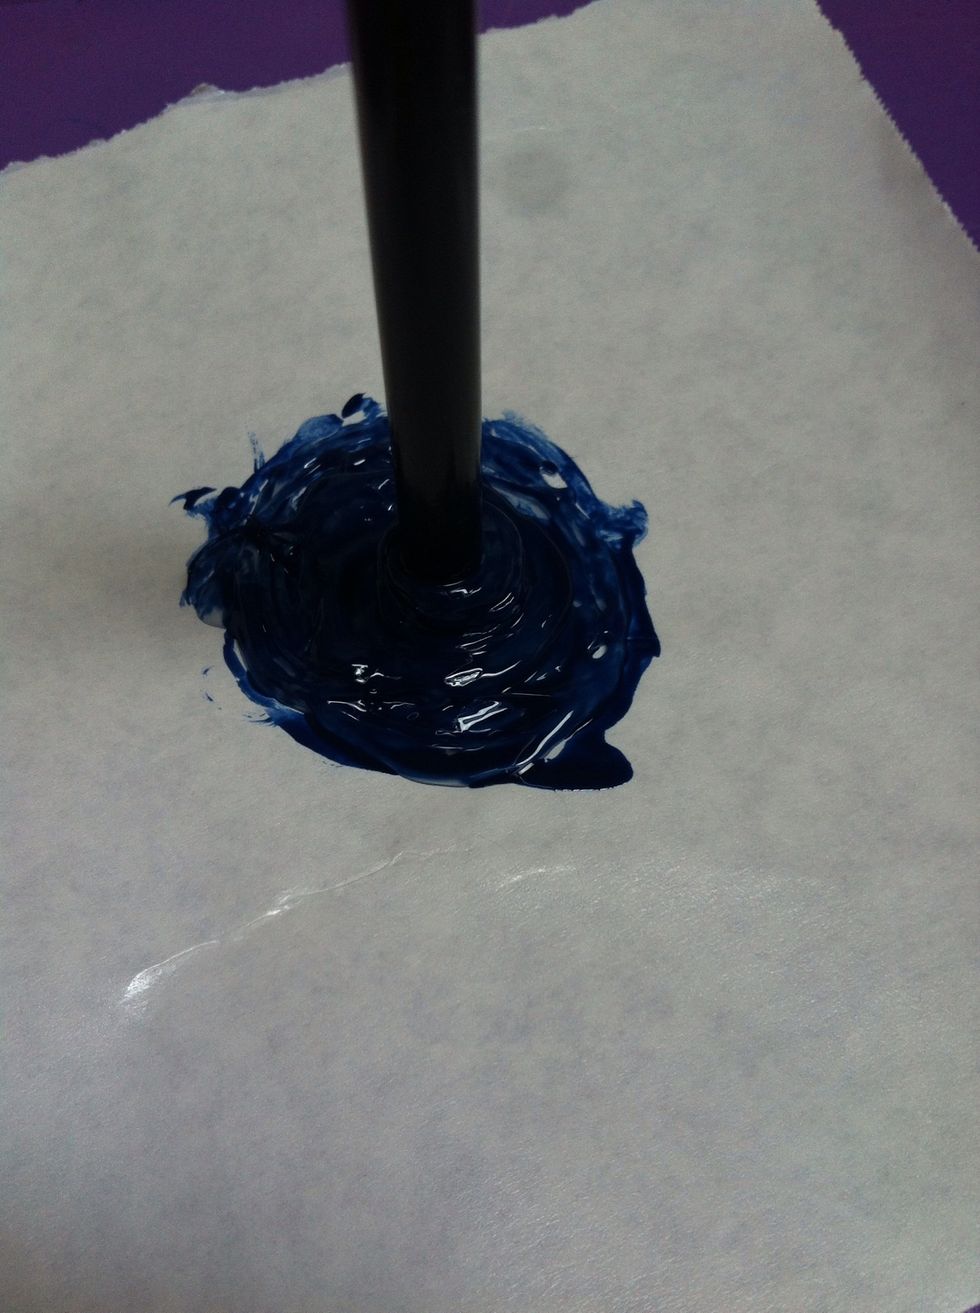
Swirl your pencil around to form the swirly, melty effect.
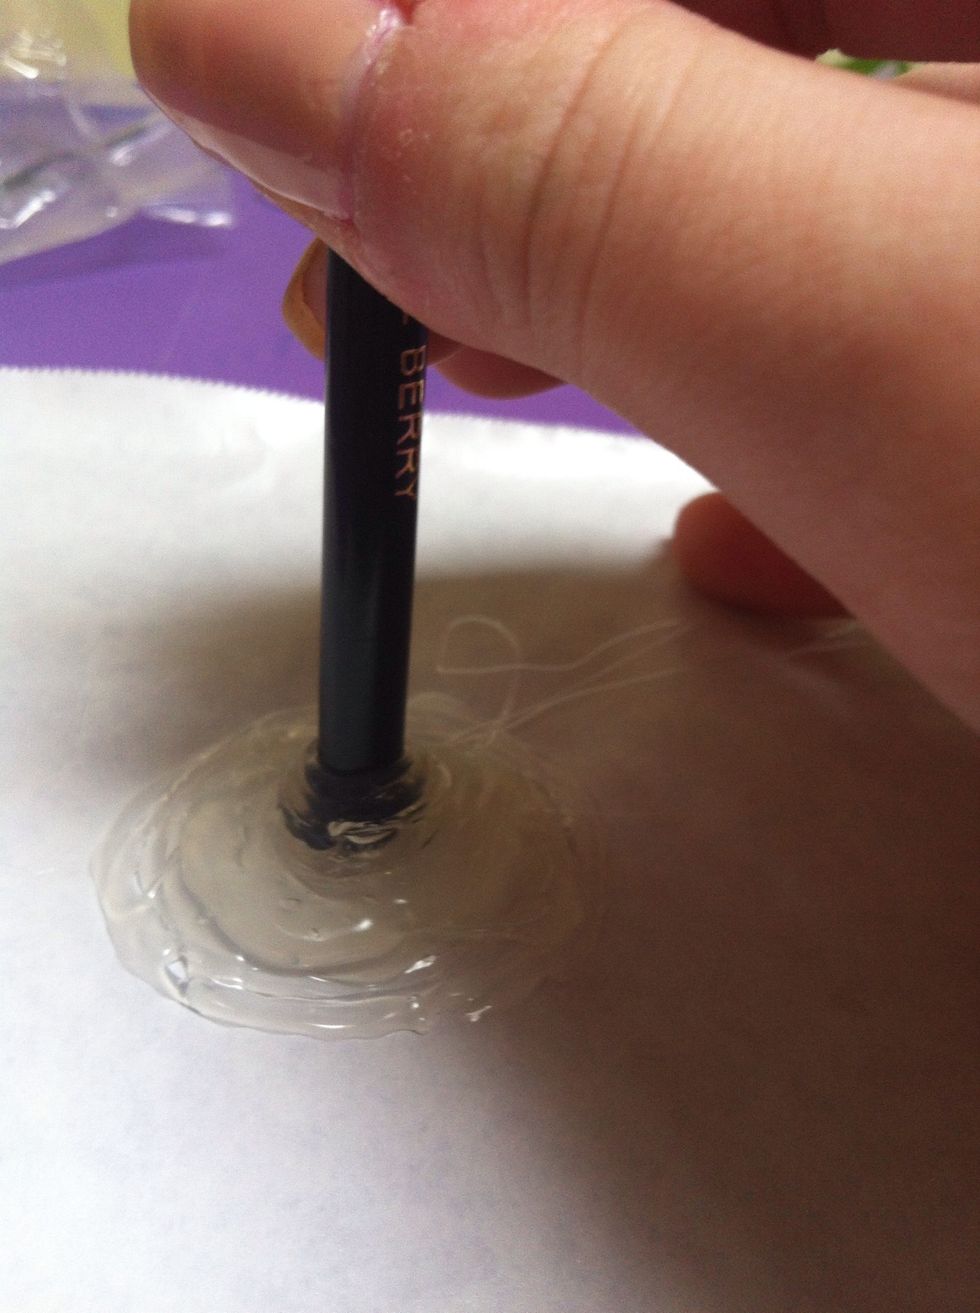
Keep swirling until you get the desired shape.

Now, hold it until the glue dries. This doesn't take too long, but it depends on the amount of glue you use.
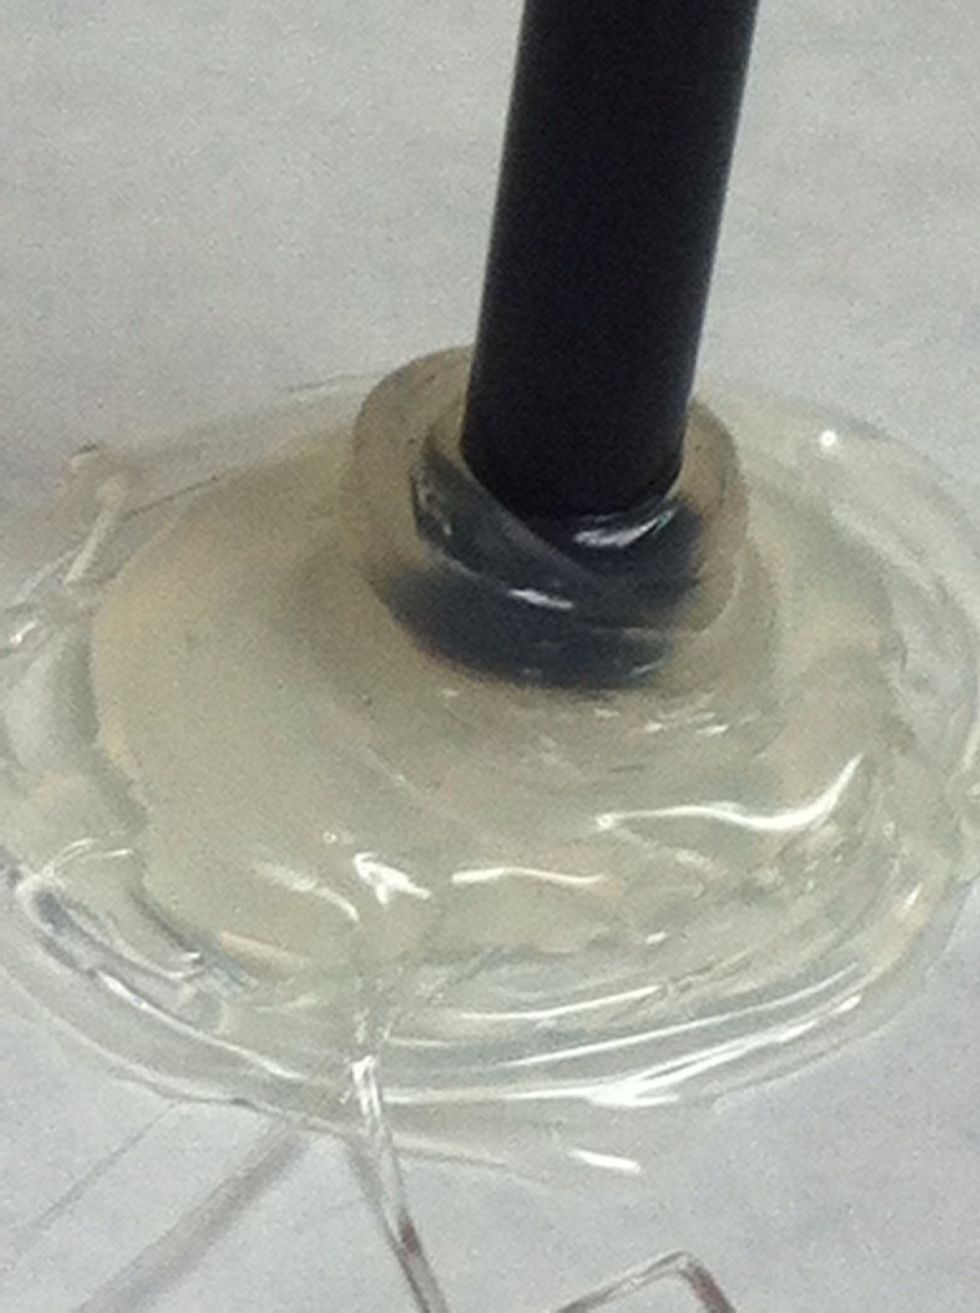
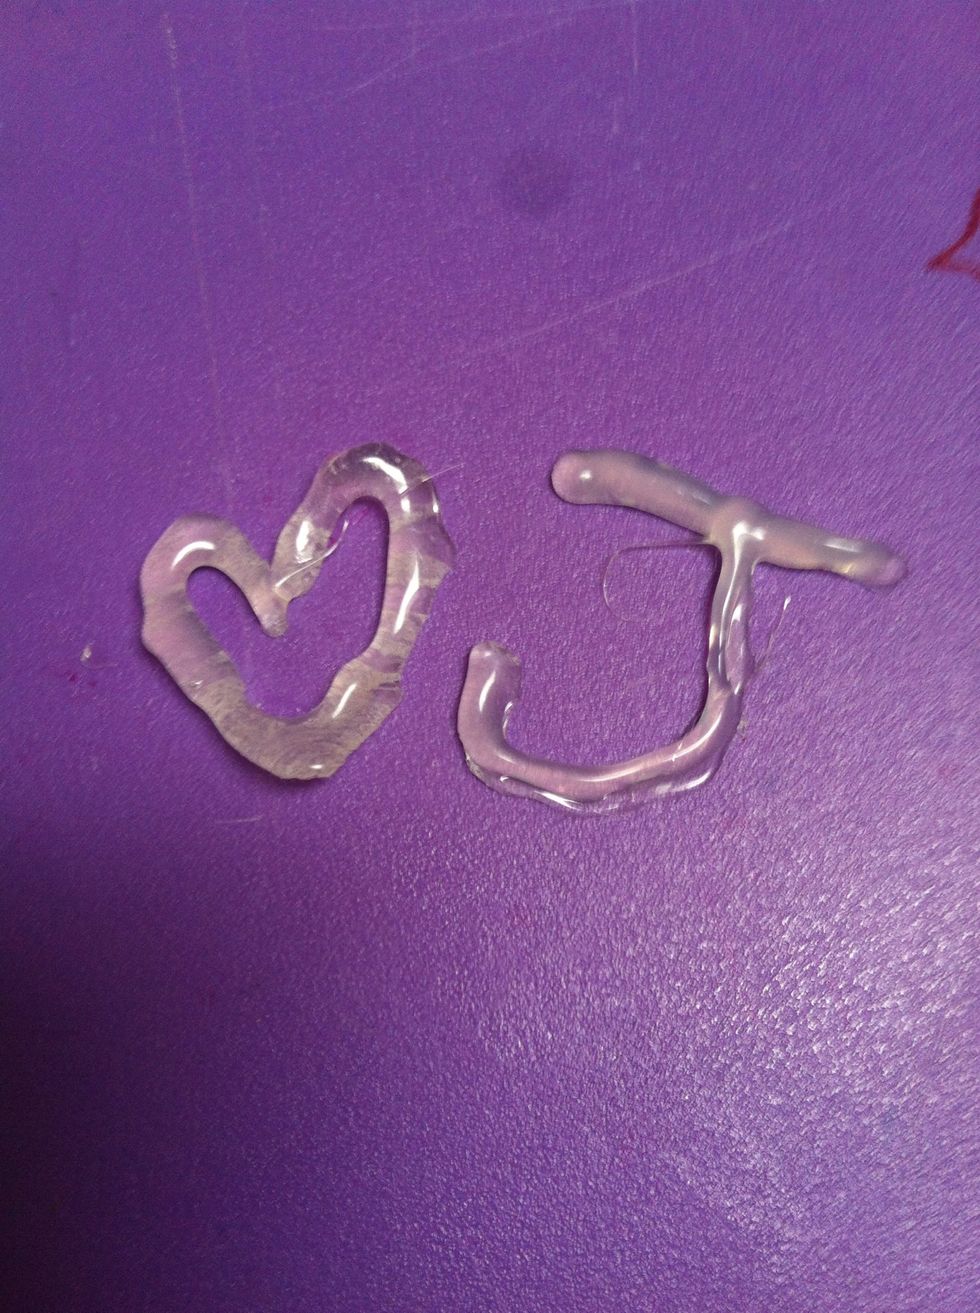
Close up!!
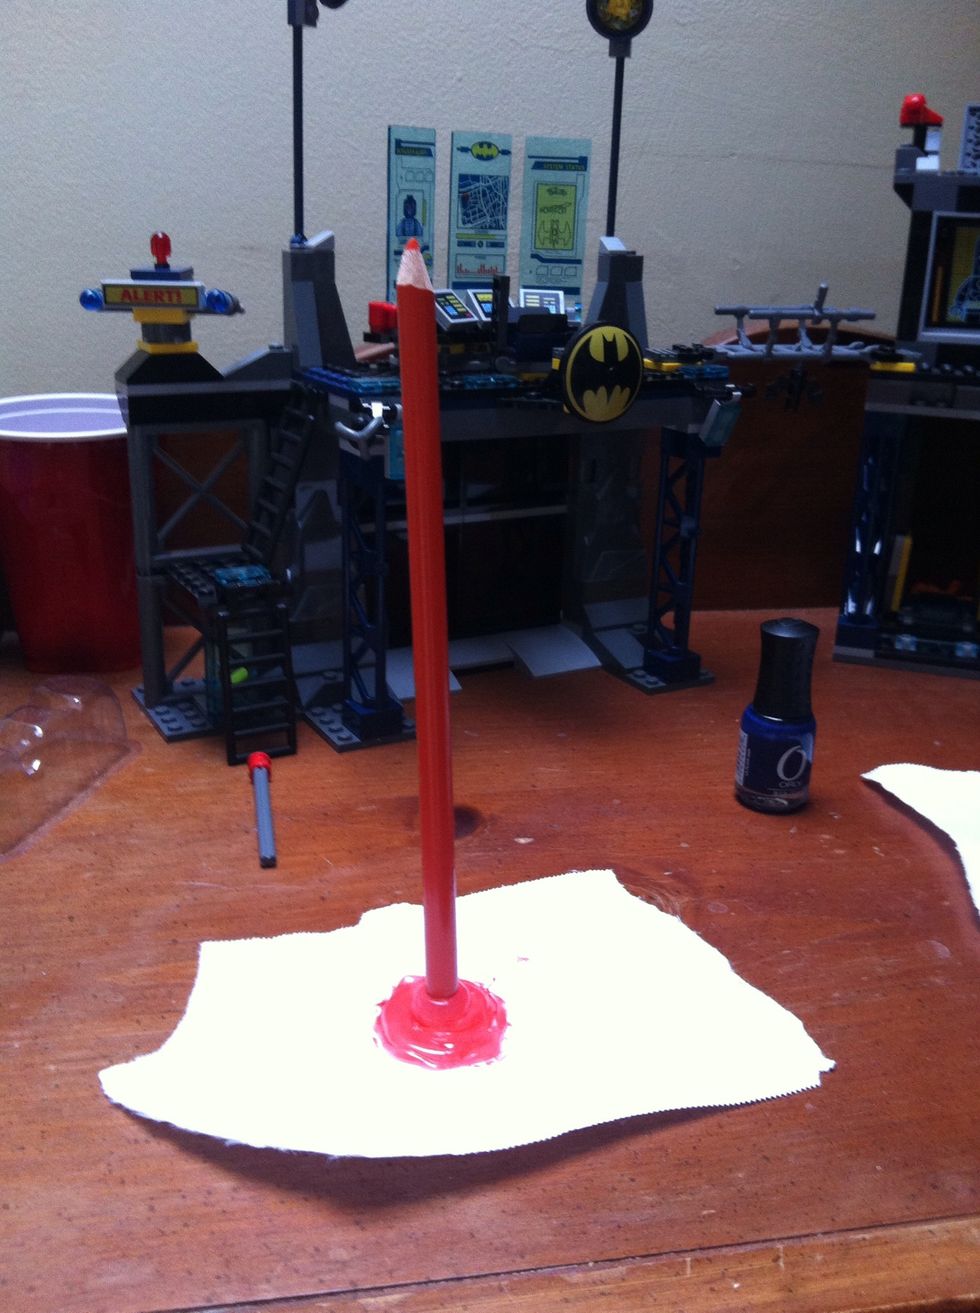
All dry!
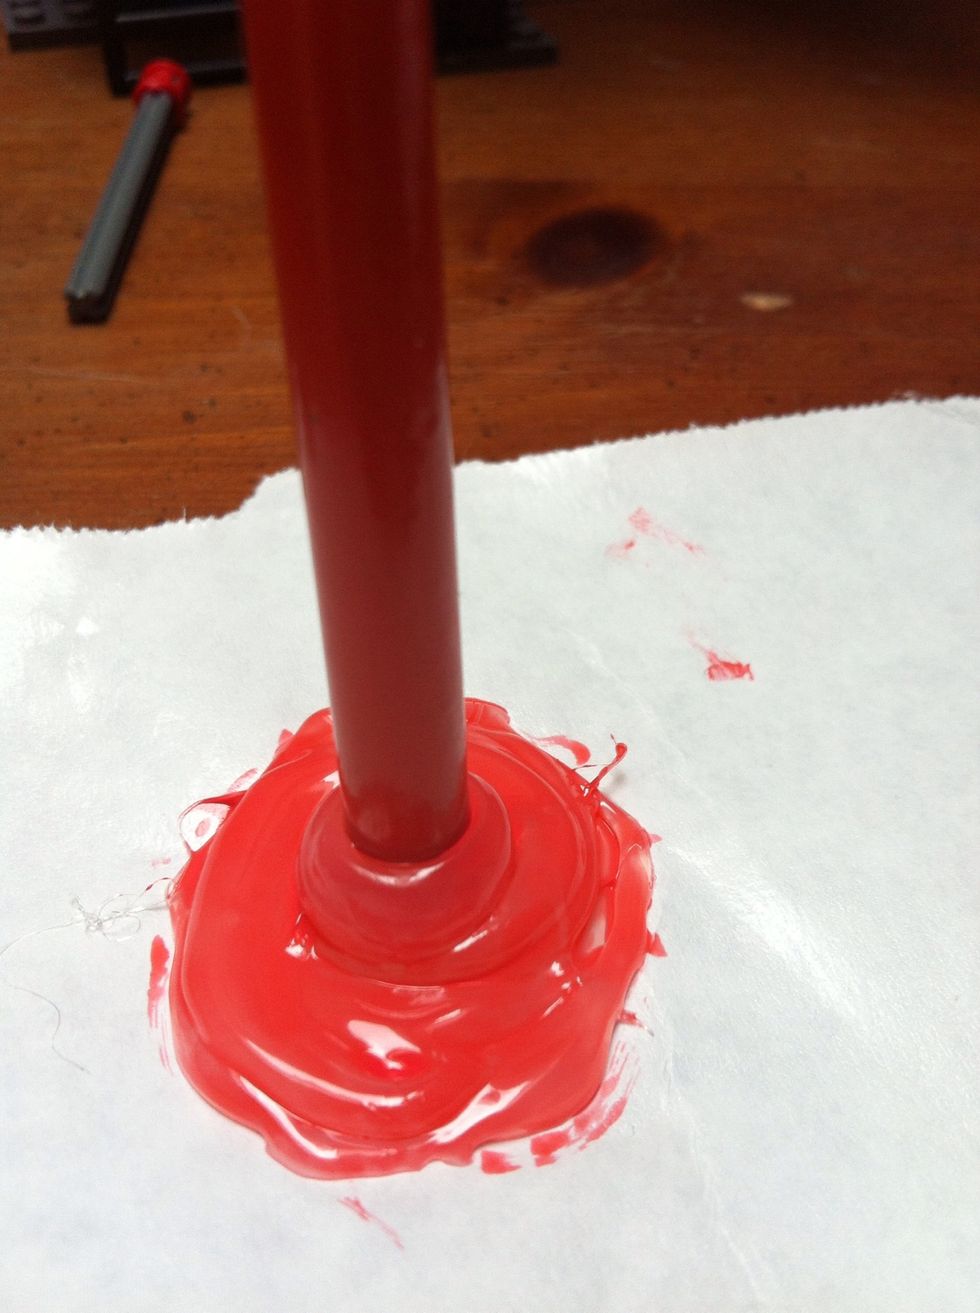
Paint the glue base with your nail polish. Messy is better! And a little color goes a long way.
Here is one I made earlier. :)
The colors don't really match, but you can see how the melting effect works:) when the nail polish dries, you can cut off the excess paper to have your pencil topper to amaze your friends!
Please request other tutorials! I'm bored! Also, feel free to comment with your questions. Ttfn!