The Conversation (0)
Sign Up
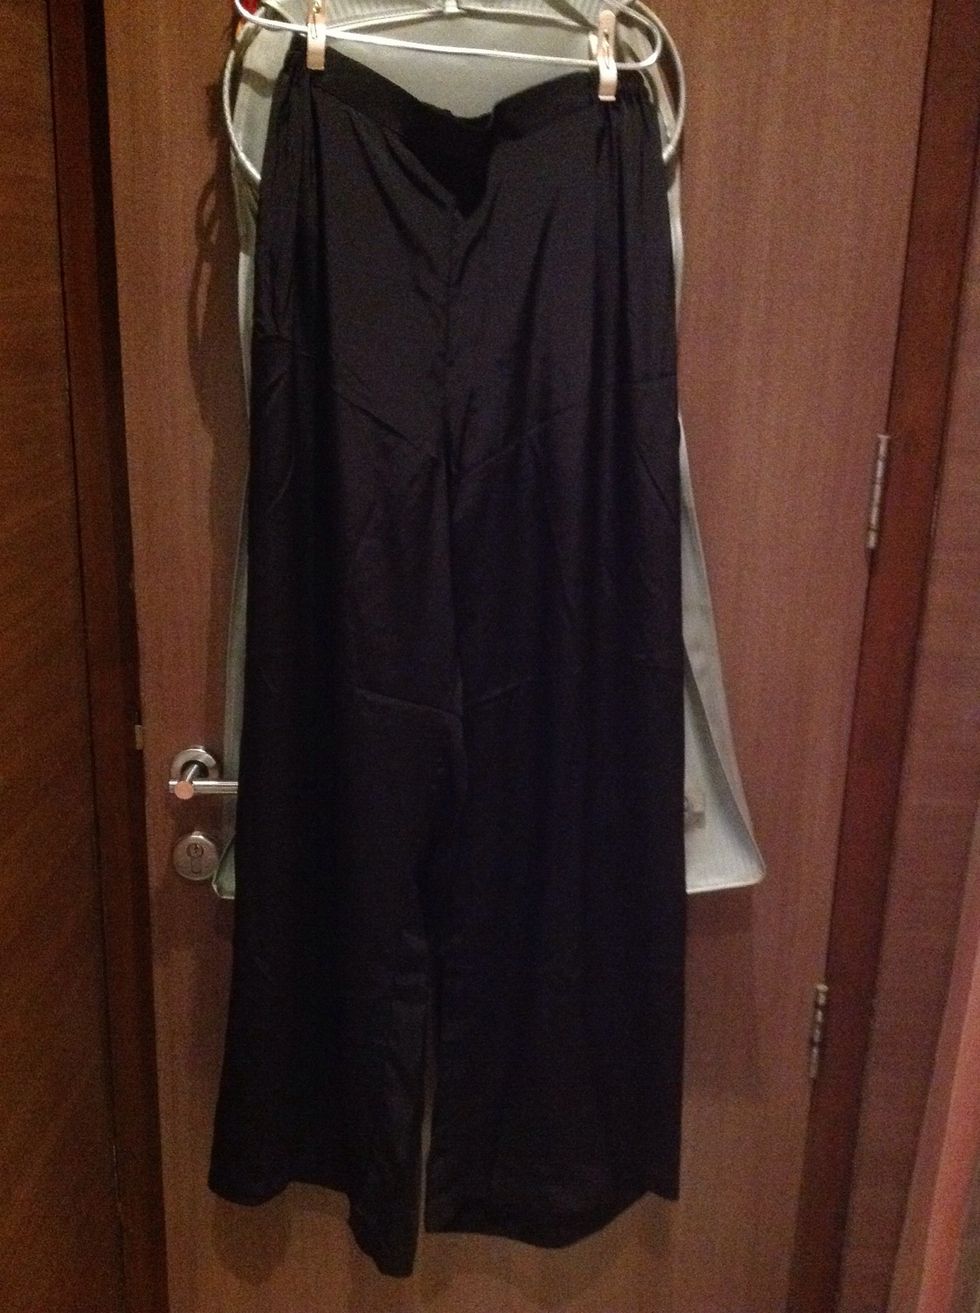
So I had these pants, wide legged, palazzo pants. If you have any old pair, grab them.
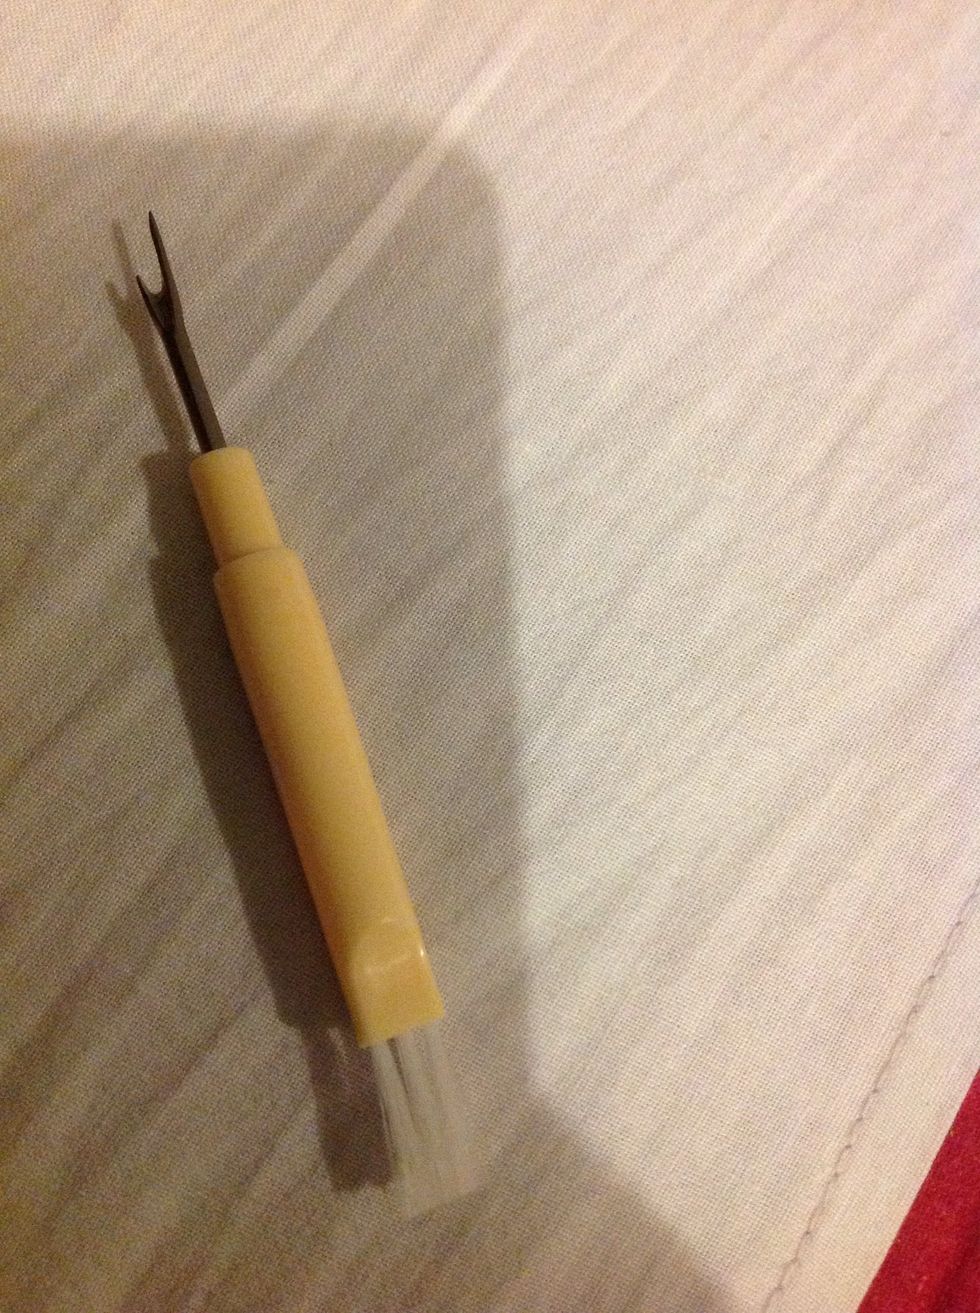
You need a seam ripper.
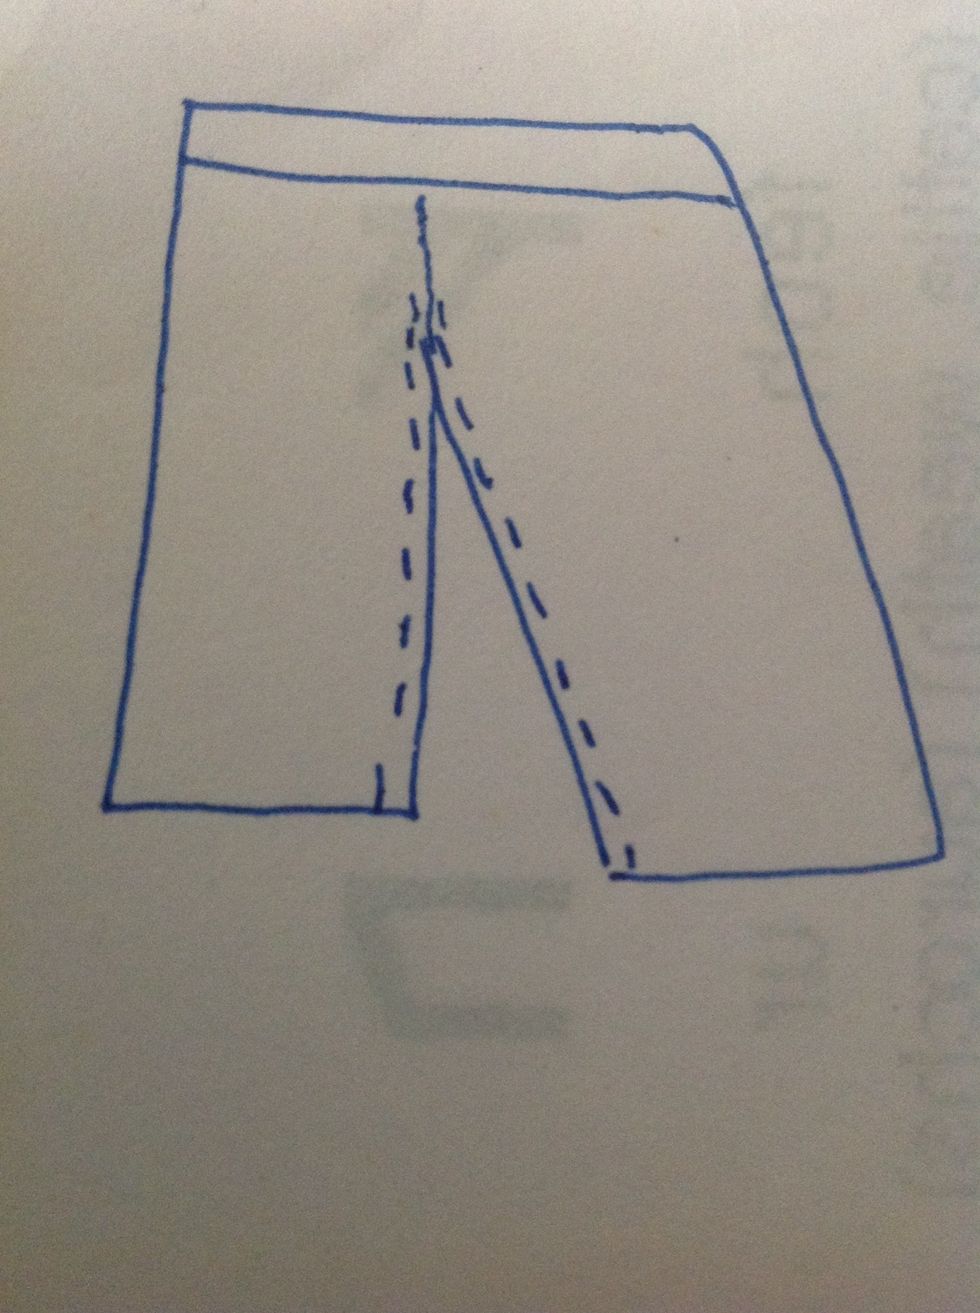
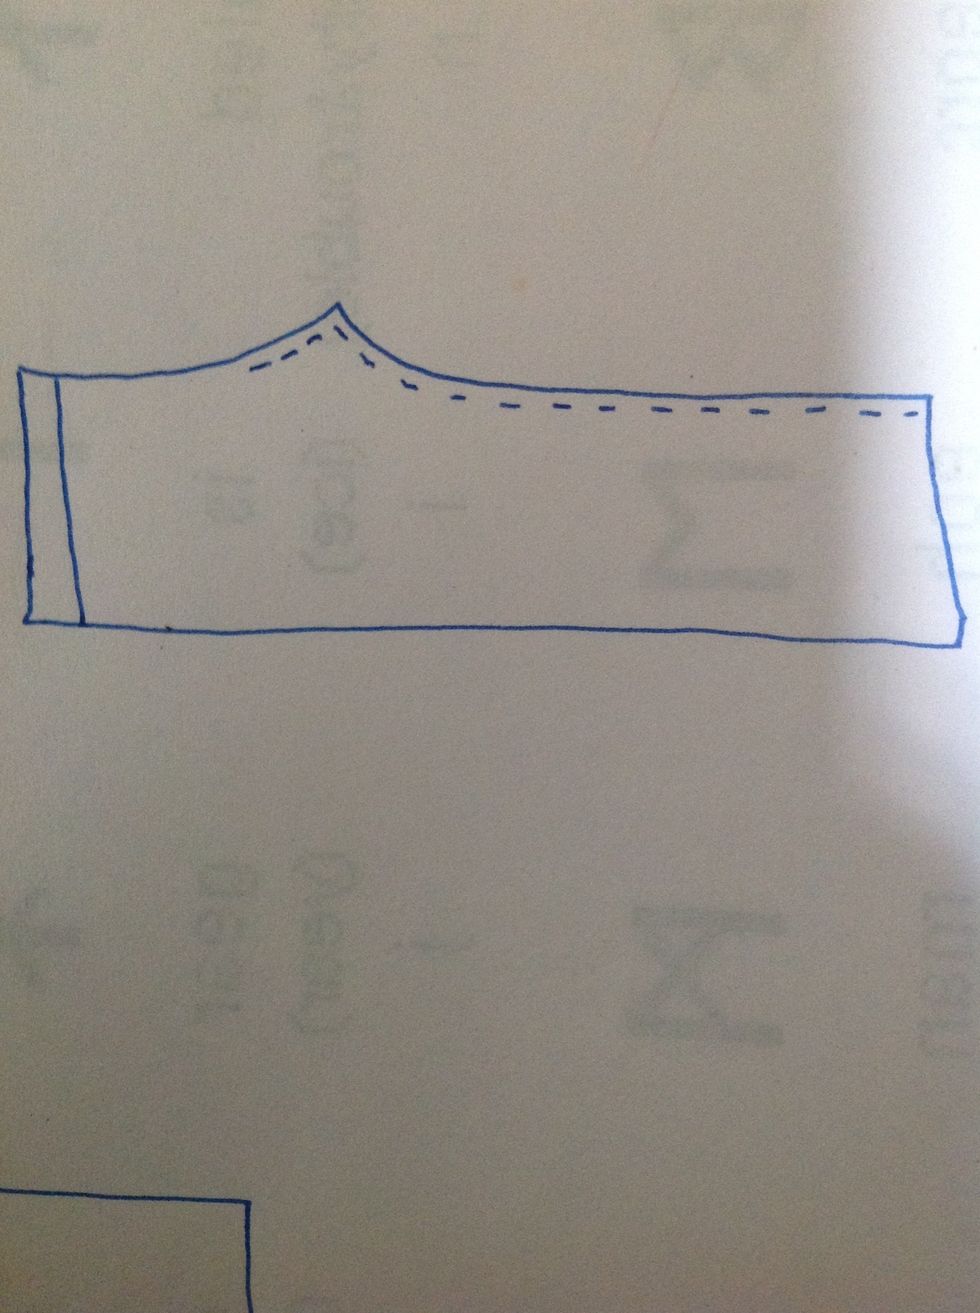
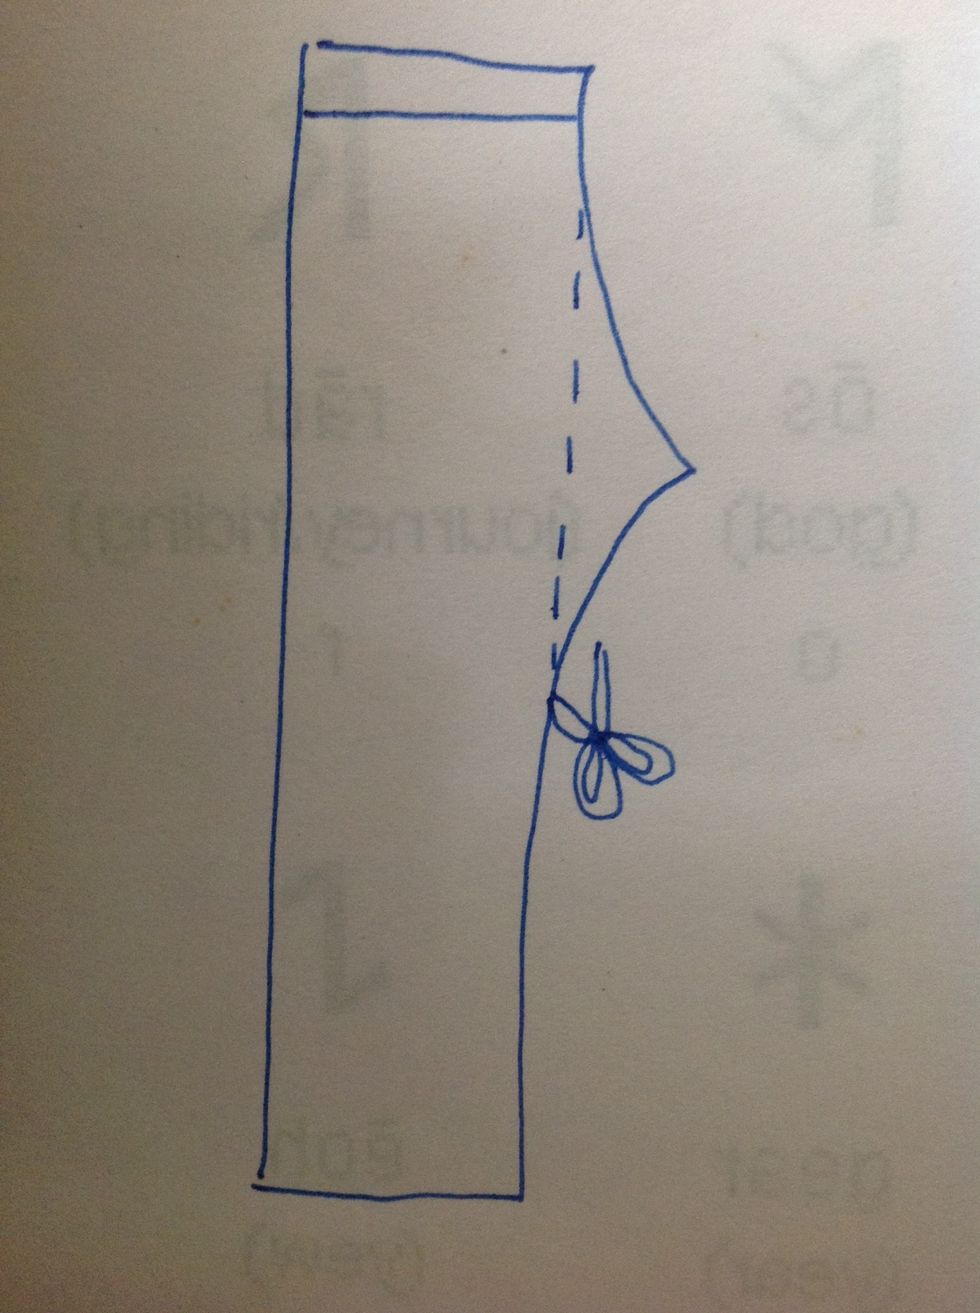
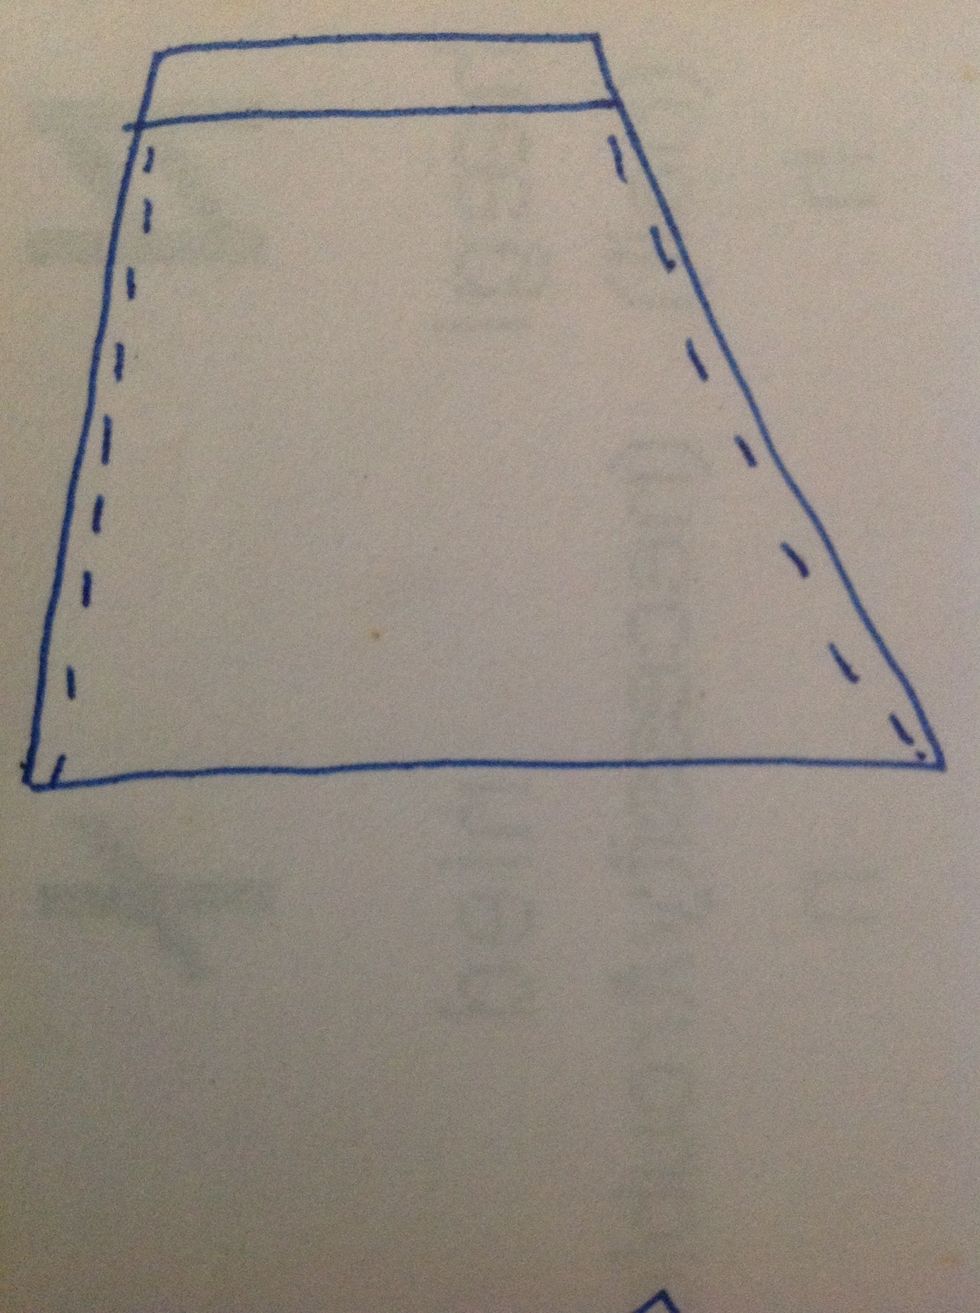
The dotted lines are what you need to open.
Fold the pants inside out. And from the fork you need to rip the stitches till the bottom. You just have to open the inner stitches. In the picture the two white lines on the left and right.
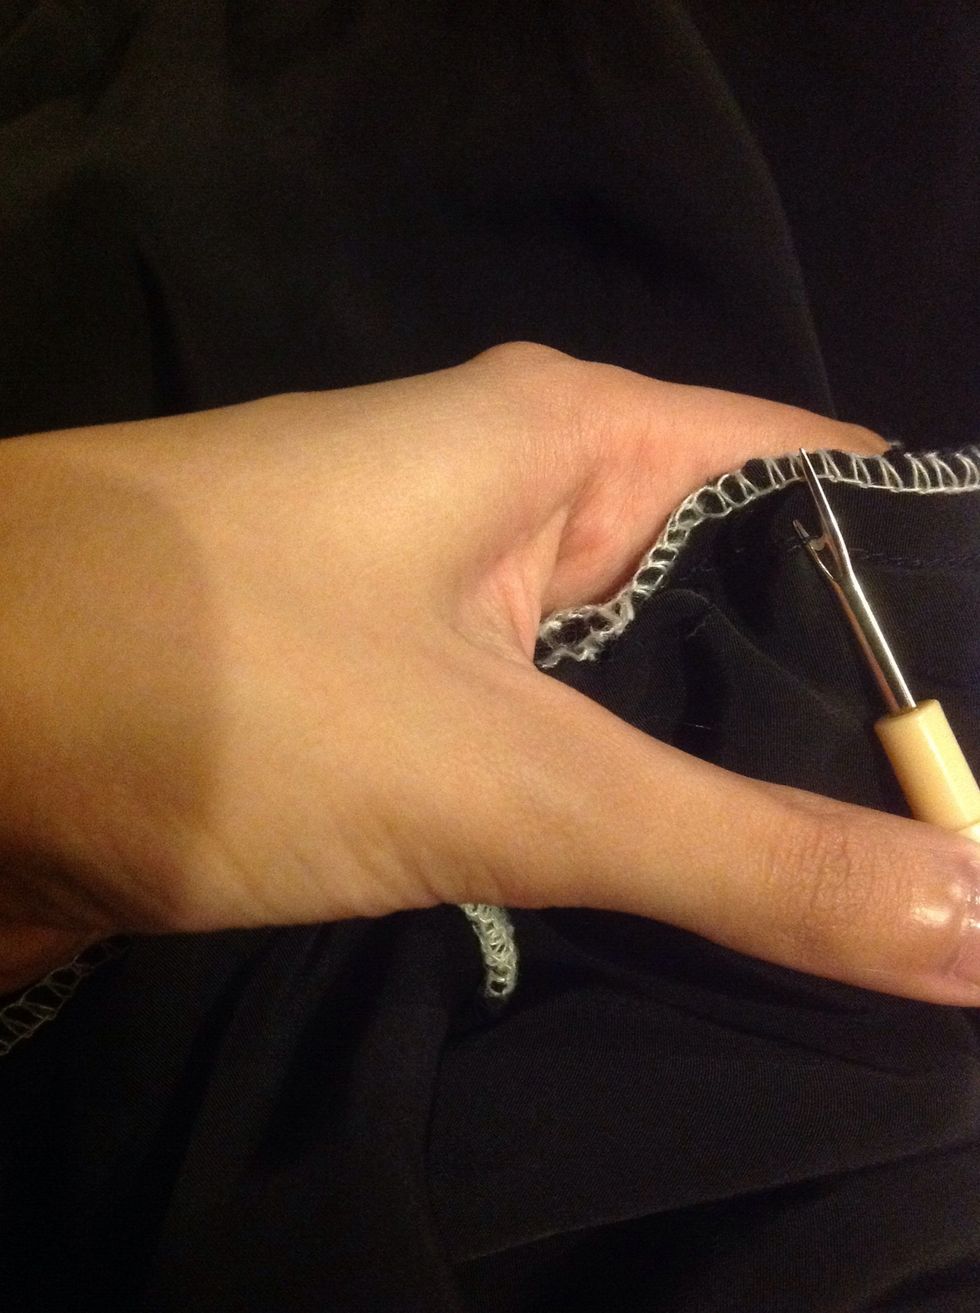
Start ripping the seam.
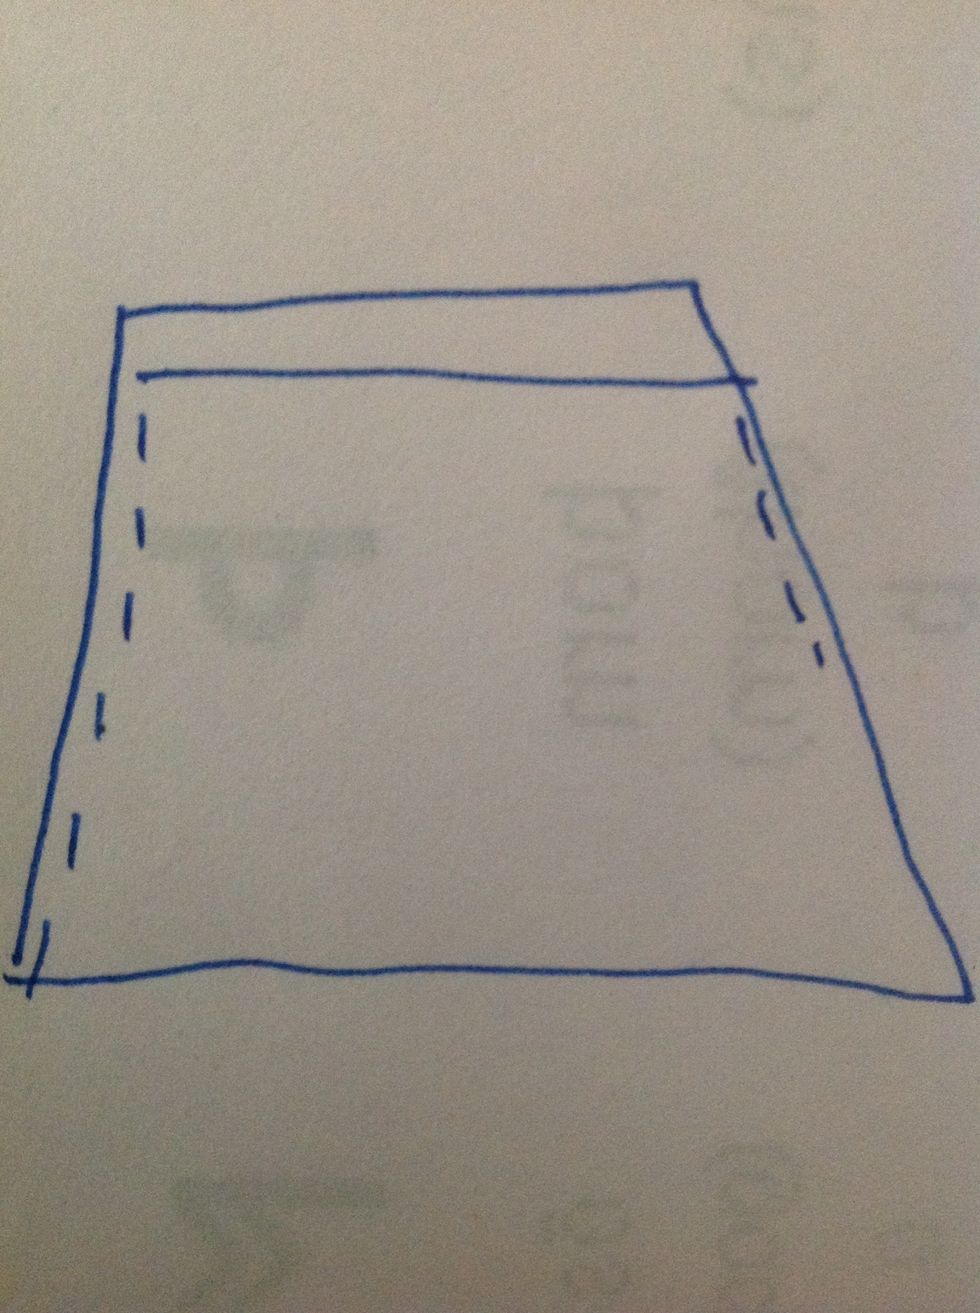
This is one leg opened, the left in the picture.
Open the other as well and then open the fork as well just the horizontal line in the picture.
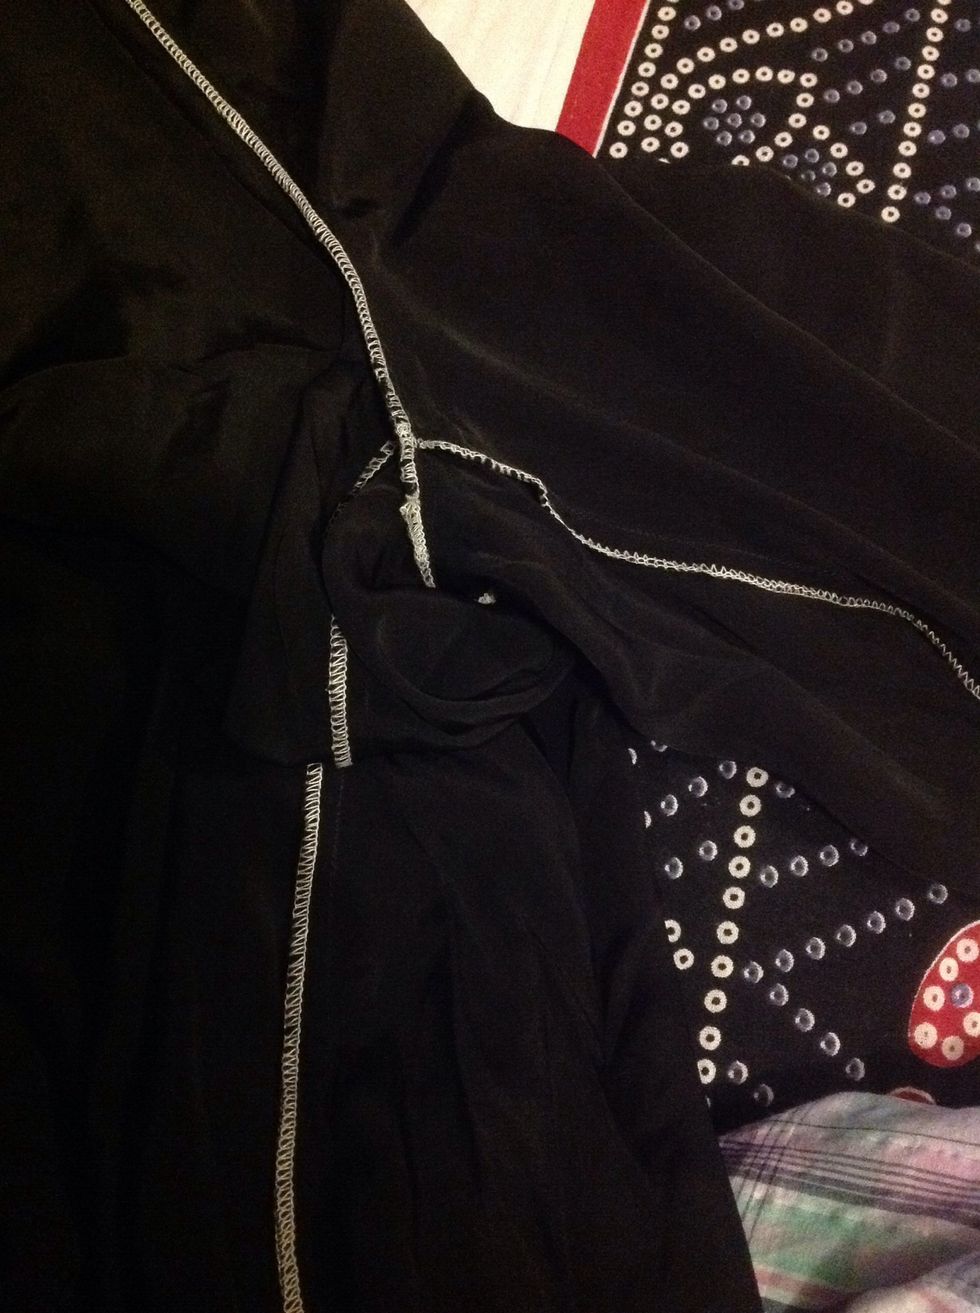
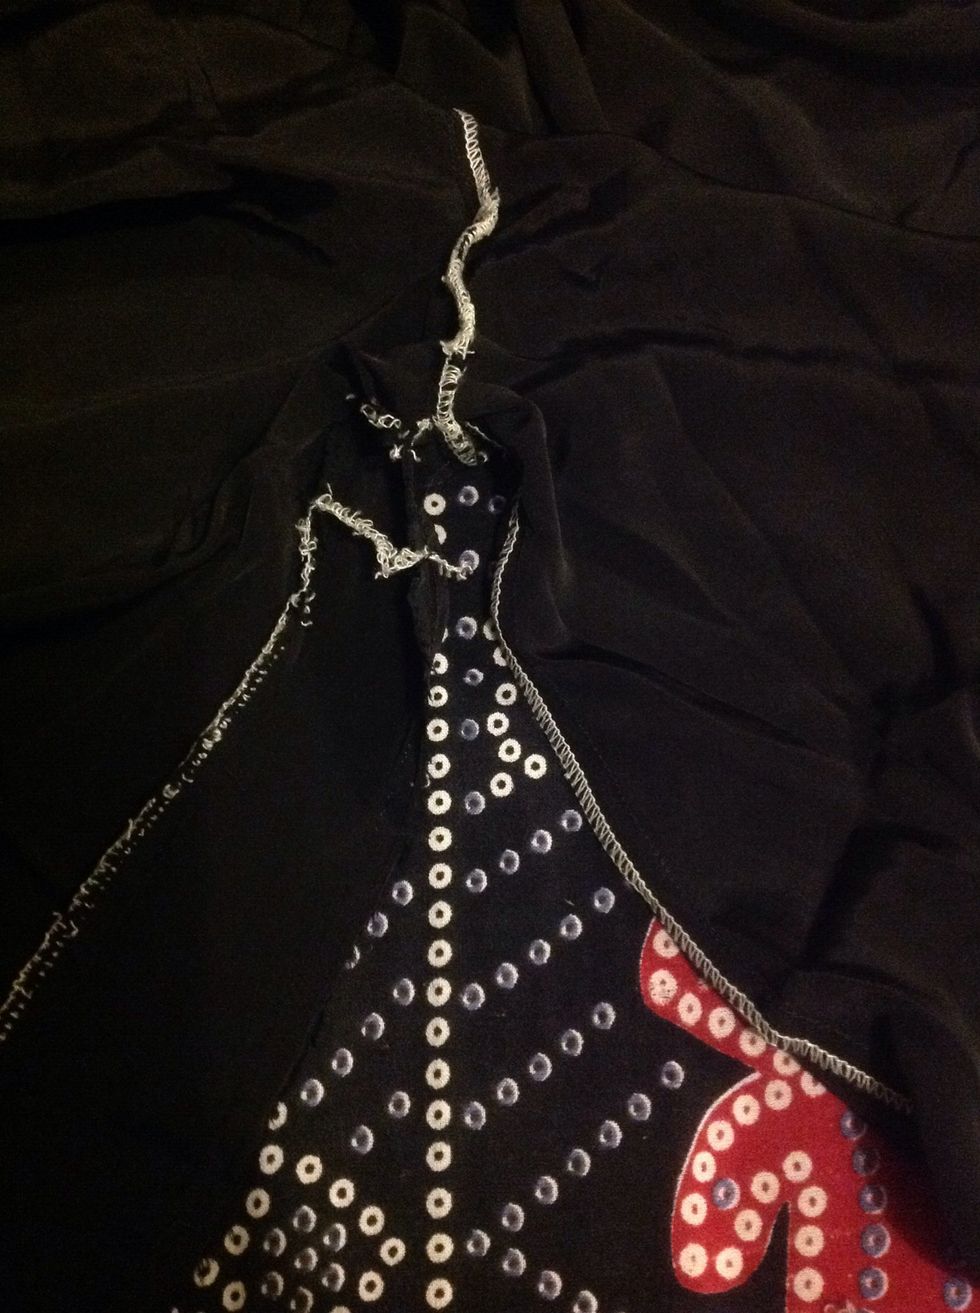
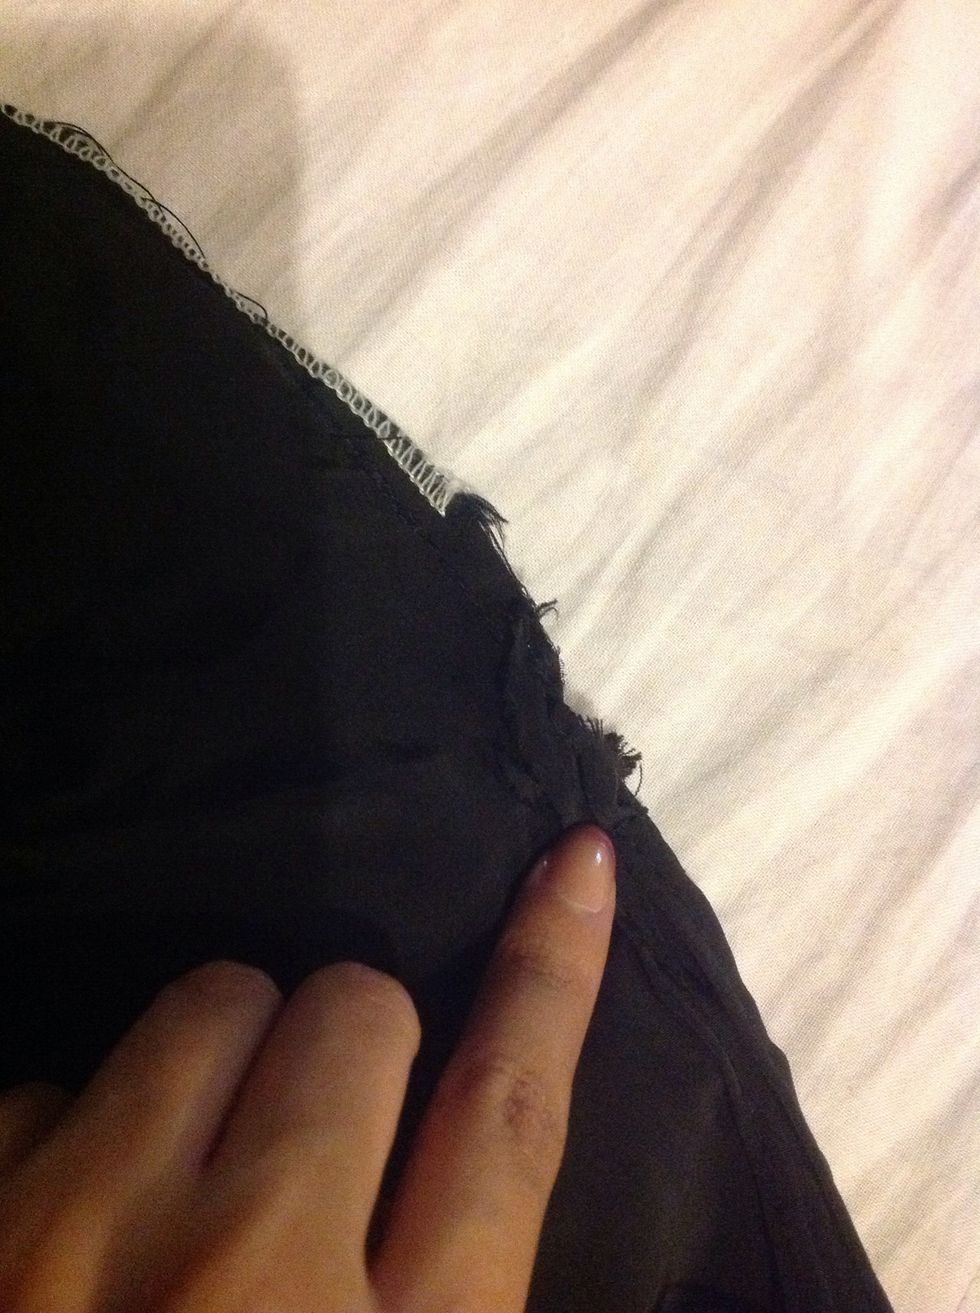
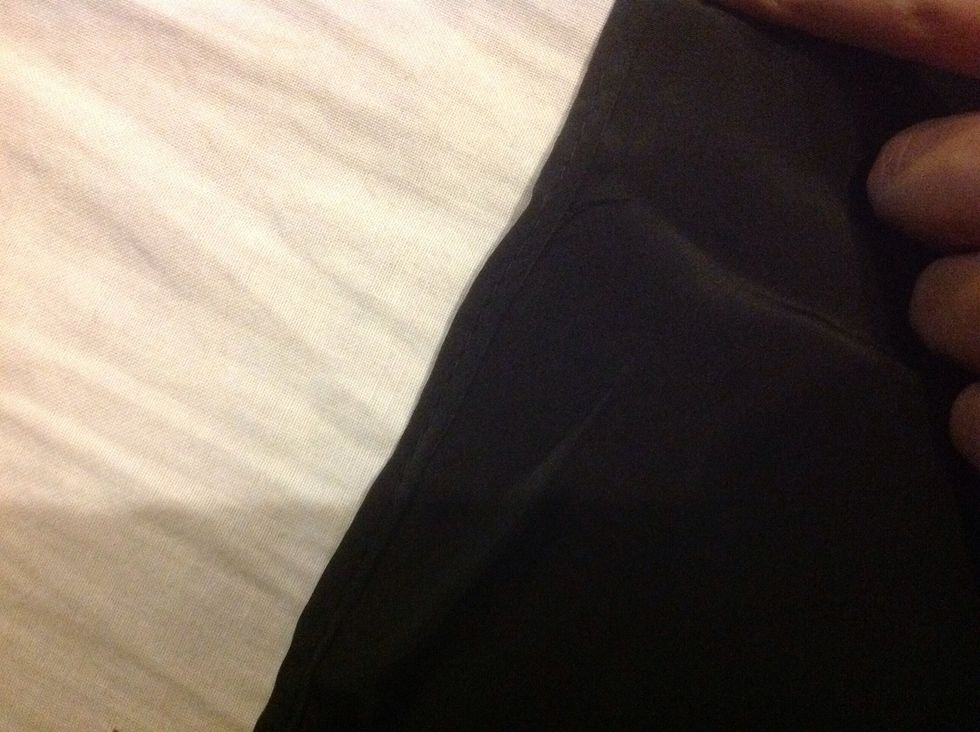
A closer look on the fork
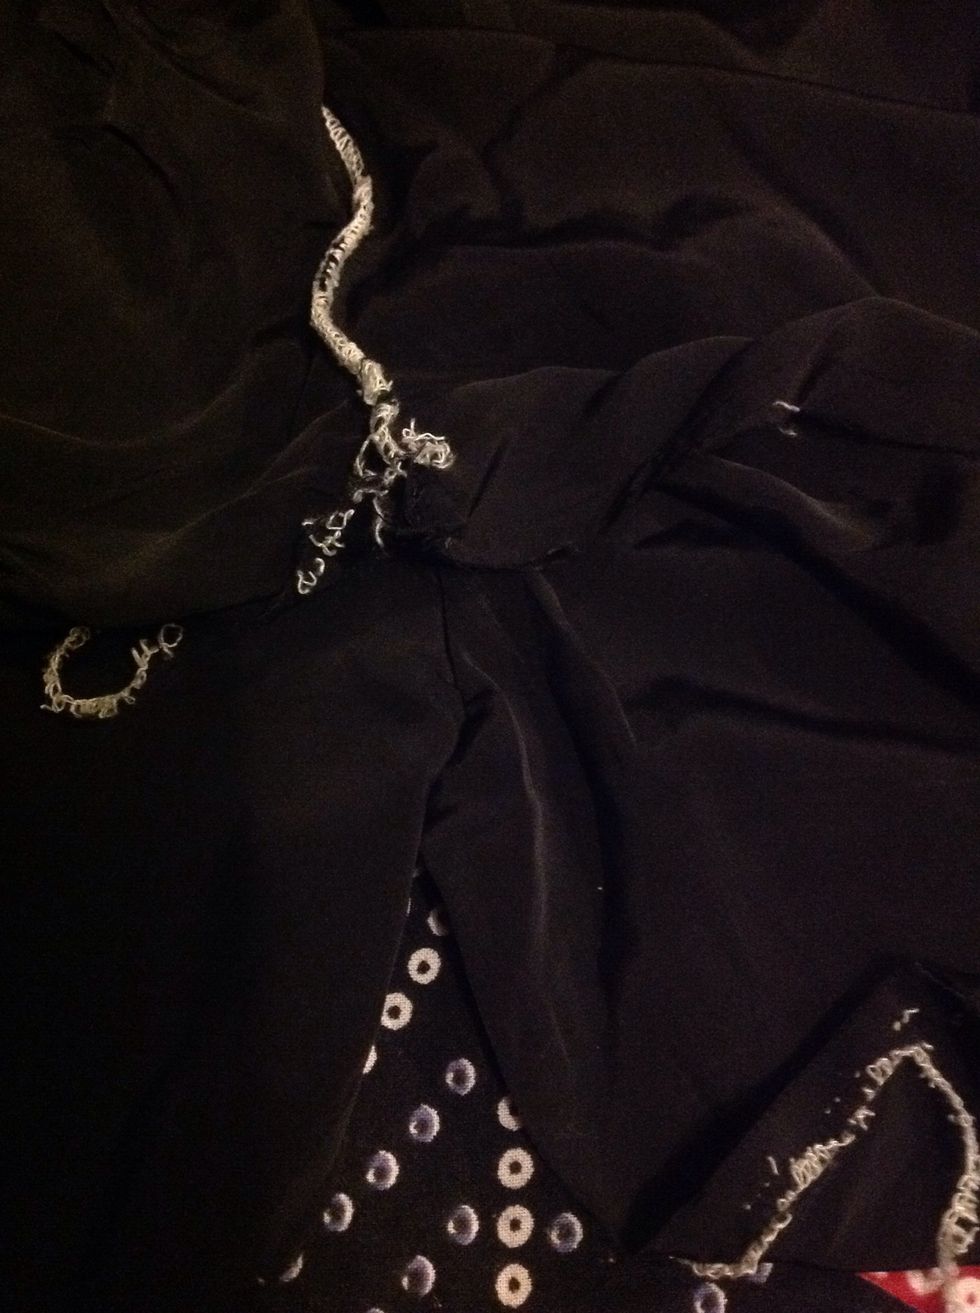
This is how it looks after the seams are opened. Do not open the fork stitch.

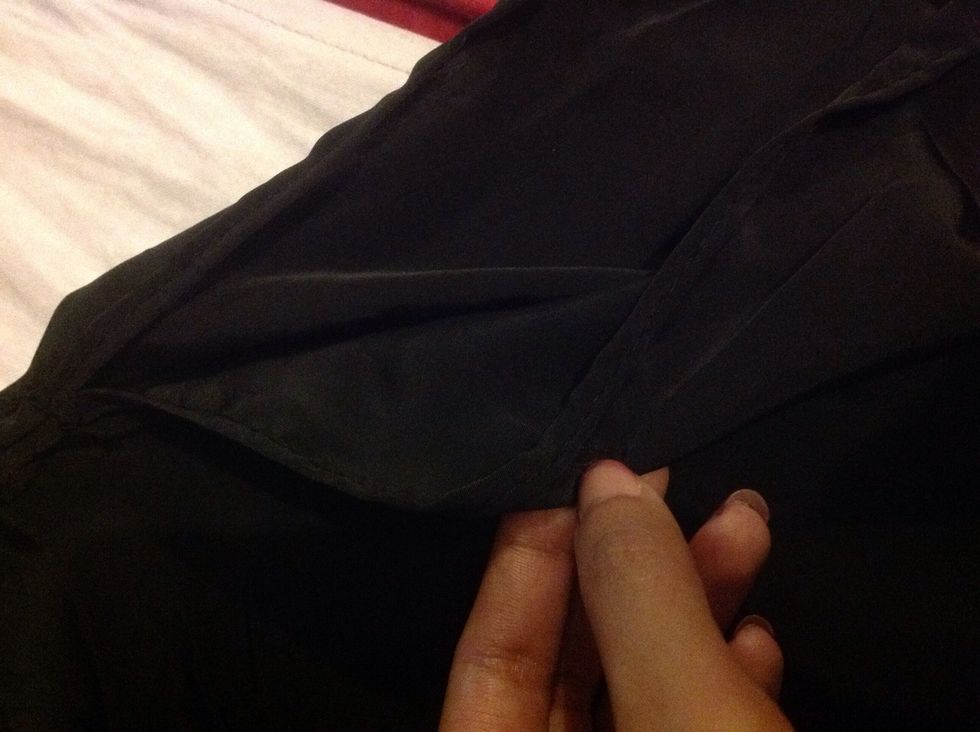
Another look of the two separated legs.
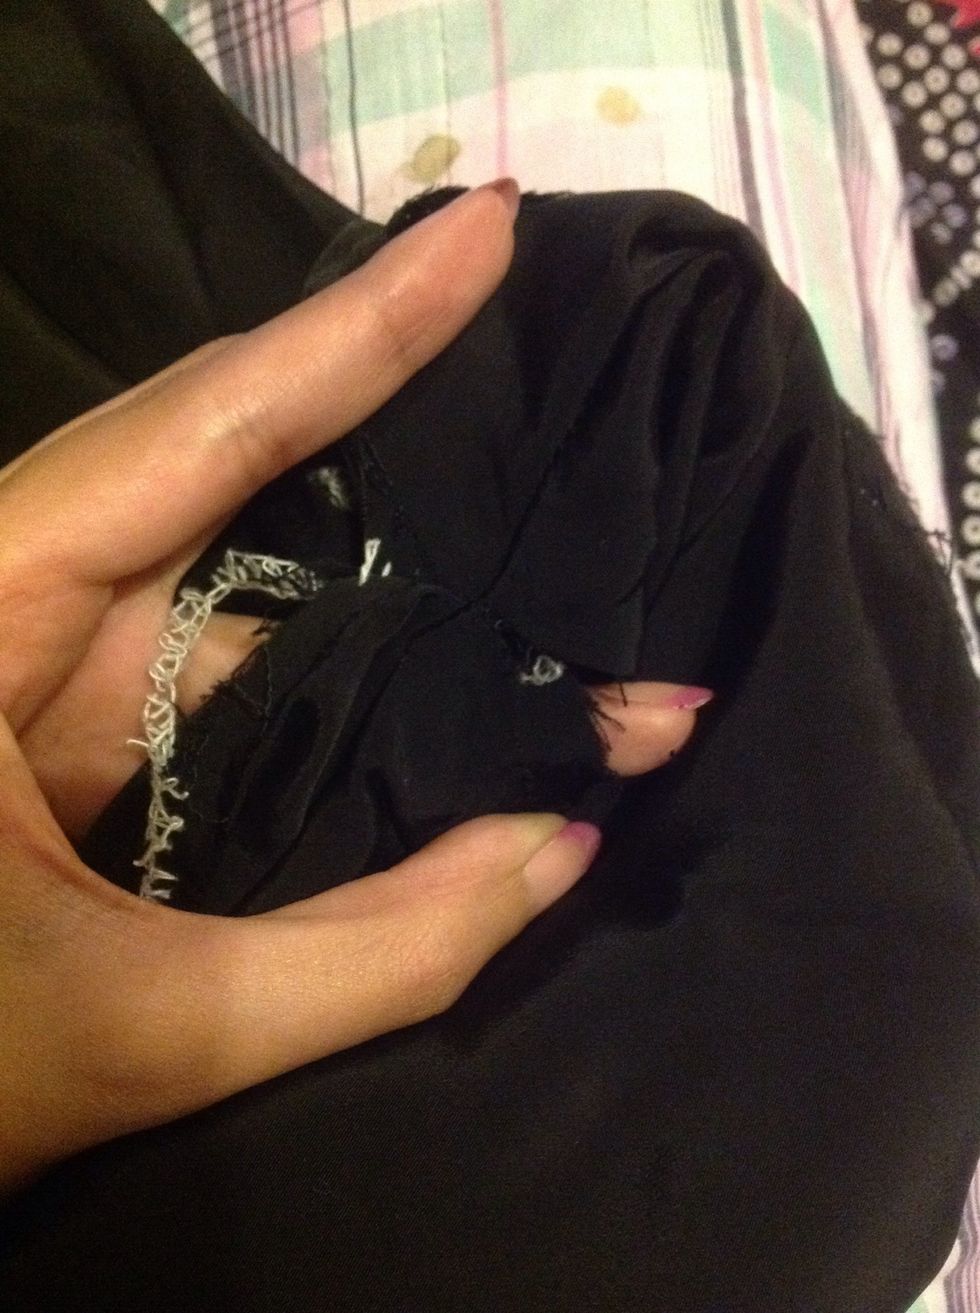
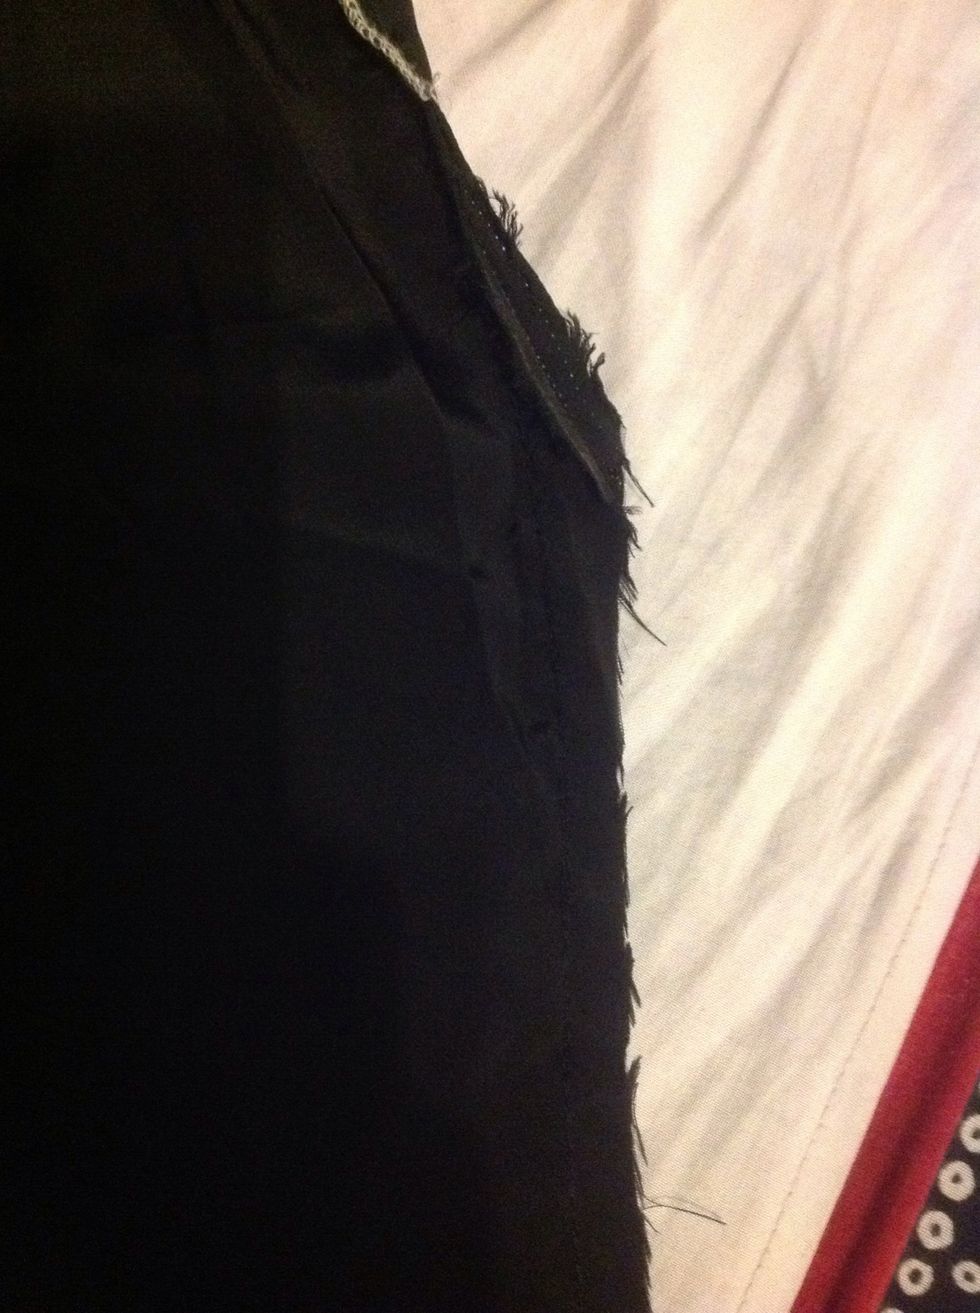
You will have this piece of cloth that stands in the middle at the fork, we will be cutting this off.
It will be a curved edge like this.
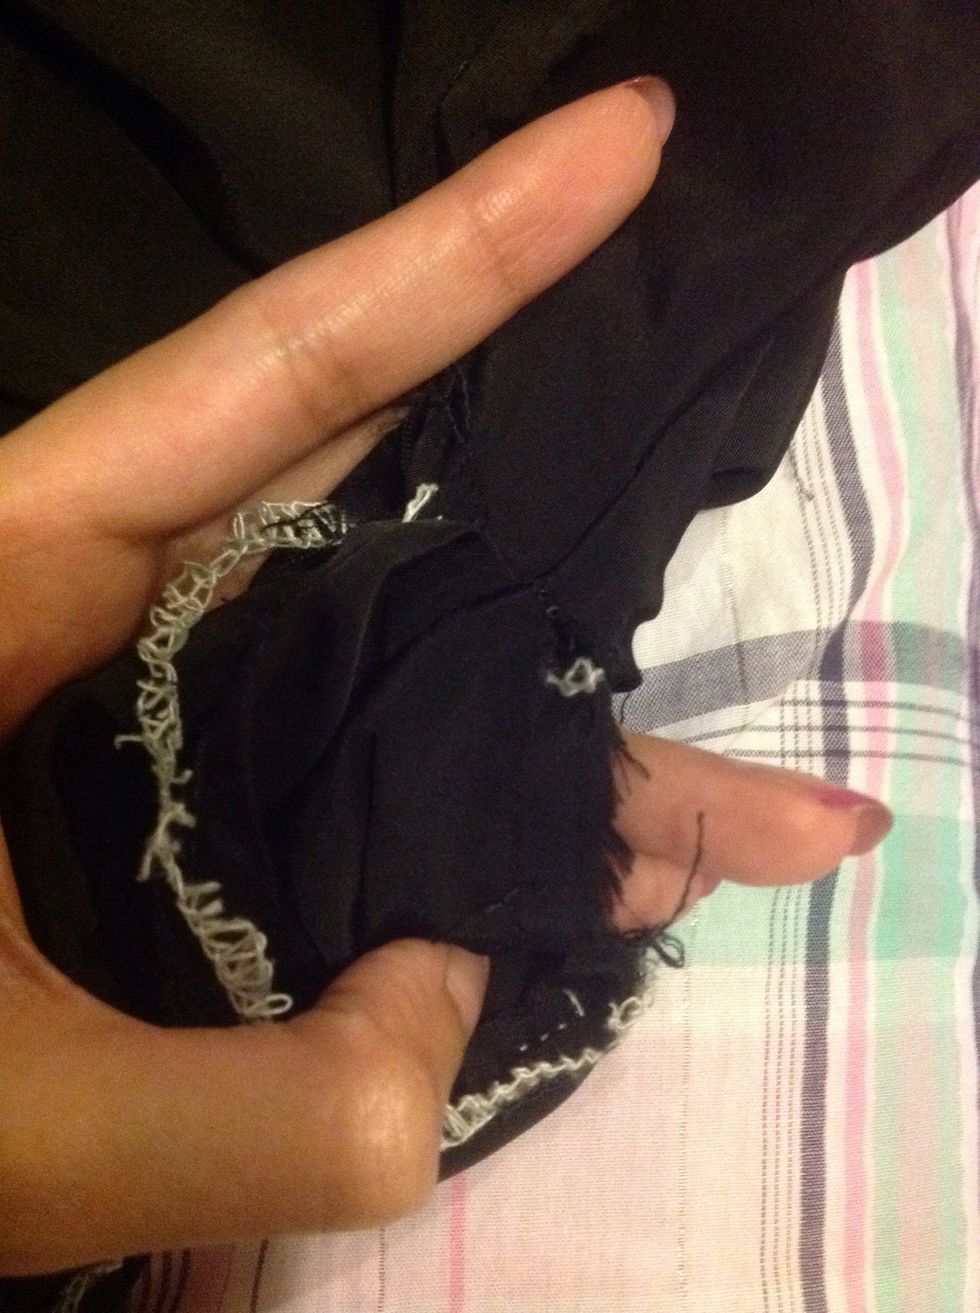
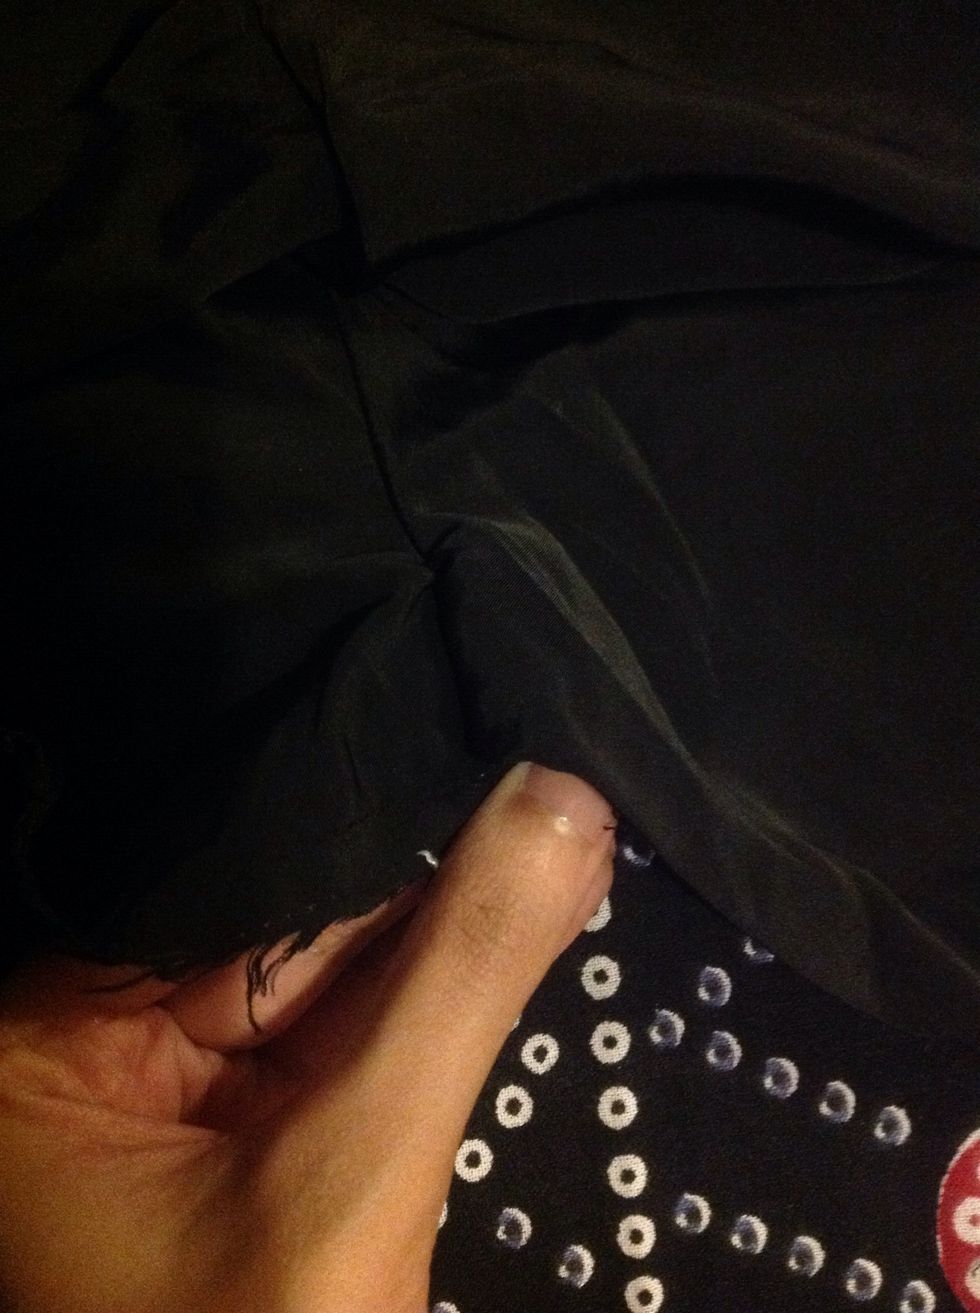
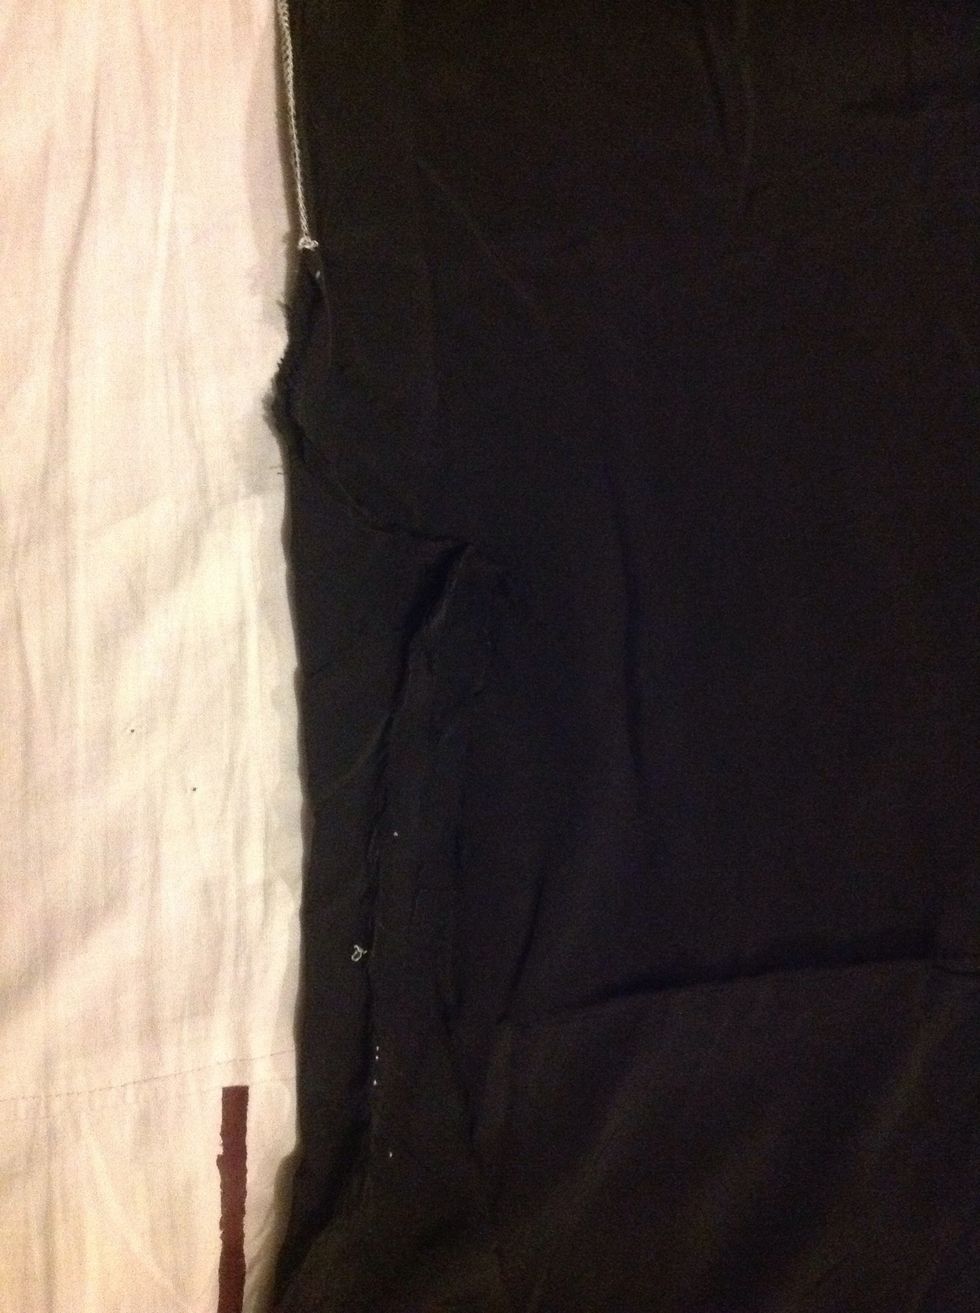
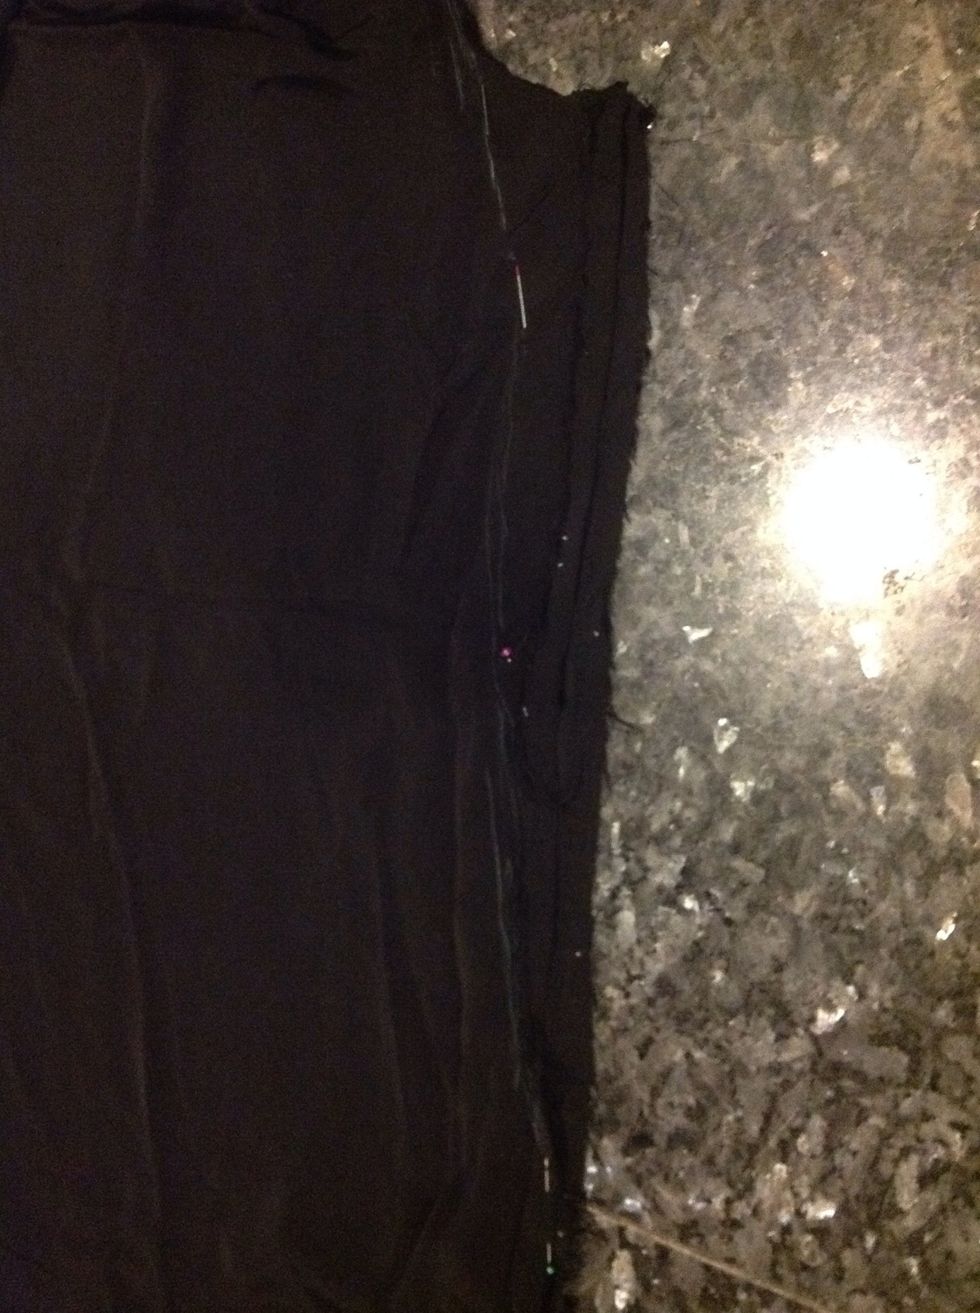
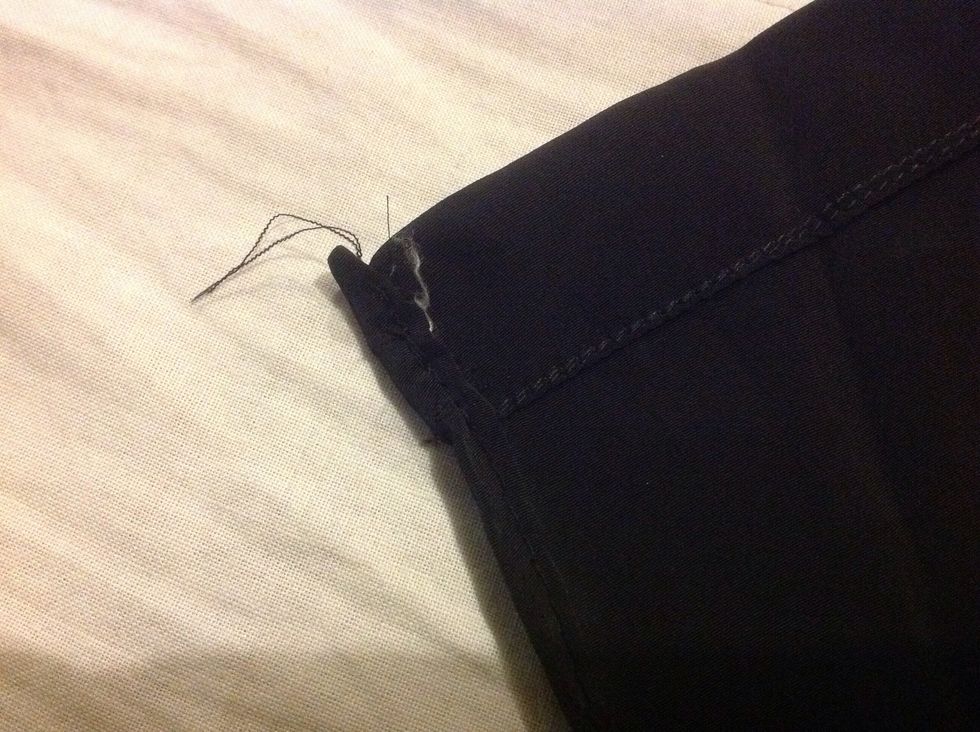
I have opened the fork stitches a little. Upto 5 inches. Basically I ripped the curved stitches and stopped ripping when I reached a straight line of stitches.
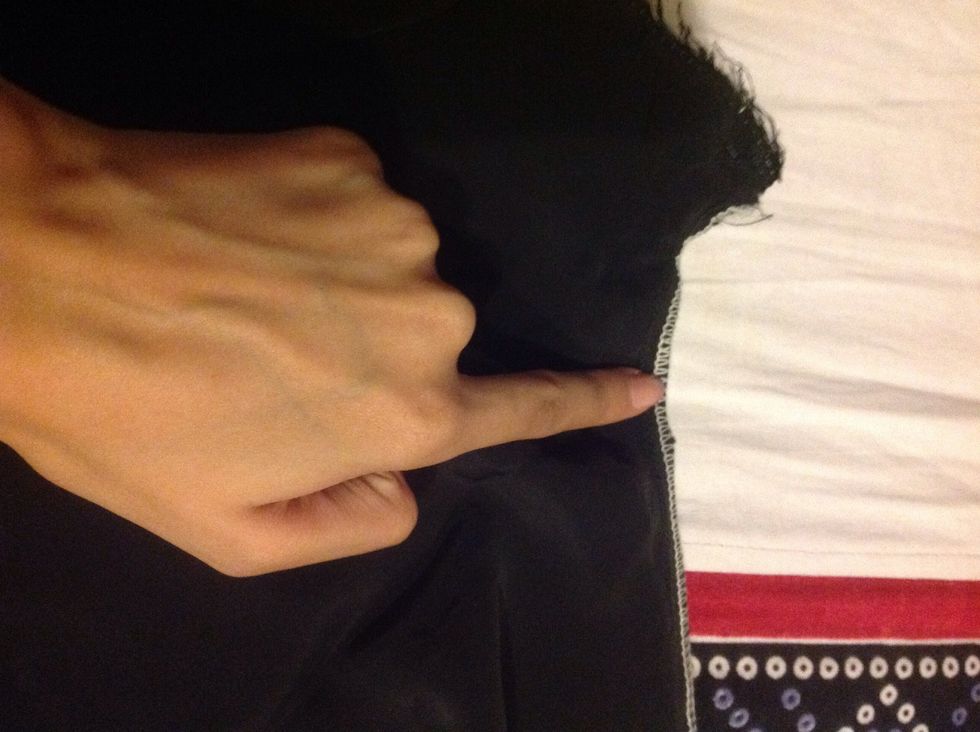
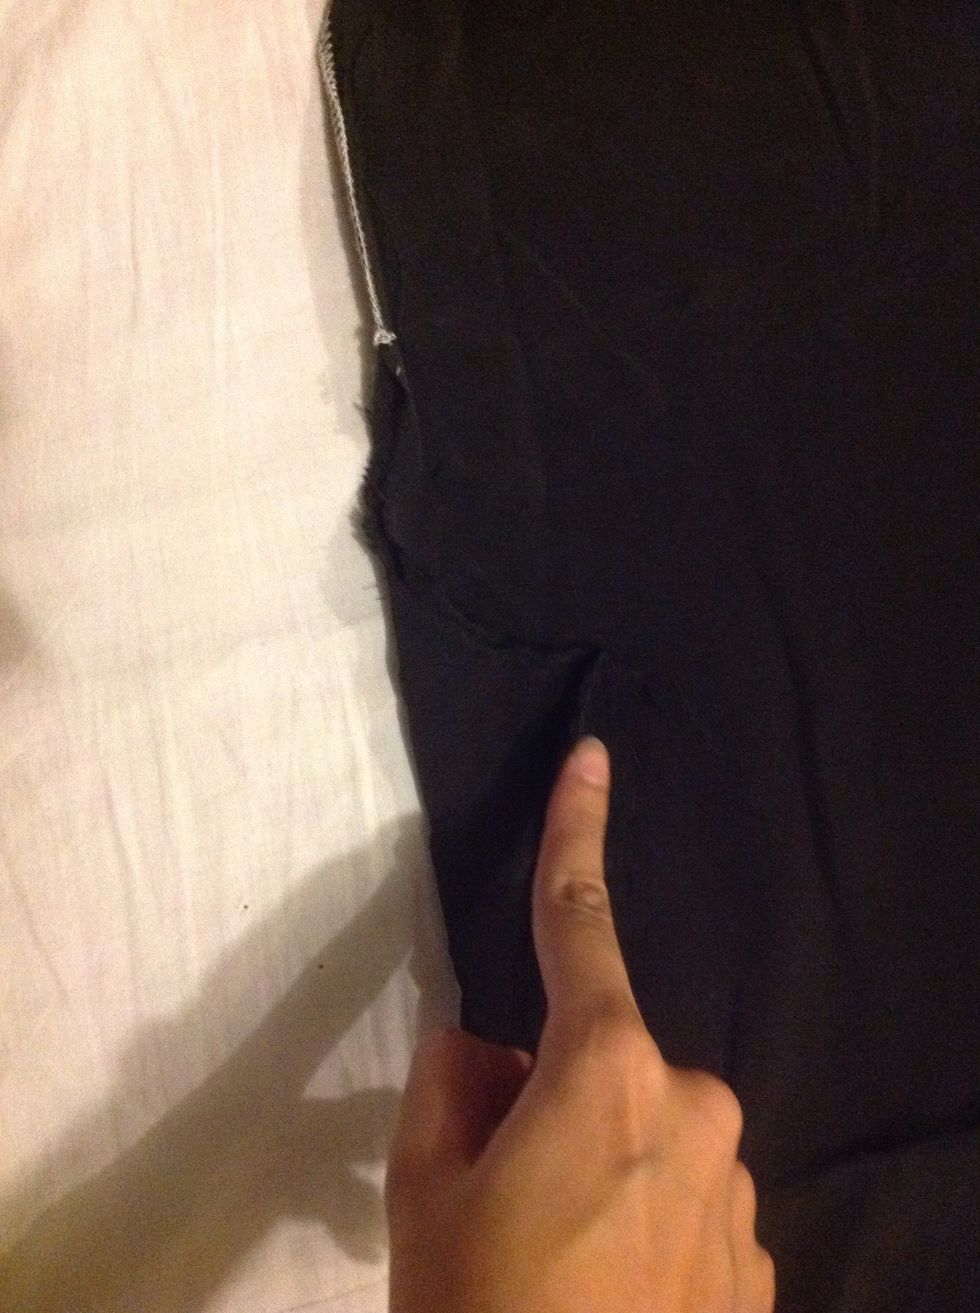
This is on the other side of the pant, you need to get rid of the curved stitches on this side too. My finger marks till where I wants open my stitch.
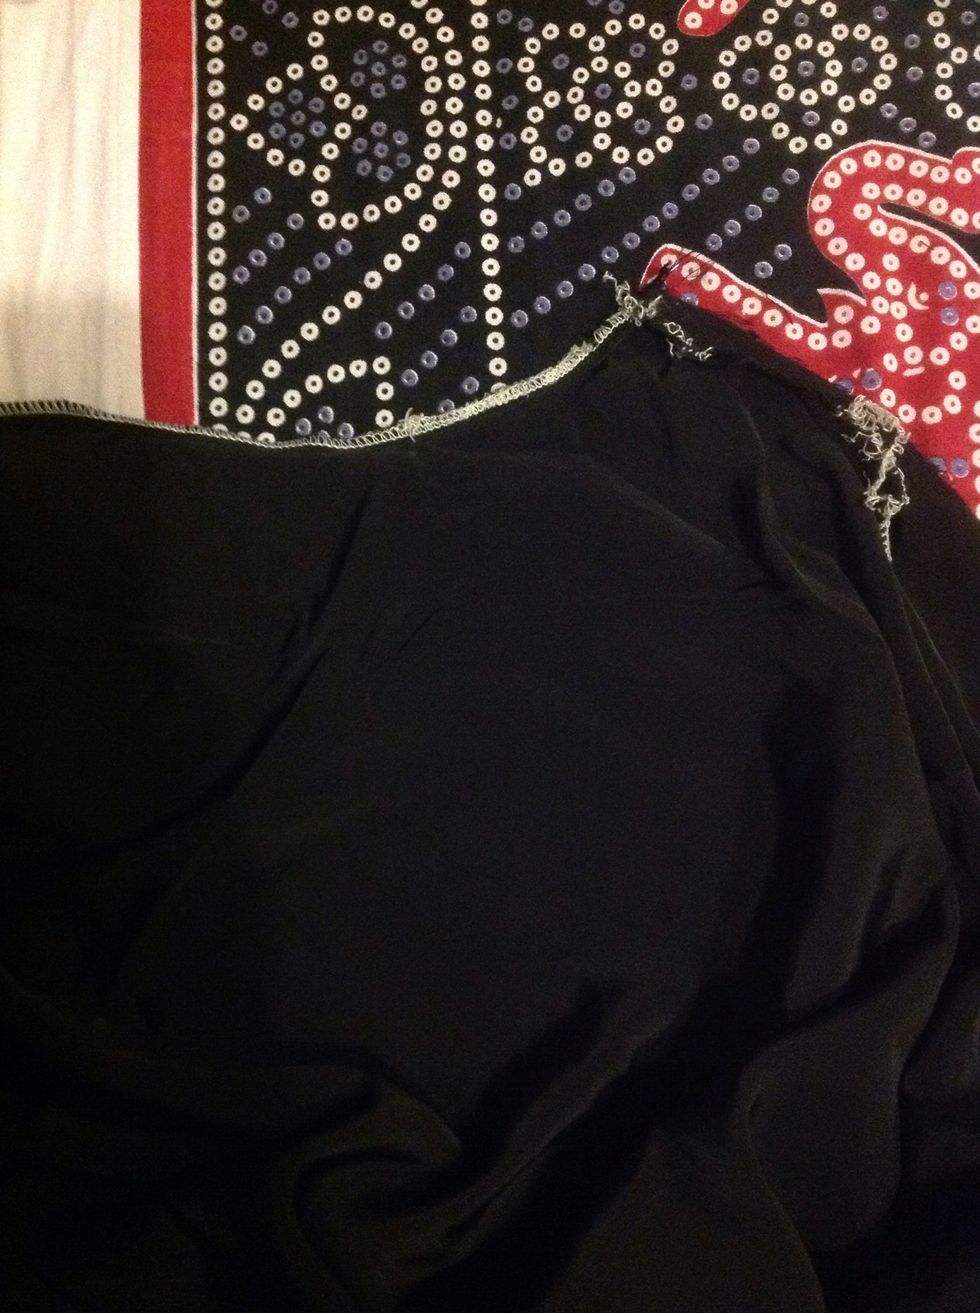
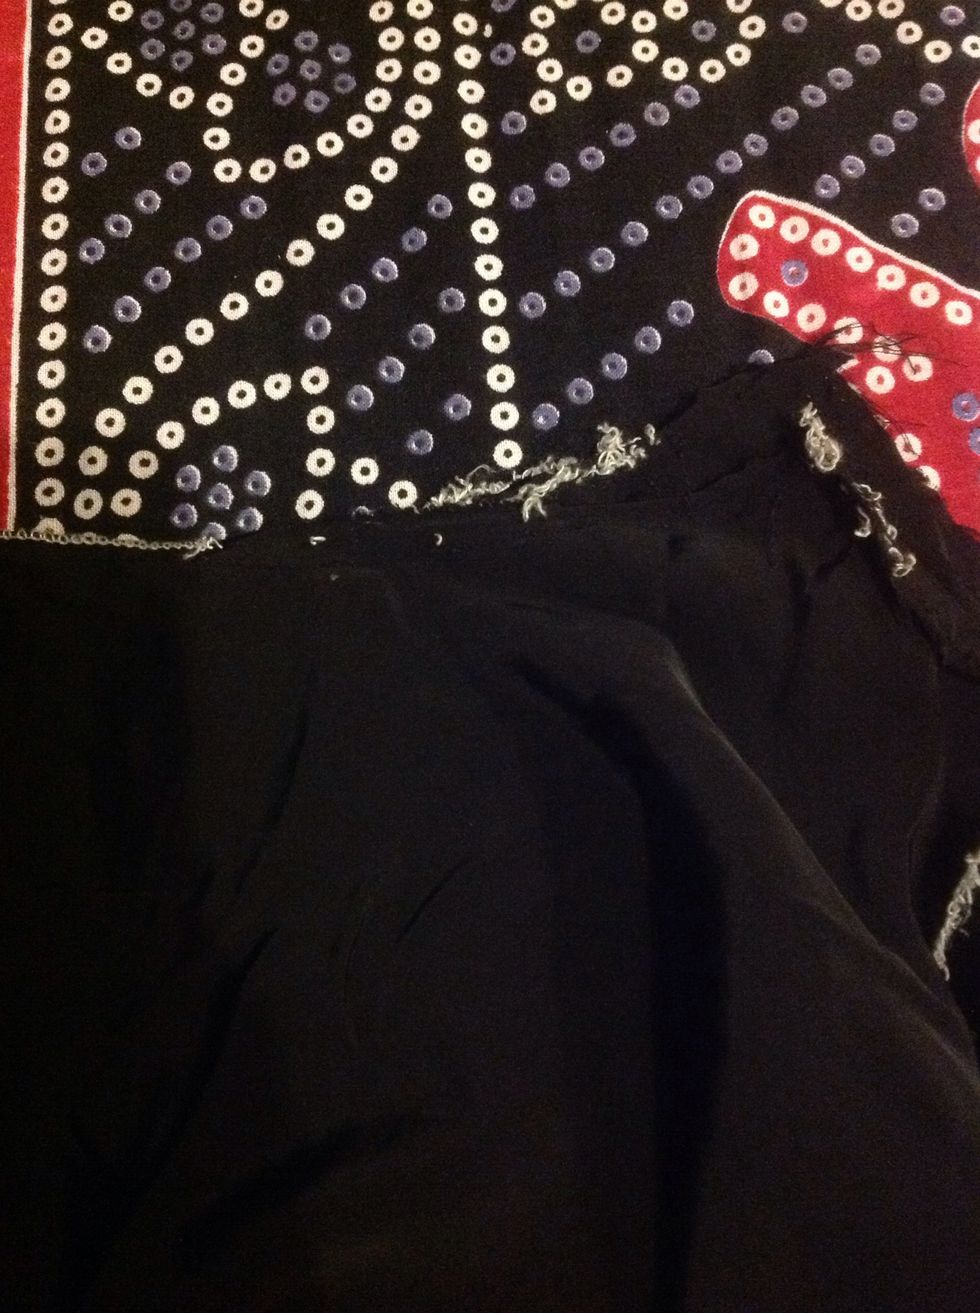
The dotted line are what you have opened, when you fold your pant you will have this extra triangular piece.
I have folded the extra triangular piece of cloth near the fork which we need to cut off.
Fold it in such a way so your side looks straight.
I have marked it with chalk and pins.
Cut it off, so you have a straight side to stitch.

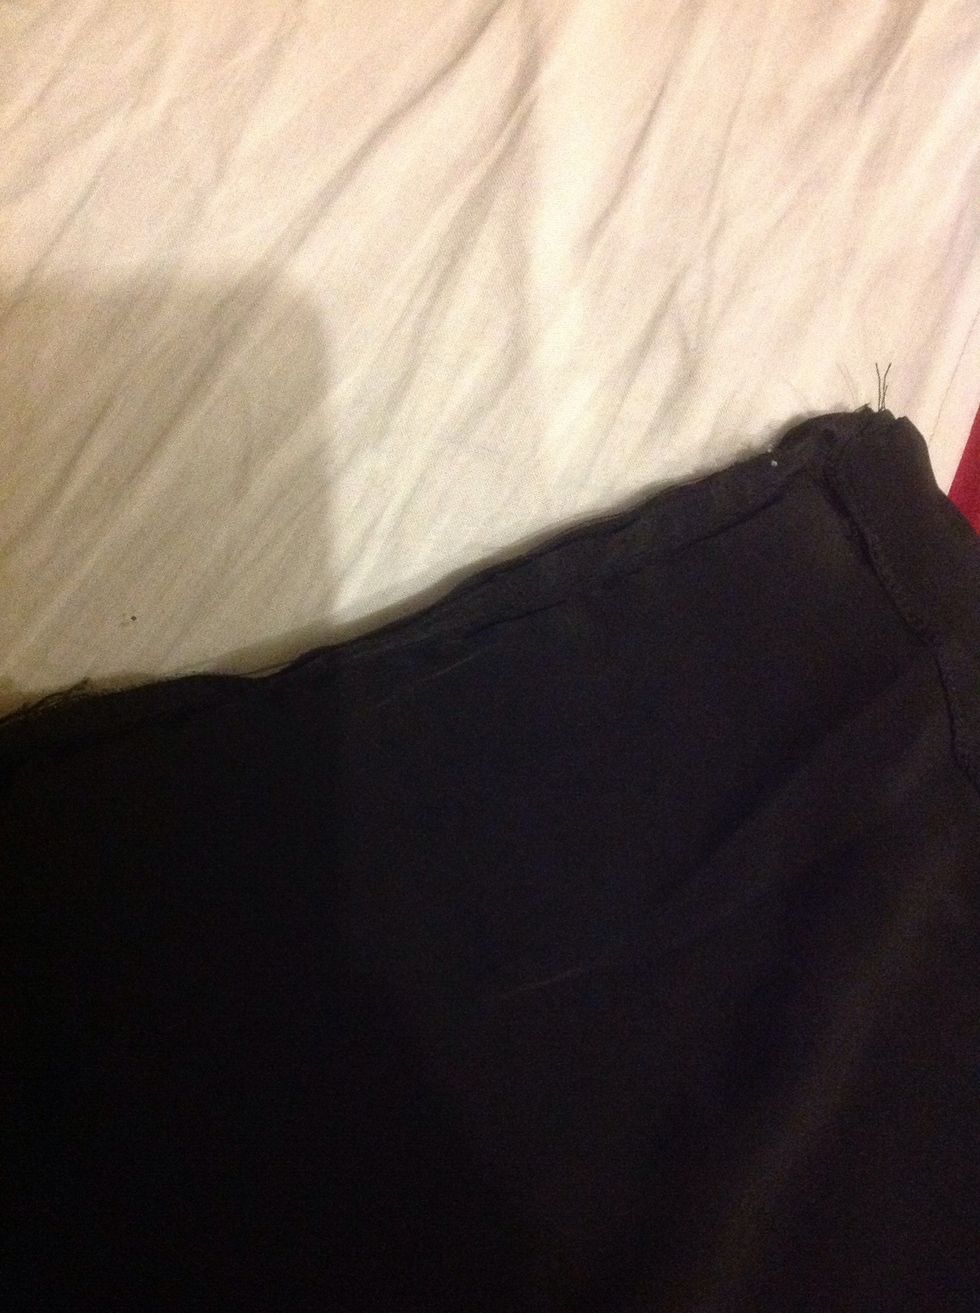
Should look like this after cutting off.
I cut that triangular piece on both the sides. And stitched from top to bottom.
This is the lower end of the skirt.
Line up the opposite opened sides so it looks something like this. And stitch it on the dotted lines.
But since I wanted a slit, I stitch one side entirely and the other I just stitch a little, till mid thigh.
On the other opened side, I wanted to keep a slit, so I decided to stitch only till where I have kept my finger.
And for the rest of the open side I hemmed it.
Fold it in twice and hem.
A closer look of the slit at the end.
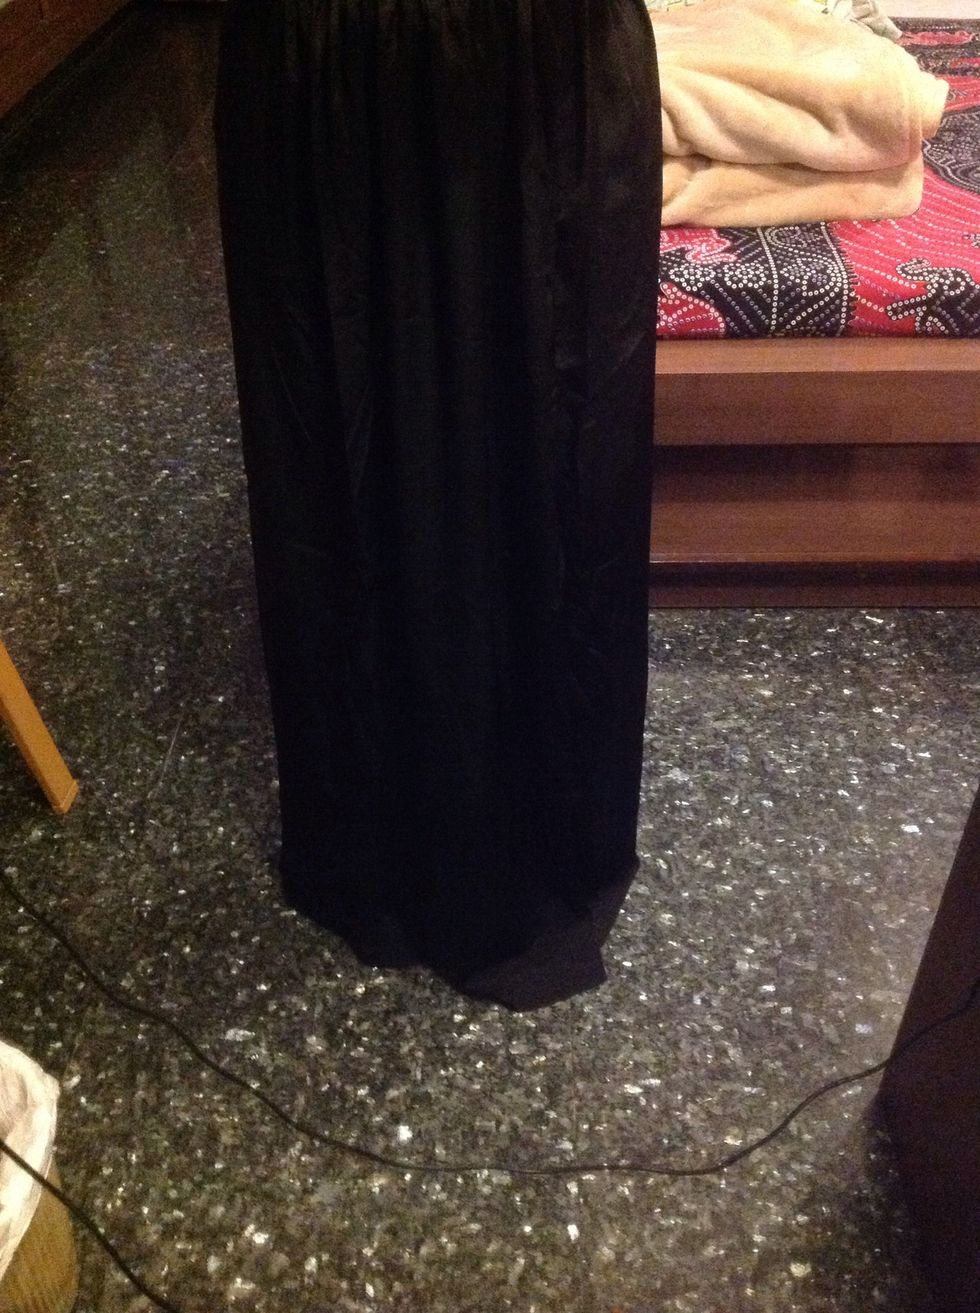
This is the skirt.

You can place the slit anywhere, on either sides or on either thigh.