The Conversation (0)
Sign Up

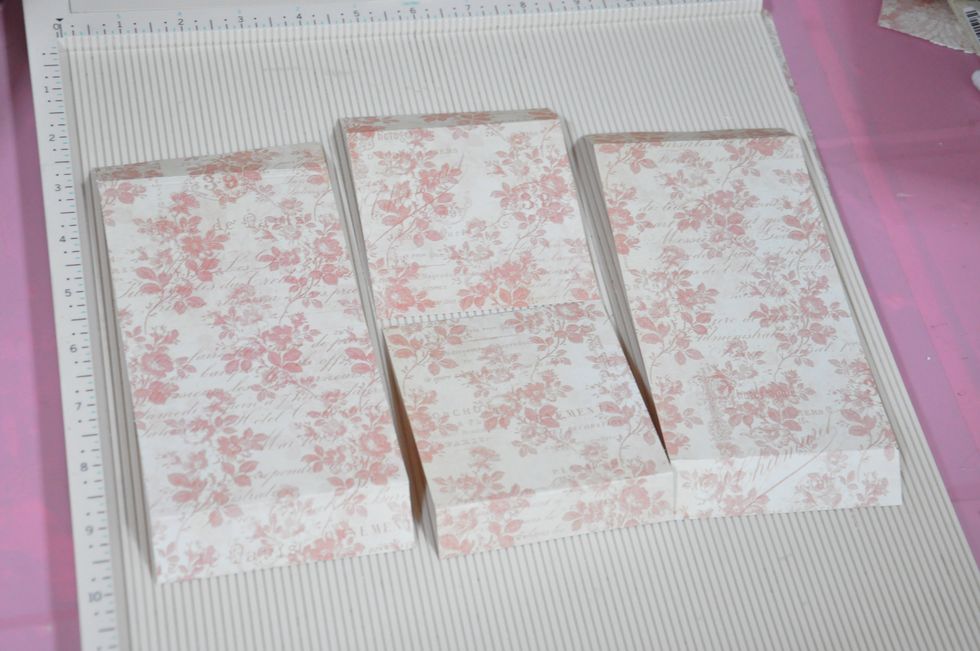
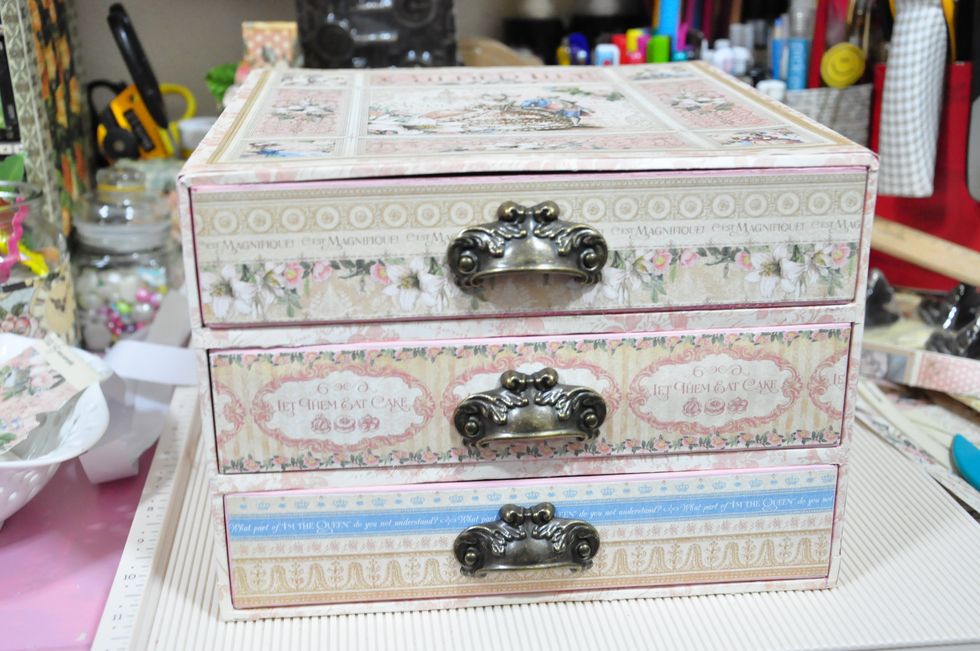
Adhere the three boxes as seen in the image. Cut strips to cover the edges.

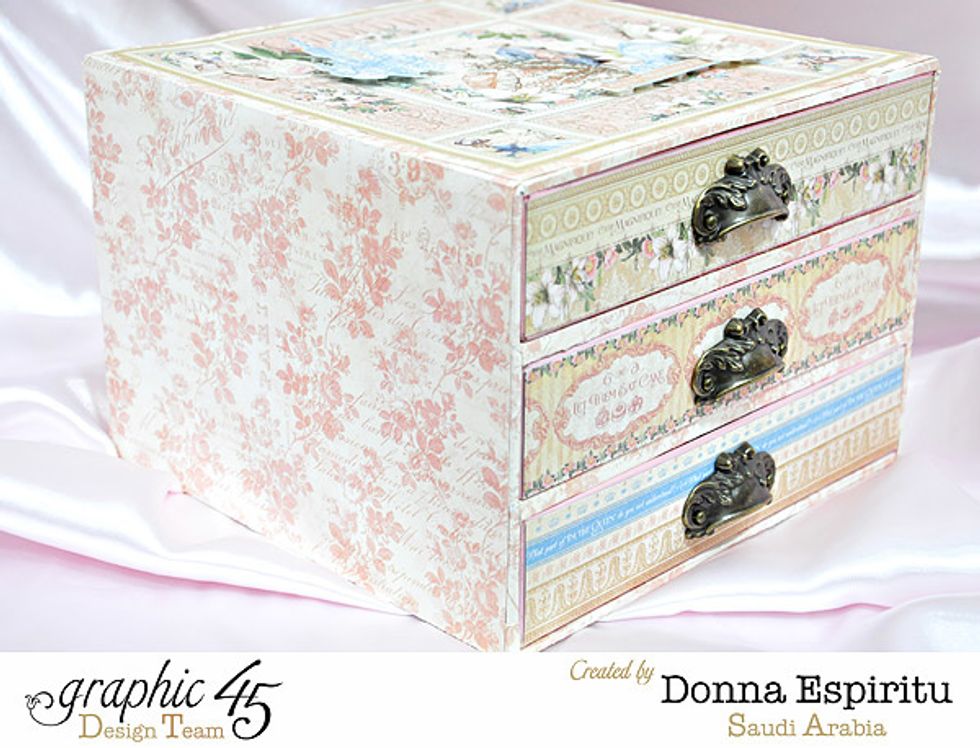
Cut 2 pcs of papers to size for the side covers
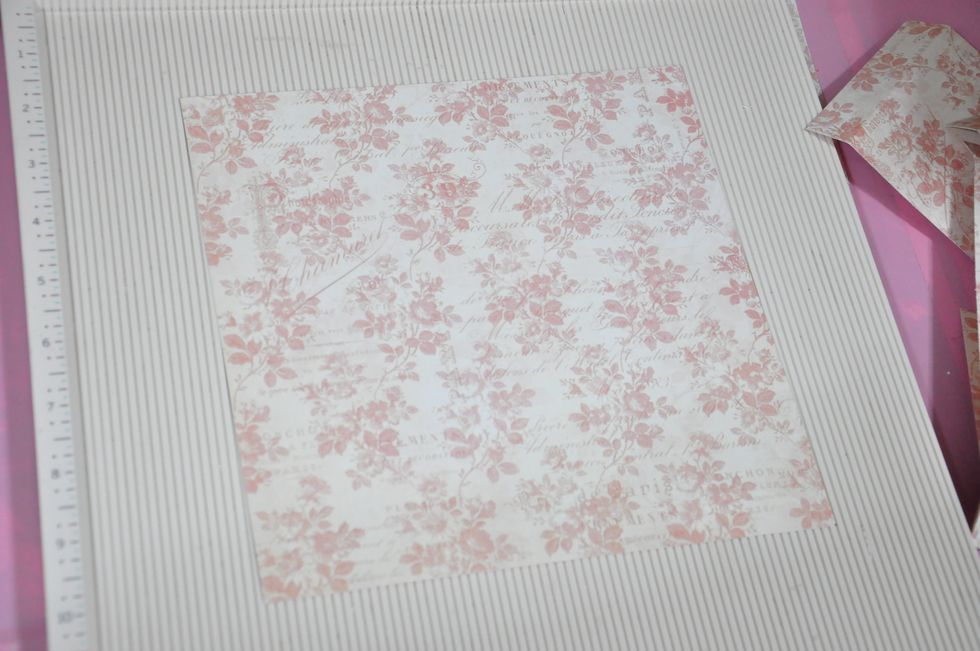
This is for the back cover
I only have several pieces of this particular paper design so I had to maximize them for my project
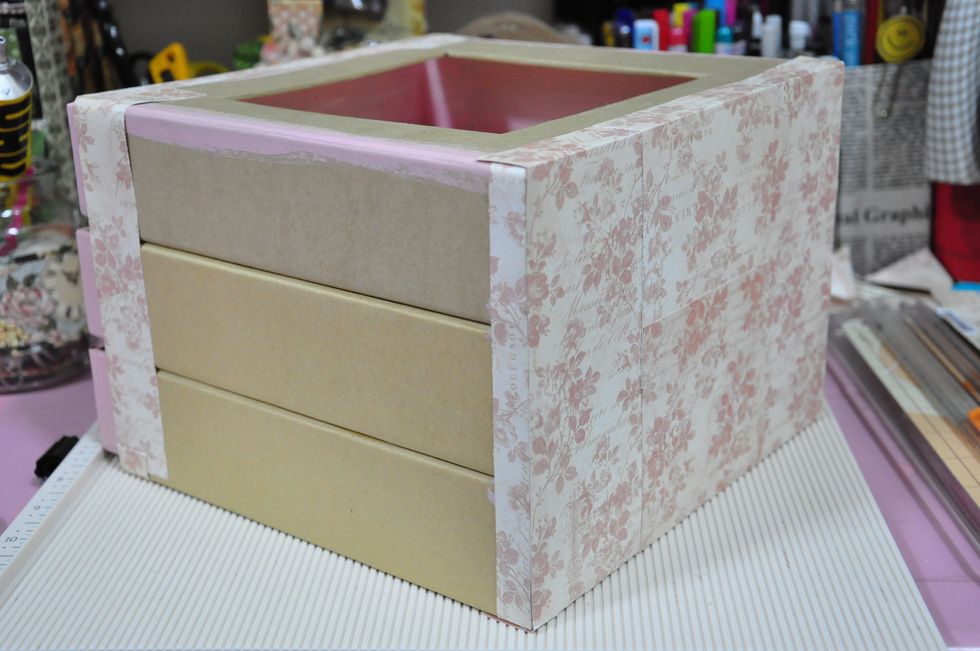
I adhered the papers for the back side first. Overlapping the last one in the middle
Then the side covers

Paint the edges of the "drawers". These will be covered later on.
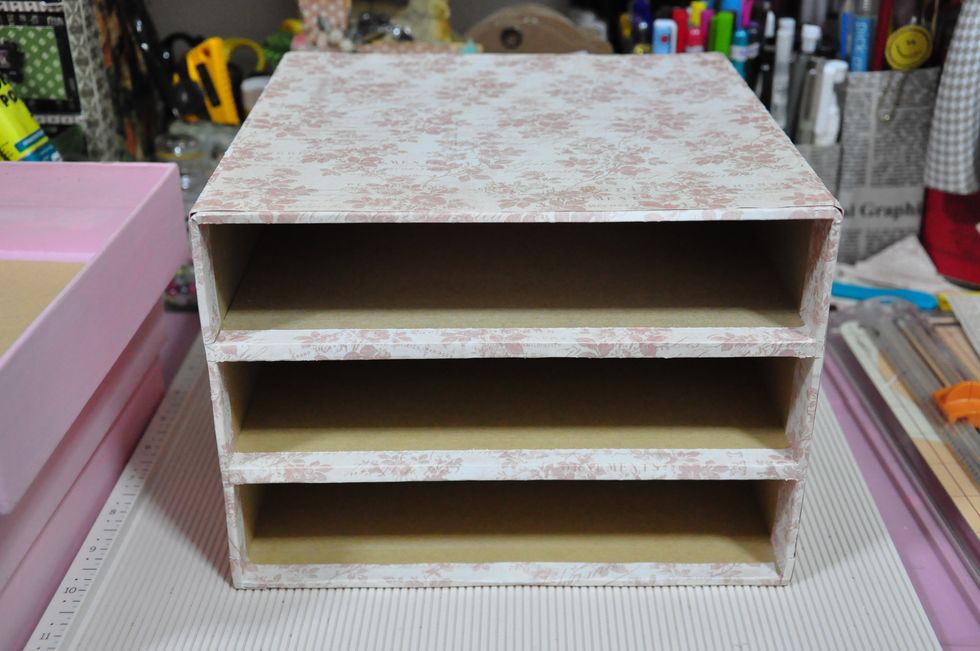
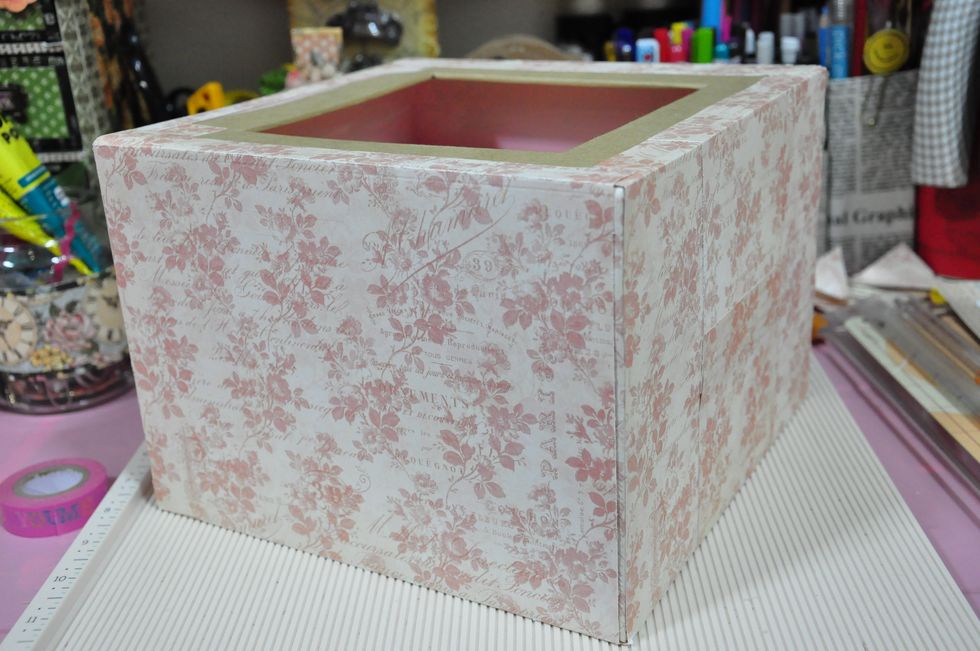
This is how the covered box in whole looks like

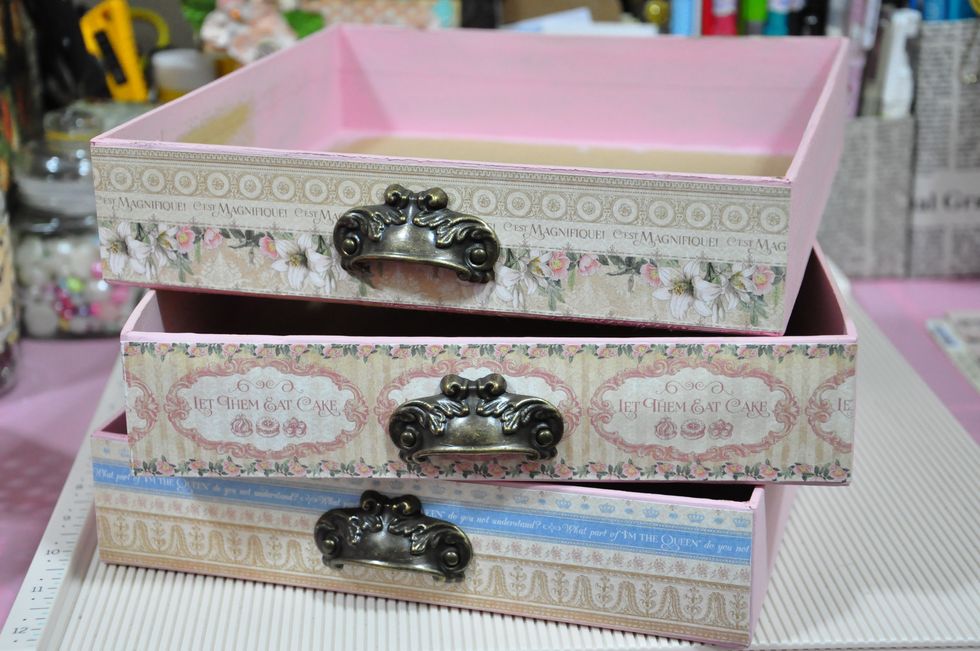
Cover the front of the drawers
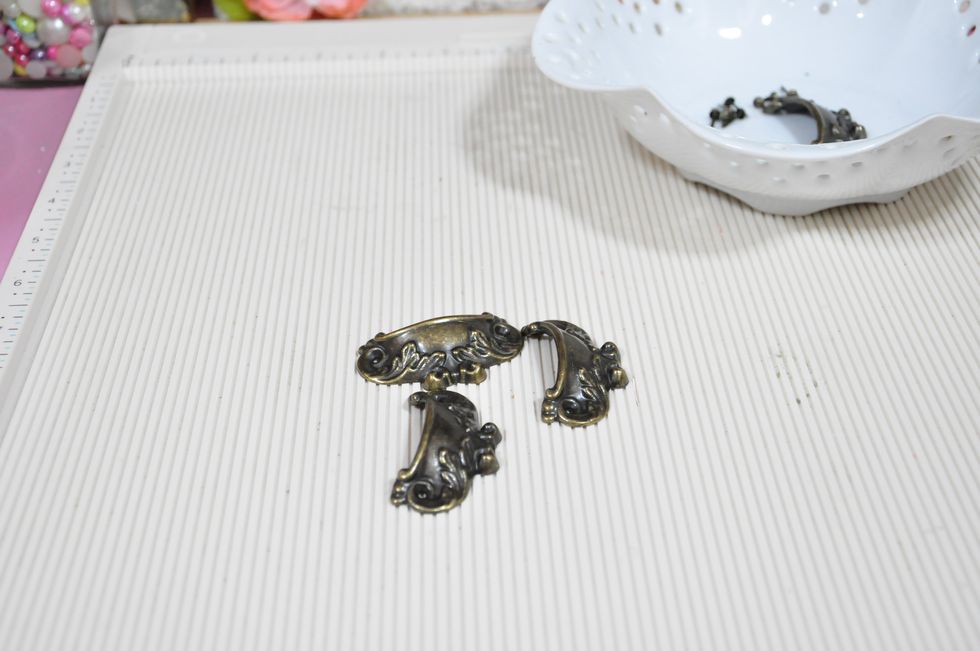
Love using these staples from Graphic 45
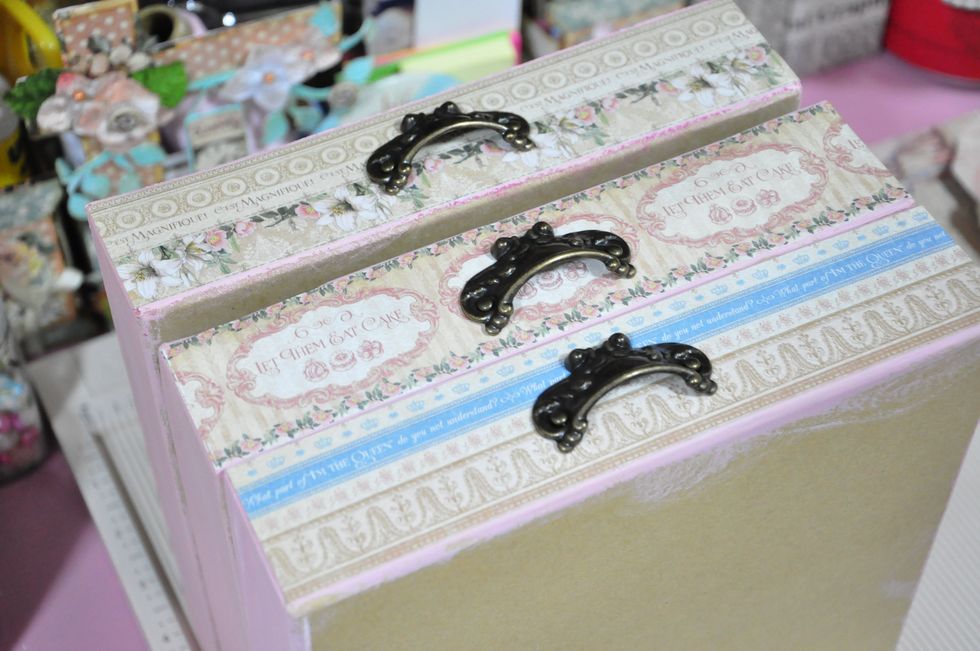
Use hole piercer to set the pulls in place
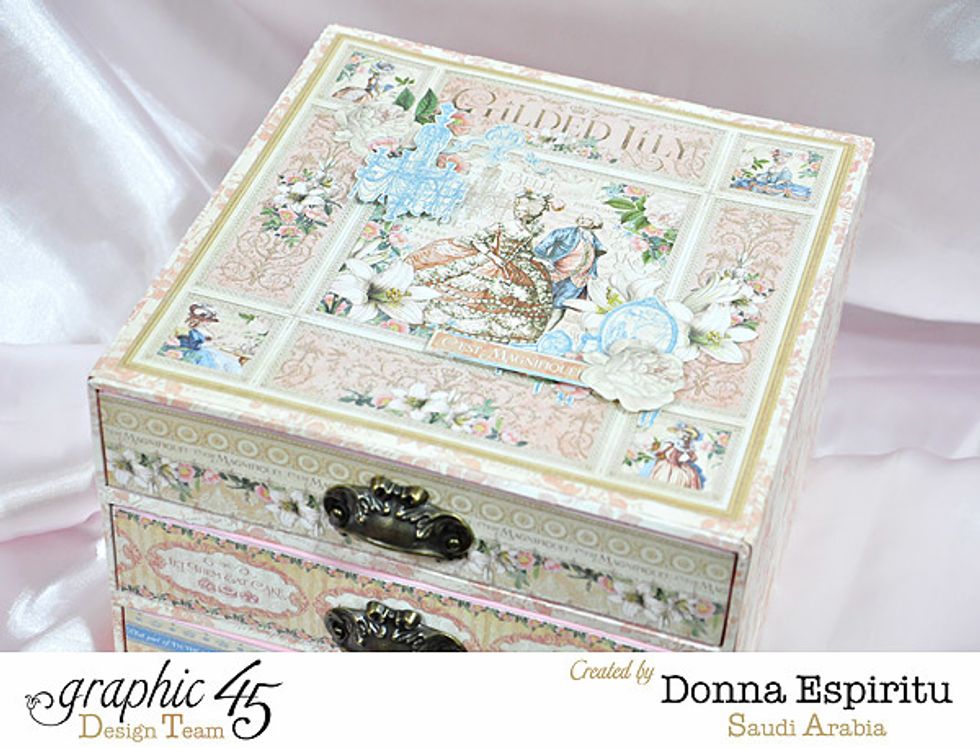
Adhere an 8x8 paper on top of the drawer

Fussy cut some patterns and use foam tape to adhere on the top for a bit of dimension.
I kept the overall design simple because I will be placing this in my shelf and the height is just enough for the drawer to slide through.

I just thought the top wouldn't be seen anyways so I just made the top simple and not dimensional
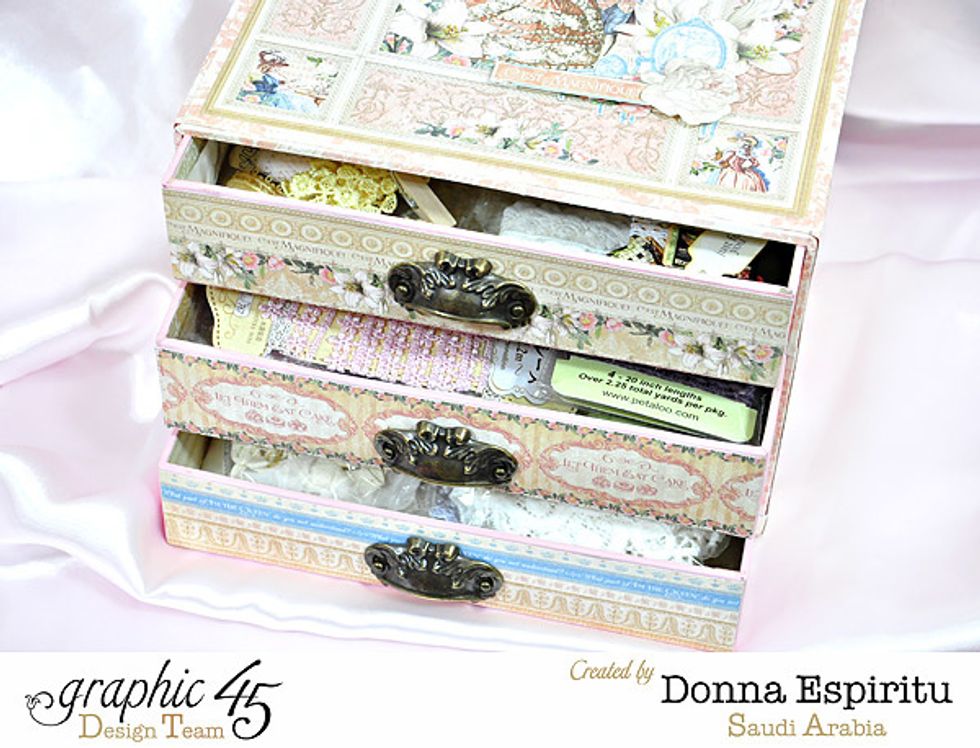
You can use this to store inks, stamps and in my case, laces.
I hope you liked my project! Thanks for coming by. Happy crafting!