The Conversation (0)
Sign Up
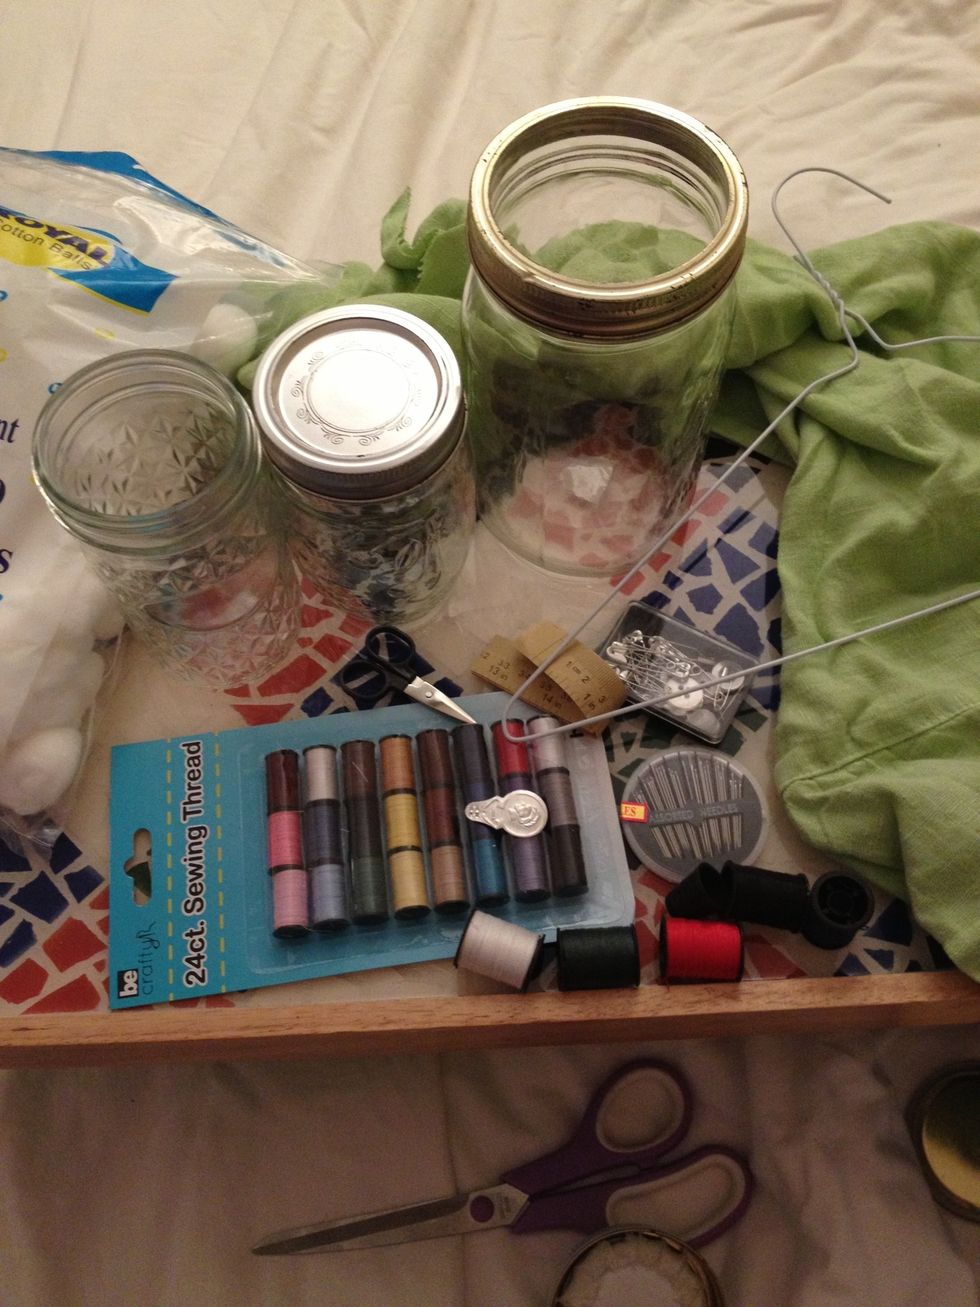
The mess before the awesome. You can use whatever size mason jar you'd like
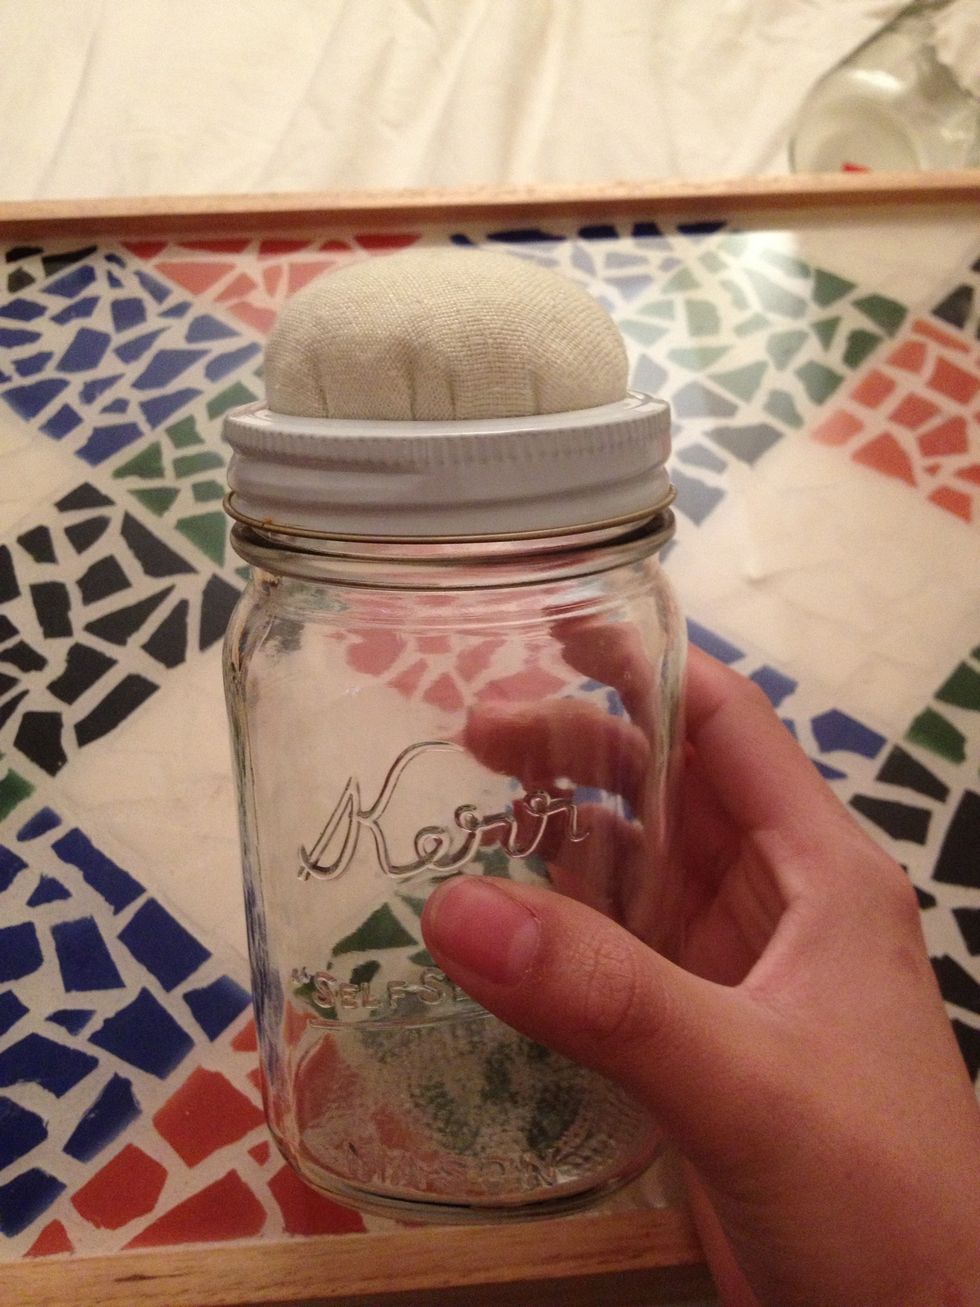
The pincushion will be the most difficult part. It'll take some playing around with. Don't get frustrated. This is what you'll end up with :)

Use your lid to trace a circle on your cardboard and fabric scraps
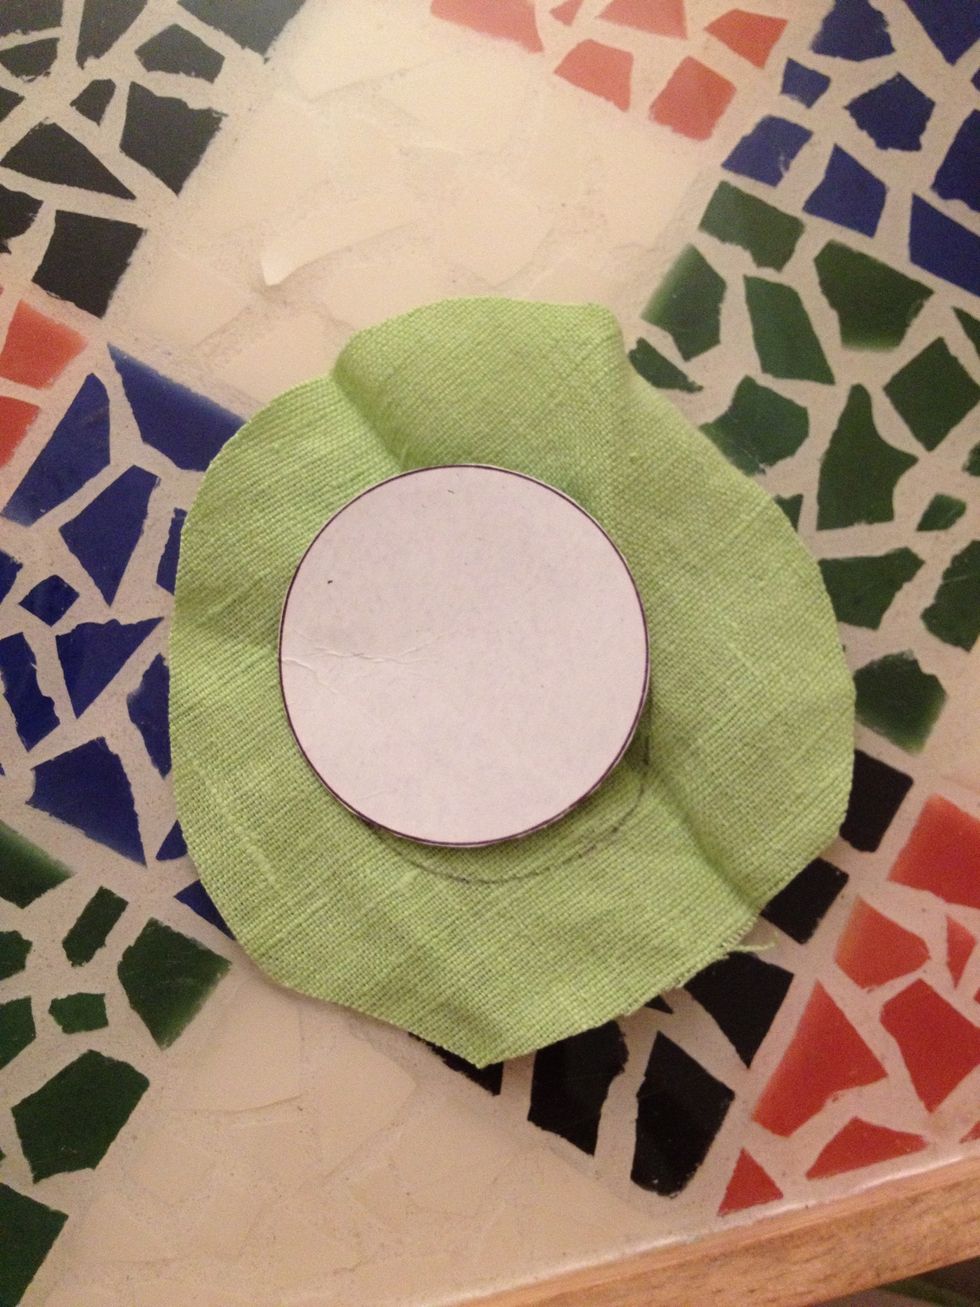
Cut the cardboard exactly. Cut a half inch to an inch around the fabric circle.
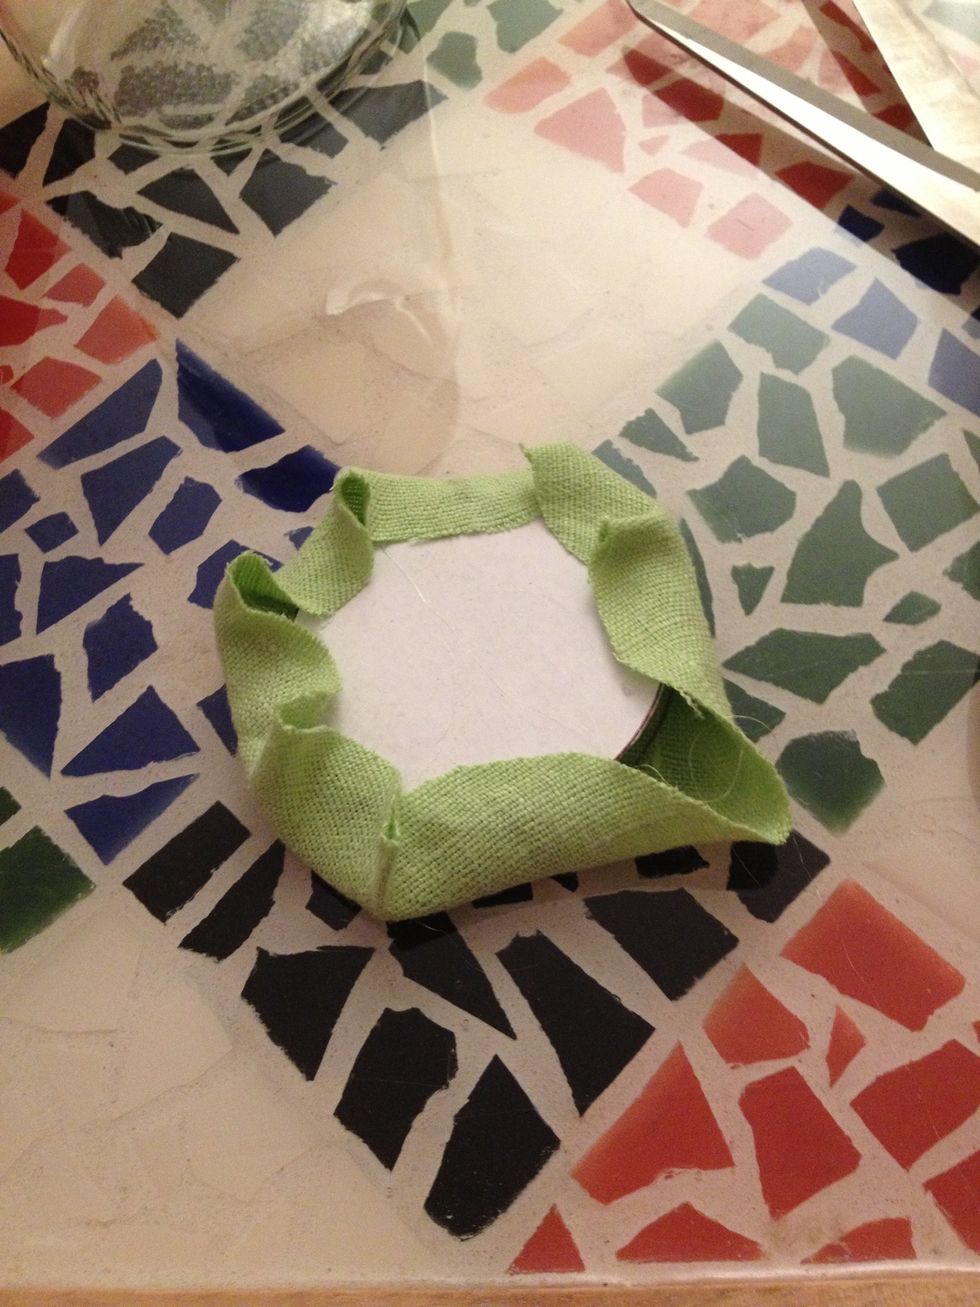
Glue the fabric around the cardboard, leaving a big enough space to stuff the cushion.
Stuff stuff stuff.
You should be able to push your pincushion through the lid. Try to get the cardboard as close to the edge without pushing it completely though the lid.

Glue the lid to the bottom of the pincushion and to the inside edge of the ring.
Fill the Altoids tin with buttons, needles or safety pins.
Cut the coat hanger into about 6 inch strips to start with. You can always trim the excess.
You can skip this next step and just throw a bunch of thread into the mason jar. I'm doing this so it's easier to get to the thread rather than digging to the bottom of the jar.
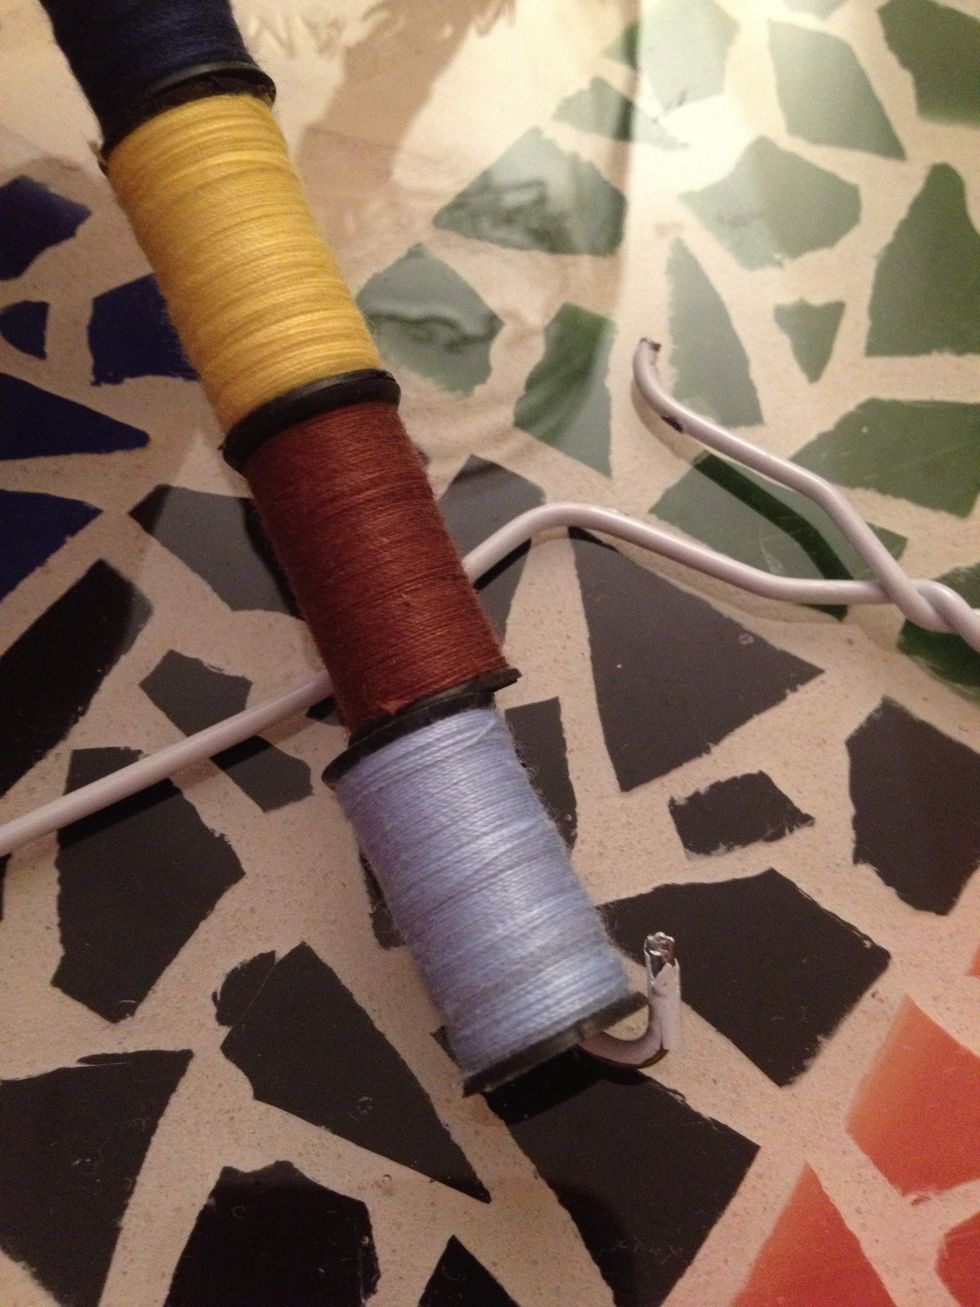
Hook the end of your strip and string 5 or 6 small spools of thread. Put a little hot glue on the end of your hook if you're worried about the sharp ends.

Hook the other end as well to secure the spools. Trim any excess length of your wire strips. You want to be sure the spools of thread are secured by each hook you create on the ends.
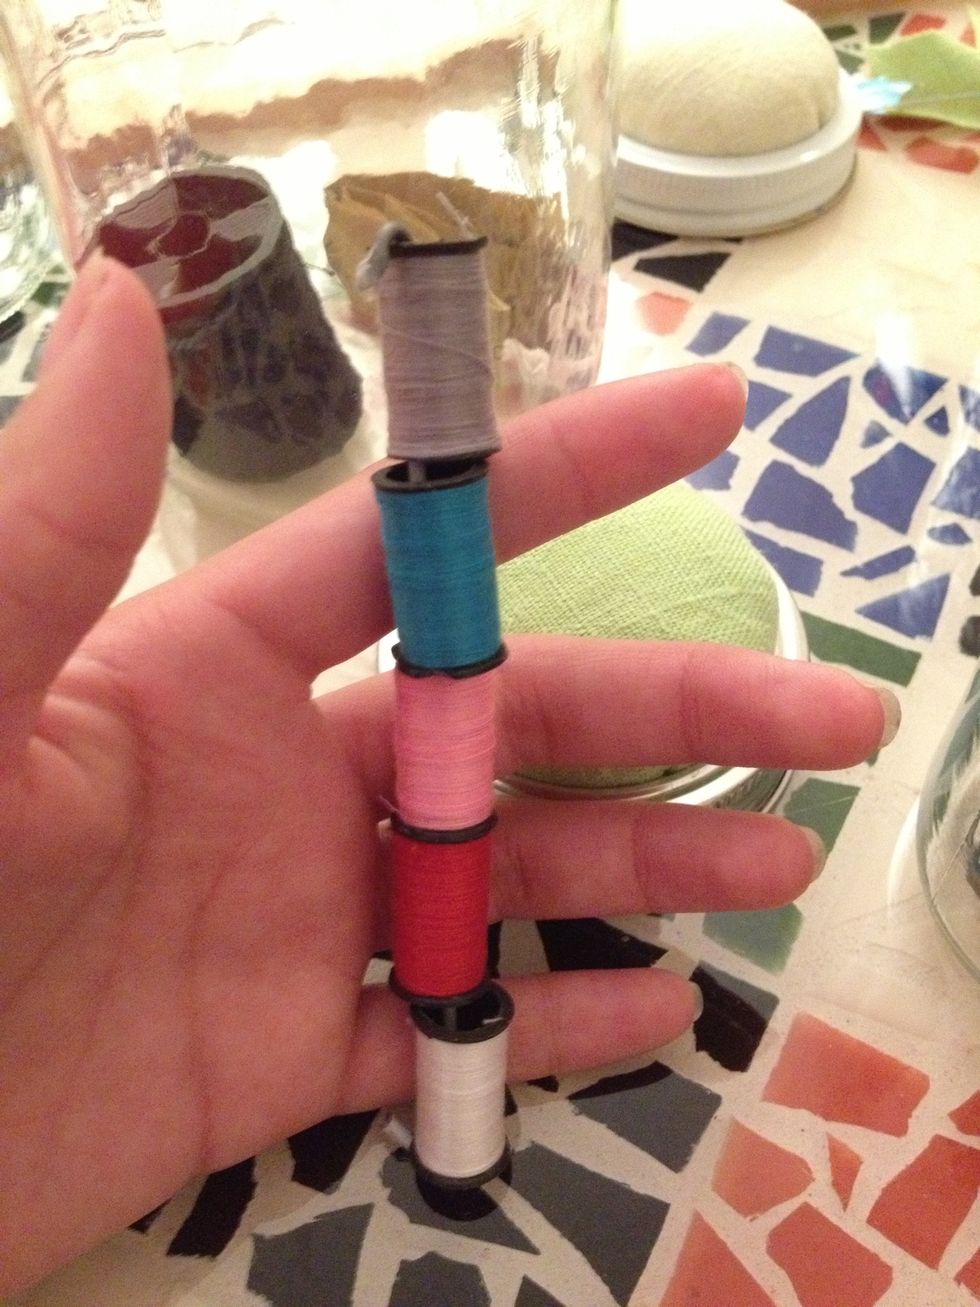
Your stacked spools should end up like this

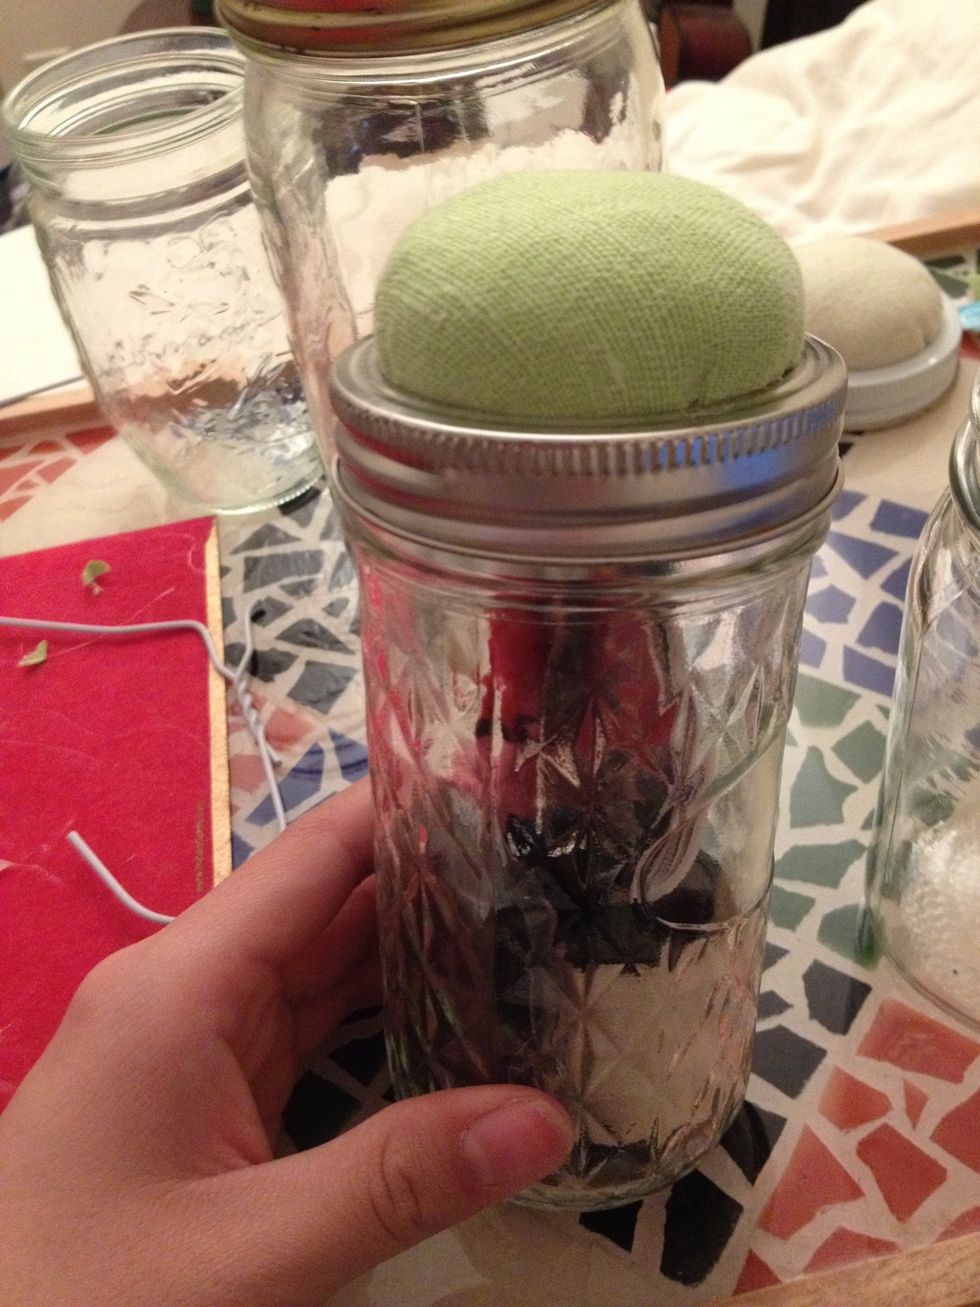
Now fill your mason jar with sewing essentials (needles, pins and safety pins, buttons, small scissors etc.). Along with the small spools of colored thread, I'm adding larger spools of black and white

The finished product. You can also decorate the outside of the mason jar by painting it or wrapping it with lace.
You can try your pincushion lid on other size jars too.