How to make a mason jar sewing kit

Make a Mason Jar Sewing Kit

46
STEPS
TOOLS

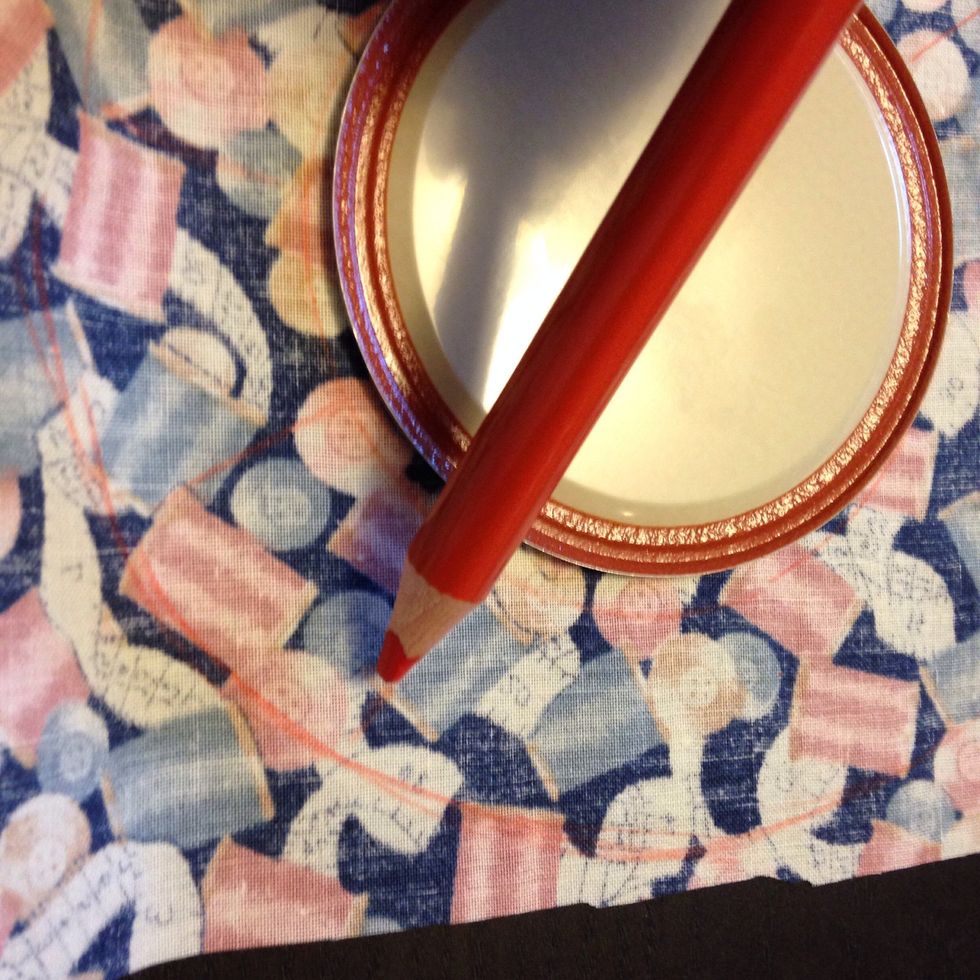
Use the lid to draw a circle around the lid. Cut out that circle.
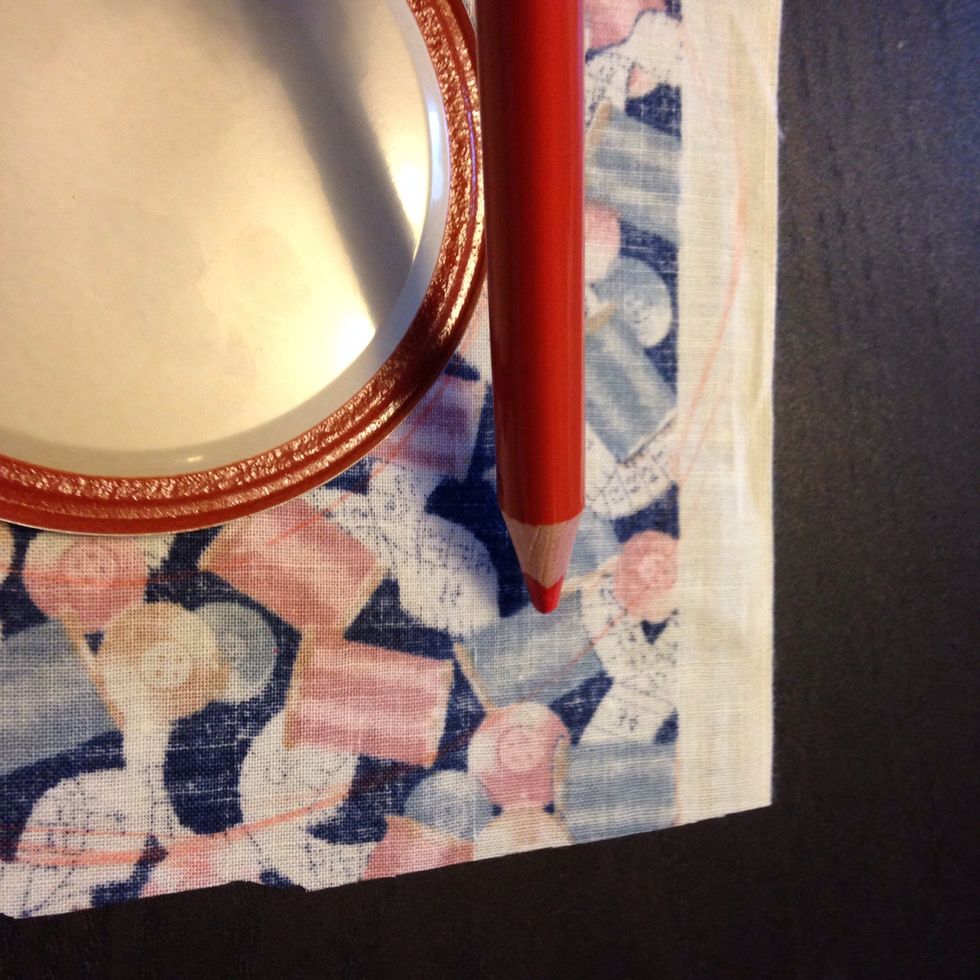
Use the lid to draw a circle around the lid. Cut out that circle.

Draw another circle one inch outside the edge of the lid and then cut out that circle.
Draw another circle one inch outside the edge of the lid and then cut out that circle.

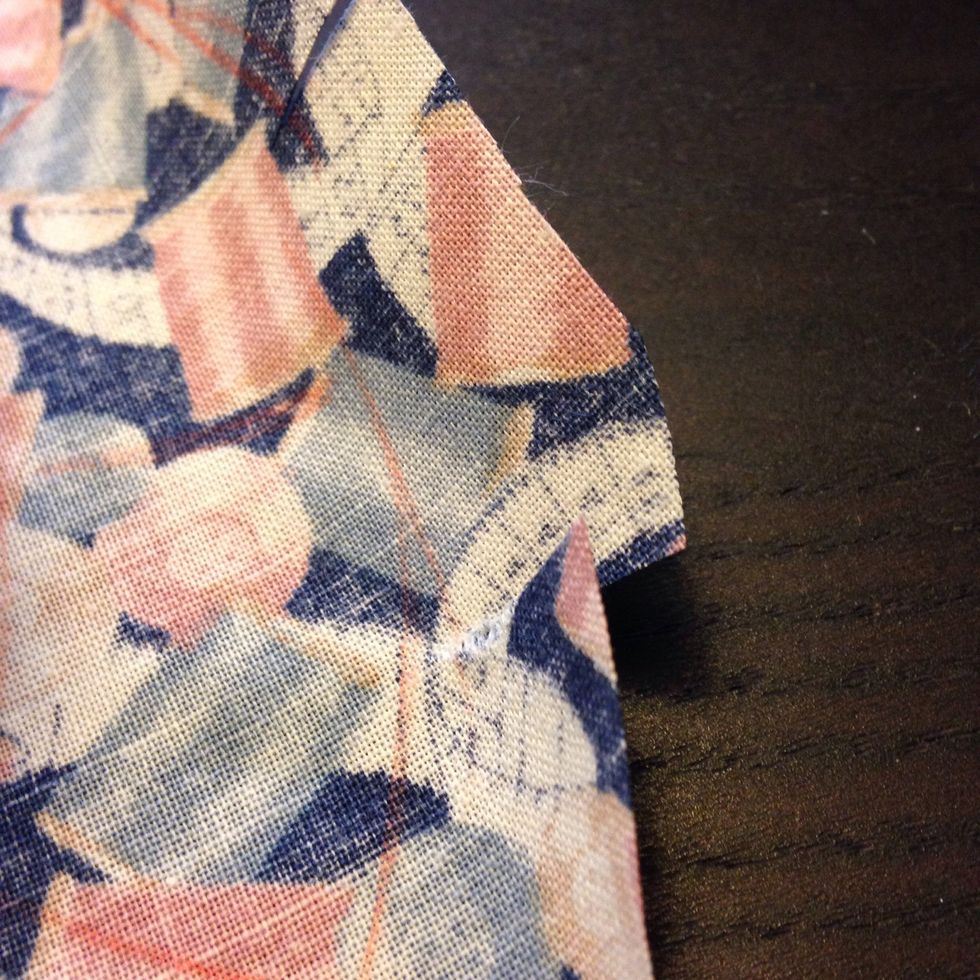
From the larger circle, cut 1" slits that will end at the edge of the lid
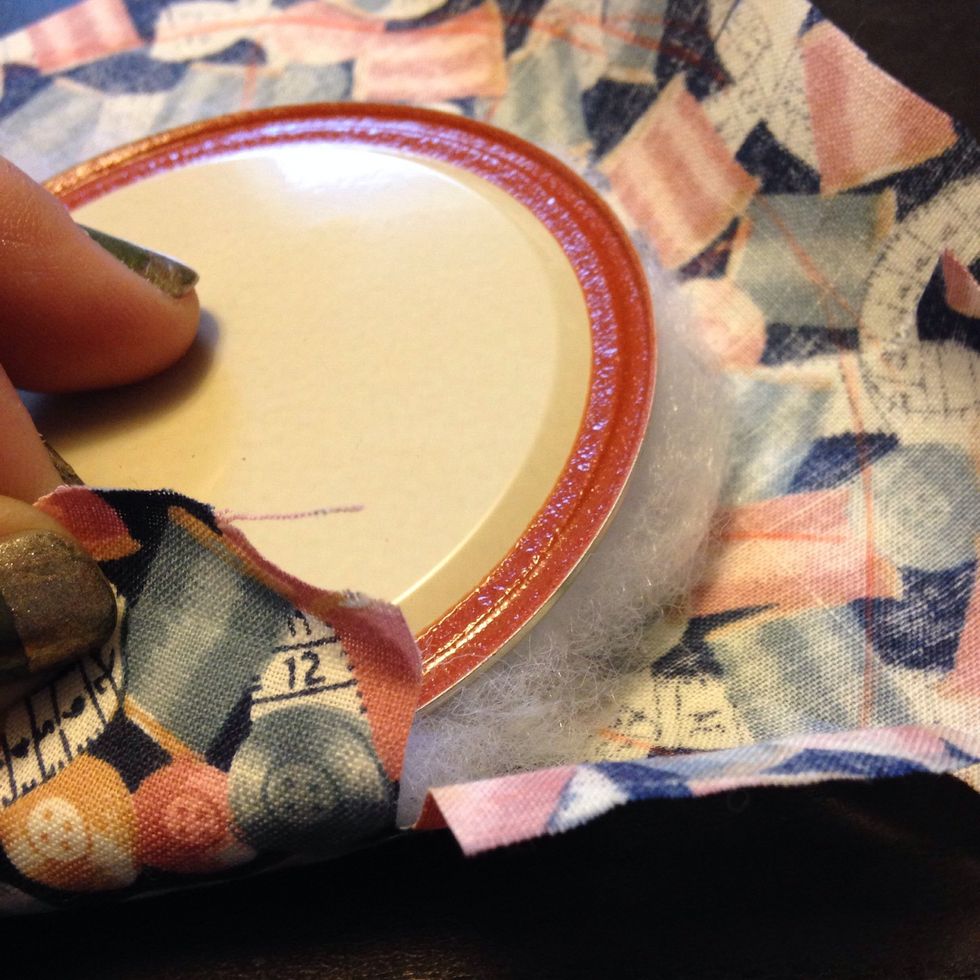
From the larger circle, cut 1" slits that will end at the edge of the lid

Place the balled up stiffing under the lid. Glue one piece of the fabric at a time to the lid
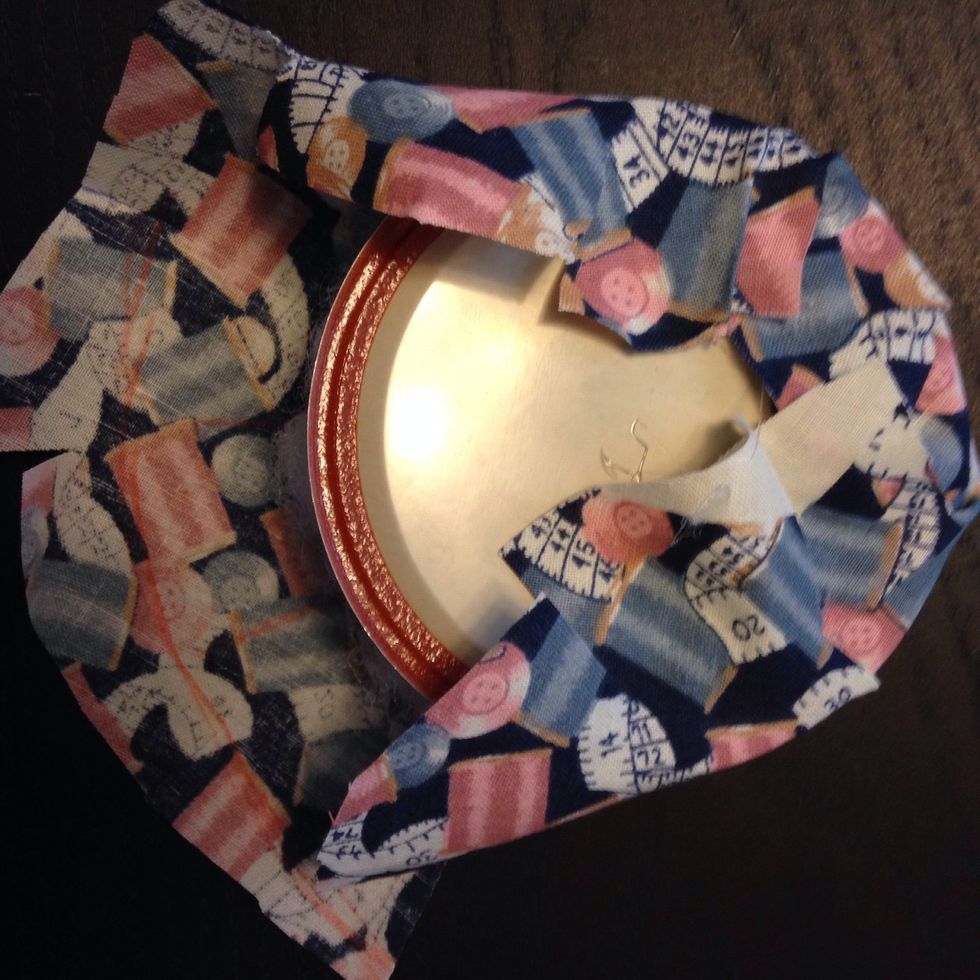
Place the balled up stiffing under the lid. Glue one piece of the fabric at a time to the lid

Follow around the lid, gluing one section at a time to keep the top tight but fluffy
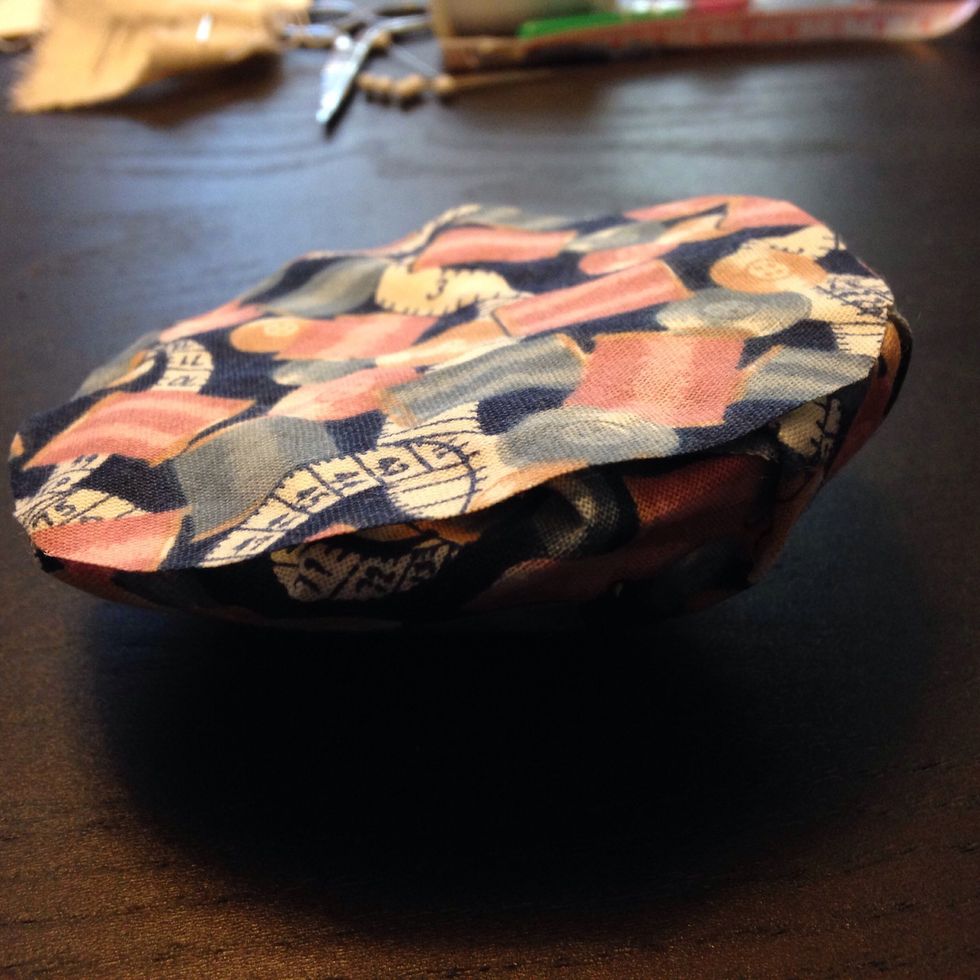
Follow around the lid, gluing one section at a time to keep the top tight but fluffy

Next glue the smaller circle on the lid to hide the unfinished edges
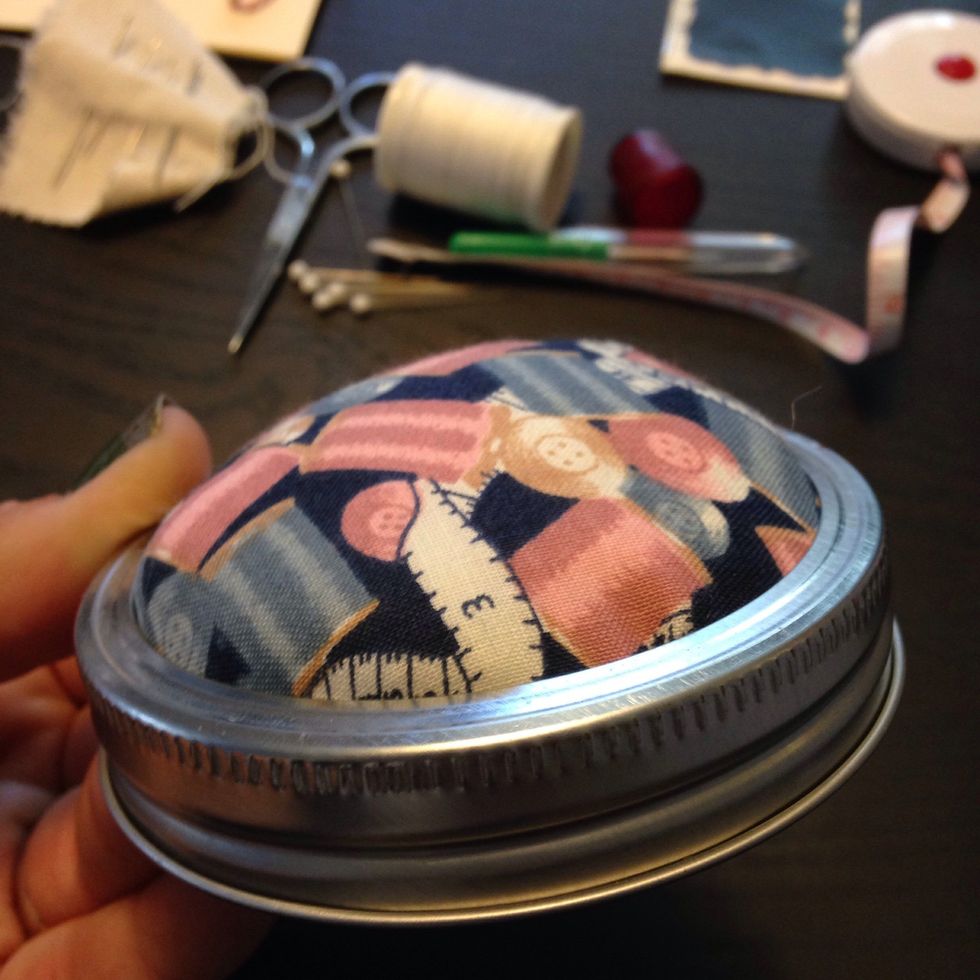
Next glue the smaller circle on the lid to hide the unfinished edges

Put the flat part of the lid through the ring
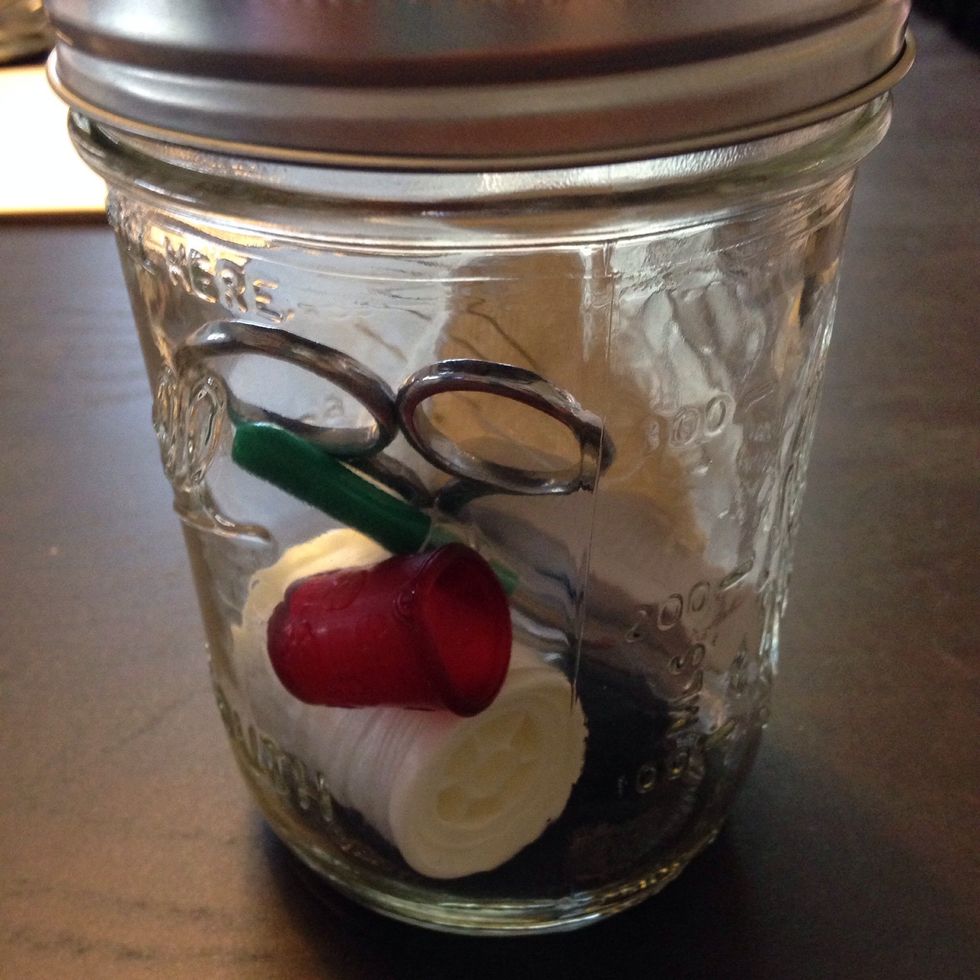
Put the flat part of the lid through the ring

Place all the sewing supplies inside and screw on the lid
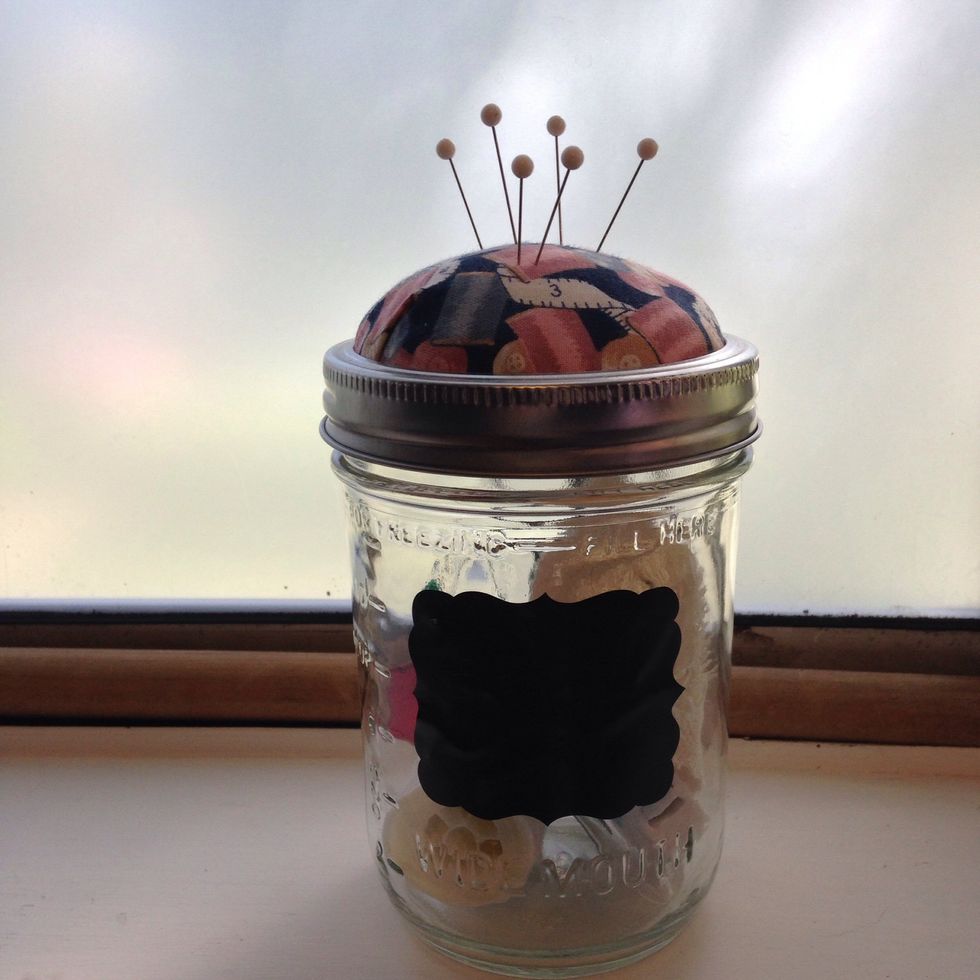
Place all the sewing supplies inside and screw on the lid

Add a label to the front- chalkboard labels are a great choice
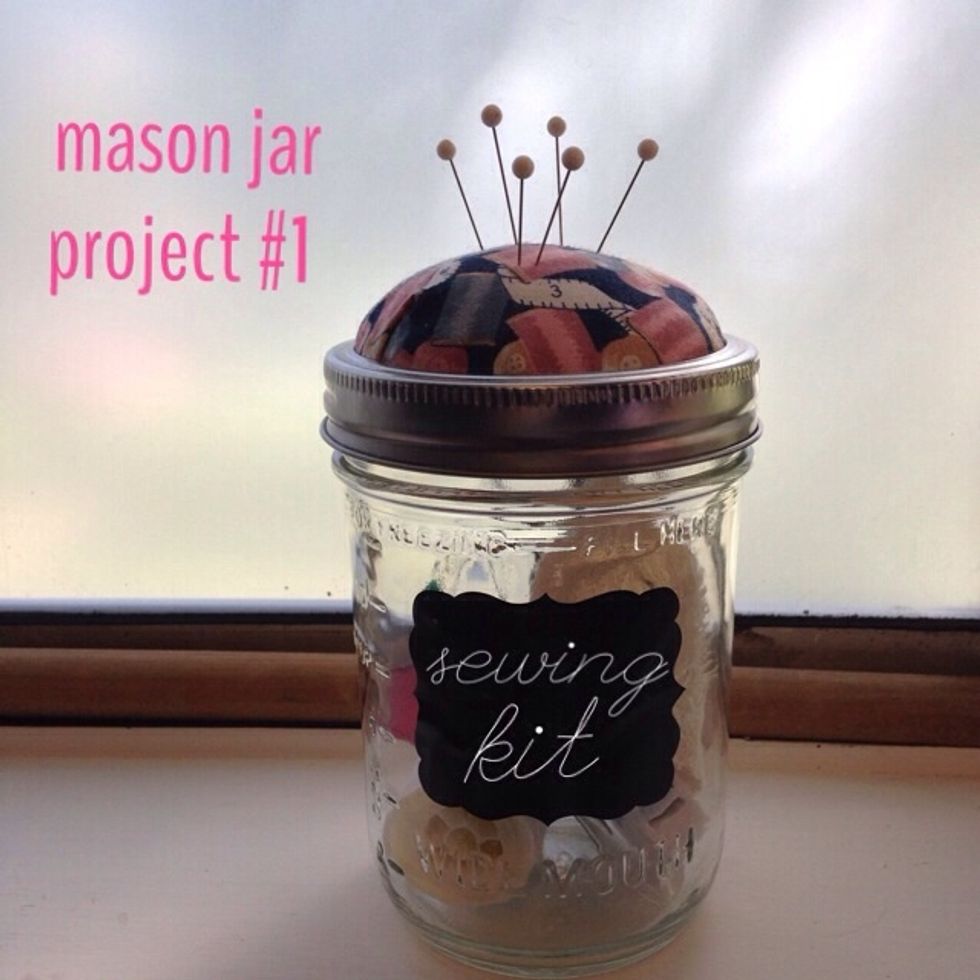
Add a label to the front- chalkboard labels are a great choice

Completed kit!

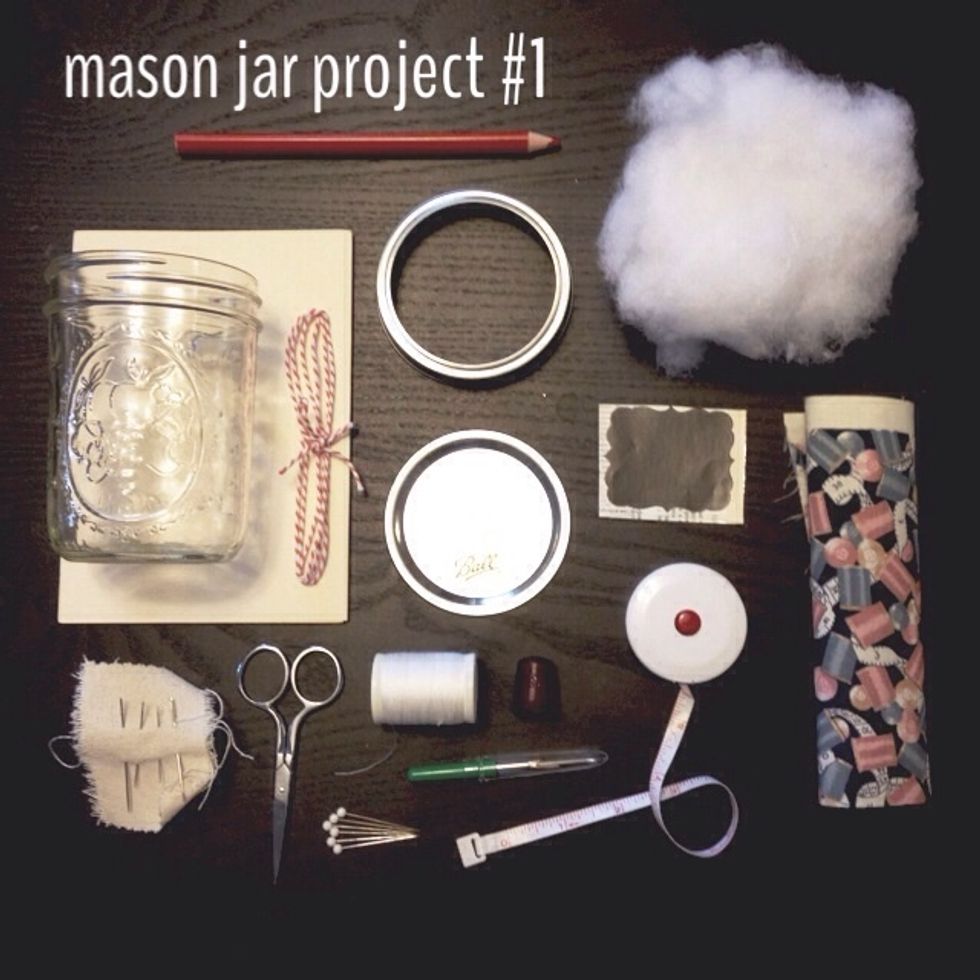
  • 1.0 Mason jar
  • 1/4yd Fabric
  • 1.0 Hot glue gun
  • Sewing supplies (needles, thread, etc)
  • Scissors
  • 1.0bnch Stuffing