The Conversation (0)
Sign Up
A step by step tutorial on how to make a pottery barn inspired mason jar light. All supplies can be found at your local hardware store in the lighting repair section.

DISCLAIMER: I am not an electrician and cannot assume responsibility if you burn your house down trying to follow these instructions. Hire someone if you feel uneasy about this.
Cut wire to around 4 feet

Use wire stripper to split the plastic coating and reveal the wire underneath.

Pull wire through the keyless socket and tie the wire in a knot to hold in place.
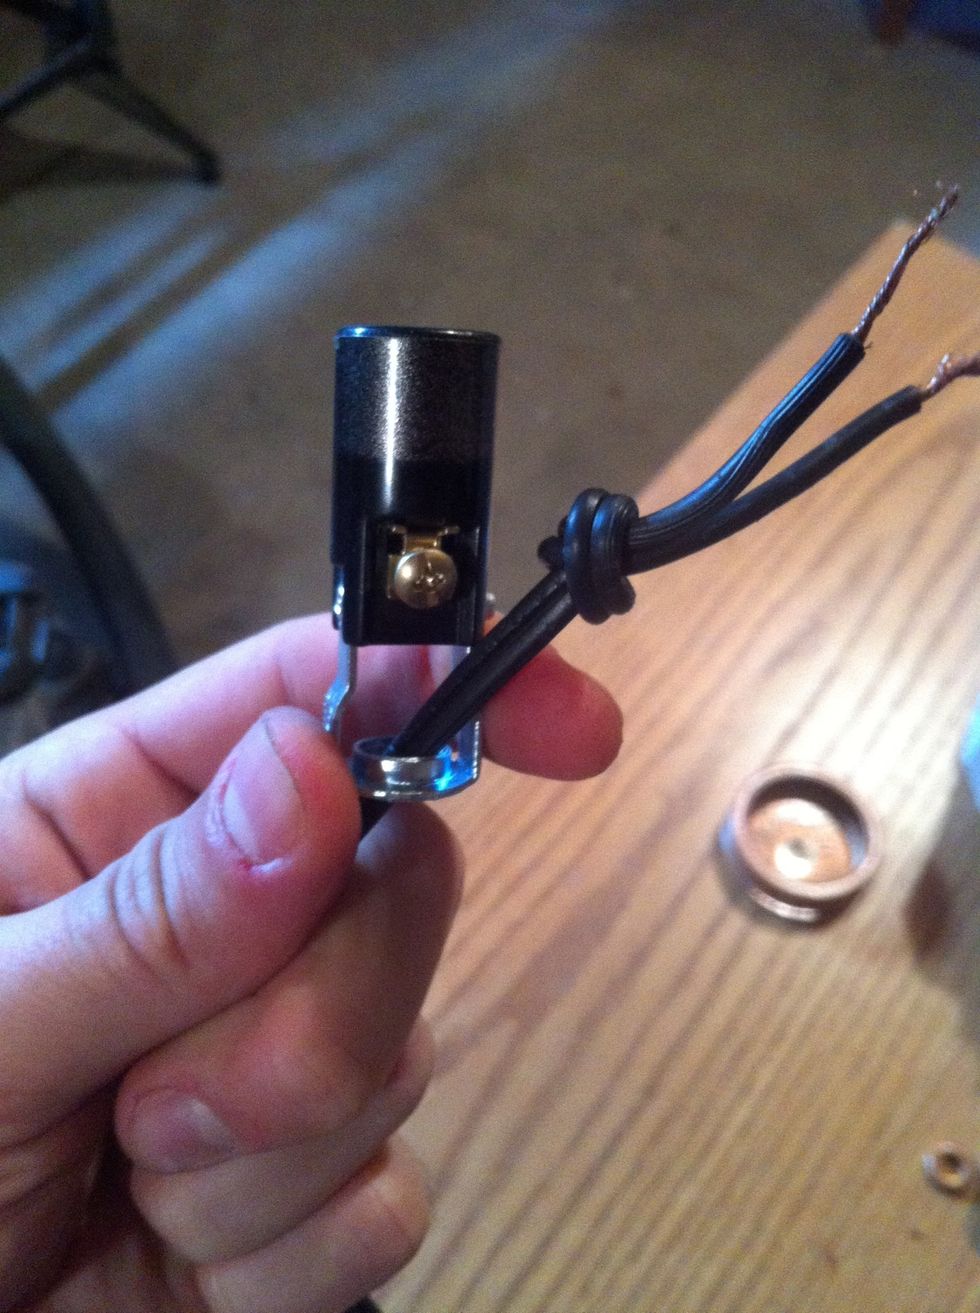
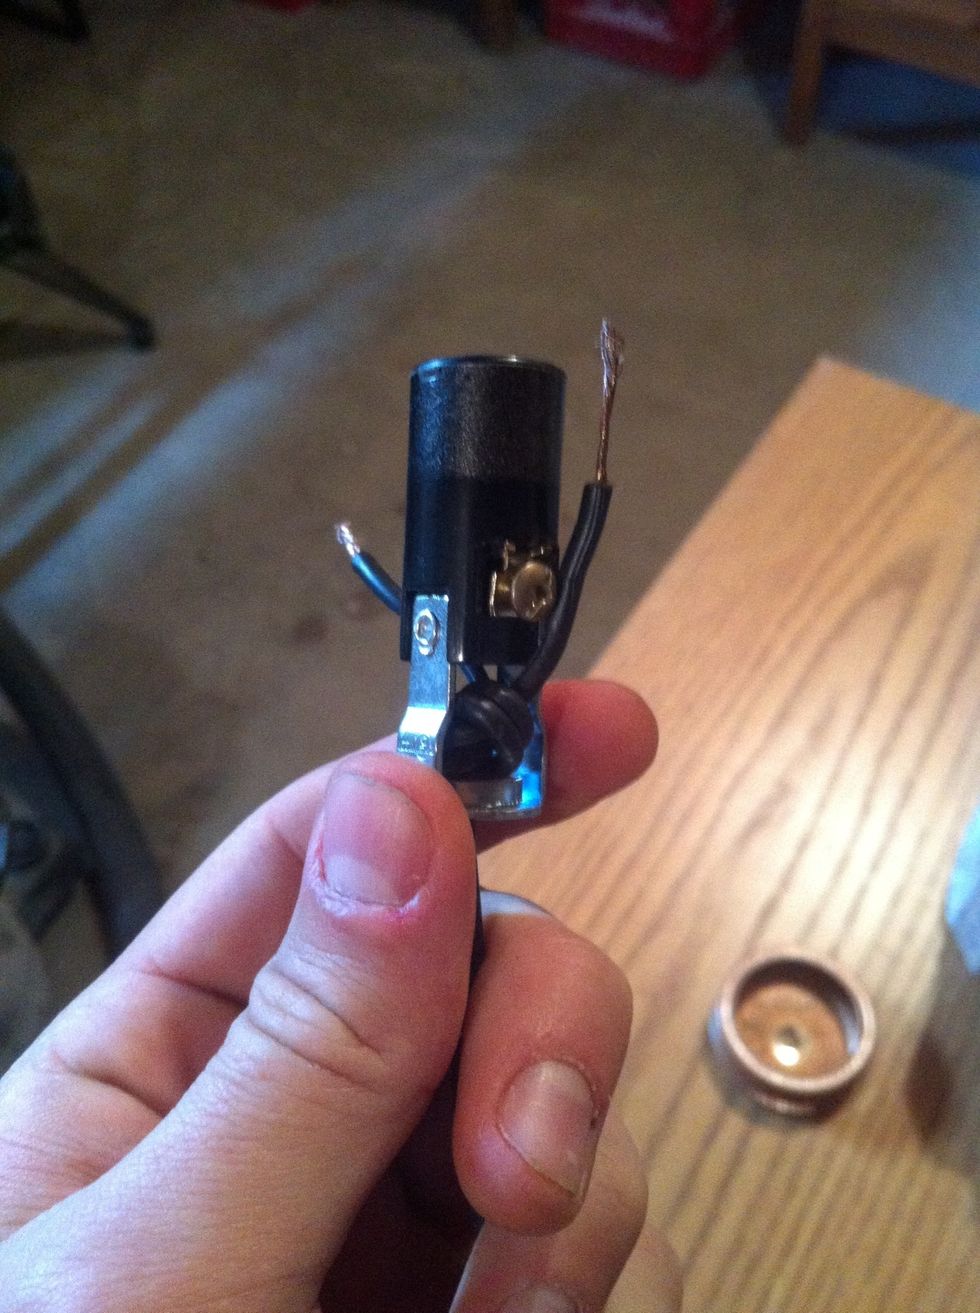
Separate the wire onto each side of the keyless socket.
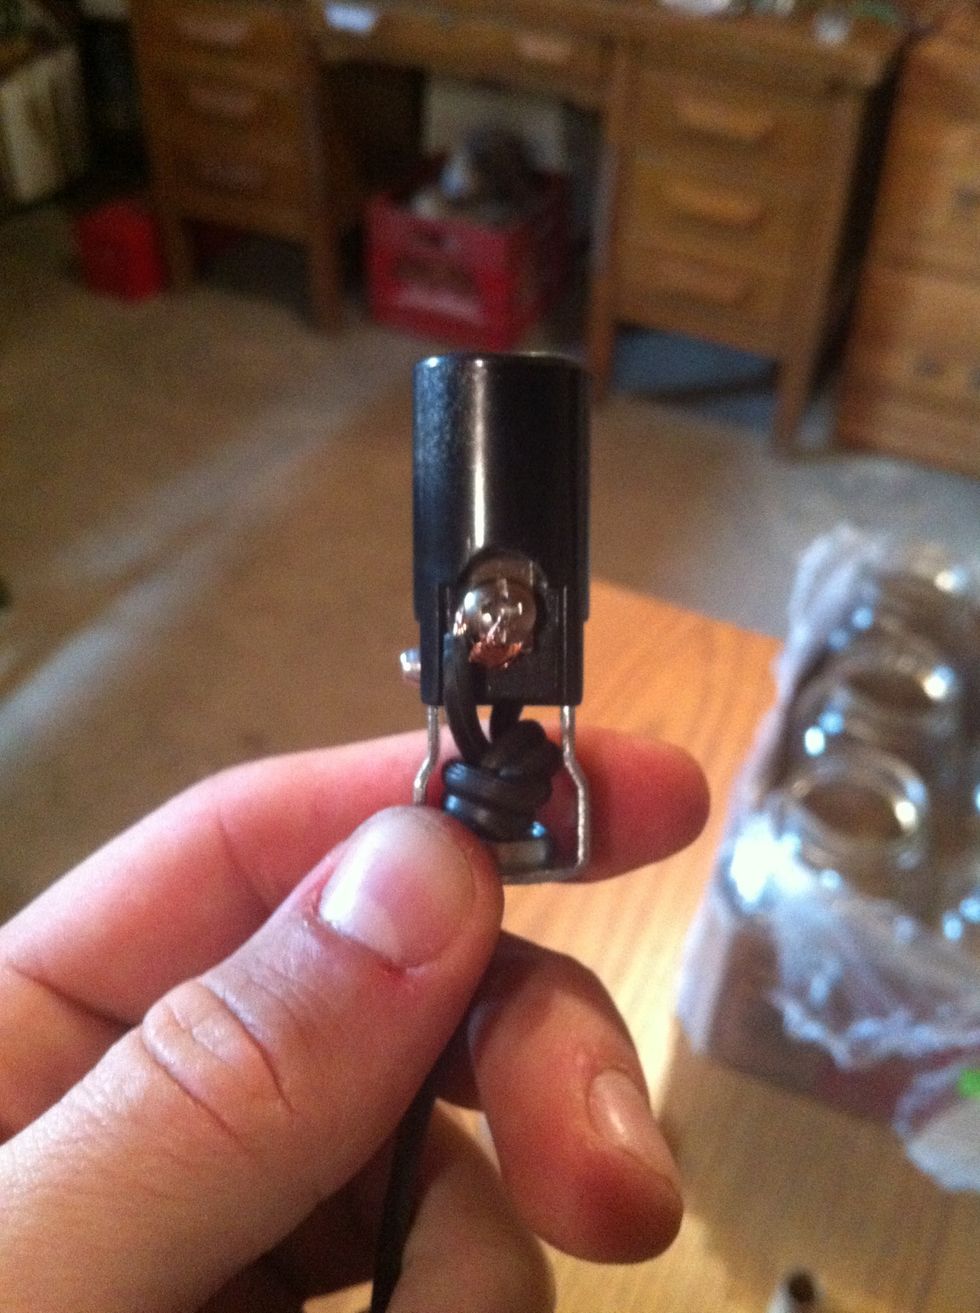
Loosen the screws wrap the wire around clockwise and tighten the screw.
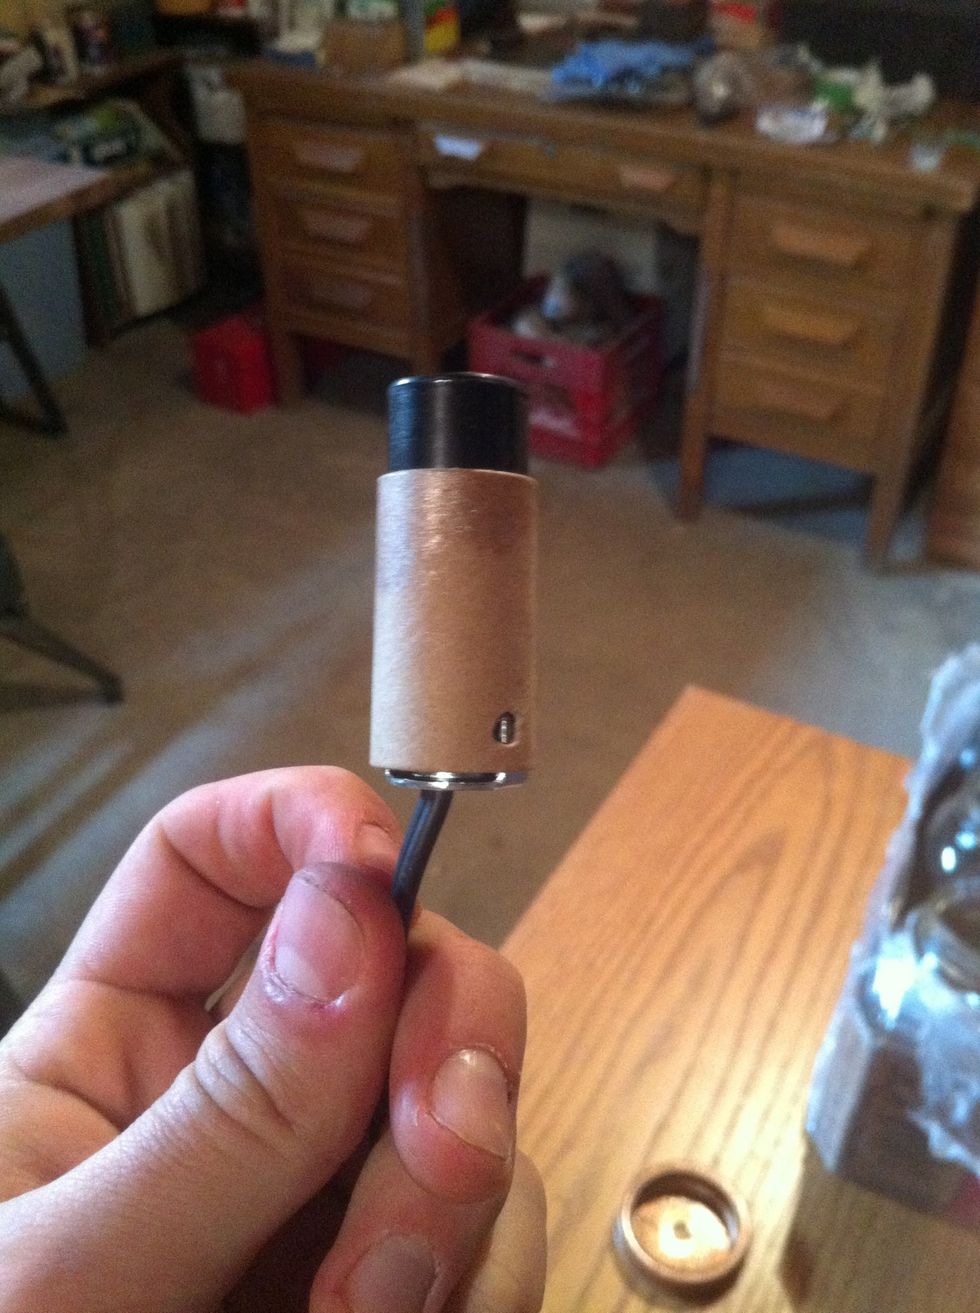
Replace cardboard wrap to protect the wires.
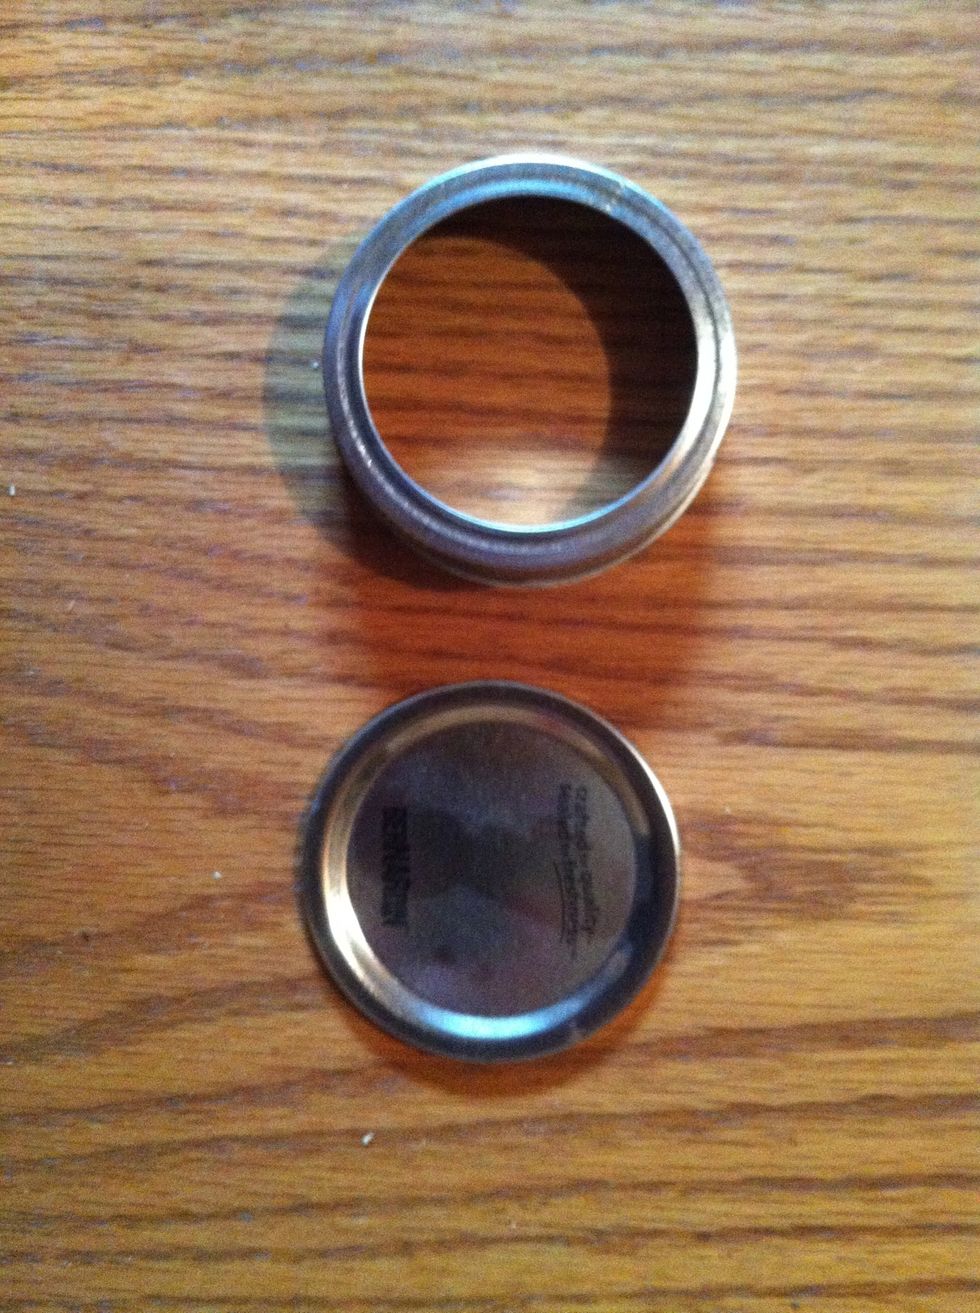
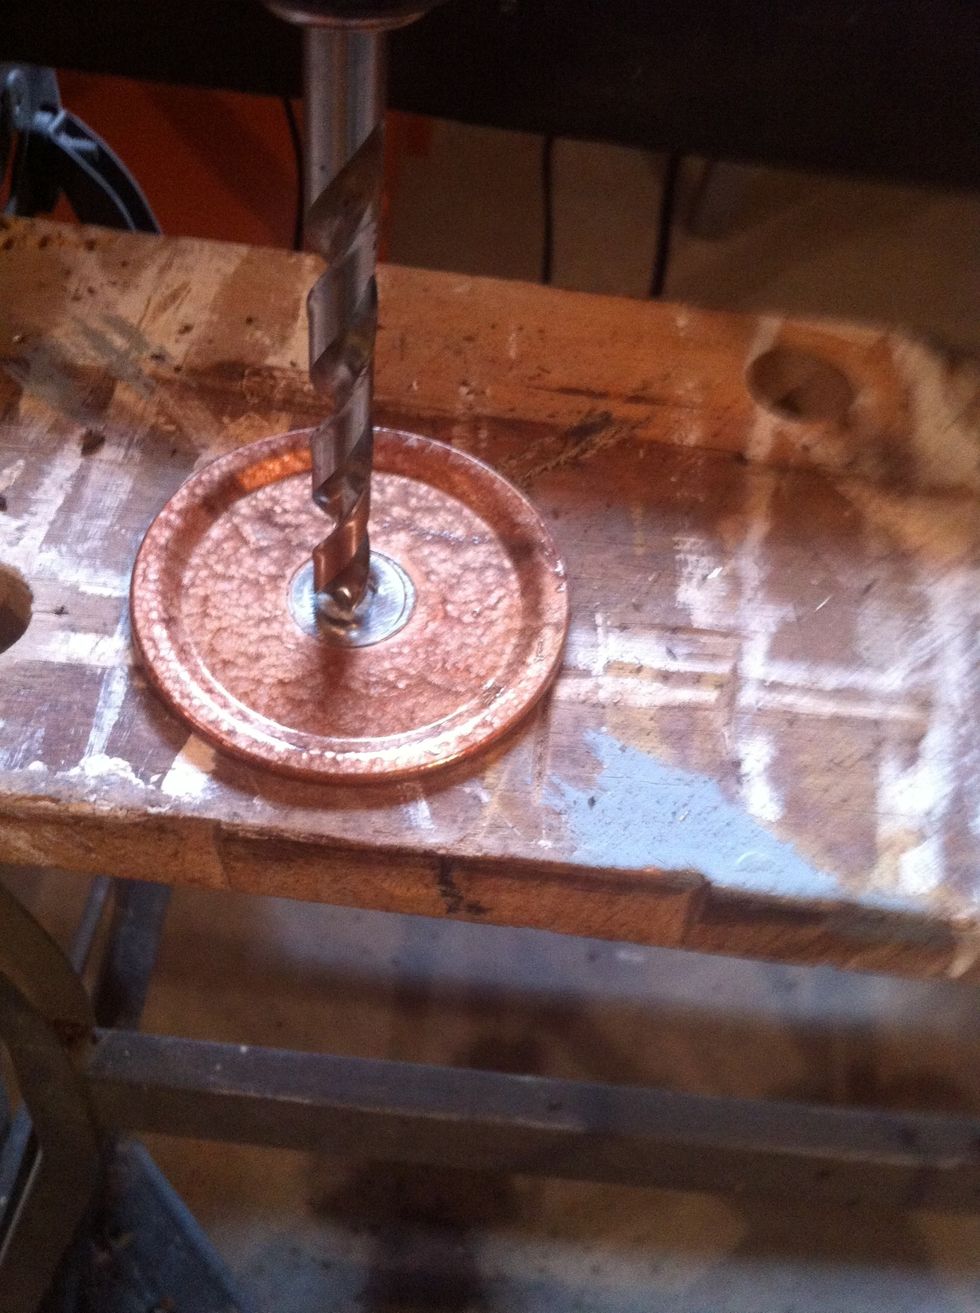
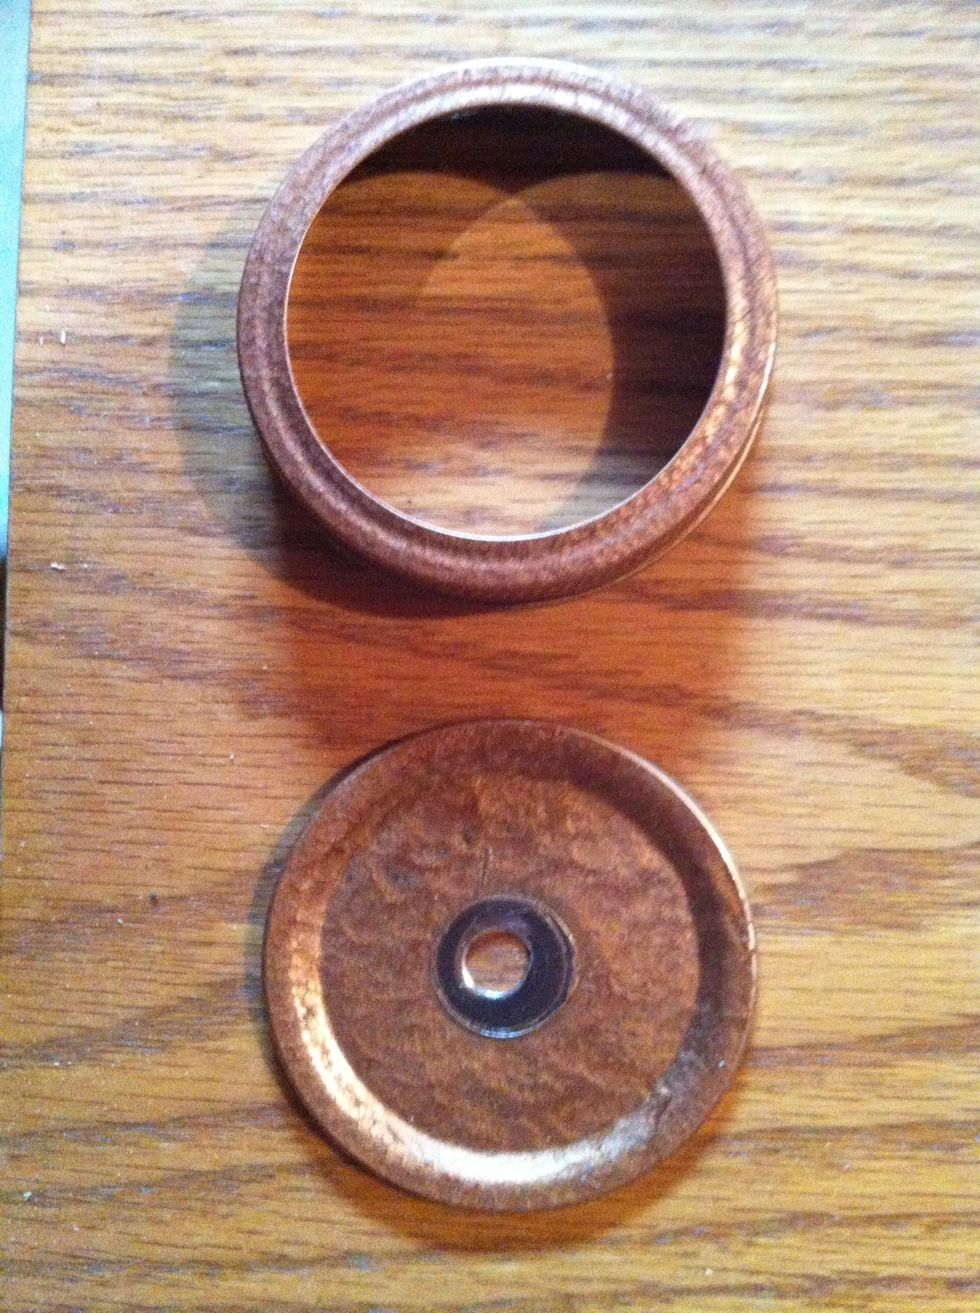
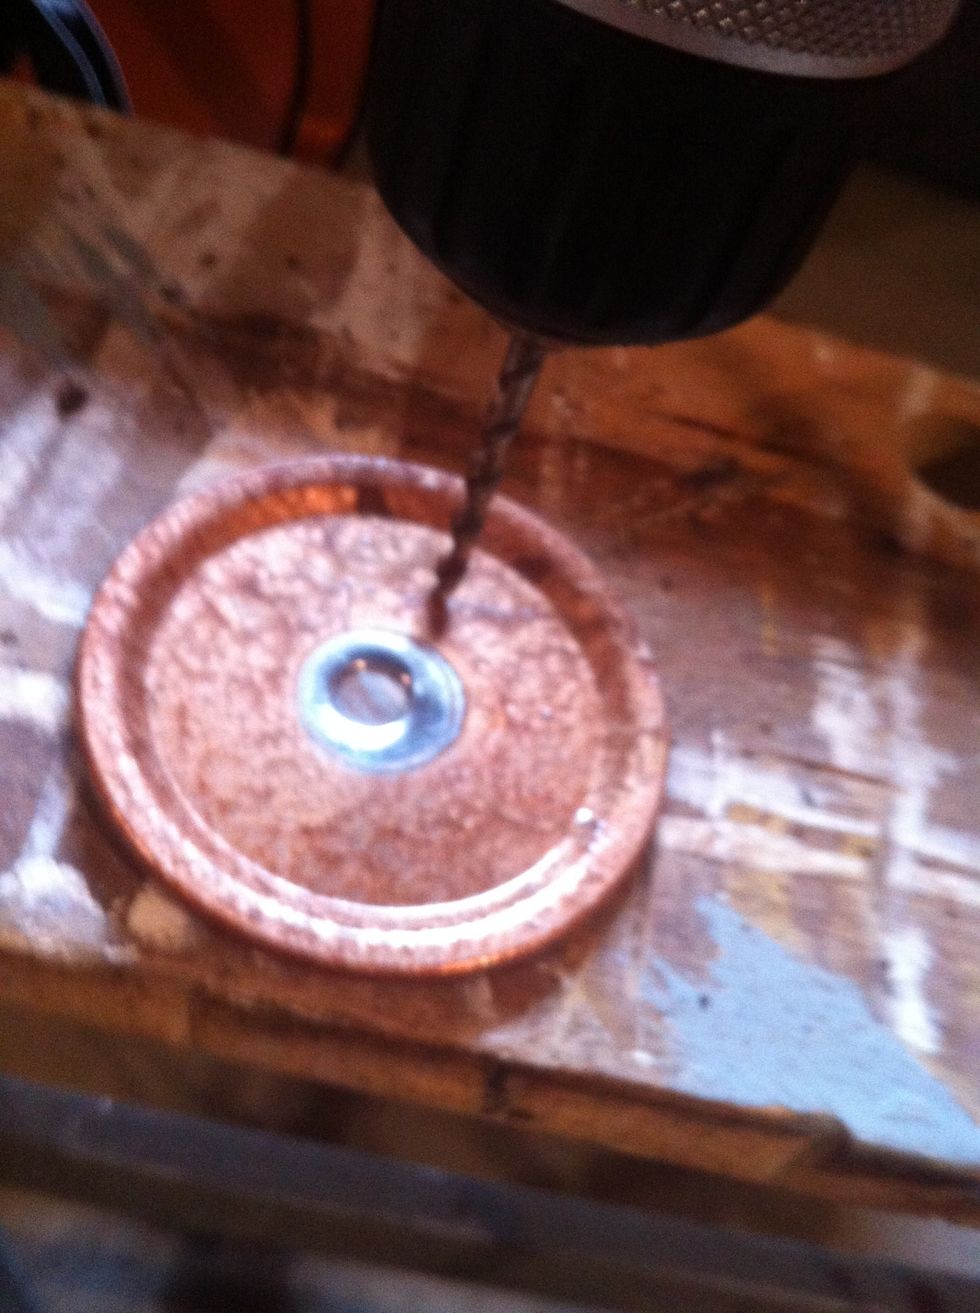
Time to cut the lids for the mason jar. Using the 11/32 drill bit drill a whole in the center of the lid.
Paint if you please.

Screw the nipple into the lid.
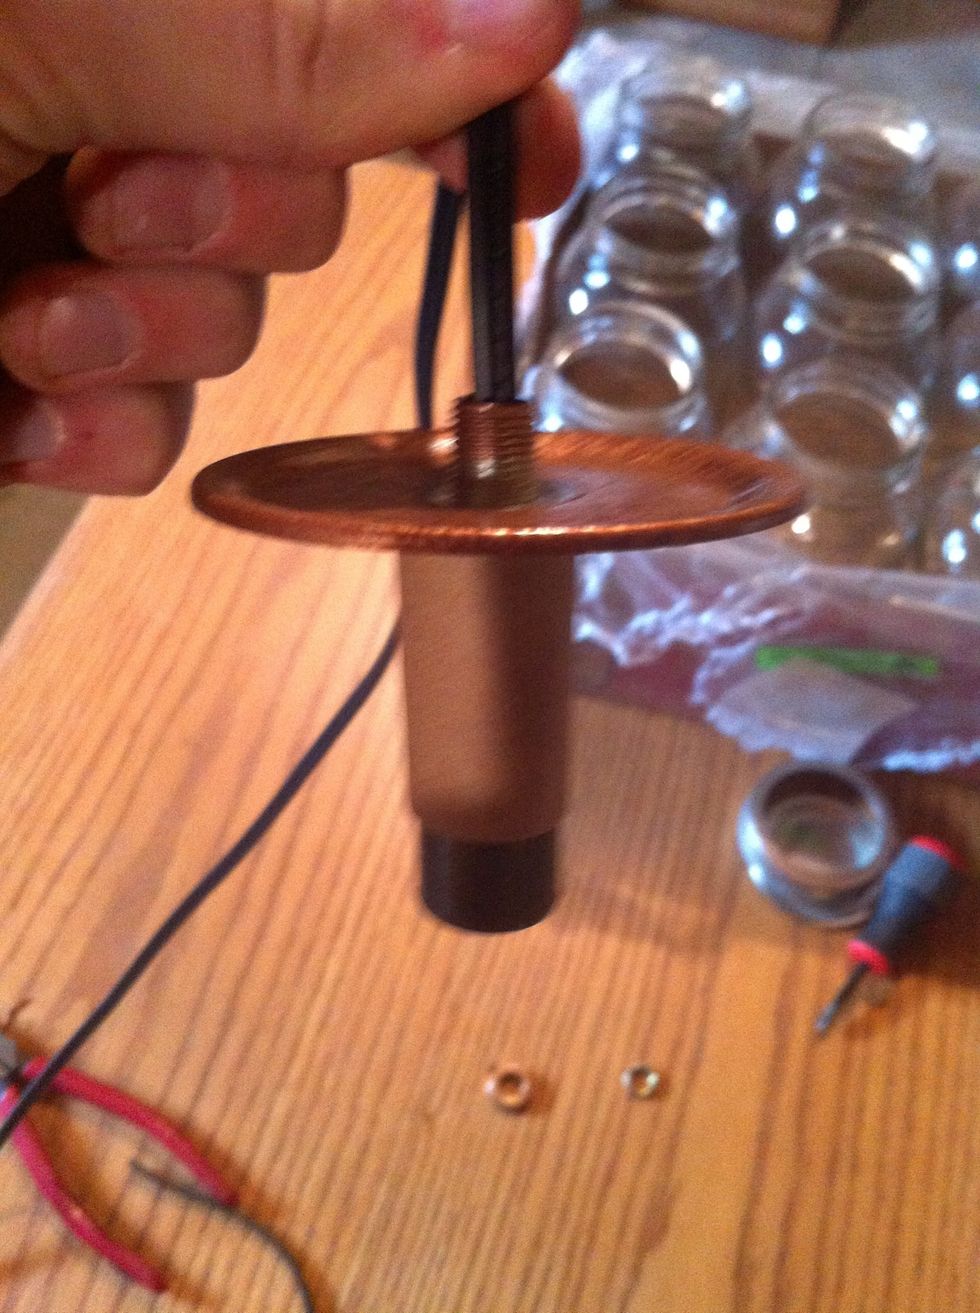
Thread the wire through the nipple and screw the nipple into the keyless socket.

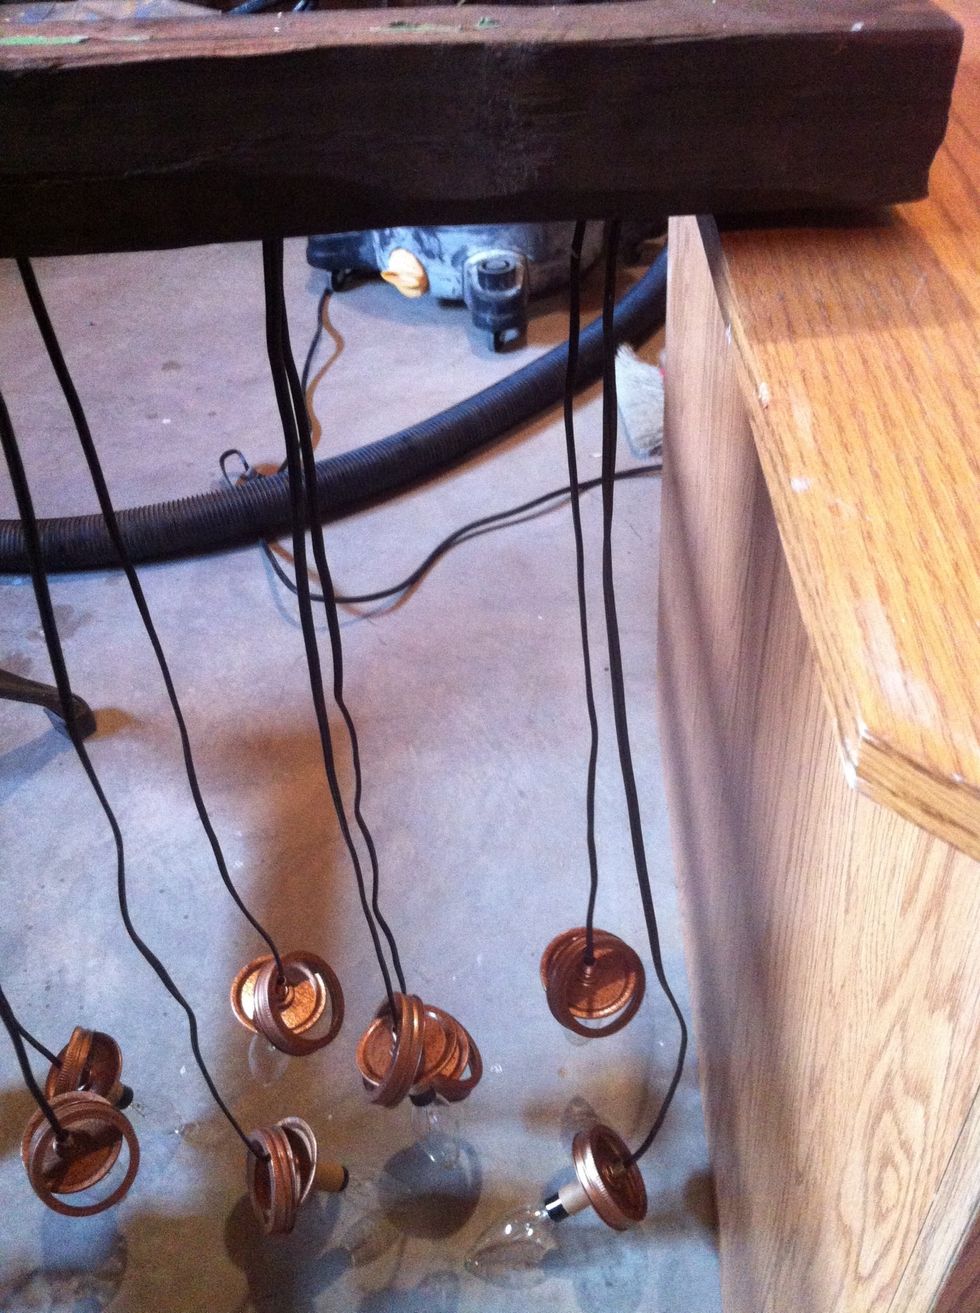
I found a lighting kit at my local hardware store that had these washers in it. I used them here to add a better look.
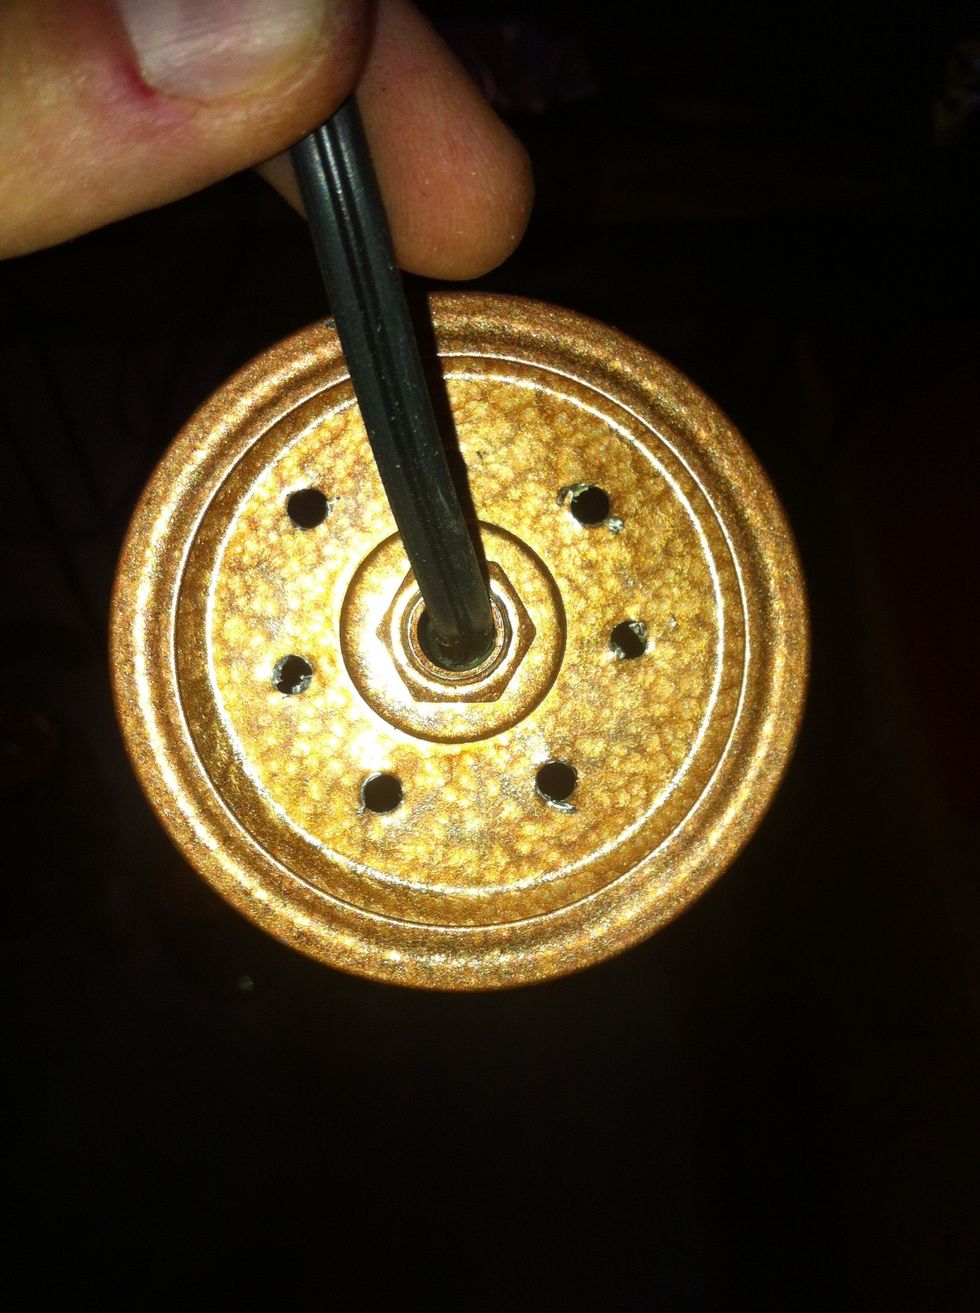
Male sure you drill holes in the lid to release the heat from the bulbs. I used a 5/32 drill bit here.

Screw in the lightbulb. I used 25w chandelier bulbs. Complete!

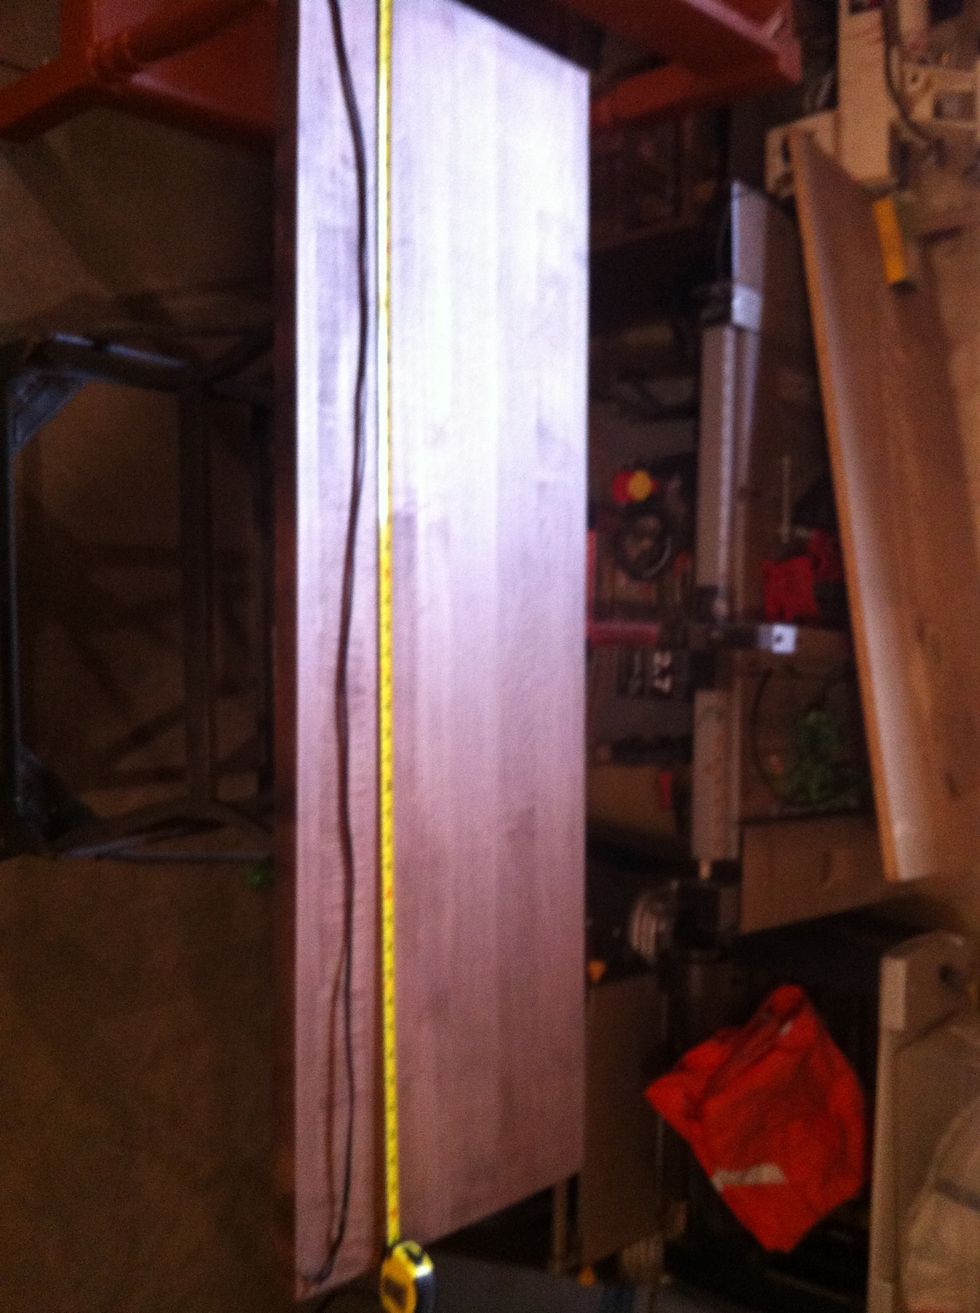
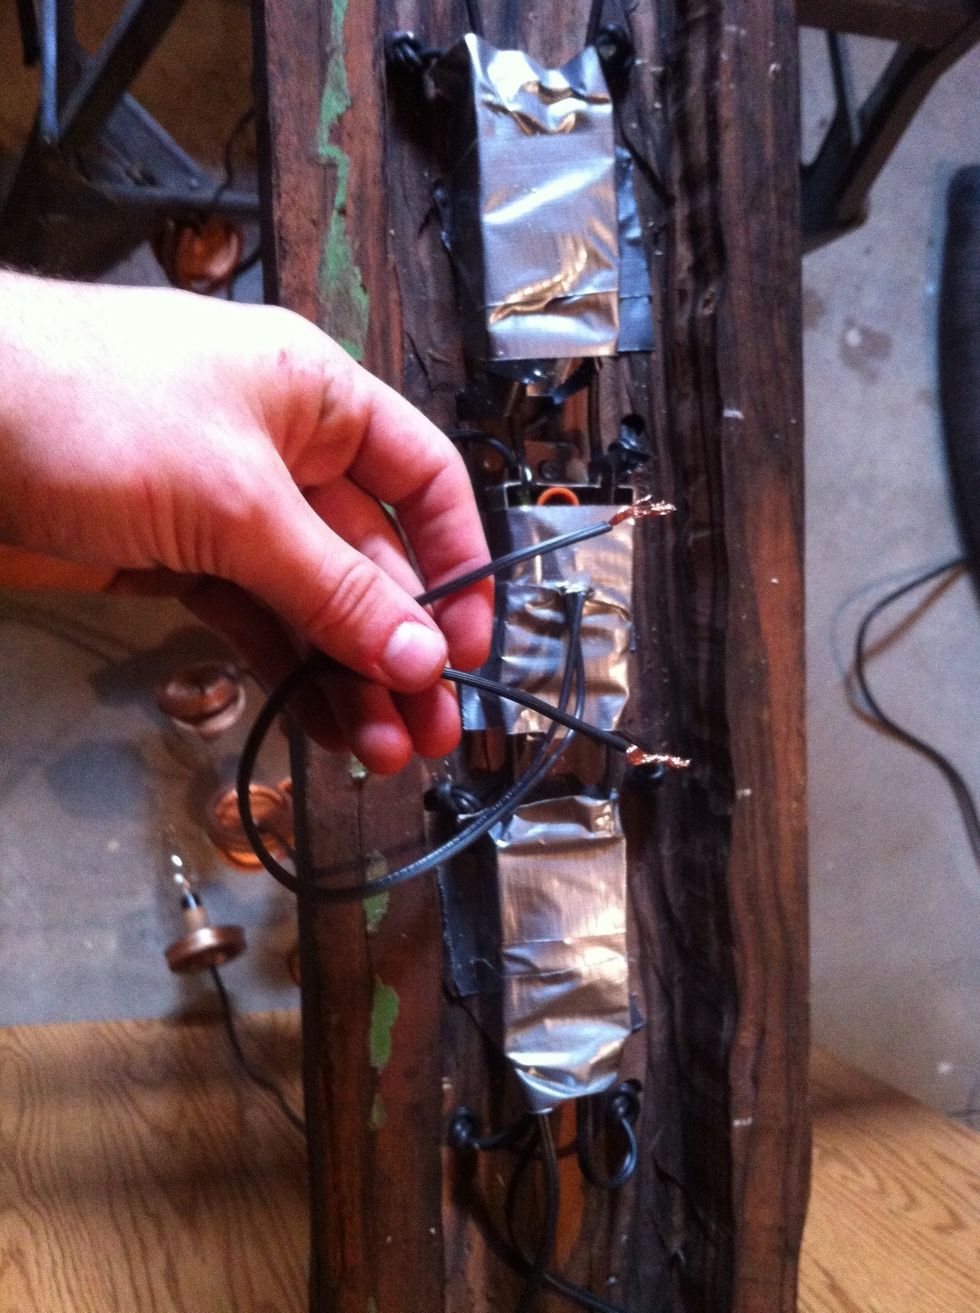
To mount the lights I used a 3' price of ebony wood I found in my fathers basement. I used a router and after hours of cutting I was able to get a dip in the wood where I could make all the connection
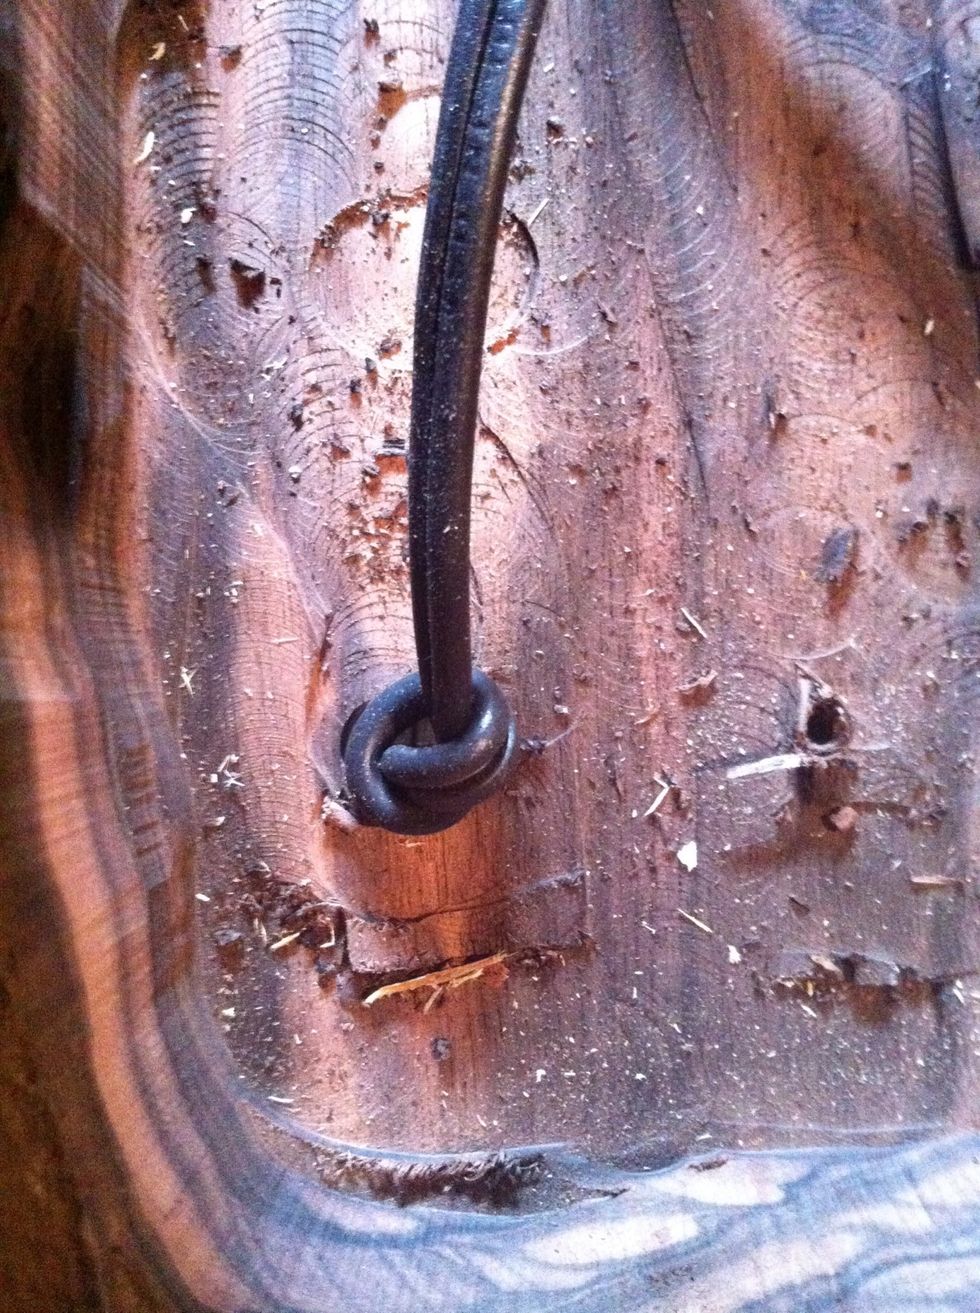
Pull the wire through the holes drilled in the wood and at your desired height tie the wire in a knot to hold in place.

To wire all the lights together I connected two lights at a time to a pigtail wire and continued until I got down to one connection.
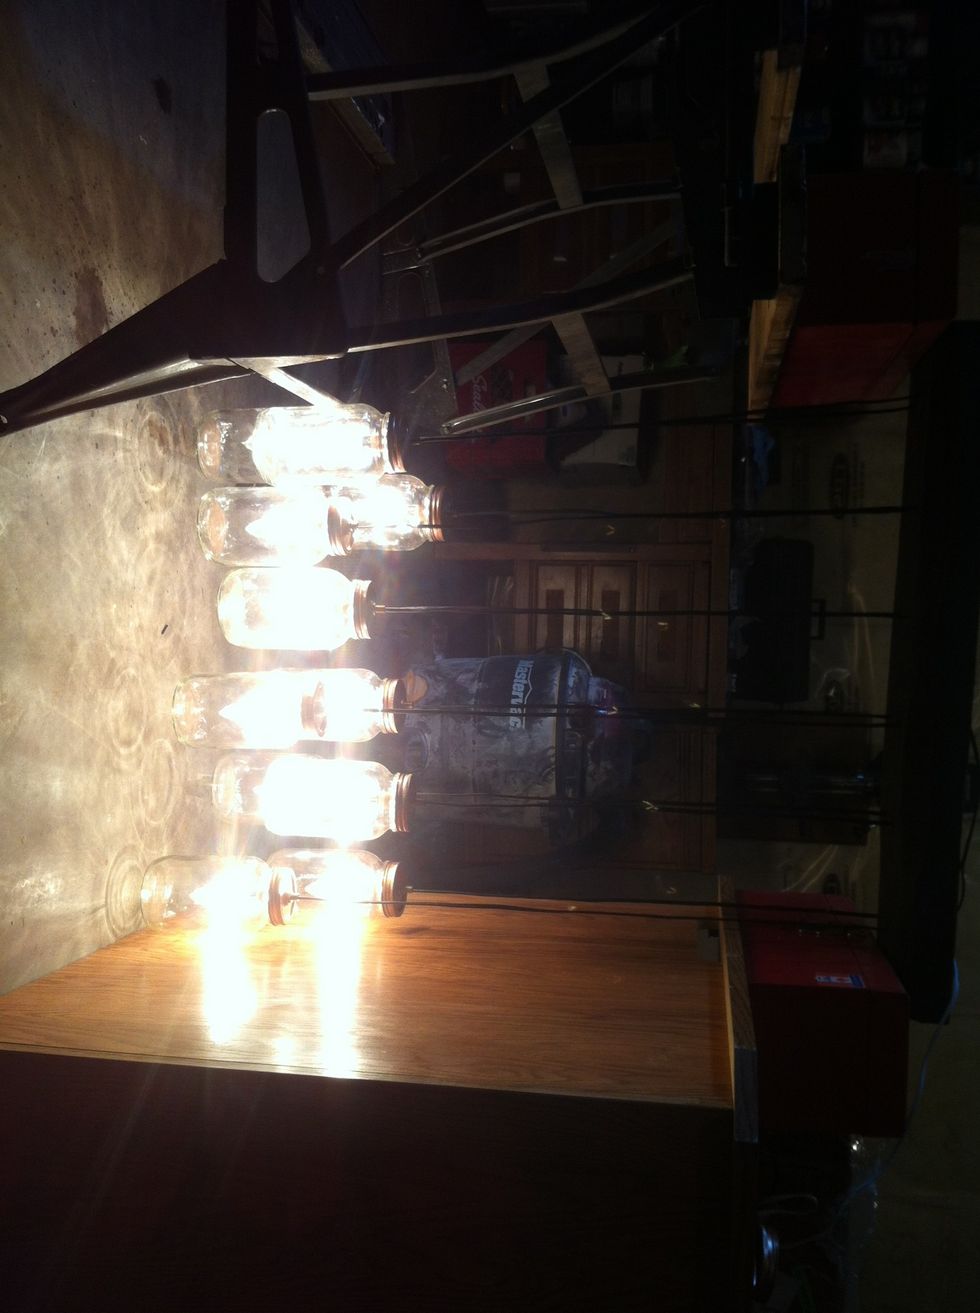
Here I connected the final wire to a plug to test. Yay! It works.
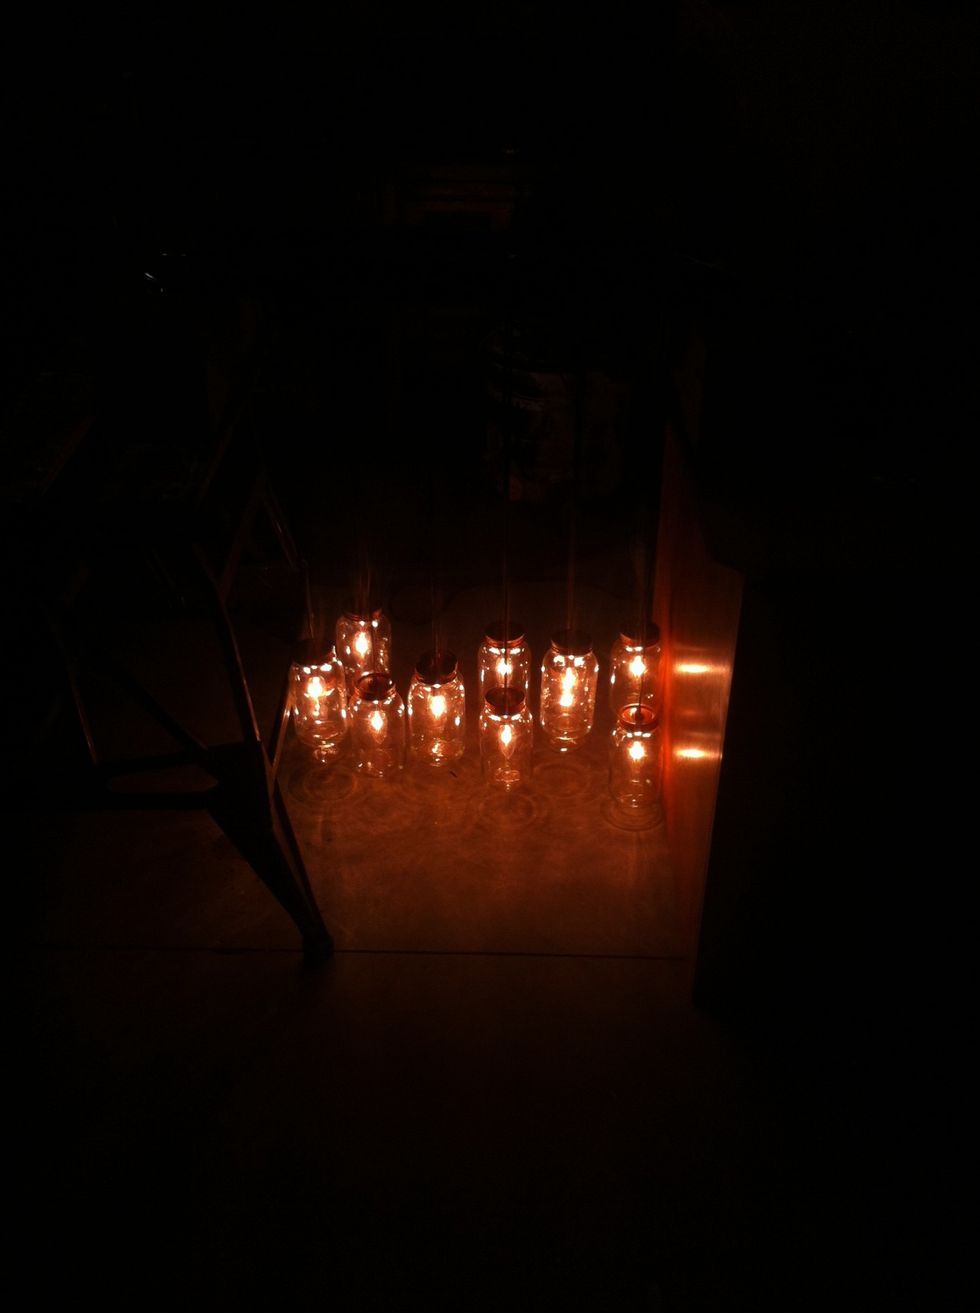
Connect the same wire to the wires in the ceiling mount the wood to the I beams in the ceiling. Enjoy!