The Conversation (0)
Sign Up

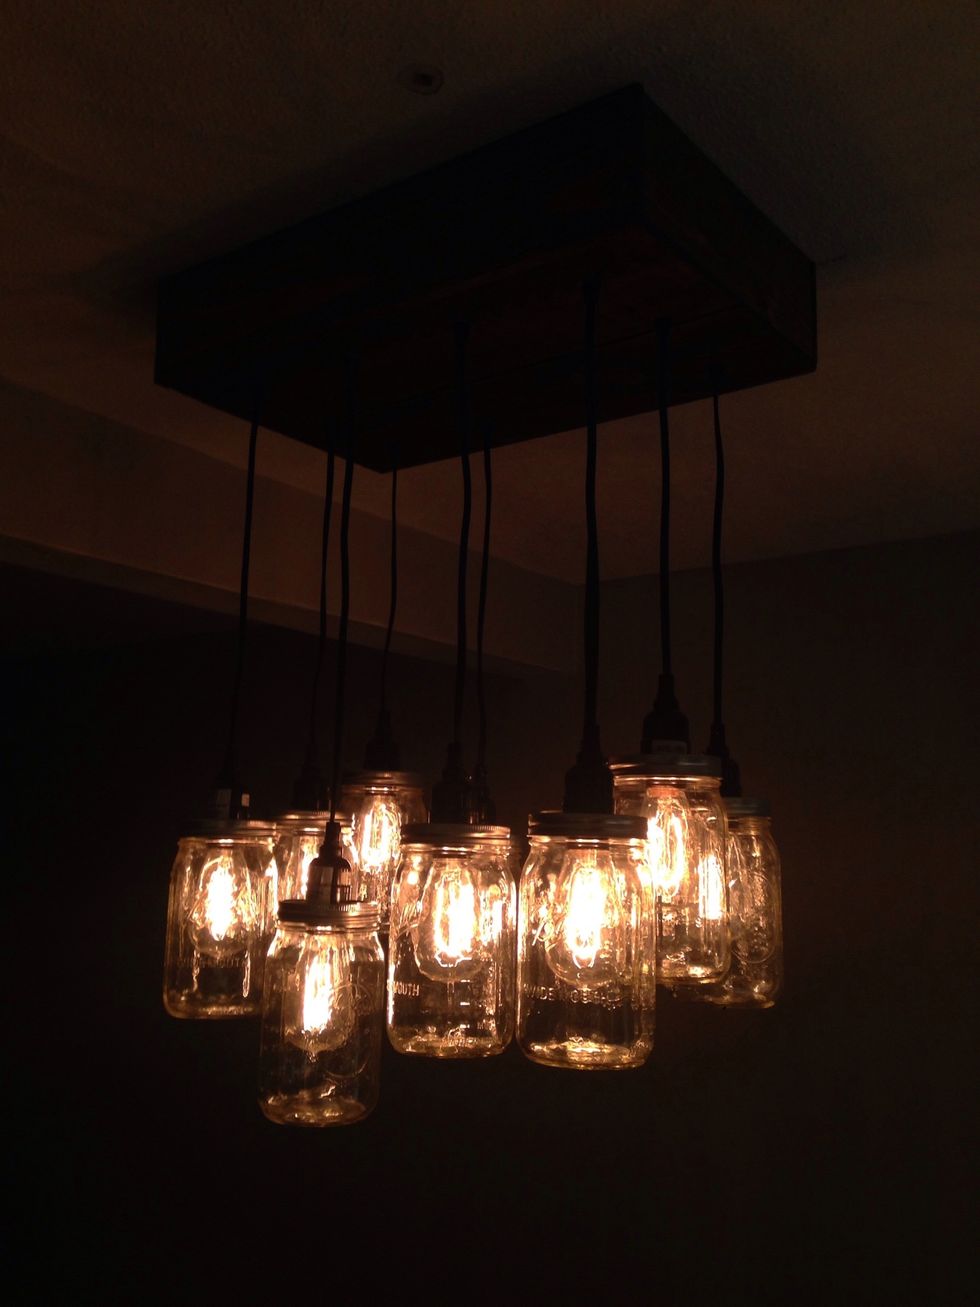
We stained a wine crate we got for free at a liquor store.
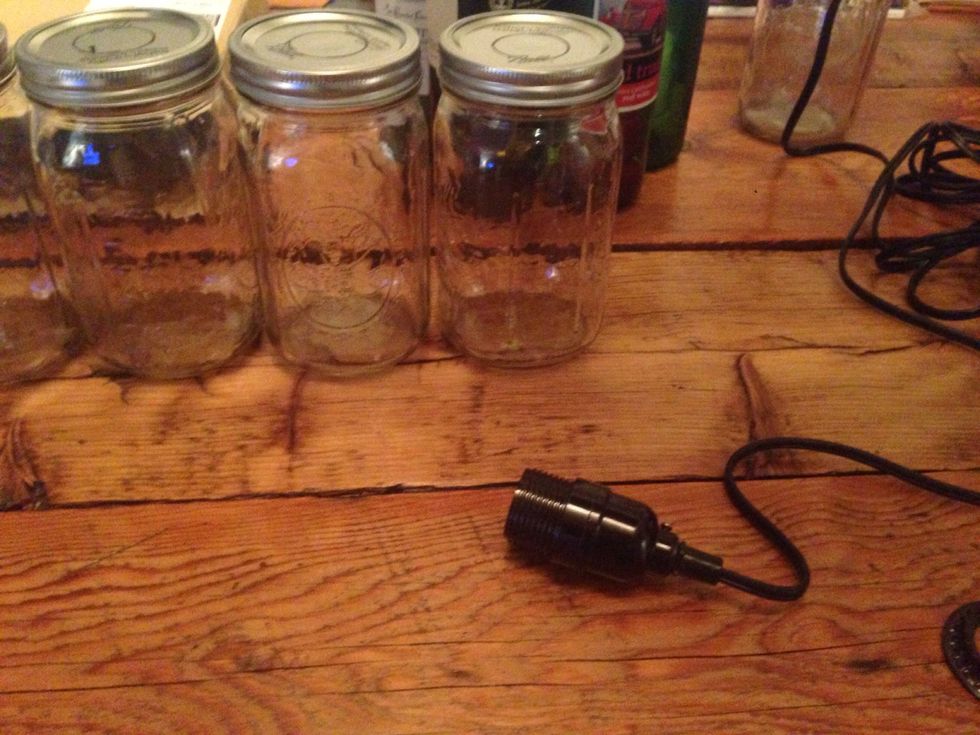
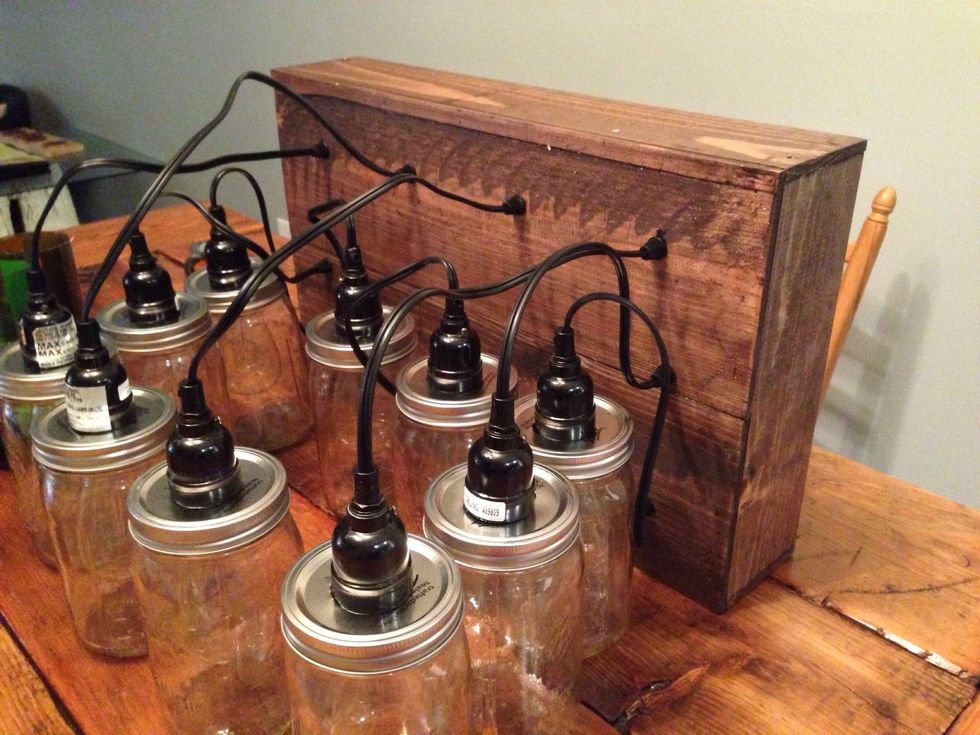
We started with a 5 hanging fixture kit from world market. We took each cord out from the original base and cut the wire ends.
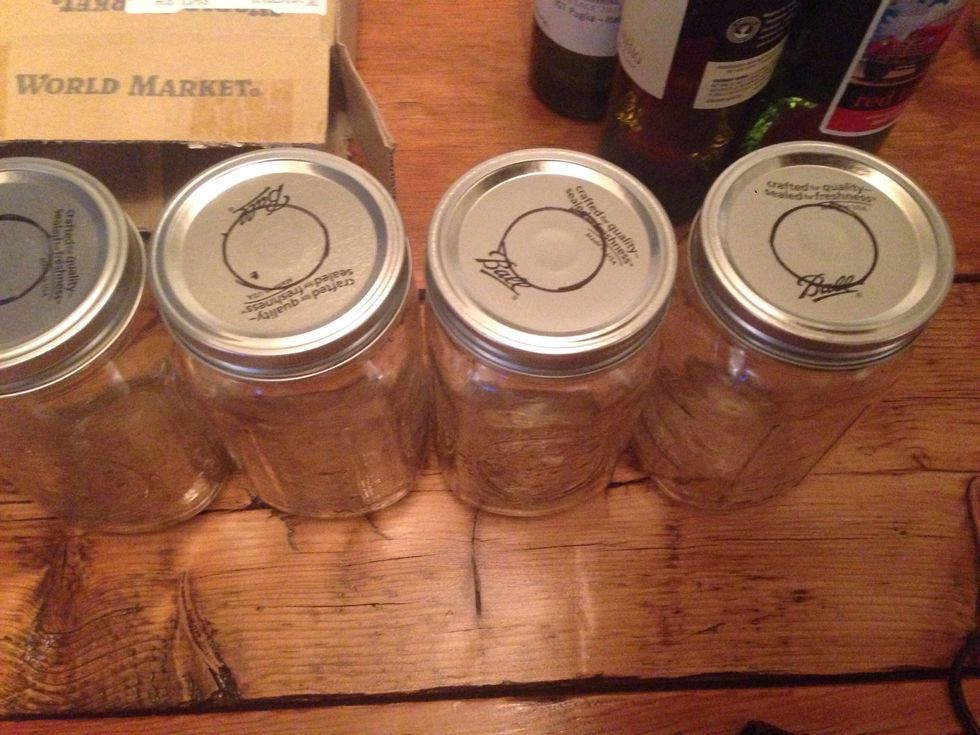
Trace the fixture size on the top of the mason jars and cut out the holes. (We used a knife but be careful with whatever you use!)
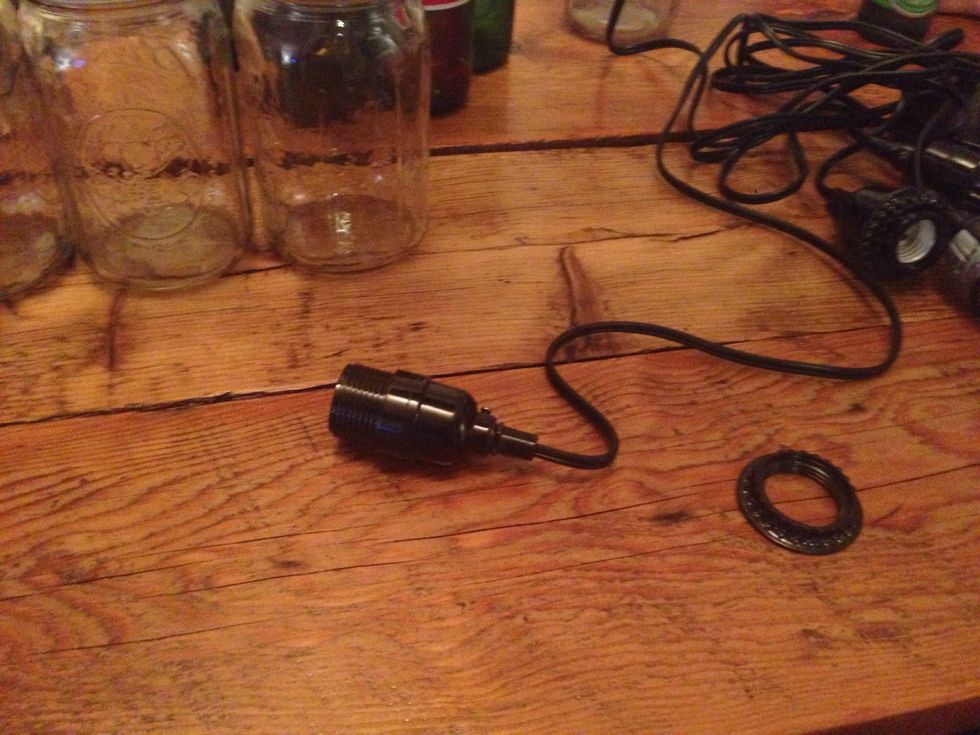
Once the holes are cut your going to remove the ring from the end of the fixture. Twist the top of the jar, where you cut the hole, including the outer ring onto the fixture.
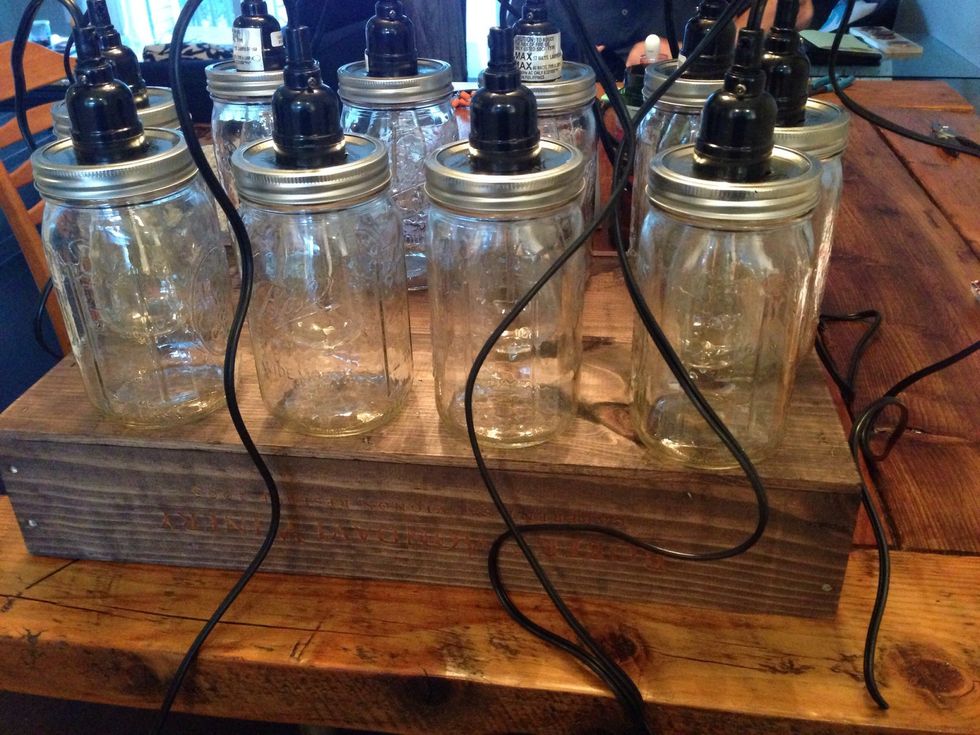
Once that's on return the black ring to the bottom portion of the mason jar lid and twist to secure the lid to the fixture.

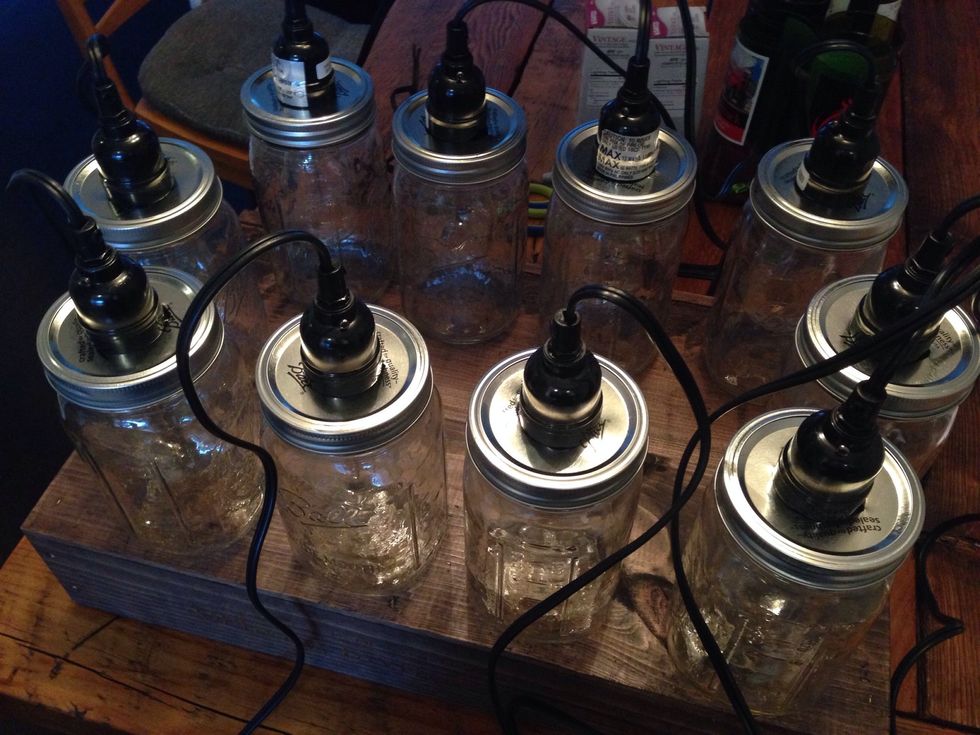
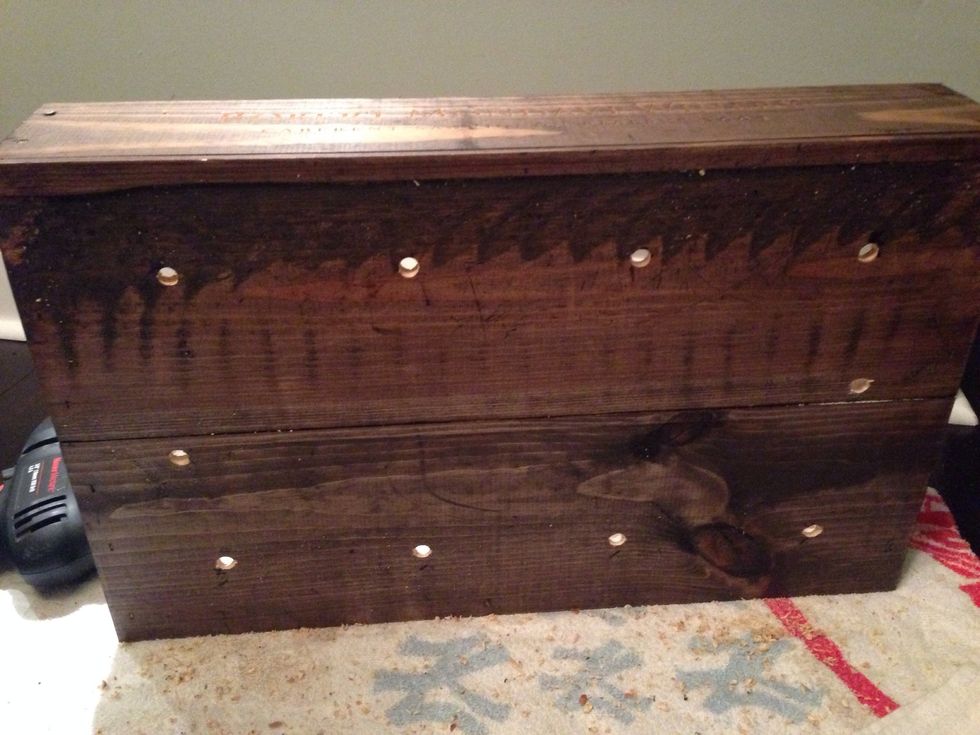
Measure and mark where you'd like your jars to go.

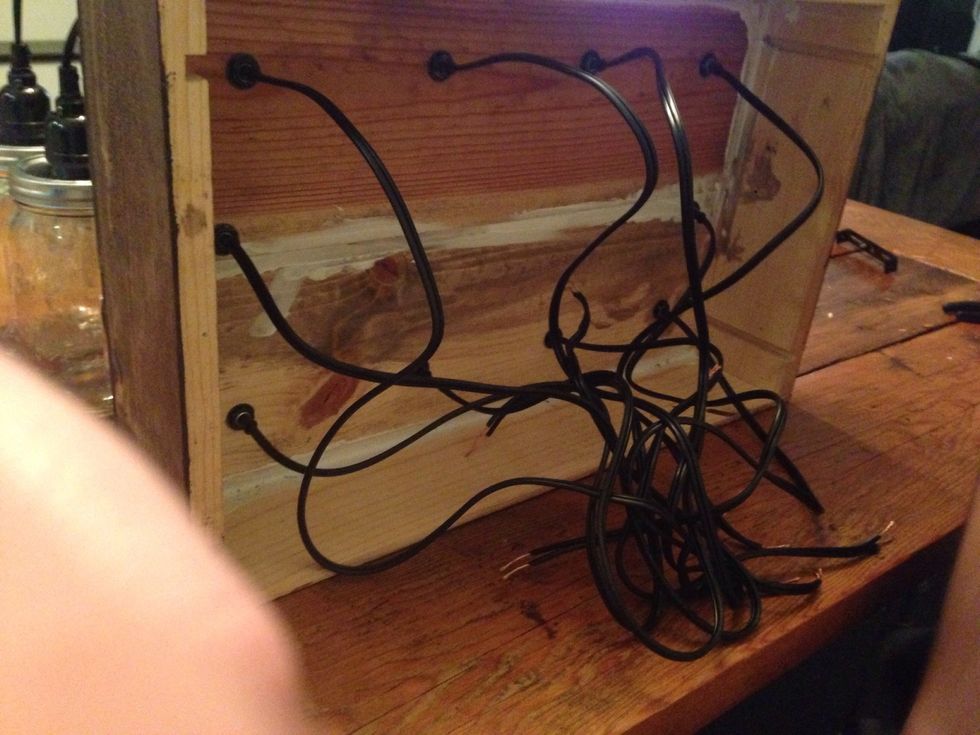
Drill holes in the marked spaces, large enough to fit the cords through.

We used the pieces we'd taken apart from the original 5 light kit to make it look more clean then just hanging cords.
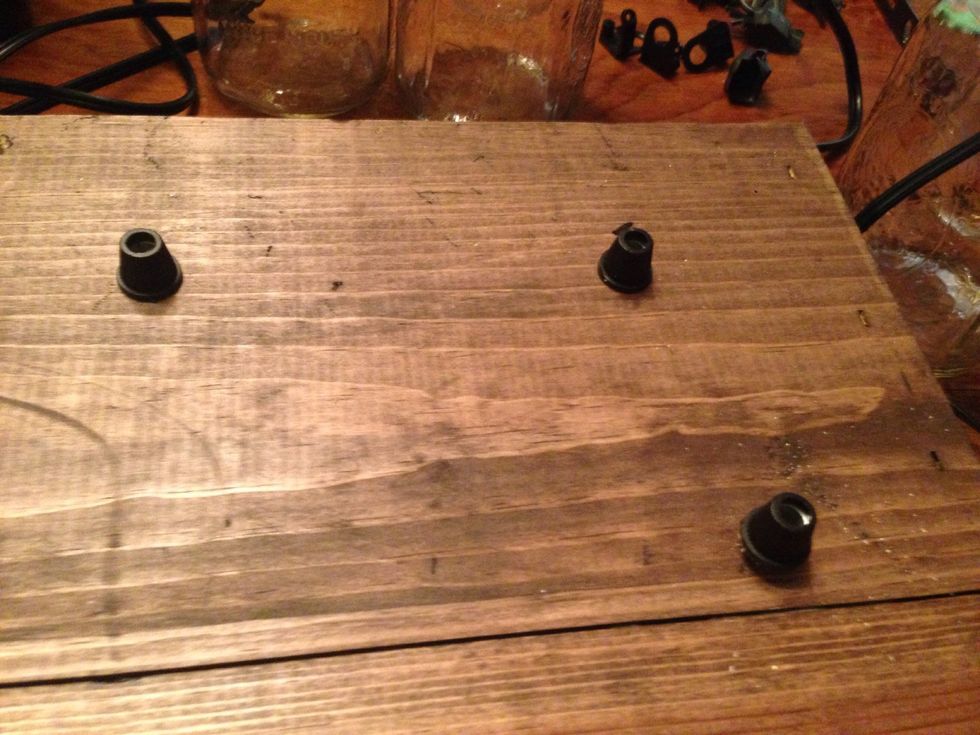
Place the portions from the original base into the holes.

Secure with the washers.

Use the small black tabs (they look like top hats) to determine the length you want for the cords from the inside.
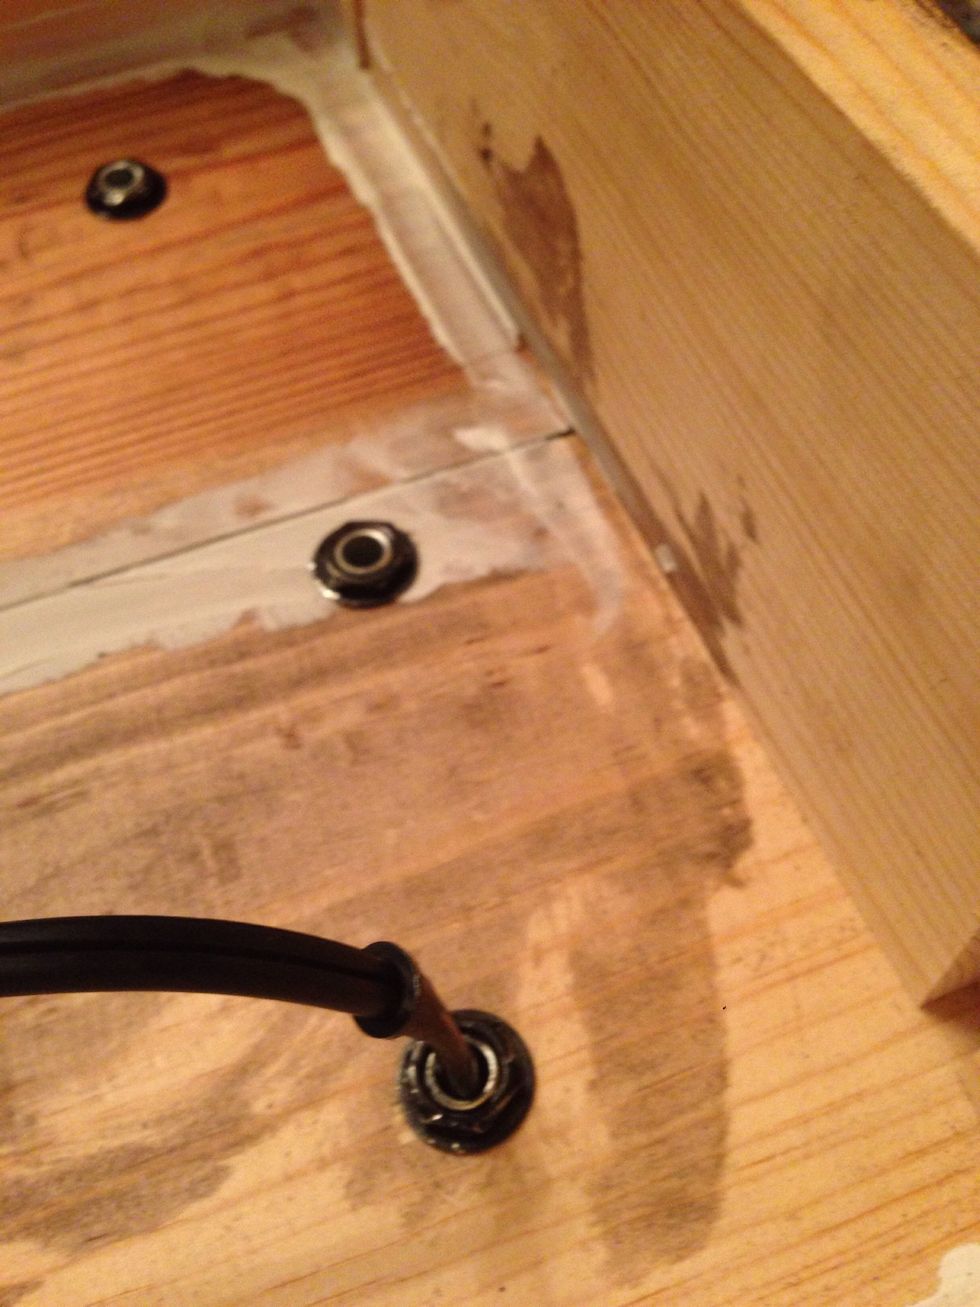
Thread the wires from the top into the box and pull through.
Decide and measure the length you want each light to hang.
To make the wires more secure use electrical tape. Put all the lead wires together & and the neutral wires together and secure with wire nuts. Leaving one of each to connect with the light source.
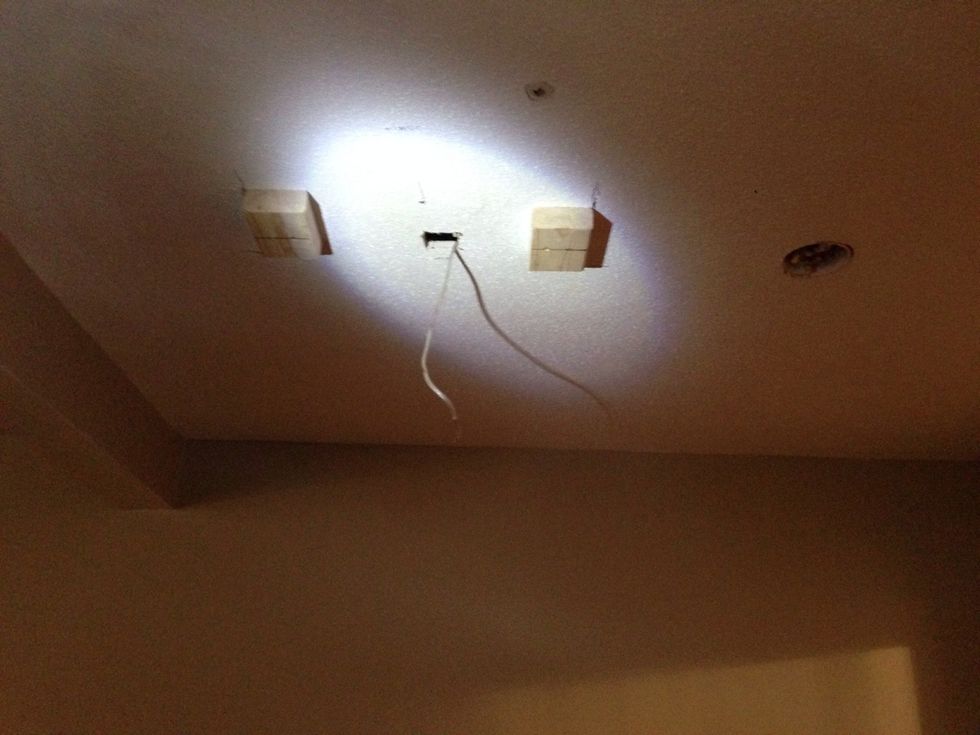
We created brackets that we screwed to the stud. Then we placed the box on top and secured with two wood screws into each end.
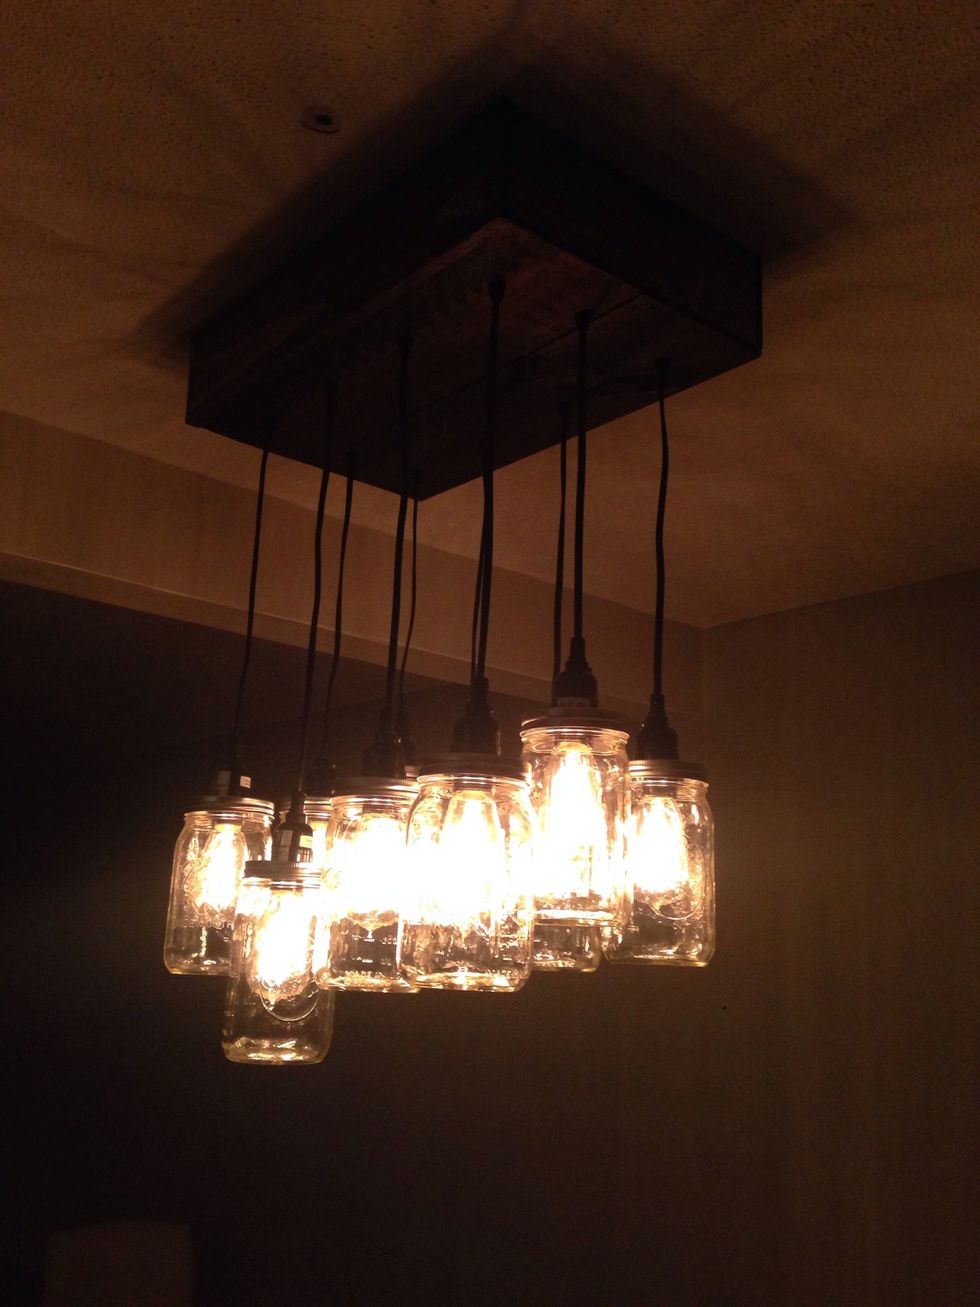

To see more about this guide and other projects check out our blog! www.homechichouse.com