The Conversation (0)
Sign Up
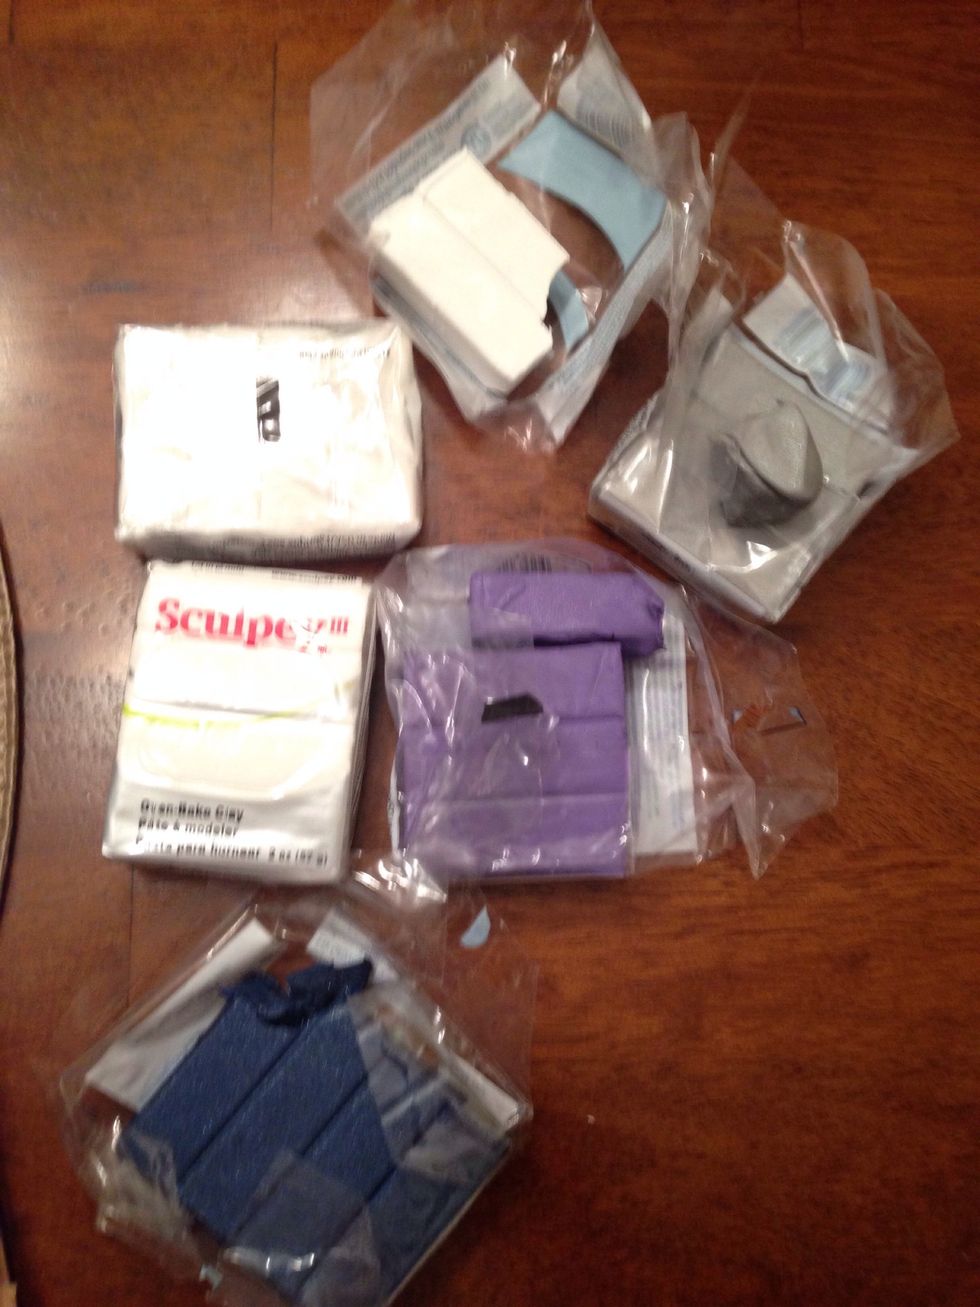
Use white, grey, and black with two color clays of your choice

Knead clays for best results before rolling them into 5" pieces. I had two white large rolls, grey medium roll, my colors are smaller, and a extra thin roll of black.
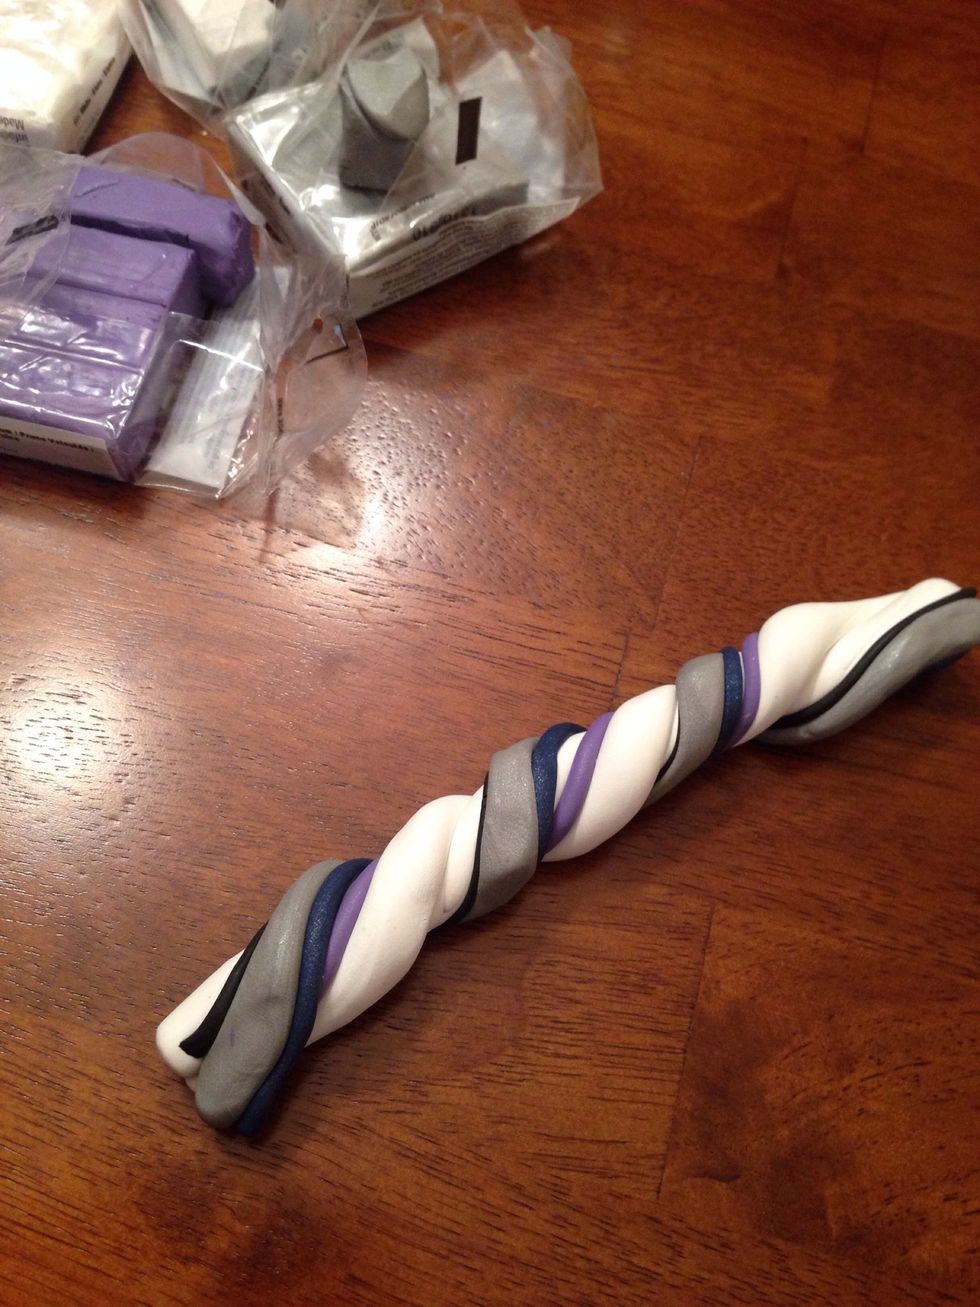
Make one large roll with your individual 5" rolls and twist. Twist the large roll out to 10" and fold in half.
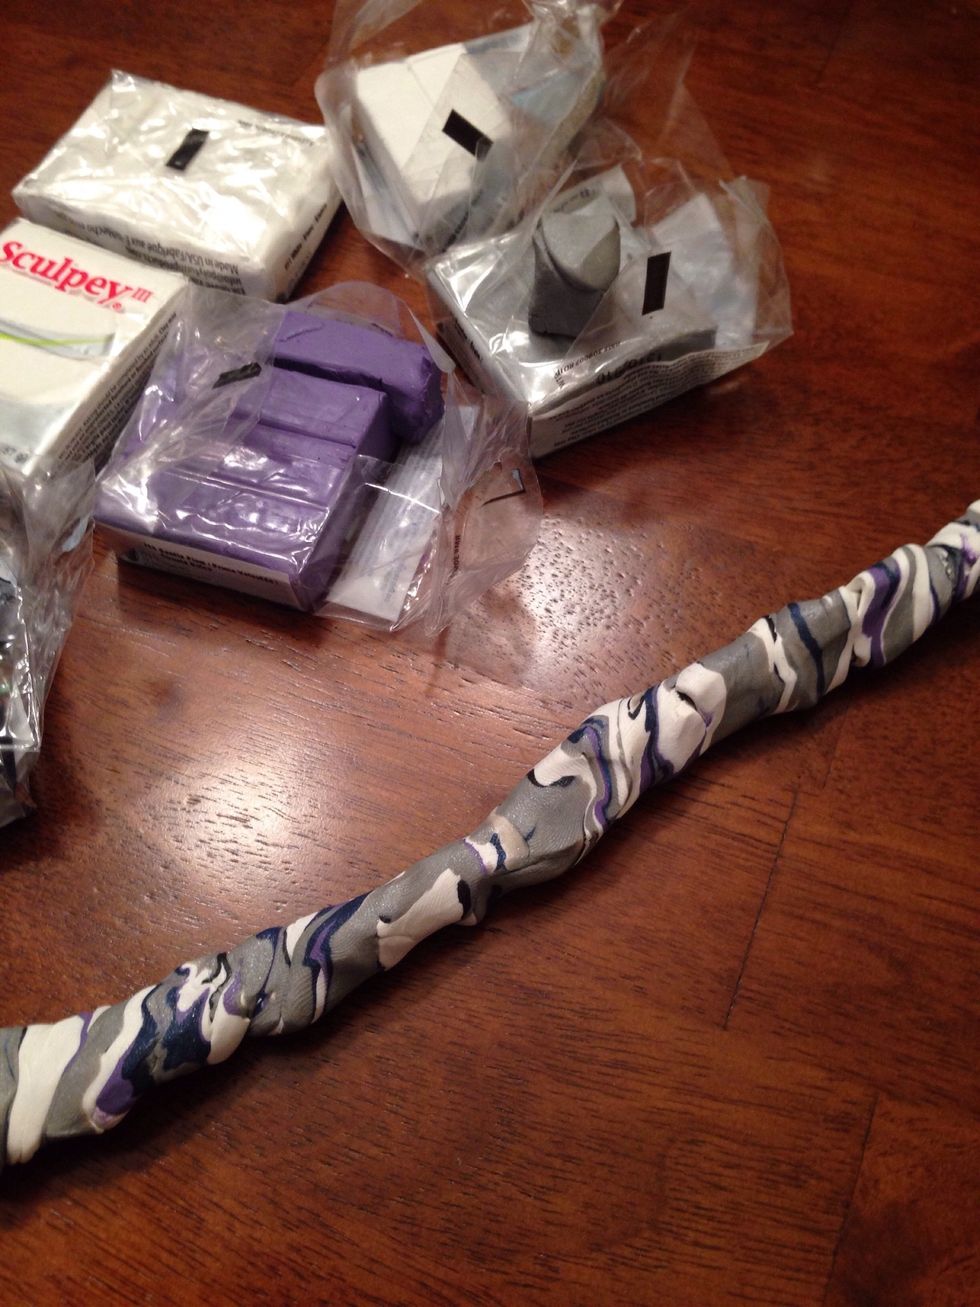
Repeat process 2 to 3 times making sure to always have a roll and never scrunch your 10" roll into a ball. Colors will start blending to make its "marbled" look.
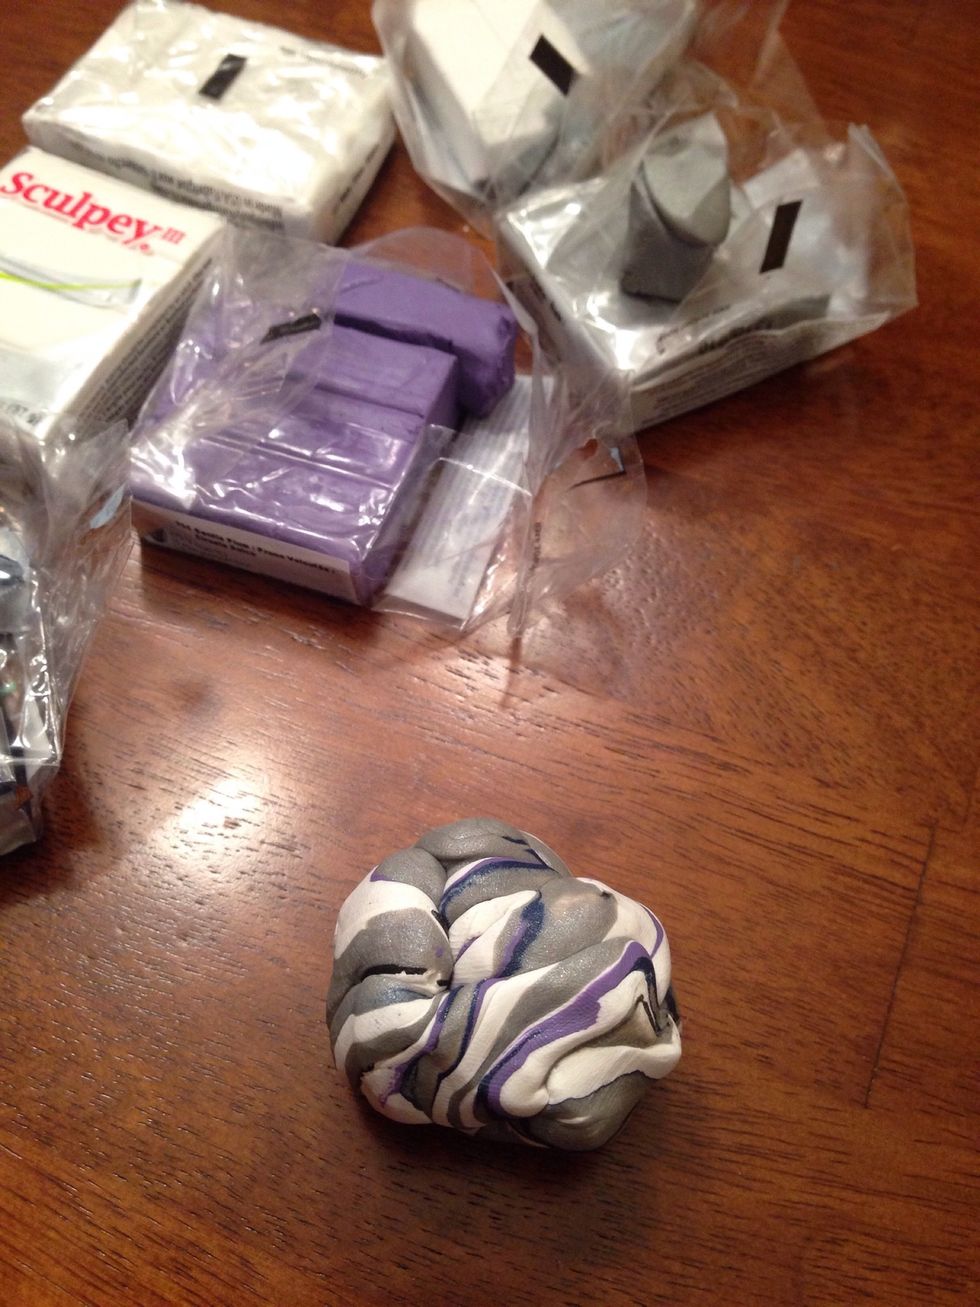
NOW scrunch into a ball once you've twisted the roll enough times.
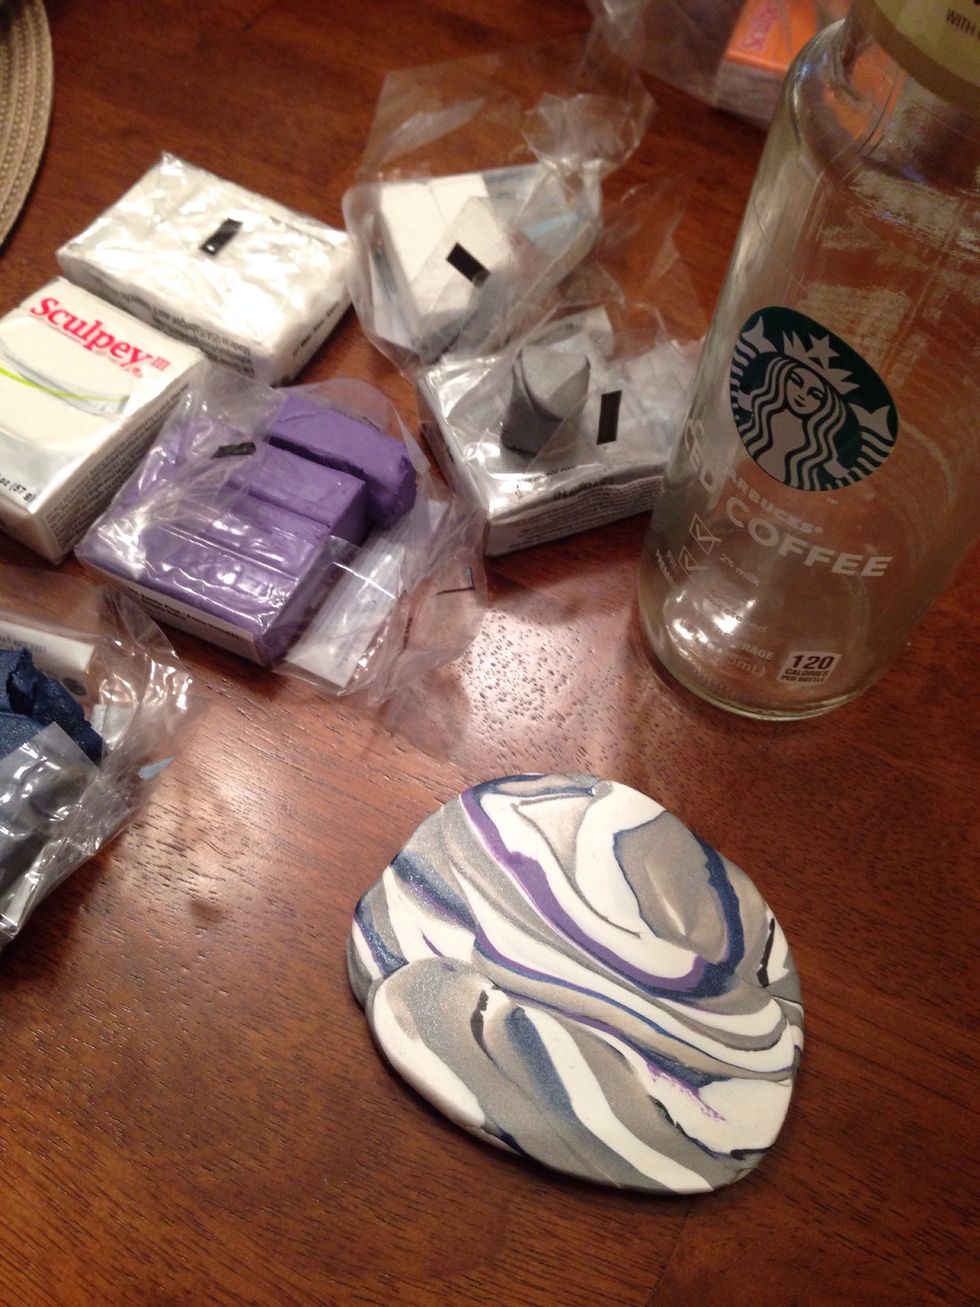
Find an area of your ball you like best, making sure plenty of colors are at the surface. I used a Starbucks coffee drink to roll out the clay because it's clear as you can see the pattern.
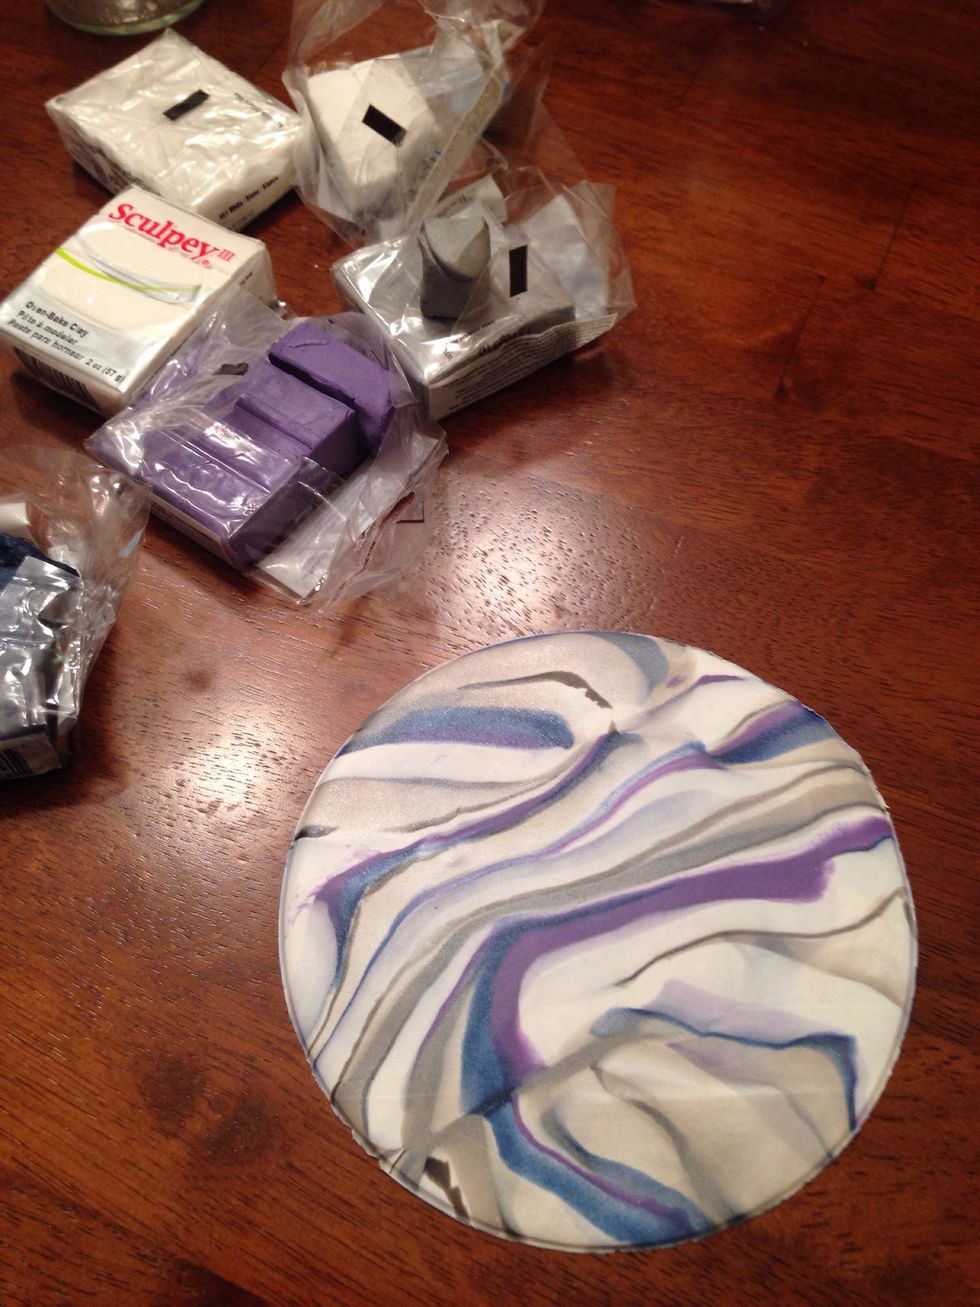
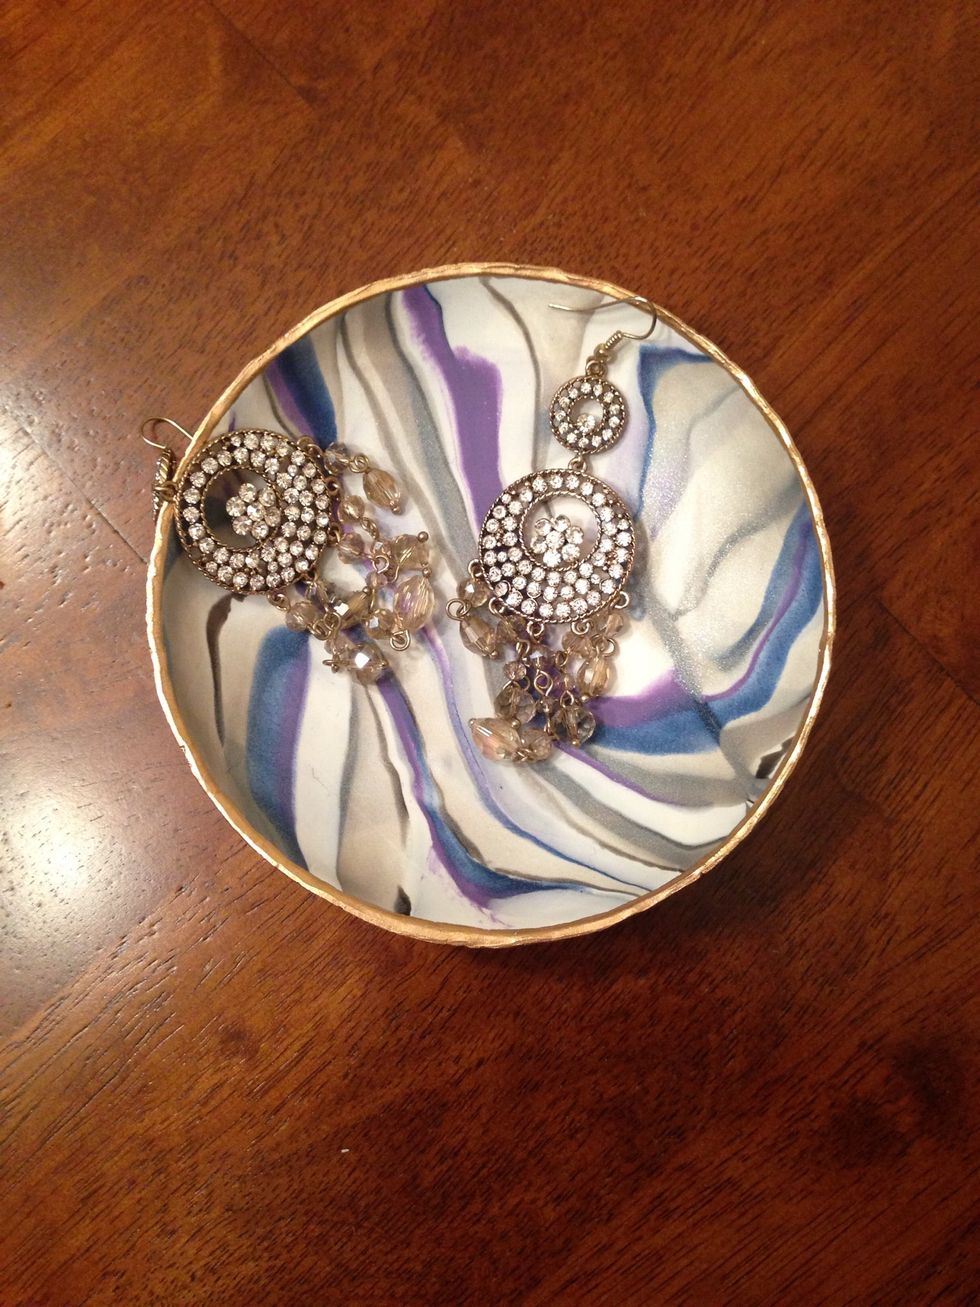
Use a rolling pin to finish making a flat 6" circle. Find something around the house (coffee can, small bowl) to cut out a circle. -I used a coffee can and simply pressed the can through to make this-

Place the clay in a oven safe dish that will give the clay it's dish like appearance. Bake according to directions -My clay was 1/16th of an inch thick and baked at 275 for 7 minutes-
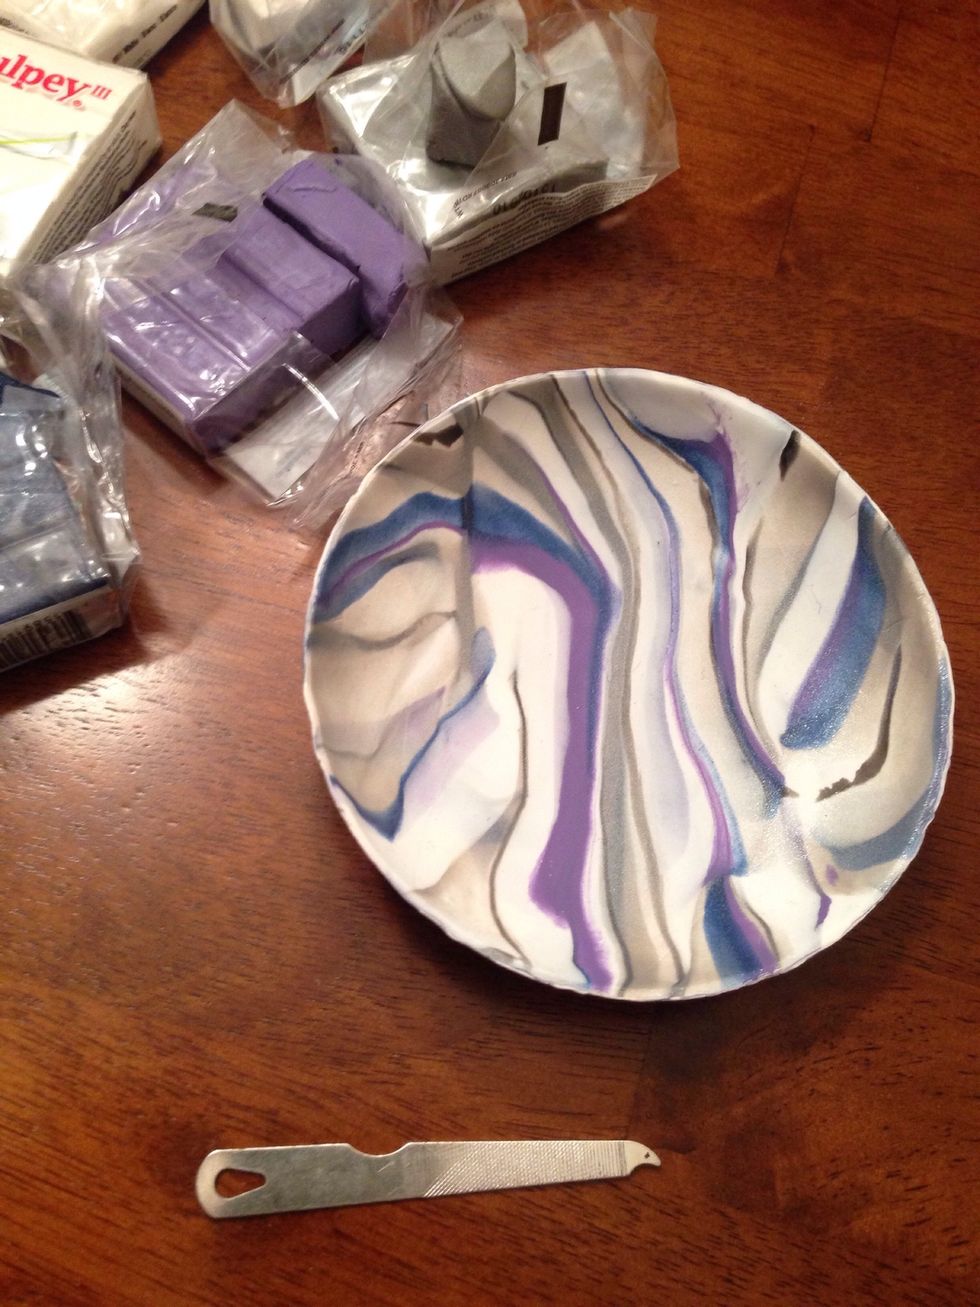
Let dish cool. Use a butter knife or flip your oven safe dish upside down to get your clay dish out. Sand edges down. -I used a nail file tool-

I decided to paint the bottom of my bowl gold. I really didn't care for the design on the bottom. If you enjoy your dish all around, skip this step! It's up to you :)
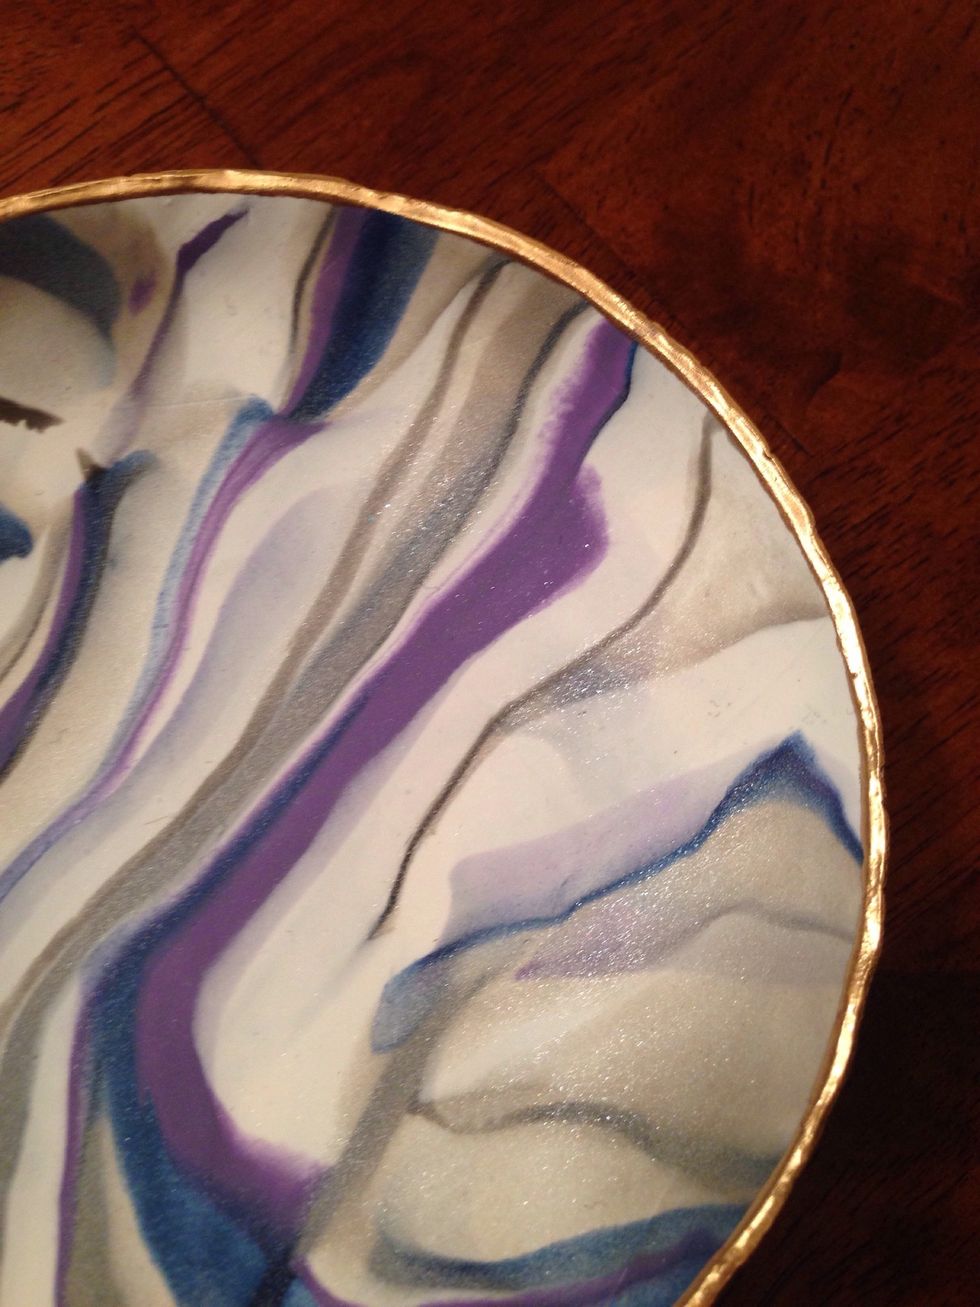
Finally, paint the edges of the dish with gold gilding paint.