The Conversation (0)
Sign Up

I found these great little tin boxes on Pick Your Plum, but any similar box would work. Available space on each front was 5" x 5.5"
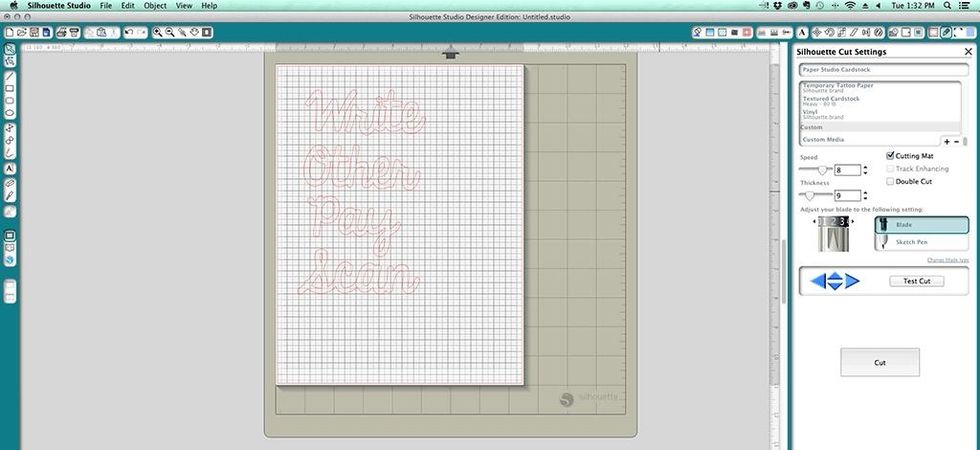
I measured my mailboxes, then used font KG Always A Good Time from Kimberly Geswein. I made the words 1.54" by 4.12"
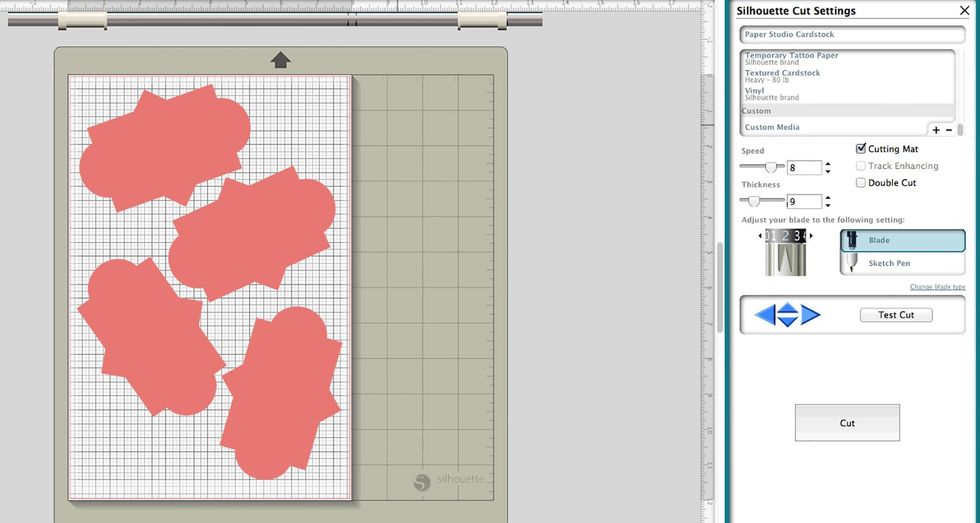
I cut the labels 3.5" x 5". Play around with the placement of your cut file images to maximize usability of your vinyl.
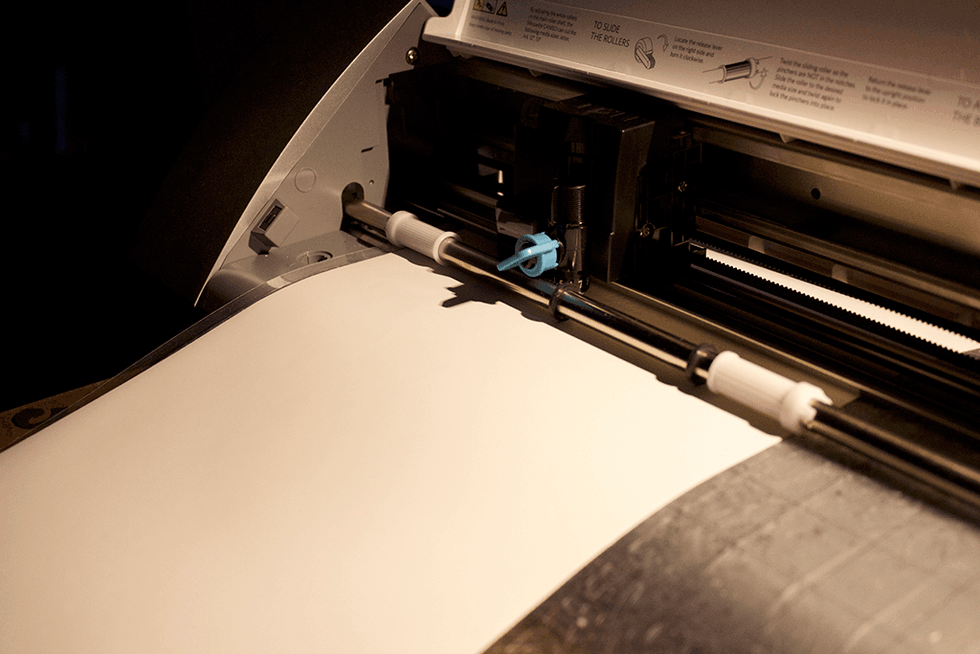
Using speed 8, thickness 9, and blade setting 2, I attached my MACal8900 Pro vinyl to a 12x12 cutting mat. Adjust rollers to the smallest setting. Use the "load mat" setting, not "load media!"
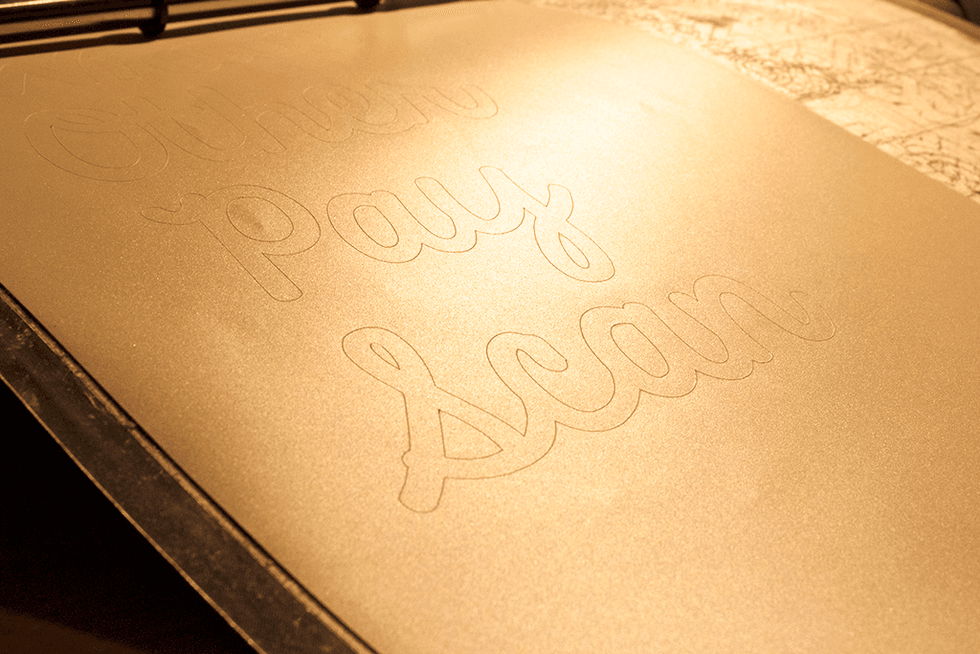
The letters cut so beautifully!

I used a free label cut file from Miss Katie's Cuttables, and cut them 3.5" x 5", then attached them to the front of each box.
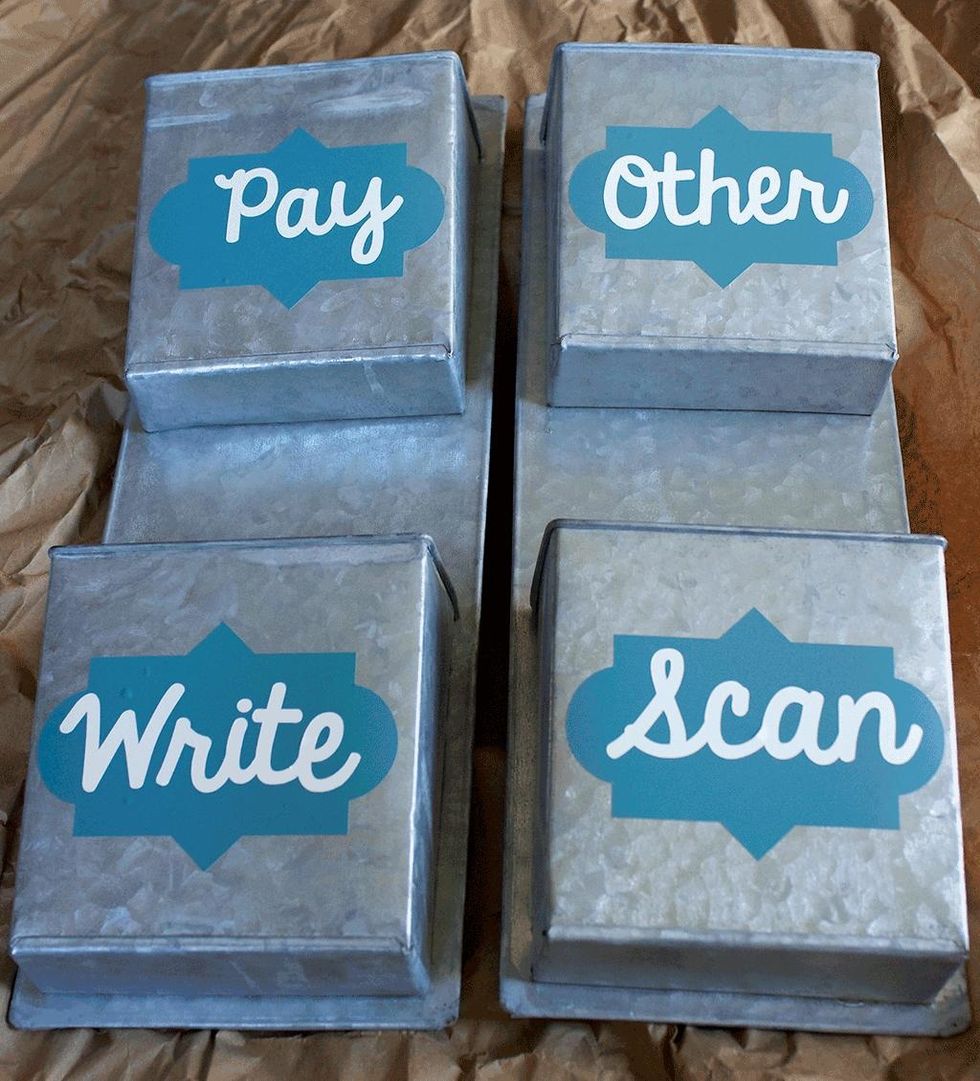
I just eyeballed the letter positions, but feel free to measure. I will next time, since mine aren't exactly perfectly centered. Use the side of a credit card to scrape out any air bubbles.
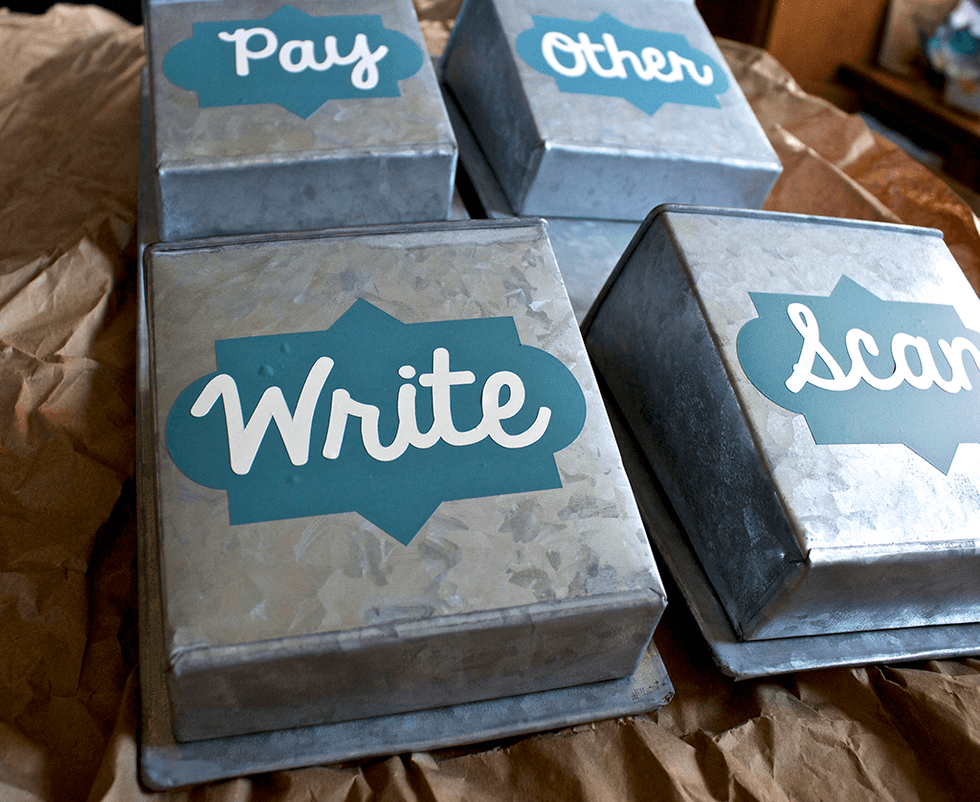
See those air bubbles? No matter how careful I am, I always end up with some. If you're unable to push them out, poke a TINY pinhole in the middle and press the air toward the hole to flatten.
Thank you for looking!