The Conversation (0)
Sign Up
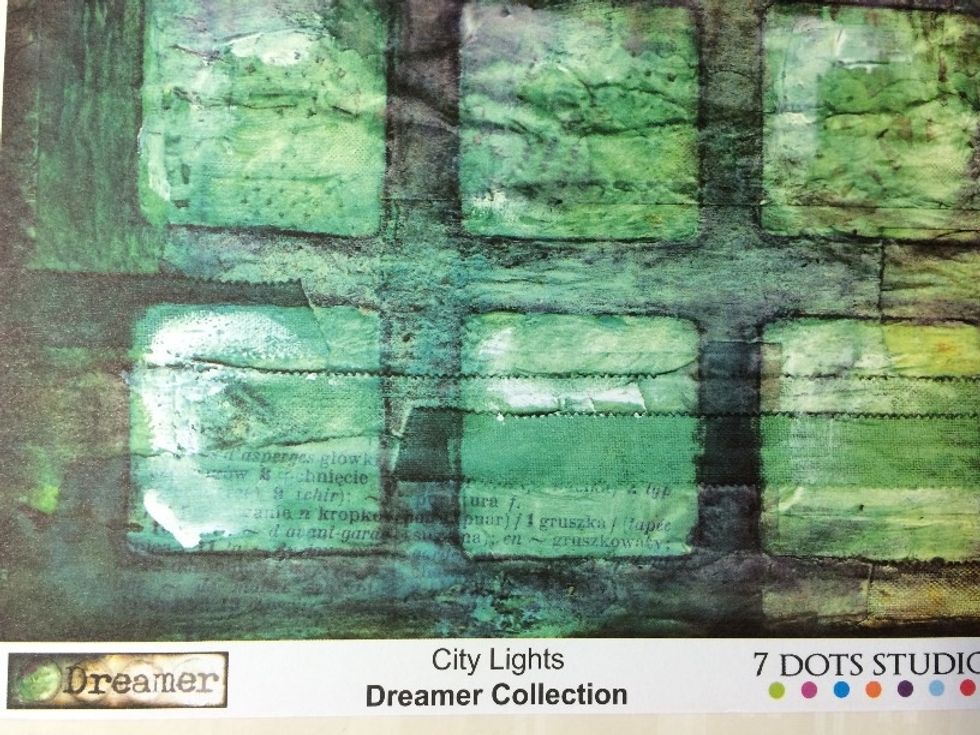
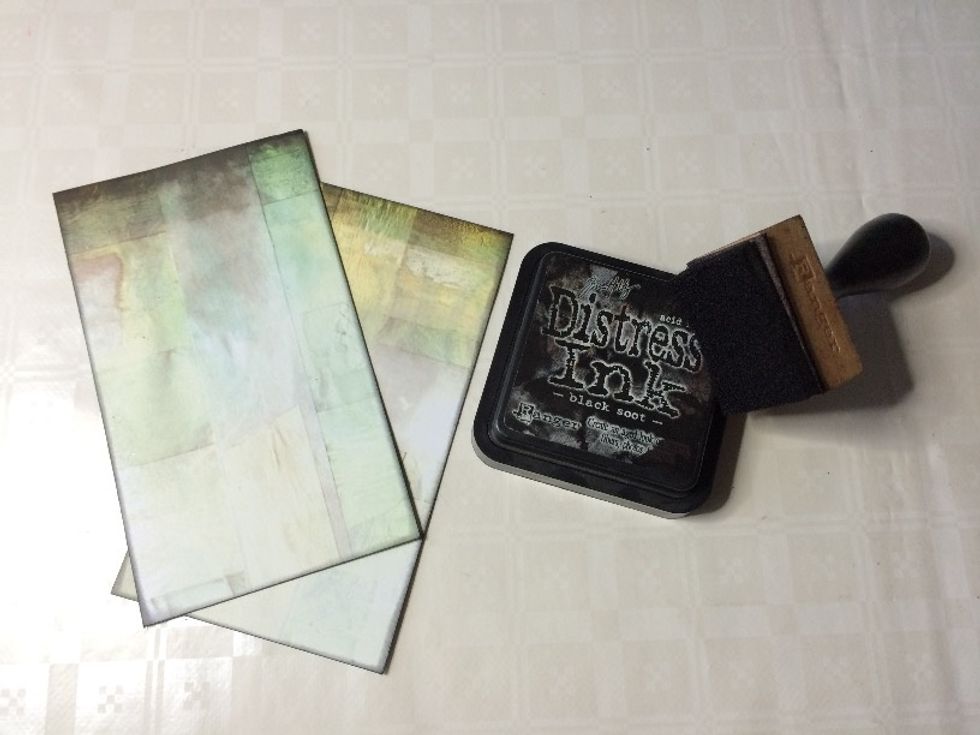
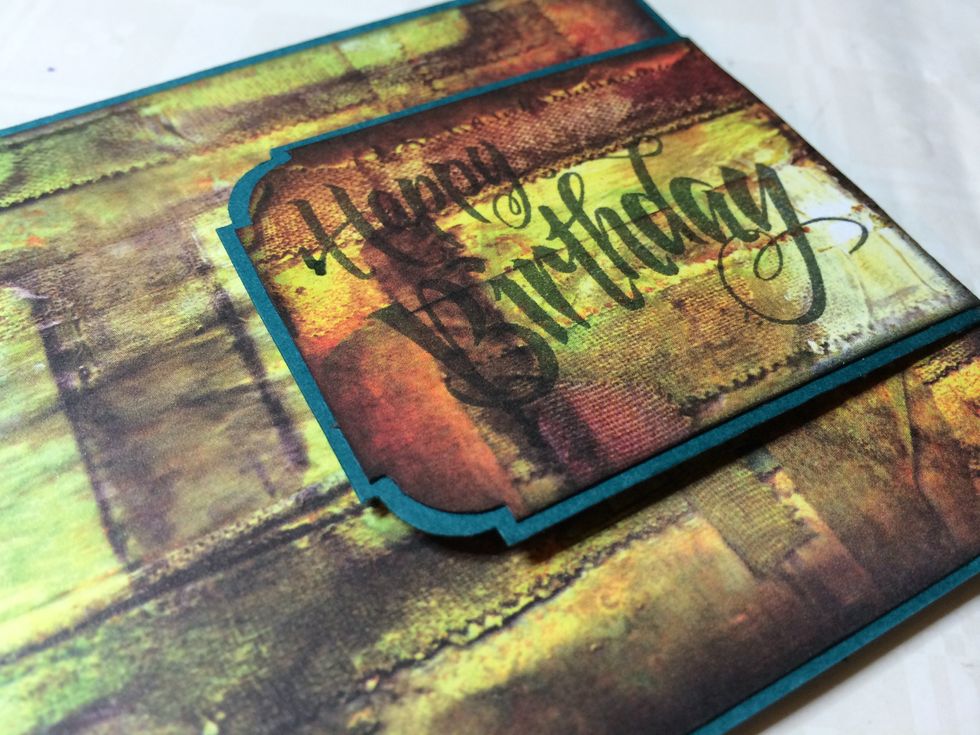
I used the Dreamer collection by 7 Dots Studio, specifically the City Lights sheet. It is double-sided with a colored and a light side, which makes it perfect for this type of card.
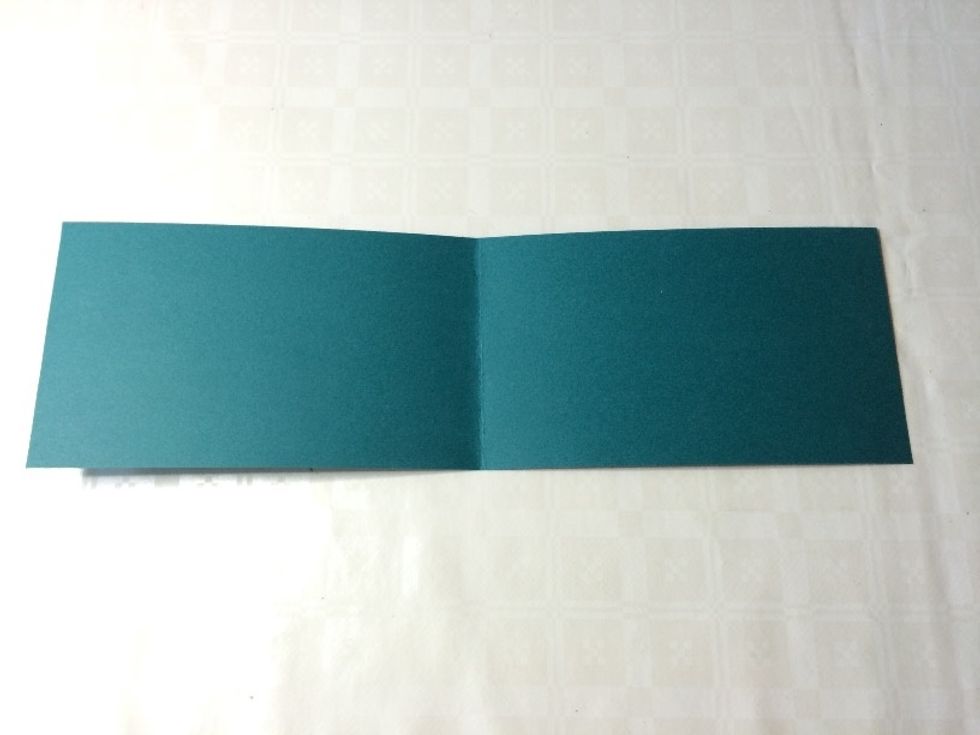
Cut a strip of cardstock of 29.5 x 9 cm (11⅝ x 3½”) and fold in half.
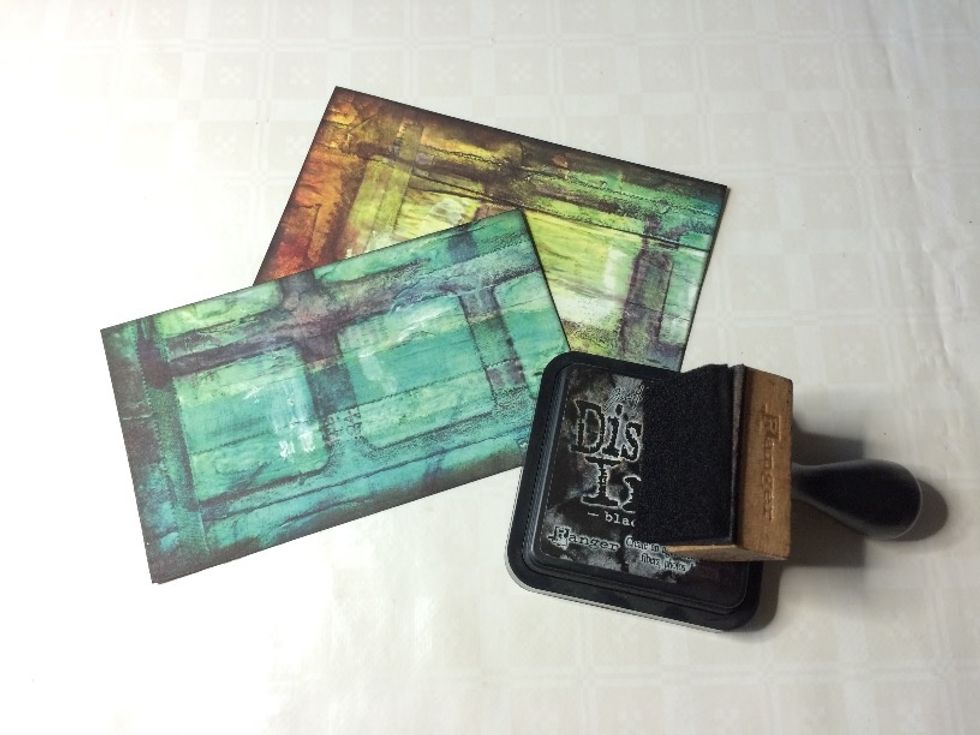
Cut two mats for the front and back, ink around the edges.
Mat the back of the card.
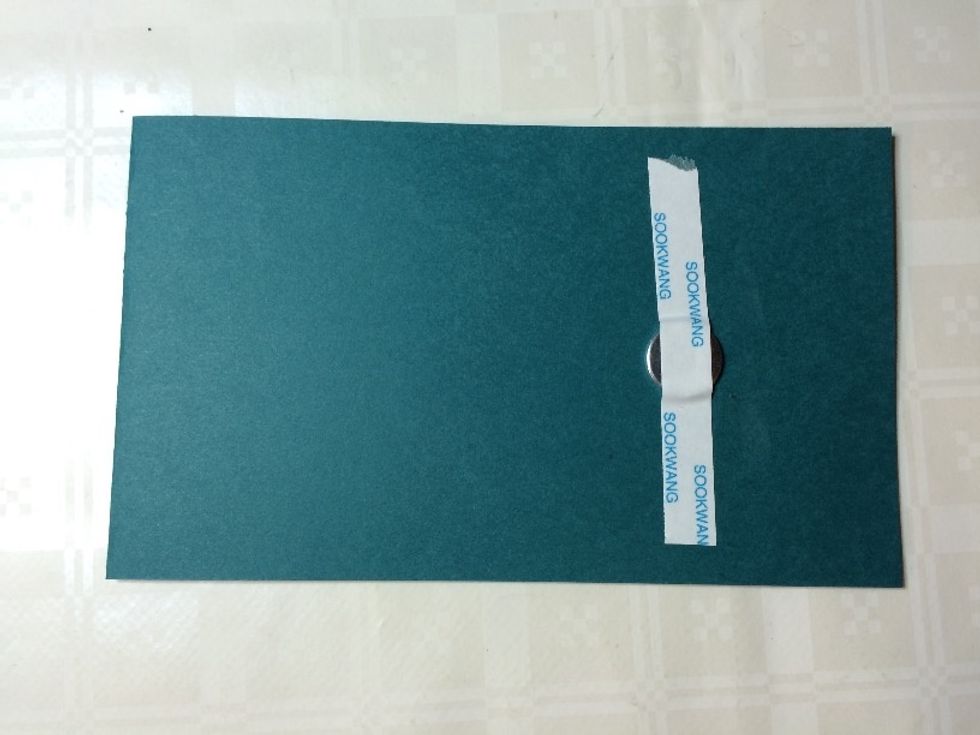
Attach a thin magnet to the front of the card.

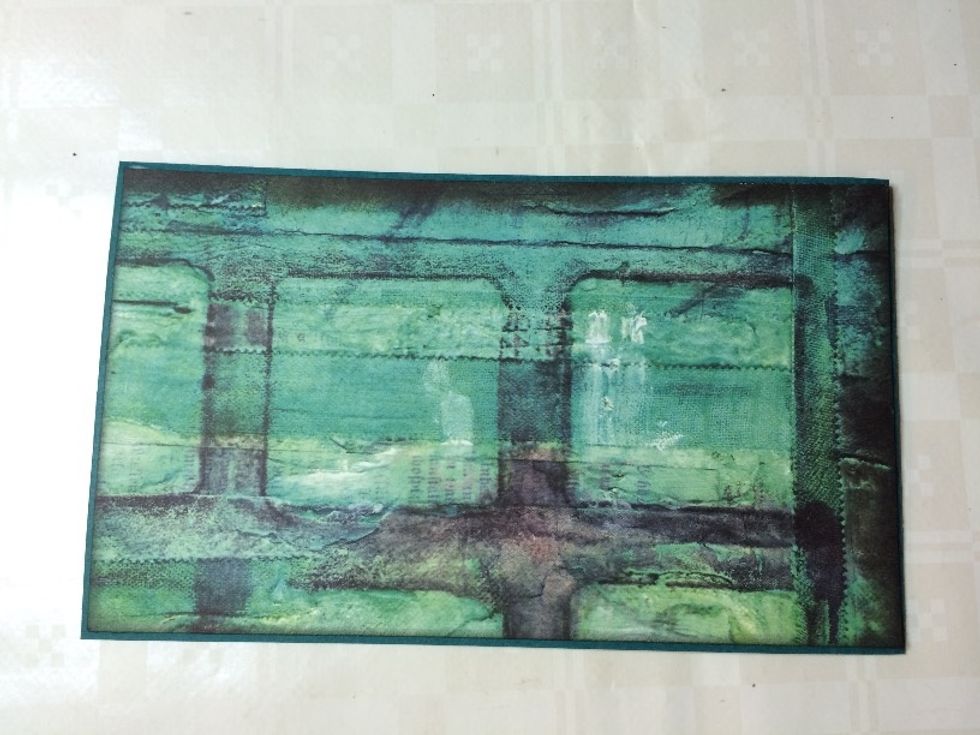
Mat the front.
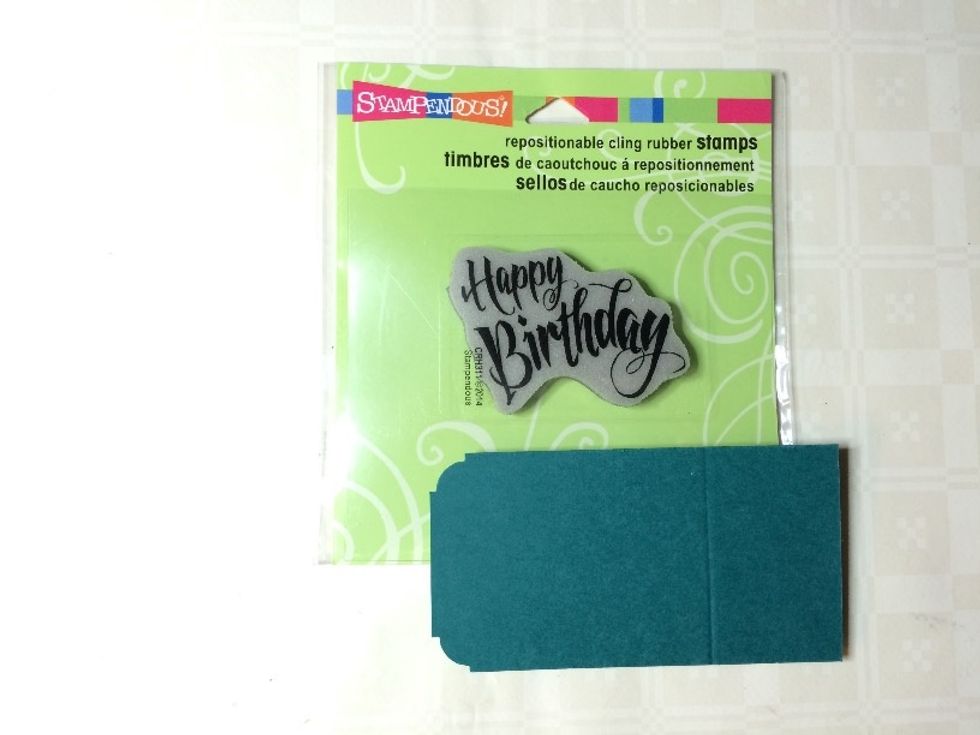
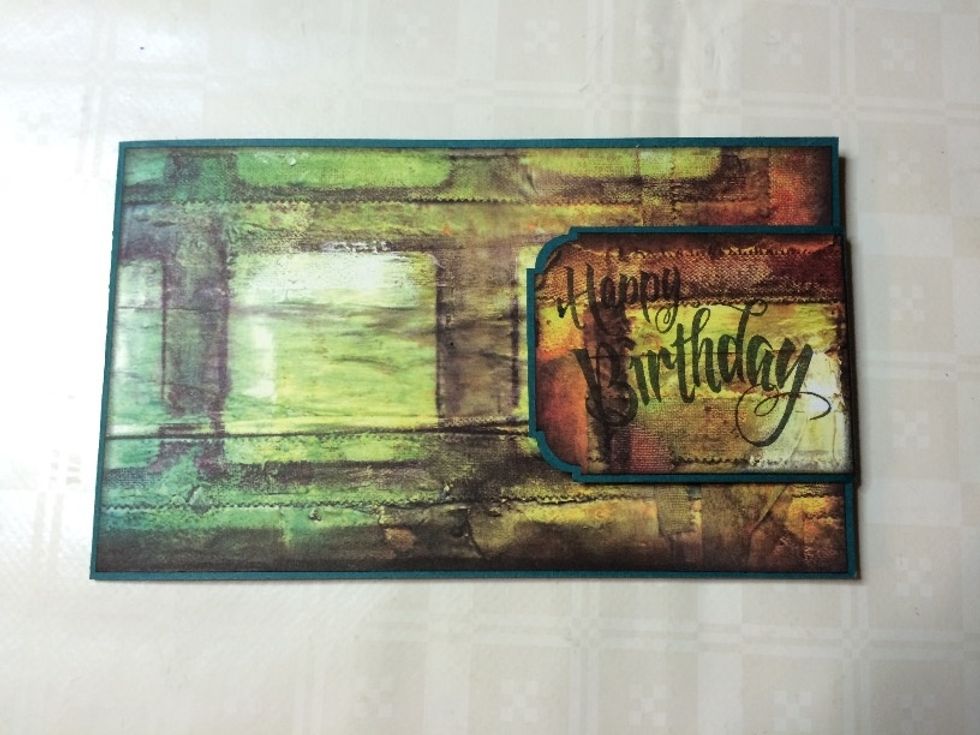
Choose a birthday stamp, measure its width and height. Cut and score a piece of cardstock accordingly, so the stamp will neatly fit. I chose a fun Happy Birthday stamp by Stampendous!.
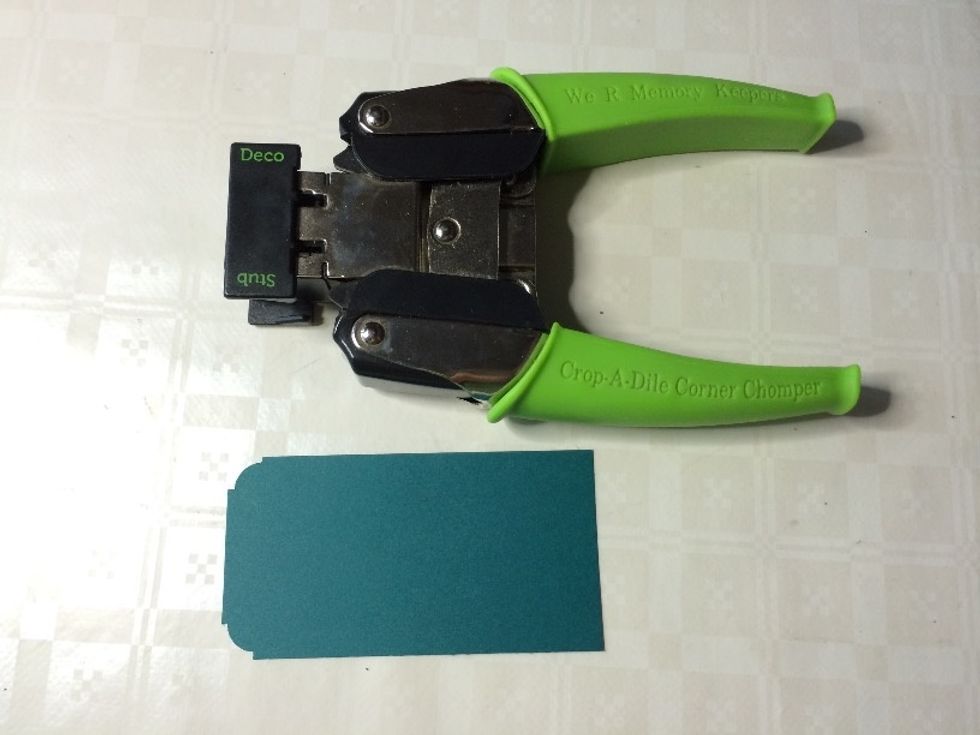
In my case I cut a piece of cardstock of 9.5 x 5 cm (3¾ x 2″) and scored at 6.5 cm (2½”) in order for the stamp to fit. To round the corners I used the Deco/Stub Corner Chomper by We R Memory Keepers.

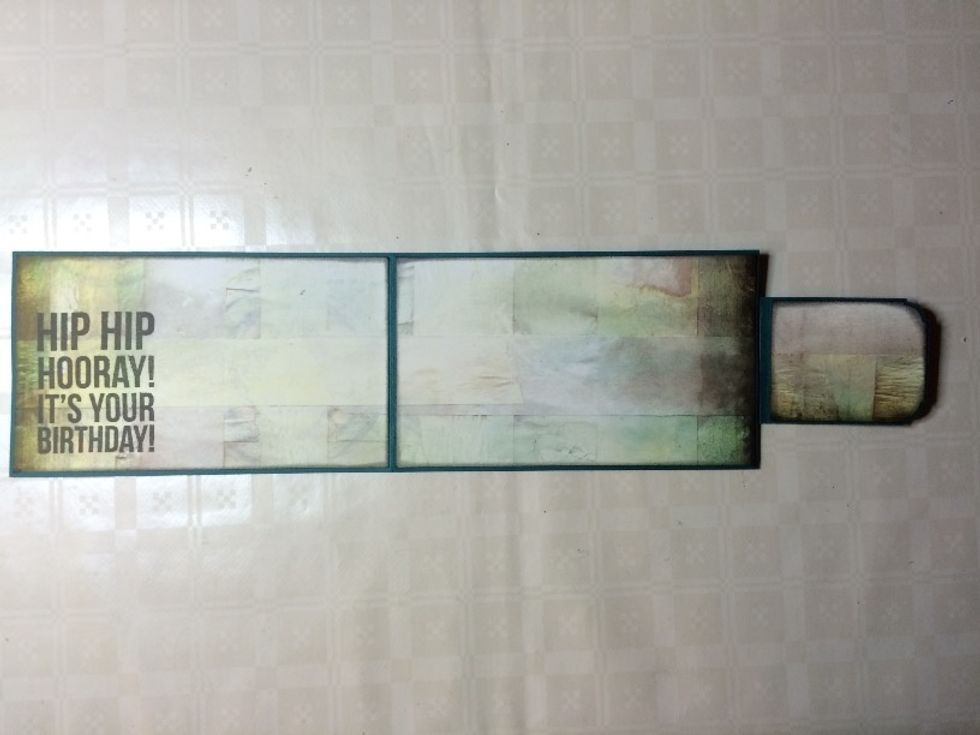
Mat the back of the folded piece and attach it to the back of the card with two brads.
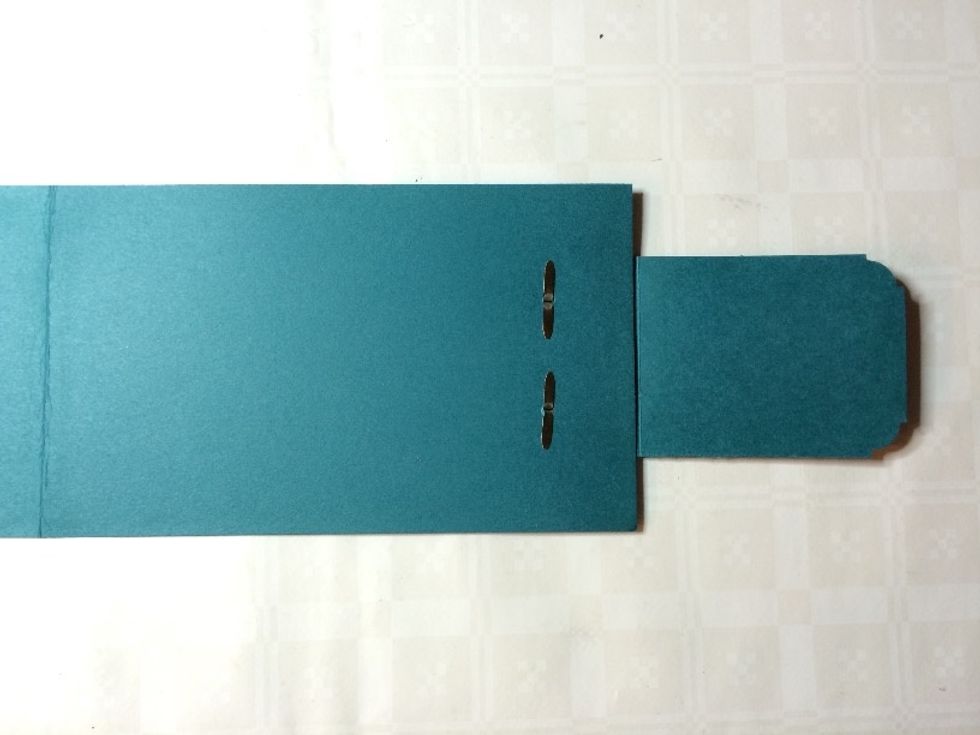
This is why we add the brads BEFORE we mat the inside of our card.

First stamp the mat for the outside of the closure piece, then mat the front of the closure piece. If you mat before you stamp, stamping will be more difficult because the brads will be in your way.
Mat the insides of the card, make sure to pick a light-colored design paper for you’ll have to be able to write your birthday wishes. I simply used the backside of my design paper sheet.
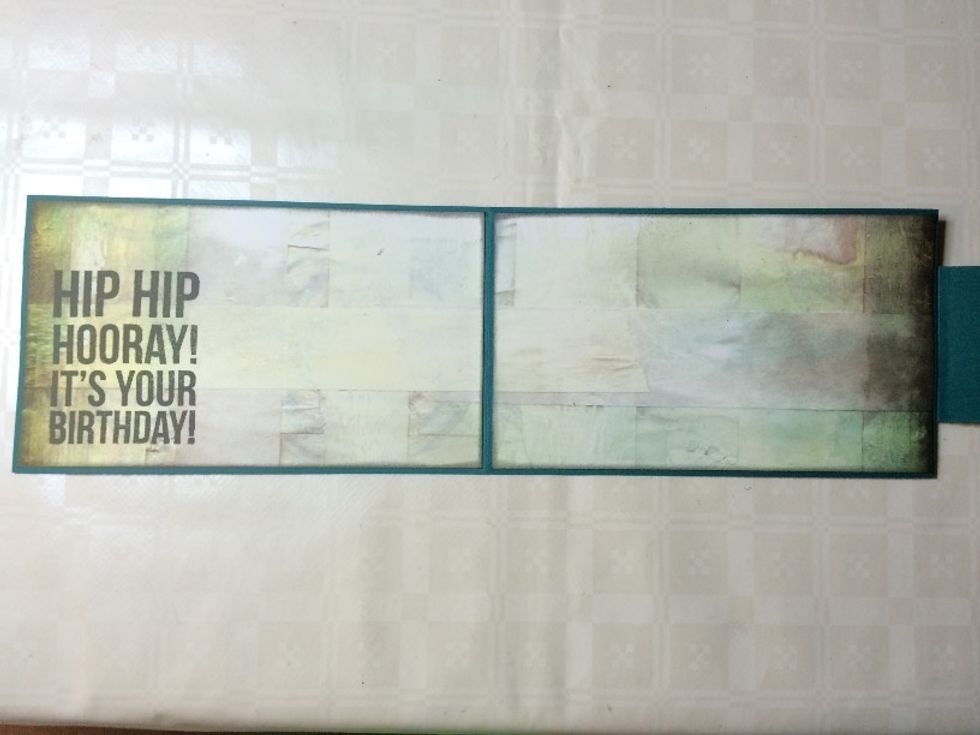
Stamp a sentiment on the left inside. I chose a Kaisercraft stamp with a clean, straight font to give it a more masculine feel.

Magnetize the closure. Make sure its placement will guarantee contact with the (hidden) magnet on the front of your card.
Mat the inside of your closure.
Congratulations, your card is done! The only thing left for you to do is to write a personal message on the right inside of your card.
Check out the show & tell video for this card: https://youtu.be/2LOb_opcCS8