The Conversation (0)
Sign Up

Draw your racing track on a piece of paper and trace its outline with a marker.
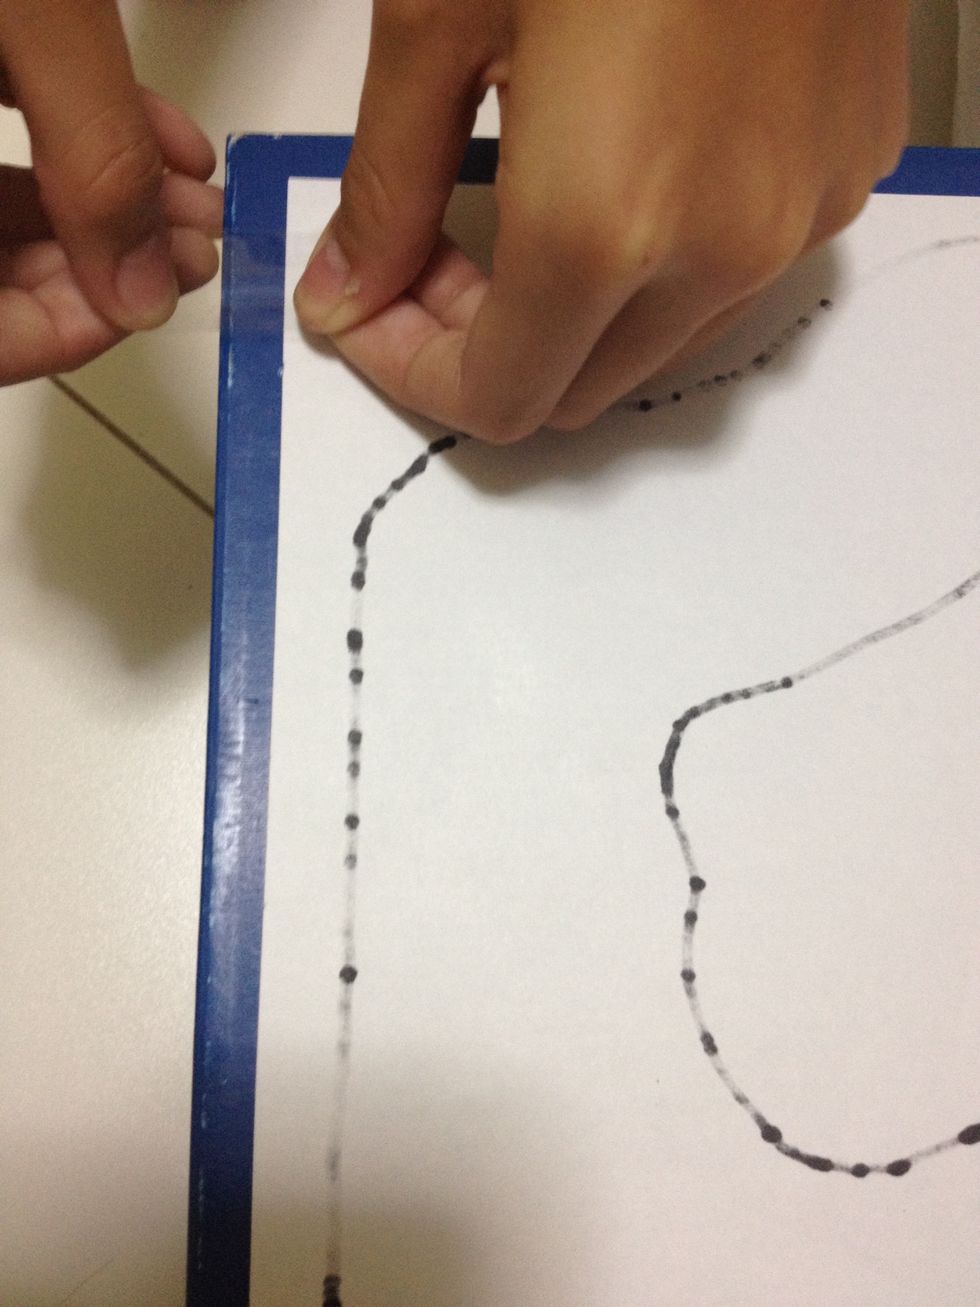
Fasten your drawing, reverse side facing up, onto the bottom of the box using tapes.
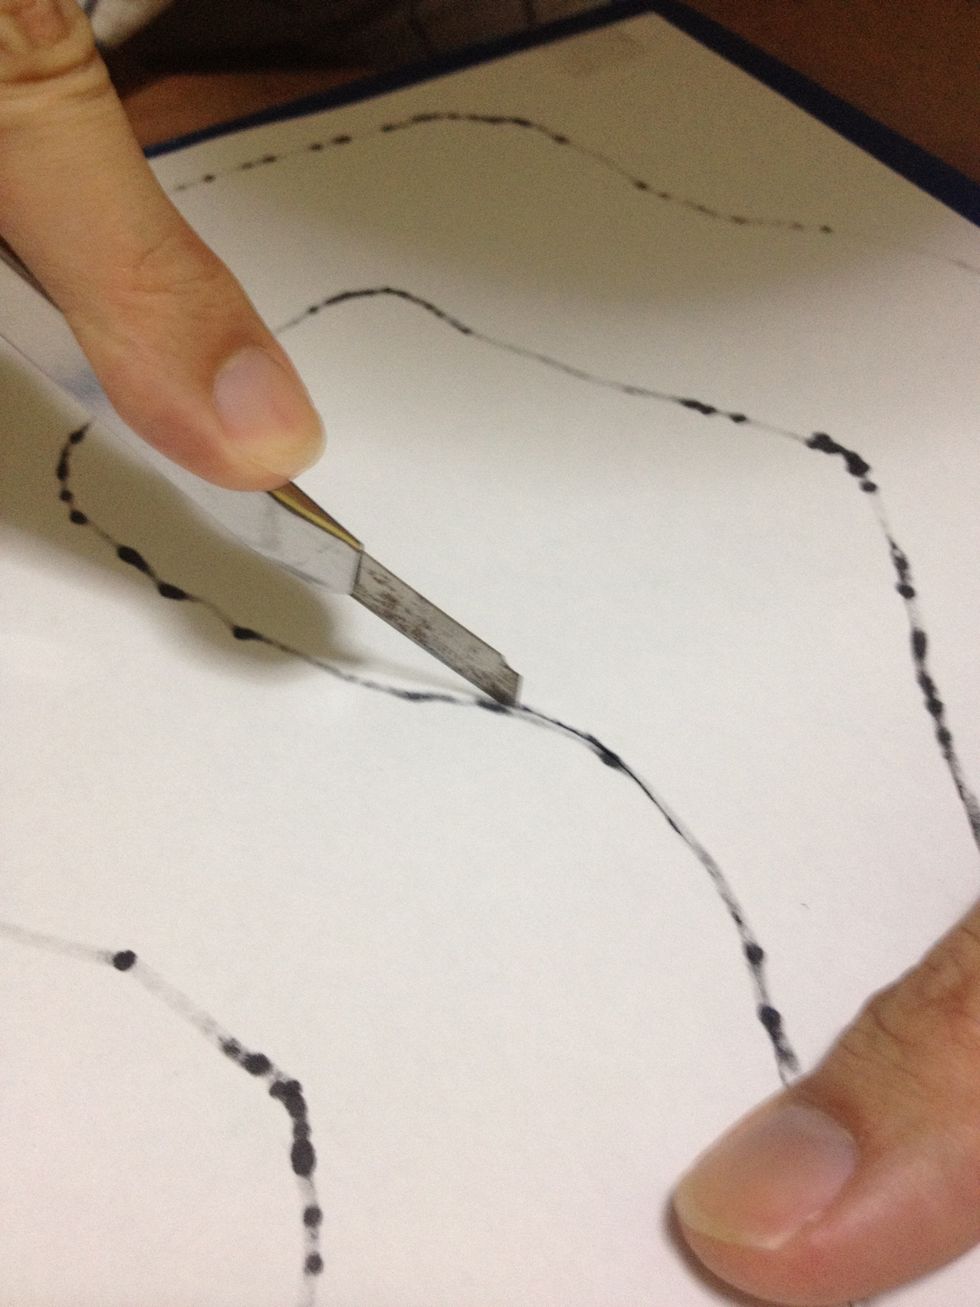
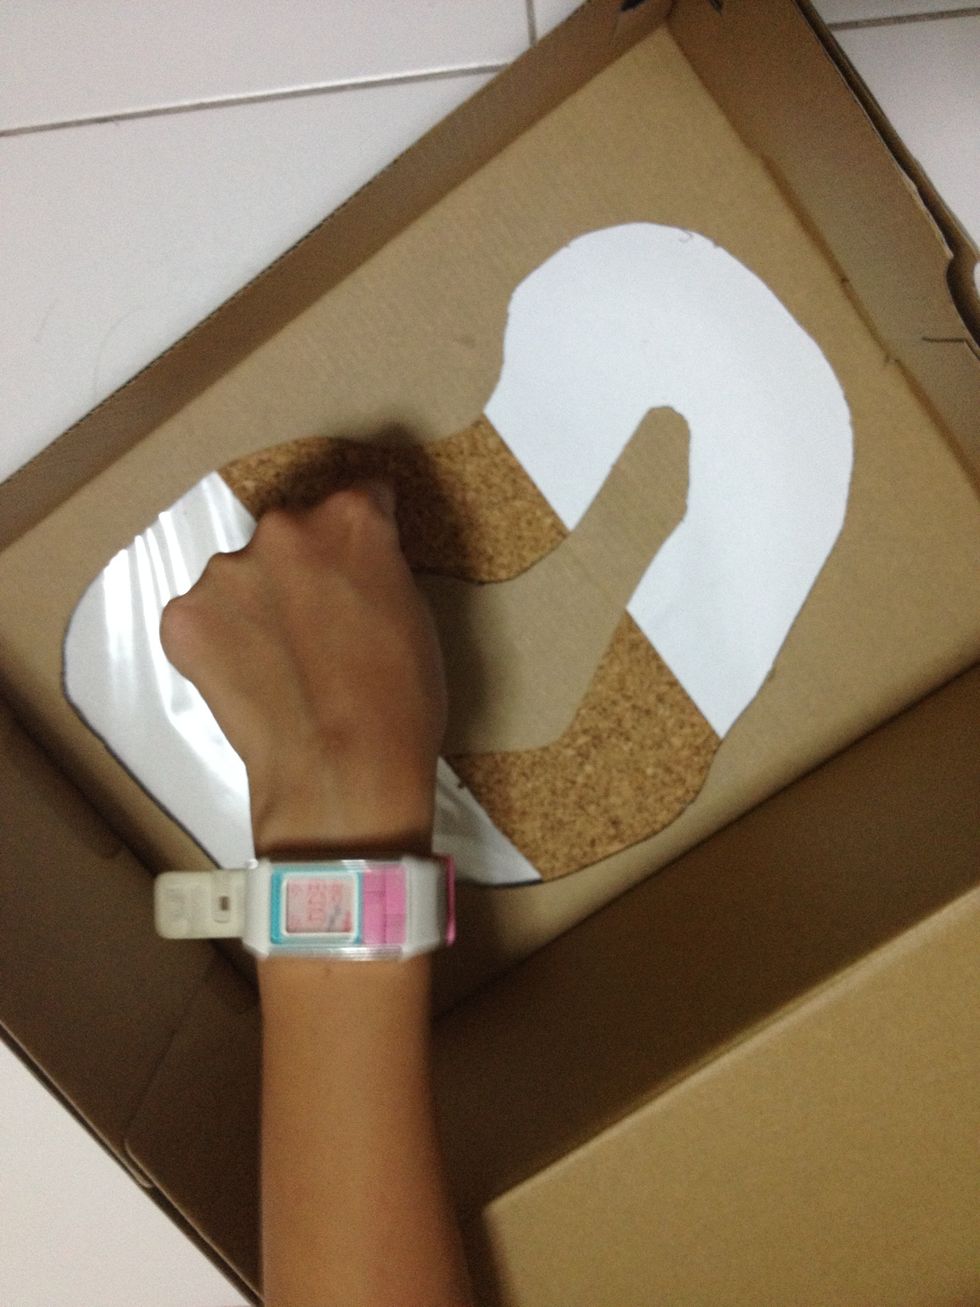
Cut along the lines of your racing track.
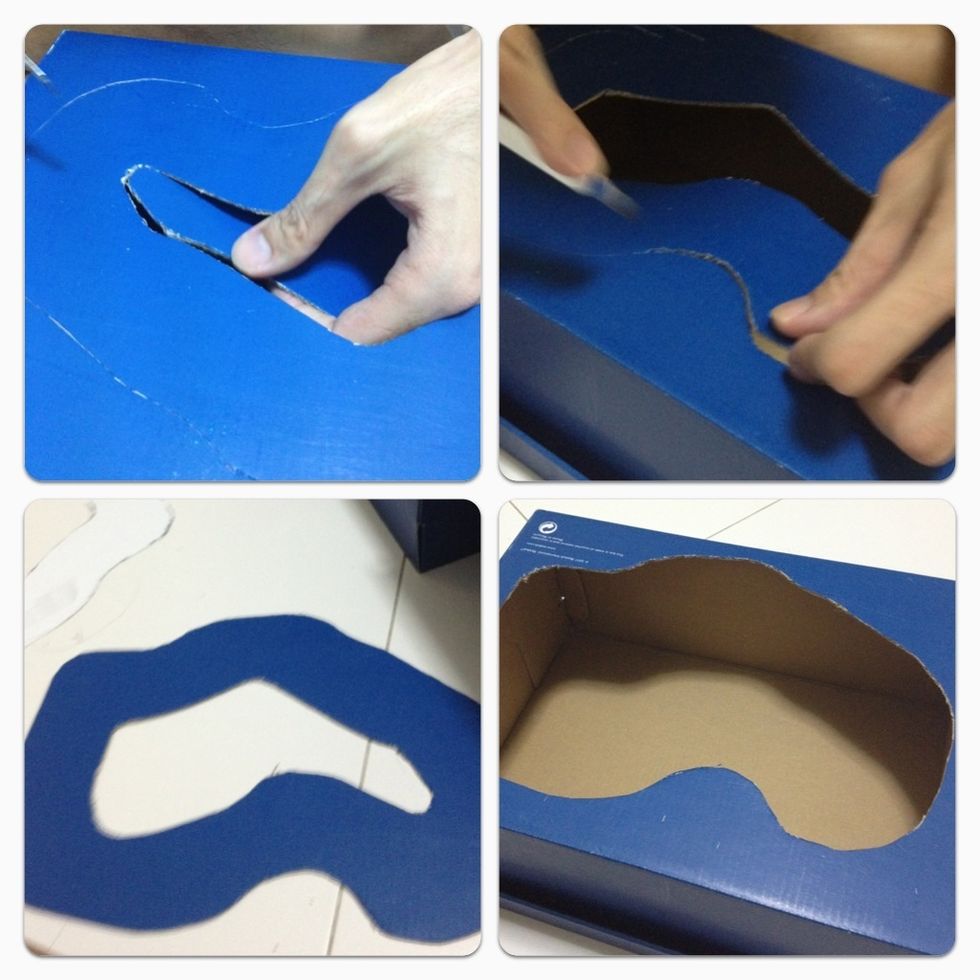
Cut through the cardboard of the box to remove the racing track shape.
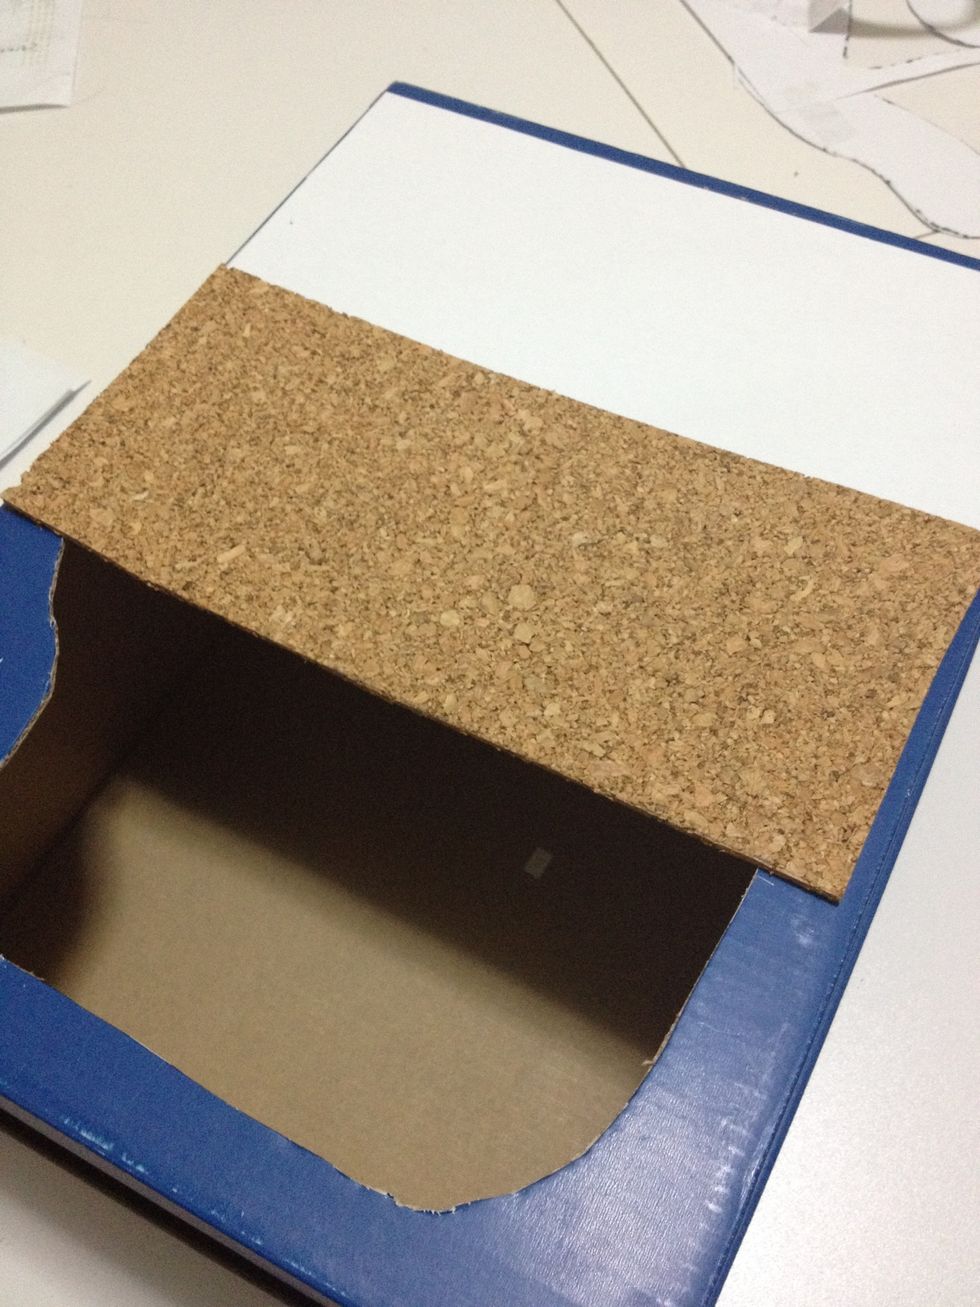
Fix the different materials for the racing track at the bottom of the box, covering the shape of the track.
This demonstrates how magnetism pass thru different materials. At the same time makes the game more challenging and interesting.
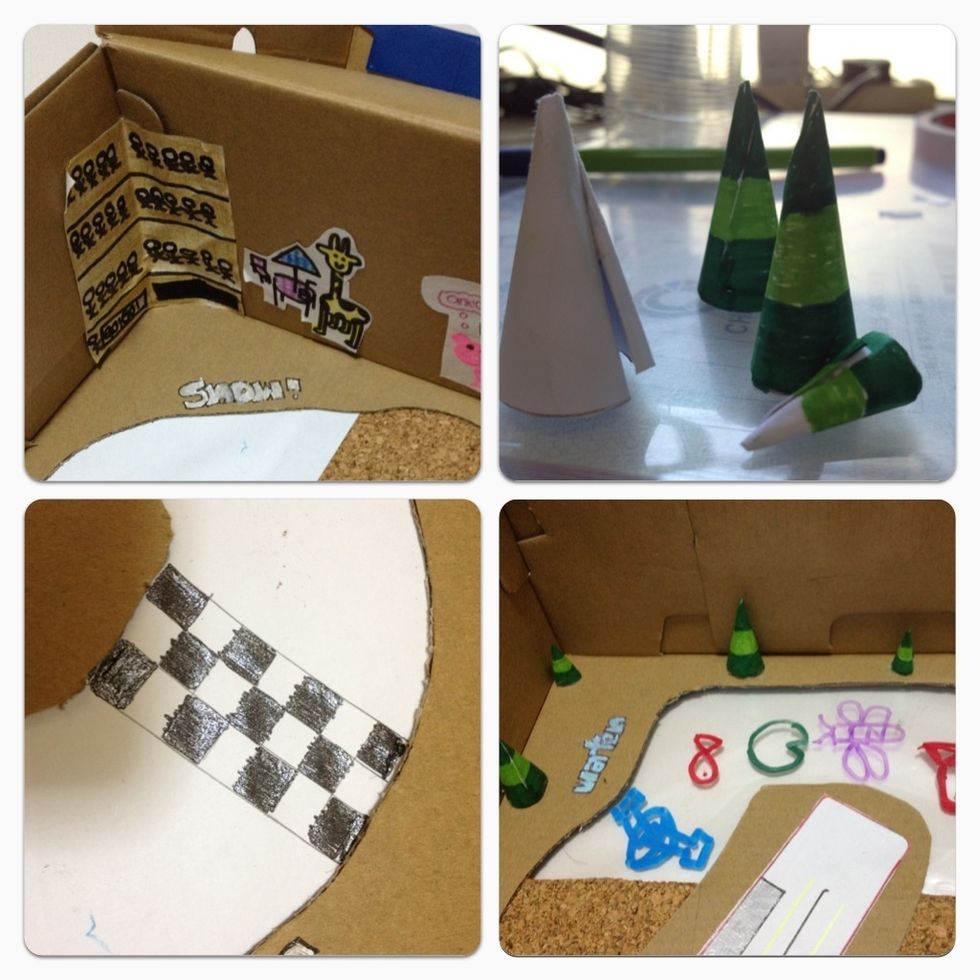
Decorate your racing track.

Use magnets as your 'race cars' and move them with another magnet.
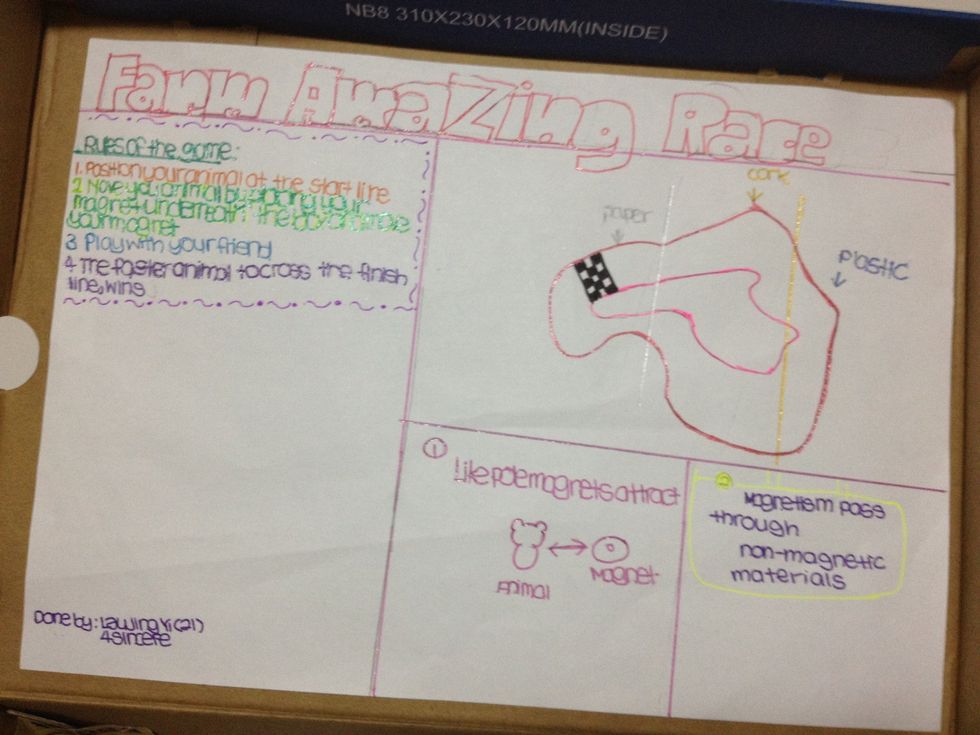
Create the game instruction sheet and paste it under the box cover.
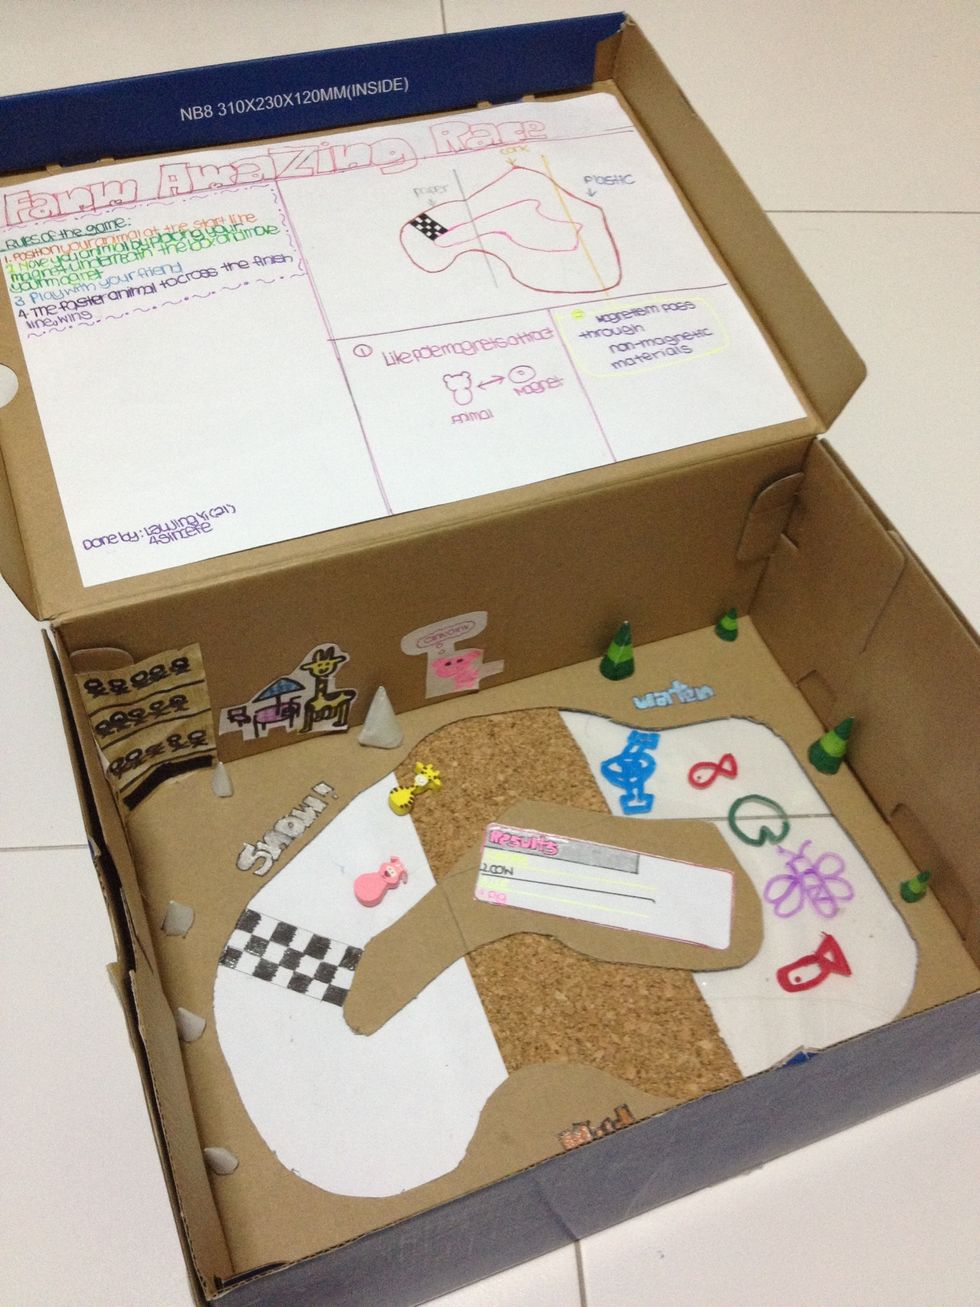
Congratulations! Your very own magnetic racing track toy. Enjoy racing with your friends!